How to Fix Leaky Kitchen Faucet: A Step-by-Step Repair Guide
A leaky kitchen faucet can waste gallons of water daily and raise your utility bills, but fixing it is usually straightforward and can be done with basic tools. To fix a leaky kitchen faucet, first identify the type of faucet—compression, cartridge, ball, or disc—then replace worn components like washers, O-rings, or cartridges depending on the model.
Addressing a leaking faucet right away prevents further damage such as corrosion or water stains under your sink, and it conserves water in your household. Many leaks stem from small parts wearing out, which can surprisingly be replaced without calling a plumber, saving both time and money.
This article will guide you through diagnosing the source of your faucet leak, choosing the right replacement parts, and performing step-by-step repairs for different faucet styles. Additionally, we'll cover care tips to keep your kitchen faucet leak-free over time.
Identifying Your Kitchen Faucet Type
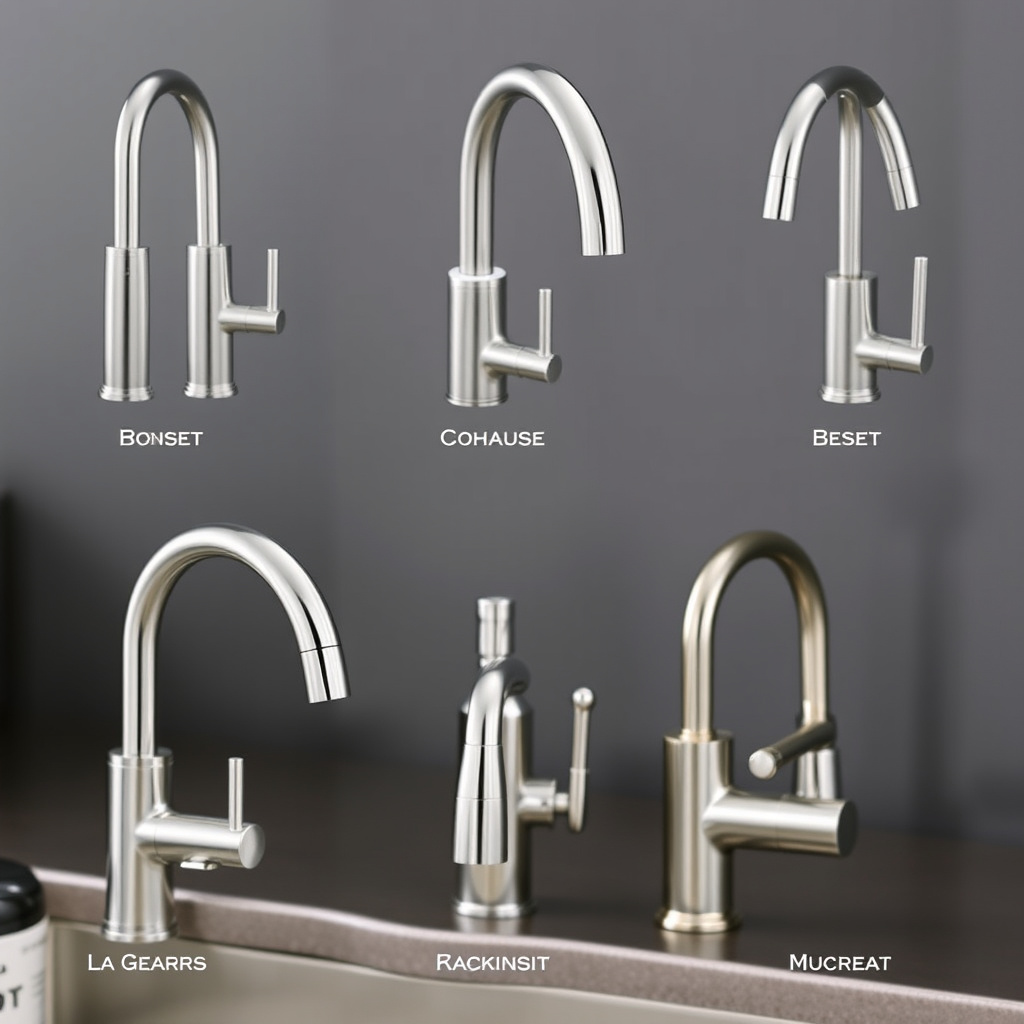
Compression Faucets
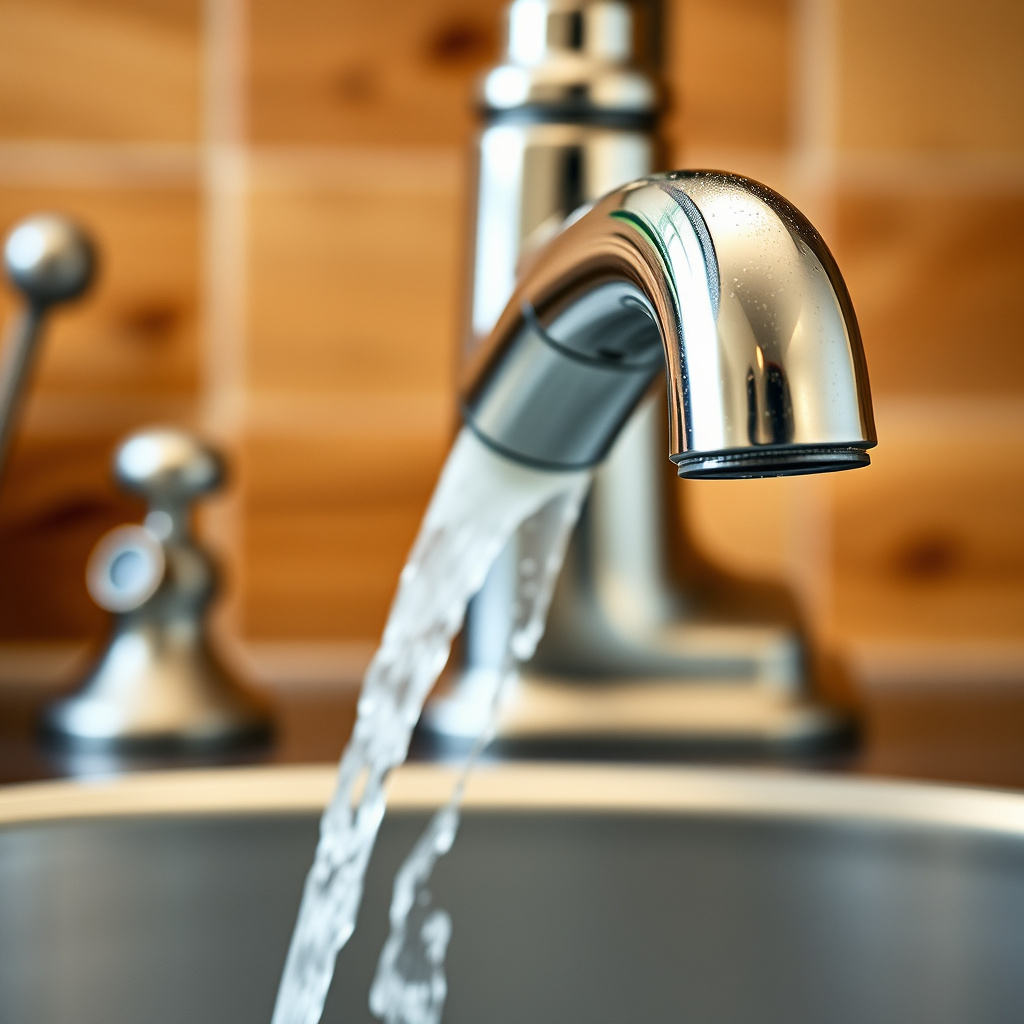
Compression faucets have separate hot and cold handles and work by compressing washers to stop water flow. A common cause of leaks in these faucets is worn washers or damaged valve seats.
Look for signs like dripping from the spout when handles are off. Fixing compression faucets usually involves disassembling the handles and replacing washers to restore a tight seal.
- Two separate handles for hot and cold
- Uses rubber washers to seal water flow
- Oldest common faucet type
Cartridge, Ball, and Disc Faucets
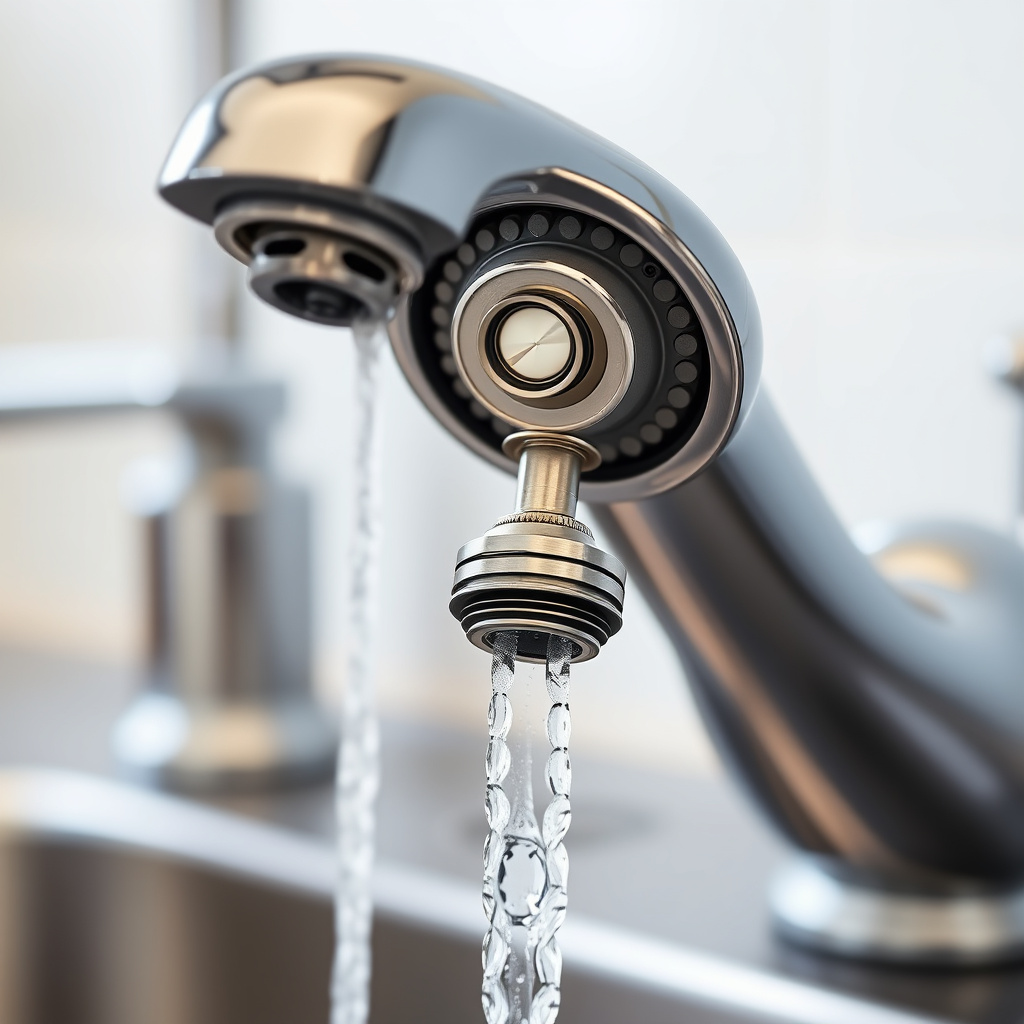
Modern kitchen faucets often use a cartridge, ball, or ceramic disc mechanism. Cartridge models have a movable stem; ball faucets feature a ball bearing system; disc faucets use two ceramic discs to control water flow.
Leaks in these types can come from worn cartridges, O-rings, or seals. Identifying your faucet type helps target the right parts for repair without unnecessary replacements.
- Single or dual handle designs
- Less frequent washer issues but seals can wear out
- More complex than compression but durable
Tools and Materials Needed for Repair

Essential Tools
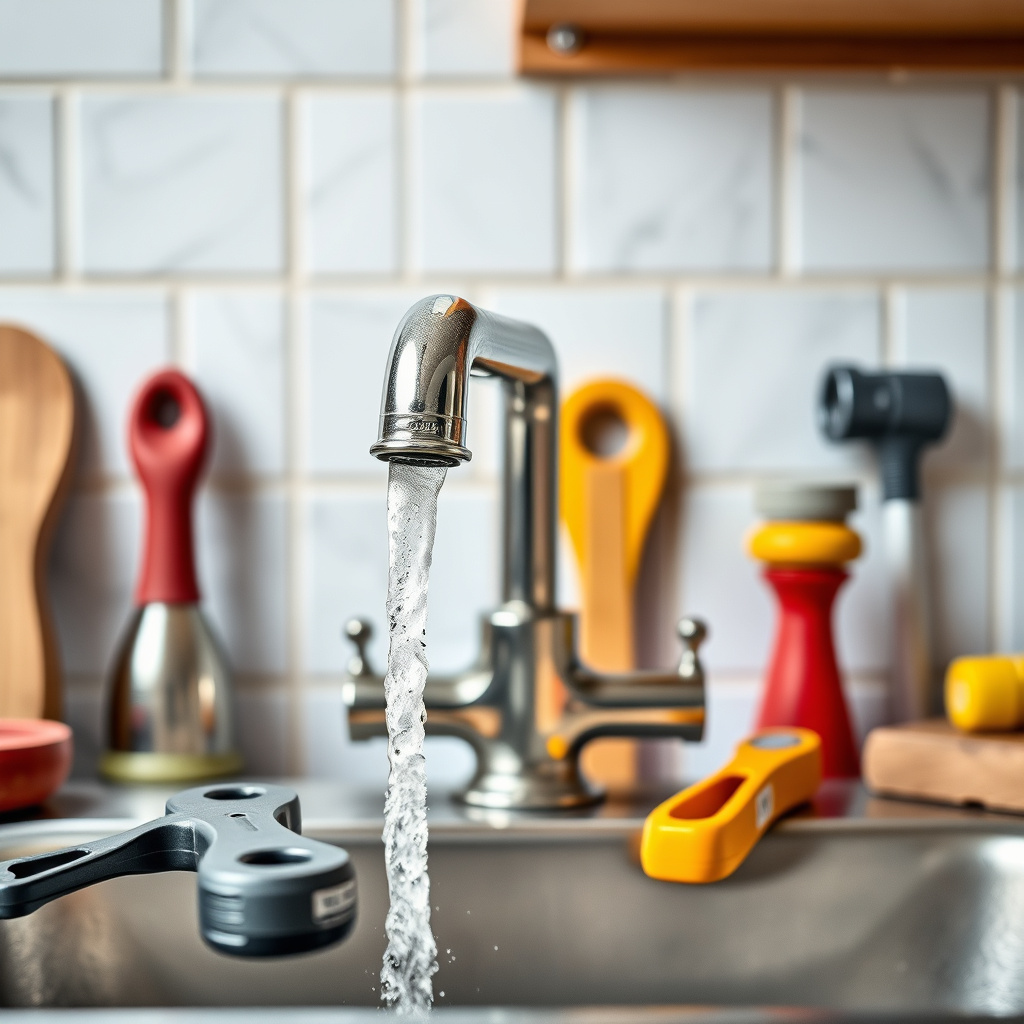
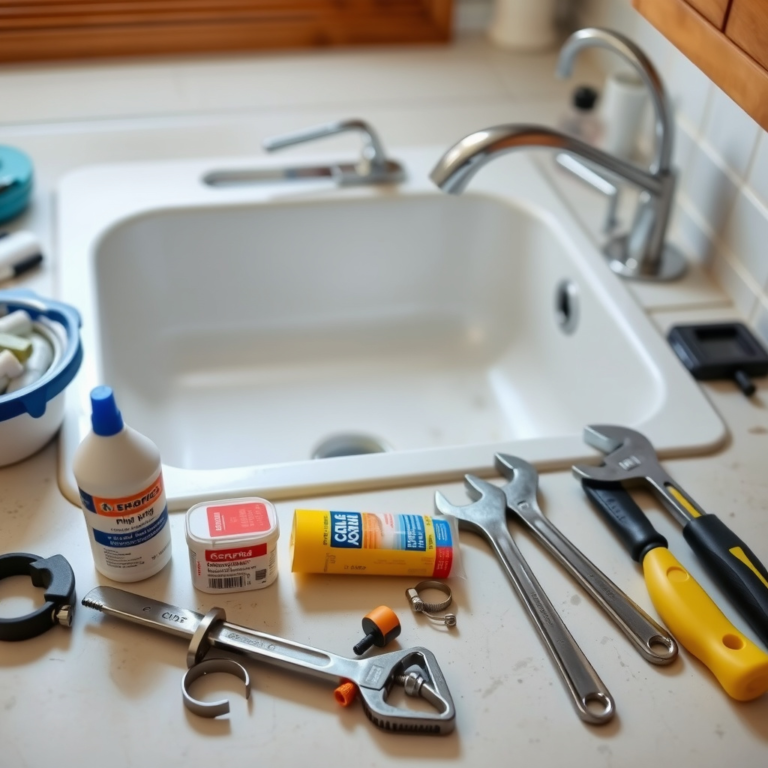
Basic tools to fix a leaky kitchen faucet include an adjustable wrench, screwdrivers (flathead and Phillips), pliers, and a flashlight for better visibility under the sink.
Having a set of replacement washers, O-rings, and plumber’s grease is helpful for typical repairs, depending on your faucet type.
- Adjustable wrench
- Screwdrivers (flathead and Phillips)
- Needle-nose pliers
- Flashlight
- Replacement parts kit
Preparing Your Workspace

To avoid water damage, first turn off the water supply valves located under your sink. Open the faucet to drain residual water before starting repairs.
Use a bucket or towel to catch drips, clear the area of items, and lay out your tools within reach to work efficiently.
- Shut off water valves
- Drain faucet
- Protect cabinet with towels or bucket
- Organize tools nearby
Common Causes of Leaky Kitchen Faucets
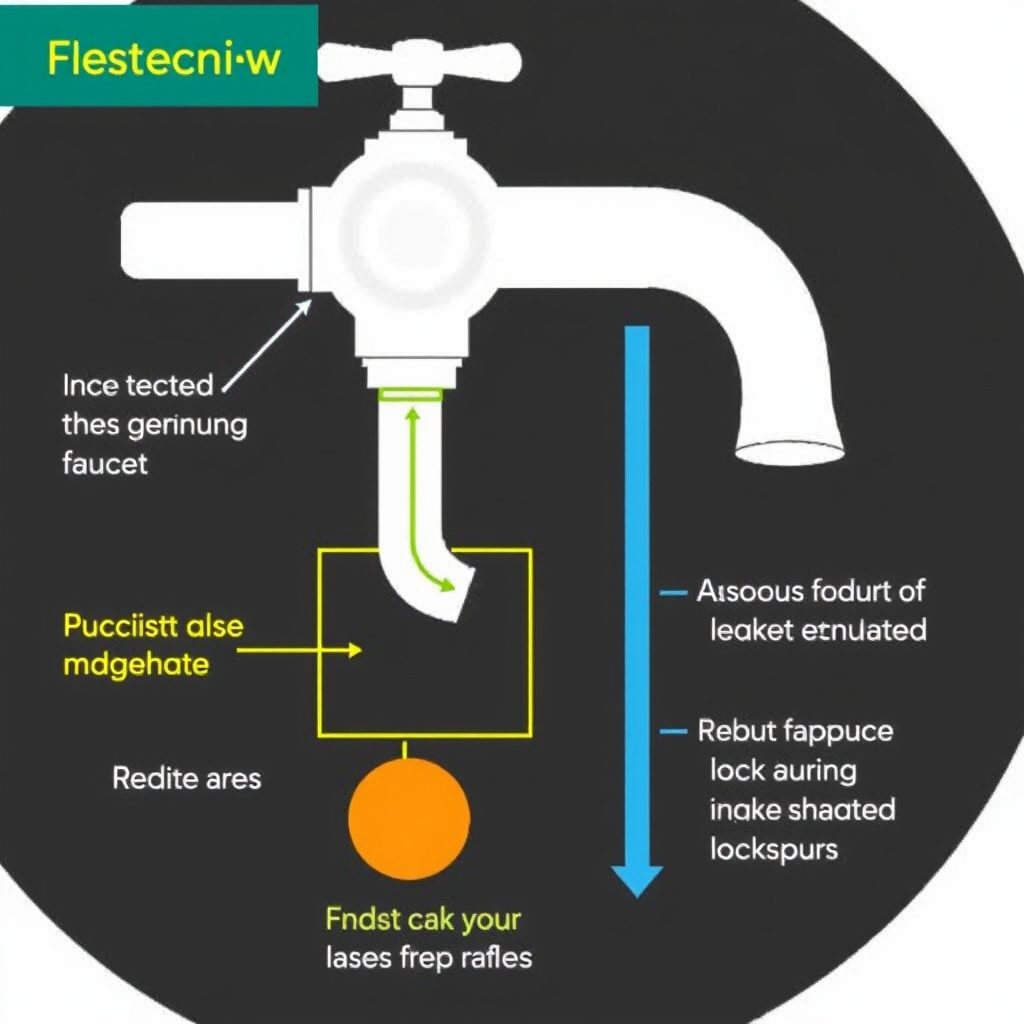
Worn Washers and O-Rings

Worn washers and O-rings are the leading causes of leaks in compression and cartridge faucets. They deteriorate over time due to friction and water exposure, allowing water to bypass seals and drip.
Regular replacement of these small parts restores proper sealing and can stop leaks quickly without major repairs.
For more on this, see our related guide: How to Fix a Leaky Kitchen Faucet: A Step-by-Step Guide.
Corroded Valve Seats and Cartridges
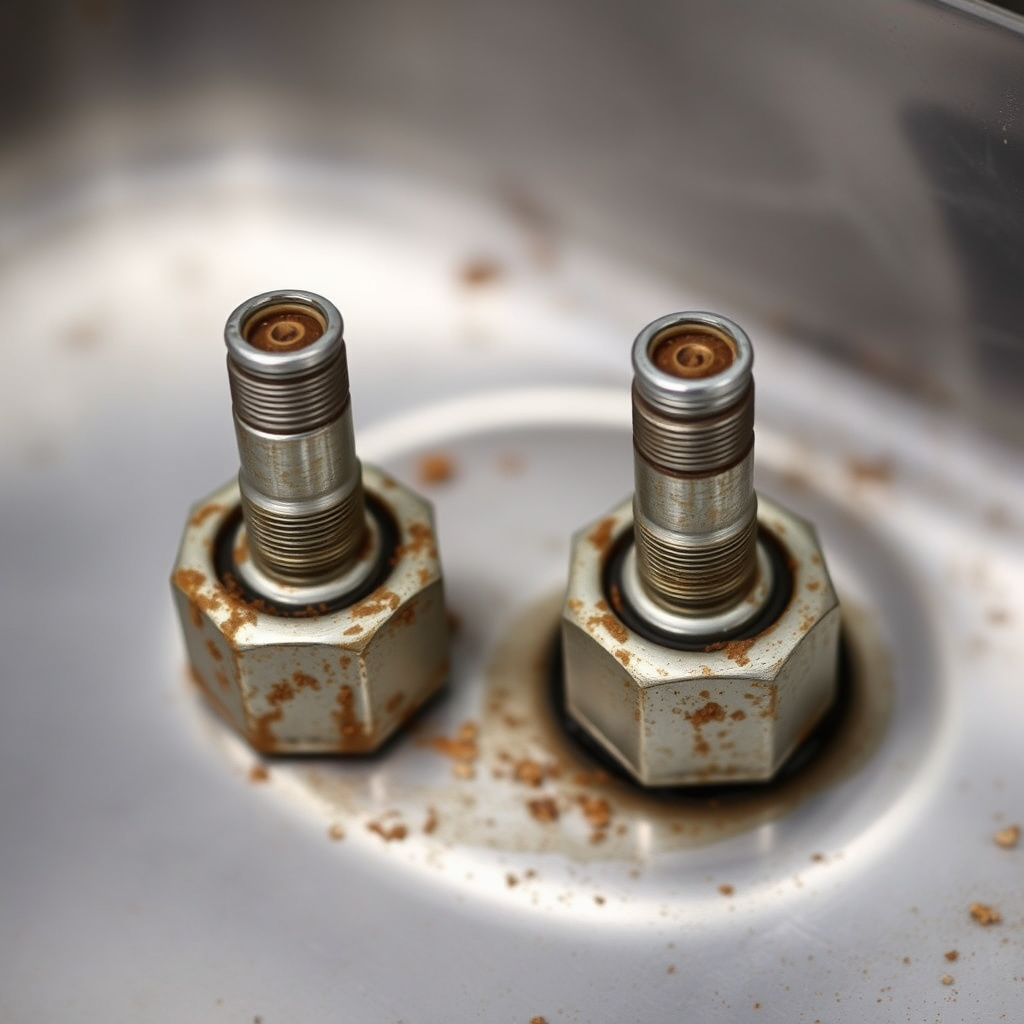
Corrosion or mineral buildup on valve seats or inside cartridges can cause irregular seals, resulting in drips or leaks. Cleaning or replacing these parts is necessary when washers aren’t the source.
Using vinegar to remove hard water deposits or swapping cartridges can resolve leaks from these deeper causes.
Step-by-Step Guide to Fix a Leaky Kitchen Faucet

Disassembling the Faucet

Start by removing the faucet handles using a screwdriver or allen wrench, depending on your model. Keep track of small screws and components to avoid losing them.
Once handles are off, access the inner parts such as cartridges or washers. Clean the area to remove any debris or buildup before inspecting parts.
Replacing Faulty Parts
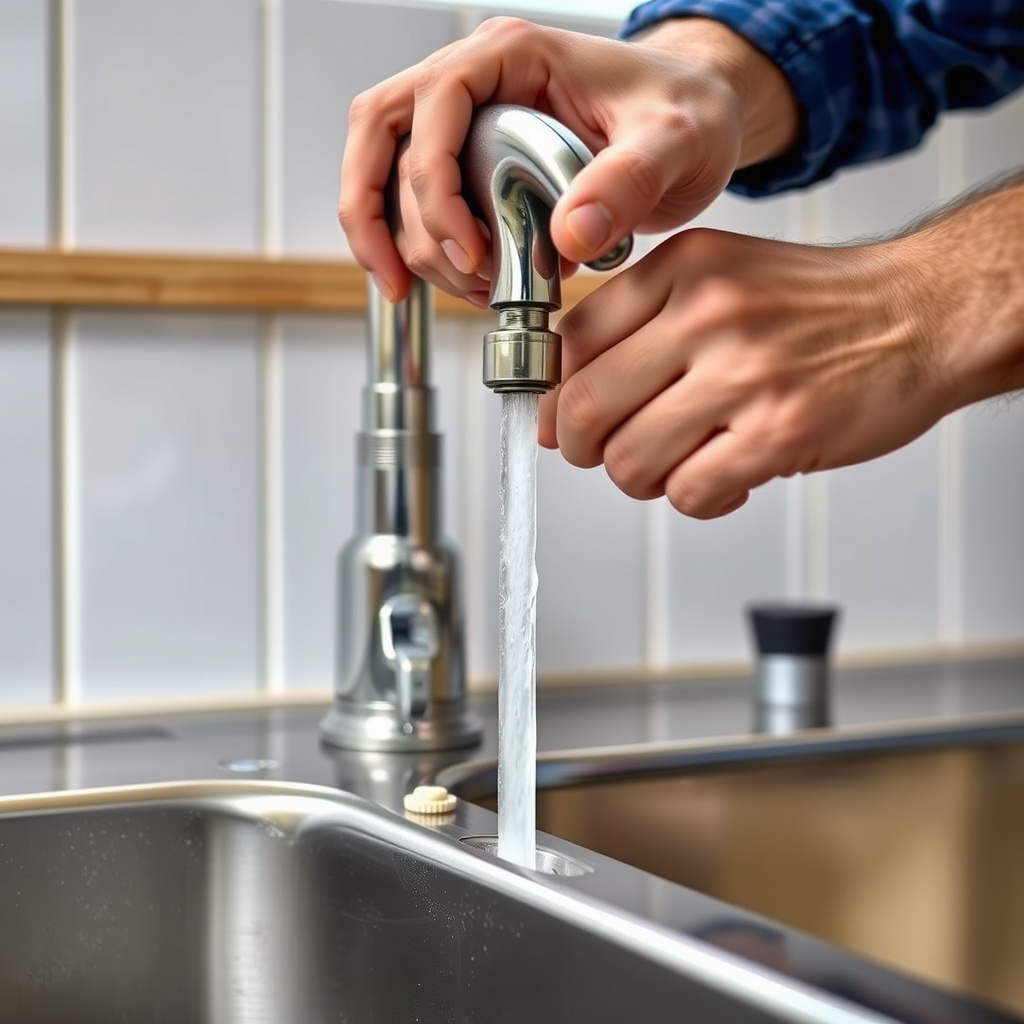
Replace worn washers and O-rings by removing the old ones with a pick or tweezers. Apply plumber’s grease to new parts before installation for smooth operation.
If the cartridge or valve seat is damaged, replace it following manufacturer instructions. Reassemble the faucet and check for leaks by turning the water supply back on.
Tips for Maintaining Your Kitchen Faucet
Regular Cleaning and Lubrication
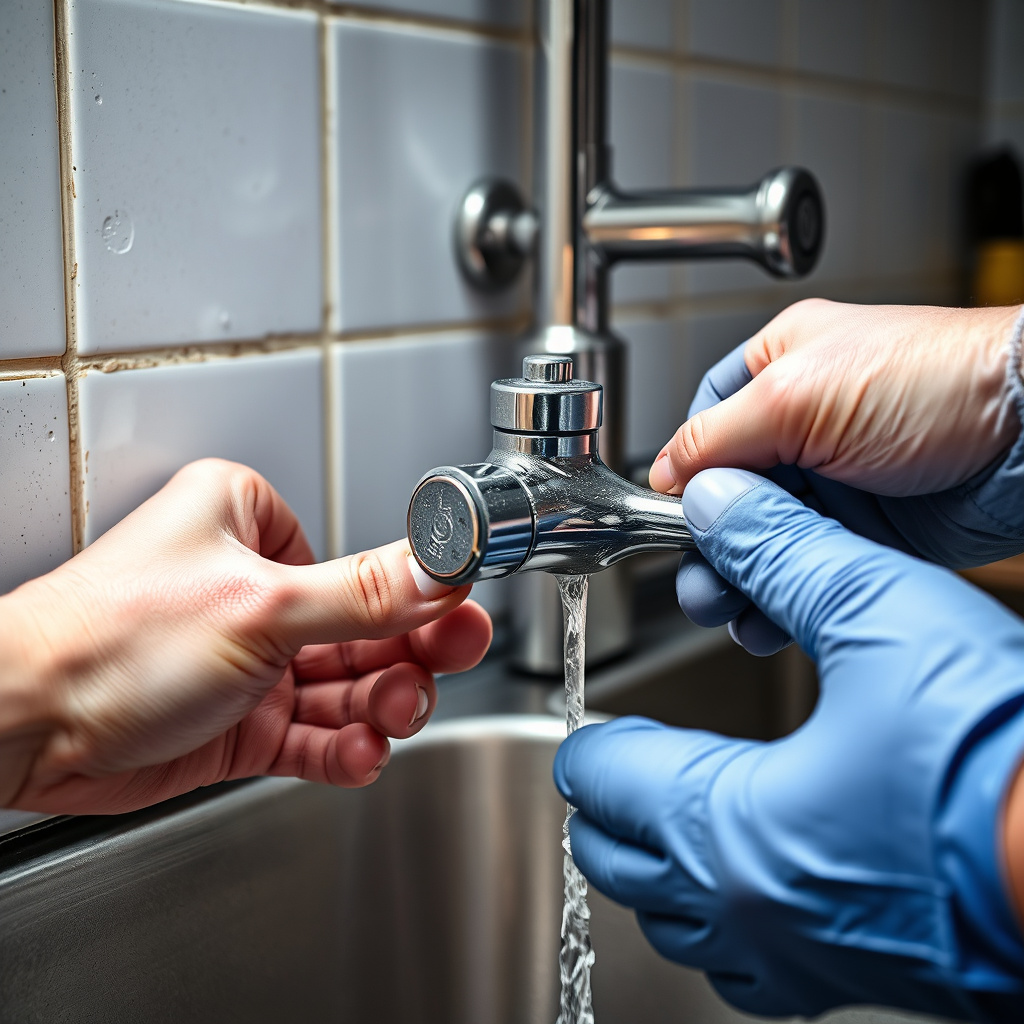
Clean faucet aerators regularly to prevent mineral buildup that can affect water flow and cause leaks. Soaking parts in vinegar helps dissolve deposits safely.
Apply plumber’s grease to O-rings and seals yearly to reduce wear and extend the lifespan of faucet components.
Checking Connections and Water Pressure
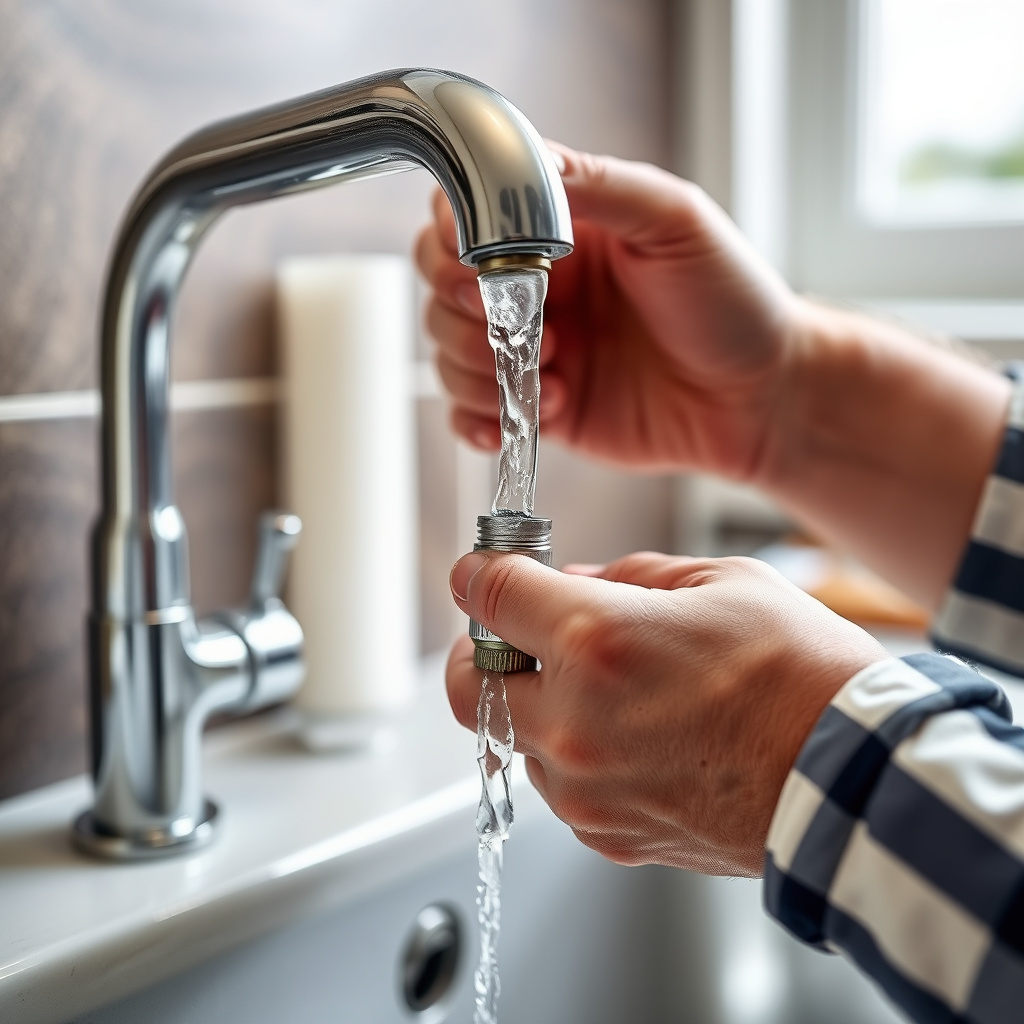
Periodically inspect supply line connections under the sink for tightness to prevent drips. Loose fittings can lead to leaks around the faucet base or under the sink.
Ensure your home’s water pressure is within recommended levels since excessive pressure strains faucet seals and causes early leaks.
When to Call a Professional Plumber
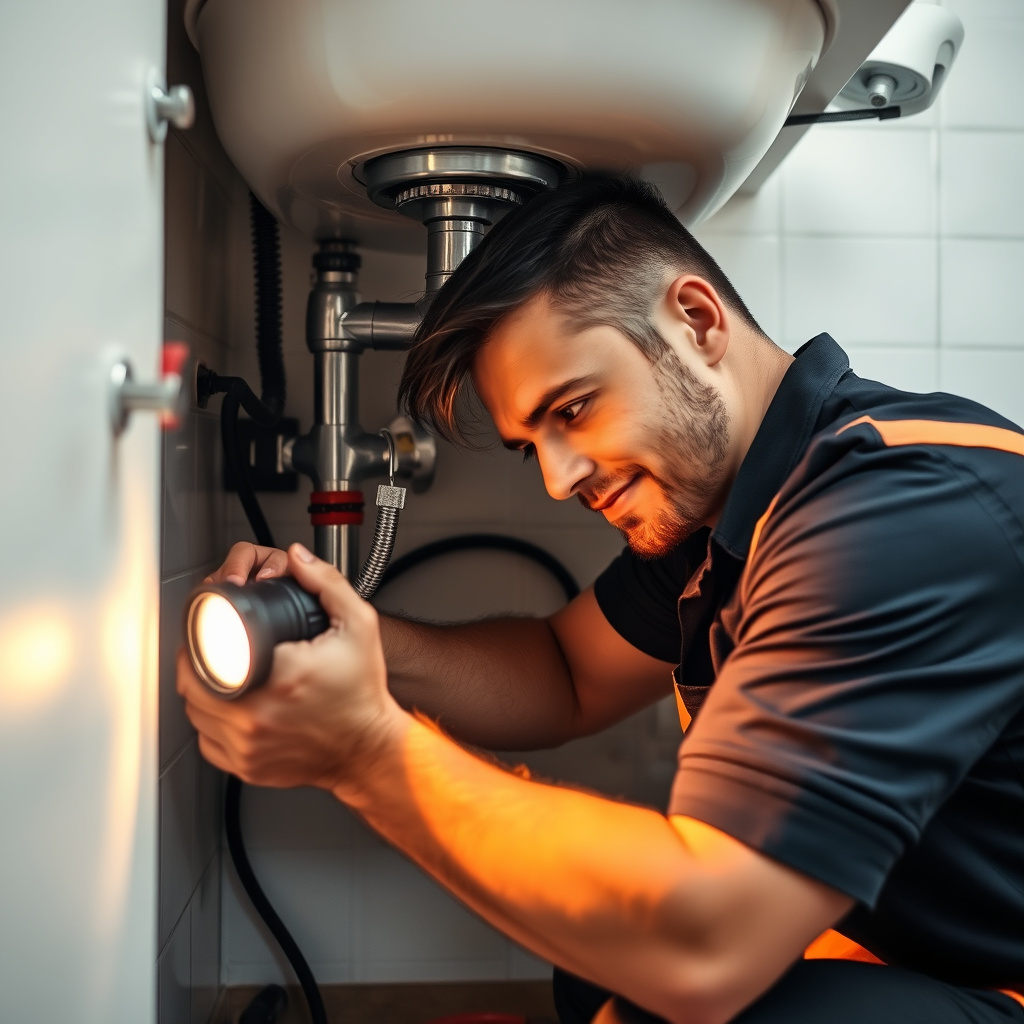
Signs You Need Expert Help

If leaks persist after replacing washers or cartridges, or if corrosion is extensive, a plumber’s expertise may be needed to avoid causing further damage.
Complex faucet designs or inaccessible plumbing areas sometimes require specialized tools and knowledge beyond DIY repairs.
For more detailed technical background, check out this resource on how faucets work. how faucets work.
Cost Considerations for Professional Repairs
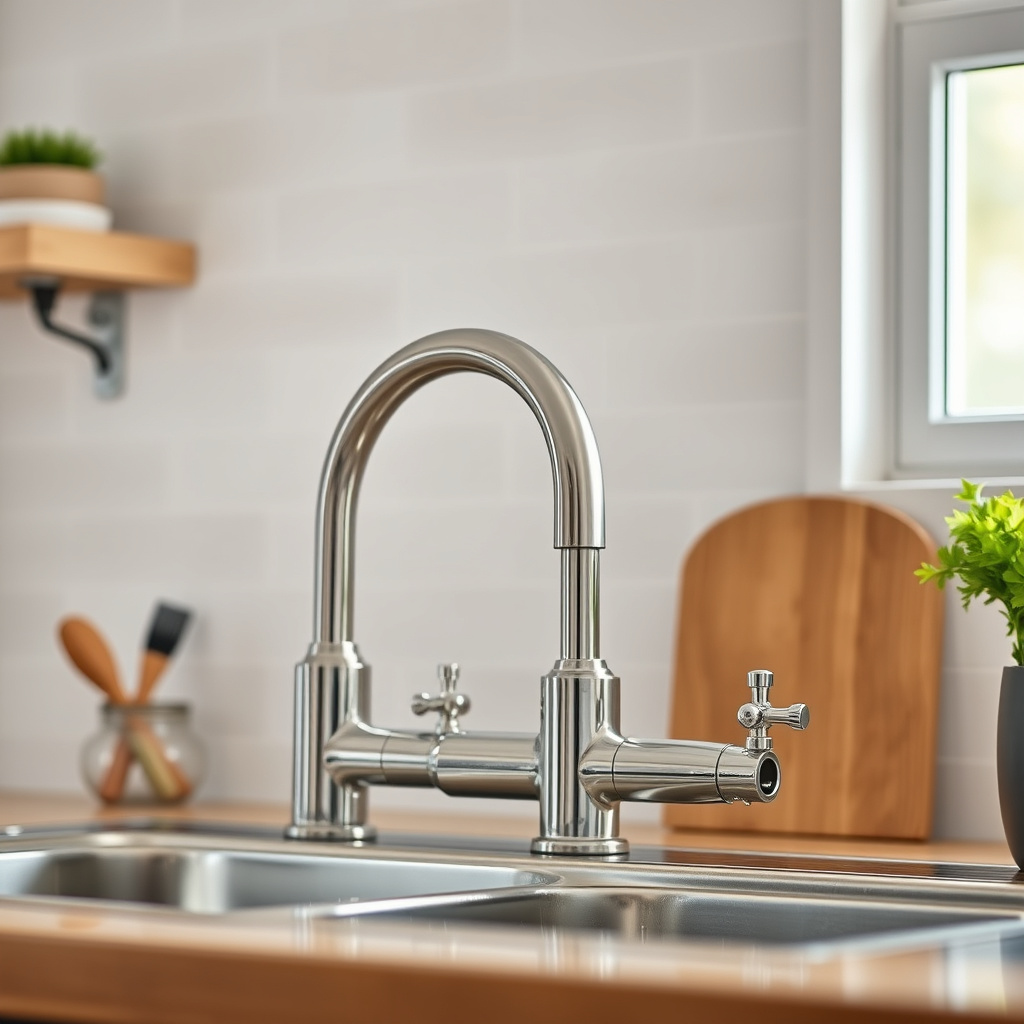
Hiring a plumber typically costs between $100 and $300 depending on the complexity, but it guarantees a lasting fix if DIY attempts fail.
Compare costs before deciding if professional service is worthwhile versus replacement, especially for older faucet models prone to repeated leaks.
Kitchen Faucet Leak Repair Parts Comparison
Here's a comparison of common replacement parts used to fix leaky kitchen faucets across different faucet types.
| Part Type | Compatible Faucet Types | Average Cost | Expected Lifespan |
|---|---|---|---|
| Washers | Compression, Cartridge | $2 – $5 | 1-3 years |
| O-Rings | Cartridge, Ball, Disc | $1 – $4 | 2-4 years |
| Cartridges | Cartridge Faucets | $15 – $45 | 3-5 years |
| Valve Seats | Compression Faucets | $5 – $15 | 3-6 years |
| Ceramic Discs | Disc Faucets | $20 – $60 | 5-7 years |
Frequently Asked Questions
Why does my kitchen faucet leak only when I turn the water on?
A faucet that leaks only when turned on typically has worn internal seals, such as O-rings or cartridge components, that fail to close completely under pressure, allowing drips.
Can I use universal repair kits for my kitchen faucet?
Universal repair kits may work for some faucet models but can be incompatible with certain designs. It's best to identify your faucet type and buy parts designed specifically for it.
How long does it take to fix a leaky kitchen faucet?
Most faucet leak repairs take about 30 to 60 minutes depending on the leak's cause and your familiarity with plumbing tasks.
Will fixing a leaky faucet reduce my water bill?
Yes, fixing a leaky kitchen faucet can significantly lower water bills by stopping continuous drips that waste gallons daily.
Is it okay to keep using a faucet with a small leak?
Using a faucet with even a small leak isn’t recommended. Continuous dripping wastes water and can damage sink areas over time, so prompt repair is advised.
Key Takeaways
- Identify your faucet type to select proper repair parts.
- Worn washers and O-rings cause most kitchen faucet leaks.
- Basic tools and replacement kits make DIY faucet repair feasible.
- Regular maintenance prevents leaks and extends faucet life.
Conclusion
Approaching the repair of a leaky kitchen faucet with a clear understanding of your faucet type and the specific cause of the leak equips you to fix common issues effectively. Whether dealing with worn washers in a compression faucet or replacing cartridges in modern designs, attention to detail during disassembly and reassembly is key to successful repairs. Prioritizing this task helps avoid wasted water and prevents further damage to your plumbing system.
For homeowners comfortable with tools, replacing O-rings and washers or cleaning valve seats offers a cost-effective solution that resolves most leaks. Those with cartridge or ceramic disc faucets may find replacement cartridges easier to install and more durable long-term. If minor repairs don’t stop the leak or corrosion is severe, professional assistance might be necessary to ensure a secure fix without risking damage. Evaluating the repair complexity against replacement cost can guide your decision effectively.
Once you’ve repaired the leak, maintain your kitchen faucet by cleaning aerators, lubricating seals, and monitoring connections under the sink. These simple habits support long-term performance and reduce the chance of future leaks. Starting with basic tools and repair kits, plus the knowledge shared, is a smart first step toward fixing your leaky kitchen faucet quickly and confidently.