How to Install a Kitchen Faucet: A Step-by-Step Guide
Installing a kitchen faucet involves removing the old fixture, preparing the sink area, connecting water lines, and securing the new faucet properly to avoid leaks. With basic tools and some patience, most homeowners can complete this task in under an hour.
Understanding the installation process matters because faucets come in various styles and with different mounting requirements. Proper installation guarantees smooth operation and prevents water damage from leaks or loose fittings.
This guide covers the entire kitchen faucet installation process from start to finish, including preparation, installing the faucet, connecting supply lines, and troubleshooting common issues that may arise during the job.
Preparing for Kitchen Faucet Installation
Gathering necessary tools and materials
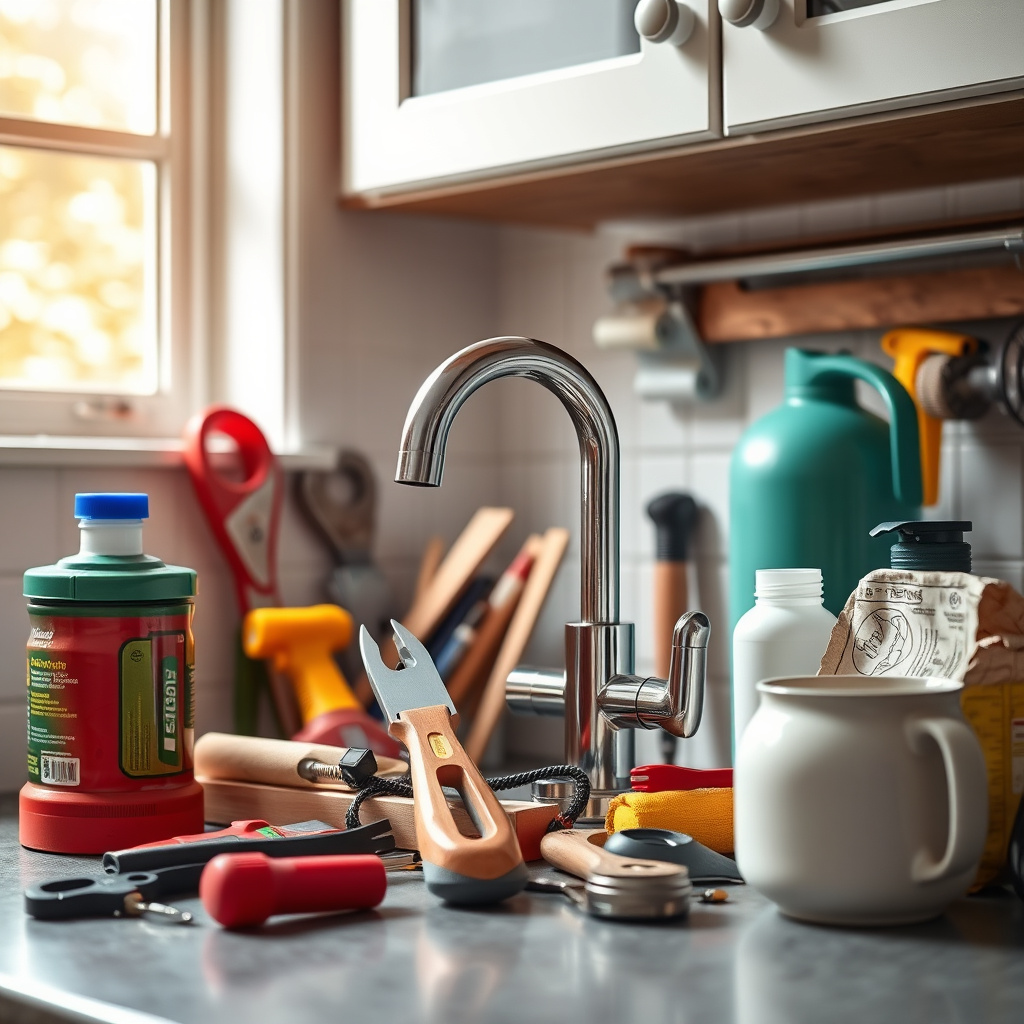
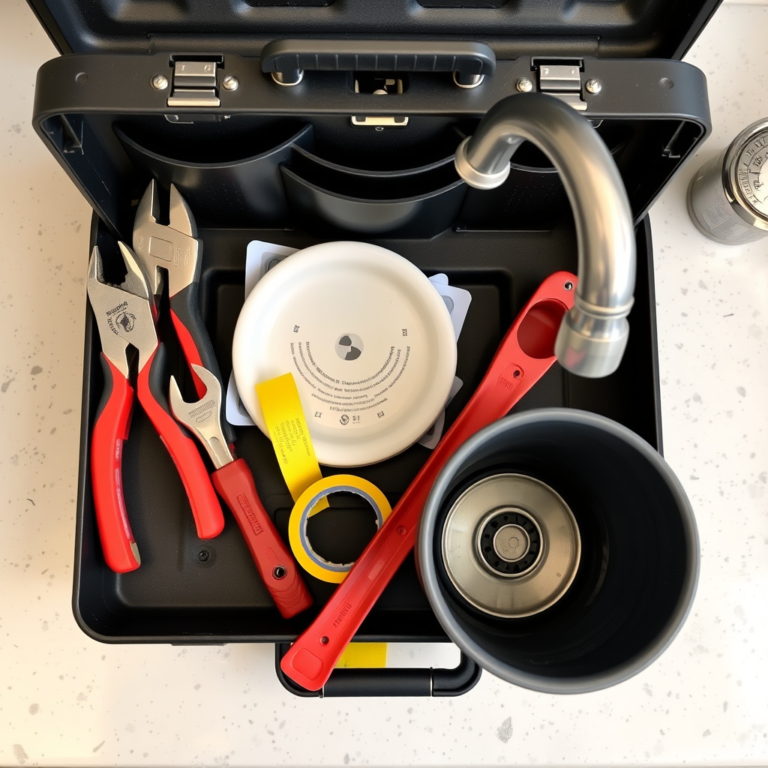
Before starting, assemble all required tools: adjustable wrench, basin wrench, plumber’s tape, bucket, screwdriver, and a supply line if not included with the faucet. Having everything ready will streamline the process.
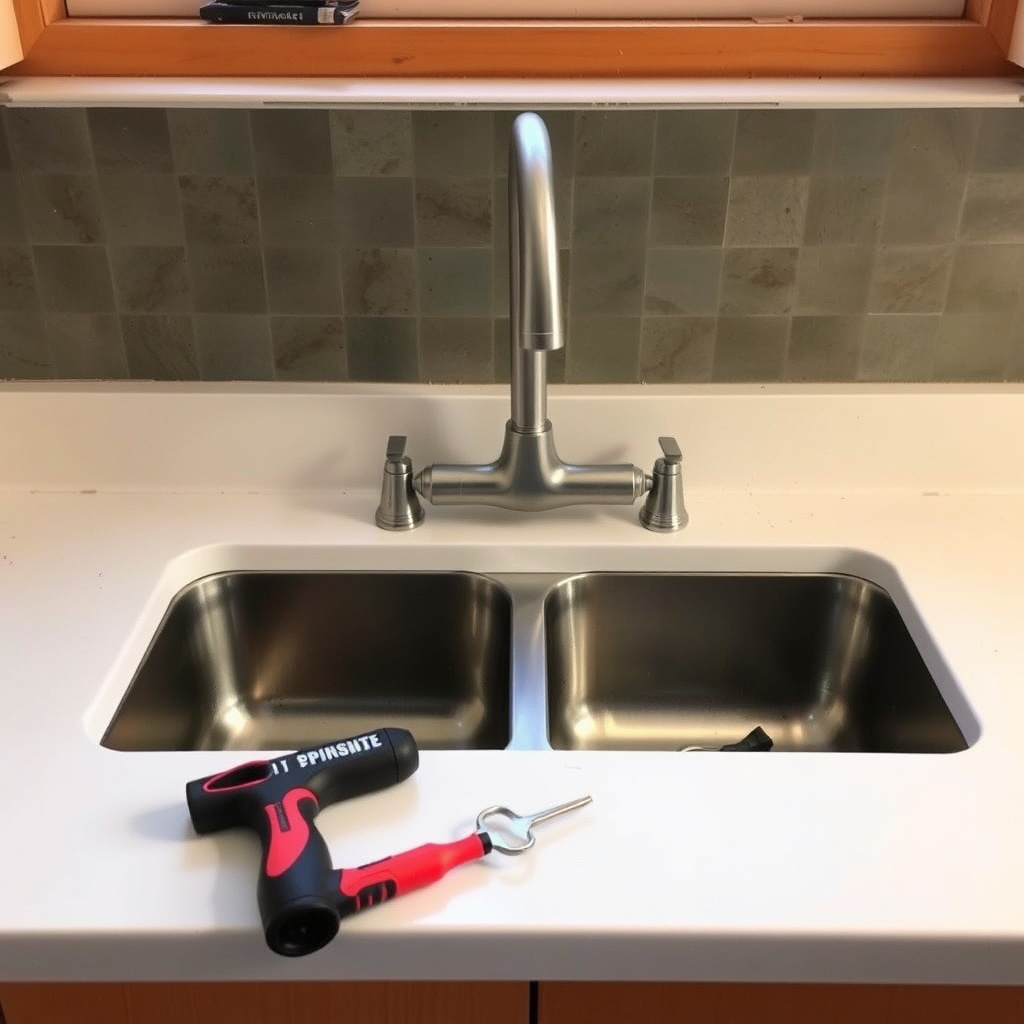
Also, check the type of faucet to ensure compatibility with your sink mounting holes. Most faucets require one to three holes, so count yours and choose a model accordingly.
- Adjustable wrench
- Basin wrench
- Plumber’s tape
- Bucket
- Screwdriver
- New faucet and supply lines
Shutting off water supply and removing old faucet
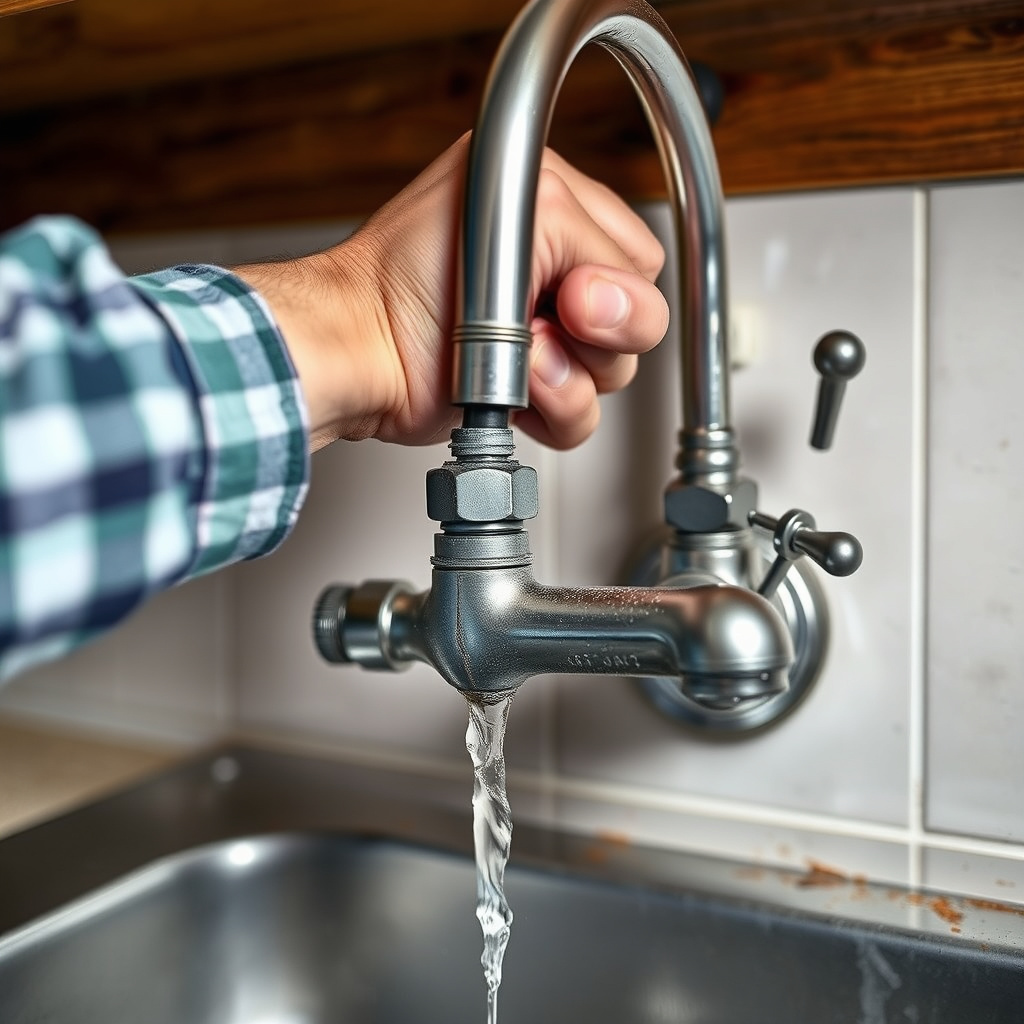
Locate and turn off the water valves under the sink and open the faucet to release remaining water pressure. Place a bucket underneath to catch any drips during disconnection.
Loosen mounting nuts holding the old faucet with a basin wrench, disconnect supply lines, and remove the faucet. Clean the sink area to prepare for new installation.
Installing the New Kitchen Faucet
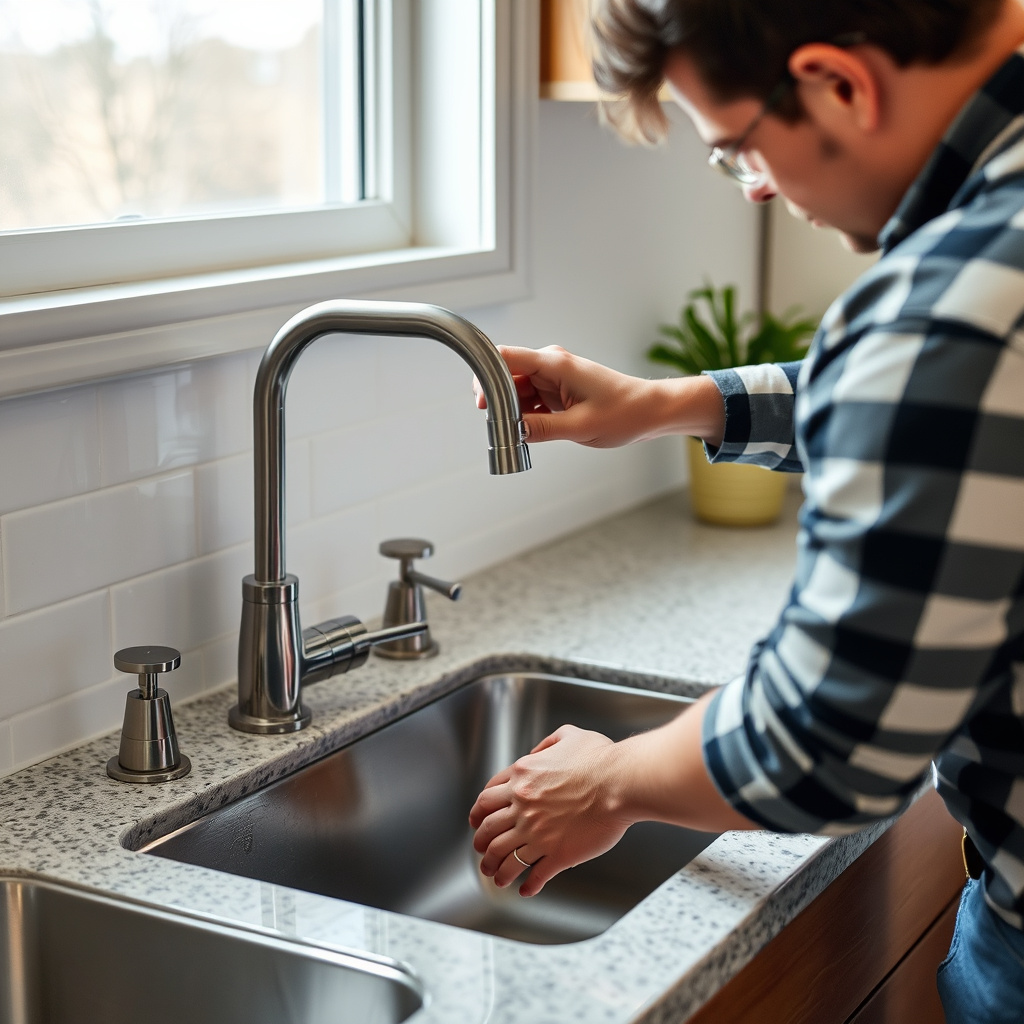
Positioning and securing the faucet
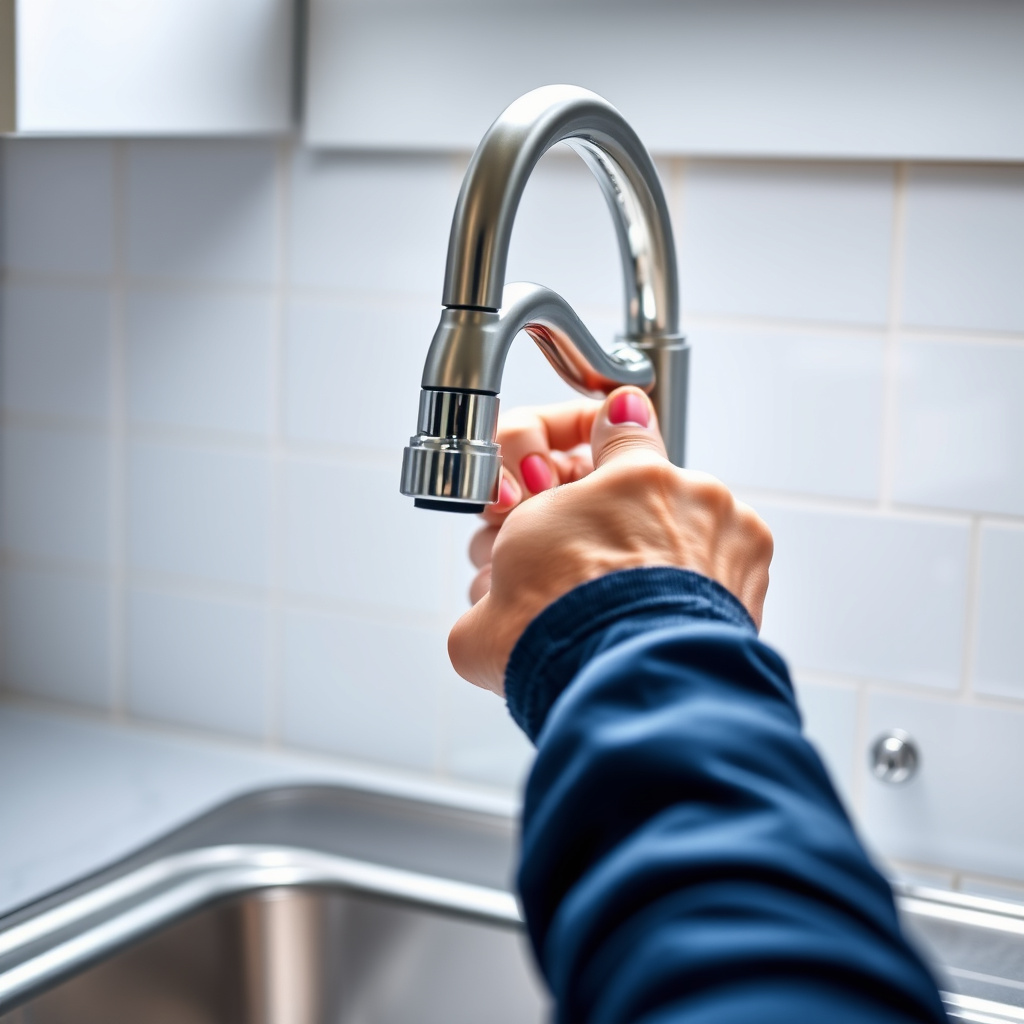
Insert the faucet through the sink holes and align it properly with the sink or countertop. Depending on the model, secure the faucet underneath with mounting nuts or a built-in plate.
Tighten the nuts gradually using a basin wrench, making sure the faucet does not shift out of position. Avoid over-tightening which could damage the sink or faucet parts.
- Insert faucet into sink holes
- Align faucet body
- Secure with mounting nuts
- Tighten nuts evenly
Connecting water supply lines

Attach the hot and cold water supply lines to the faucet’s corresponding inlets. Use plumber’s tape on threaded connections to prevent leaks and tighten connections firmly by hand, then slightly with a wrench.
Make sure not to cross-thread or overtighten the fittings, as this can cause damage or leaks.
- Apply plumber’s tape on threads
- Connect hot water line to hot inlet
- Connect cold water line to cold inlet
- Tighten connections securely
Testing and Final Adjustments
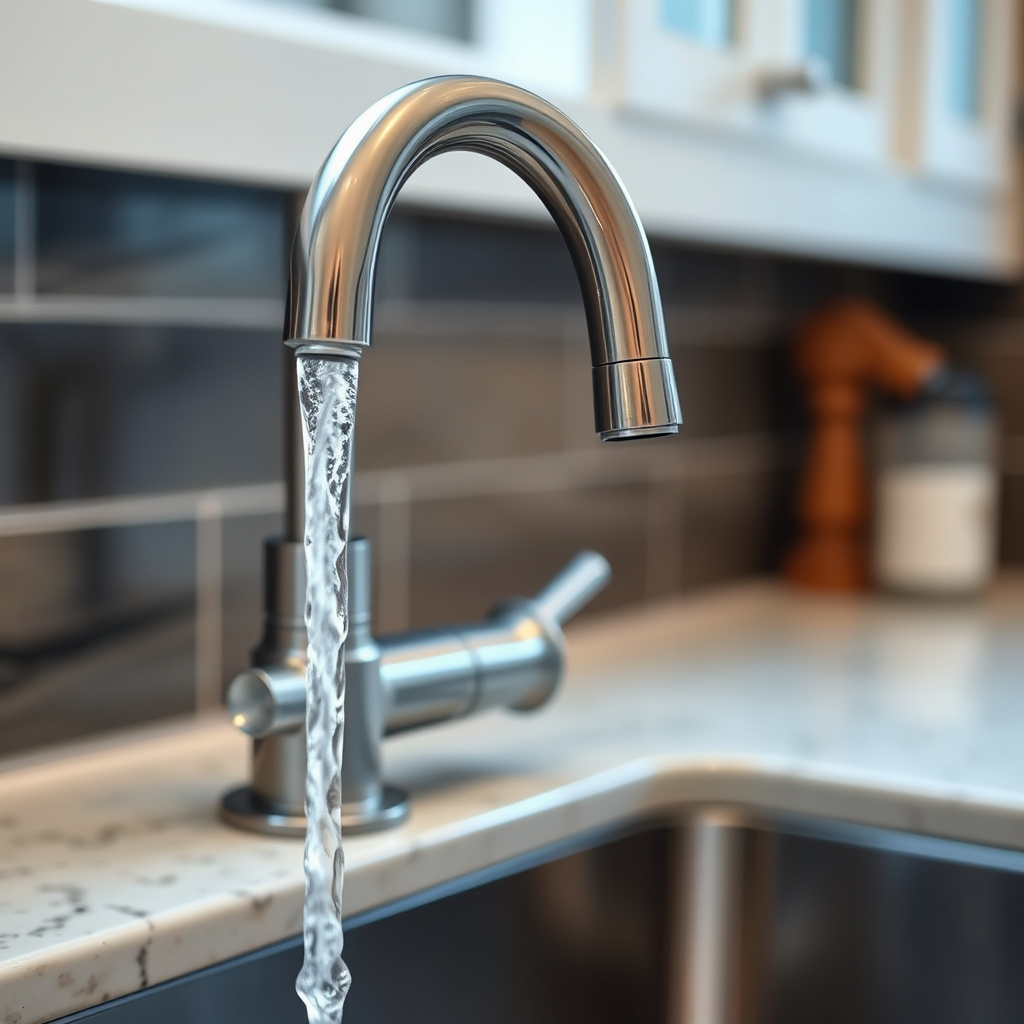
Checking for leaks and faucet function
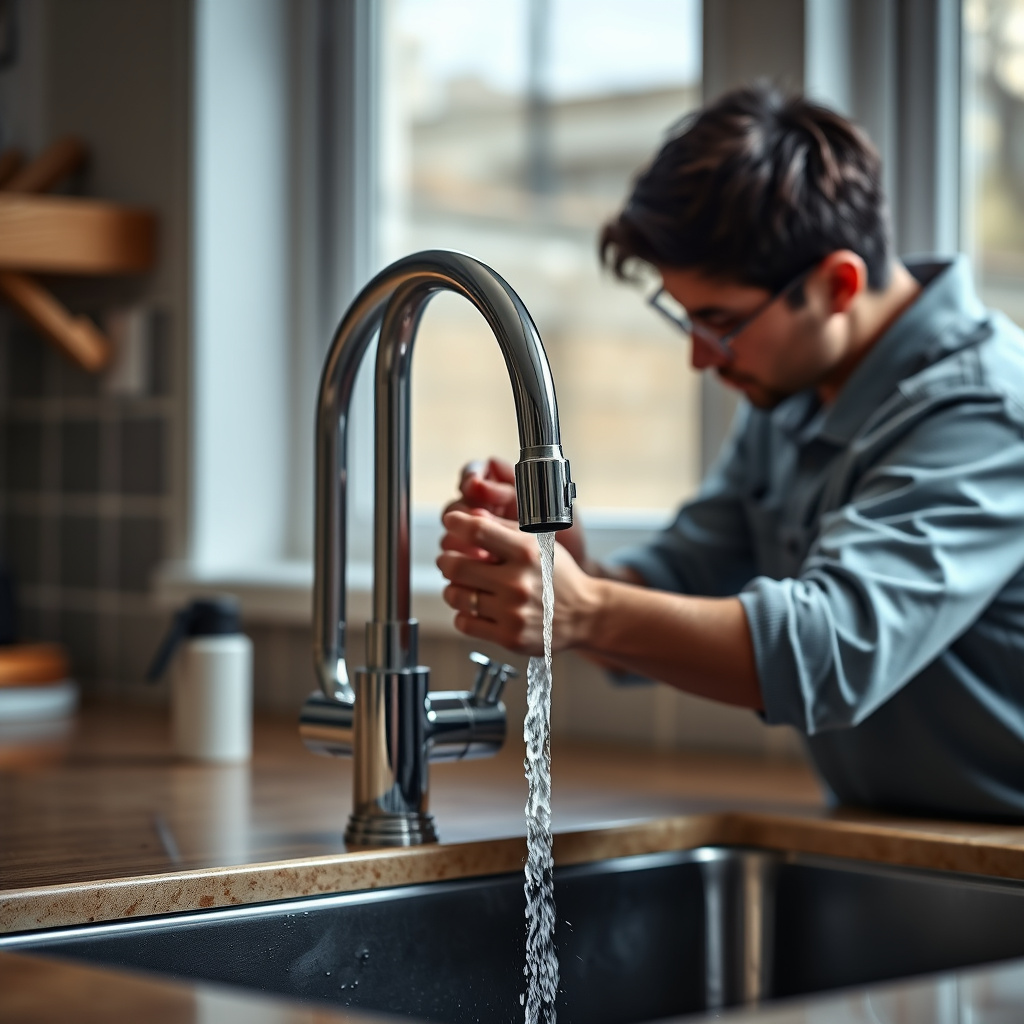
Turn on the water supply valves slowly and observe all connections for leaks. Test both hot and cold streams to confirm proper flow and faucet control.
If you notice leaks, tighten the connections further or reapply plumber’s tape if needed. Confirm that the faucet swivels and the sprayer works smoothly, if applicable.
For more on this, see our related guide: How Much to Remodel a Kitchen: A Clear Cost Breakdown and Guide.
Cleaning up and finishing touches
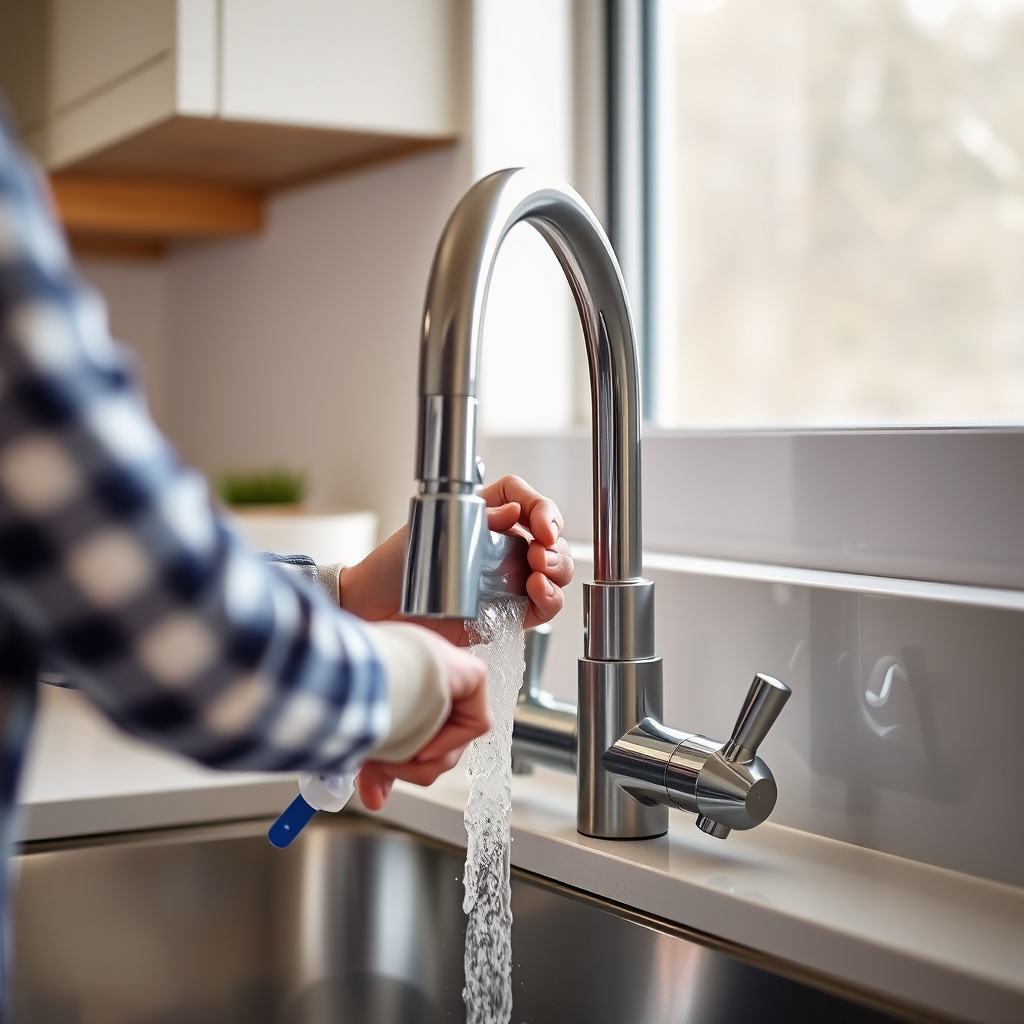
Remove any tools and old parts from under the sink. Wipe down the faucet and surrounding area to remove fingerprints or debris. Attach any decorative caps or covers included with your faucet kit.
Properly dispose of the old faucet and packaging materials. Celebrate your successful kitchen faucet installation!
Common Challenges During Kitchen Faucet Installation
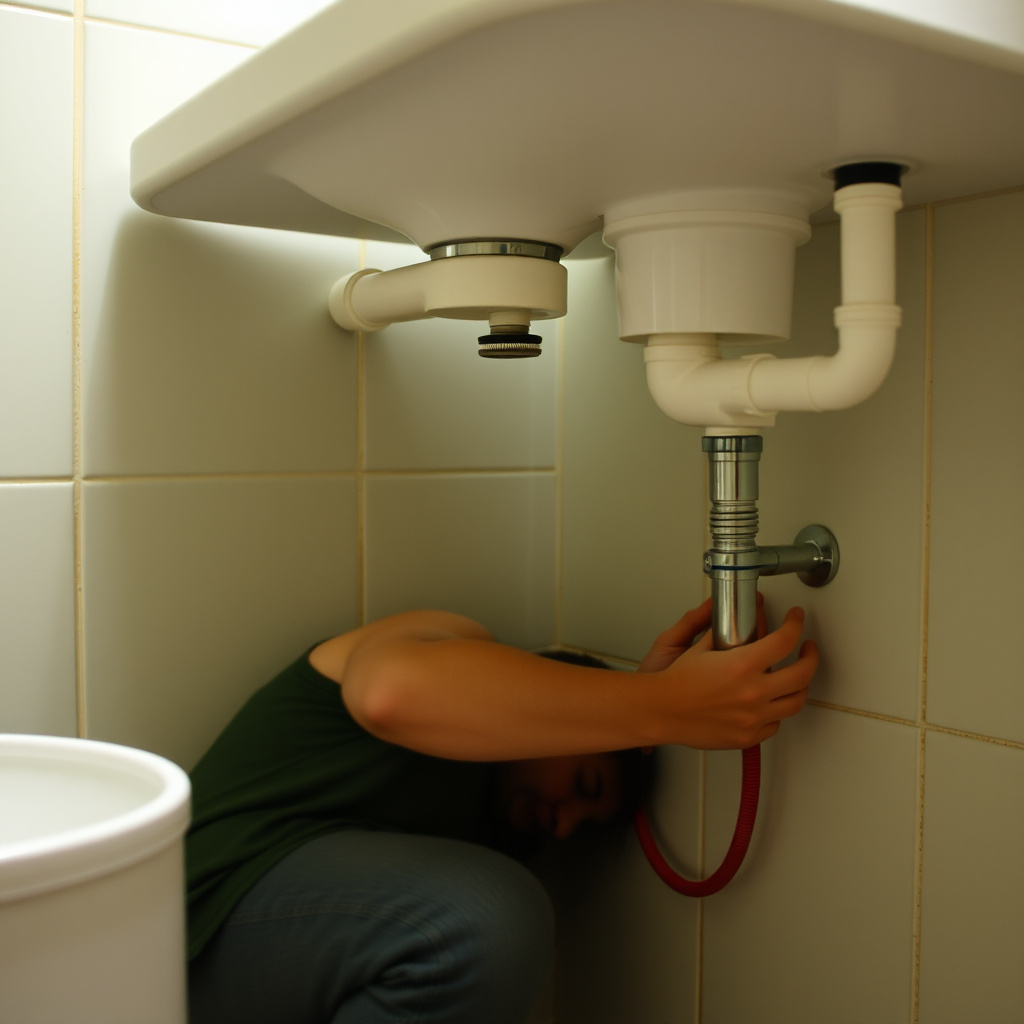
Dealing with tight or corroded nuts
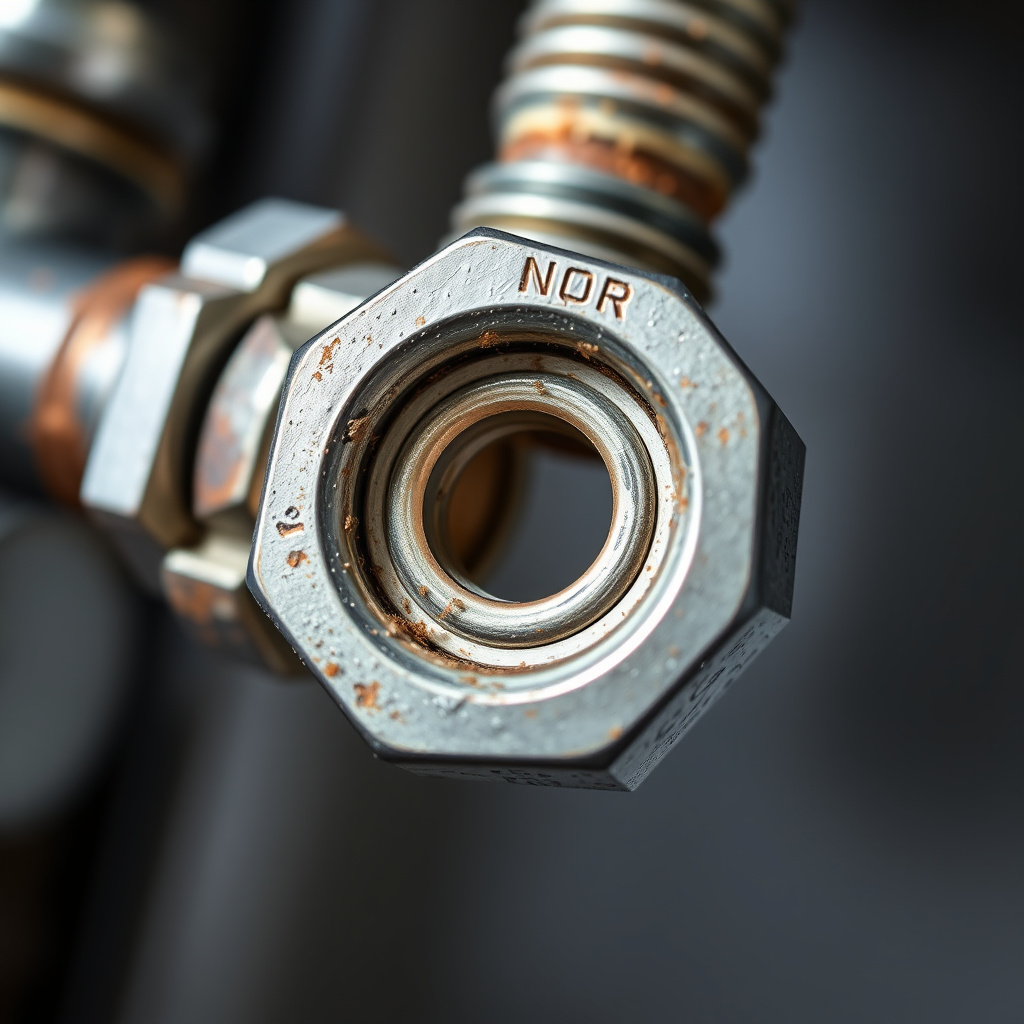
Old faucets often have corroded or rusted nuts making removal difficult. Applying penetrating oil and allowing it to soak can help loosen stubborn fittings.
If a basin wrench cannot reach the nuts, try using a flexible extension or alternative tools designed for tight spaces.
Handling incompatible sink holes
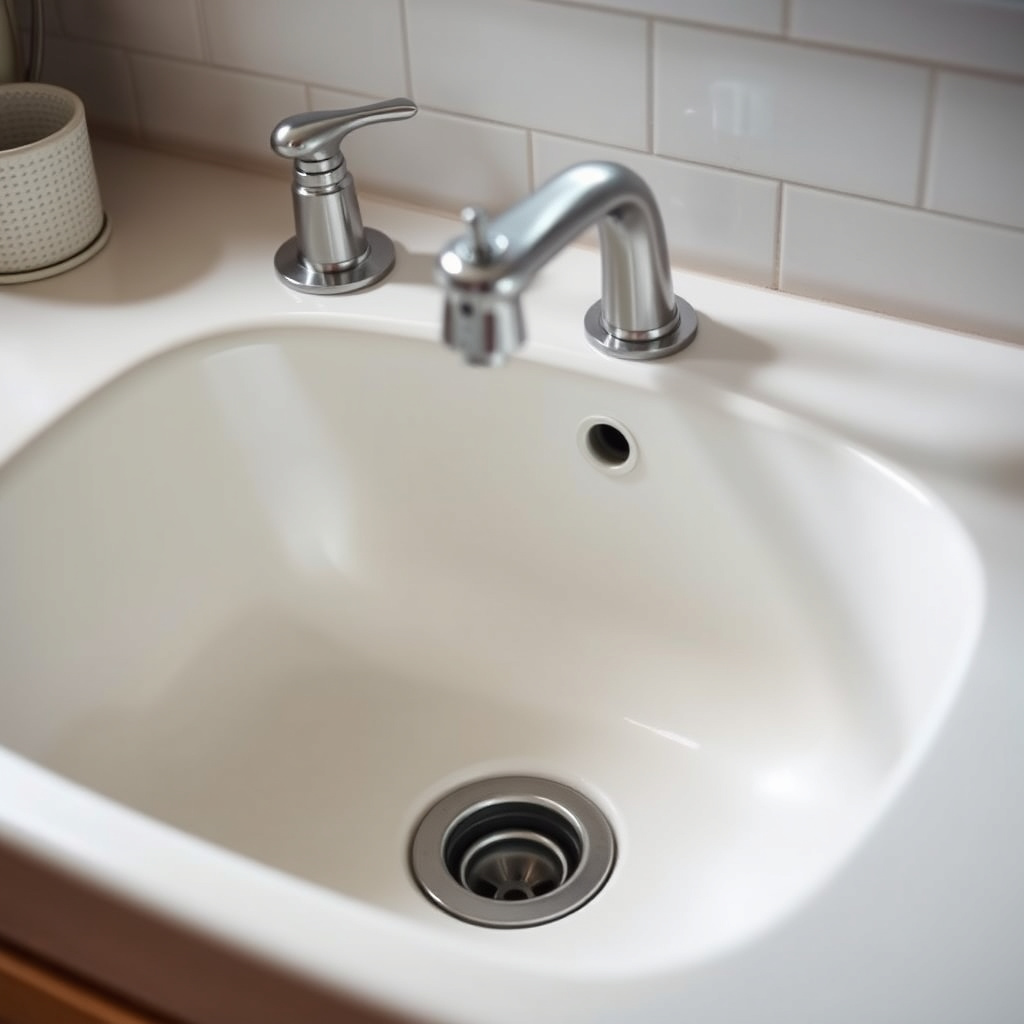
Sinks with an unusual number or size of holes may need an adapter plate or additional drilling for some faucet models.
Carefully measure and consult faucet specifications before purchase to avoid these complications during installation.
Enhancing Your Installation with Additional Features
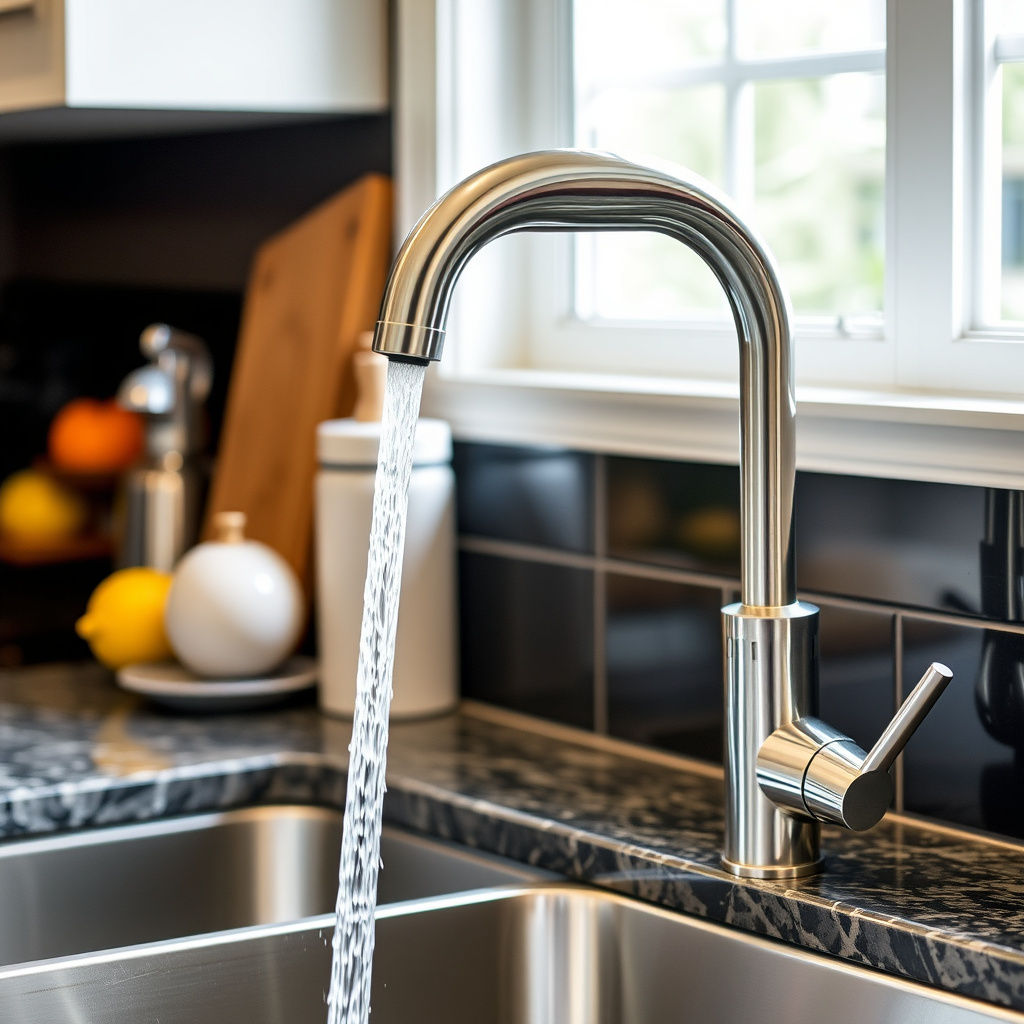
Installing pull-down sprayers and accessories
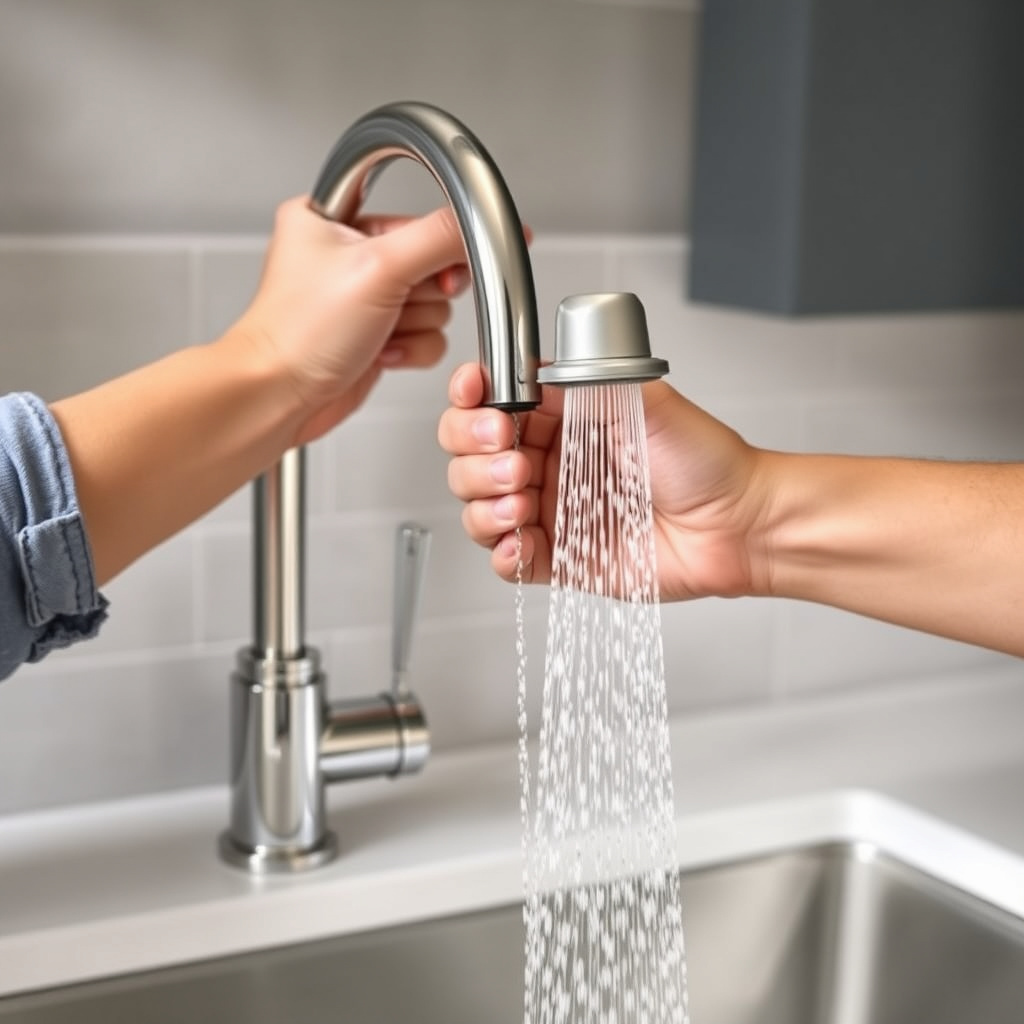
Many modern kitchen faucets include pull-down sprayers for flexible water direction. Install these by connecting the sprayer hose to the faucet body according to manufacturer instructions.
Additional accessories like soap dispensers often share mounting holes, allowing integrated setups that improve kitchen workflow.
For more on this, see our related guide: How to Replace a Kitchen Faucet: A Step-by-Step Guide.
Adding water filtration systems
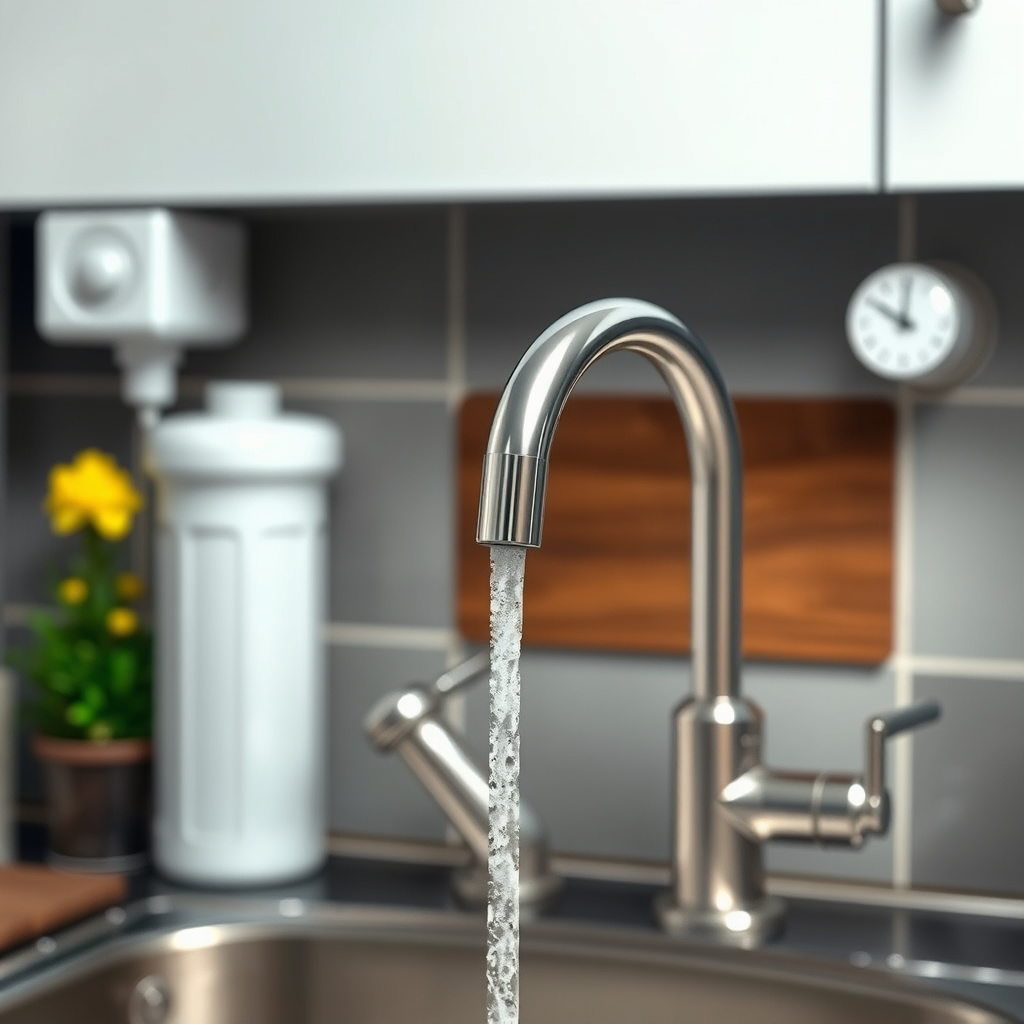
You can integrate water filtration systems directly with your kitchen faucet by installing under-sink filtration units connected to a dedicated faucet or the main spout.
This increases water quality and convenience but requires extra plumbing components and space.
Maintaining Your Kitchen Faucet After Installation
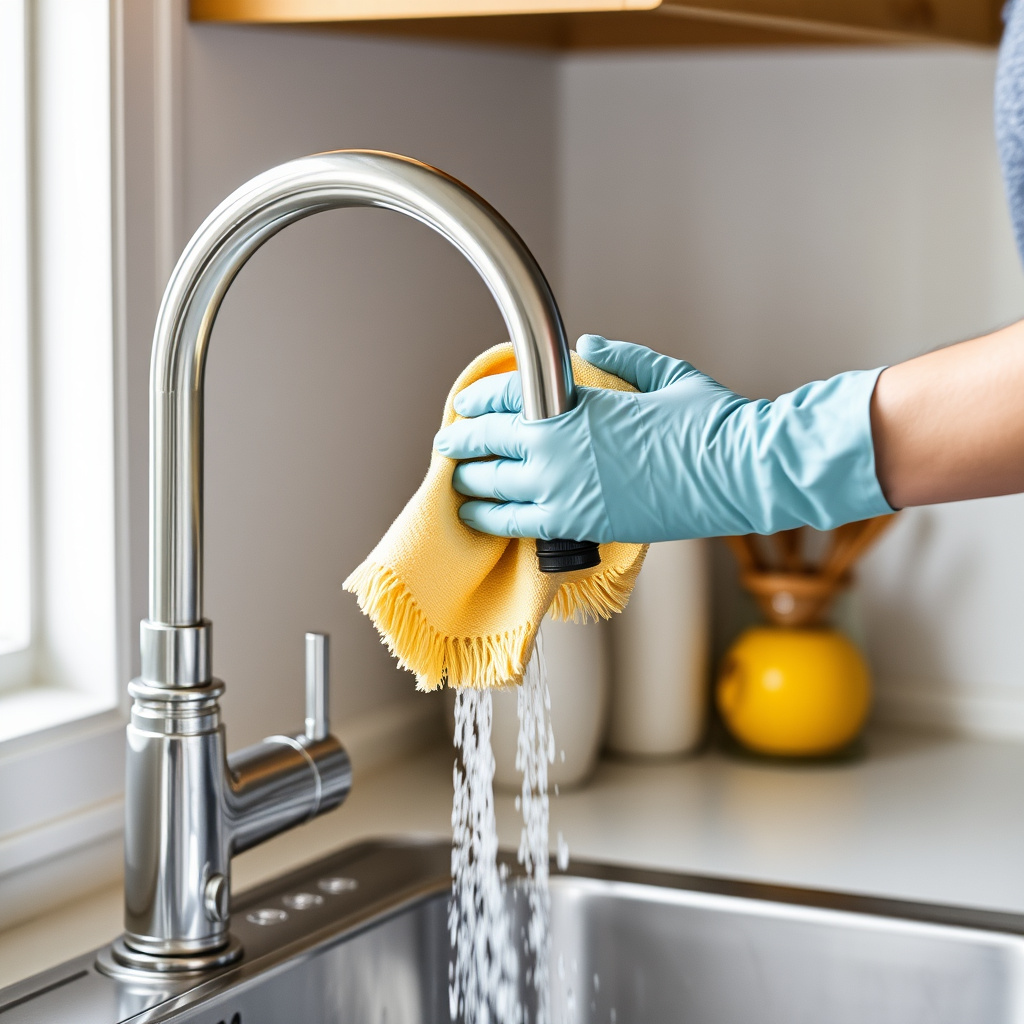
Routine cleaning and upkeep
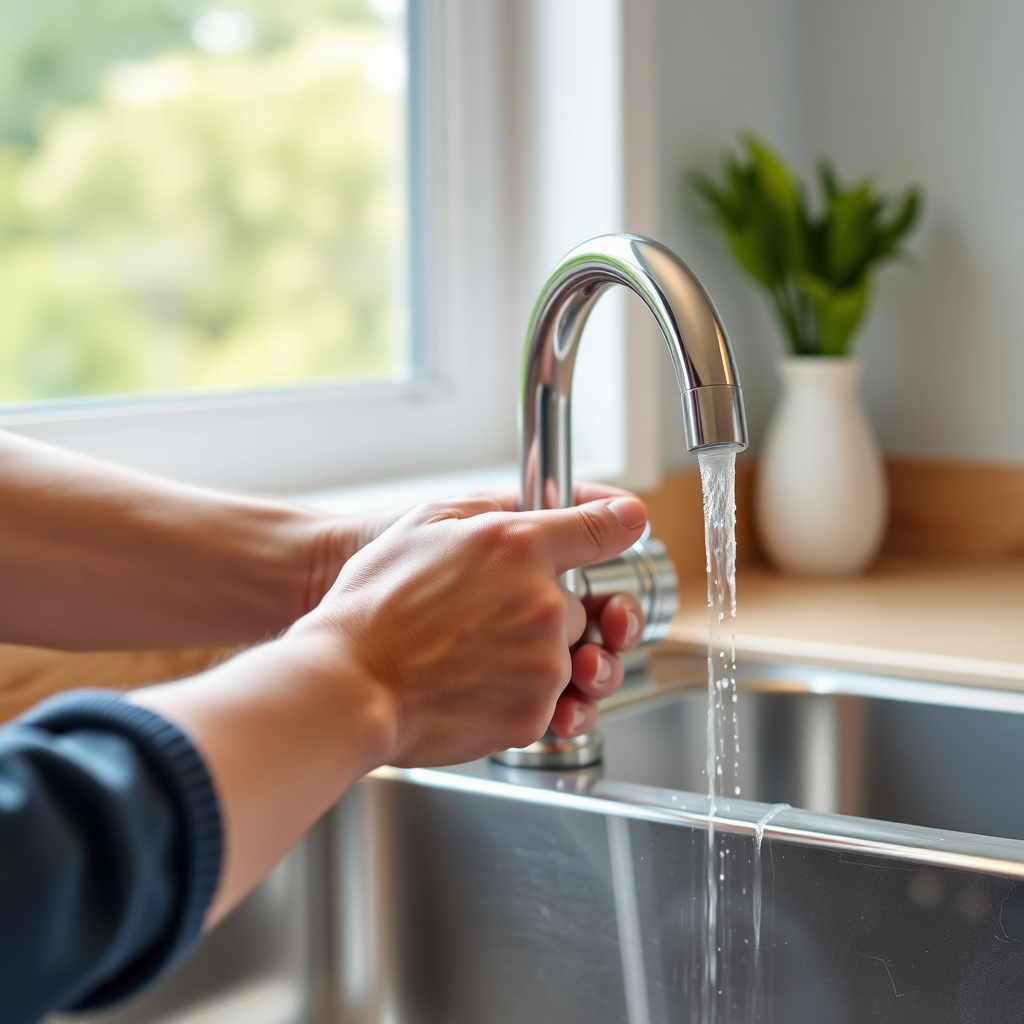
Regularly clean your faucet with mild soap and water to prevent hard water deposits and maintain finish quality.
Avoid abrasive cleaners that can scratch surfaces or damage seals.
For additional understanding of faucet types and installation standards, refer to this kitchen faucet installation details page. kitchen faucet installation details.
Preventing leaks and prolonging life
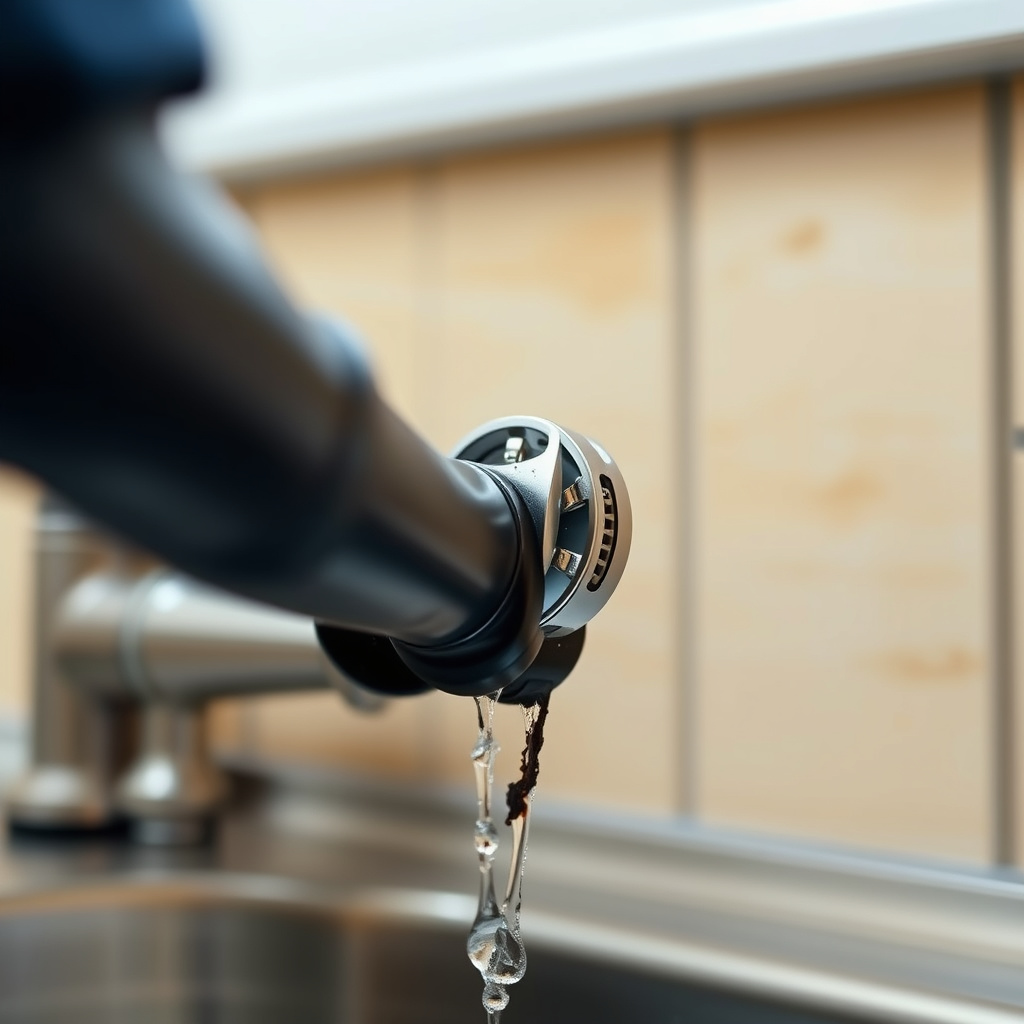
Check supply line connections periodically to catch any leaks early. Replace worn washers or cartridge parts promptly to avoid bigger issues.
Proper maintenance will extend your faucet’s functional life and keep your kitchen running smoothly.
Kitchen Faucet Installation Types Comparison
Here’s a brief comparison of different kitchen faucet types and their typical installation considerations to help guide your choice.
| Faucet Type | Mounting Holes Needed | Installation Complexity | Average Cost Range |
|---|---|---|---|
| Single-hole | 1 | Easy | $100 – $300 |
| Center-set | 3 | Moderate | $120 – $250 |
| Wall-mounted | Varies | High | $200 – $400 |
| Bridge faucet | 3 | Moderate | $150 – $350 |
| Pull-down sprayer faucet | 1-3 | Moderate | $140 – $400 |
Frequently Asked Questions
Can I install a kitchen faucet myself without professional help?
Yes, many kitchen faucet installations are straightforward and can be done by homeowners with basic tools and plumbing knowledge, especially single-hole faucets.
How long does a typical kitchen faucet installation take?
Most kitchen faucet installations take between 30 minutes and an hour, depending on faucet type and sink accessibility.
Do I need to replace the water supply lines when installing a new faucet?
Replacing supply lines is optional but recommended if they are old or damaged to prevent leaks and improve flow.
What should I do if water leaks after installation?
Check all connections for tightness and reapply plumber’s tape if necessary. Tighten fittings carefully to avoid damage.
Is plumber’s tape necessary in faucet installation?
Yes, plumber’s tape helps create a watertight seal on threaded connections to prevent leaks.
Key Takeaways
- Turn off water supply before starting faucet installation.
- Ensure faucet matches sink hole configuration.
- Use plumber’s tape on threaded connections to avoid leaks.
- Test for leaks and proper function after installation.
Conclusion
Approaching kitchen faucet installation methodically makes the task approachable even for those new to plumbing. Understanding the faucet type, assembling the right tools, and following precise steps from shutting off water to securing the fixture is essential. Paying close attention to connection tightness and seals helps prevent leaks and future problems, leading to a durable, reliable installation.
For homeowners preferring simpler setups, single-hole faucets offer easier installation and fewer parts to manage, while those wanting advanced functionality might select pull-down sprayer faucets despite added complexity. Wall-mounted faucets, though stylish, usually require more extensive plumbing knowledge and adjustments. Following kitchen faucet installation tips such as checking compatibility and having proper tools close at hand smooths the process across all types.
After installation, it’s beneficial to perform a thorough leak test and maintain the faucet properly with routine cleaning and periodic checks. Should inexperience make you hesitant, consulting a professional plumber ensures the job is done correctly. Otherwise, tackling your kitchen faucet installation yourself saves money and offers a tangible home improvement accomplishment.