How to Replace a Kitchen Sink: A Step-by-Step Guide
Replacing a kitchen sink involves removing the old sink, disconnecting plumbing, fitting the new sink, and reconnecting water and drain lines correctly. It’s a straightforward project for homeowners comfortable working with basic plumbing tools and can dramatically improve your kitchen’s functionality and appearance.
Kitchens are the heart of the home, and a sink that’s outdated or damaged can hamper daily chores. Whether upgrading to a modern style or fixing leaks, installing a new sink contributes to maintaining a clean, efficient workspace. Doing the job yourself saves money compared to hiring a plumber and deepens your understanding of home maintenance.
This article covers all the essential steps of kitchen sink replacement, including choosing the right sink type, preparing your workspace, removing the old unit, installing the new sink, and ensuring secure plumbing connections. By following these instructions, you can complete the installation safely and reliably for long-lasting results.
Understanding Kitchen Sink Types and Materials
Common Sink Styles
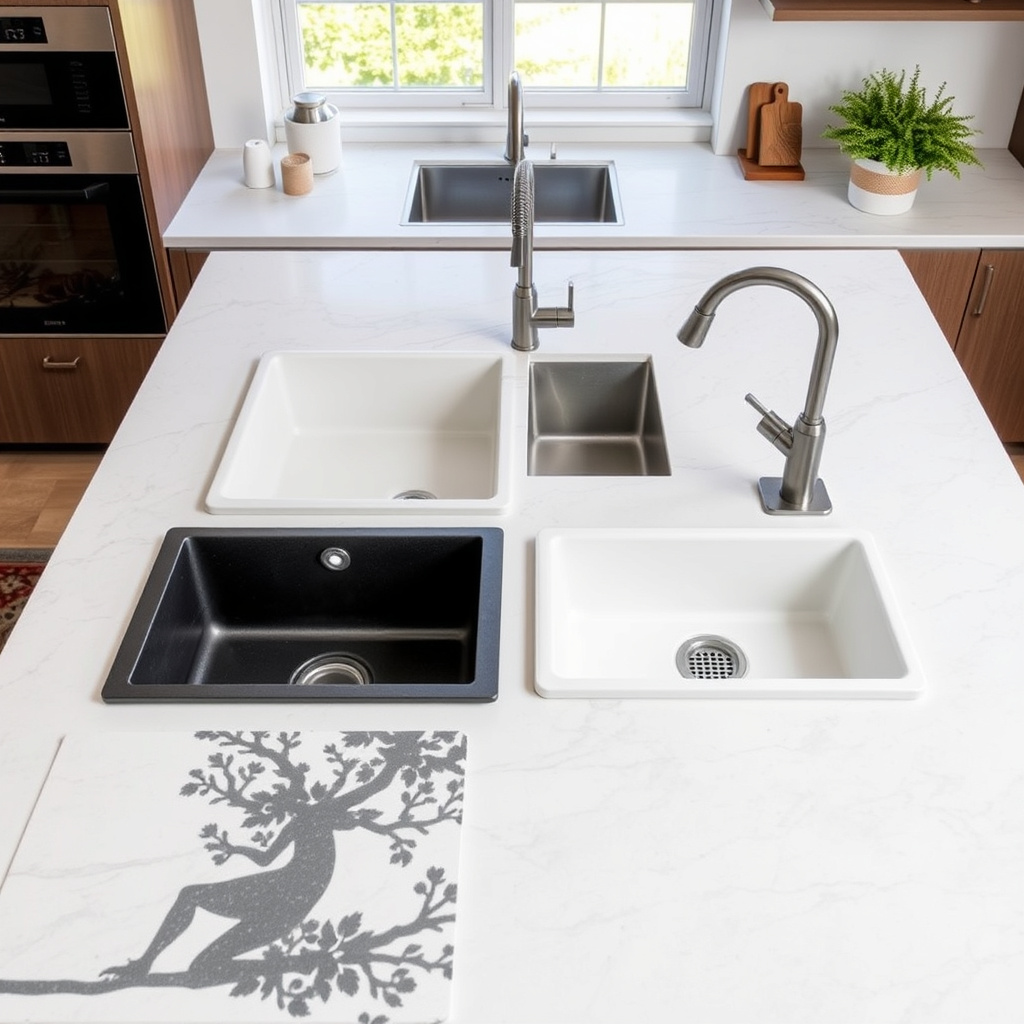
There are several kitchen sink styles including top-mount, undermount, farmhouse, and integrated sinks. Top-mount sinks sit on the countertop and are easiest to install, while undermount sinks are mounted below the counter surface, offering a seamless look but require precise installation.
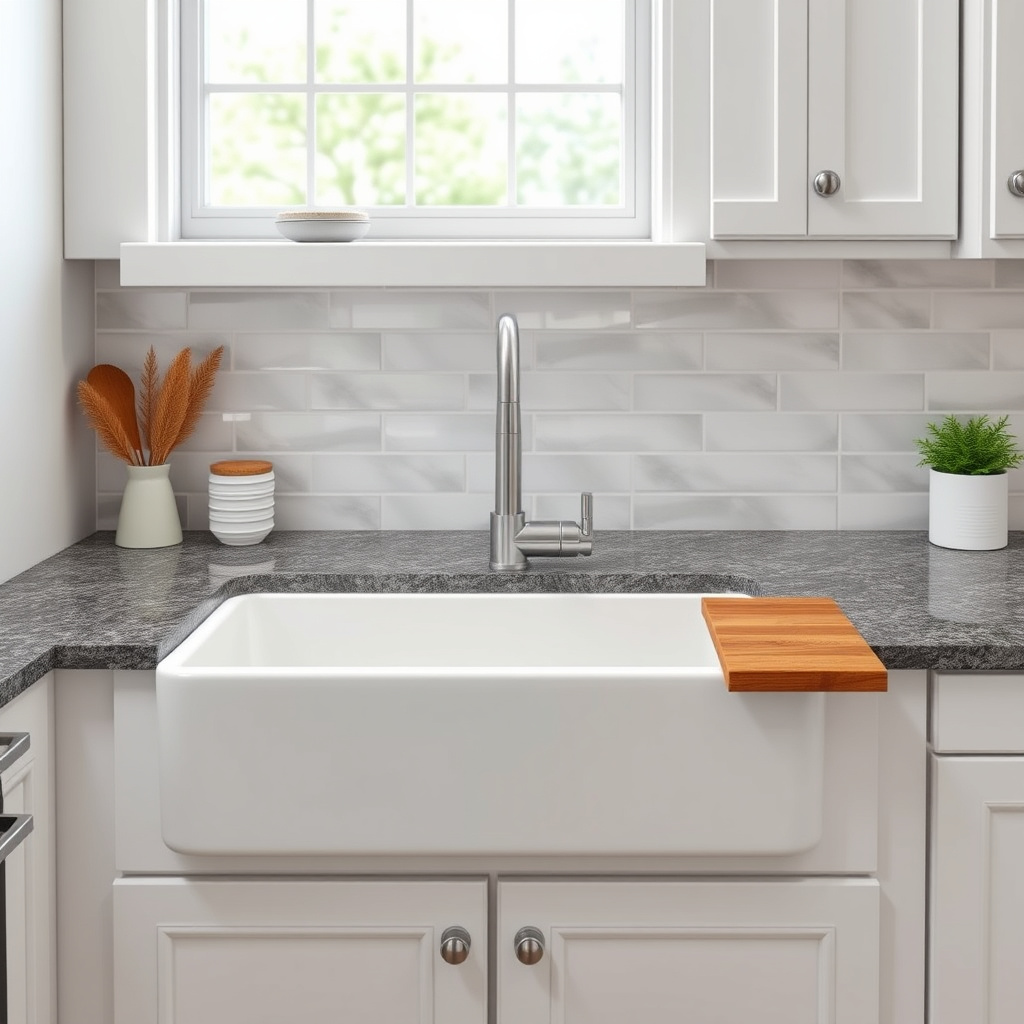
Farmhouse sinks feature a deep basin with a front apron visible beneath the counter, perfect for large pots and pans. Integrated sinks combine the sink and countertop material for a sleek, unified surface. Selecting the style governs how you will approach the replacement process.
- Top-mount (drop-in) sinks
- Undermount sinks
- Farmhouse (apron-front) sinks
- Integrated sinks
Material Choices and Their Impact
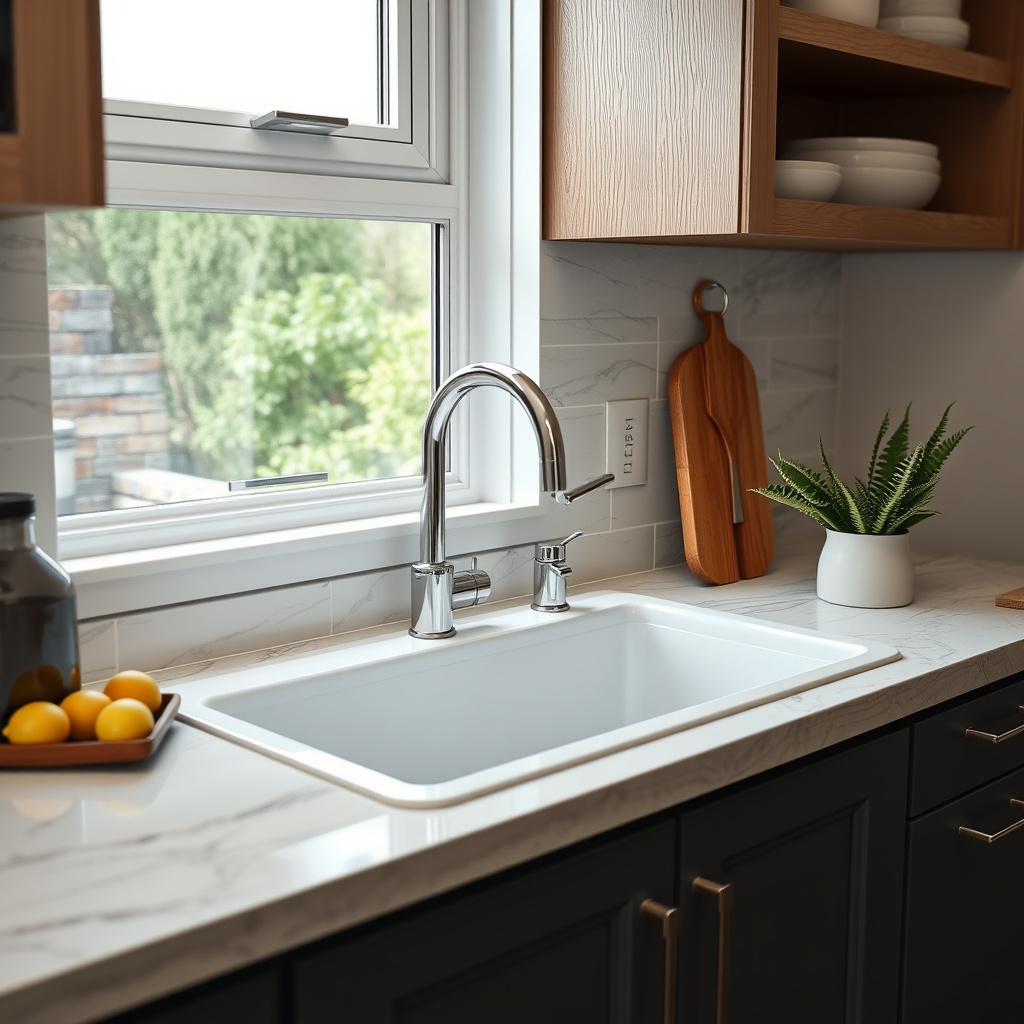
Sink materials range from stainless steel and cast iron to composite granite and fireclay. Stainless steel is durable, corrosion-resistant, and affordable but may show scratches. Cast iron has a strong enamel coating that resists stains but is heavy and requires sturdy support.
Composite granite offers a modern aesthetic with excellent durability against scratches and chips. Fireclay sinks are highly scratch-resistant and appealing but more fragile in case of impact. Your material choice affects durability, maintenance, cost, and installation complexity.
- Stainless steel: lightweight, corrosion-resistant
- Cast iron: durable, heavy
- Composite granite: scratch and stain-resistant
- Fireclay: elegant, fragile
Preparing to Replace Your Kitchen Sink

Gathering Tools and Materials

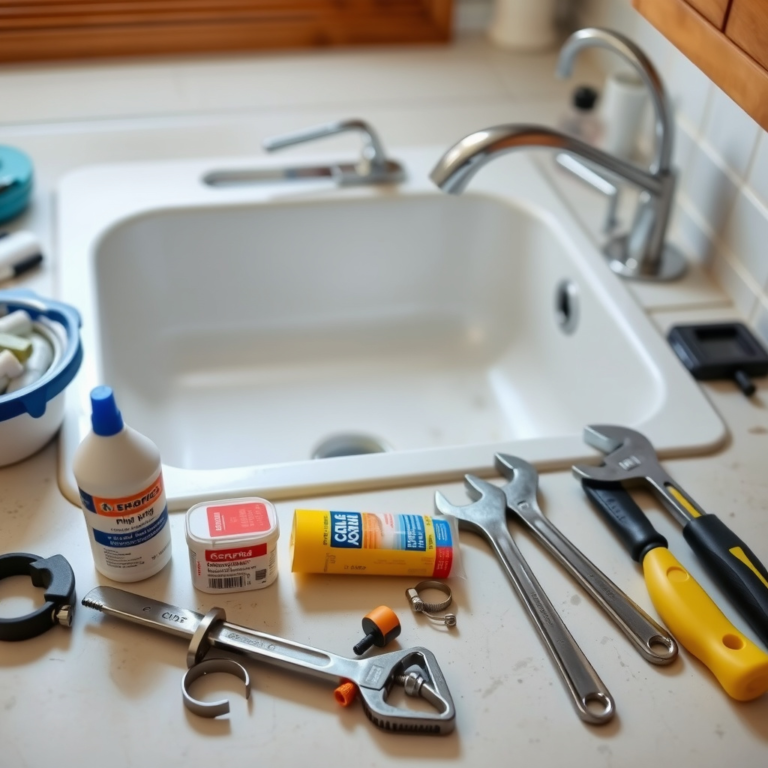
Collect essential tools such as an adjustable wrench, basin wrench, plumber’s putty, silicone sealant, screwdriver, bucket, and towels. You will also need new sink mounting hardware and possibly replacement plumbing fittings depending on your setup.
Having all items on hand before starting helps avoid interruptions during the installation. Check your sink’s instruction manual as it may recommend specific tools or materials.
- Adjustable and basin wrenches
- Plumber’s putty and silicone sealant
- Bucket and towels
- Screwdriver and new mounting clips
For more on this, see our related guide: How to Replace Kitchen Sink: A Step-by-Step Practical Guide.
Shutting Off Water and Disconnecting Plumbing

Turn off both hot and cold water supply valves under the sink to prevent leaks. Open the faucet afterward to release remaining water pressure. Place a bucket beneath the drain pipes to catch any water when disconnecting.
Carefully loosen water supply lines using a wrench, then disconnect the drain trap. These steps create a safe working environment and prepare you for the sink removal phase.
Removing the Old Kitchen Sink
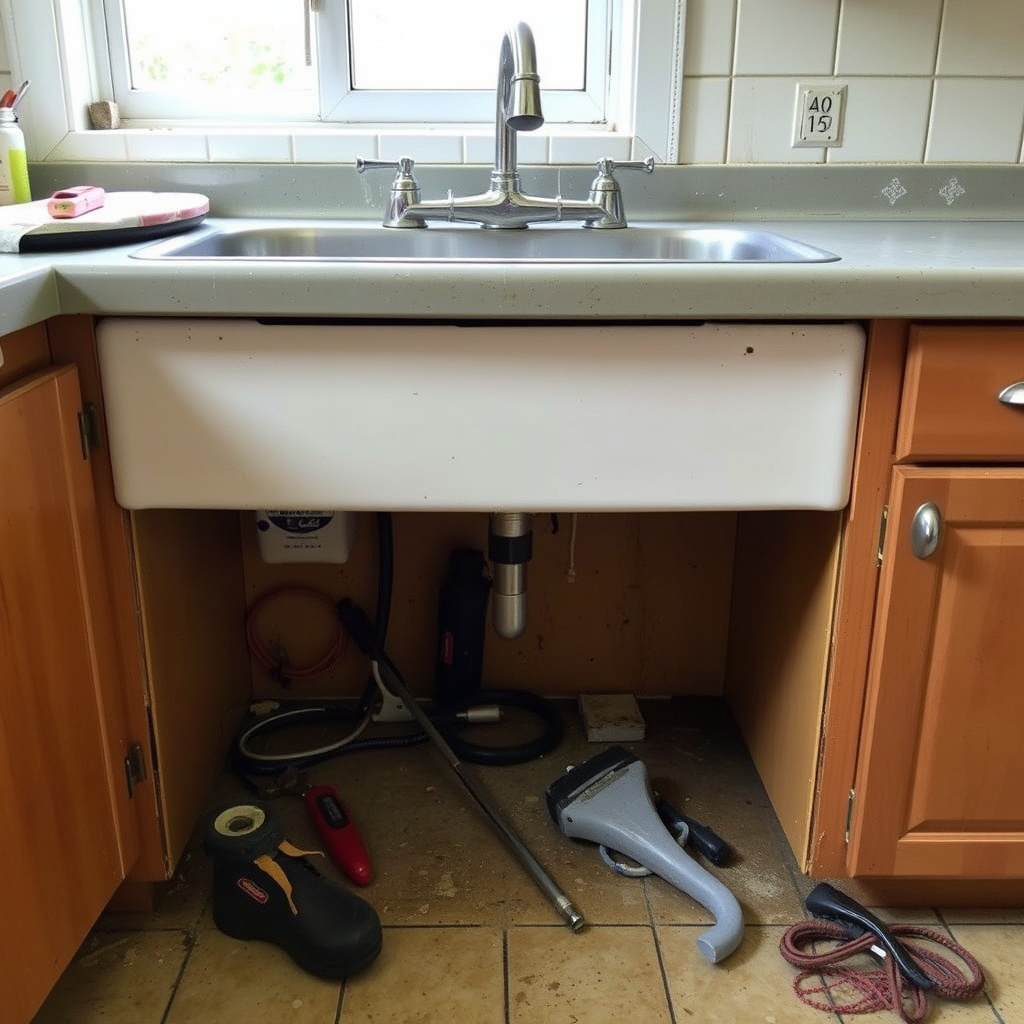
Detaching Sink from Countertop
Locate and remove mounting clips or screws that hold the sink to the countertop. Use a putty knife or utility knife to cut through sealant or caulk sealing the sink edges. Gently lift the sink out, taking care not to damage surrounding countertops or cabinets.
Depending on your sink style, removal may require accessing clips from below the counter. An assistant can be helpful for heavy sinks or awkward angles.
Cleaning and Inspecting the Countertop
Once the sink is removed, thoroughly clean the countertop surface to remove old sealants, debris, or residue. Inspect the area for water damage or structural issues that might require repair before installing the new sink.
Smooth surfaces are vital for proper sealing to avoid leaks. Use mild cleaners and light sanding if necessary to prepare the surface.
Installing a New Kitchen Sink

Fitting and Securing the Sink
Apply plumber’s putty or recommended sealant around the sink rim. Position the sink carefully into the countertop opening, pressing firmly to create a watertight seal. Reattach mounting clips or brackets underneath the counter and tighten securely without over-tightening.
Confirm the sink sits evenly and adjust the positioning before the putty sets. Follow manufacturer guidelines especially for undermount or farmhouse models, which may require additional support.
For more on this, see our related guide: How to Remodel a Kitchen: A Practical Guide to Modernizing Your Space.
Connecting Faucet and Drain Plumbing
Reconnect water supply lines to the faucet, tightening connections with a wrench but avoiding overtightening. Reassemble the drain trap and pipes, checking for any worn washers or seals and replacing them if needed.
Test all connections by turning on water supply and inspecting for leaks. Tighten connections or reapply sealant if leaks appear to ensure a secure and functional kitchen sink installation.
Final Checks and Maintenance Tips
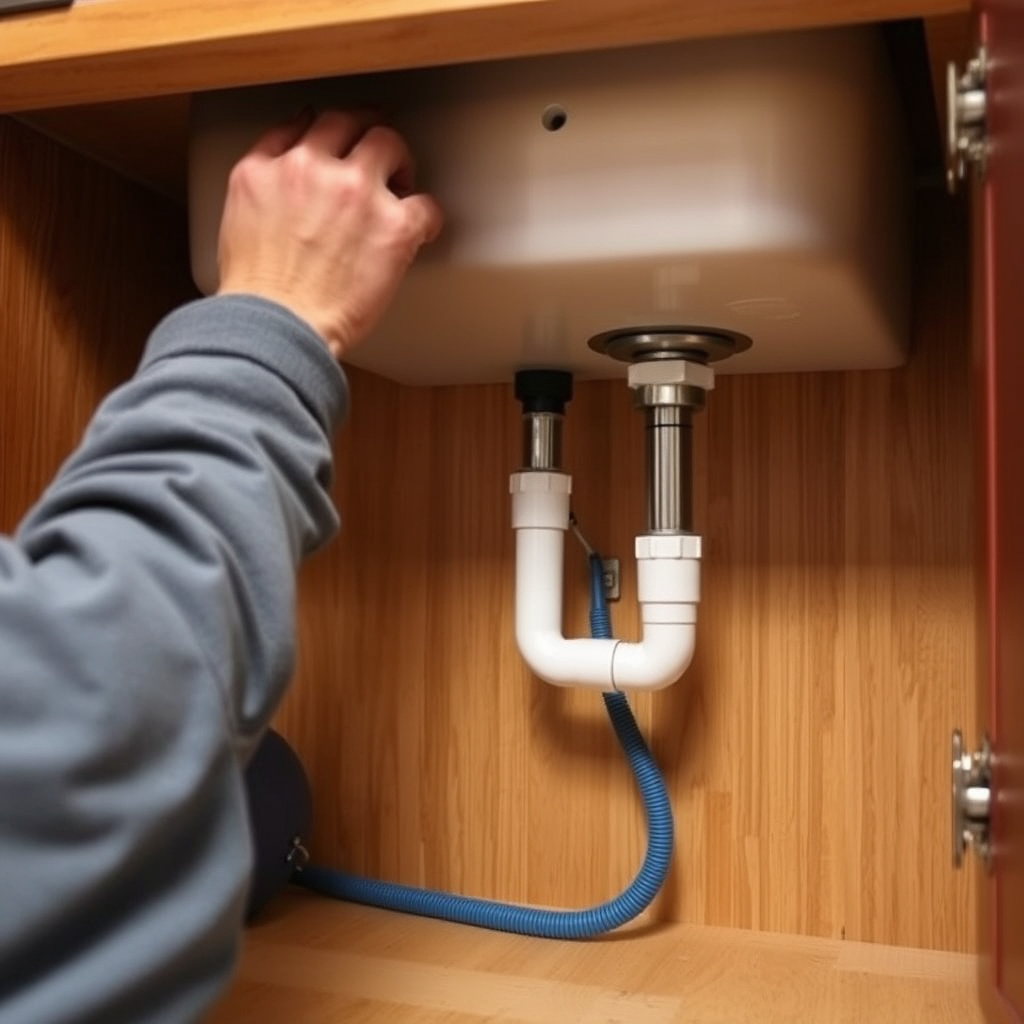
Leak Testing and Adjustments
After installation, run water at full pressure and observe all joints for drips. Tighten or reseal as necessary. Drain the sink fully to check the drain system for smooth flow and absence of leaks or blockages.
Ensure the faucet operates smoothly in all positions and that mounting hardware remains tight over time to prevent loosening.
For additional detailed information on kitchen sinks and their variations, the kitchen sink article on Wikipedia offers a comprehensive overview. kitchen sink article on Wikipedia.
Maintaining Your New Kitchen Sink
Regular cleaning with non-abrasive cleaners preserves the sink’s finish and prevents buildup. Avoid harsh chemicals that could damage seals or materials. Periodically inspect plumbing underneath for drips or signs of corrosion.
Proper use and maintenance extend the sink’s lifespan and keep your kitchen pleasant and functional.
- Use mild cleaners regularly
- Avoid abrasive pads and harsh chemicals
- Check plumbing connections every few months
Kitchen Sink Replacement Options Comparison
Here’s a comparison of popular kitchen sink styles and materials to help decide which fits your needs best.
| Category | Ease of Installation | Durability | Cost Range | Maintenance |
|---|---|---|---|---|
| Top-Mount Stainless Steel | Easy | High | $100-$300 | Low |
| Undermount Composite Granite | Moderate | Very High | $300-$700 | Moderate |
| Farmhouse Fireclay | Difficult | High | $600-$1200 | Low |
| Integrated Sink and Countertop | Difficult | High | $800-$1500 | Low |
Frequently Asked Questions
How long does it typically take to replace a kitchen sink?
A straightforward kitchen sink replacement can take 2 to 4 hours depending on sink type and plumbing complexity.
Do I need to hire a professional plumber for sink replacement?
If you have basic plumbing skills and proper tools, you can replace most sinks yourself; otherwise, hiring a plumber ensures correct installation.
Can I reuse my old faucet when installing a new sink?
Yes, as long as the faucet fits the new sink’s mounting holes and is in good working order.
What is the best sink material for durability?
Composite granite and cast iron sinks generally offer excellent durability; stainless steel is also durable but may scratch more easily.
How do I avoid leaks after installing a new kitchen sink?
Use proper sealants during installation, tighten fittings securely, and test all plumbing connections thoroughly before finishing.
Key Takeaways
- Choose sink style and material based on needs and installation complexity.
- Prepare tools and workspace before removing the old sink.
- Apply sealant carefully and secure mounting hardware during installation.
- Test plumbing connections thoroughly for leaks after replacement.
Conclusion
Replacing a kitchen sink combines practical skills with careful planning. By understanding the different sink types and materials, preparing your workspace with the right tools, and following systematic steps for removal and installation, you gain confidence and achieve professional-quality results. This hands-on project not only improves your kitchen’s function but can also elevate its style and value.
If you prefer simplicity, top-mount stainless steel sinks offer easy installation and reliable performance on a budget, making them ideal for many homeowners. For a more lasting and elegant appearance, undermount composite granite or farmhouse fireclay sinks suit larger renovation projects where aesthetics and durability are priorities. Considering your countertop type and plumbing setup will also guide your decision, helping you select a sink that integrates seamlessly.
Starting with a thorough plan and gathering all necessary materials before work begins keeps the process smooth. If challenges arise or you feel unsure about plumbing reconnections, consulting a professional plumber can save time and prevent costly mistakes. Ultimately, with patience and attention to detail, replacing your kitchen sink becomes an achievable project that revitalizes your kitchen space.