How to Install a Kitchen Sink: Step-by-Step Guide for a Smooth Setup
Installing a kitchen sink involves preparing the countertop, fitting the sink, securing it properly, and connecting the plumbing. The process can be tackled by a homeowner with basic tools and some patience, provided you follow clear steps to avoid leaks and ensure stability. Proper installation includes sealing around the sink and connecting water supply and drainage lines correctly.
Many prefer to upgrade or replace their kitchen sink to improve aesthetics or functionality, and doing it yourself saves money and allows customization. However, improper installation can lead to water damage or costly repairs, which is why careful preparation and methodical work matter for a long-lasting, well-functioning kitchen sink.
This article will guide you through every stage of kitchen sink installation—from selecting compatible parts to plumbing connections, sealing, and final checks—helping you feel confident throughout the process.
Preparing for Kitchen Sink Installation
Measuring and Selecting the Right Sink
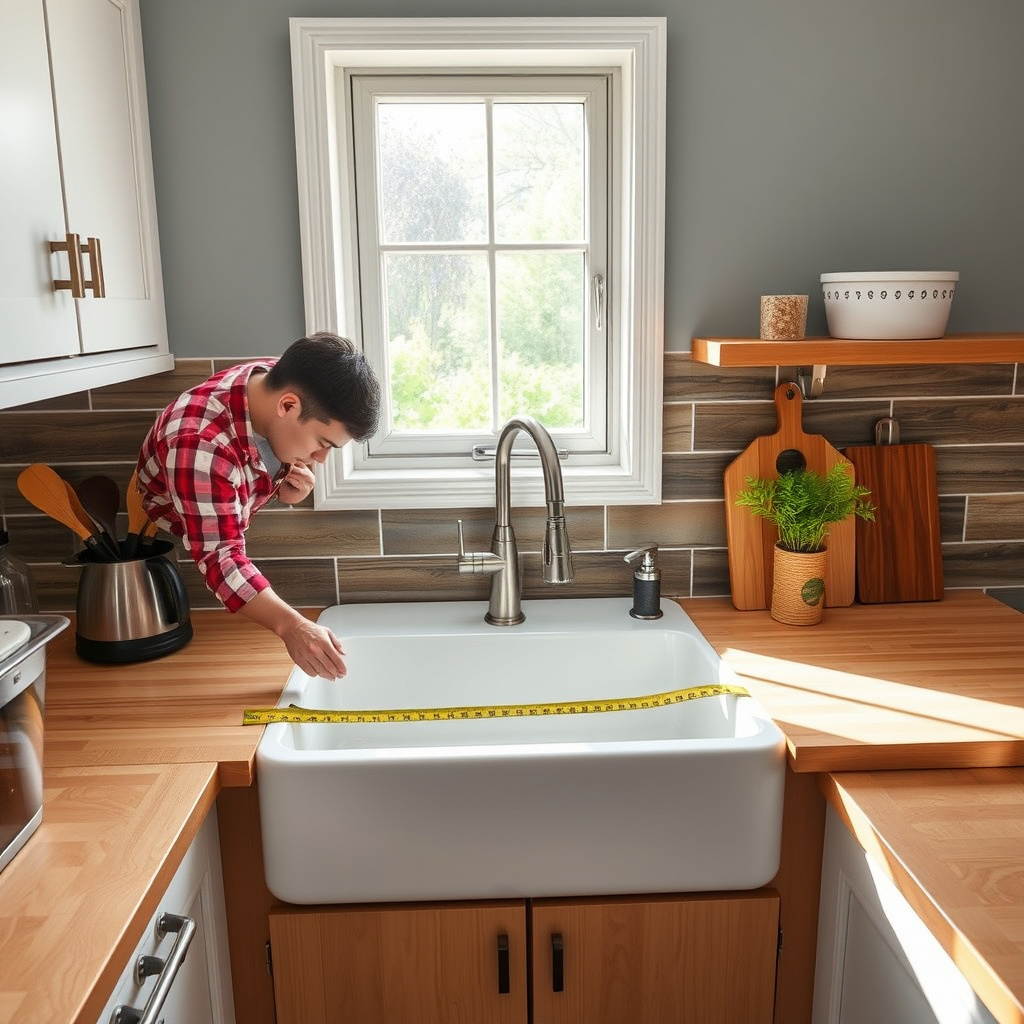
Start by measuring the existing countertop cutout or planning the new cut based on your sink size. Make sure the sink dimensions match your cabinet width and countertop thickness, allowing enough clearance for faucet and drain installation.
Consider the sink material and style to fit your kitchen's design and practical needs. Stainless steel is popular for durability and maintenance simplicity, while composite granite offers aesthetic appeal but requires different sealing techniques.
- Measure width, length, and depth of cutout
- Check cabinet opening width
- Plan faucet placement in relation to sink rim
Gathering Tools and Plumbing Materials

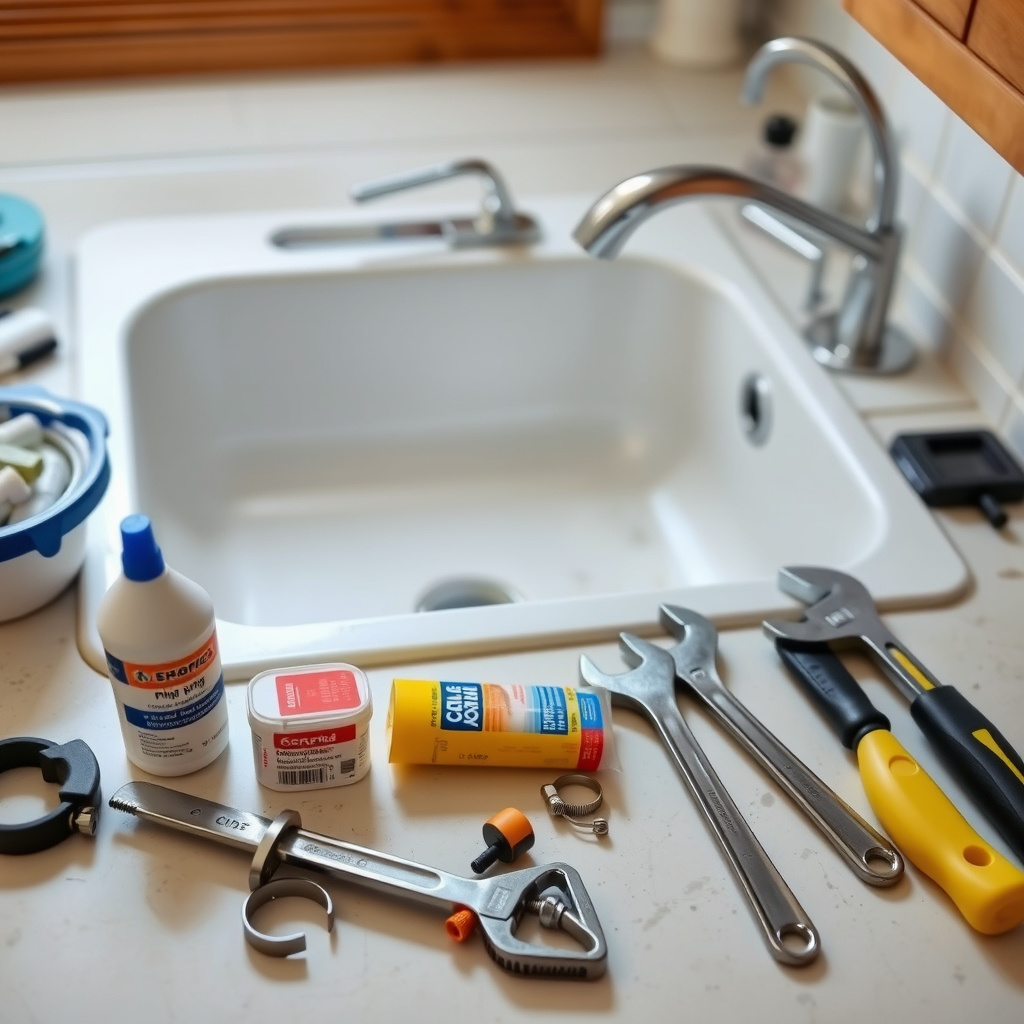
Prepare all necessary components: the sink unit, mounting clips or brackets, plumber’s putty or silicone sealant, water supply lines, P-trap, and drain assembly. Having these organized saves time during installation.
Typical tools include an adjustable wrench, screwdriver, pipe wrench, utility knife, measuring tape, and silicone gun. Confirm your workspace is clear, and turn off water supply valves before starting.
- Adjustable wrench
- Plumber’s putty or silicone sealant
- Pipe wrench
- Bucket to catch water
Installing the Kitchen Sink Properly
Setting the Sink into the Countertop
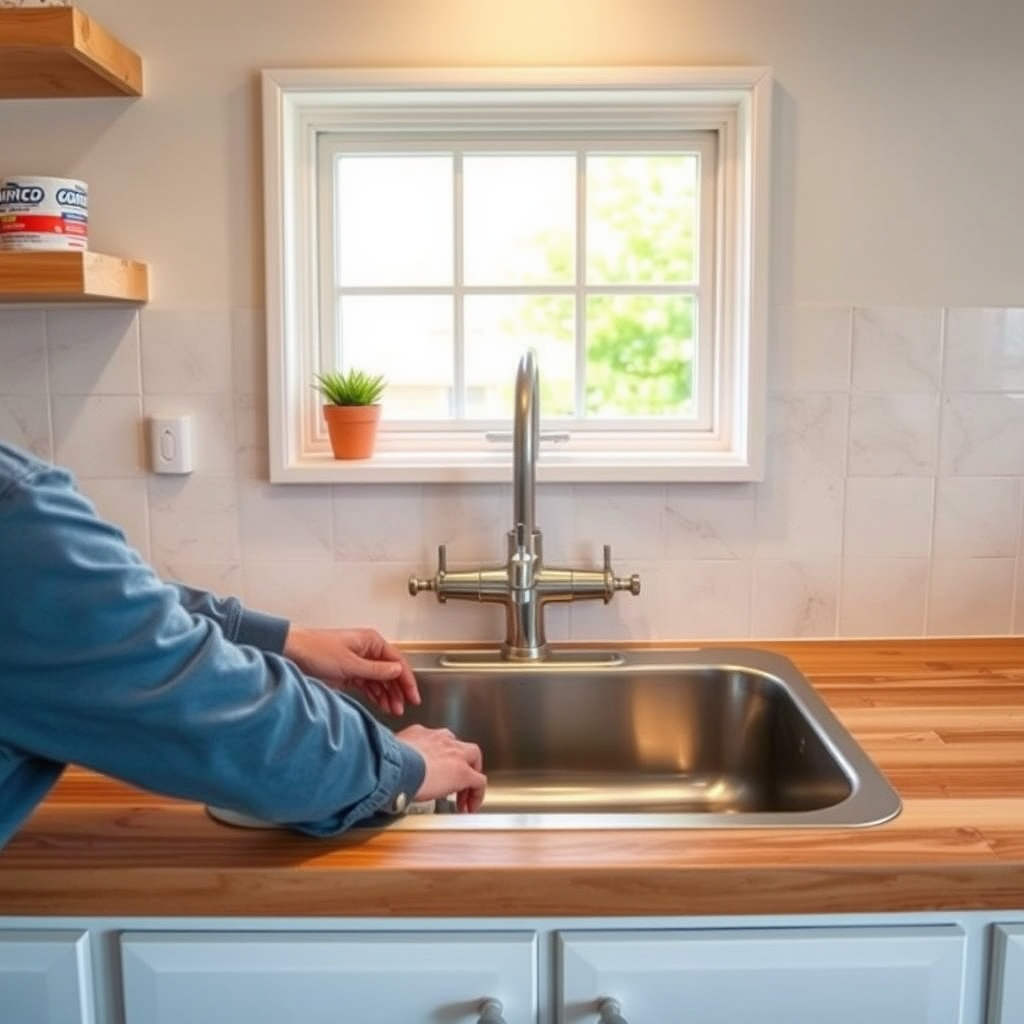
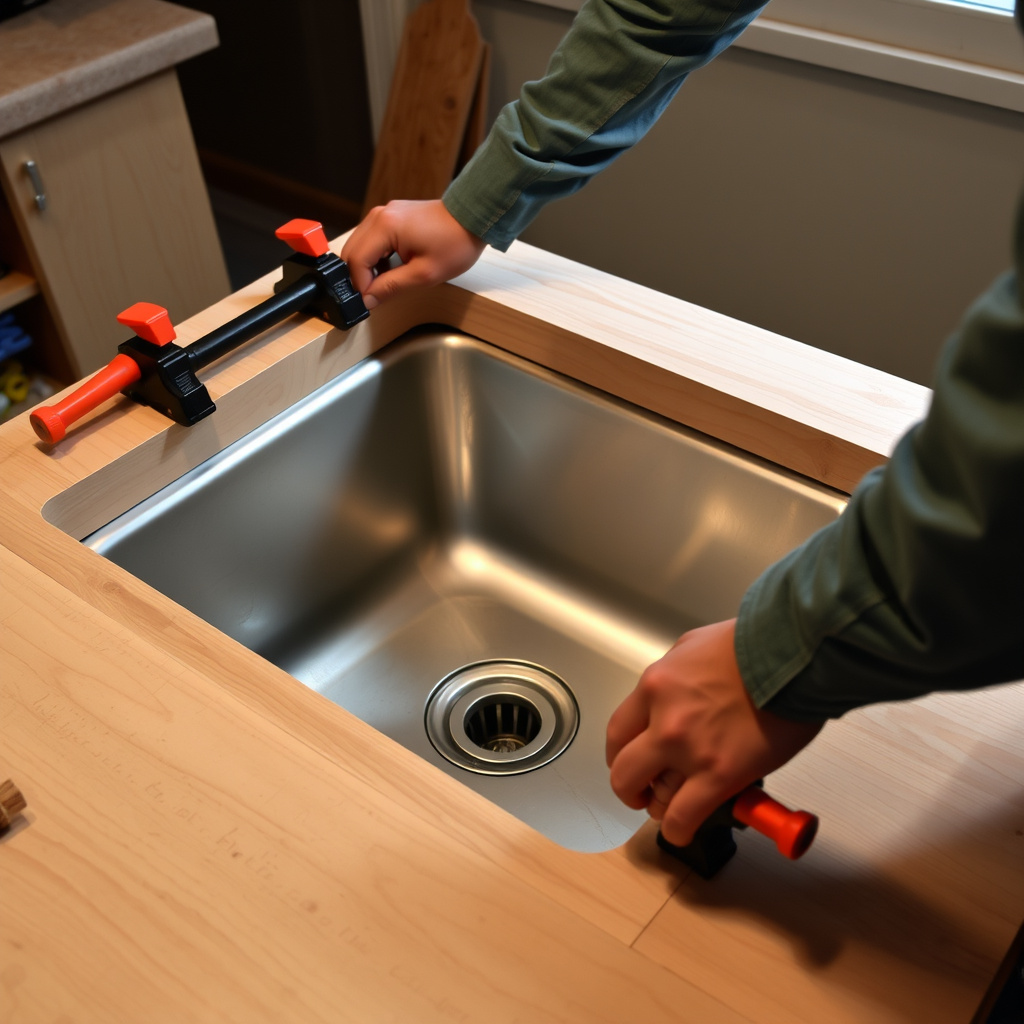
Apply a bead of plumber’s putty or silicone around the edge of the sink flange to form a waterproof seal. Lower the sink carefully into the countertop cutout ensuring it sits flush and centered.
From beneath the countertop, attach mounting clips or brackets to hold the sink firmly in place. Tighten these evenly to avoid warping the sink edge or countertop.
- Apply sealing putty around sink rim
- Lower sink into place carefully
- Secure with mounting clips evenly
For more on this, see our related guide: How to Remove a Kitchen Faucet: Step-by-Step Guide.
Connecting the Drain and Water Lines

Install the drain assembly by fitting the basket strainer and tightening the locknut underneath. Use plumber’s putty under the drain flange for a watertight seal. Next, connect P-trap piping aligning it with your home's drain line.
Attach water supply lines to the faucet valves, ensuring tight connections without overtightening to prevent damage. Turn on water and check for leaks by running both hot and cold water.
- Use putty on drain flange
- Tighten locknuts securely
- Connect water supply hoses carefully
Sealing, Testing, and Final Adjustments
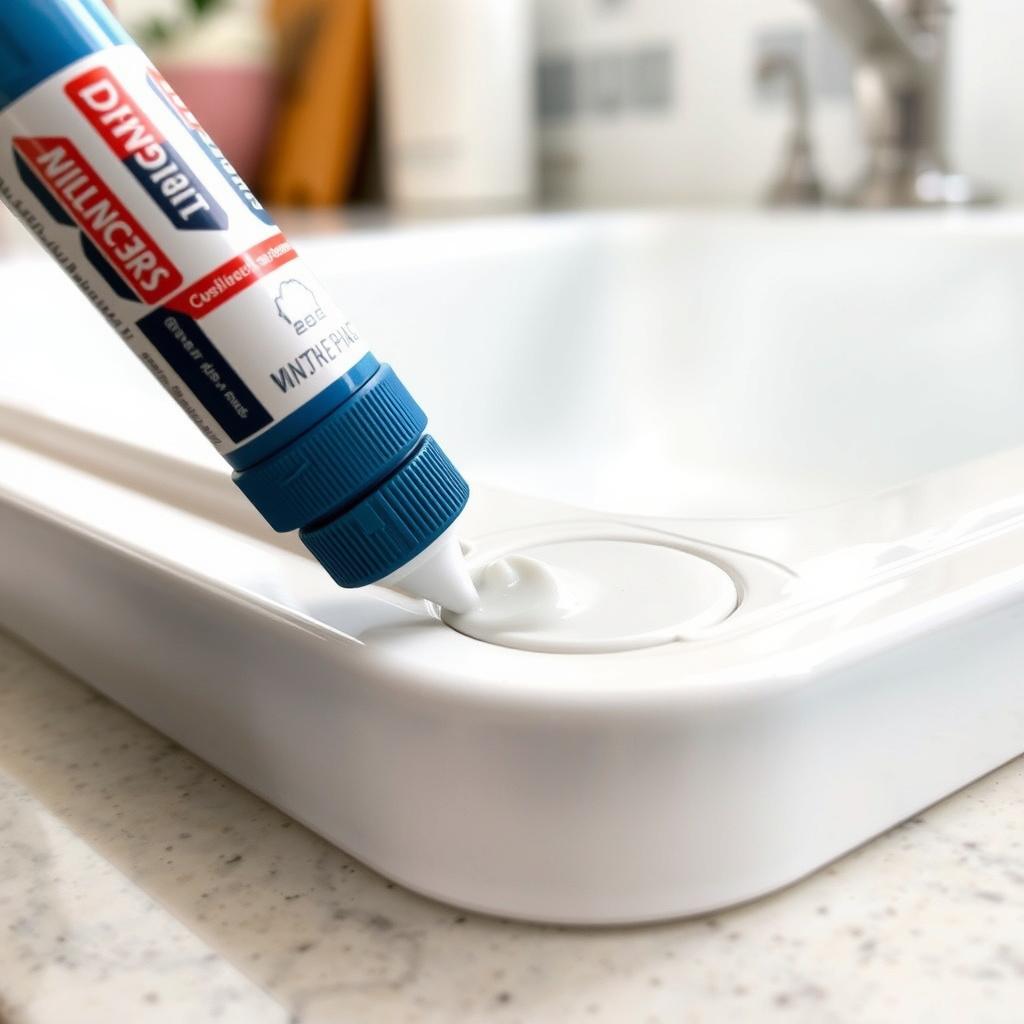
Sealing the Sink Edges
After securing the sink, apply a continuous bead of silicone sealant around the perimeter between the sink and countertop. Smooth the bead with a finger or tool to prevent water infiltration underneath the sink.
Allow the sealant to cure fully as per manufacturer instructions before exposing the area to water or cleaning. This step is essential to prevent moisture damage and maintain your kitchen’s integrity.
- Apply silicone sealant evenly
- Smooth sealant for clean finish
- Let cure for recommended time
Testing for Leaks and Functionality
Once the seal is cured, restore water supply and run water from the faucet through hot and cold settings. Observe all drain and supply connections for drips or leaks, tightening fittings slightly if needed.
Check that the sink basin drains properly without standing water or unusual noises. Make final adjustments to plumbing or fasteners if any issues arise.
- Inspect all joints carefully
- Test water flow and drainage
- Adjust as needed for leak-free operation
Troubleshooting Common Kitchen Sink Installation Issues

Dealing with Leaks Around Fixtures
Leaks frequently occur from poor sealant application or loose connections. Remove any old putty, clean surfaces thoroughly, and reapply new sealant or tighten fittings.
If leaks persist at the drain, check for cracks or warping in the basket strainer or gasket and replace defective parts promptly to avoid water damage.
- Re-clean and reseal leaking joints
- Tighten or replace faulty fittings
- Inspect and replace damaged gaskets
For more on this, see our related guide: How to Change Kitchen Faucet: Step-by-Step Guide for a Smooth Installation.
Fixing Drainage Problems
Slow drainage often signals misaligned P-trap or partial blockages. Adjust the pipes to ensure a steady downward slope and clear any debris inside the trap.
Verify the venting system of the drain to prevent vacuum locks that impede water flow, which may require professional assessment if airflow is restricted.
- Align P-trap slope correctly
- Clear debris from pipes
- Check venting for proper airflow
Maintenance Tips for Long-Term Kitchen Sink Performance
Routine Cleaning and Care
Regularly clean your sink with mild soap and water to prevent buildup of grime or hard water stains. Avoid harsh chemicals or abrasive pads that can damage the sink surface.
Wiping down the faucet and drain area prevents mineral deposits and maintains appearance. Using a sink mat can protect against scratches and dents in stainless steel or composite surfaces.
- Use mild cleaning agents
- Dry surfaces after use
- Use mats to protect sink base
For a broader understanding, you can explore the general principles of kitchen sink installation on the Wikipedia page dedicated to sinks. kitchen sink installation.
Periodic Plumbing Checks
Inspect visible plumbing connections monthly to catch minor leaks early. Tighten any loose connections and replace worn washers or gaskets to maintain water-tight seals.
Flush drains with baking soda and vinegar to reduce clog risks. If slow drainage recurs, consider a professional plumbing inspection to prevent major blockages or pipe damage.
- Regularly tighten fittings
- Use natural flushes for drains
- Schedule professional inspections if needed
Kitchen Sink Installation Methods Comparison
The table below compares various kitchen sink installation types to help you decide which fits your kitchen and skill level best.
| Installation Type | Installation Complexity | Cost Range | Durability | Common Materials |
|---|---|---|---|---|
| Top-Mount (Drop-In) | Low | $50 – $250 | Good | Stainless steel, Composite |
| Undermount | Medium | $150 – $500 | High | Granite, Stainless steel |
| Farmhouse (Apron Front) | High | $200 – $700 | High | Fireclay, Stainless steel |
| Integrated Sink and Countertop | High | $400 – $1000+ | Very High | Solid surface, Quartz |
Frequently Asked Questions
Can I install a kitchen sink myself without plumbing experience?
Yes, installing a kitchen sink is manageable with basic tools and careful attention to plumbing connections, but complex issues may require professional help.
What sealant should I use when installing a kitchen sink?
Silicone sealant or plumber’s putty is commonly used to create waterproof seals between the sink flange and countertop.
How do I prevent leaks after installing a kitchen sink?
Tighten all connections evenly, use proper sealants, and test thoroughly for leaks by running water and observing plumbing joints.
How often should I check the plumbing under my kitchen sink?
Monthly inspections are advisable to catch drips or loose fittings early and maintain a leak-free system.
Is an undermount sink harder to install than a top-mount sink?
Undermount sinks typically require more precision and labor, including countertop modifications, making them more challenging than top-mount installations.
Key Takeaways
- Measure carefully to choose the right sink size and type.
- Gather all tools and materials before beginning installation.
- Proper sealing and plumbing connections prevent leaks.
- Regular maintenance extends sink and plumbing longevity.
Conclusion
Installing a kitchen sink is a practical home improvement task that combines carpentry, plumbing, and sealing skills. To make a confident decision, focus on accurate measurements, selecting appropriate sink styles, and preparing your workspace thoroughly. Following step-by-step instructions helps avoid common pitfalls like poor sealing or loose connections.
Depending on your kitchen’s layout and your comfort with tools, a top-mount sink installation is generally simpler and budget-friendly, while undermount, farmhouse, or integrated sinks offer aesthetic advantages with greater installation effort. For those less experienced, consulting a professional plumber or handyman can save time and prevent damage.
After installation, prioritize checking for leaks and maintaining seals regularly with the kitchen sink installation tips noted here. With patience and attention, you can achieve a durable, attractive sink setup that enhances both your kitchen’s function and look.