How to Fix a Leaky Kitchen Faucet: A Step-by-Step Guide
Fixing a leaky kitchen faucet is straightforward and can often be completed with just a few tools. The most common cause is worn-out washers or seals that need replacement. By identifying the faucet type and following the basic disassembly steps, you can stop the leak promptly and avoid costly plumber visits.
A persistent drip from a kitchen faucet not only wastes water but can also damage your sink area over time. Addressing the issue early prevents mineral buildup and mold growth caused by constant moisture. Whether your faucet drips from the spout or leaks underneath, knowing the correct repair method keeps your kitchen running efficiently.
This article will guide you through the main faucet types, how to diagnose the leak source, detailed repair steps, and maintenance recommendations. You’ll also find comparisons of repair kits and answers to common kitchen faucet problems that homeowners face.
Understanding Kitchen Faucet Types

Compression Faucets
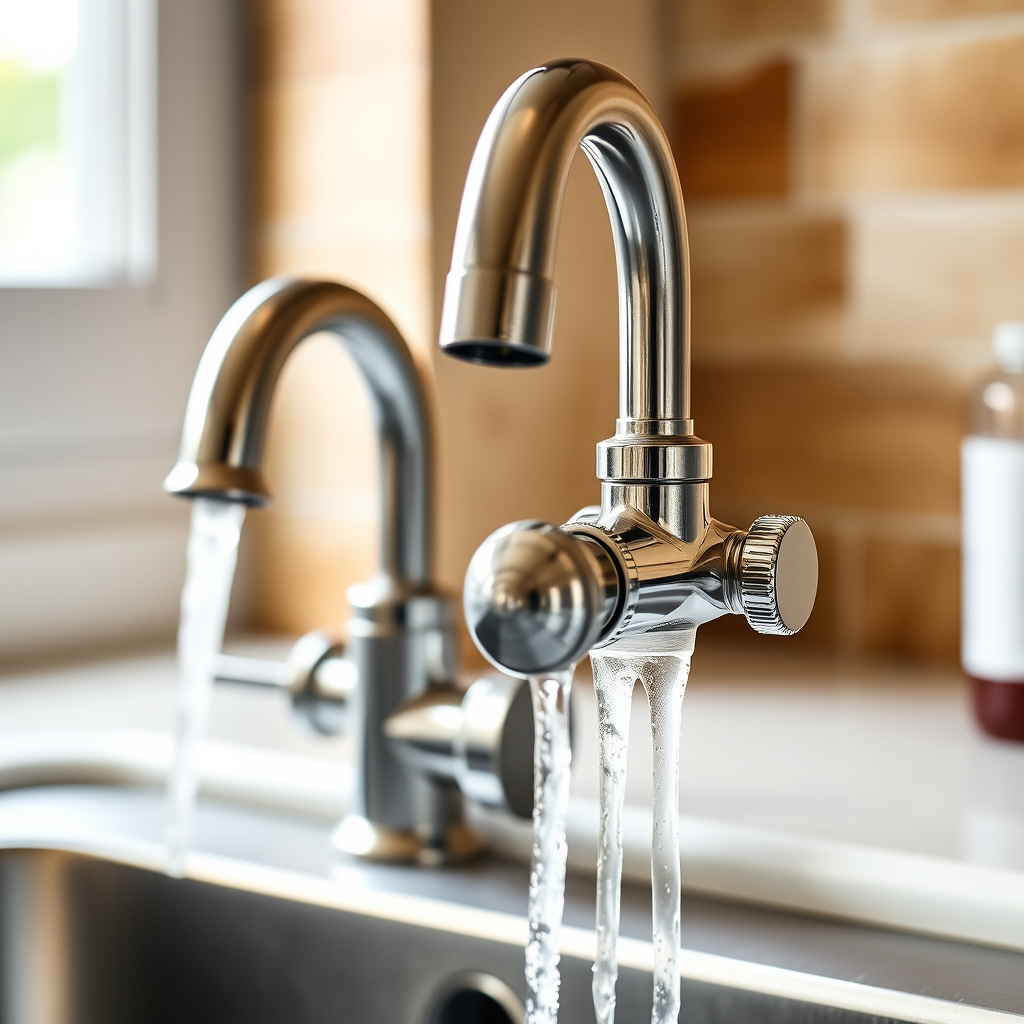
Compression faucets operate with separate hot and cold handles that control water flow by pressing rubber washers onto a valve seat. Leaks commonly occur when these washers wear down or mineral deposits build up on the valve seat.
Repairing compression faucets involves shutting off the water supply, unscrewing the handles, and replacing the washers. This older faucet style is relatively simple to fix but less common in newer homes.
Cartridge, Ball, and Ceramic Disc Faucets
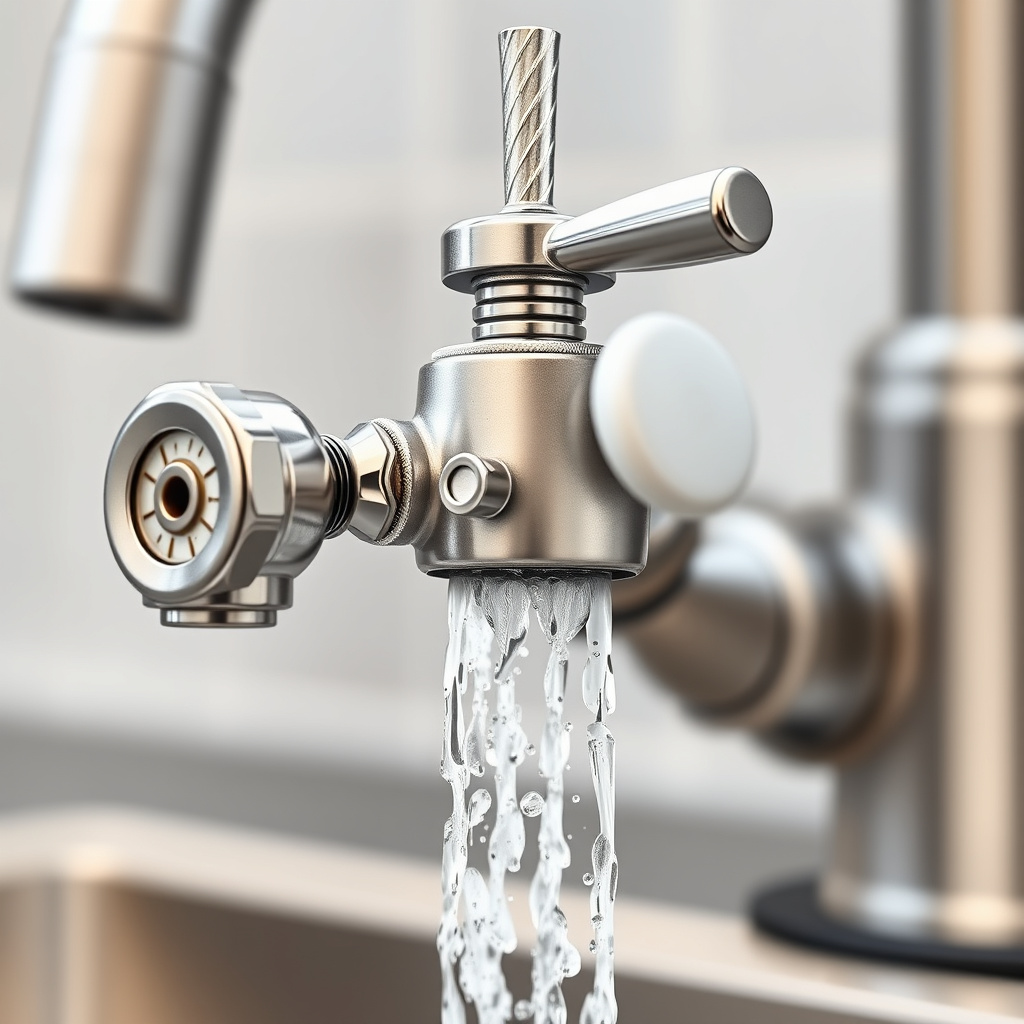
Modern kitchen faucets use cartridge, ball, or ceramic disk mechanisms that regulate flow differently. Cartridge faucets use a movable stem inside a casing, ball faucets rely on a ball mechanism with seals, and ceramic disk faucets have two smooth ceramic disks that slide over each other to control flow.
Leaks in these faucets often result from worn O-rings, damaged cartridges, or defective ceramic disks. Identifying the exact mechanism is key before purchasing repair parts.
Diagnosing the Source of the Leak
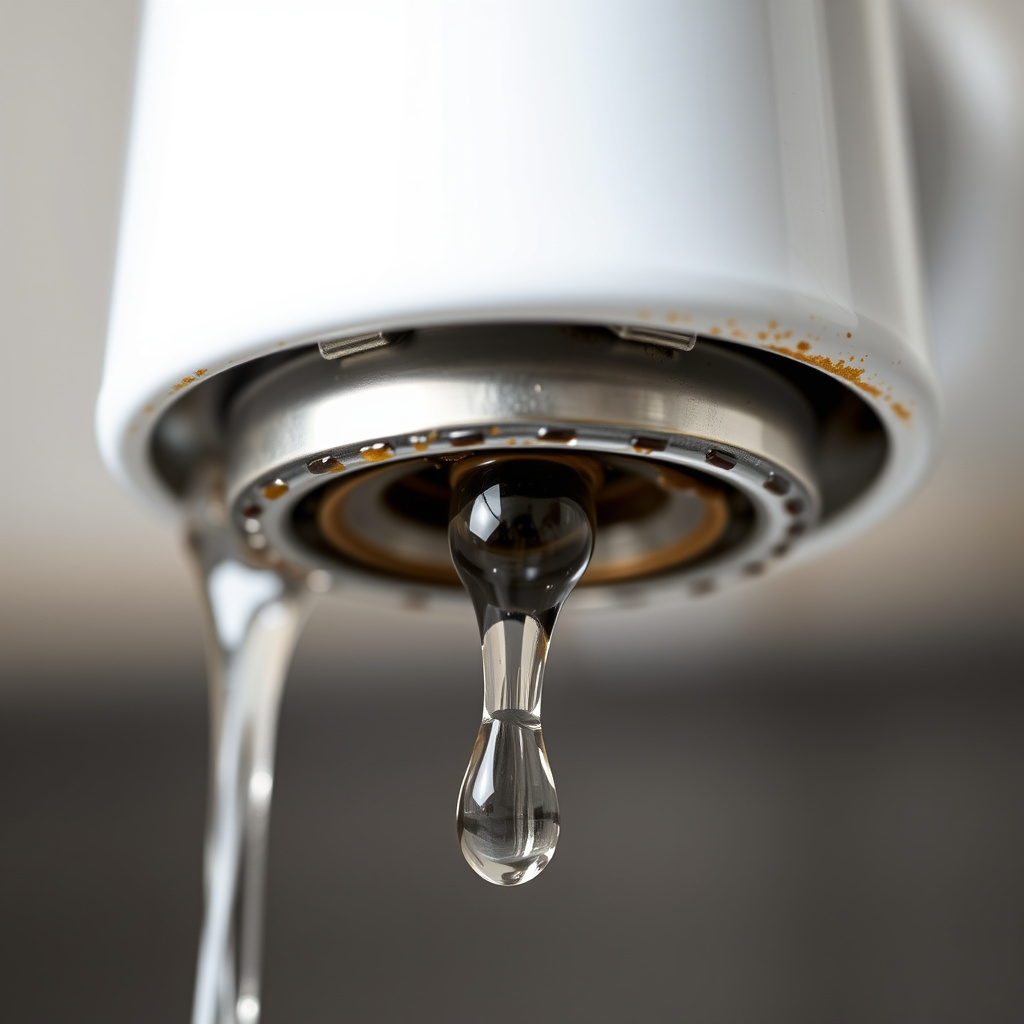
Dripping from the Faucet Spout
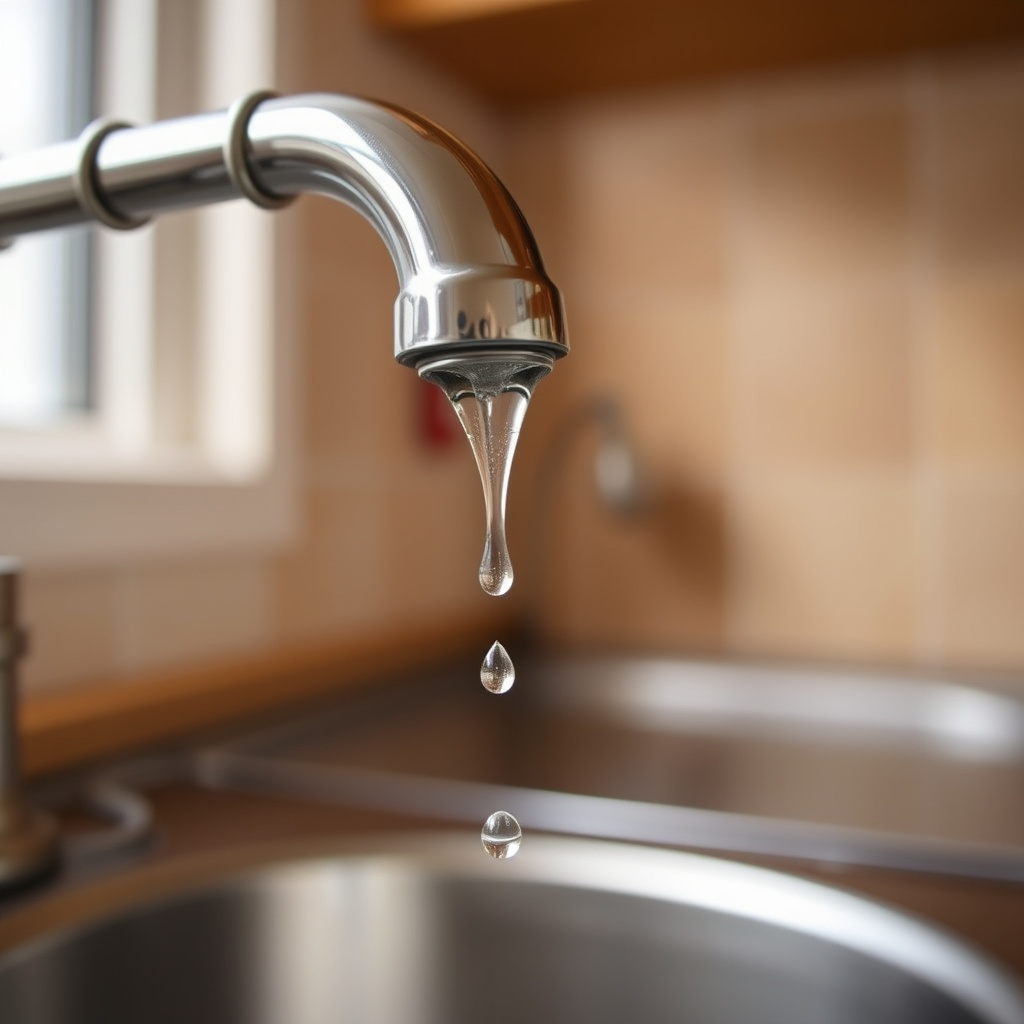
If water continuously drips from the spout after the faucet is turned off, the problem usually relates to internal washers, cartridges, or valve seats failing to seal properly.
In this case, draining any remaining water and disassembling the spout to inspect and replace seals or cartridges usually resolves the issue.
Leaks Around Faucet Base or Handles

Leaks appearing around the faucet base or handles often stem from damaged O-rings or loose components under the handles that let water escape when the faucet is in use.
Tightening connections, replacing O-rings, or reseating the handle assemblies generally fixes these leaks and restores watertight seals.
Step-by-Step Repair Process for a Leaky Kitchen Faucet
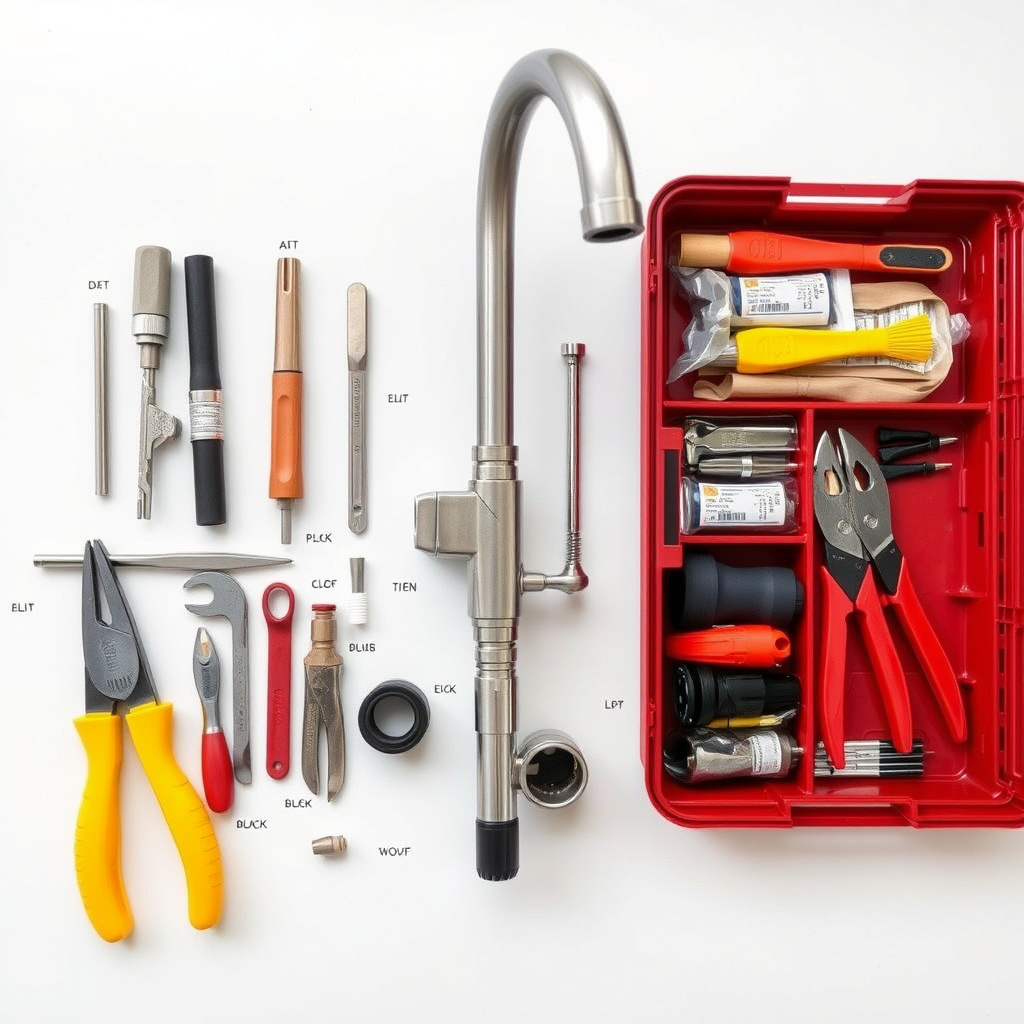
Preparing and Disassembling the Faucet
Start by shutting off the water supply valves under the sink and opening the faucet to release pressure. Place a bucket beneath the pipes to catch any residual water during disassembly.
Use the appropriate screwdriver or Allen wrench to remove handles carefully. Keep all screws and parts organized to make reassembly easier.
- Turn off water supply
- Release faucet pressure
- Remove faucet handles
- Keep parts organized
Replacing Faulty Parts
Inspect washers, O-rings, cartridges, or valve seats for wear, cracks, or mineral buildup. Match parts precisely when purchasing replacements to fit your faucet model.
After installing new components, reassemble the faucet in reverse order, ensuring all seals are seated properly to prevent future leaks.
- Identify worn or damaged parts
- Purchase exact replacement parts
- Replace and reseat parts carefully
- Reassemble faucet securely
Tools and Materials Needed for Kitchen Faucet Repair
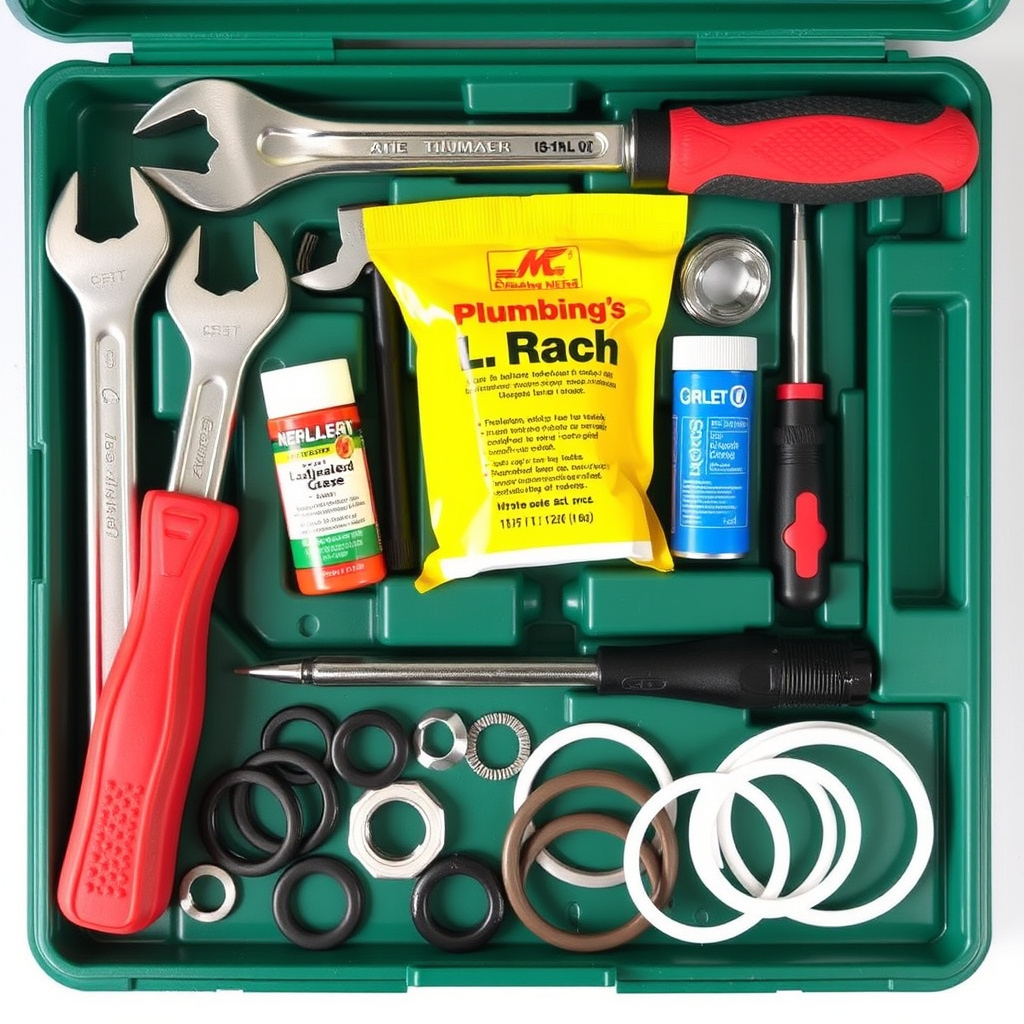
Essential Hand Tools
Basic plumbing repairs require adjustable wrenches, flathead and Phillips screwdrivers, and possibly a hex key or Allen wrench set depending on your faucet model.
Having these tools on hand allows you to access and remove faucet components without damaging finish or fittings.
- Adjustable wrench
- Flathead and Phillips screwdrivers
- Allen wrench set
Replacement Parts and Supplies
Purchase faucet-specific washers, O-rings, cartridges, valve seats, and plumber’s grease from hardware stores or online suppliers. Applying plumber’s grease to seals extends their life and improves fit.
A cleaning brush and vinegar solution help remove mineral deposits before installing new parts.
- Washers and O-rings
- Replacement cartridges or valve seats
- Plumber’s grease
- Cleaning supplies
Preventative Maintenance Tips to Avoid Leaks
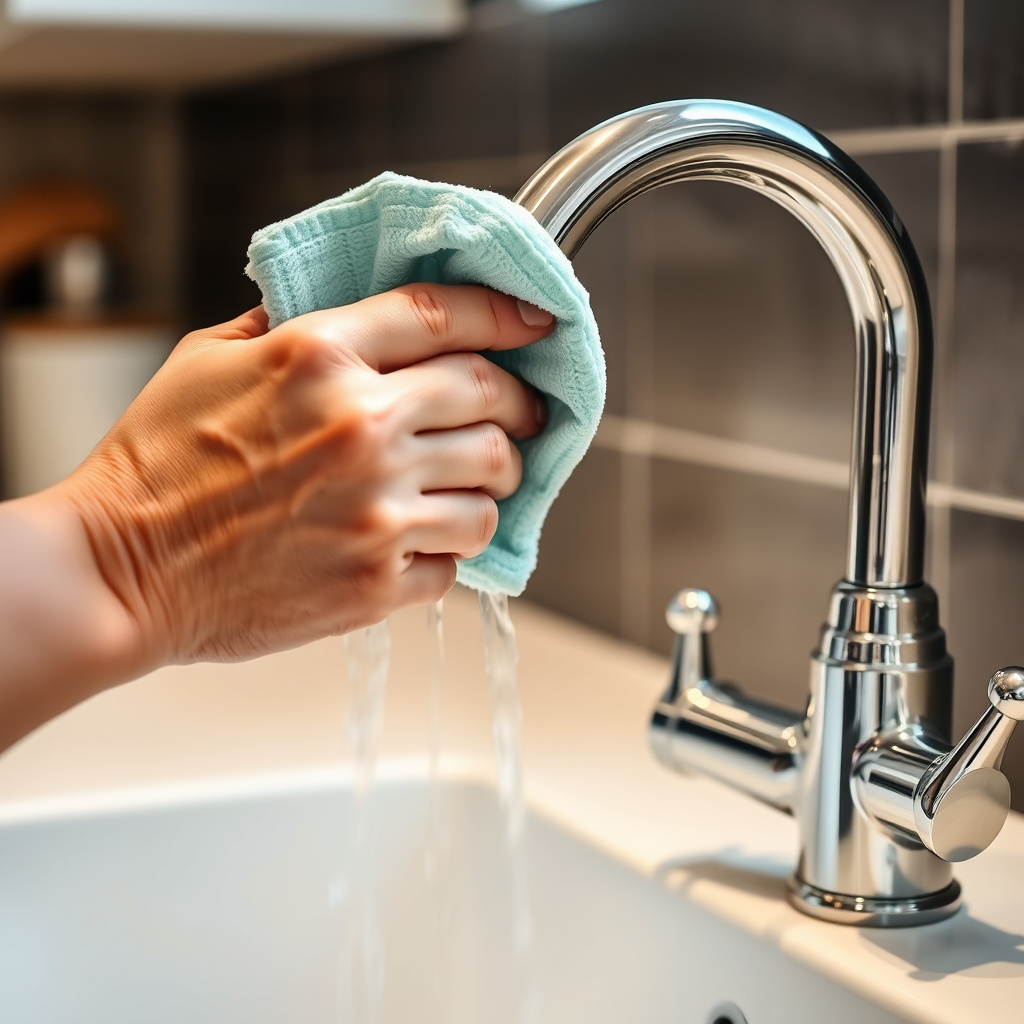
Regular Cleaning and Inspection
Wipe the faucet dry after each use to prevent mineral buildup and check for small leaks regularly. Early detection of wear can save bigger repairs later.
Removing aerators periodically for cleaning also improves water flow and reduces corrosion inside the spout.
For more advice on saving water and maintaining your kitchen faucet, the Environmental Protection Agency offers helpful information about kitchen faucet maintenance. kitchen faucet maintenance.
When to Call a Professional
If leaks persist after replacing standard parts or if the faucet has complex internal components difficult to access, hiring a plumber prevents damaging your plumbing system further.
Professional inspection is also advisable for older homes or when multiple leaks appear simultaneously.
Comparison of Common Kitchen Faucet Types for Repair
The table below compares four main kitchen faucet types including ease of repair, common leak causes, and typical part costs to help guide your repair choice.
| Faucet Type | Ease of DIY Repair | Common Leak Causes | Average Part Cost |
|---|---|---|---|
| Compression | Easy | Worn washers, valve seat corrosion | $5-$15 |
| Cartridge | Moderate | Damaged cartridges, O-ring wear | $10-$25 |
| Ball | Moderate | Seal wear, ball mechanism issues | $15-$30 |
| Ceramic Disk | Difficult | Ceramic disks damage, O-ring failure | $20-$40 |
Frequently Asked Questions
How long does it usually take to fix a leaky kitchen faucet?
Most DIY faucet repairs take between 30 minutes to one hour, depending on your experience and the faucet complexity.
Can I use any replacement parts for my faucet?
Using parts specifically designed for your faucet model ensures the best fit and function. Generic parts may not seal properly.
What causes a faucet to leak after I replace the washers?
Leaks can persist if valve seats are corroded or if parts were installed incorrectly. Careful cleaning and proper reassembly are important.
Is it okay to ignore a slow drip from a kitchen faucet?
Ignoring drips wastes water and can cause bigger plumbing issues. It's best to address leaks promptly to avoid damage.
How can I tell what type of kitchen faucet I have?
Inspect your faucet handles and spout or check the manufacturer’s manual. Compression faucets usually have separate hot and cold handles, while cartridge and ceramic disk models often have single lever controls.
Key Takeaways
- Identify your kitchen faucet type before starting repairs for accurate part selection.
- Most leaks are caused by worn washers, O-rings, or cartridges that are replaceable.
- Prepare the proper tools and shut off water to avoid mess and damage.
- Regular maintenance prevents future leaks and prolongs faucet lifespan.
Conclusion
Addressing a leaky kitchen faucet revolves around identifying the source of the leak and knowing your faucet type. Whether it's a simple washer replacement on a compression faucet or swapping cartridges in a ceramic disk model, understanding these components streamlines repair. While many repairs are accessible to homeowners with everyday tools, precision and patience are needed to avoid further damage.
If you own an older home with compression faucets, replacement washers and valve seat cleaning usually restore functionality quickly and affordably. For newer designs featuring cartridges or ceramic disks, obtaining the correct replacement parts is essential, as they vary greatly between brands. In cases where leaks come from the base or handle area, replacing worn O-rings is often effective. Preventative maintenance, such as cleaning aerators and periodic inspections, supports long-term faucet health.
Begin your repair by checking the faucet model, gathering suitable parts and tools, then following disassembly and reassembly instructions carefully. If uncertainty arises during repair or multiple leaks appear, consulting a professional plumber ensures the faucet is fixed reliably. By following the guidance in this article, homeowners can confidently fix leaks and maintain their kitchen faucets for years to come.