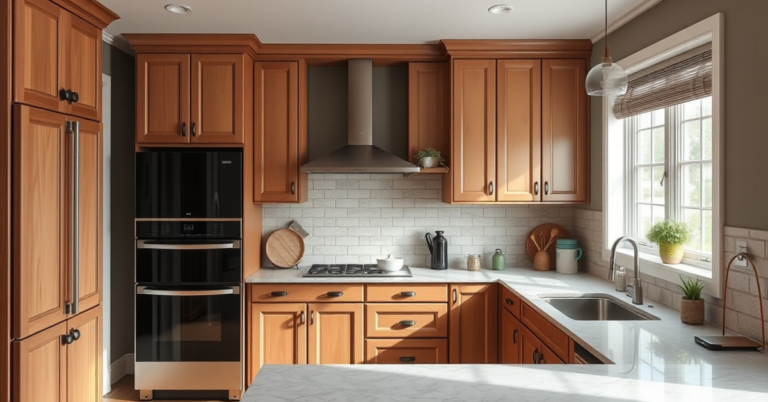
Can You Paint Kitchen Cabinets? A Practical Guide to Cabinet Refinishing
Yes, you can paint kitchen cabinets, and doing so can dramatically refresh the look of your kitchen without the cost of full replacements. Painting cabinet surfaces, when done properly with the right materials and preparation, provides a durable, attractive finish that can last for years.
Transforming kitchen cabinets with paint matters because it offers a budget-friendly alternative to renovations, allowing homeowners to update styles or colors quickly. Proper sanding, priming, and choosing the right paint type are essential for achieving professional-quality results that stand up to daily use.
This article will cover the key steps for painting kitchen cabinets, including surface preparation, paint selection, application techniques, drying and curing times, and tips for maintaining your painted cabinets. Whether you’re updating old wood or laminate cabinets, this guide will help you achieve a smooth, lasting finish.
Preparing Kitchen Cabinets for Painting
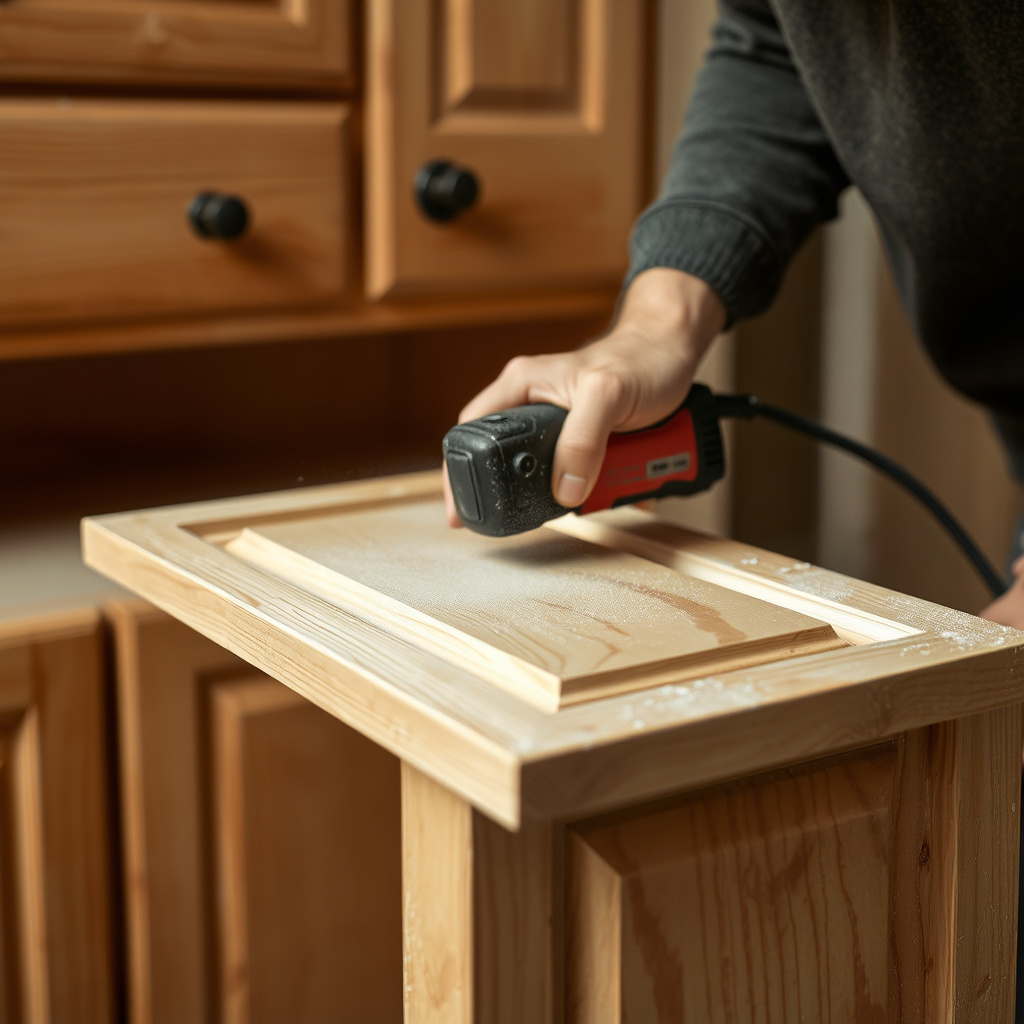
Cleaning and Removing Hardware
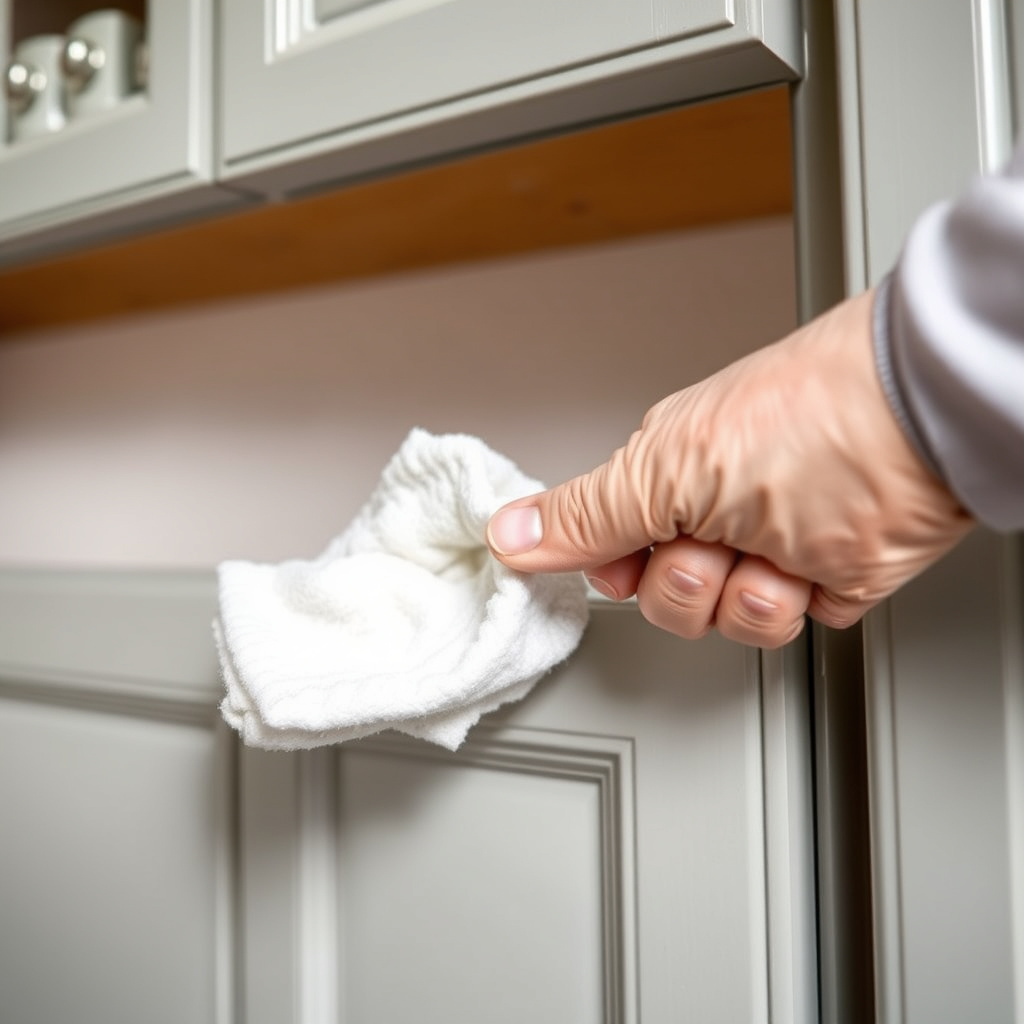
Before painting, thorough cleaning is necessary to remove grease, dirt, and residues that prevent paint adhesion. Use a degreaser or mild soap and warm water, then rinse off any cleaner thoroughly. Remove all cabinet hardware like handles, knobs, and hinges to avoid paint contact and achieve cleaner lines.
Taking doors off their hinges can make sanding and painting easier and more precise. Label hinges and screws carefully during removal so you can reassemble the cabinets properly later.
- Use degreaser to clean surfaces
- Remove cabinet doors and hardware
- Label parts for easy reassembly
Sanding and Surface Preparation
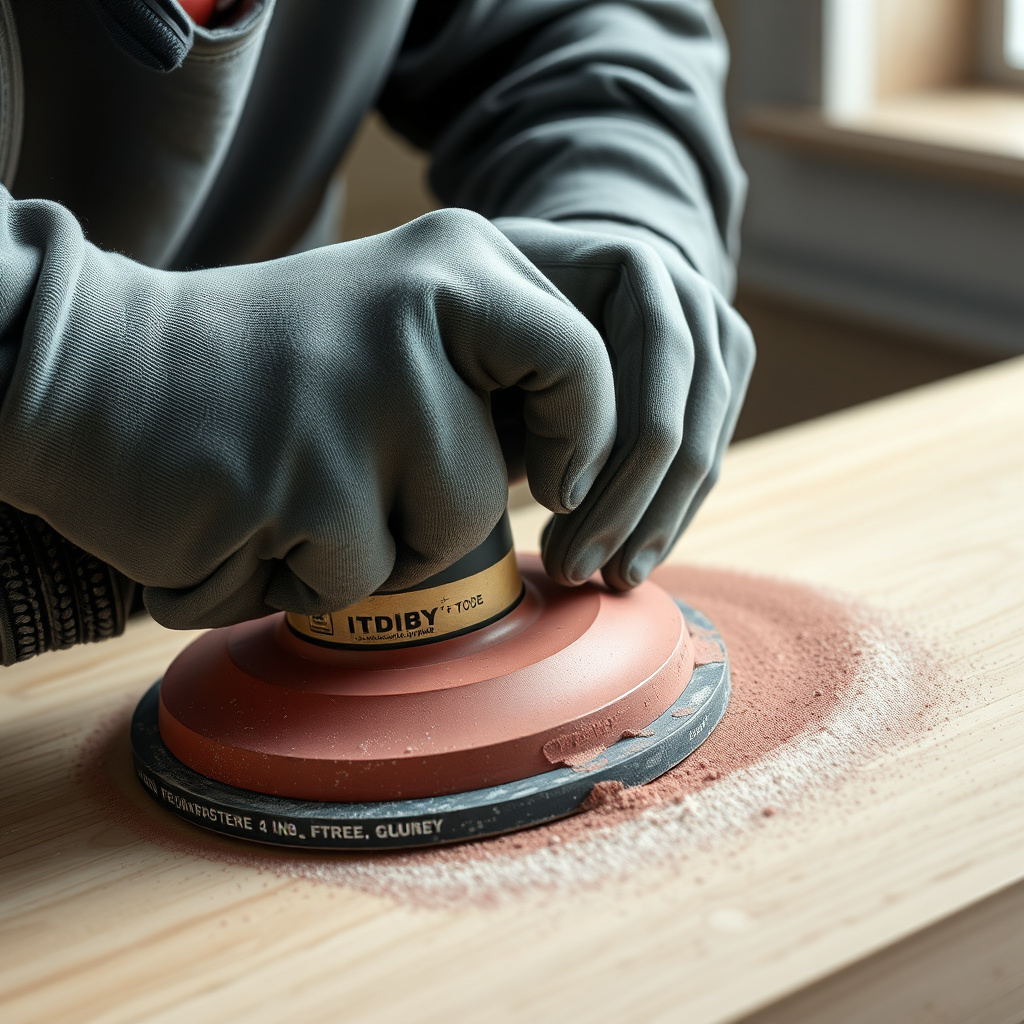
Sanding creates a rough profile for the primer and paint to grip. Use medium-grit sandpaper (around 120-150 grit) to smooth surfaces and remove existing finish gloss. For laminate or slick surfaces, sanding is especially important to ensure paint adhesion.
After sanding, wipe down surfaces with a tack cloth or damp cloth to remove dust. Repair minor damage or holes with wood filler, then sand smooth after drying.
- Sand cabinets with 120-150 grit paper
- Remove sanding dust with cloth
- Use wood filler for repairs
Choosing the Right Paint for Kitchen Cabinets
Types of Paints Suitable for Cabinets

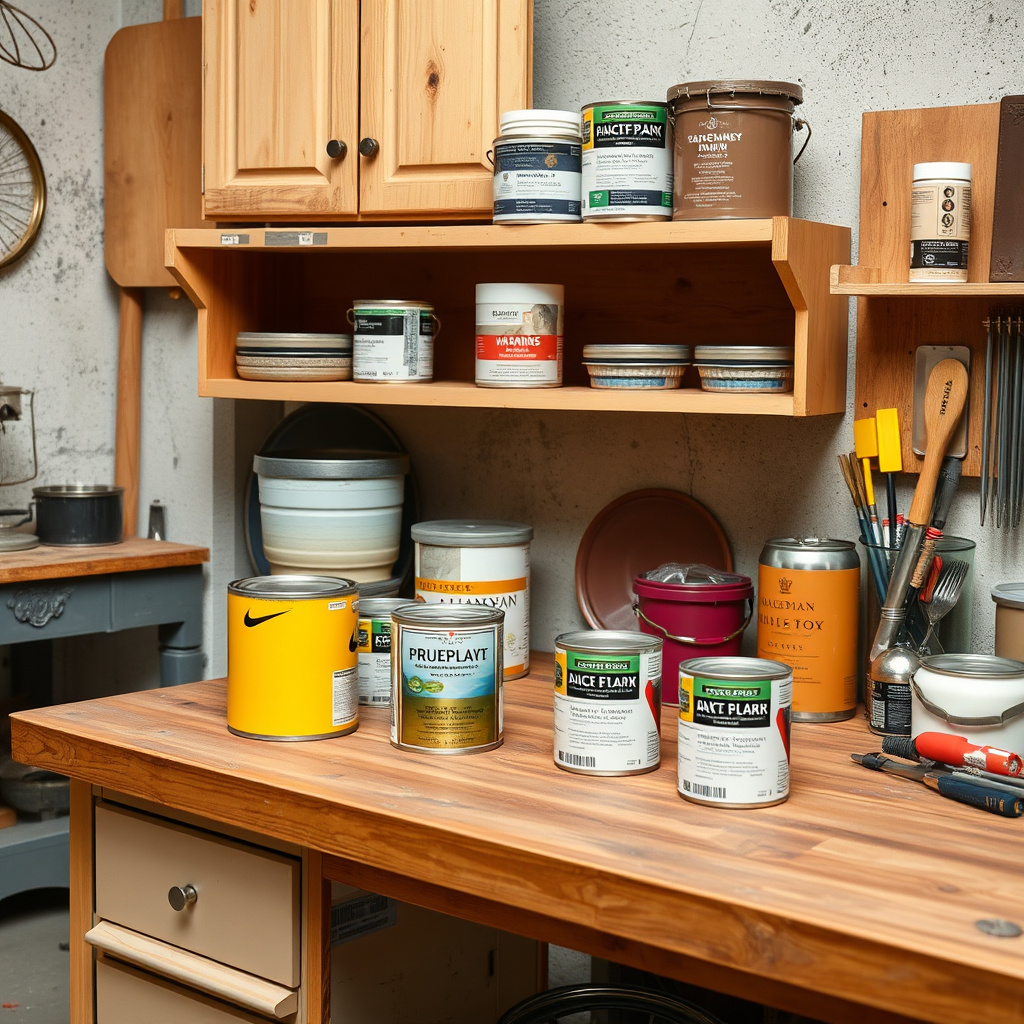
Acrylic latex paint with a semi-gloss or satin finish works well for kitchen cabinets because it’s durable, easy to clean, and resists moisture. Alkyd (oil-based) paints offer a hard finish but require longer drying times and stronger odor ventilation.
Consider water-based enamels designed for cabinetry; these combine easy cleanup with a hard surface. Avoid flat or matte finishes, as they are harder to clean and less resistant to kitchen wear.
- Acrylic latex semi-gloss or satin
- Oil-based alkyd paints for durability
- Water-based enamels for cabinet use
For more on this, see our related guide: How Much Are New Kitchen Cabinets? A Clear Cost Breakdown.
Primers and Their Importance
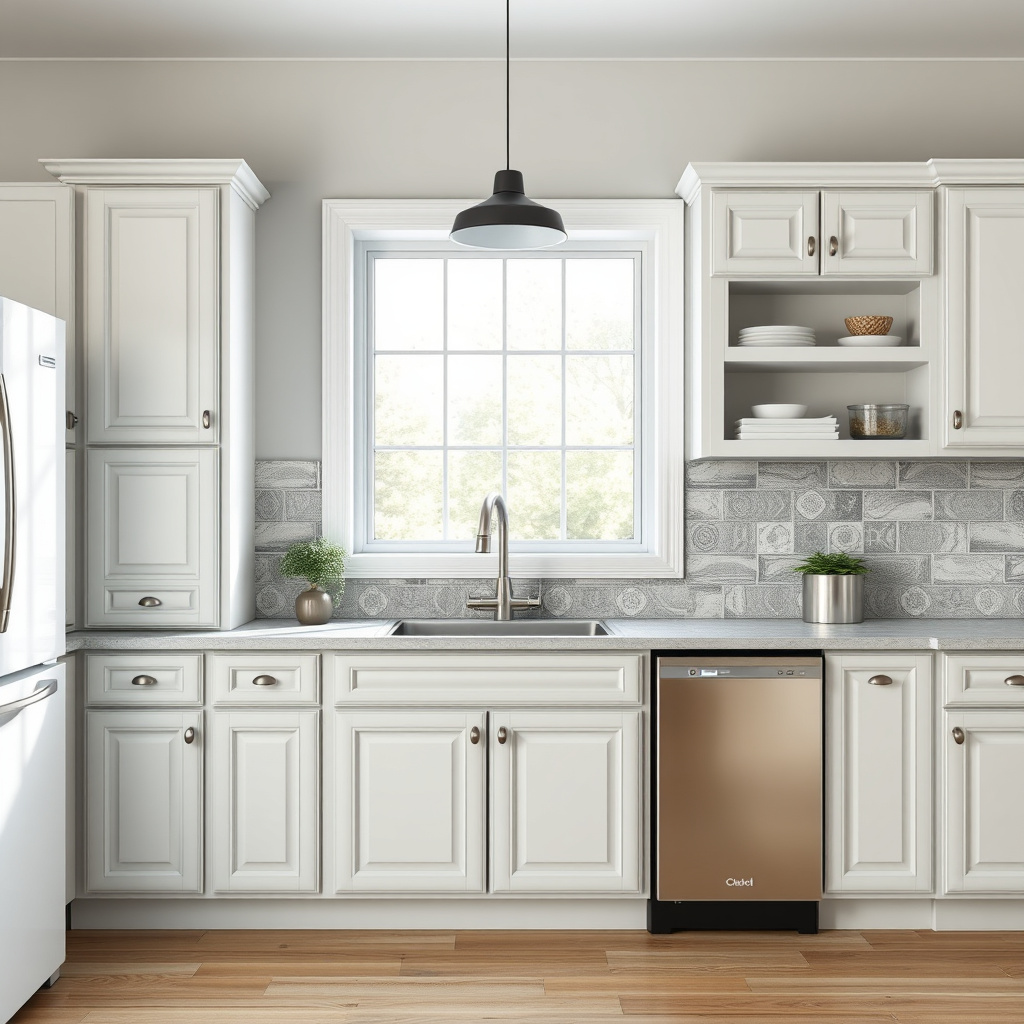
Priming is necessary for proper paint adhesion, especially on newly sanded wood or laminate surfaces. Use a high-quality bonding primer that is compatible with your chosen paint type. Primer also blocks stains and provides a uniform base color.
For challenging surfaces like laminate, specialized adhesion primers improve paint durability. Allow primer to dry fully, then lightly sand for a smooth finish before applying your topcoat.
- Choose primer compatible with your paint
- Consider bonding primers for slick surfaces
- Sand primer lightly for smoothness
Techniques for Painting Kitchen Cabinets

Brush vs. Roller vs. Sprayer Methods
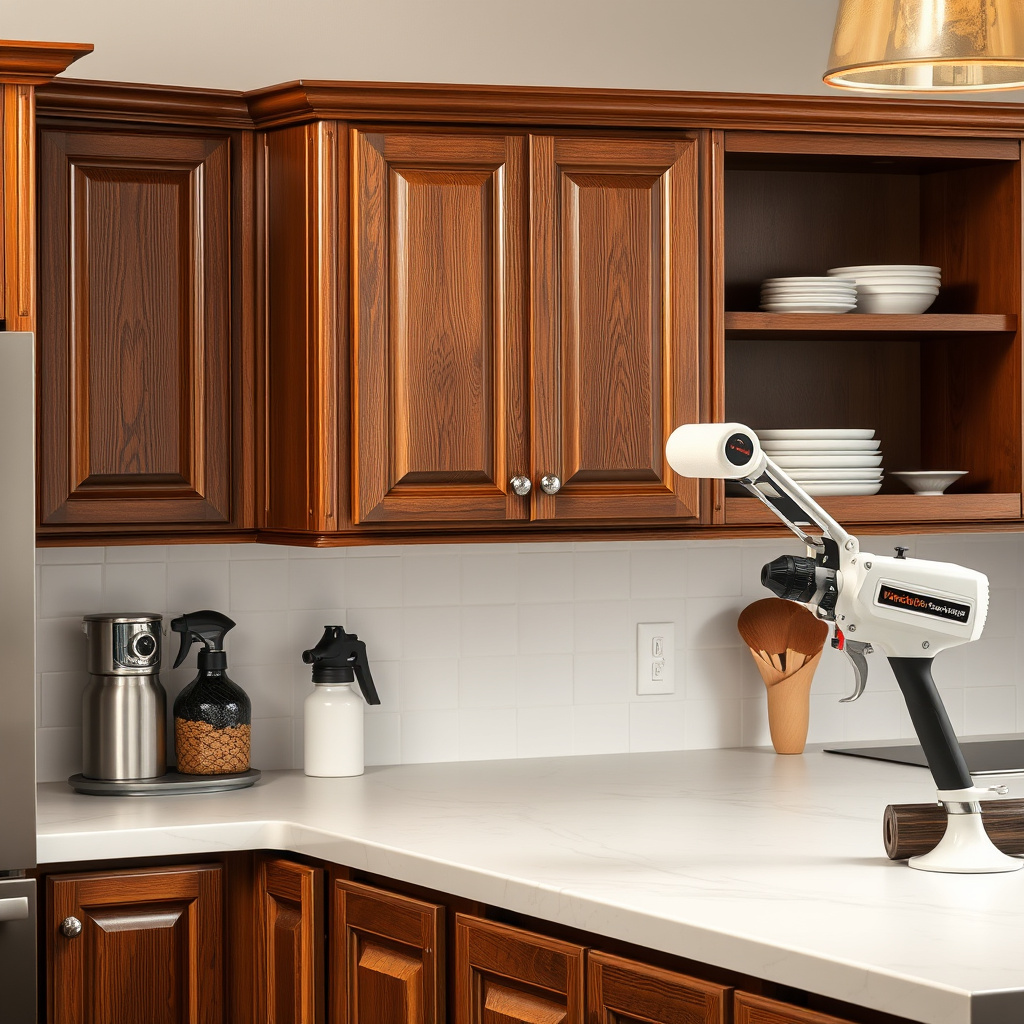
Using a high-quality brush allows control on edges and corners, while a small roller speeds up coverage on flat surfaces and can reduce brush marks. For extensive projects, a paint sprayer delivers the smoothest, most even finish but requires masking and ventilation to handle overspray.
Brushing and rolling combined often provide a nice finish for DIY projects. Always use smooth, even strokes and avoid excess paint pooling to prevent drips and uneven texture.
- Brush for edges and trim
- Roller for flat surfaces
- Sprayer for large-scale uniformity
Layering and Drying Times
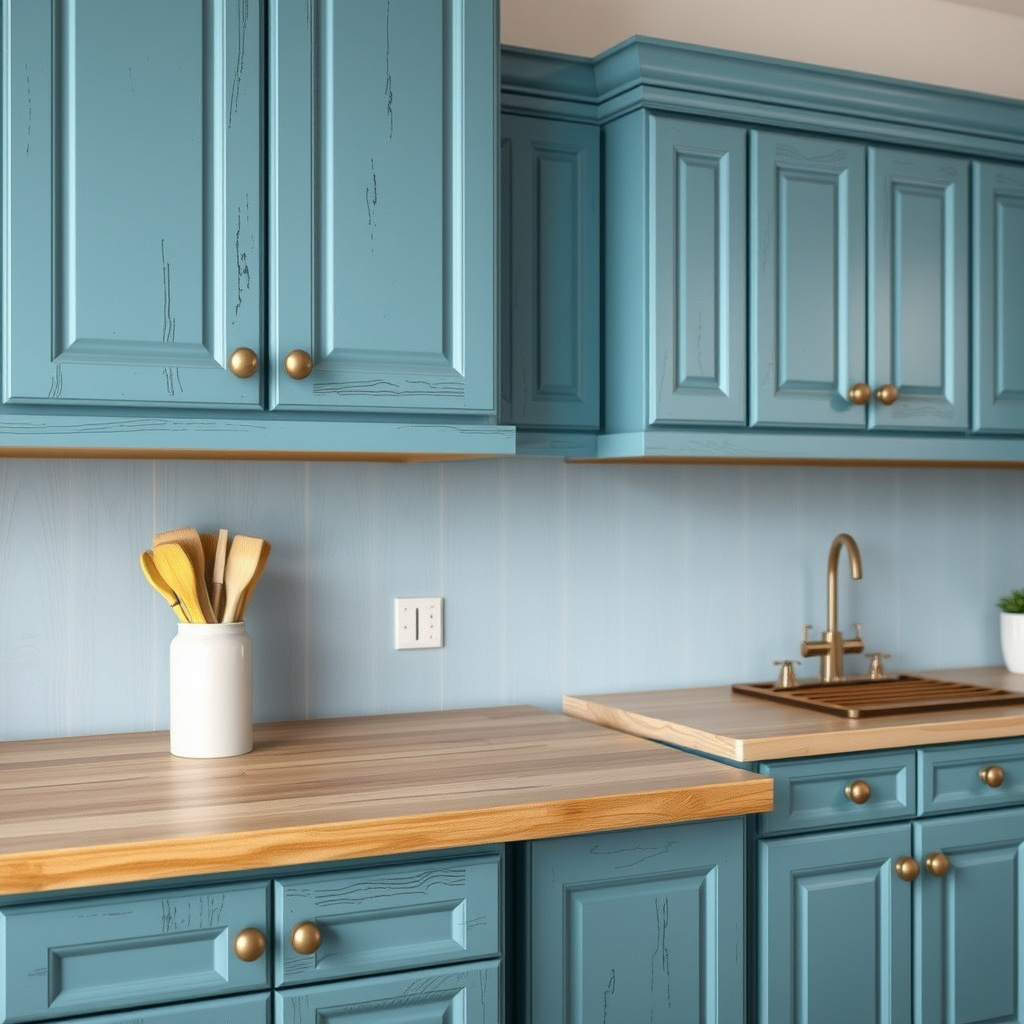
Apply paint in thin, even coats to avoid runs and ensure faster, more durable drying. Follow manufacturer recommendations for drying time between coats, typically 2-4 hours for latex paints. Two to three coats are usually necessary for full coverage and color depth.
After the final coat, allow cabinets at least 24-48 hours of curing before reattaching doors and hardware. Longer curing leads to better resistance to scratches and stains.
- Apply thin, even coats
- Wait 2-4 hours between coats
- Allow 24-48 hours curing after final coat
Post-Painting Care and Maintenance
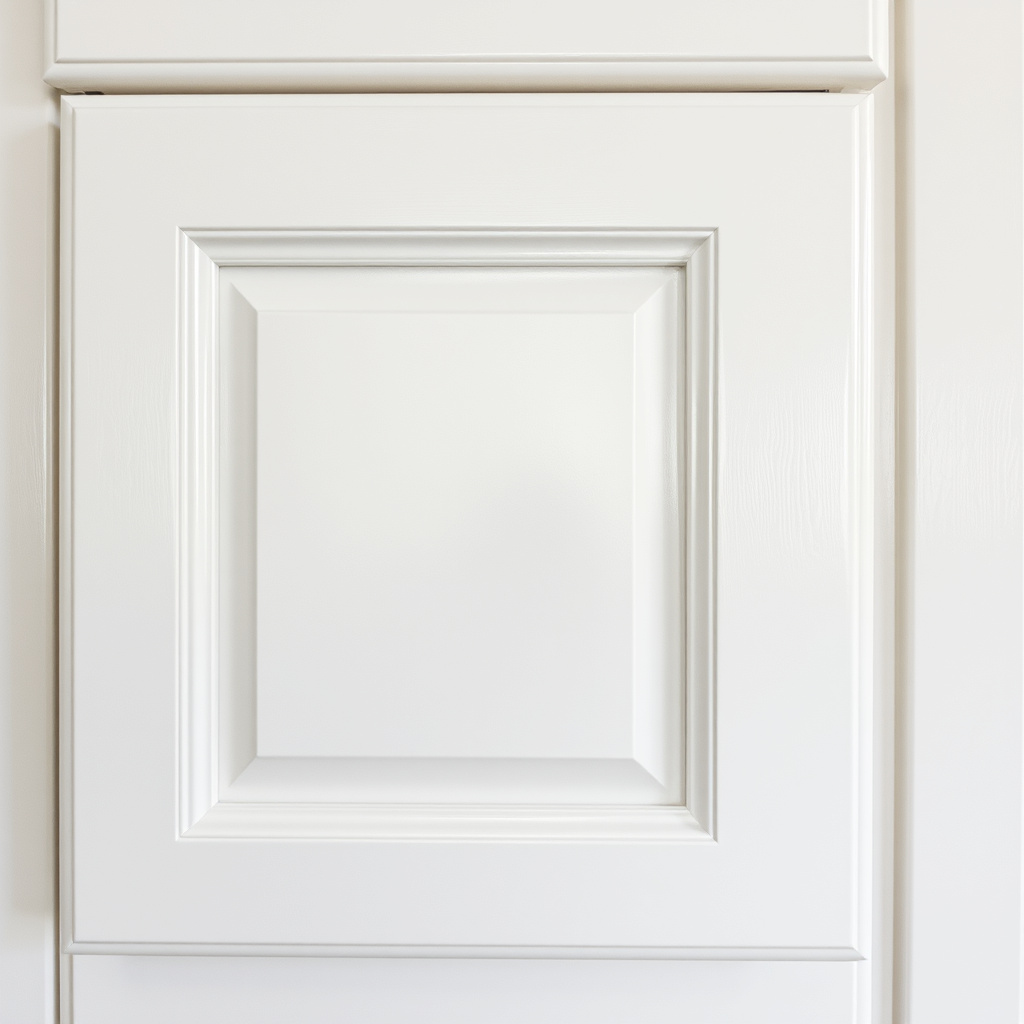
Cleaning Painted Cabinets
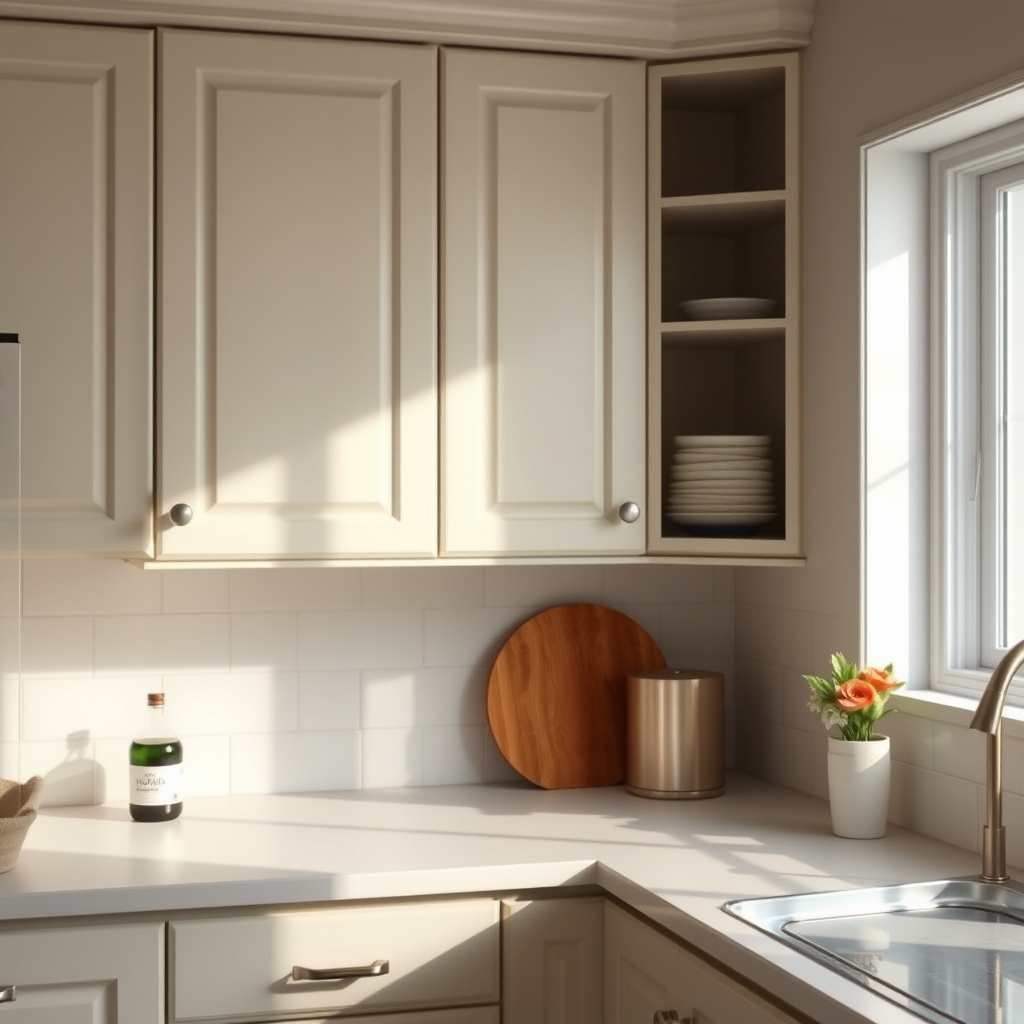
Clean painted cabinets gently with a soft cloth and mild detergent when needed. Avoid abrasive cleaners or scrubbers that can damage the paint. Quickly clean spills or stains to maintain the finish's integrity over time.
Regular dusting helps prevent buildup and keeps cabinets looking fresh. For semi-gloss finishes, a damp microfiber cloth is ideal.
- Use mild detergent and soft cloth
- Avoid abrasive cleaners
- Clean spills promptly
For more on this, see our related guide: How to Reface Kitchen Cabinets: A Step-by-Step Guide for a Fresh Look.
Touch-ups and Longevity

Keep some leftover paint for small touch-ups to address chips or scratches. Minor damage can often be repaired by lightly sanding the area and applying a small amount of paint with a brush.
With proper preparation and paint choice, painted kitchen cabinets can last many years. Evaluate wear periodically and refresh finishes as needed to extend the lifespan.
- Save paint for touch-ups
- Sand lightly before repainting damaged spots
- Repaint after several years to refresh
Common Mistakes to Avoid When Painting Kitchen Cabinets
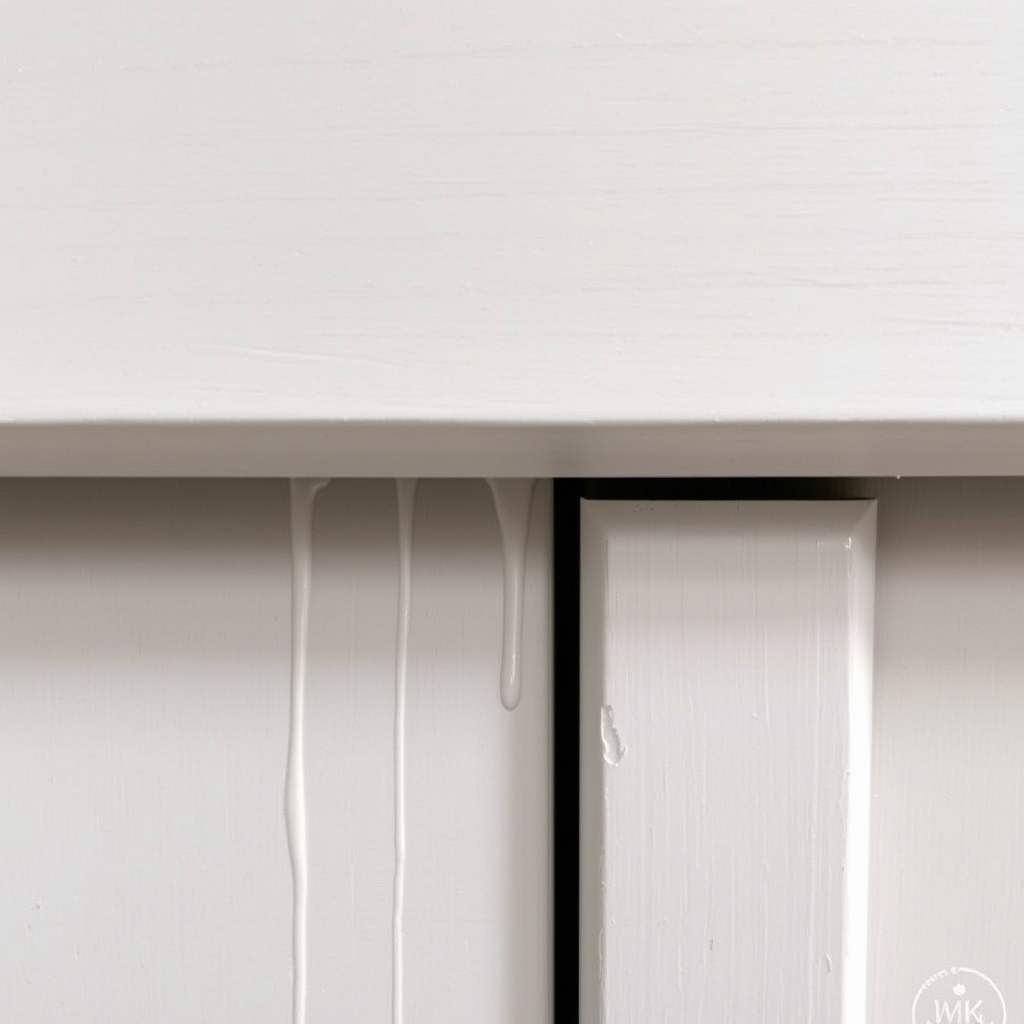
Skipping Surface Preparation
Jumping straight into painting without removing grease, sanding, or priming often leads to peeling, cracking, and uneven finishes. Surface prep is the most important step for long-lasting durability.
Take time to clean and sand cabinets thoroughly to help paint stick properly and avoid costly redo work.
For additional background on kitchen cabinet styles and materials, see the kitchen cabinet refinishing page on Wikipedia. kitchen cabinet refinishing.
Applying Thick Coats or Rushing Drying
Applying paint too thickly or not allowing adequate drying time can cause runs, bubbles, and poor adhesion. Follow recommended drying times and apply multiple thin coats rather than one thick coat.
Patience during drying improves the smoothness and finish quality dramatically.
Kitchen Cabinet Painting Methods Comparison
This table compares popular painting methods to help you decide which suits your kitchen cabinet project best.
| Method | Finish Quality | Ease of Use | Cost | Drying Time |
|---|---|---|---|---|
| Brush and Roller | Good with skill | Moderate, DIY friendly | Low | 2-4 hours per coat |
| Paint Sprayer | Excellent, smooth finish | Challenging, needs prep | High for equipment | Faster drying but needs ventilation |
| Spray Paint Cans | Good for small areas | Easy, portable | Medium | Quick drying |
| Professional Painting Service | Professional grade | Hands-off for user | High | Varies, typically faster |
Frequently Asked Questions
Can I paint over laminate kitchen cabinets?
Yes, you can paint over laminate cabinets, but surface preparation is key. Sanding and using a bonding primer designed for laminate surfaces will help paint adhere effectively.
How long does painted kitchen cabinet paint typically last?
With proper prep and care, painted kitchen cabinets can last 5-10 years. Areas with heavy use may require touch-ups sooner.
Is it necessary to remove cabinet doors before painting?
Removing doors and hardware is recommended for thorough sanding and painting. It helps achieve even coverage and cleaner edges.
What type of paint finish is best for kitchen cabinets?
Semi-gloss or satin finishes are best as they balance durability with ease of cleaning, ideal for kitchen environments.
Can I use regular wall paint on kitchen cabinets?
Regular wall paint is not ideal for cabinets because it may lack durability and resistance to moisture and wear. Cabinet-specific or enamel paints are better choices.
Key Takeaways
- Thorough cleaning and sanding are essential before painting kitchen cabinets.
- Choose durable, semi-gloss or satin paints compatible with your cabinet materials.
- Use primer to promote adhesion and block stains on cabinet surfaces.
- Apply multiple thin coats for a smooth, long-lasting finish.
Conclusion
Deciding whether and how to paint kitchen cabinets involves carefully evaluating preparation steps, choosing the right paint and primer, and selecting painting techniques that suit your skill level and project scope. Successful cabinet painting hinges on proper cleaning, sanding, and priming, which create lasting adhesion. Applying paint in thin, even coats and allowing proper drying time improves durability and appearance, preventing peeling or uneven finishes over time.
If you want a straightforward DIY project, using a combination of brush and roller methods with a water-based acrylic latex paint offers a good balance of ease and quality. For more professional results, especially on slick surfaces like laminate, consider specialized bonding primers and perhaps a paint sprayer for an ultra-smooth coat. If the job seems large or complicated, hiring a professional painter may save time and guarantee a polished finish. Either way, investing attention in surface preparation and paint quality is what will allow kitchen cabinet painting to transform your kitchen effectively.
Before starting, gather all necessary supplies, plan your work in manageable stages, and set realistic timelines for drying and curing. Save leftover paint for touch-ups and routinely clean painted surfaces gently to extend their life. With patience and the right approach, painting kitchen cabinets is an accessible way to refresh your kitchen’s look without a full remodel. This practical project rewards your effort with a fresh, inviting kitchen space customized to your style.