How to Build a Kitchen Island: A Step-by-Step Guide for Your Home
Building a kitchen island can dramatically enhance both the functionality and aesthetics of your kitchen. To build a kitchen island, you’ll need to design the layout, gather materials, construct the frame, add countertops, and finish with paint or stain. This straightforward process allows customization to fit your specific space and style preferences.
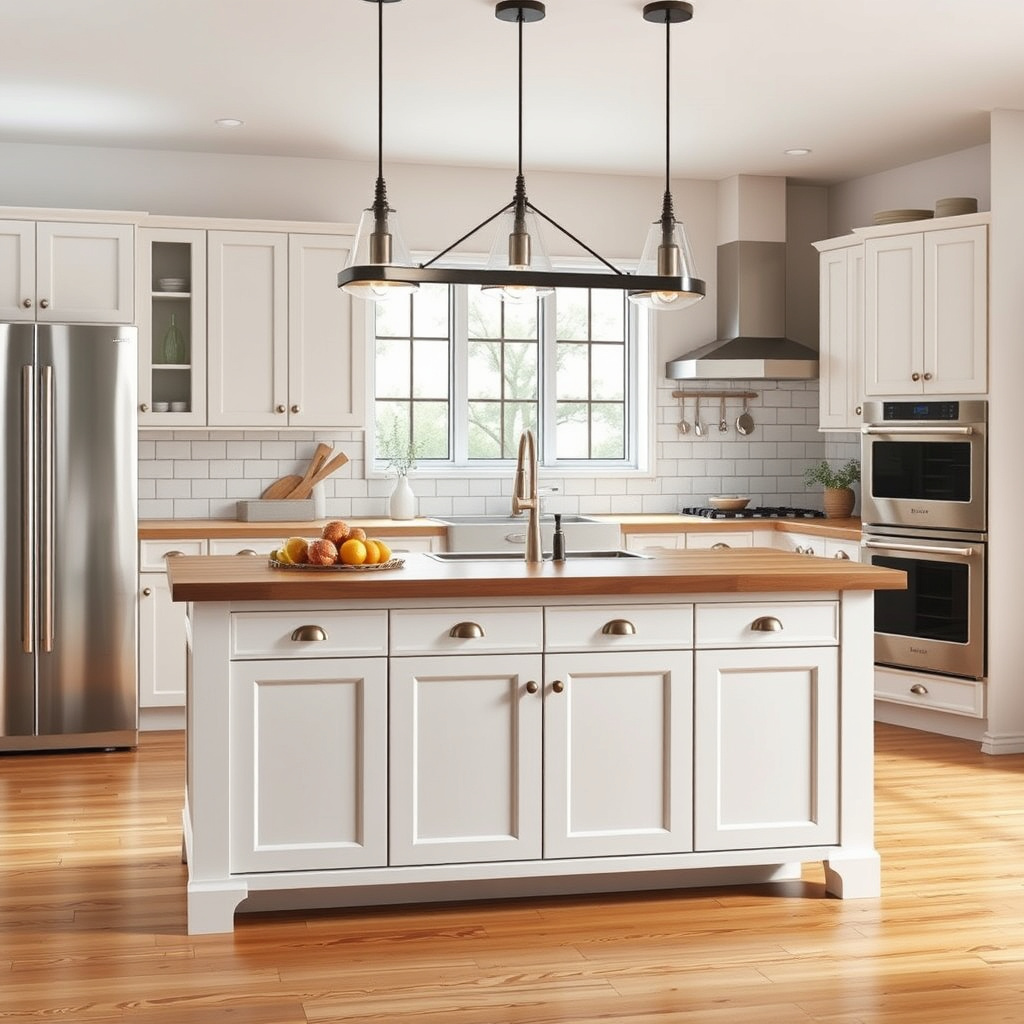
Kitchen islands offer extra counter and storage space, making meal prep and socializing more convenient. Whether your kitchen is large or compact, a well-built island can provide an invaluable centerpiece, bringing together cabinetry, appliances, and seating options into one cohesive unit.
This article will guide you through each phase of building a kitchen island—from design considerations and selecting materials, to construction tips and finishing touches. Plus, it covers different island types, safety advice, and a comparison of DIY versus pre-made options.
Designing Your Kitchen Island
Choosing the Right Size and Shape
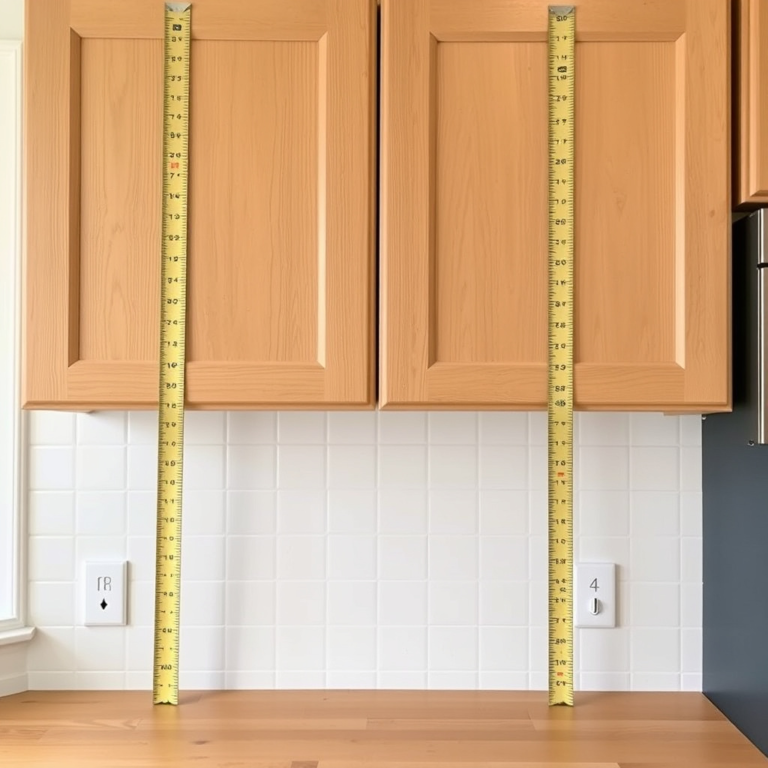
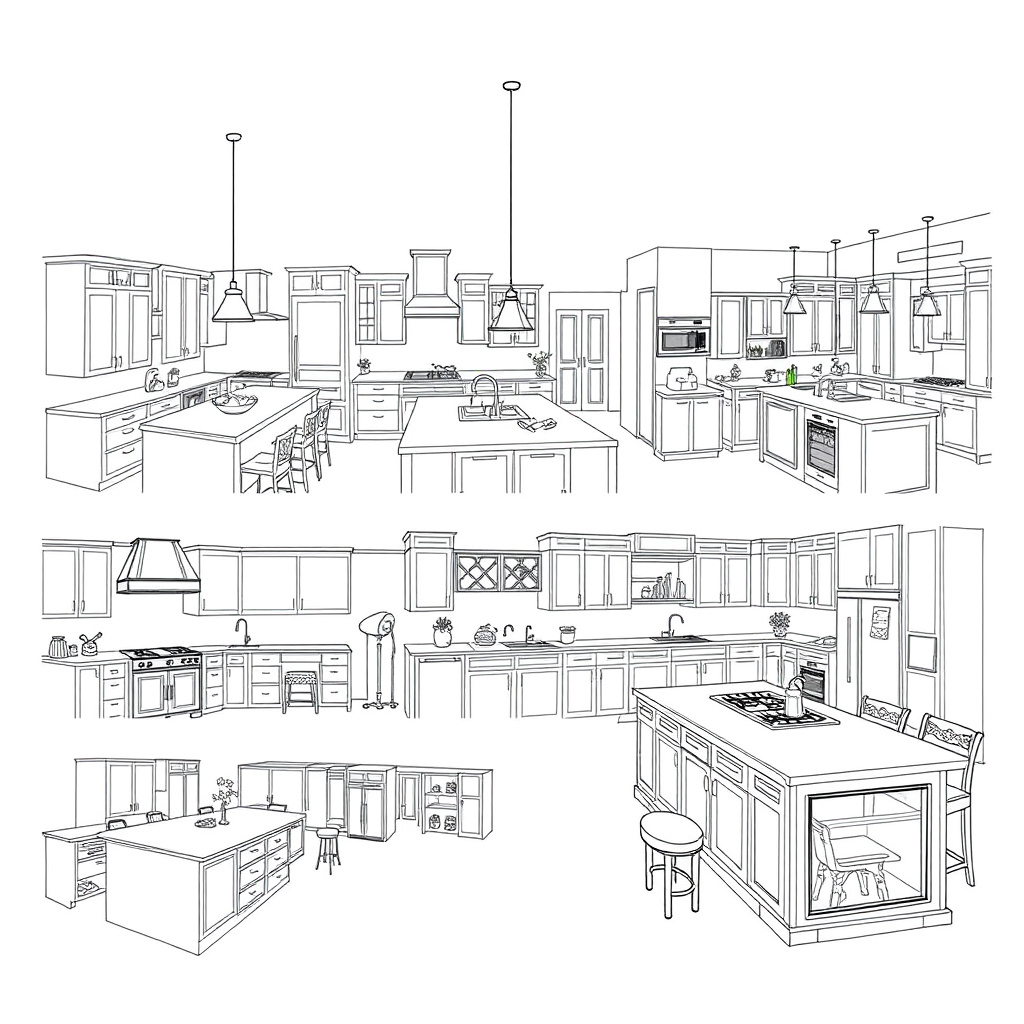
The first step in building a kitchen island is determining the size and shape that fits your space. Measure your kitchen carefully, allowing at least 36 to 48 inches of clearance around the island for walking and appliance access.
Common island shapes include rectangular, square, and L-shaped designs. Consider how you intend to use the island, such as for cooking, seating, or storage, to decide on the dimensions and shape.
- Measure kitchen space precisely
- Leave adequate clearance for movement
- Match shape to kitchen layout and function
Selecting Features and Functionality

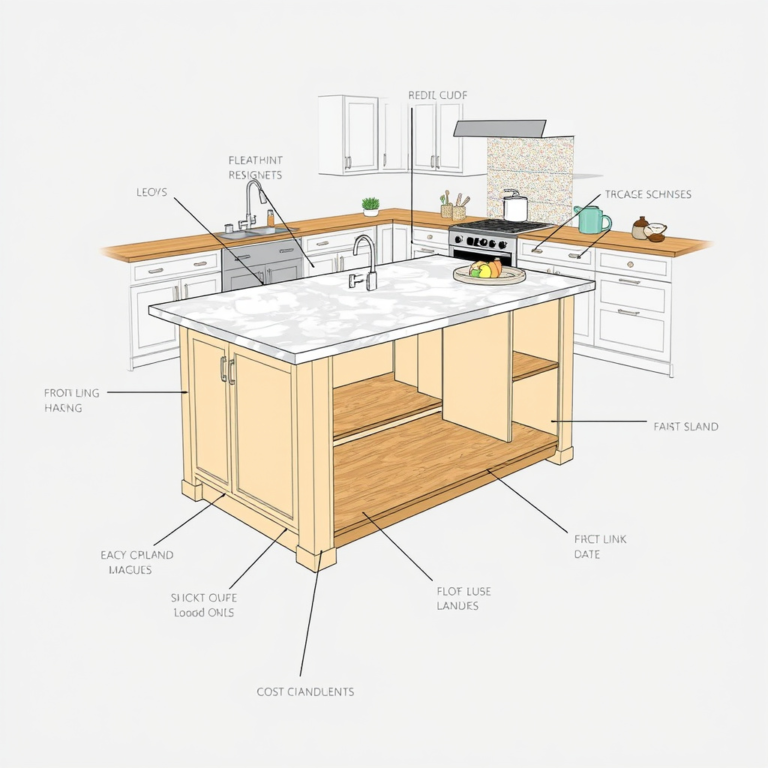
Decide which features your kitchen island will have: Will it include a sink, stove, or merely extra countertop and storage space? Including appliances requires plumbing and electrical considerations.
Think about integrating seating areas or pull-out cabinets for added versatility. Your design choices determine the materials and tools needed for the build.
- Consider appliance integration
- Plan storage options like drawers or shelves
- Include seating space if desired
Gathering Materials and Tools
Materials You Will Need
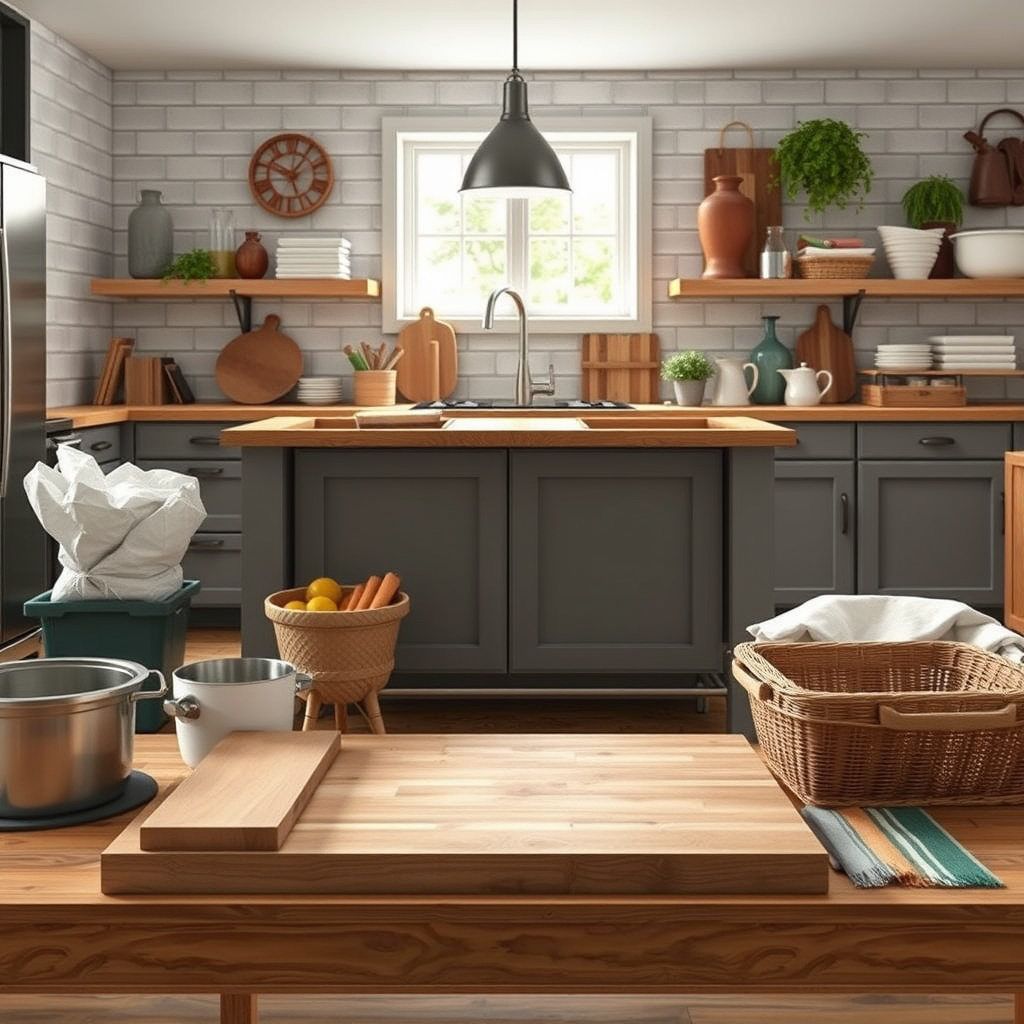
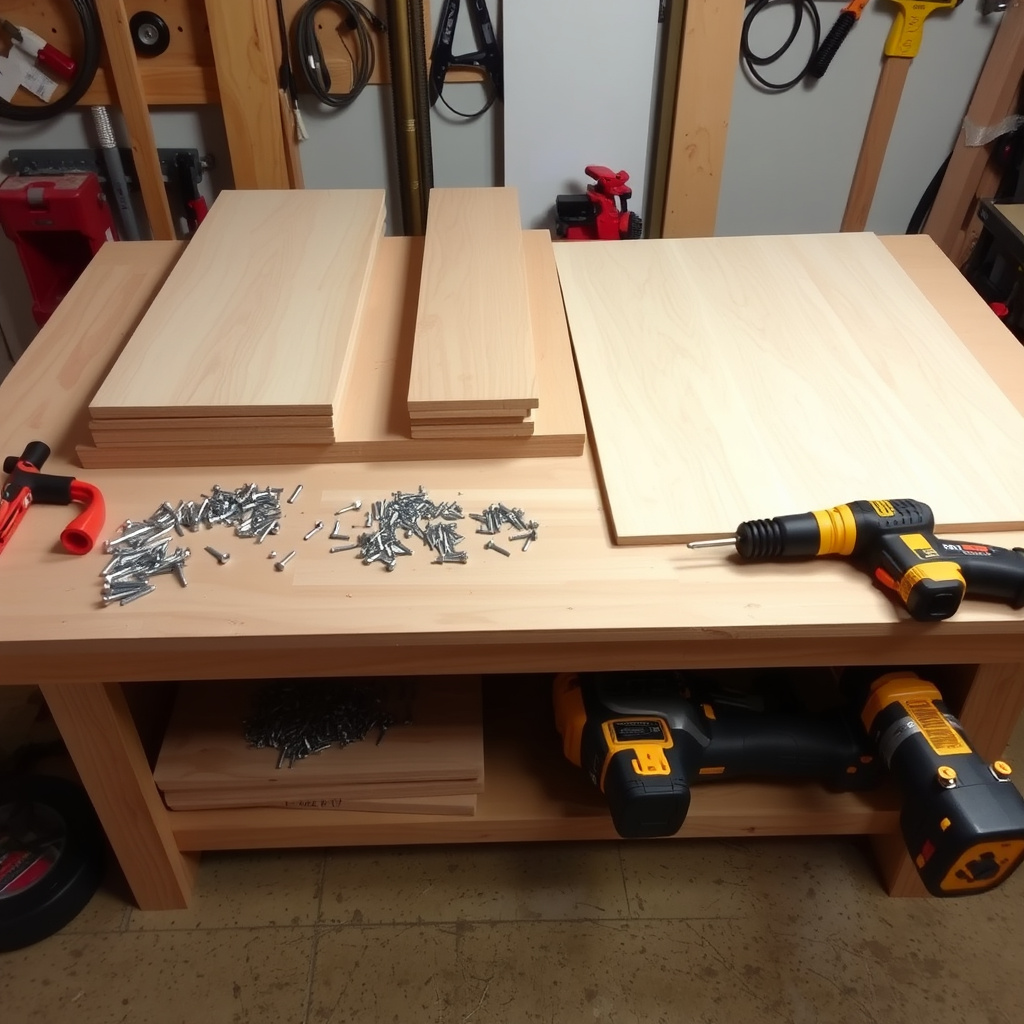
Typical materials for building a kitchen island include plywood or hardwood for the frame, MDF or hardwood for cabinet faces, screws, wood glue, and countertop materials like granite, butcher block, or laminate.
Choose durable and moisture-resistant materials, especially if your island will include a sink or stove area.
- Plywood or hardwood boards
- Screws and wood glue
- Countertop materials
- Paint or stain for finishing
For more on this, see our related guide: How 486 Gelyney Kitchen Exhaust Hood Work: A Detailed Explanation.
Essential Tools for the Project
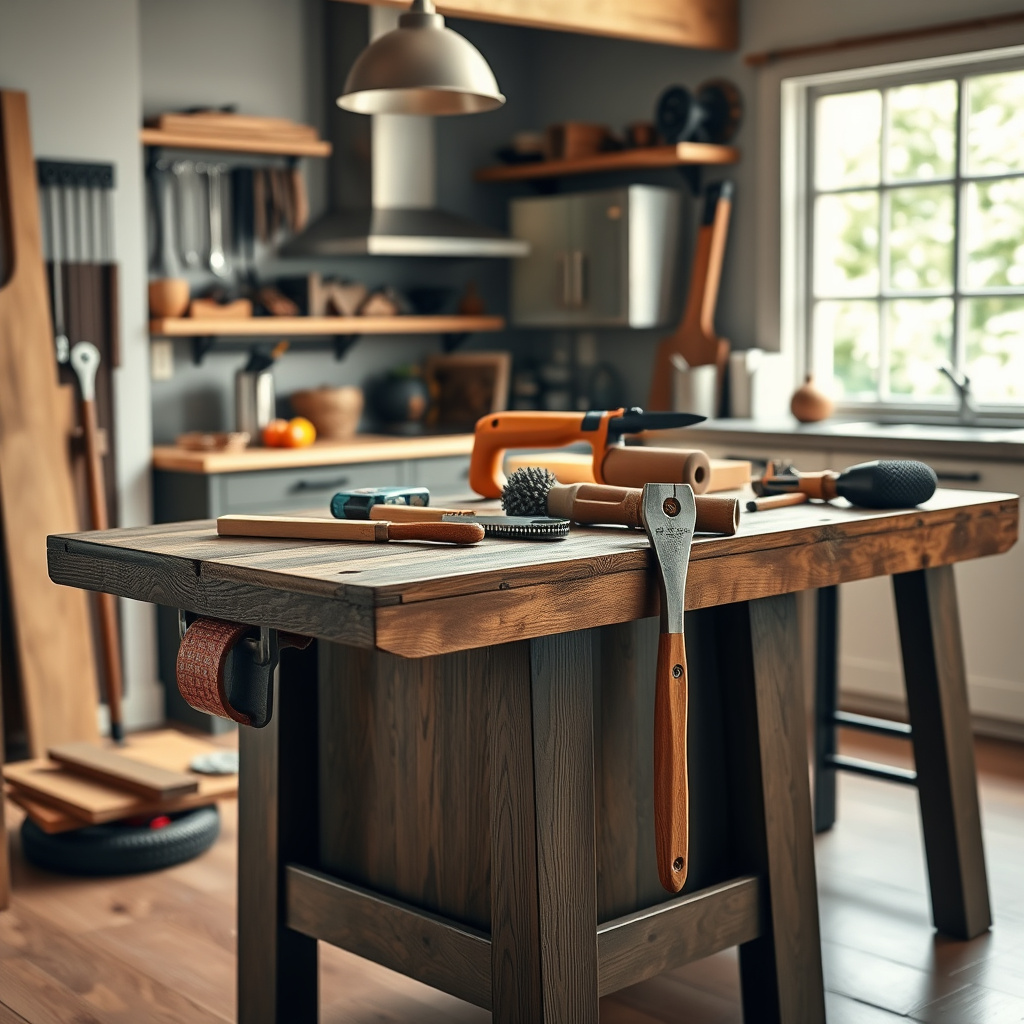
Having the right tools simplifies building your kitchen island. Common tools include a circular saw, drill with bits, clamps, measuring tape, level, and screwdriver.
Additional handy tools include a jigsaw for curves, nail gun for speed, and sander for smooth finishing. Safety gear such as goggles and gloves is also necessary.
- Circular saw and jigsaw
- Drill and screwdriver set
- Clamps and measuring tools
- Sandpaper or electric sander
Constructing the Frame and Cabinets
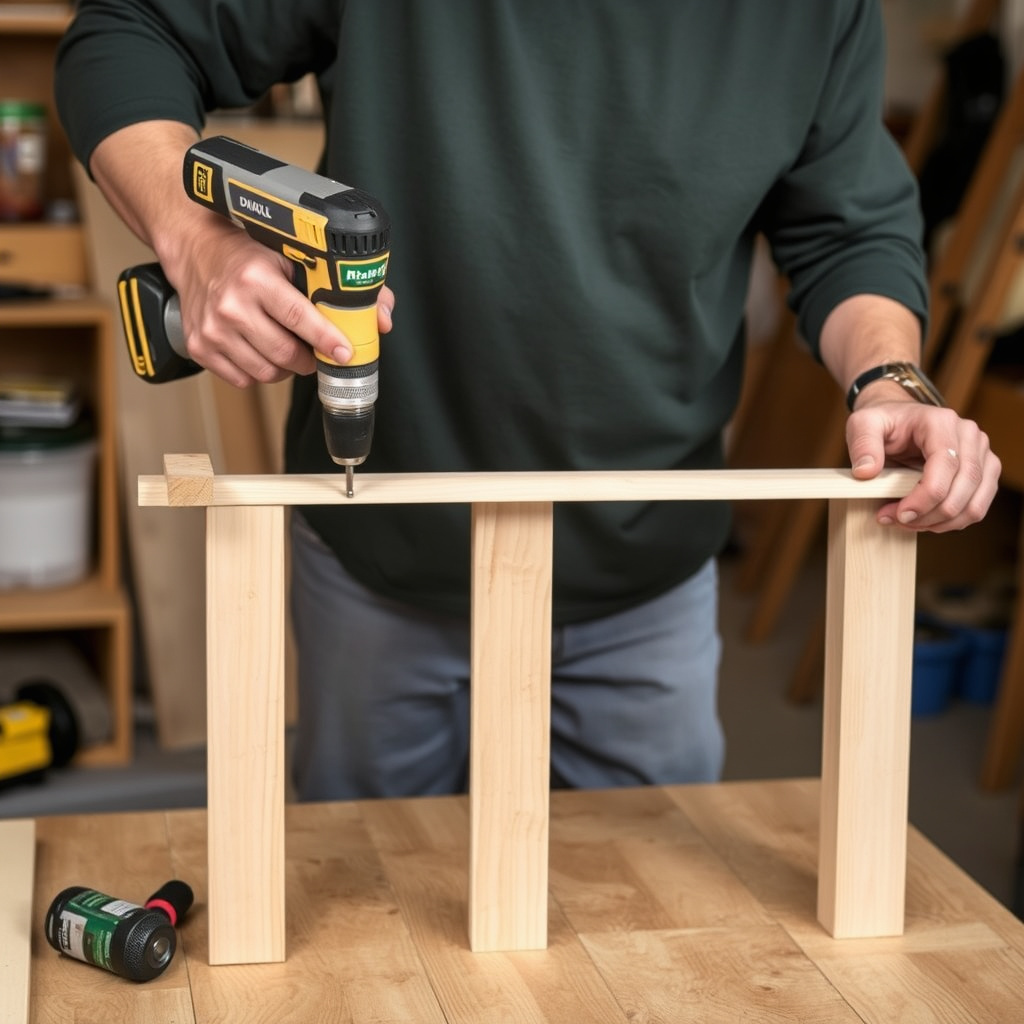
Building a Sturdy Base
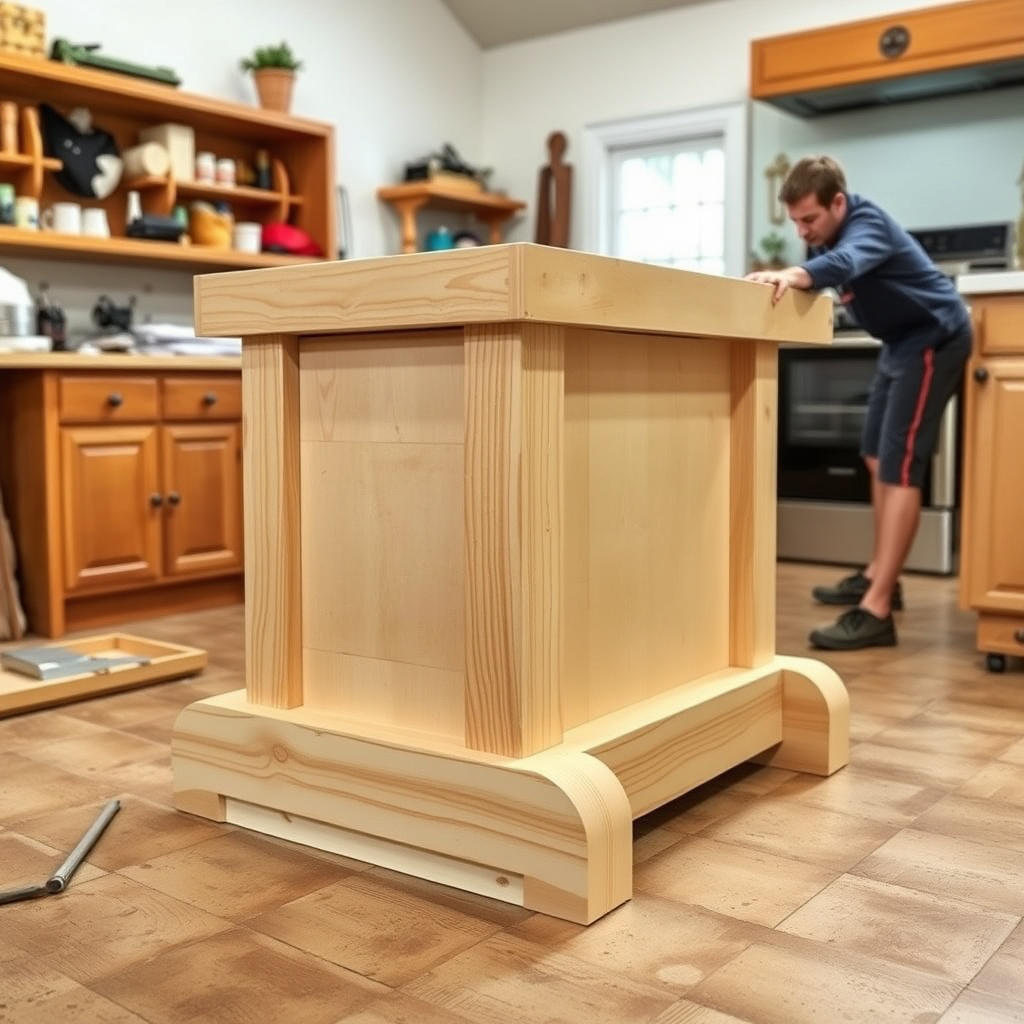
Start by building the base frame using 2×4 lumber or plywood sheets cut to your island’s dimensions. Reinforce corners with brackets for added stability.
Ensure the base is level and square before proceeding; this will make attaching cabinets and countertops easier.
- Cut lumber to size accurately
- Use brackets to reinforce joints
- Check the level and squareness
Installing Cabinets and Storage

Attach pre-made cabinets or build custom ones onto the frame depending on your design. Secure shelves and drawers properly for smooth operation.
Install doors or drawers as planned, adjusting hardware for alignment. Consider soft-close hinges for a premium feel.
- Attach cabinets securely to frame
- Install shelves, drawers, and doors
- Adjust hardware for proper fit
Adding Countertops and Finishing Touches
Choosing and Installing Countertops
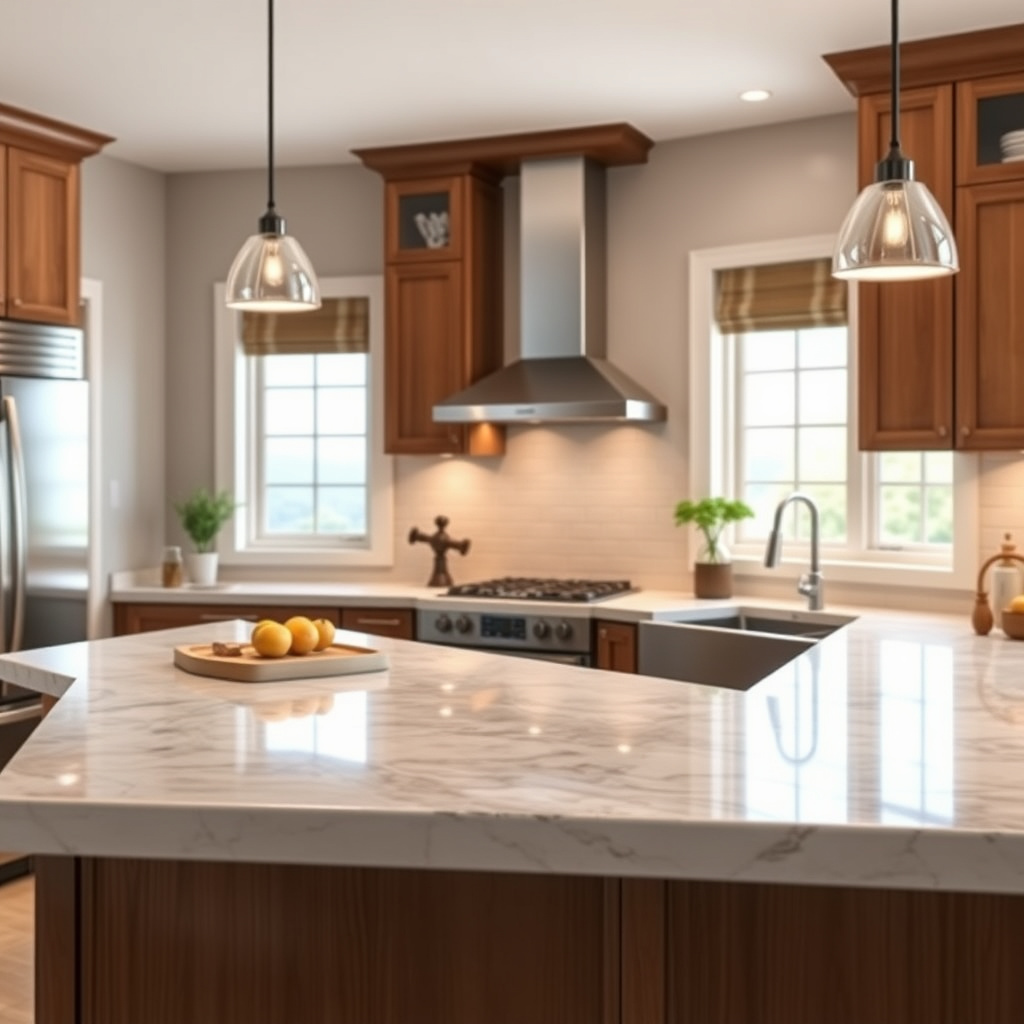
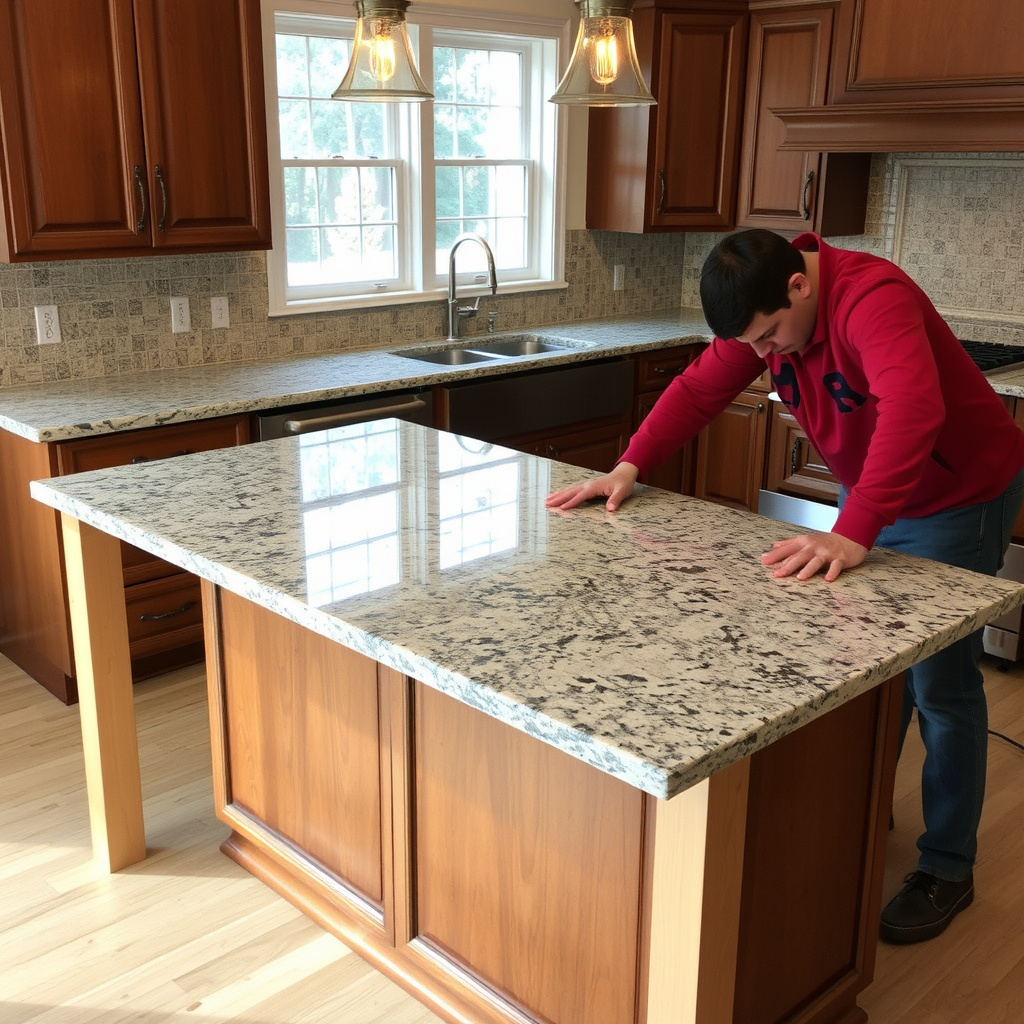
Select a countertop material that fits your kitchen style and usage. Popular options include granite, quartz, butcher block wood, and laminate.
Cut the countertop to size and affix it securely to the base frame. Seal the countertop edges if required, especially for wood or stone.
- Pick countertop material based on durability and style
- Cut and fit carefully to island dimensions
- Seal edges and surfaces as necessary
For more on this, see our related guide: How Tall Are Kitchen Counters? Standard Measurements and Custom Options Explained.
Painting, Staining, and Final Assembly

Finish the island by painting or staining the wood surfaces to complement your kitchen décor. Use durable, washable finishes to withstand kitchen conditions.
Attach any remaining hardware like handles or hooks. Double-check all elements for safety and aesthetic quality before regular use.
- Use durable paint or stain
- Add hardware like handles and hooks
- Inspect for finish quality and safety
Safety and Maintenance Tips for Your Kitchen Island
Ensuring Safety in a Busy Kitchen
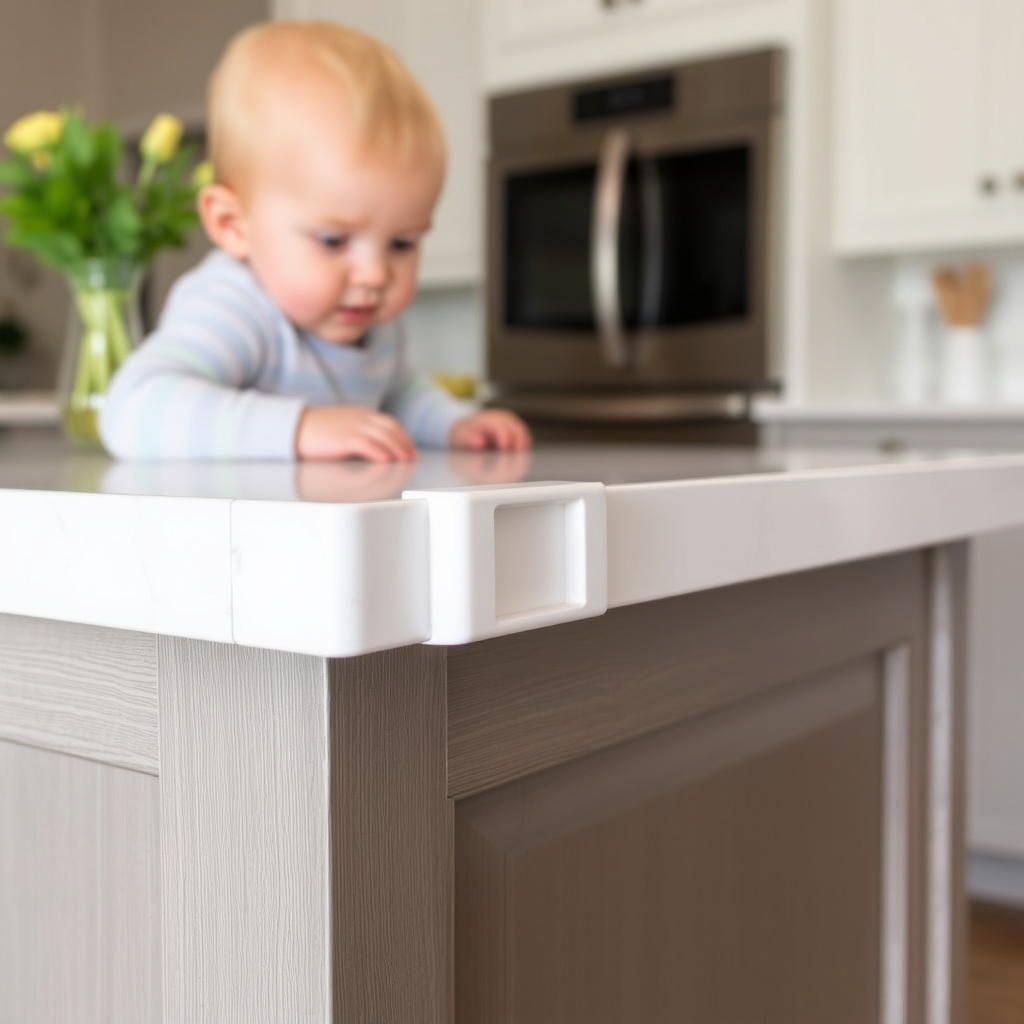
If you have children or pets, incorporate safety features such as rounded edges, childproof locks, and slip-resistant flooring around the island.
Ensure electrical outlets and appliances integrated in the island are installed according to code with proper grounding and protection.
- Use rounded edges on corners
- Install child safety locks
- Follow electrical safety codes
For more general background, you can visit the kitchen island article on Wikipedia. kitchen island article on Wikipedia.
Maintaining Your Kitchen Island Over Time
Regularly clean and inspect your kitchen island surfaces to prevent damage and wear. Refinish or reseal wood countertops and cabinetry every few years.
Tighten screws and hardware periodically to keep the island sturdy and safe.
- Clean surfaces after use
- Refinish wood when needed
- Check and tighten hardware
Kitchen Island Types Comparison
Review this comparison table to understand key differences among common kitchen island styles and designs.
| Type | Typical Size | Features | Installation Complexity | Cost Estimate |
|---|---|---|---|---|
| Freestanding Island | 3-5 ft wide | Portable, no plumbing | Low | $300-$800 |
| Built-In Island | Custom sized | Integrated appliances, plumbing | High | $1000-$5000+ |
| Portable Kitchen Cart | Compact, 2-3 ft wide | Wheels, storage | Very Low | $100-$400 |
| Peninsula Island | Attached on one side | Extra counter space, seating | Medium | $800-$2000 |
| Butcher Block Island | Varies, typically 4-6 ft | Wood countertop, seating | Medium | $600-$2000 |
Frequently Asked Questions
How much space should I leave around a kitchen island?
Leave at least 36 to 48 inches of clearance on all sides of the kitchen island to allow for comfortable movement and appliance access.
Can I build a kitchen island with a sink?
Yes, but adding a sink requires plumbing installation and waterproof materials. Plan carefully to accommodate pipes and drainage.
What is the best countertop material for a kitchen island?
Popular options include granite for durability, butcher block for warmth, quartz for low maintenance, and laminate for affordability.
Do kitchen islands need to be fixed in place?
Not always; portable kitchen carts are mobile, but built-in islands should be secured for stability and safety.
Can I install appliances in a DIY kitchen island?
You can, but ensure all electrical and plumbing work meets local codes and consider professional help for installation.
Key Takeaways
- Plan size and features before building your kitchen island
- Choose durable materials suited to your kitchen use
- Build a strong frame and properly install cabinets
- Include safety features and maintain regularly
Conclusion
Building a kitchen island involves a balance of thoughtful planning, selecting the right materials, and careful construction. The process starts with measuring your available space and deciding on essential functionalities such as storage or appliance integration. Throughout the build, prioritizing build quality and safety will result in a durable, functional centerpiece that complements your kitchen's style.
If you seek flexibility and ease, a portable kitchen cart or butcher block island offers quick assembly and adaptability. For more elaborate setups involving plumbing or cooking appliances, a built-in island with custom cabinetry can provide a long-lasting solution tailored to your needs. By evaluating your budget and available tools, you can choose the approach that fits your skill level and intended use.
Before beginning construction, gather all necessary tools and materials and follow clear, step-by-step guidelines. Should your design include integrated appliances or sinks, consulting with professionals is advised to meet safety codes. With a bit of time and patience, building your own kitchen island can enhance your kitchen’s usability and style significantly.