How to Paint Kitchen Cabinets: A Step-by-Step Guide for a Flawless Finish
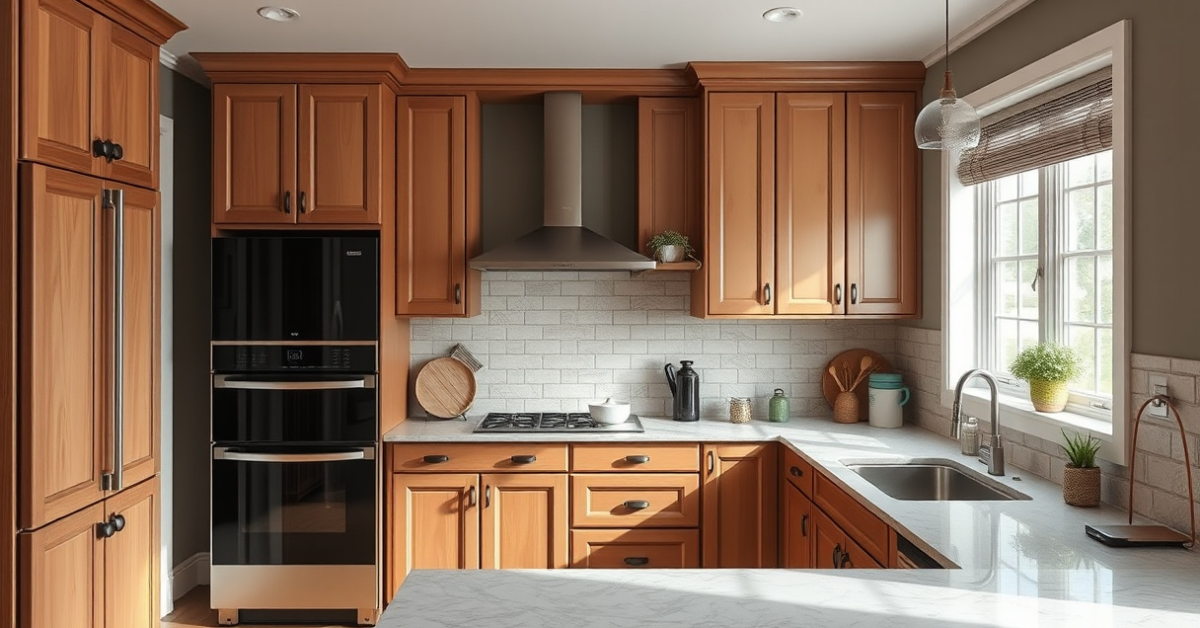
Painting kitchen cabinets can dramatically change the look of your space without the expense of a full remodel. To paint kitchen cabinets successfully, start by cleaning and sanding all surfaces to remove grease and old finishes. Then, prime the cabinets with a bonding primer, allowing for proper adhesion. Finally, apply multiple coats of high-quality, durable paint designed for cabinetry, finishing with a clear protective topcoat for longevity.
A fresh coat of paint on your cabinets not only brightens the kitchen but also protects the wood from wear and moisture, extending their lifespan. Proper preparation and using the right materials are vital to avoid common issues like peeling, bubbling, or uneven color. This process requires patience but rewards you with an updated kitchen that feels customized.
This guide walks through every step: preparation techniques, paint selection, application tips, and troubleshooting common pitfalls. With these insights, even beginners can achieve professional-looking, long-lasting results on kitchen cabinets.
Preparing Your Kitchen Cabinets for Painting
Cleaning and Removing Grease

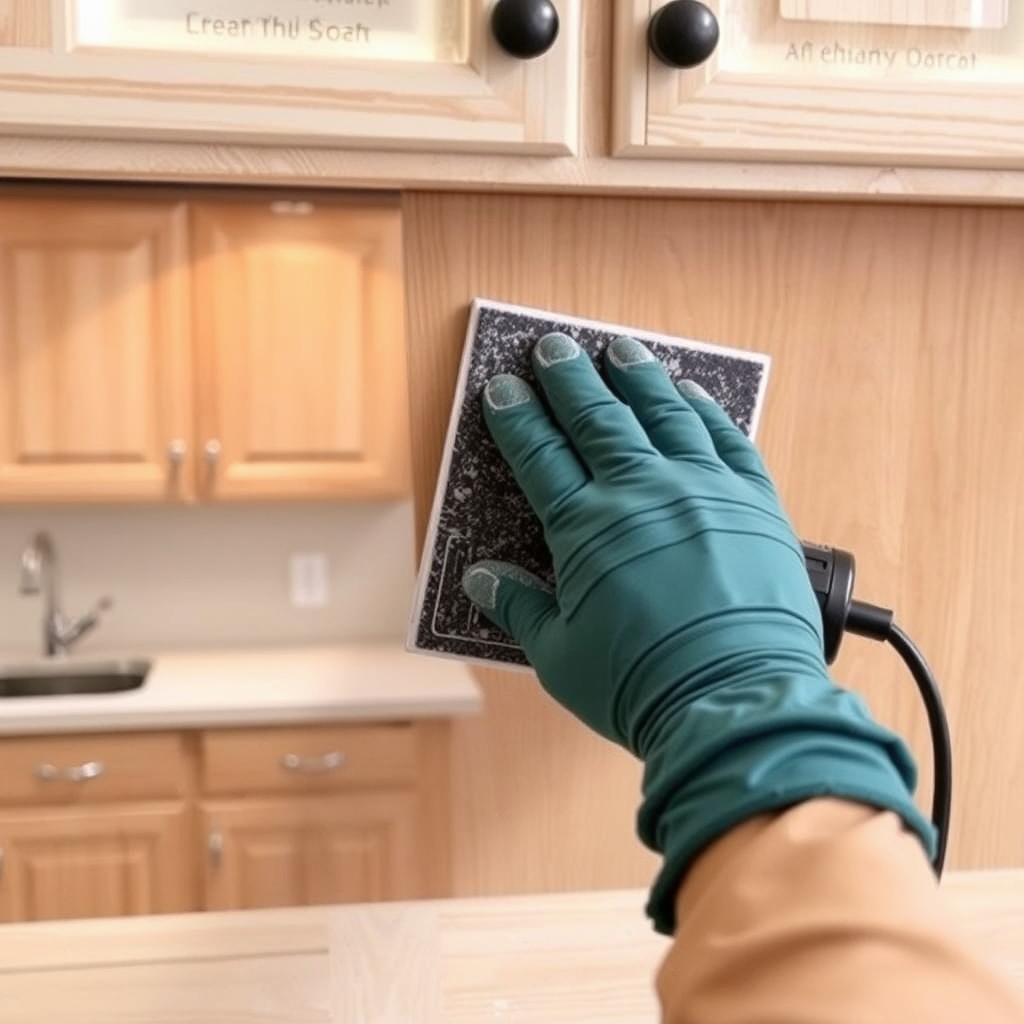
Before painting, cabinets must be completely clean to allow paint adherence. Use a degreaser or a mixture of trisodium phosphate (TSP) and water to remove kitchen residue and oils. Wipe surfaces thoroughly to eliminate dust and grease, then let them dry completely.
Grease and dirt form barriers between paint and surface, causing bubbling or peeling over time. For best results, meticulously clean corners, grooves, and cabinet faces, ensuring no residue remains.
- Use a sturdy sponge or cloth
- Avoid harsh abrasives that damage wood
- Wear gloves to protect your skin
Sanding and Repairing Imperfections
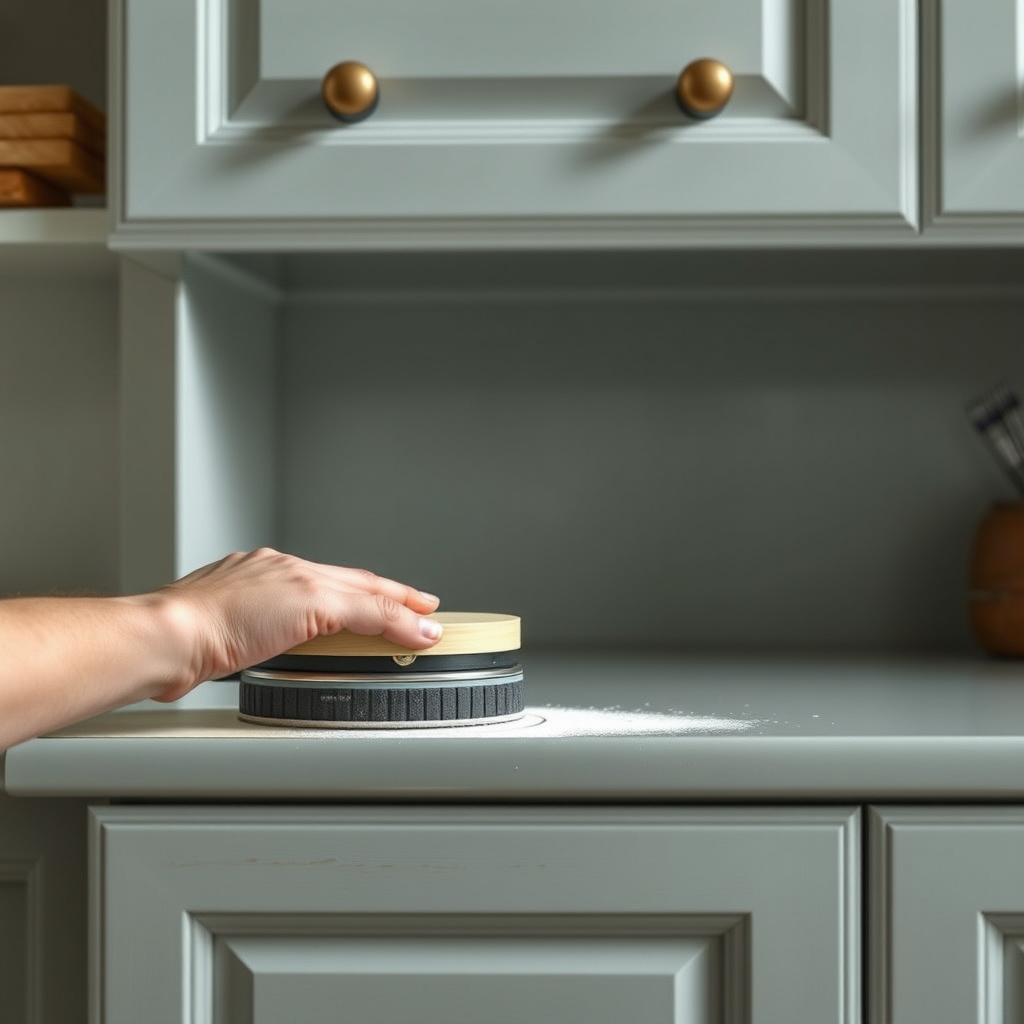
Sanding creates a slightly rough surface for primer and paint to grip. Use 120- to 220-grit sandpaper to scuff the cabinet surfaces, focusing on edges, raised panels, and frames. After sanding, wipe with a tack cloth to remove dust.
Fill holes, dents, or scratches with wood filler. Once dry, sand patched areas smooth. Proper repair prevents imperfections from showing through the final paint.
- Sand evenly for consistent texture
- Use a sanding block for flat surfaces
- Check light reflection to find spots missed
Choosing the Best Paint for Kitchen Cabinets
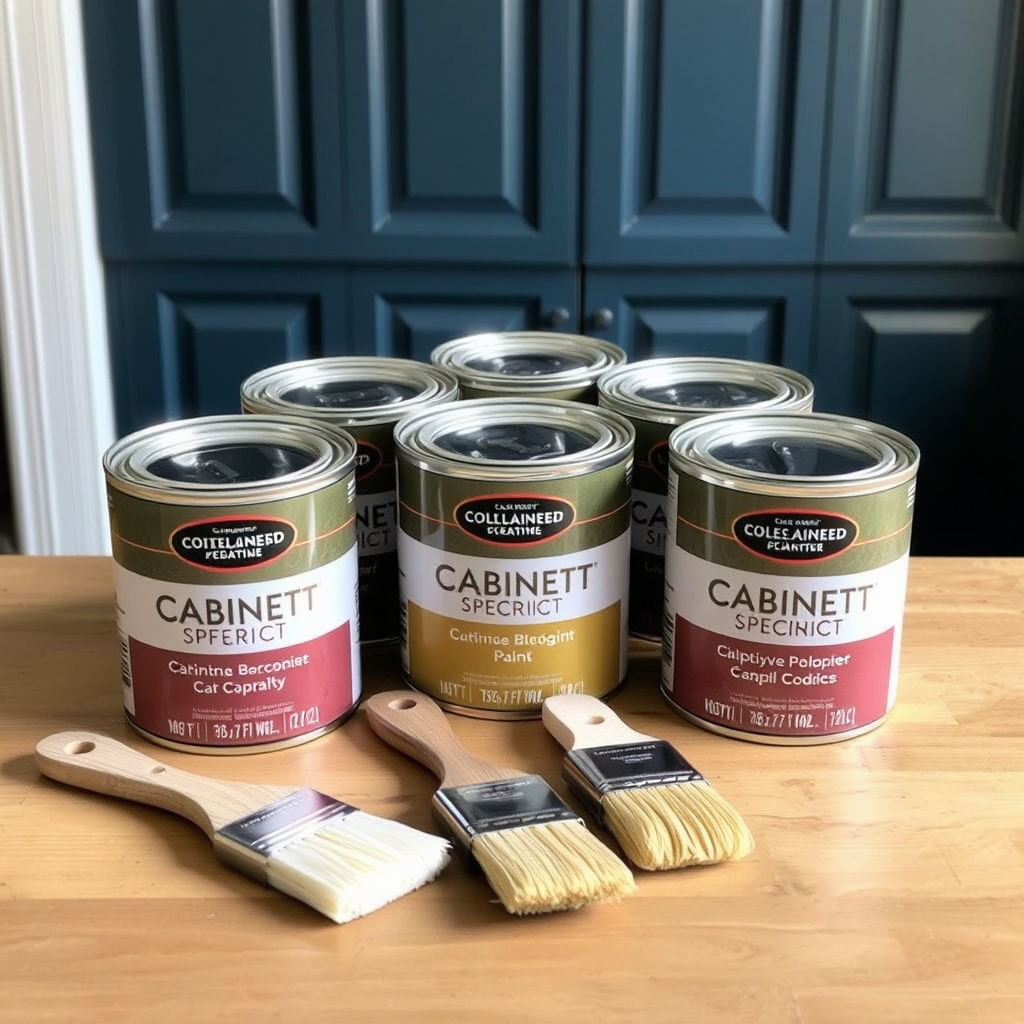
Types of Paint Suitable for Cabinets
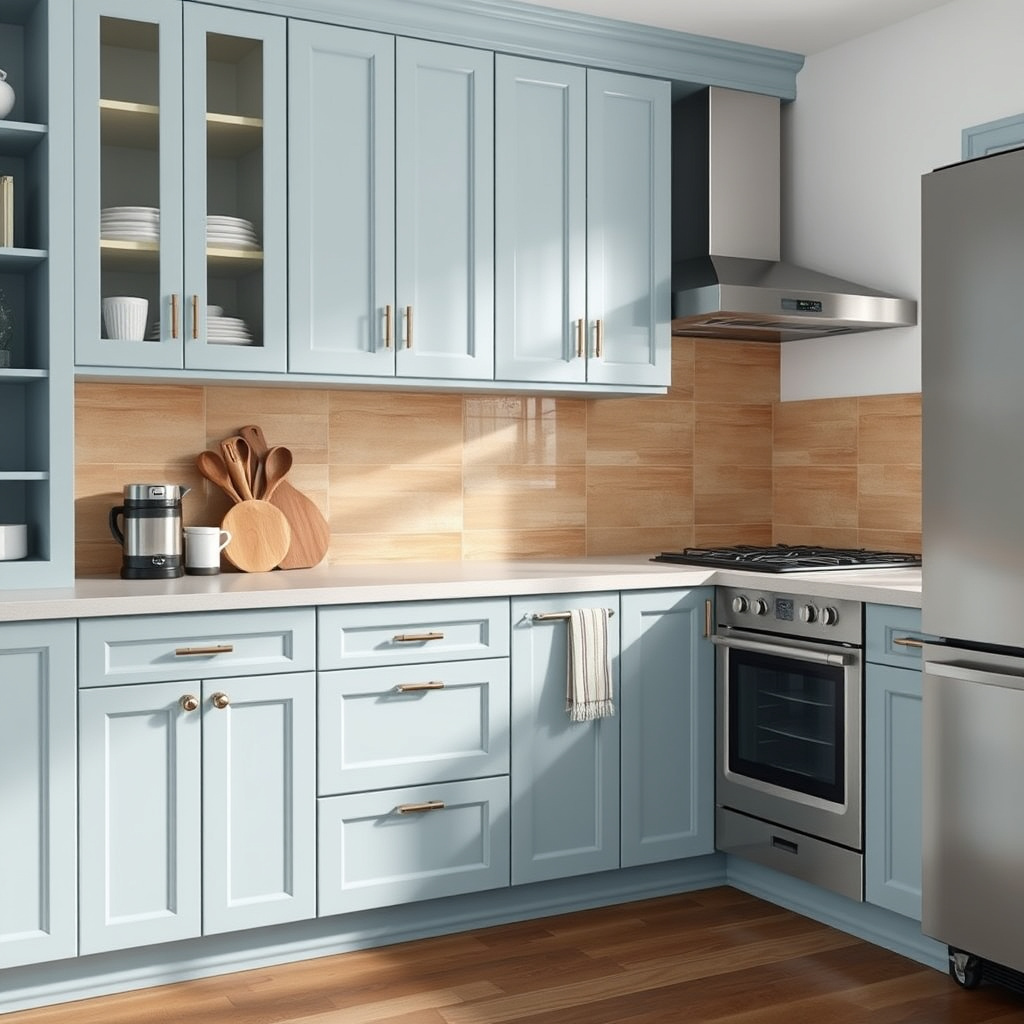
Select a durable paint designed to withstand frequent cleaning and wear. Acrylic latex paints with a semi-gloss or satin finish are popular for cabinets as they resist moisture and stains. Oil-based paints provide a smooth finish but have stronger fumes and longer drying times.
Cabinet-specific paints often combine durability with ease of application. They may include built-in primers or require a separate primer step. High-quality paints reduce the need for multiple coats while providing a sleek finish.
- Water-based acrylic latex: fast drying, easy clean-up
- Oil-based enamel: harder finish, longer curing
- Cabinet enamel products with primer included
Color and Finish Considerations
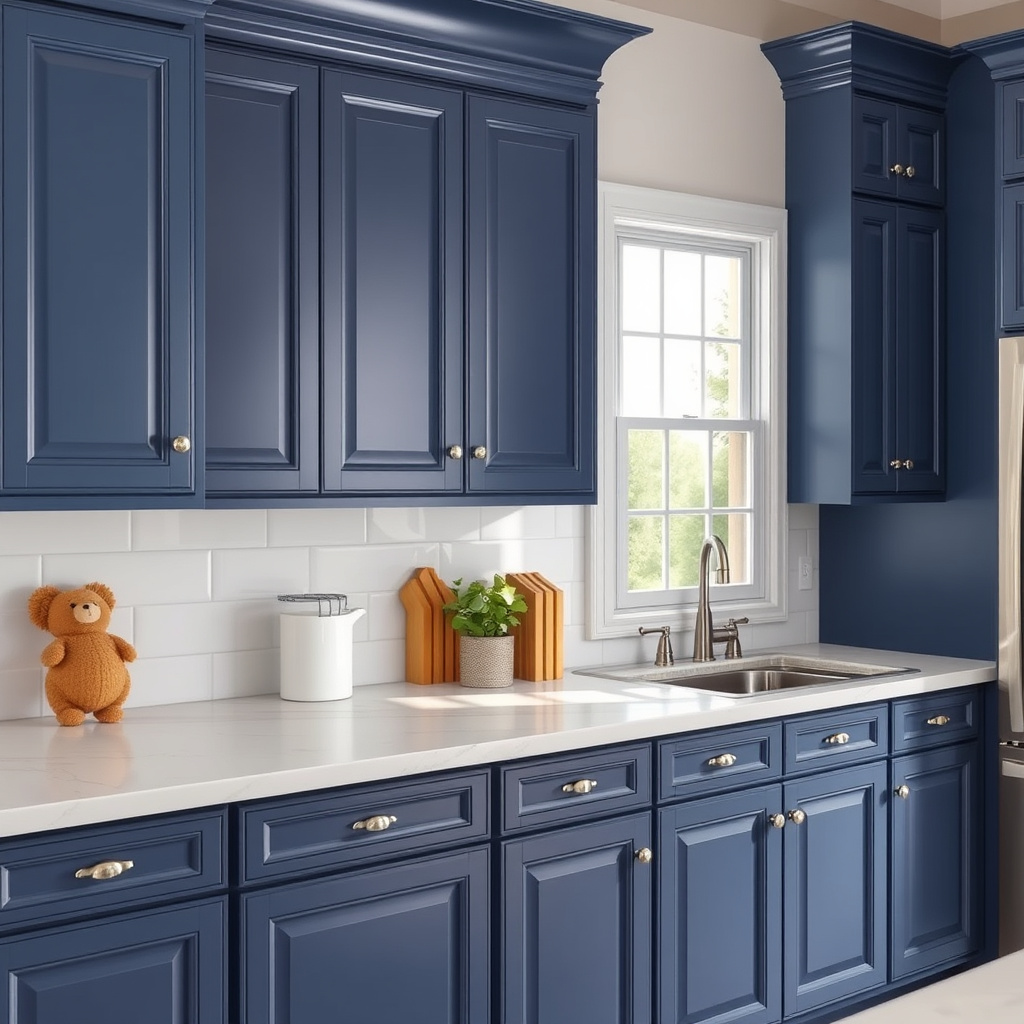
Choosing the right color and finish impacts both aesthetics and maintenance. Lighter colors brighten kitchens and show dirt less, while darker shades offer a bold look but reveal dust more easily. Semi-gloss or satin finishes balance shine with hiding minor imperfections.
Avoid flat or matte finishes on cabinets, as these are harder to clean and less durable. Sheen affects resistance to moisture and grease, both common in kitchens.
- Semi-gloss: popular for cabinets, easy to clean
- Satin: soft sheen, durable
- Avoid flat paints for cabinetry
Primer Application for Durable Kitchen Cabinet Paint
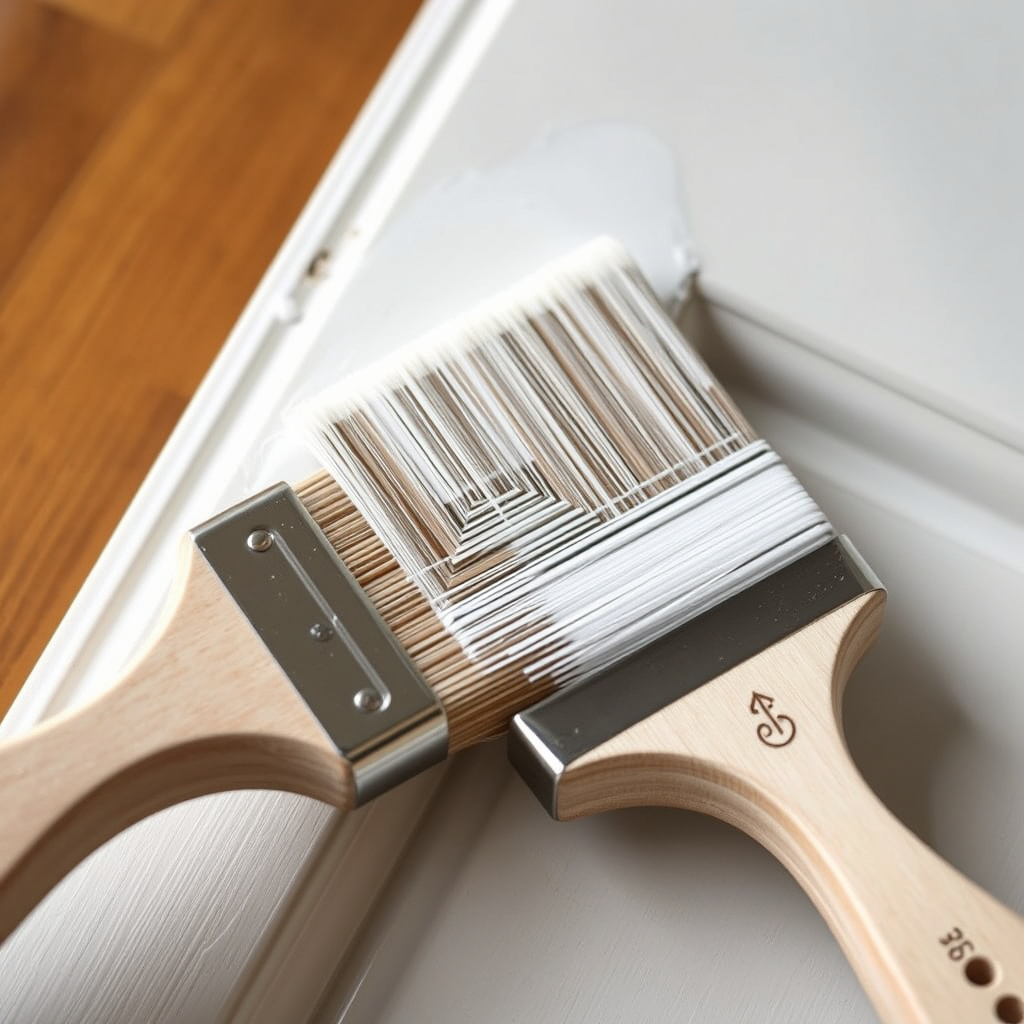
Importance of Priming Cabinets
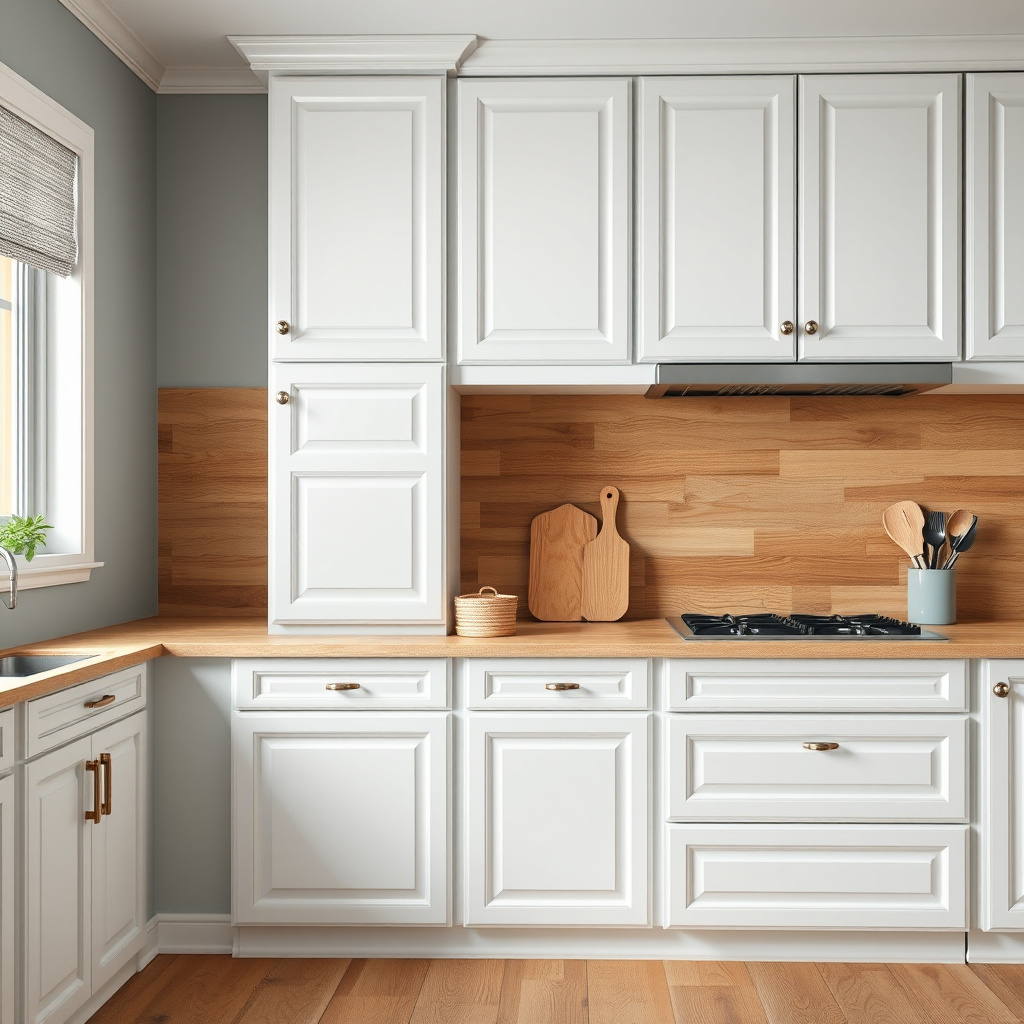
Priming is essential to achieve smooth paint adhesion and block stains or wood tannins from bleeding through. A high-quality bonding primer creates a reliable base for topcoat paint, preventing peeling and enhancing durability.
Primers also help fill minor imperfections and unify varying surfaces like wood and laminate, which are common in kitchen cabinetry.
- Choose a primer suitable for cabinet materials
- Allow full drying before painting
- Use a brush or roller to cover edges and detailed areas
Tips for Even Primer Coverage
Apply primer in thin, even coats to avoid drips and pooling. Use a high-density foam roller for flat surfaces and angled brushes for intricate moldings. Sand lightly between primer coats if needed to maintain smoothness.
Ventilate the area well and protect adjacent surfaces from primer splatters with painter’s tape and drop cloths.
- Work in one direction for uniform coverage
- Avoid over-application causing runs
- Allow proper curing time as per manufacturer
Applying Paint to Kitchen Cabinets
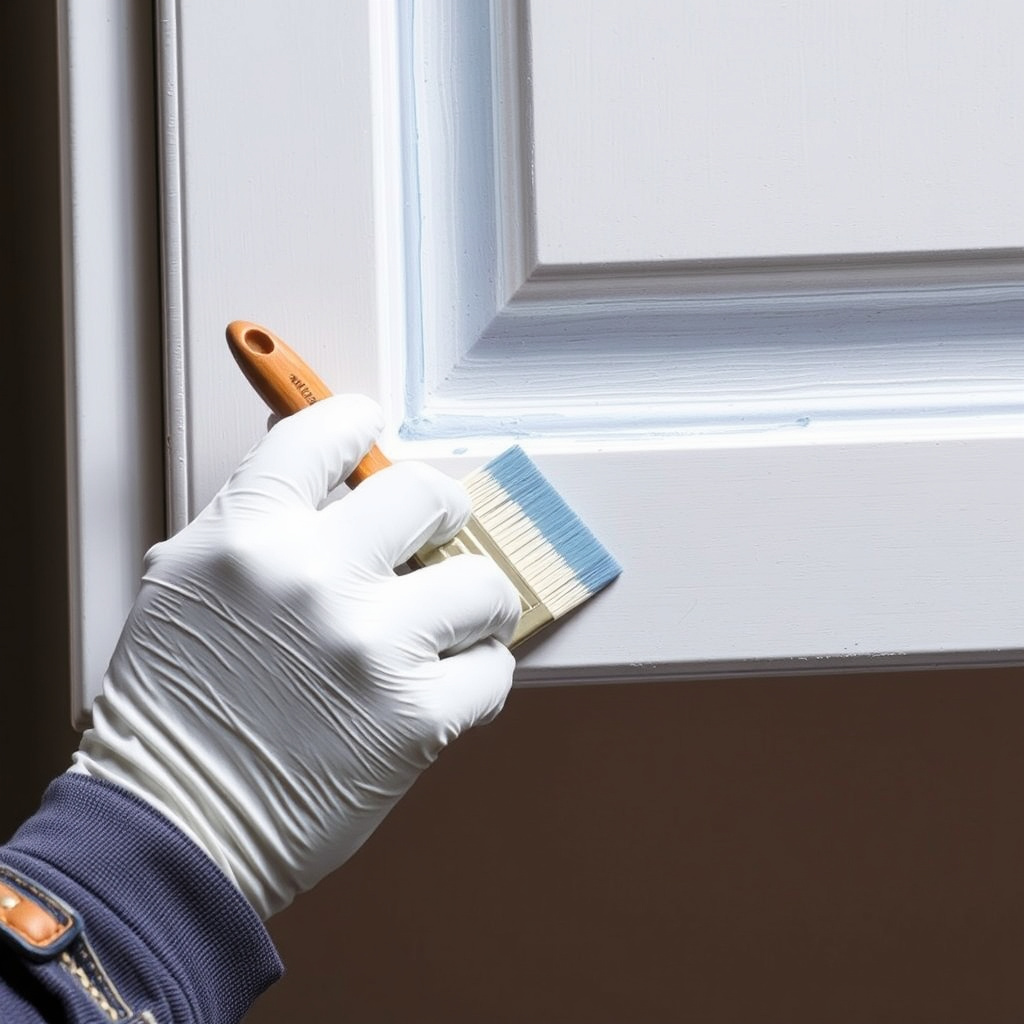
Brush, Roller, or Sprayer: Choosing Your Method
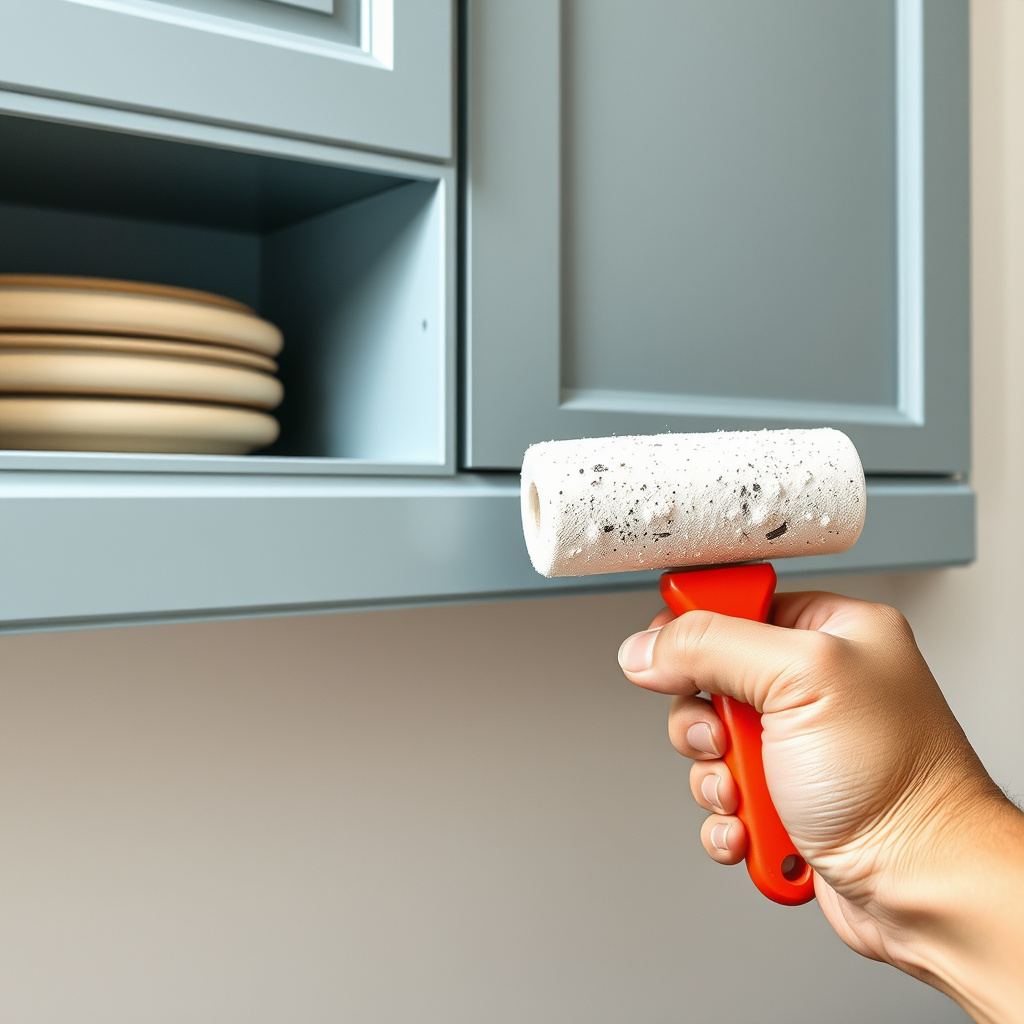
Deciding whether to use a brush, roller, or sprayer depends on your tools and experience. Brushes are excellent for edges and detailed trim, rollers speed painting flat surfaces, and sprayers give a professional finish with smooth layers but require more prep and skill.
For beginners, a brush combined with a small foam roller delivers professional results without complex equipment.
- Use an angled brush for corners and moldings
- Use a foam roller for flat areas to prevent streaks
- Sprayers need masking and ventilation
Layering and Drying Between Coats
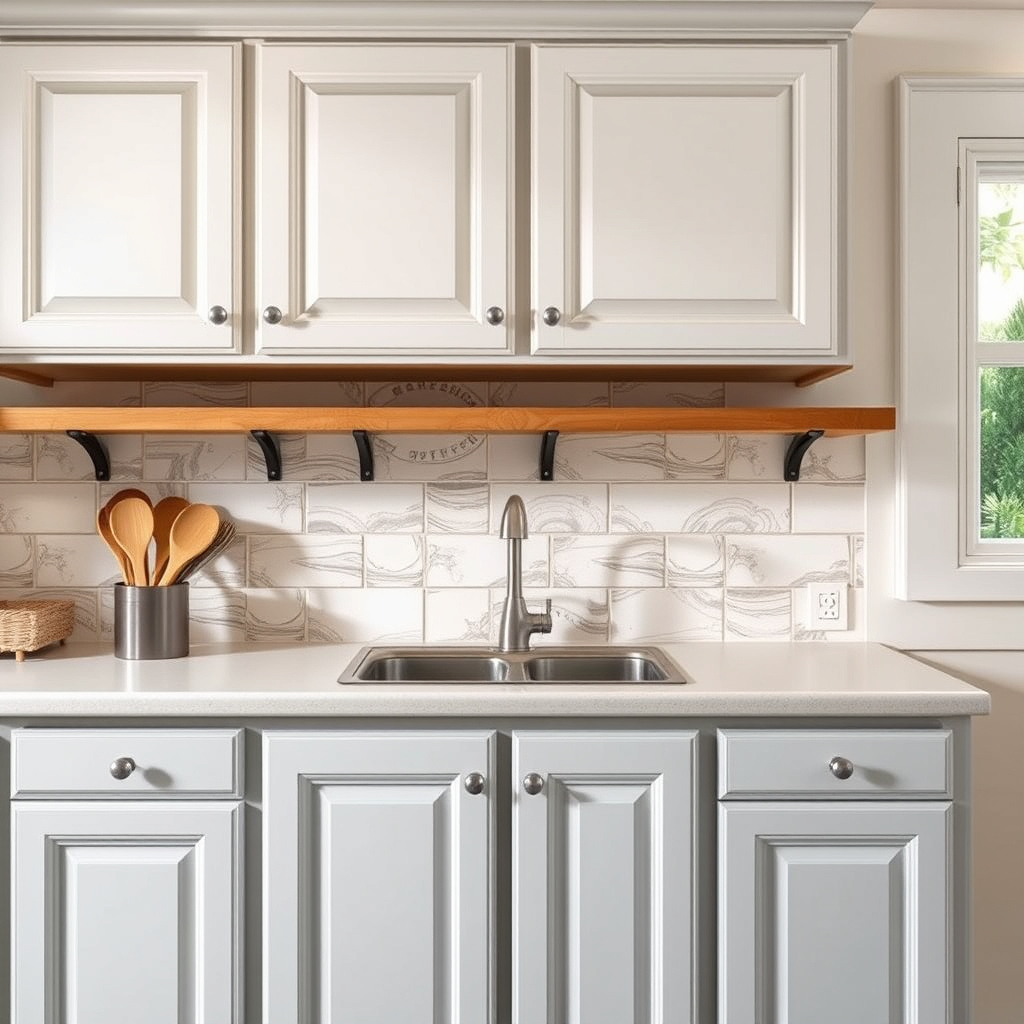
Apply thin coats that dry fully before the next to avoid clumps or brush marks. Two to three coats are usually necessary for solid coverage and durability. Lightly sanding between coats smooths the finish and improves adhesion of subsequent layers.
Keep dust and debris away during drying to maintain a flawless surface. Follow paint manufacturer drying time recommendations strictly.
- Thin coats prevent drips and texture issues
- Use 220-grit sandpaper between coats
- Clean all sanding dust before new paint application
Finishing Touches: Protecting and Maintaining Painted Cabinets

Applying a Protective Clear Coat
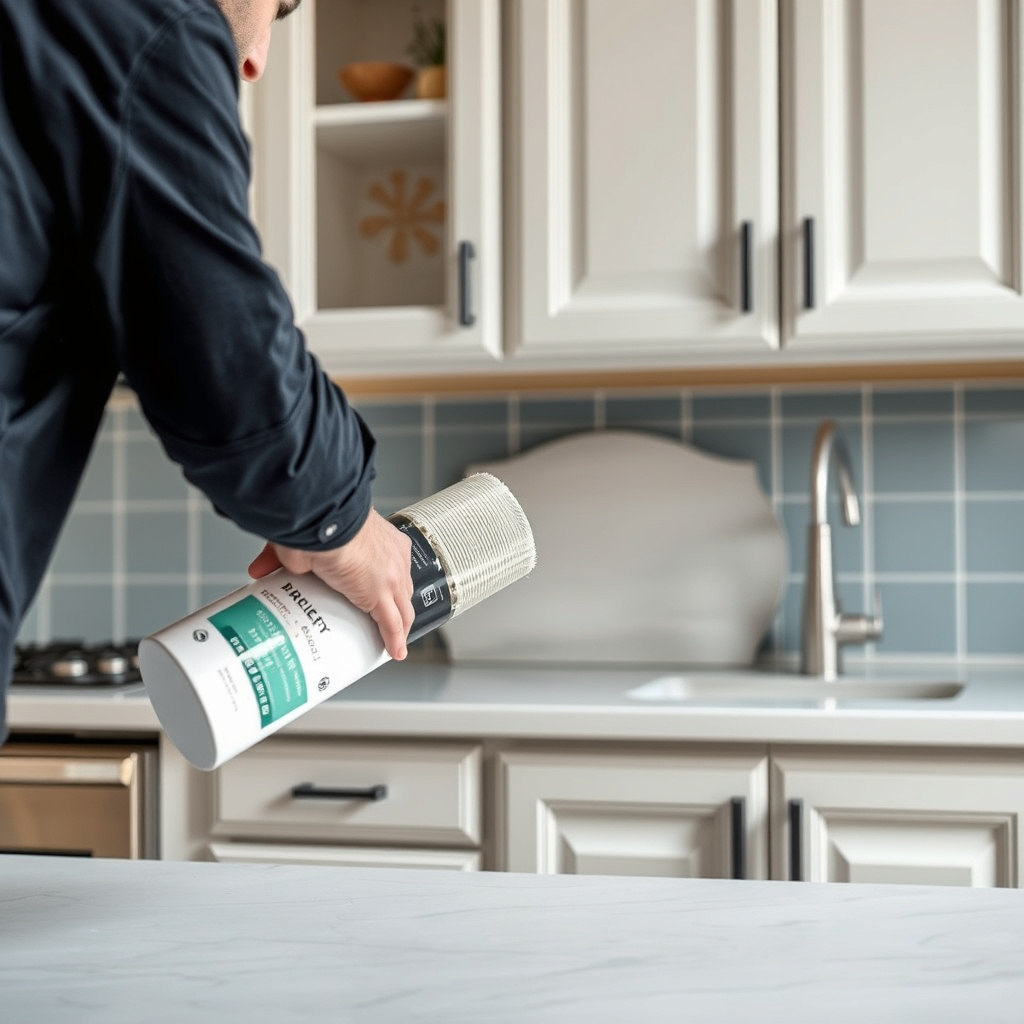
A clear protective topcoat seals the paint, adding durability against scratches, heat, and moisture. Water-based polyurethane or acrylic clear coats work well for kitchen cabinets without yellowing over time. Apply thin, even coats with a clean brush or roller based on product instructions.
This step enhances the longevity of your painted cabinets, keeping them looking fresh and preventing frequent touch-ups.
- Choose non-yellowing clear coats for light colors
- Use multiple thin layers for best protection
- Ensure cabinets are dust-free before application
Maintaining Painted Cabinets Over Time
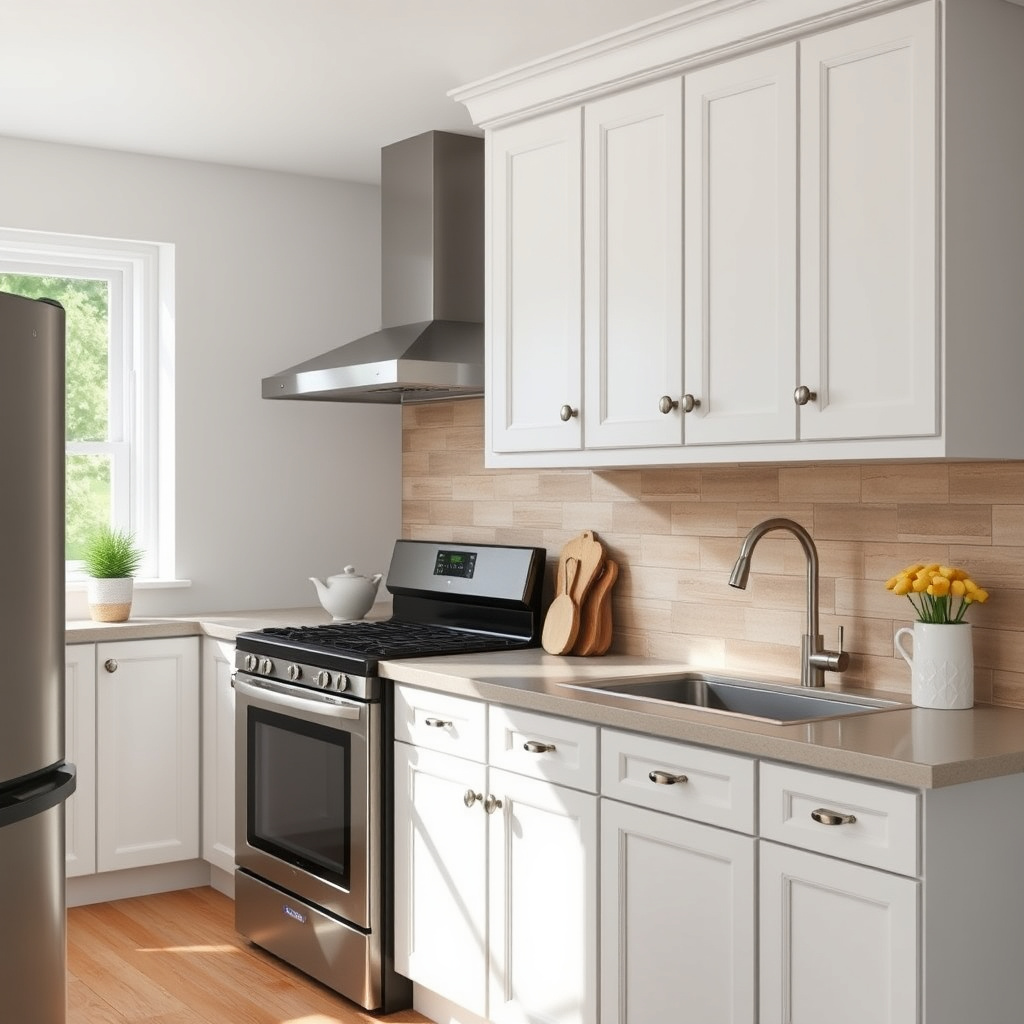
To keep cabinets looking their best, clean gently with mild soap and water. Avoid abrasive cleaners or scrubbers that can damage the finish. Promptly wipe spills and grease to prevent staining.
Periodic touch-ups using leftover paint can handle minor chips or scratches, extending the fresh painted look for years.
- Use soft cloths for cleaning
- Avoid excessive water exposure
- Inspect for damage regularly
Common Challenges and Troubleshooting in Cabinet Painting
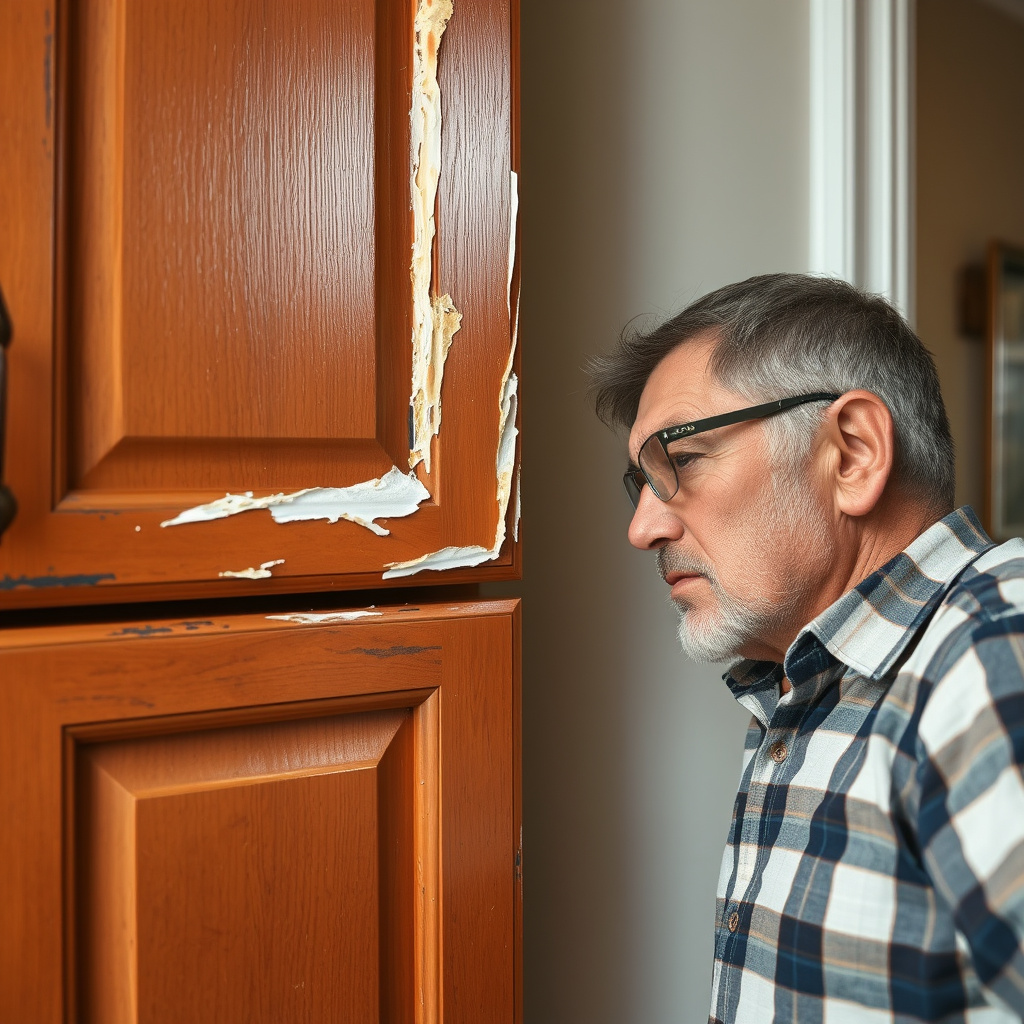
Preventing and Fixing Paint Peeling
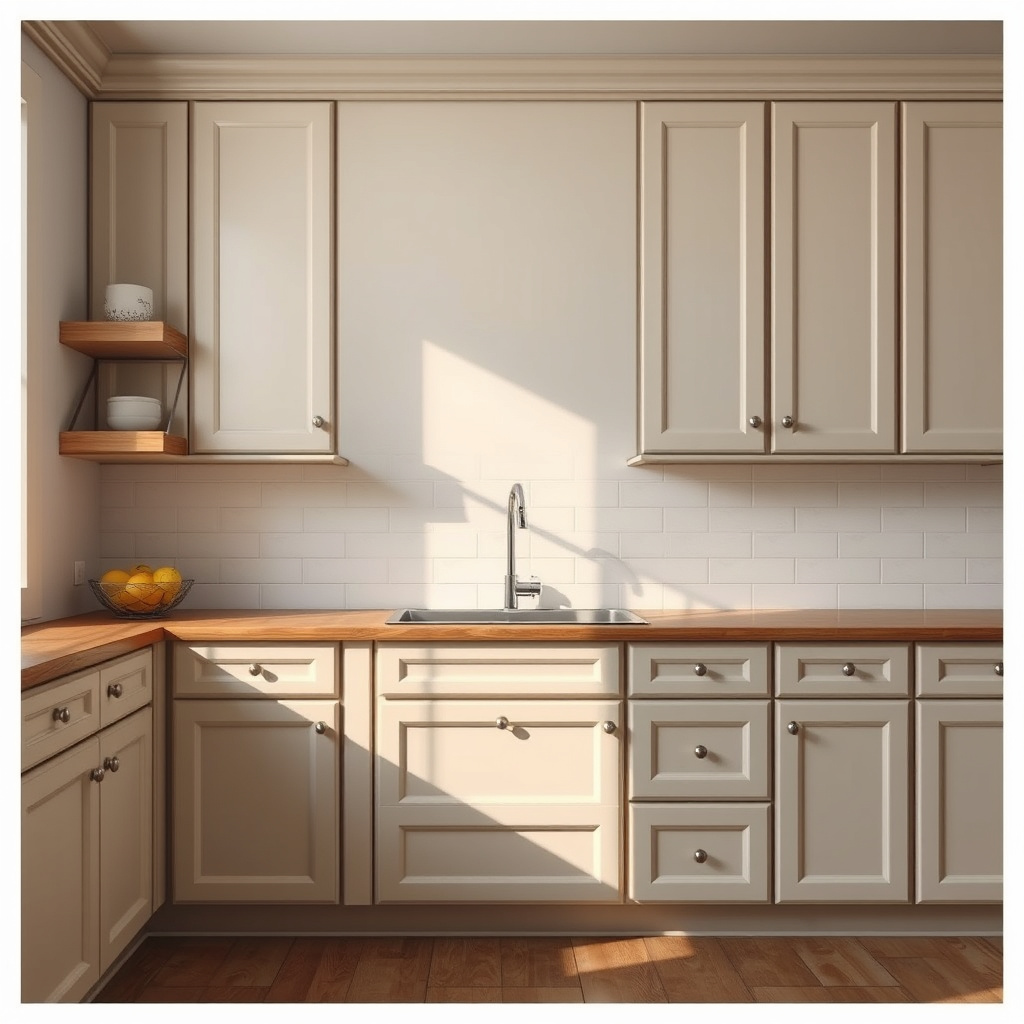
Peeling occurs when paint does not properly adhere, often due to poor surface prep or moisture. Fix by sanding back peeling areas, re-priming, and repainting after thorough cleaning and drying.
Ensuring cabinets are grease-free and fully dried before priming is key to avoiding peeling.
- Avoid painting over glossy surfaces without sanding
- Control humidity during painting and drying
- Use high-quality primers and paints
For additional insights and historical context, you can review painting kitchen cabinets details on Wikipedia. painting kitchen cabinets details.
Addressing Brush Marks and Streaks

Brush marks and roller streaks result from overly thick paint or improper technique. To fix, sand lightly after drying and apply a thin, smooth coat. Use soft brushes and foam rollers designed for smooth surfaces.
Applying paint in thin layers and using consistent brush strokes minimizes these imperfections.
- Light sanding between coats
- Proper tool selection
- Avoid rushing paint application
Comparison of Kitchen Cabinet Paint Types
Here is a comparison of common paint types used for kitchen cabinets, highlighting durability, finish, and drying times to help you choose the best option.
| Paint Type | Durability | Finish Options | Drying Time | Clean-up |
|---|---|---|---|---|
| Acrylic Latex | High | Satin, Semi-Gloss | 1-2 hours (dry to touch) | Water-based |
| Oil-Based Enamel | Very High | Glossy, Semi-Gloss | 6-8 hours (dry to touch) | Solvent-based |
| Cabinet Enamel (Water- or Oil-Based) | High to Very High | Semi-Gloss, Satin | 2-6 hours (depending on formulation) | Water- or solvent-based options |
| Chalk Paint | Moderate | Matte | 30 minutes (dry to touch) | Water-based but needs topcoat |
Frequently Asked Questions
How long does it take to paint kitchen cabinets?
Painting kitchen cabinets usually takes several days, including cleaning, sanding, priming, painting multiple coats, and drying times between steps. The entire process typically spans 3 to 5 days for best results.
Do I need to remove cabinet doors before painting?
Removing cabinet doors is highly recommended to paint more thoroughly and neatly. It allows access to all surfaces and prevents paint from getting on hinges or surrounding walls.
Can I paint over laminate kitchen cabinets?
Yes, but laminate cabinets require thorough cleaning and sanding. Using a strong bonding primer designed for laminate ensures paint adheres well and lasts longer.
What brushes are best for painting cabinets?
High-quality synthetic bristle brushes with angled tips are best for cabinet painting, delivering smooth edges and minimizing brush marks on wood or laminate surfaces.
How do I avoid brush strokes when painting cabinets?
Applying thin, even coats with soft brushes or foam rollers, lightly sanding between coats, and painting with smooth, consistent strokes helps minimize brush marks.
Key Takeaways
- Thorough cleaning and sanding are essential for paint adhesion
- Use durable, cabinet-specific paint with a semi-gloss or satin finish
- Apply a quality primer before painting to prevent peeling
- Finish with a clear protective coat for long-lasting results
Conclusion
Painting kitchen cabinets involves careful preparation, selection of appropriate materials, and patient application to transform your kitchen's look effectively. A process that starts with cleaning and sanding, followed by priming, painting with the right coating, and sealing, ensures your cabinets maintain their beauty and durability over time. Evaluating factors like paint type, finish preferences, and your work style can guide you toward the best outcome.
For those seeking a quick yet sturdy update, acrylic latex paint combined with a high-quality primer and protective clear coat offers a balance between ease of use and lasting performance. Oil-based enamels, while offering a glossy, hard finish, may suit more experienced painters comfortable with longer drying times and stronger odors. If you have laminate cabinets, using bonding primers and specialized cabinet enamels increases paint adhesion and longevity. Sprayers produce a professional finish but require more preparation, while brushes and rollers suffice for most DIY projects.
Begin this project by removing cabinet doors and hardware for cleaner application, and set up your workspace to minimize dust contamination during drying. Take your time during each phase, including sanding between coats to smooth the surface. Following these guidelines will turn painting kitchen cabinets from a daunting task into a highly rewarding home upgrade.