How to Plumb a Kitchen Sink: Step-by-Step Guide for DIY Installation
To plumb a kitchen sink, you need to connect the water supply lines to the faucet, install the drain assembly, and properly link the drain to the home's waste system. This process involves fitting supply tubes, connecting the P-trap, sealing joints, and testing for leaks.
Proper plumbing is critical for a kitchen sink's functionality, preventing water damage and ensuring smooth water flow. Whether upgrading an old sink or installing a new one, understanding the plumbing basics saves money and avoids common plumbing mistakes.
This article outlines the essential steps to plumb a kitchen sink effectively. We will cover the tools needed, how to install water supply lines, properly assemble the drain system, handle venting, and troubleshoot typical issues, making the installation straightforward.
Preparing for Kitchen Sink Plumbing
Gathering Tools and Materials
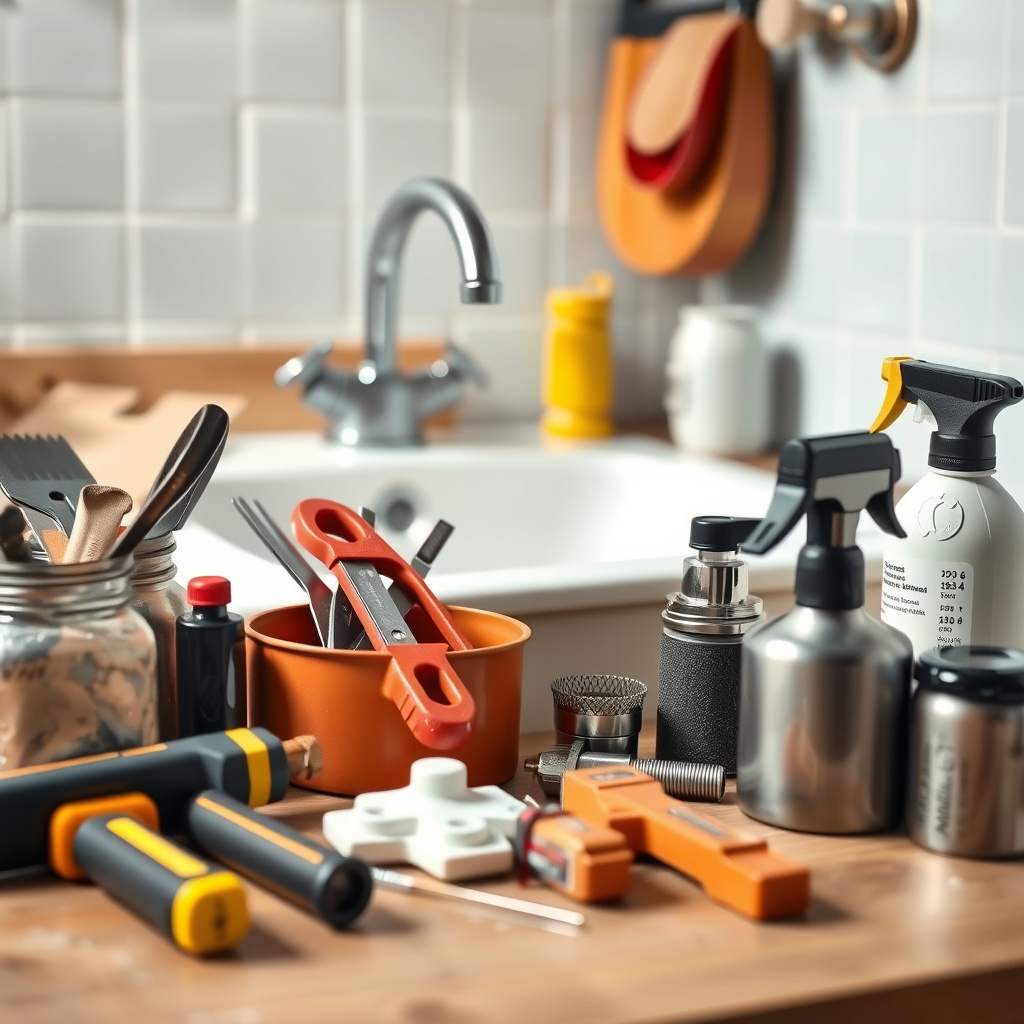
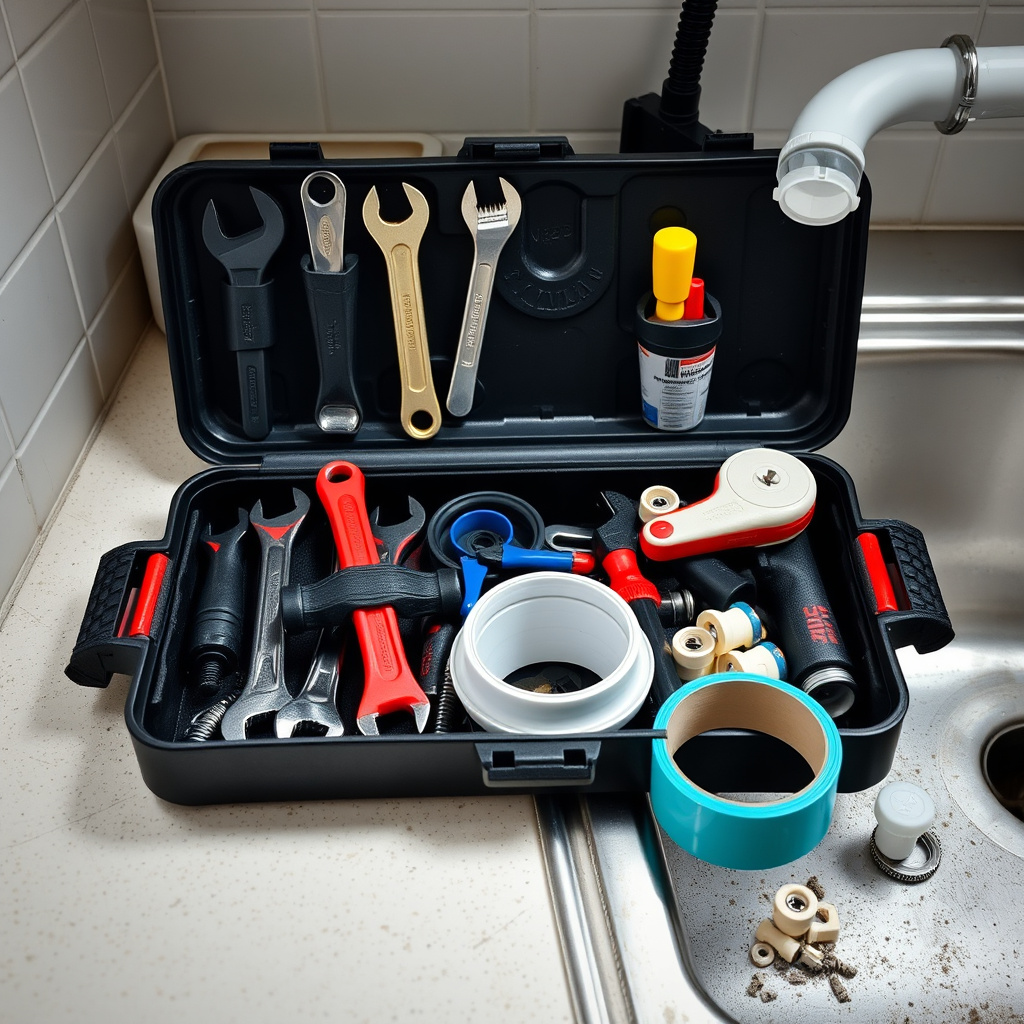
Before starting, collect all necessary tools including adjustable wrenches, plumber’s putty, pipe tape, and a basin wrench for tight spaces. You’ll also need new supply lines, a drain assembly kit, and possibly a P-trap if not reusing the old one.
Having everything on hand prevents stops mid-project and helps maintain a smooth workflow. Inspect existing connections and remove any old, corroded parts for better sealing with new components.
- Adjustable wrench
- Plumber’s putty or silicone sealant
- Pipe tape (Teflon tape)
- Basin wrench
- Replacement supply lines
- Drain and P-trap assembly
Shutting Off Water Supply and Removing Old Sink

Turn off both hot and cold water valves beneath the sink. Open the faucet to release pressure and drain residual water from lines. Disconnect supply lines carefully using the wrench.
Remove the drain trap and disconnect the sink from the countertop or cabinet mounts. Take caution to not damage adjacent pipes or surfaces; this may require loosening clips or cutting caulk for older sinks.
Connecting Water Supply Lines for the Kitchen Sink Plumbing
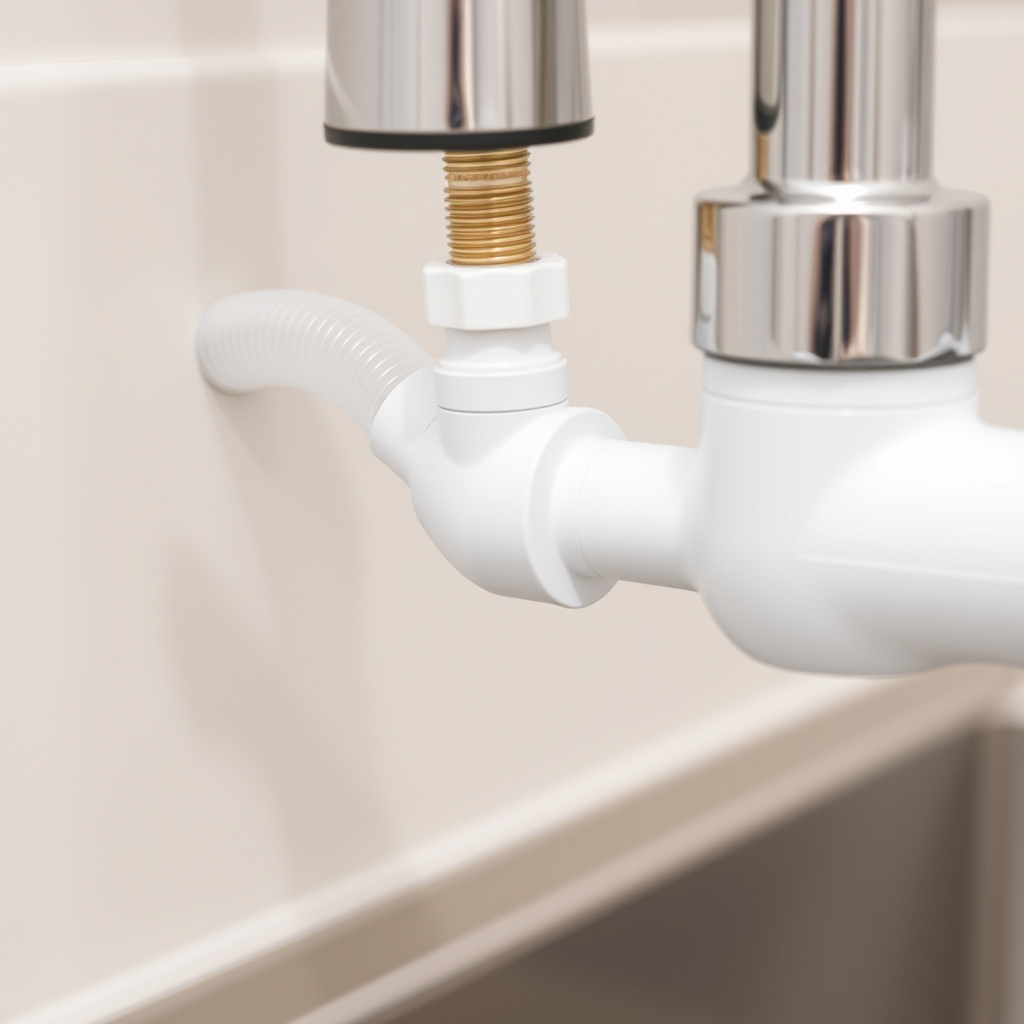
Installing Faucet Supply Lines
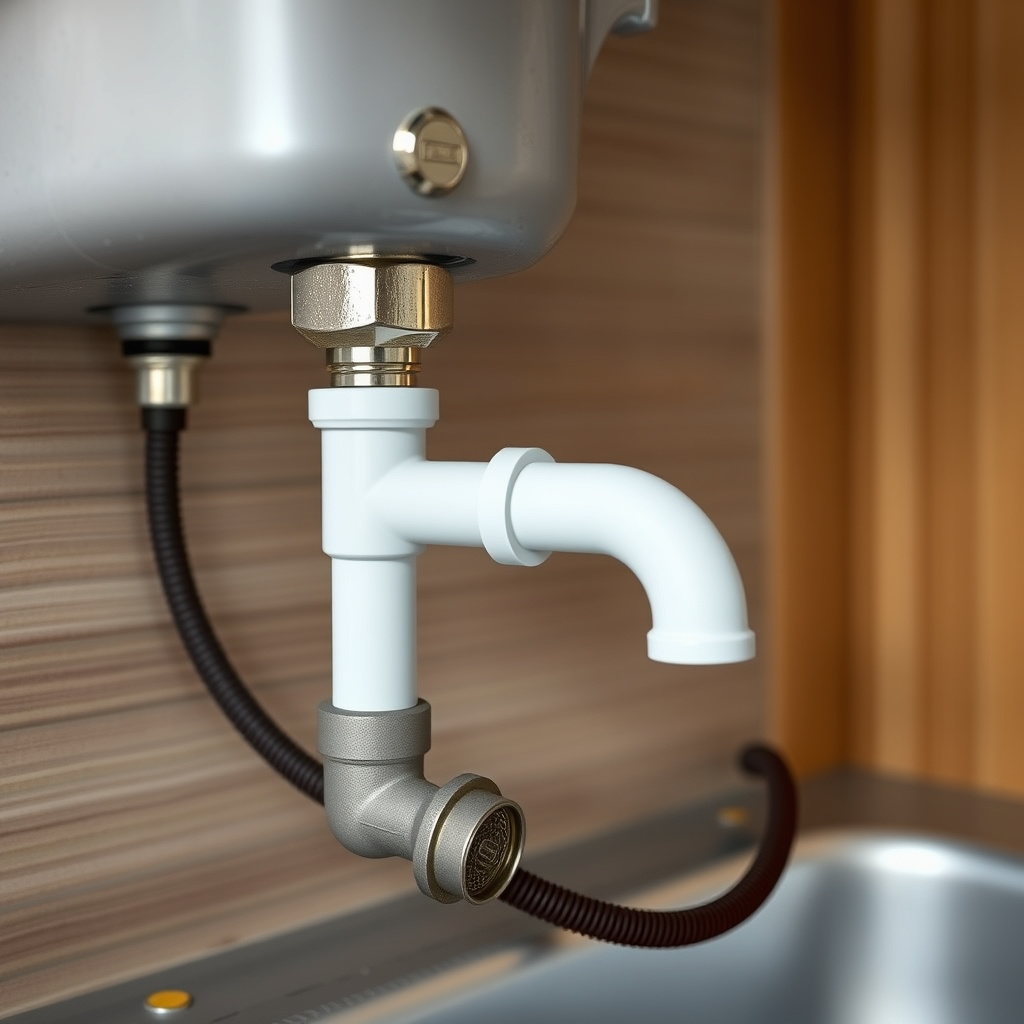
Attach the flexible supply lines to the faucet tailpieces using plumber’s tape on the threads for a watertight seal. Tighten fittings hand-tight and then about a quarter turn more with a wrench, avoiding over-tightening which can damage fittings.
Connect the other end of the supply lines to the shutoff valves beneath the sink. Verify that the hot and cold lines are connected to the correct valves to prevent cross-wiring and inconsistent temperature control.
- Apply Teflon tape on male threads
- Tighten with adjustable wrench carefully
- Match hot supply to left valve, cold to right
Testing for Water Supply Leaks
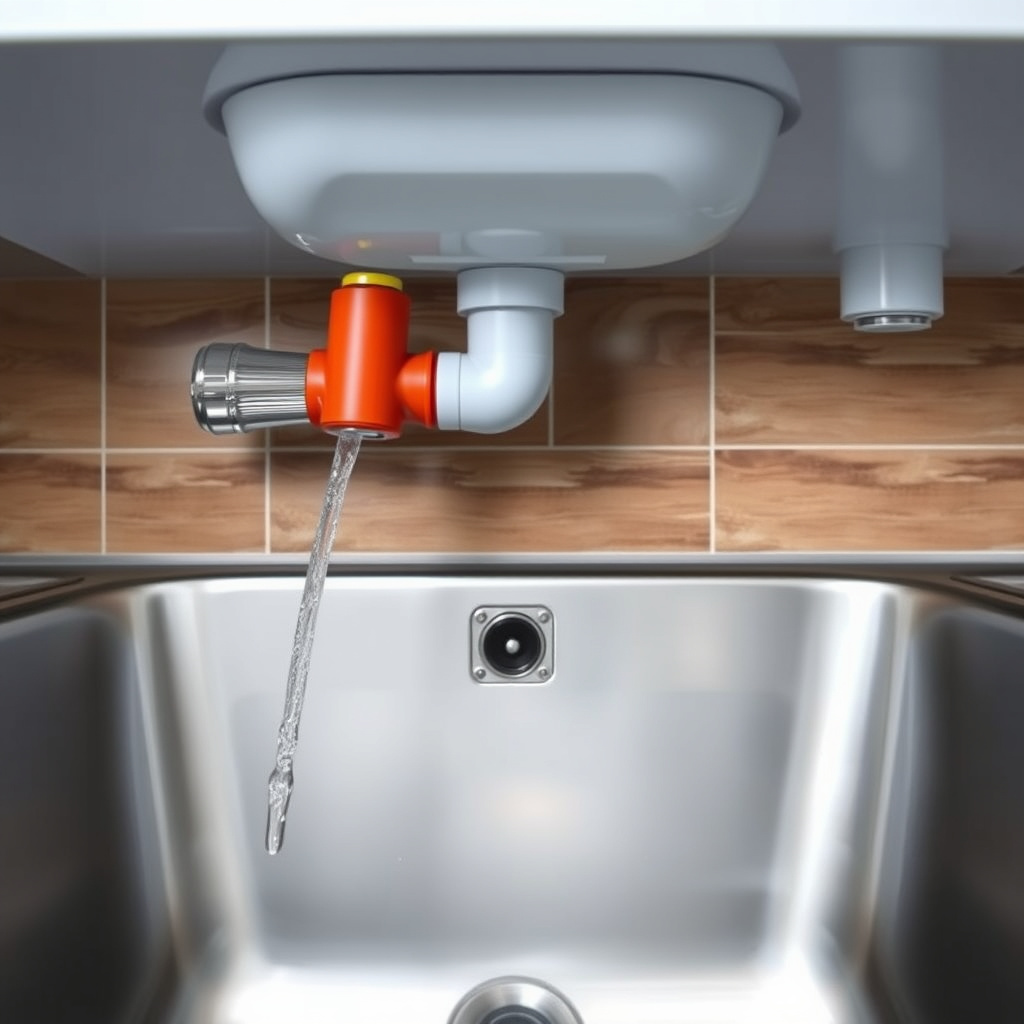
Turn the water valves on slowly and check all connections for leaks. Use a dry cloth or tissue paper to spot moisture that may be too small to see immediately. Tighten fittings slightly if any dripping is detected.
Run water through the faucet thoroughly to flush out any debris. This step also confirms proper water flow and confirms no leaks in the kitchen sink plumbing installation.
- Open valves gently
- Inspect all joints and fittings
- Adjust connections if leaks appear
Installing the Drain Assembly
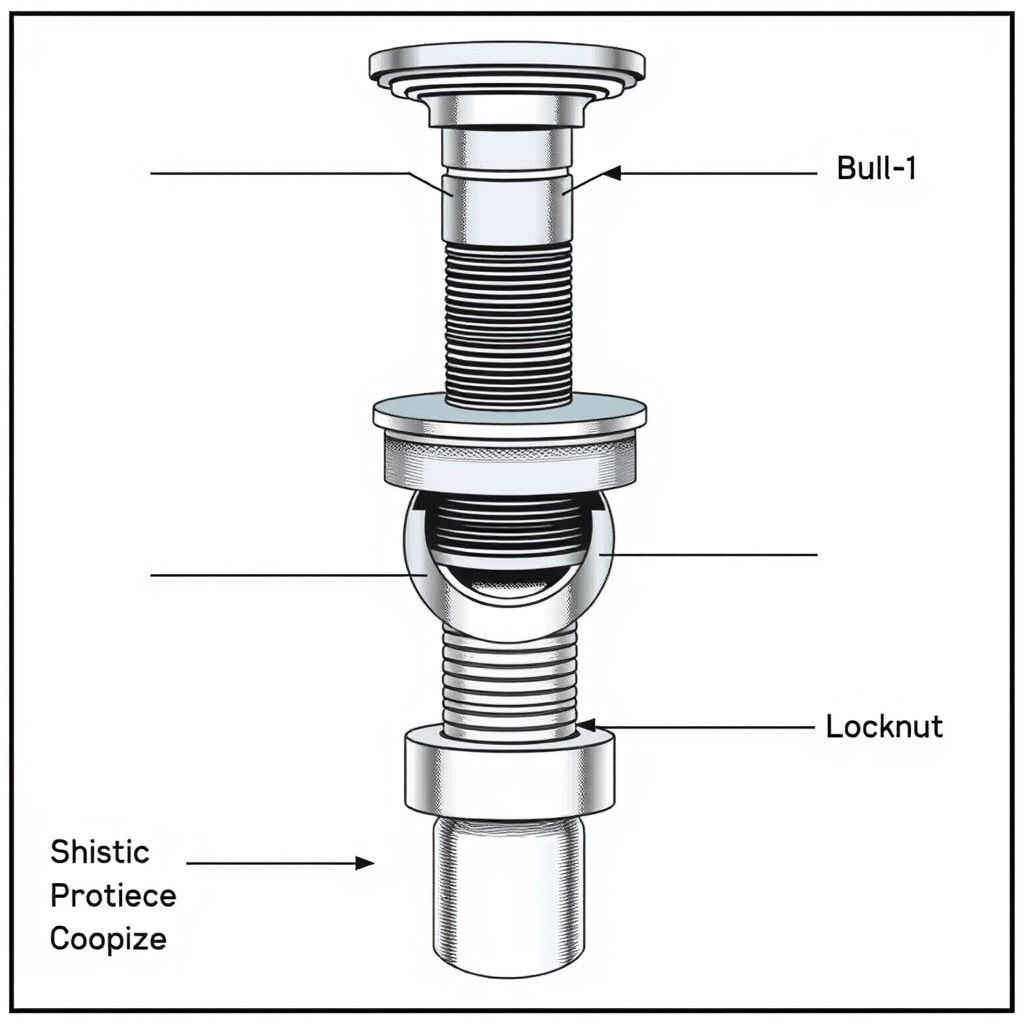
Assembling the Drain Components
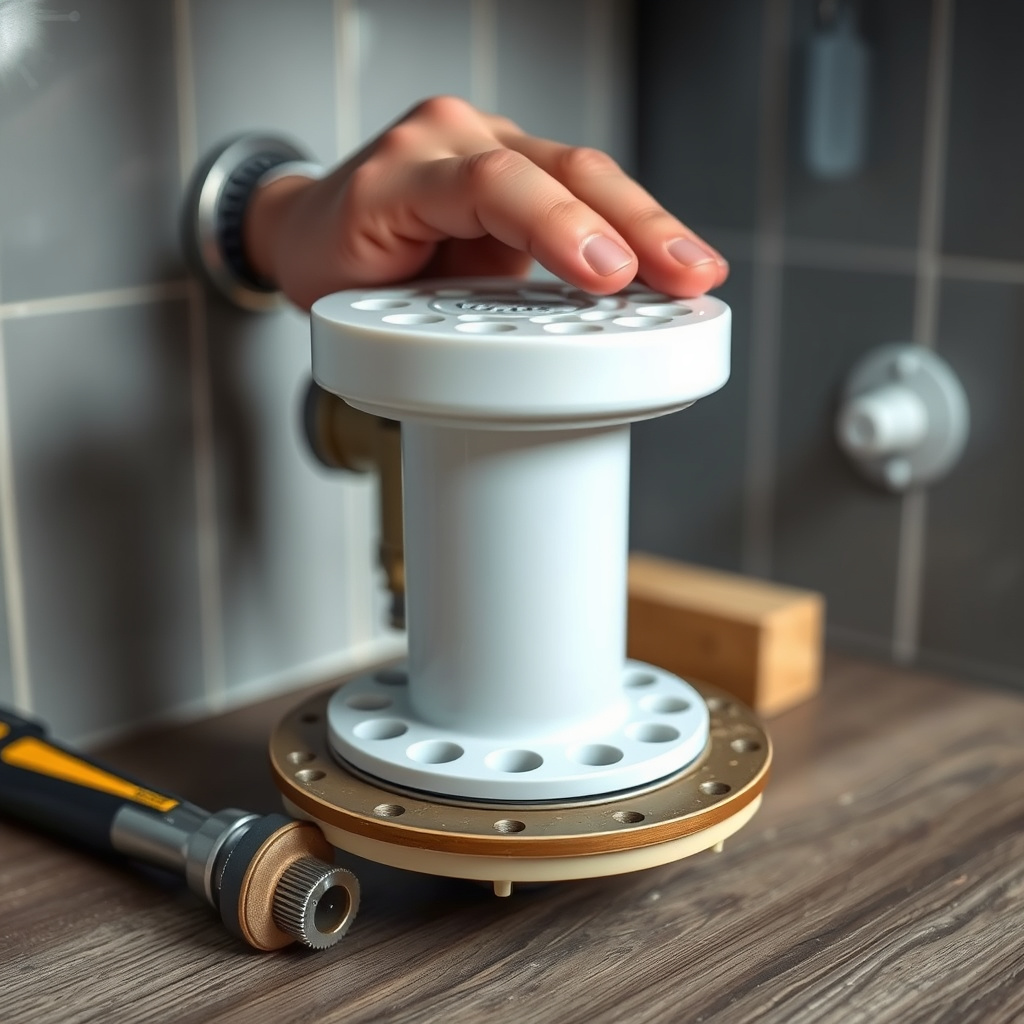
Place plumber’s putty or silicone sealant around the drain flange to create a watertight seal with the sink basin. Insert the drain body through the sinkhole and secure it underneath using the gasket and locknut.
Tighten the locknut firmly by hand, then use a wrench to ensure no movement. Remove excess putty that squeezes out around the drain flange before it hardens for a clean finish.
- Use putty under flange
- Hand-tighten locknut, then snug further
- Remove excess putty after sealing
For more on this, see our related guide: How to Unclog Kitchen Sink with Garbage Disposal: Quick and Effective Methods.
Connecting the Drain to the Waste Pipe
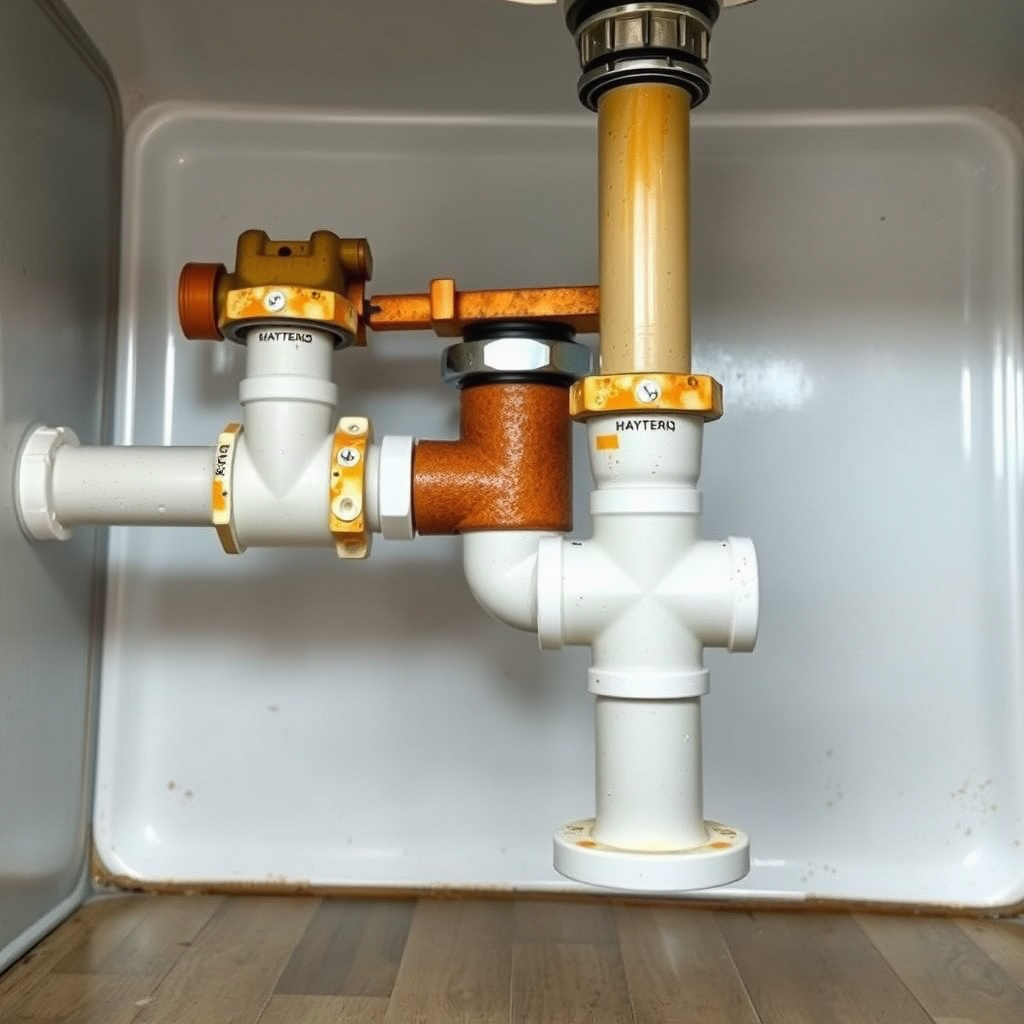
Attach the tailpiece to the drain body, then connect the P-trap to the tailpiece and the wall drain pipe. Use slip joint nuts and washers, ensuring all connections are snug but not overtightened to avoid cracking plastic parts.
Confirm that the P-trap aligns correctly without forcing components. The trap’s purpose is to prevent sewer gases from entering the home by maintaining a water seal.
- Fit slip washers before nuts
- Align P-trap without forcing
- Hand-tighten slip joint nuts securely
Understanding Kitchen Sink Venting
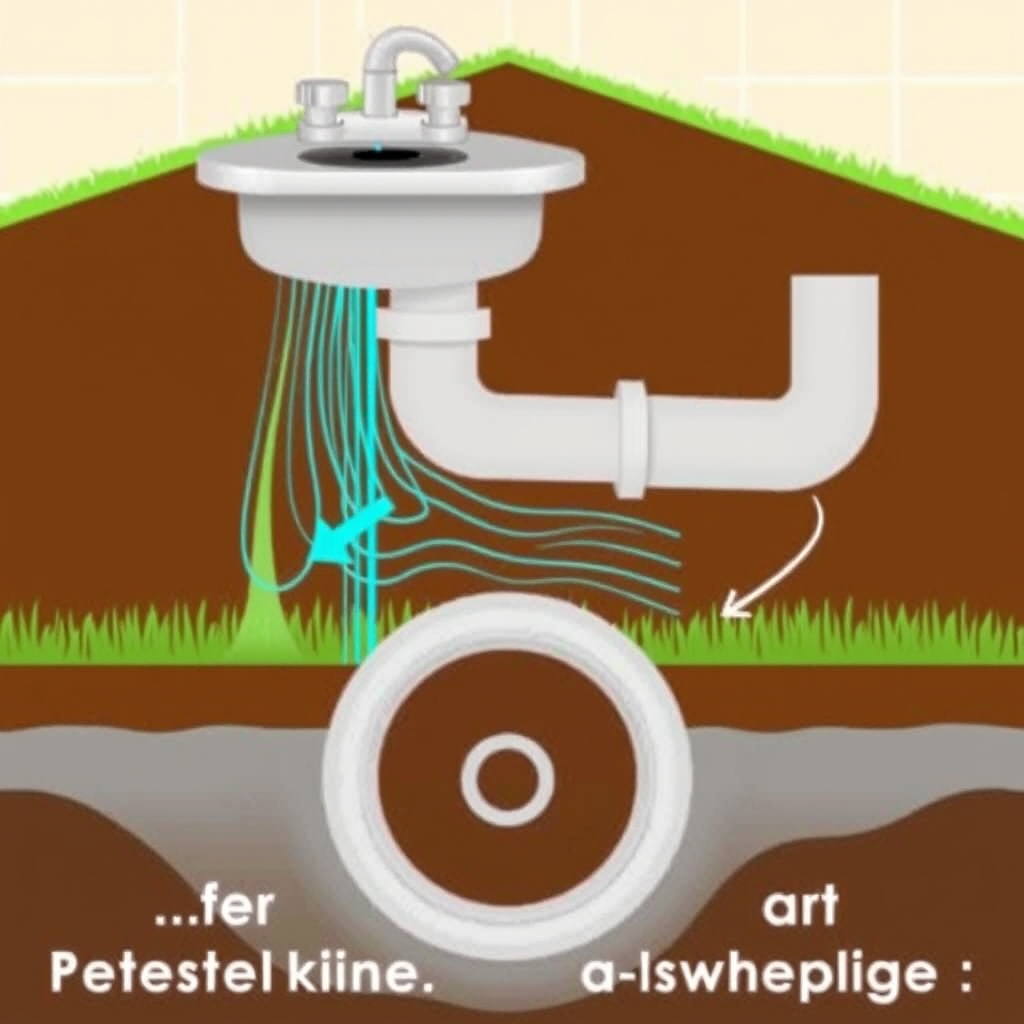
Role of Vent Pipes in Plumbing
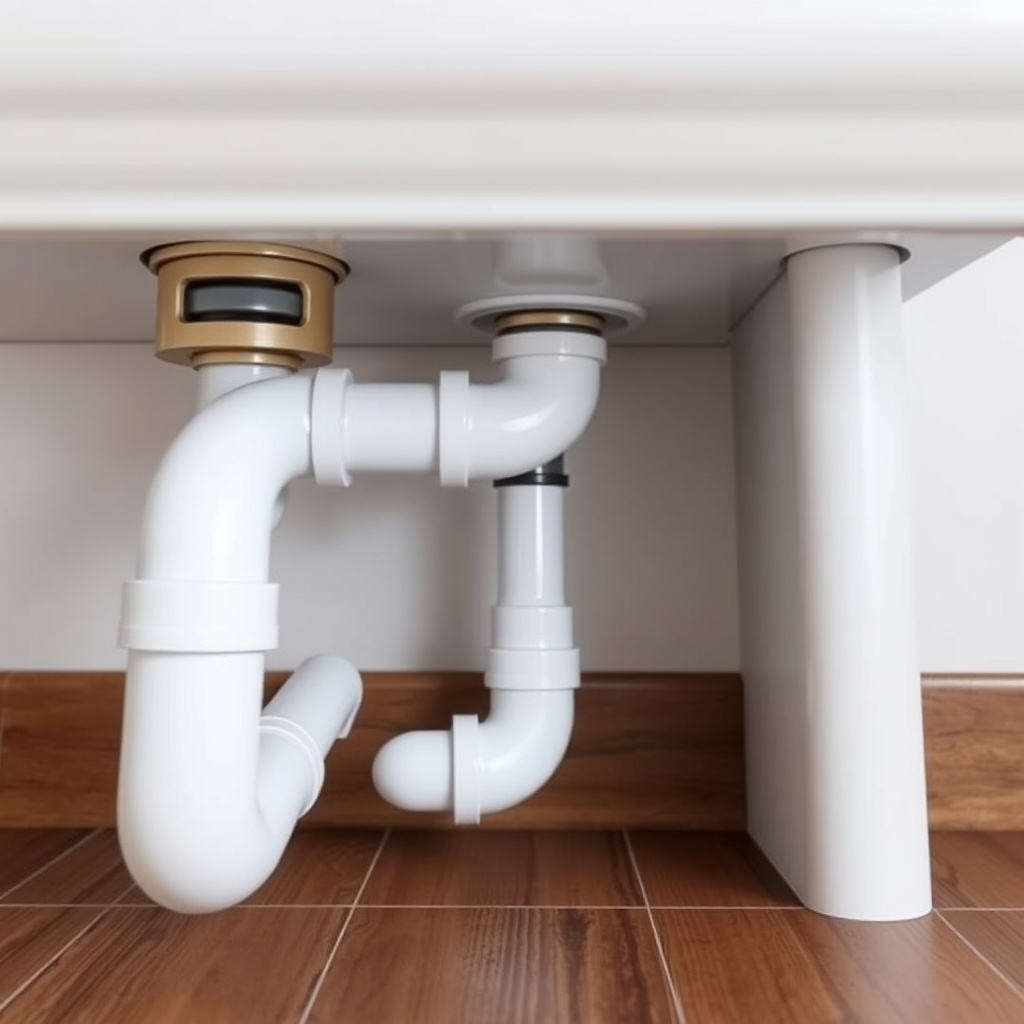
Vent pipes allow air to enter the drainage system, preventing pressure differences that cause water to be siphoned from the P-trap. Without proper venting, odors can escape and drainage may be slow.
Standard kitchen sink installations use either an air admittance valve or connect to an existing vent stack. Proper adherence to local plumbing codes ensures safety and functionality.
Installing an Air Admittance Valve (AAV)
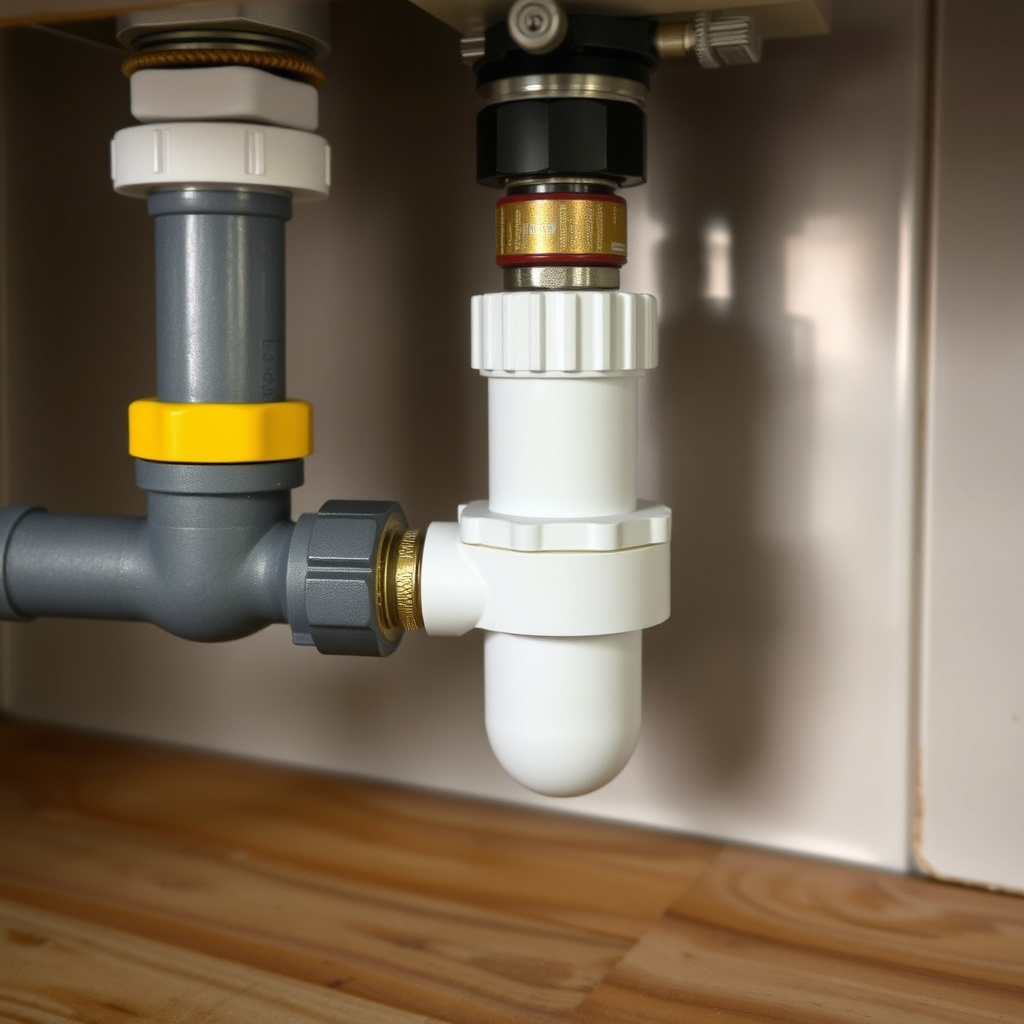
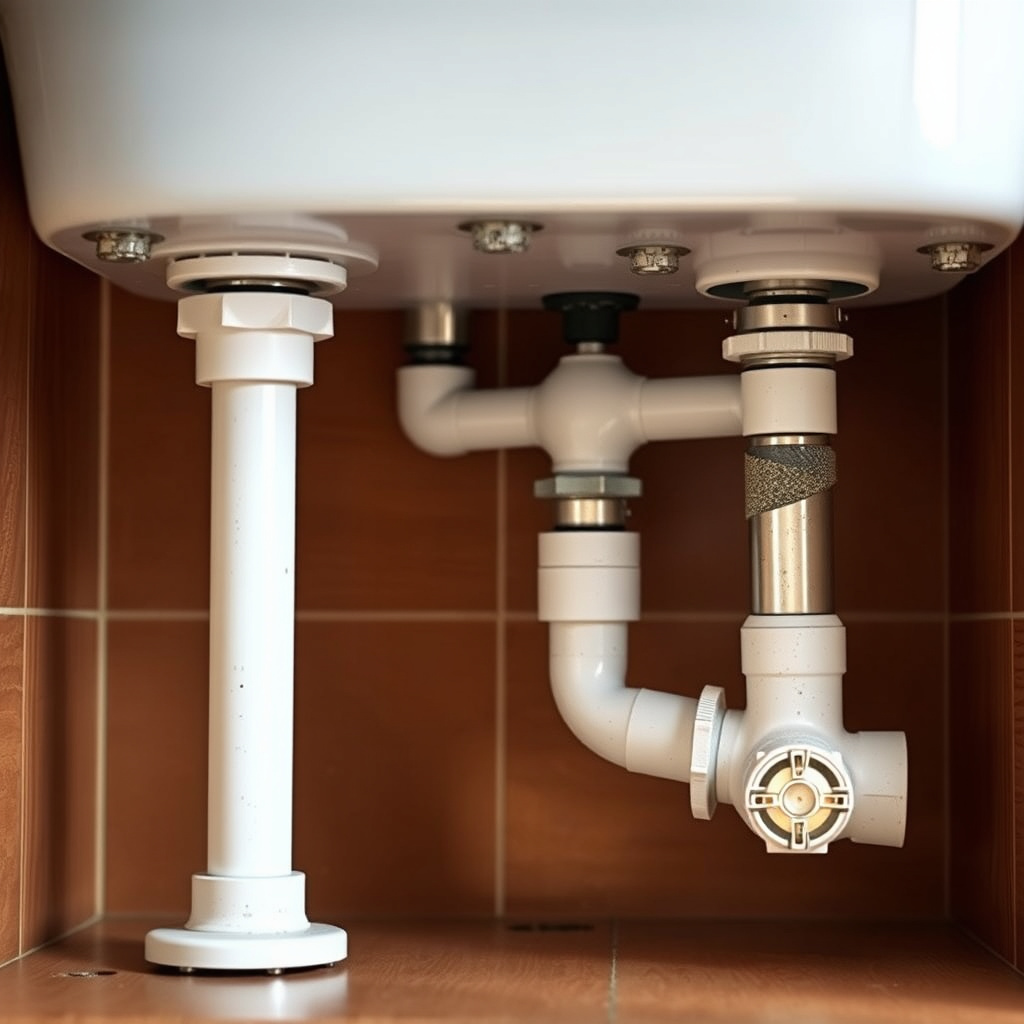
If venting through a wall or roof vent is impractical, an air admittance valve offers a compact alternative. Install it above the sink drain trap on vertical piping, ensuring it remains accessible and upright for proper operation.
Check local regulations since some codes require venting through the roof and may prohibit use of AAVs. Disconnect the P-trap temporarily during installation for ease of fitting the valve.
- Place valve on vertical pipe
- Ensure valve is accessible
- Confirm compliance with local codes
Troubleshooting Common Kitchen Sink Plumbing Issues
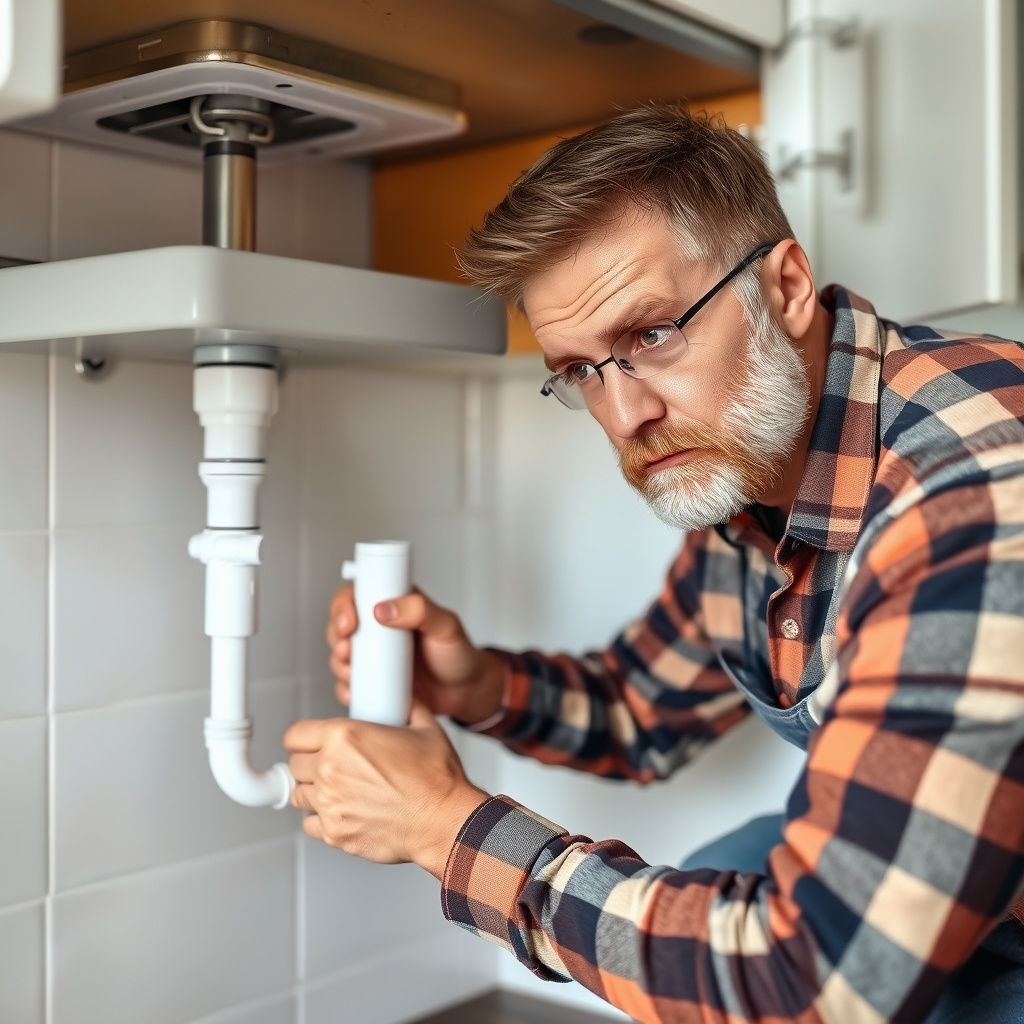
Fixing Leaks at Supply Connections
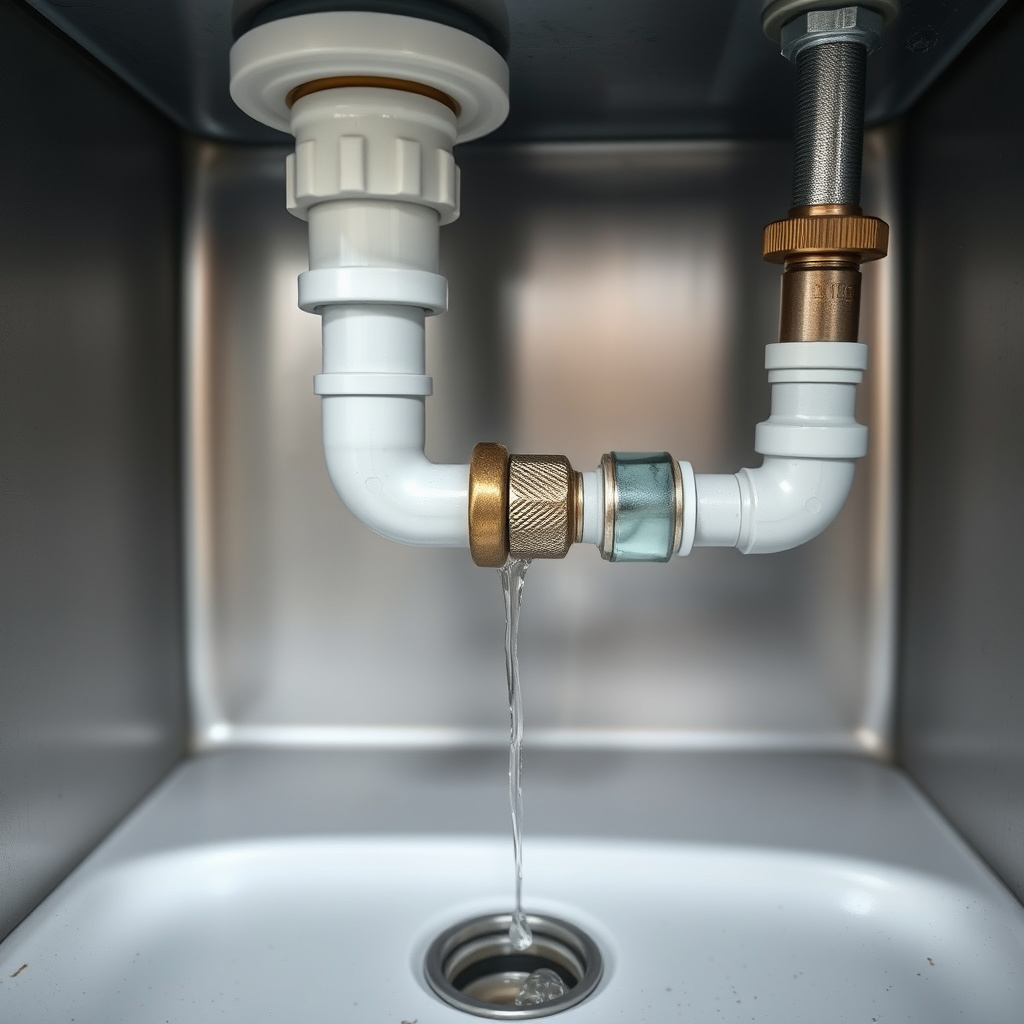
If leaks occur, first ensure all nuts are snug but not overtightened. Replace worn washers or apply fresh pipe tape on threaded connections. Inspect damaged supply lines and replace if needed to avoid repeated leaks.
Persistent dripping may indicate a failing valve or damaged faucet parts requiring replacement. Address leaks promptly to prevent water damage and costly repairs.
- Retighten nuts carefully
- Use new washers and tape
- Replace damaged hoses or valves
For more on this, see our related guide: How to Fix Leaky Kitchen Faucet: A Step-by-Step Repair Guide.
Resolving Slow Drainage or Clogs
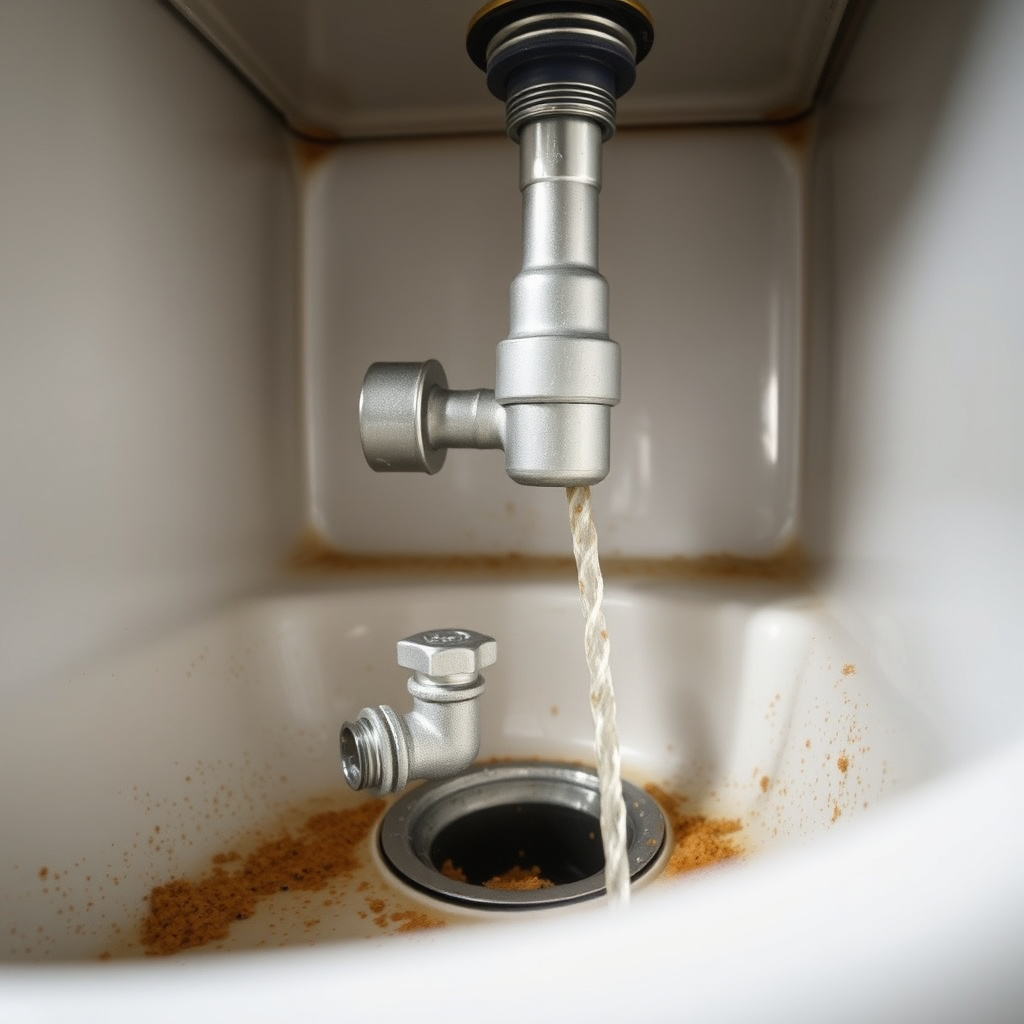
Slow draining often results from buildup in the P-trap or drain pipes. Detach the trap and clean out debris manually. Use a plumber’s snake or enzymatic drain cleaner for deeper blockages.
Avoid harsh chemical cleaners which can damage pipes. Regular maintenance and screening food waste prevent frequent clog issues in kitchen sink plumbing installation.
- Clean P-trap regularly
- Use plumber’s snake for blockages
- Avoid chemical drain cleaners
Maintenance Tips for Kitchen Sink Plumbing Installation
Routine Inspection and Cleaning
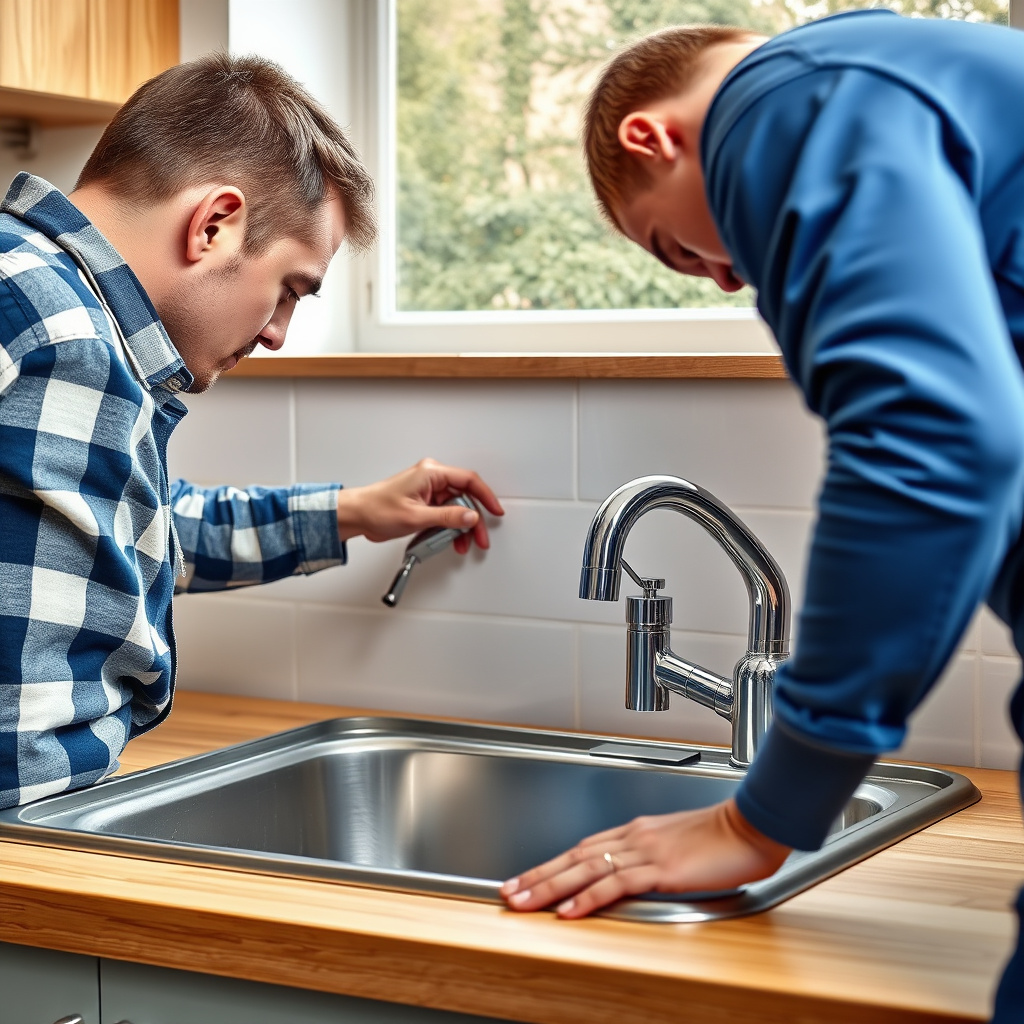
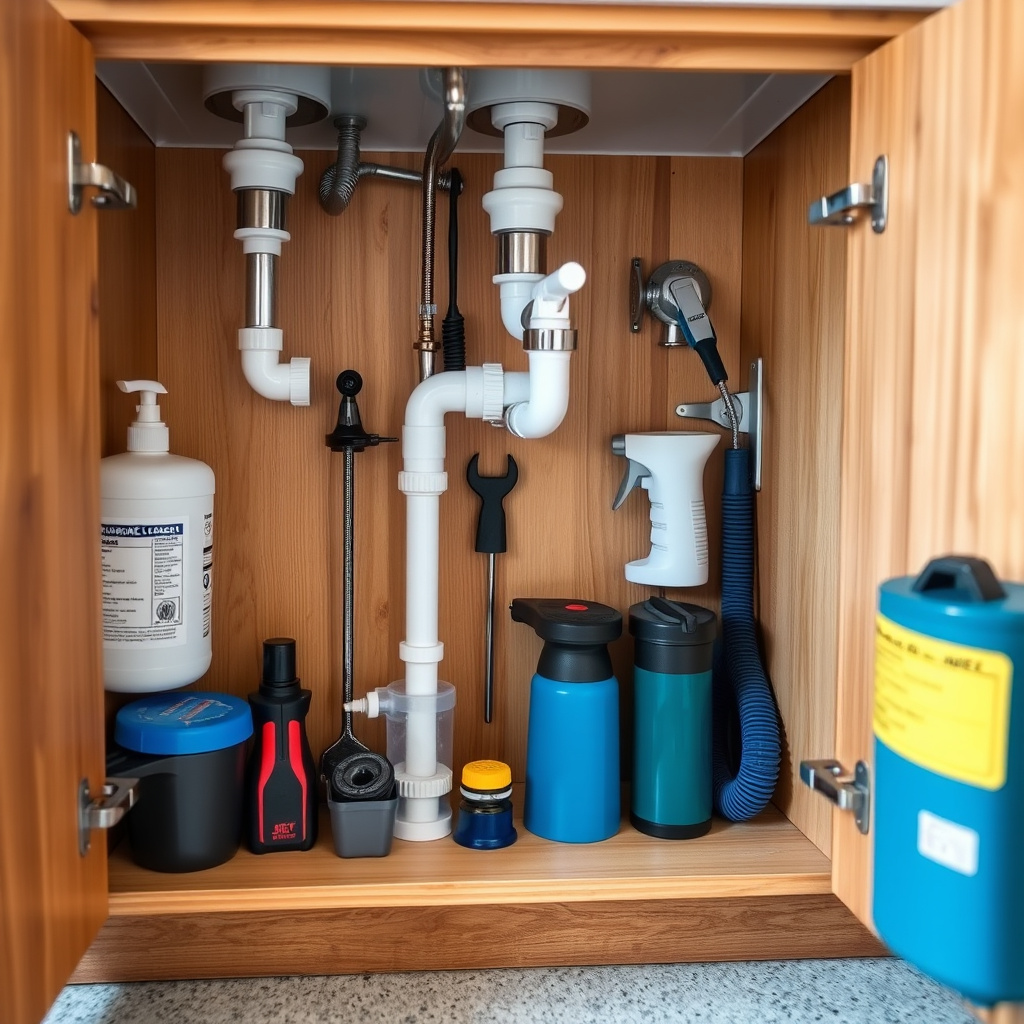
Check supply lines and drain connections periodically for drips and rust. Tighten fittings as necessary to maintain leak-free joints. Clear the drain stopper and clean strainers to reduce debris buildup that clogs pipes.
Perform visual inspections quarterly, focusing on signs of corrosion or water stains that indicate slow leaks behind the cabinet walls.
For a broader understanding of plumbing principles, refer to this comprehensive overview of kitchen sink plumbing basics. kitchen sink plumbing basics.
Preventing Future Plumbing Problems
Use sink strainers to catch food particles and grease to minimize drain blockages. Avoid pouring oil down the drain which solidifies inside pipes. Schedule professional inspections every few years to prolong the kitchen sink plumbing life.
Promptly address leaks or slow drainage to prevent mold growth and water damage to cabinetry. Consistent maintenance saves money by preventing costly repairs.
- Use strainers and avoid grease
- Schedule periodic professional checks
- Attend to leaks quickly
Types of Kitchen Sink Drain Assemblies Comparison
This comparison outlines common types of drain assemblies to help you select the most fitting option for your kitchen sink plumbing installation.
| Assembly Type | Material | Durability | Ease of Installation | Cost |
|---|---|---|---|---|
| Plastic Twist-Lock | PVC | Moderate | Easy | $15 – $30 |
| Metal Slip-Joint | Chrome or Brass | High | Moderate | $25 – $50 |
| Push-Button Drain | Stainless Steel | High | Moderate | $40 – $70 |
| Disposal Flange Assembly | Stainless Steel/Plastic | High | Moderate | $35 – $60 |
| Universal Drain Kit | Mixed Materials | Moderate | Easy | $20 – $40 |
Frequently Asked Questions
Can I use existing supply lines when plumbing a new kitchen sink?
If the old supply lines are in good condition without leaks or cracks and fit the new faucet connections, they can be reused. Otherwise, it's best to replace them to prevent future leaks.
What causes a kitchen sink drain to smell bad after plumbing?
A common cause is a dry or missing P-trap water seal which allows sewer gases to escape. Ensuring proper trap installation and filling it with water prevents odors.
How tight should I make the connections when plumbing a kitchen sink?
Connections should be snug enough to prevent leaks without overtightening. Over-tightening can damage threads or crush washers, leading to future leaks.
Is it necessary to hire a professional for kitchen sink plumbing?
Basic kitchen sink plumbing can be a DIY project if you have some handyman skills. However, complex situations or code compliance issues might require professional plumbers.
How do I prevent clogs in my kitchen sink plumbing?
Use sink strainers to catch debris, avoid pouring grease or large food particles down the drain, and clean the P-trap regularly to maintain clear pipes.
Key Takeaways
- Proper connection of water supply lines ensures leak-free faucet operation.
- Sealing the drain assembly with plumber’s putty prevents water leaks under the sink.
- Vent pipes or air admittance valves maintain drainage efficiency and prevent odors.
- Regular maintenance prevents clogs and prolongs kitchen sink plumbing lifespan.
Conclusion
Plumbing a kitchen sink involves several precise steps including attaching water supply lines, installing the drain assembly, and setting up proper venting. By following methodical procedures and using the right tools, you can achieve a secure, leak-free connection that functions reliably. Attention to detail during fitting and sealing avoids costly water damage and ensures smooth daily operation.
For most DIY enthusiasts, starting with a basic kitchen sink plumbing installation using flexible supply lines and a standard P-trap is feasible and efficient. For kitchens requiring disposal units or complicated venting arrangements, metal slip-joint drain assemblies and possibly air admittance valves are recommended options. Regular inspection and maintenance of all these components help sustain optimal operation.
If you are new to plumbing tasks, measuring correctly and reading manufacturer instructions for each component assists accuracy. Should unexpected challenges like stubborn clogs or irregular pipe layouts arise, consulting a professional plumber is a practical step. This approach guarantees safety, code compliance, and long-term reliability of your kitchen sink plumbing system.