How to Reface Kitchen Cabinets: A Step-by-Step Guide for a Fresh Look
Refacing kitchen cabinets involves updating the exterior surfaces of your existing cabinetry—such as doors, drawer fronts, and veneer—without replacing the entire unit. This process provides a cost-effective way to refresh your kitchen's appearance while saving time and avoiding a complete remodel. By keeping the cabinet boxes intact, refacing leverages your kitchen's existing layout and structure.
This approach matters for homeowners who want a fresh style or need to repair worn surfaces without the expense and disruption of full cabinet replacement. Refacing also offers diverse material options like wood veneers, laminates, and thermofoil finishes, allowing for personalized aesthetics. It balances durability and design flexibility in kitchens that structurally remain sound but visually dated.
This article covers the essential steps of how to reface kitchen cabinets, from preparation and material selection to installation. We'll also explore different techniques, the tools required, and practical tips to achieve a seamless finish that looks like new cabinetry.
Assessing Your Kitchen Cabinets Before Refacing
Checking Cabinet Structure Integrity
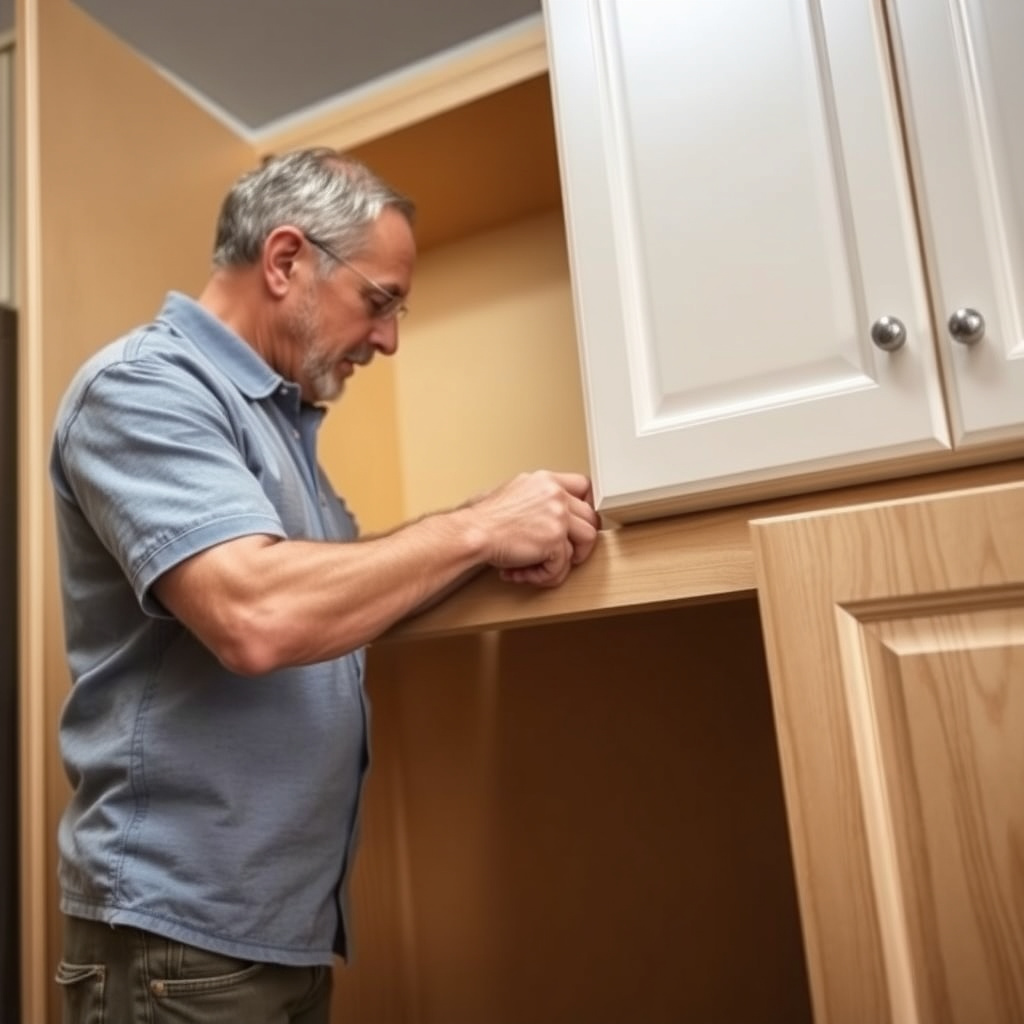
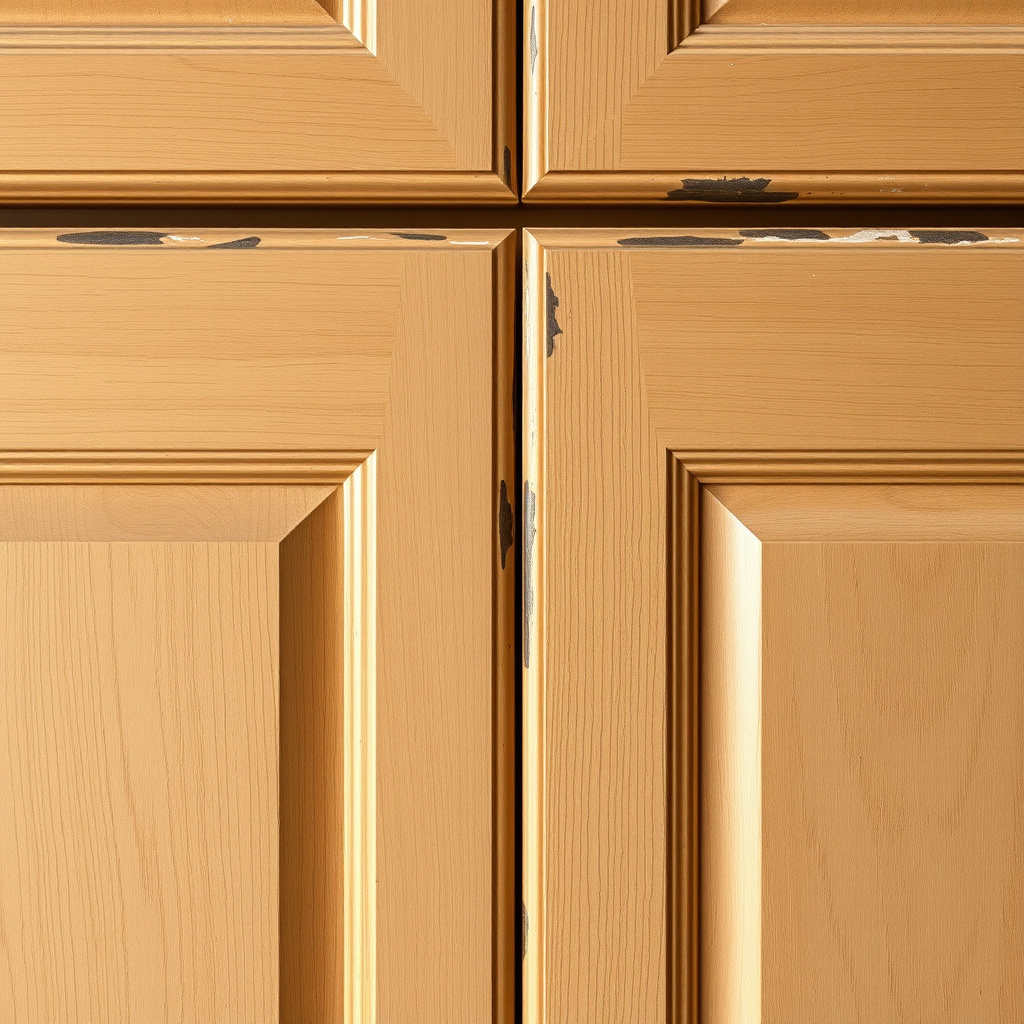
Before starting the refacing process, inspect your cabinet boxes and frames for damage or structural wear. Refacing assumes the skeleton of the cabinets is solid; any sagging, water damage, or loose joints should be repaired or replaced to ensure longevity after refacing.
Examine hinges, drawer slides, and shelves as well. Components that no longer function properly can often be replaced individually, but severe damage may necessitate full cabinet replacement instead of refacing.
Measuring Cabinets Accurately

Accurate measurements of doors, drawer fronts, and frame widths are critical for ordering new veneer sheets and replacement doors. Use a tape measure for width, height, and depth, noting any irregularities.
Document hinge placements and door thicknesses to choose compatible hardware and overlays. Precise measurements reduce delays and errors during installation.
- Measure each door and drawer front individually
- Record frame perimeter for veneer coverage
- Mark hinge locations
Selecting Materials and Styles for Cabinet Refacing
Choosing Door and Drawer Front Materials
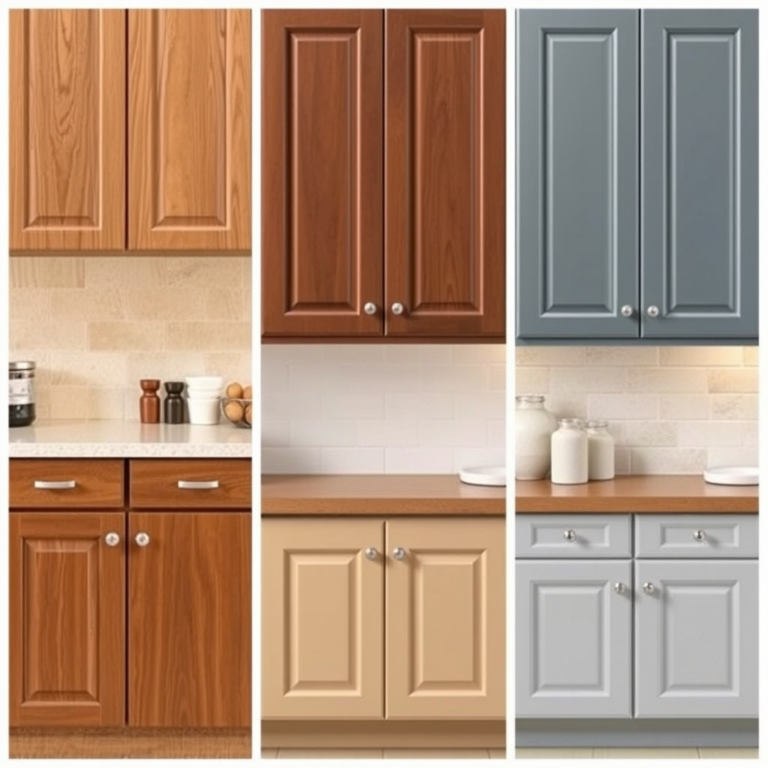
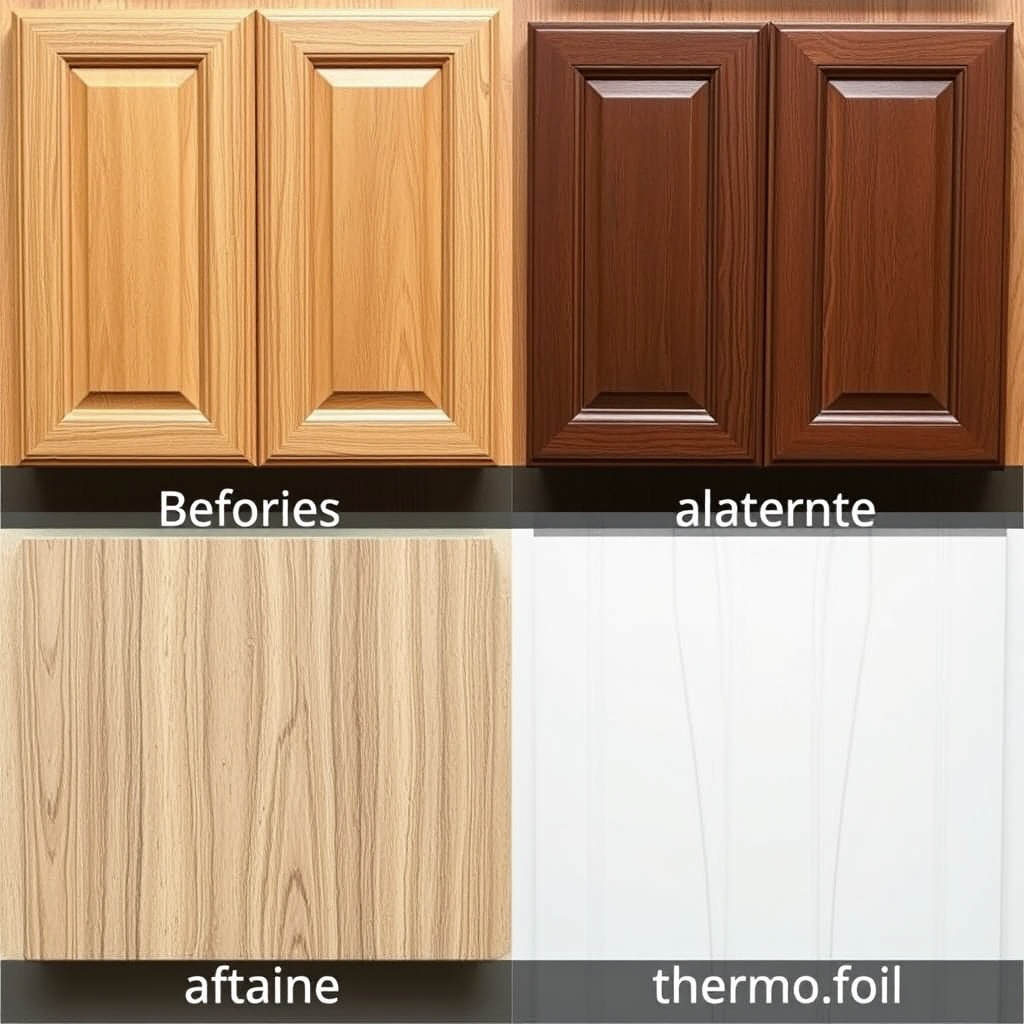
Common options for new cabinet doors include solid wood, wood veneer over MDF, thermofoil, and laminate. Wood veneers provide an authentic appearance and can be stained or painted, while thermofoil offers durability with a smooth, easy-clean surface.
Your choice will affect cost, maintenance, and final look. Solid wood is more expensive but highly customizable. Thermofoil suits contemporary styles and busy households due to its resistance to moisture.
- Solid wood: classic and durable
- Wood veneer: authentic look with cost savings
- Thermofoil: sleek finish, moisture-resistant
- Laminate: affordable and versatile
Picking Veneer Types for the Frames
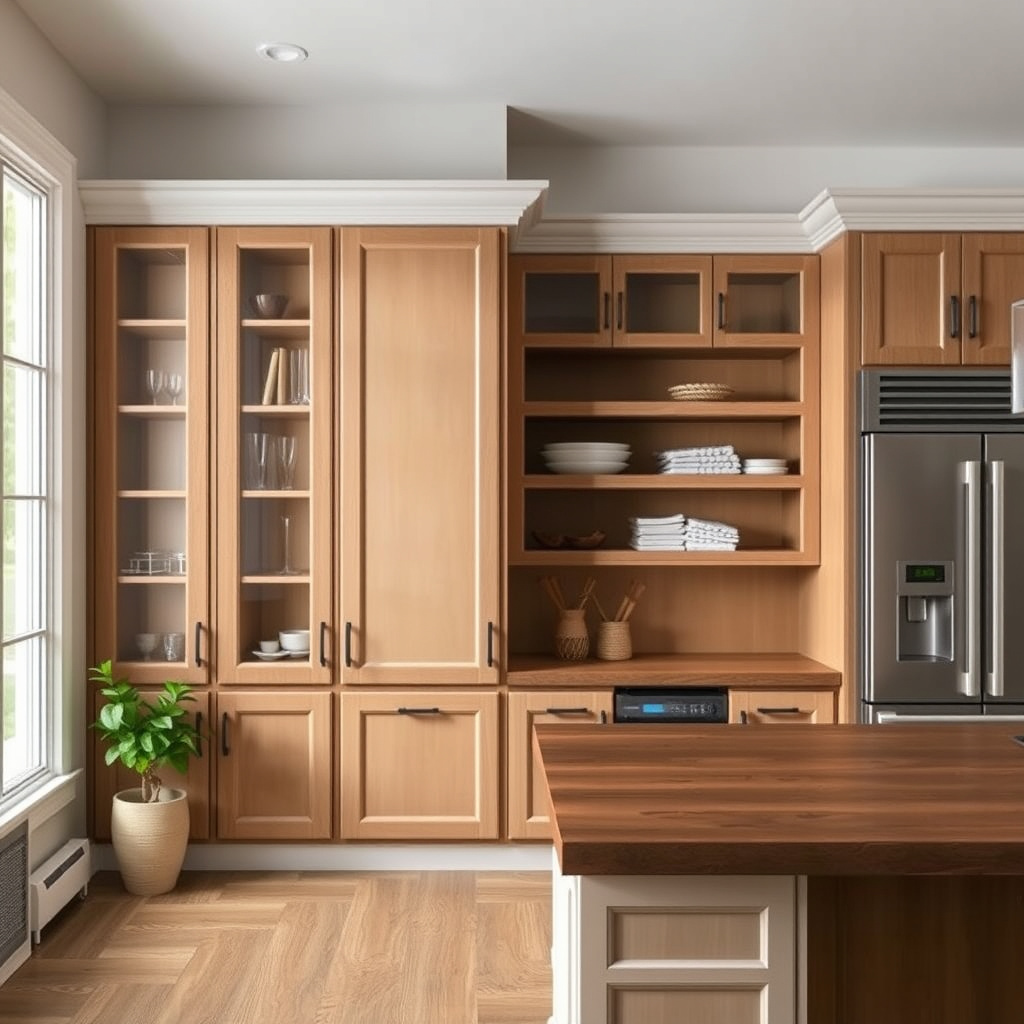
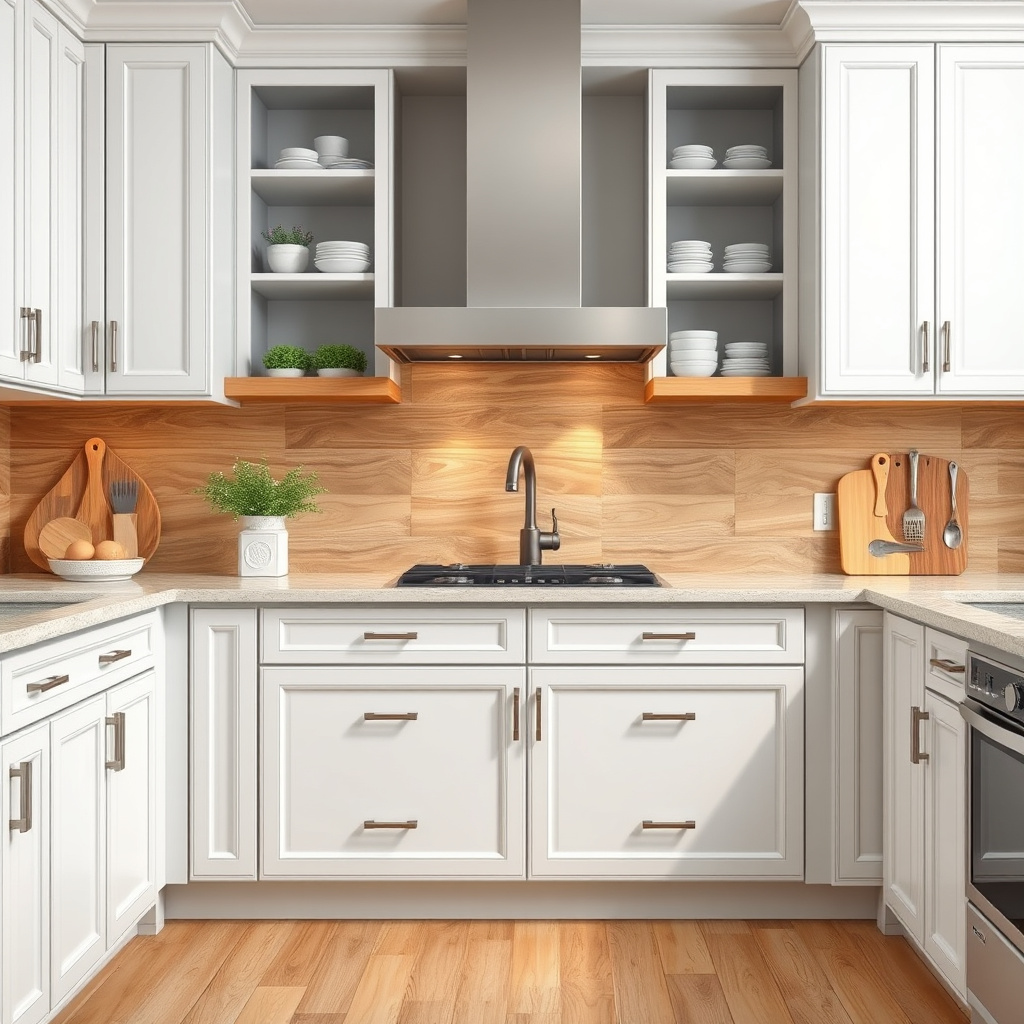
Cabinet frame surfaces are typically covered with thin veneer sheets matching or complementing door materials. Popular veneer choices include real wood veneer, melamine laminate, and PVC-based veneers.
Consider durability and ease of cleaning when selecting veneers. Melamine offers stain and scratch resistance but fewer grain options compared to natural wood veneer, which provides richer texture but requires more maintenance.
- Natural wood veneer: warm, textured grain
- Melamine laminate: resistant and affordable
- PVC veneer: moisture-resistant
Preparing Your Kitchen for Cabinet Refacing
Removing Existing Doors and Hardware
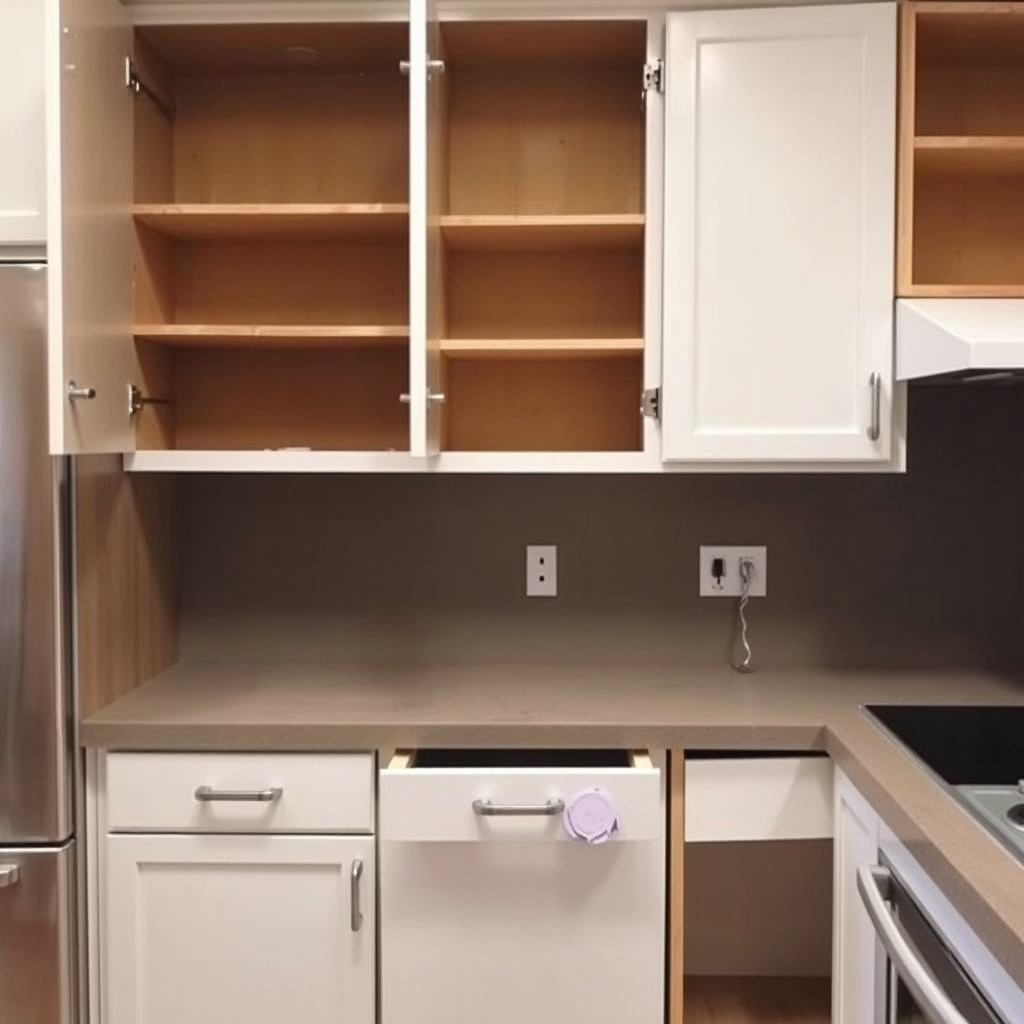
To prepare for refacing, remove all cabinet doors, drawer fronts, and hardware like handles and hinges carefully. Label each piece to keep track of placement if you'll reuse any components or hardware.
Removal facilitates surface cleaning and sanding. It also makes fitting new doors and veneers easier, helping achieve precise alignment.
- Use screwdriver or drill for hinge screws
- Label doors/drawers front to back
- Store hardware safely
For more on this, see our related guide: How Much Do New Kitchen Cabinets Cost? A Complete Pricing Guide.
Cleaning and Sanding Cabinet Frames
Thoroughly clean cabinet frames to remove grease, dust, and residue. Use a degreaser or mild detergent. After drying, sand frames lightly to smooth imperfections and help new veneer or adhesive bond well.
Sanding should be even but not aggressive to avoid damaging the cabinet material beneath veneer application.
- Use fine-grit sandpaper (120-150 grit)
- Wipe down dust after sanding
Installation Techniques for Kitchen Cabinet Refacing
Applying Veneer to Cabinet Frames
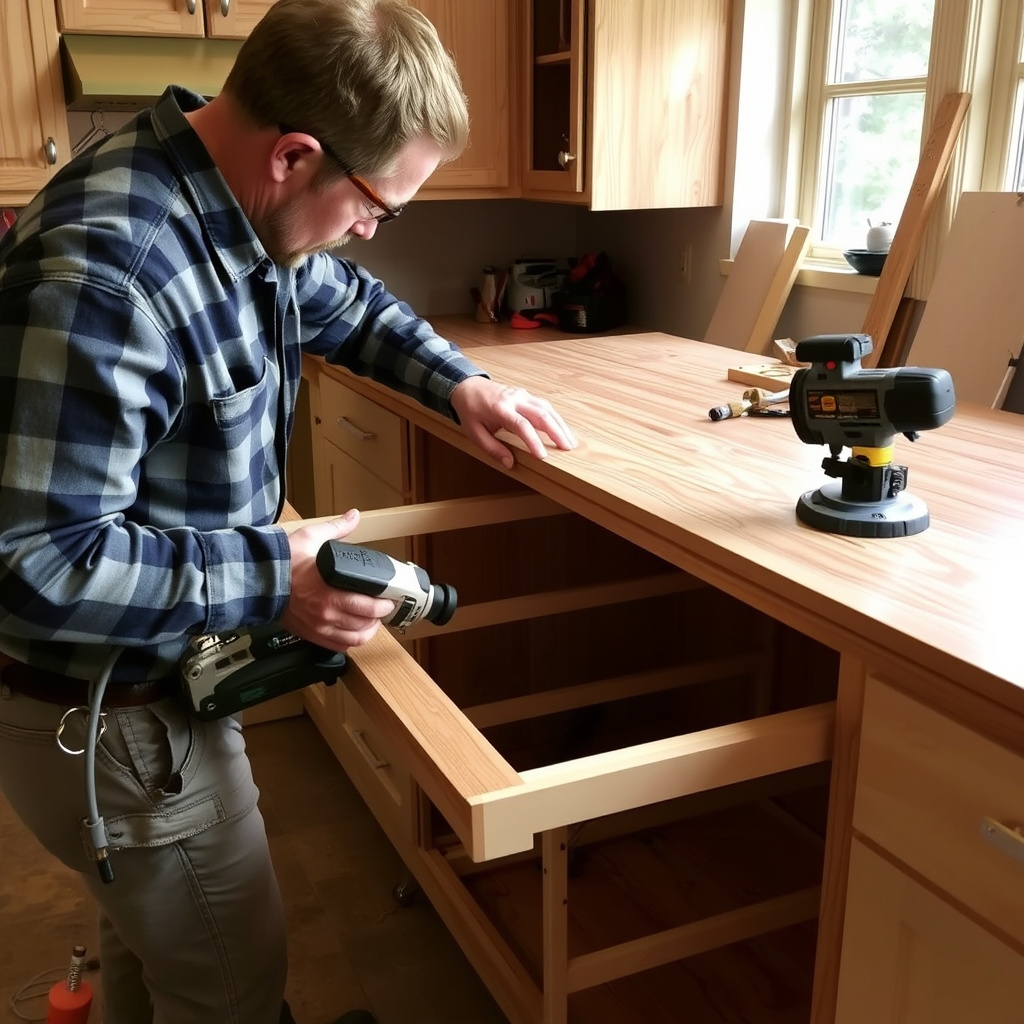
Apply veneer sheets by cutting them to fit frame surfaces, then bonding with contact adhesive or wood glue. Press evenly using a roller or sanding block to avoid air bubbles and ensure a smooth finish.
Edges must be trimmed accurately to align with cabinet contours, and seams matched carefully for an invisible join. Take time during veneer application for a professional result.
- Cut veneer slightly larger than needed
- Use contact cement for strong adhesion
- Press firmly and check for bubbles
Installing New Doors, Drawer Fronts, and Hardware
Once veneers are set, attach new or refurbished cabinet doors and drawer fronts using updated hinges sized for the door thickness. Align doors so gaps between units are uniform.
Replace or reposition handles and knobs. Choosing soft-close hinges or modern hardware upgrades function and kitchen appeal simultaneously.
- Test door alignment and adjust hinge screws
- Install coordinating hardware
- Check drawer function
Finishing Touches and Maintenance after Refacing
Sealing and Protecting Surfaces
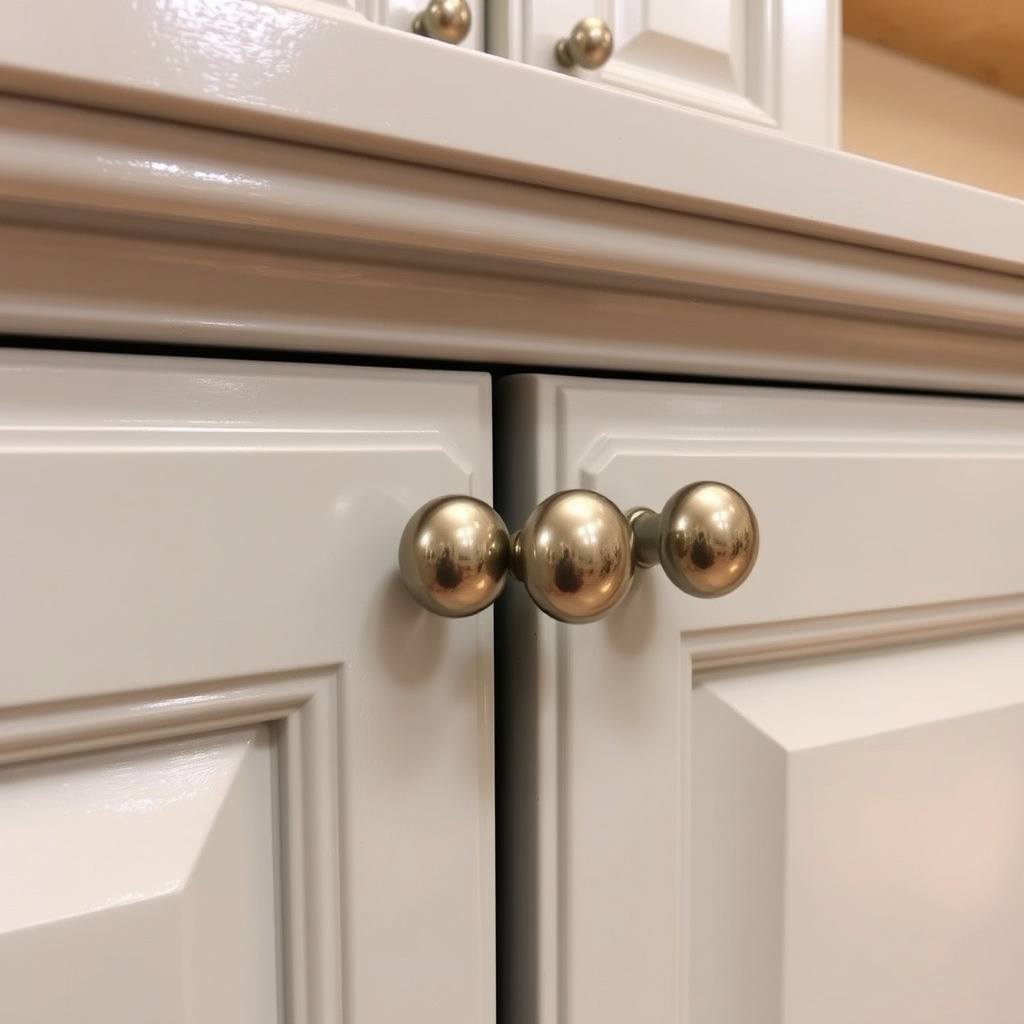
Depending on veneer type, apply clear sealants or protective coatings to shield surfaces from moisture and stains. For wood veneers, water-based polyurethane finishes add durability and ease cleaning without altering color.
Thermofoil or laminate generally need no additional sealing but should be wiped with non-abrasive cleaners to maintain sheen.
- Use water-based polyurethane for wood veneers
- Avoid harsh chemicals on thermofoil
- Apply sealant in thin, even coats
For more on this, see our related guide: How Much Do Kitchen Cabinets Cost? A Detailed Pricing Guide.
Routine Cleaning and Care Tips
Maintain refaced cabinets by cleaning spills immediately with a damp cloth. Avoid abrasive sponges or harsh detergents that can damage veneer or finishes.
Regularly check hinges and hardware for tightening to keep doors aligned and functioning well over time.
- Wipe with mild soap solution
- Dry surfaces thoroughly
- Inspect and tighten hardware periodically
Cost and Time Considerations for Kitchen Cabinet Refacing
Estimating Costs Based on Materials and Labor
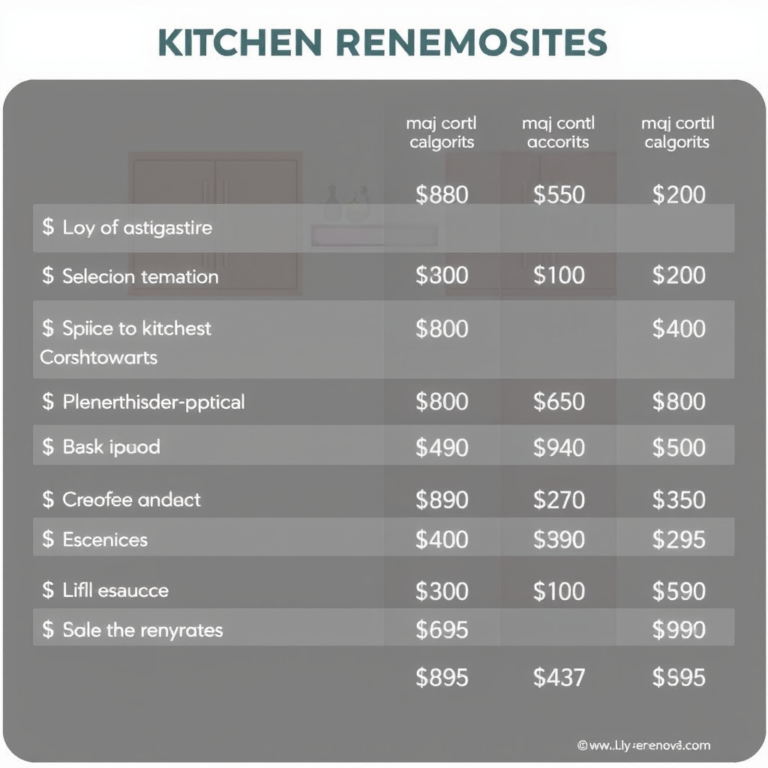
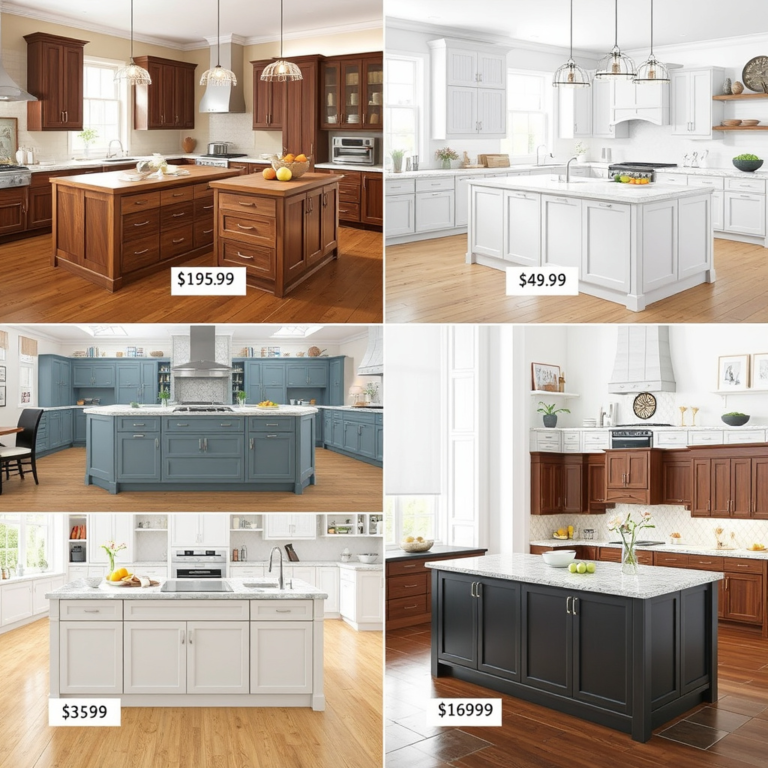
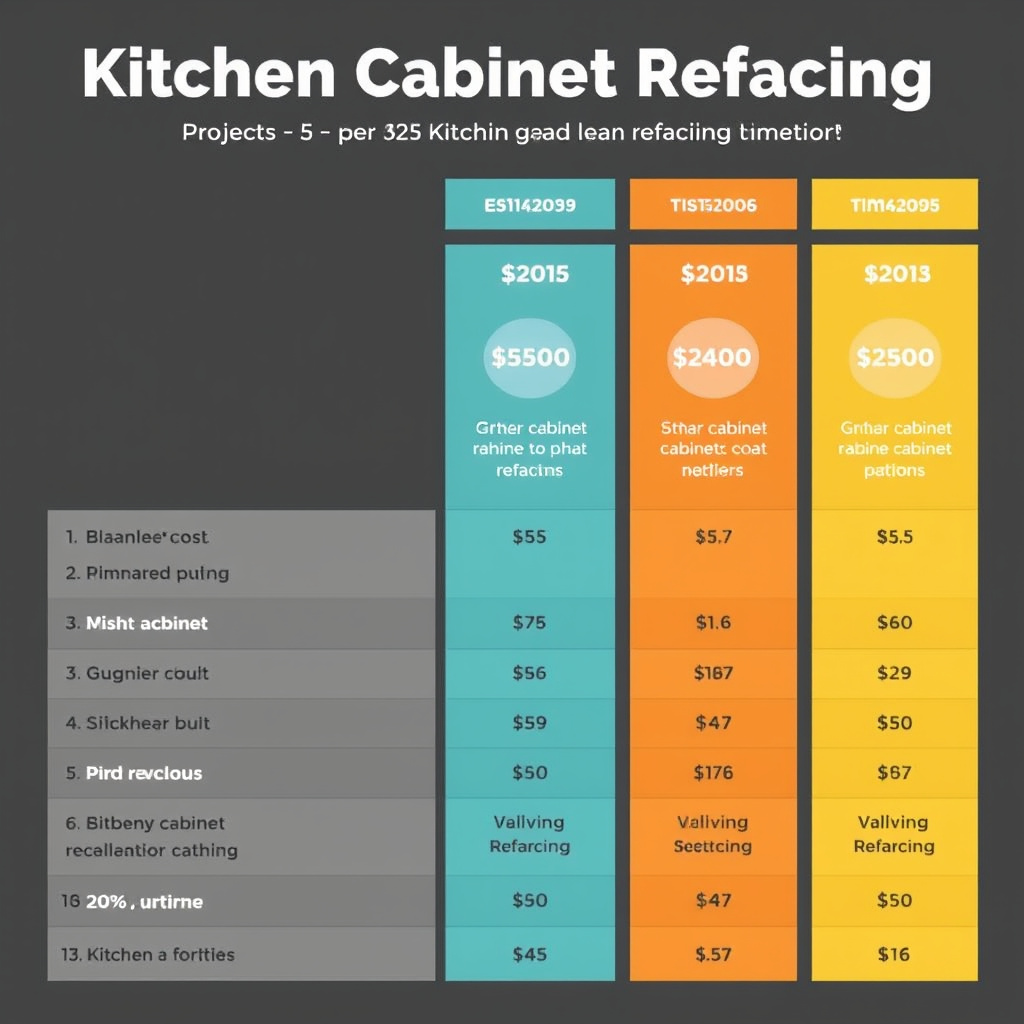
Kitchen cabinet resurfacing techniques vary widely in price depending on material choices and whether you hire professionals or DIY. Wood veneer doors can cost $150-$300 each, while laminate or thermofoil tends to be cheaper.
Labor often adds 50-70% to materials cost if contractors handle removal, veneer application, and installation. Budgeting between $2,000 and $6,000 for an average kitchen is common.
- Material costs influenced by veneer type
- Professional labor costs vary by region
- DIY can reduce costs but requires skills
For additional context about kitchen cabinet styles and materials, see the Kitchen Cabinet Refacing on Wikipedia. Kitchen Cabinet Refacing on Wikipedia.
Expected Timeframe for Project Completion
A typical kitchen cabinet refacing project can take 3-7 days. Removing old doors and prepping surfaces often consumes the first day, with veneer application and drying requiring a couple more days.
Installation and hardware adjustments finish the process. Efficient scheduling minimizes kitchen disruption during this period.
- 1 day for prep and removal
- 2-3 days for veneer application and drying
- 1-2 days for installation
Comparison of Kitchen Cabinet Refacing Categories
Explore the key differences among common cabinet refacing approaches to help choose the best option for your kitchen upgrade.
| Category | Material | Cost Range | Durability | Maintenance |
|---|---|---|---|---|
| Solid Wood Doors | Solid wood | $200-$400 per door | High – long-lasting | Requires regular polishing |
| Wood Veneer | Thin wood over MDF | $150-$300 per door | Moderate – susceptible to moisture | Avoid excessive water exposure |
| Thermofoil | Vinyl-coated MDF | $100-$250 per door | Good – moisture resistant | Wipe clean with mild detergents |
| Laminate | Plastic laminate over MDF | $80-$200 per door | Good – scratch resistant | Easy cleaning, durable |
| PVC Veneer | Polyvinyl chloride | $90-$220 per door | High – waterproof | Use gentle cleaners only |
Frequently Asked Questions
Can I reface kitchen cabinets myself?
Yes, refacing can be a DIY project if you have basic carpentry skills and tools. Careful measuring, surface preparation, and patience are essential for professional-looking results.
How long does kitchen cabinet refacing last?
With proper maintenance, refaced cabinets typically last 10-15 years before needing additional updates or repairs.
Is refacing better than replacing cabinets?
Refacing is more affordable and faster but only suitable if cabinet boxes are structurally sound. Replacement is necessary for damaged or outdated cabinet frames.
What are the most durable materials for cabinet refacing?
Thermofoil and PVC veneers offer good moisture resistance and durability, while solid wood provides long-lasting strength but requires more upkeep.
Will refacing increase my home’s value?
Refacing improves kitchen aesthetics and can boost resale value, especially if the finish and installation are high quality.
Key Takeaways
- Refacing updates cabinet exteriors affordably without full replacement
- Material choices affect cost, durability, and appearance
- Proper preparation is vital for successful veneer adhesion
- Professional installation ensures lasting, quality results
Conclusion
Refacing kitchen cabinets presents a practical approach to modernizing your kitchen’s look without the expense and hassle of replacing the entire cabinetry. By focusing on the cabinet exteriors through veneer application and new doors, you keep the existing structure intact while revitalizing style and functionality. Understanding the integrity of your current cabinets guides whether refacing is viable or if replacement is warranted.
Choosing materials aligned with your budget and kitchen conditions is key: solid wood doors for classic appeal, wood veneer surfaces for authentic grain, or thermofoil for moisture resistance. For homeowners wanting careful craftsmanship and long-term durability, investing in professional installation of these kitchen cabinet resurfacing techniques results in a polished, seamless finish that enhances both aesthetics and practicality.
Begin your project by cataloging cabinet dimensions and condition, then select materials and schedule the work to minimize disruption. Repair or upgrade hinges and hardware during installation to complement the new look. With thoughtful planning and execution, refacing your kitchen cabinets can be an effective way to refresh your space, boost value, and enjoy a kitchen that feels brand new.