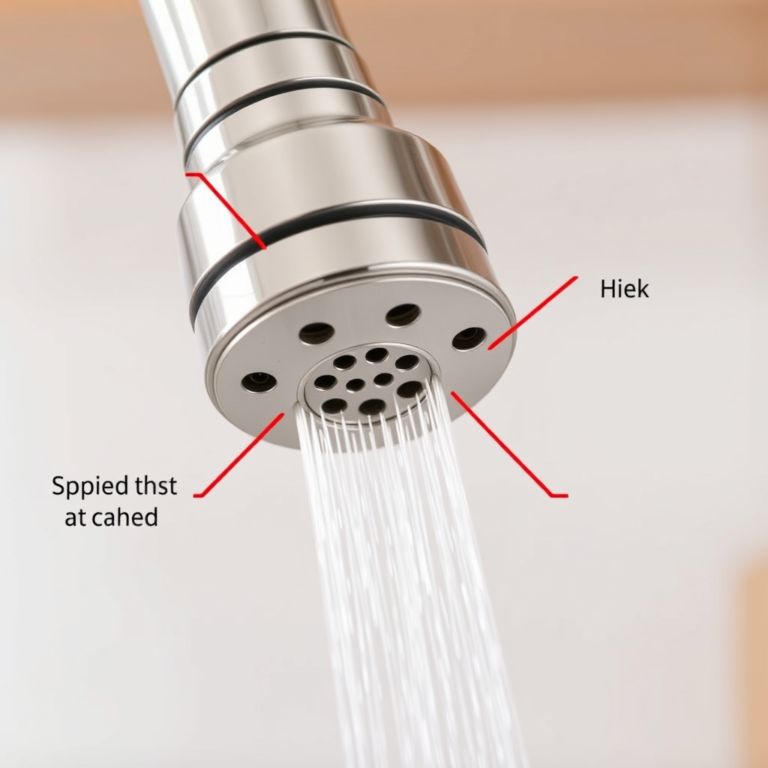
How to Replace a Kitchen Faucet: A Step-by-Step Guide
Replacing a kitchen faucet can be done in a few straightforward steps without the need for professional plumbing skills. First, turn off your water supply, disconnect the old faucet, remove it from the sink, and then install the new faucet by following the manufacturer’s instructions. This process typically takes about an hour and can noticeably refresh your kitchen.
A worn-out or leaking faucet not only causes water waste but also affects your kitchen’s efficiency and appearance. Updating your faucet can improve water flow, reduce leaks, and add modern style. Understanding how to replace a kitchen faucet yourself saves money on installation fees and gives you control over your home maintenance.
This guide will walk you through the tools needed, preparation steps, removal of the old faucet, installation of the new one, and troubleshooting common issues. You’ll also find tips on choosing the best kitchen faucet replacement that suits your sink and kitchen design.
Gathering Tools and Materials for Faucet Replacement

Essential Tools Required
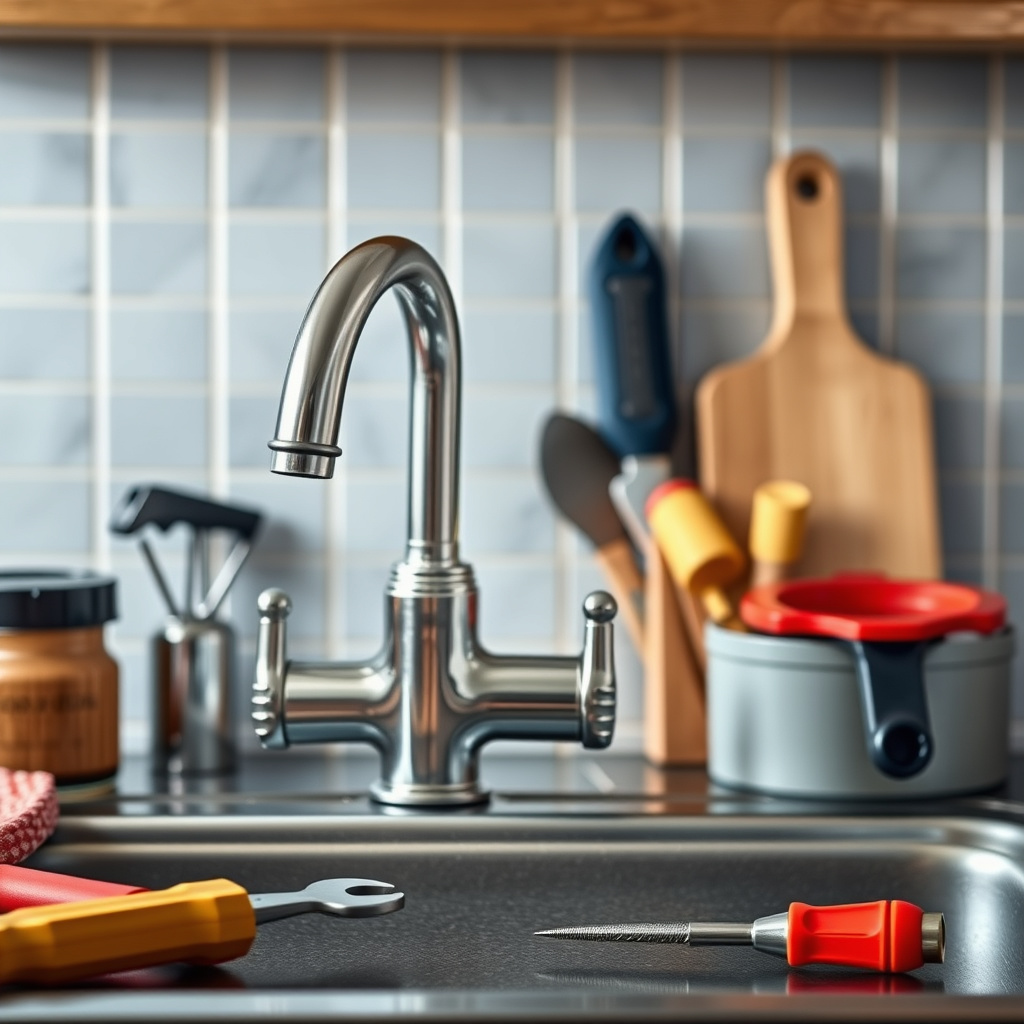
To replace a kitchen faucet properly, you’ll need several basic plumbing tools. These include an adjustable wrench for loosening nuts, a basin wrench for hard-to-reach fasteners under the sink, and plumber’s tape to seal threaded connections and prevent leaks.
Keeping a bucket handy helps collect any residual water when disconnecting the supply lines, and having cleaning materials nearby will allow you to prepare the area and tidy up after installation.
- Adjustable wrench
- Basin wrench
- Plumber’s tape (Teflon tape)
- Bucket
- Cleaning cloth
Materials and Replacement Faucet Choices
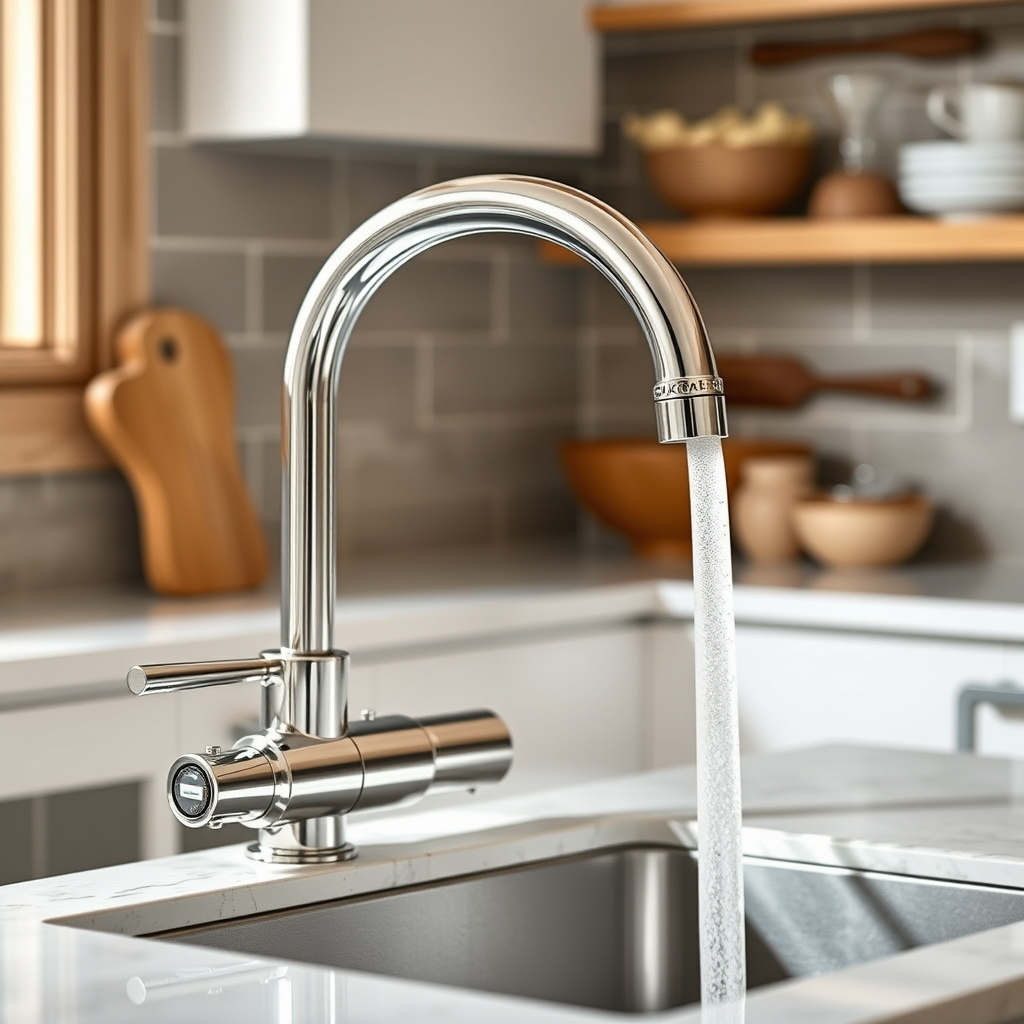
Choosing the right replacement faucet involves matching the mounting type to your sink, such as single-hole, centerset, or widespread configurations. Additionally, consider faucet features like pull-down sprayers, finish options, and water-saving aerators.
Check the specifications on your new faucet box to confirm it comes with necessary parts like supply lines and mounting hardware, which can simplify installation.
Preparing Your Workspace Before Removal
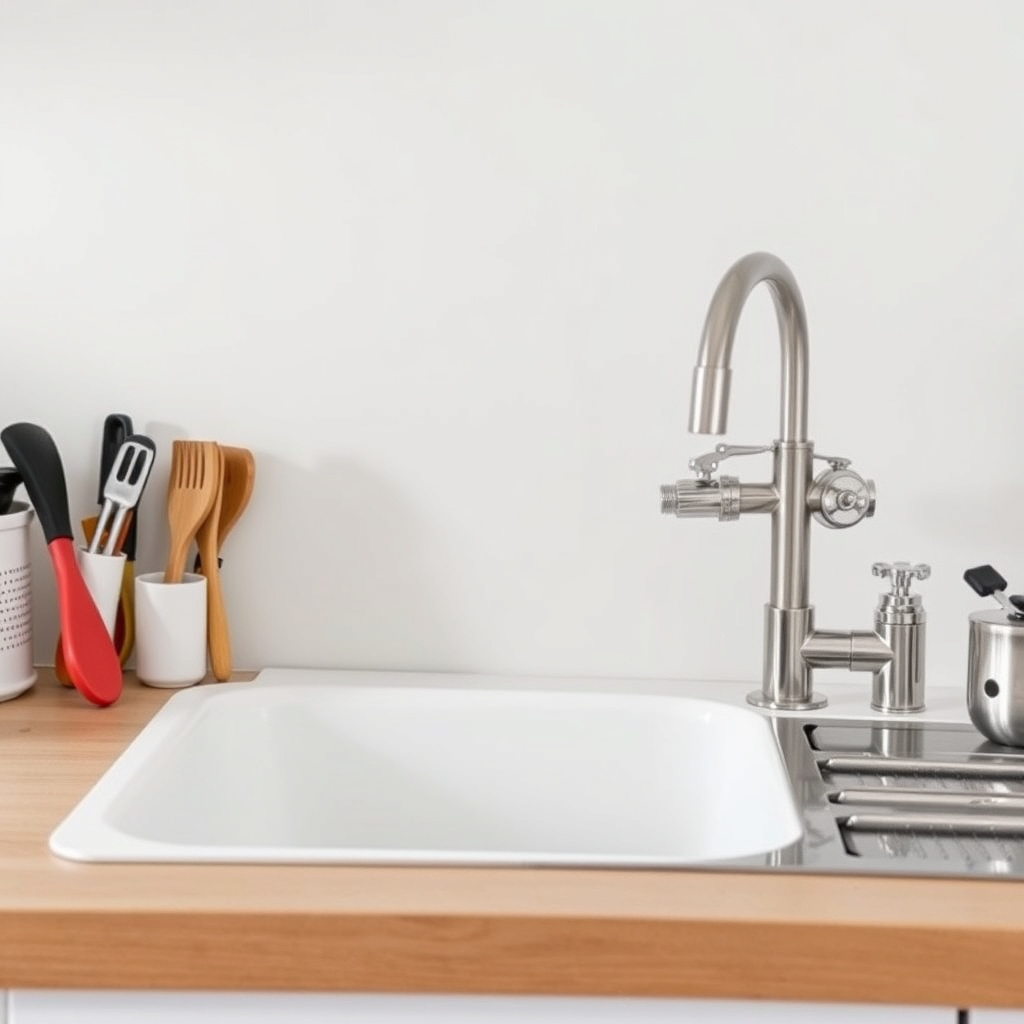
Shutting Off Water Supply and Clearing Space

Locate the water shutoff valves under the sink, typically one for hot and one for cold water, and turn them clockwise until fully closed. Then, open the faucet to drain any leftover water from the lines, preventing spillage during removal.
Next, clear out under-sink storage to give yourself ample room for maneuvering. Placing a towel or bucket beneath the work area helps catch any residual drips that might occur.
- Turn off hot and cold water valves
- Open faucet to release water pressure
- Clear under-sink cabinet area
- Use towel or bucket to catch drips
Disconnecting Water Supply Lines

Using an adjustable wrench, carefully loosen the nuts connecting the water supply lines to the faucet’s inlet pipes. Be gentle to avoid damaging the fittings, especially if they’re older copper or plastic lines.
Once loosened, detach both the hot and cold water lines, tipping the supply line ends into a bucket or towel to catch remaining water drops before fully removing them.
Removing the Old Kitchen Faucet
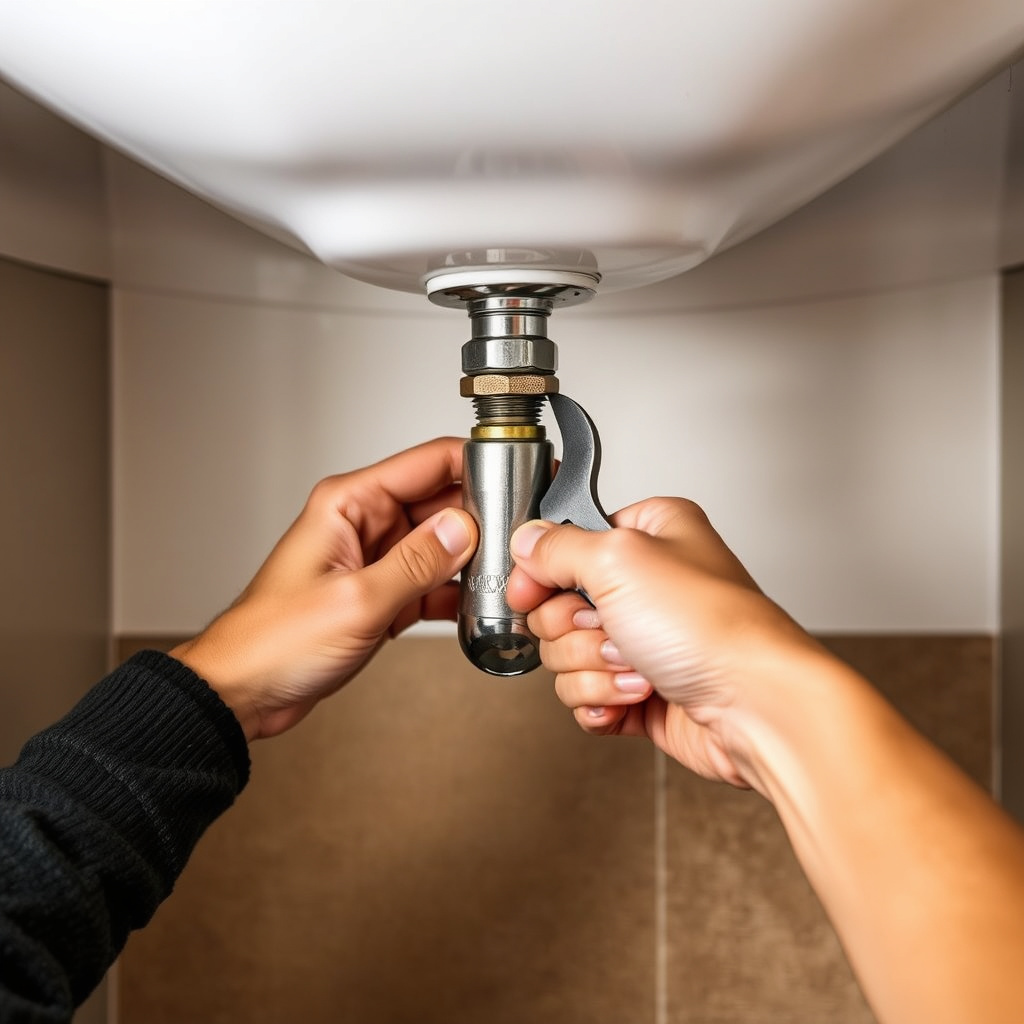
Loosening Mounting Nuts
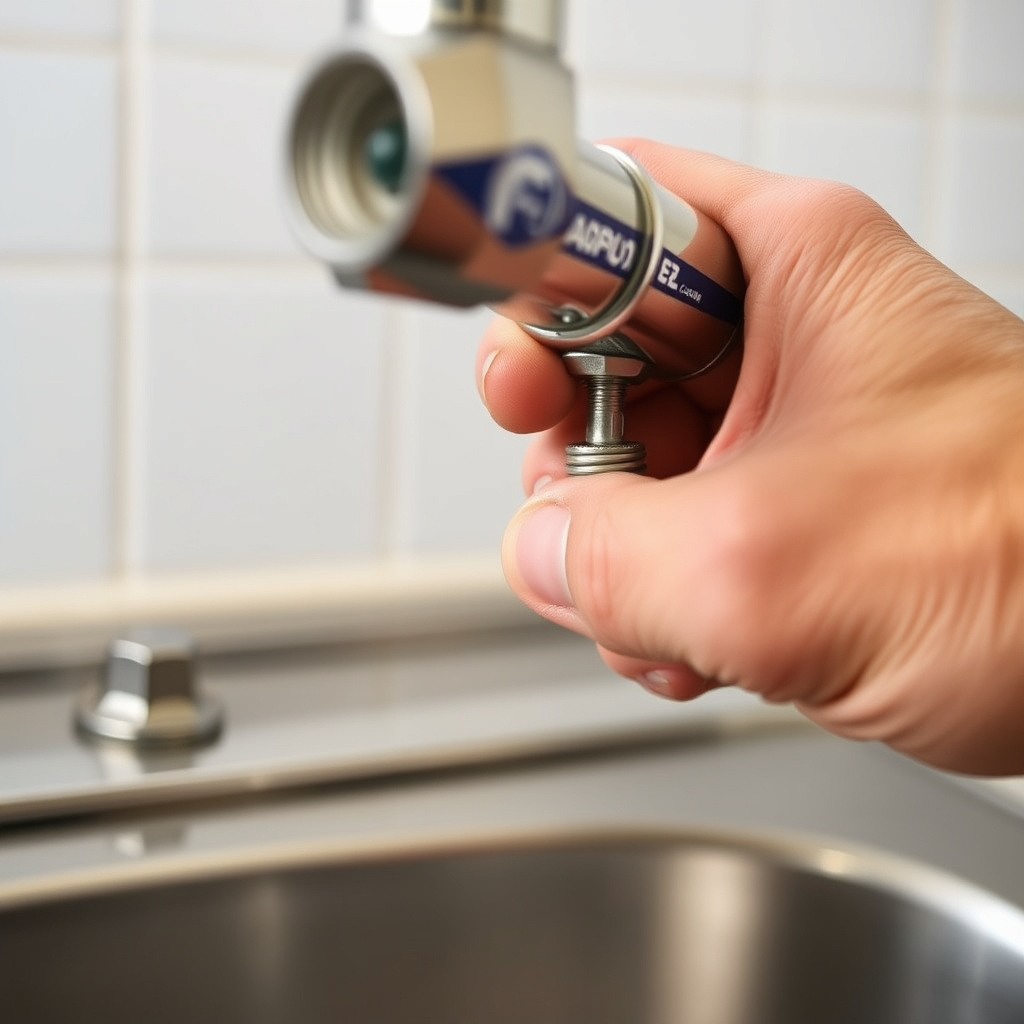
Most kitchen faucets are secured with nuts beneath the sink. Use a basin wrench to reach and loosen these mounting nuts, which can be in tight, hard-to-access spots. Turning counterclockwise will release the faucet from the sink surface.
If corrosion or debris is present, apply penetrating oil and allow a few minutes before attempting removal again to avoid stripping the nuts.
- Use basin wrench to reach tight nuts
- Apply penetrating oil if nuts are stuck
For more on this, see our related guide: How to Clean Kitchen Efficiently: Step-by-Step Guide for a Sparkling Space.
Removing the Faucet from the Sink
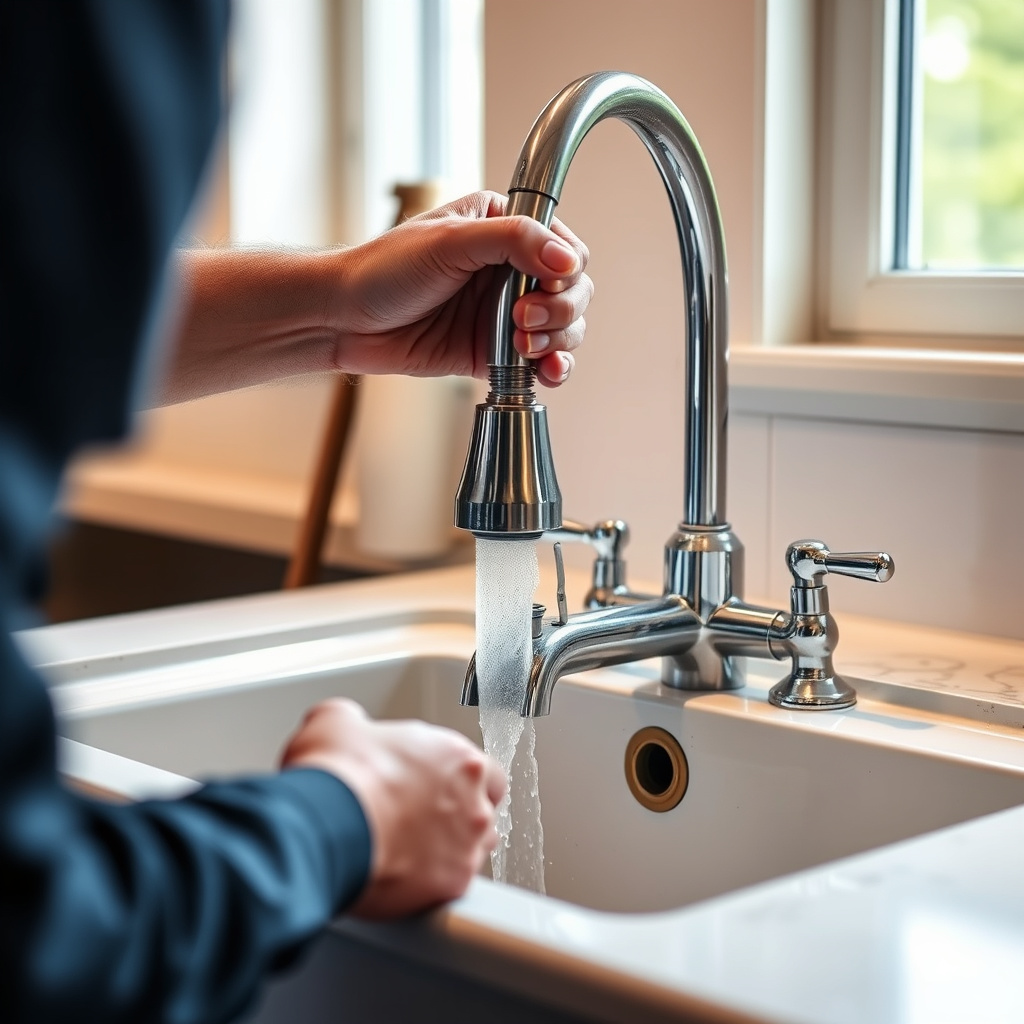
Once all mounting hardware is removed and supply lines are disconnected, gently lift the faucet from the sink. Take care not to damage the sink surface or surrounding countertop by applying steady, even pressure.
Inspect the mounting area and clean off any old plumber’s putty or debris to prepare a clean surface for the new installation.
Installing the New Kitchen Faucet
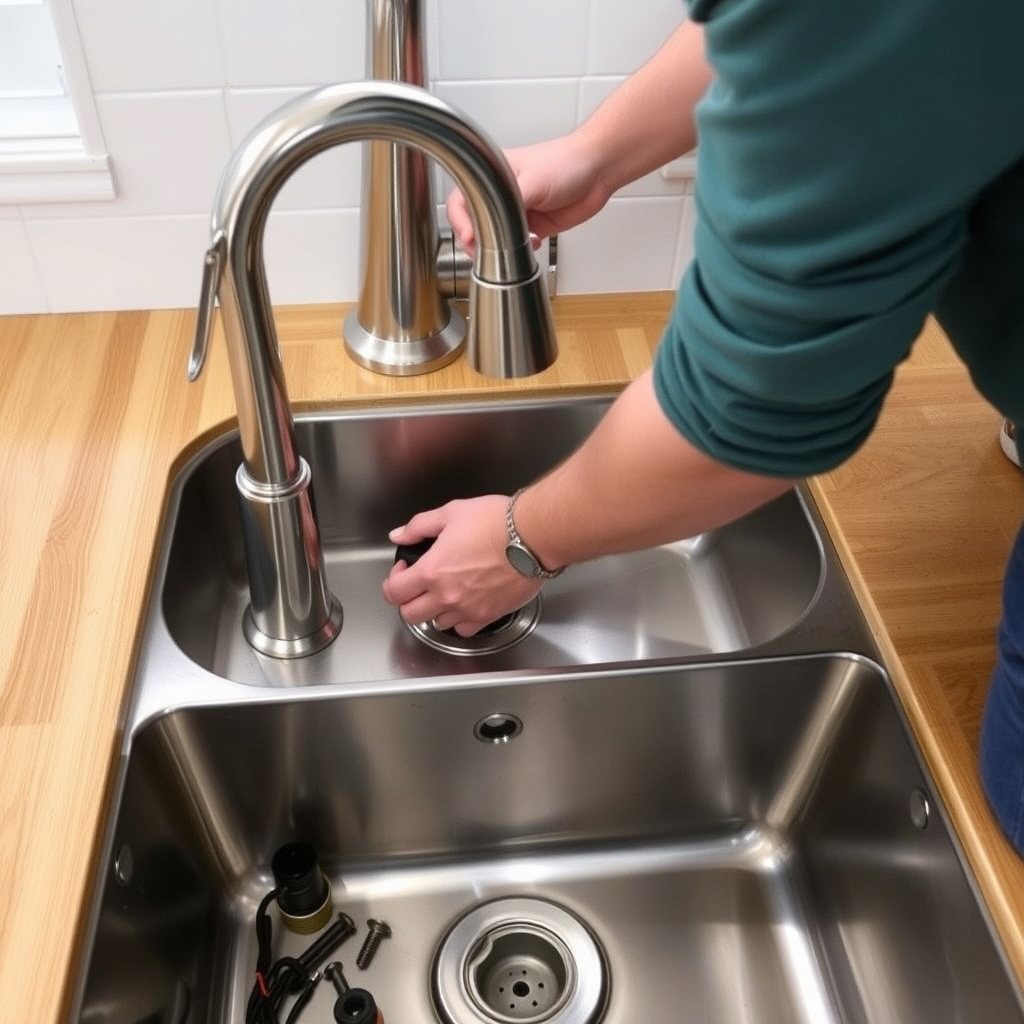
Placing and Securing the Faucet
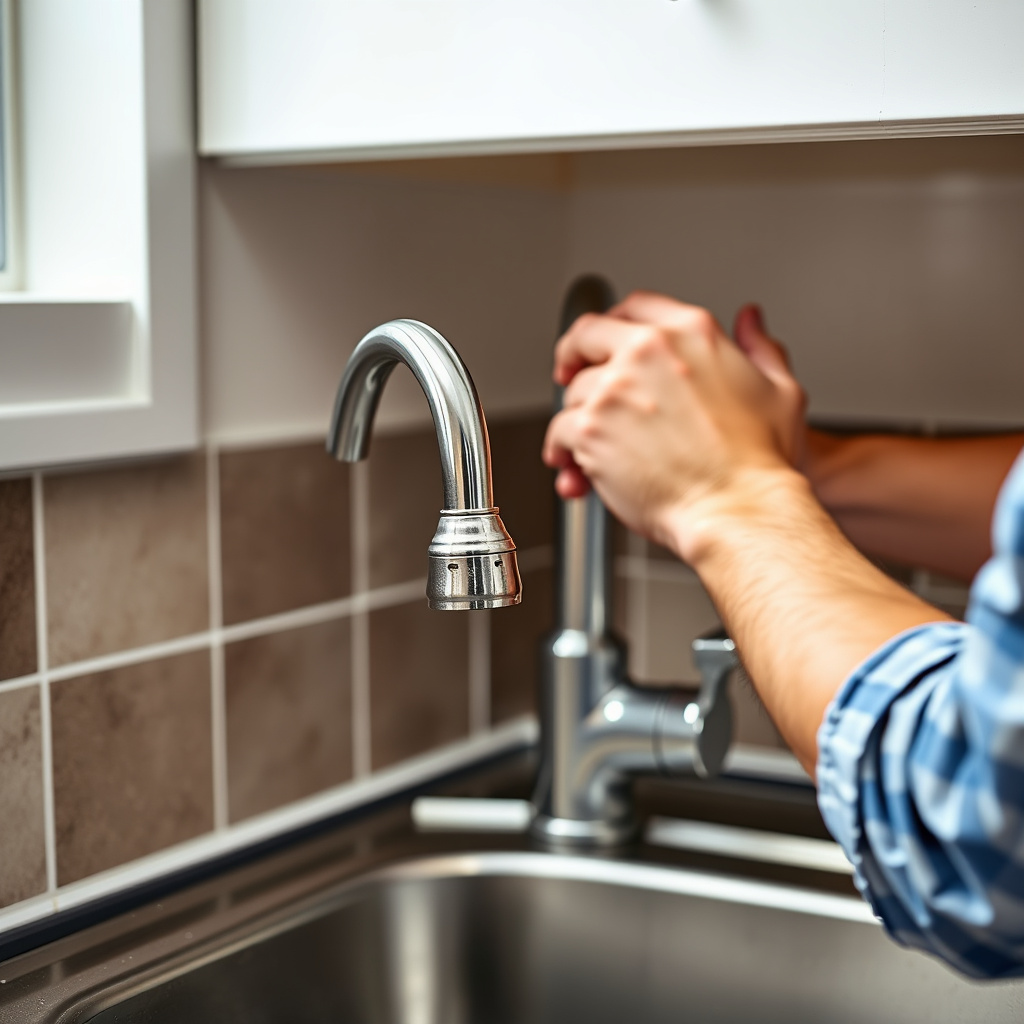
Position the new faucet into the mounting holes, aligning it according to manufacturer instructions. Insert any gasket or plumber’s putty provided to create a watertight seal between the faucet base and the sink.
Underneath the sink, thread mounting nuts onto the faucet shanks and tighten them evenly using the basin wrench or adjustable wrench, ensuring the faucet is firmly secured without overtightening.
- Use gasket or plumber’s putty for sealing
- Tighten mounting nuts evenly
Connecting Water Supply Lines

Attach supply lines to the corresponding hot and cold faucet inlets, using plumber’s tape on the threads for leak prevention. Then, reconnect supply lines to the shutoff valves, tightening all connections securely but carefully to avoid damage.
Check that supply lines are not kinked or stretched, as this can cause leaks or premature wear.
- Apply plumber’s tape to threaded connections
- Avoid twisting or kinking supply lines
Testing and Troubleshooting the New Faucet

Turning Water Back On and Checking for Leaks
Slowly turn on the water supply valves and observe the faucet operation. Open both hot and cold handles to flush out air and check water flow consistency. Watch under the sink for any drips or leaks around connections and mounting points.
If leaks appear, tighten ambiguous fittings slightly and reapply plumber’s tape as needed. Repeat testing until all leaks stop and the faucet operates smoothly.
Resolving Common Installation Issues
If the faucet handle feels too tight or loose, adjust the mounting hardware beneath the sink or check the cartridge installation if applicable. Uneven faucet alignment can usually be corrected by loosening mounting nuts slightly and repositioning the faucet before retightening.
For persistent leak issues, inspect washers, O-rings, and the supply line connections for defects or improper installation.
- Adjust mounting nuts for handle tension
- Check cartridge and seals for defects
Choosing the Best Kitchen Faucet Replacement for Your Needs
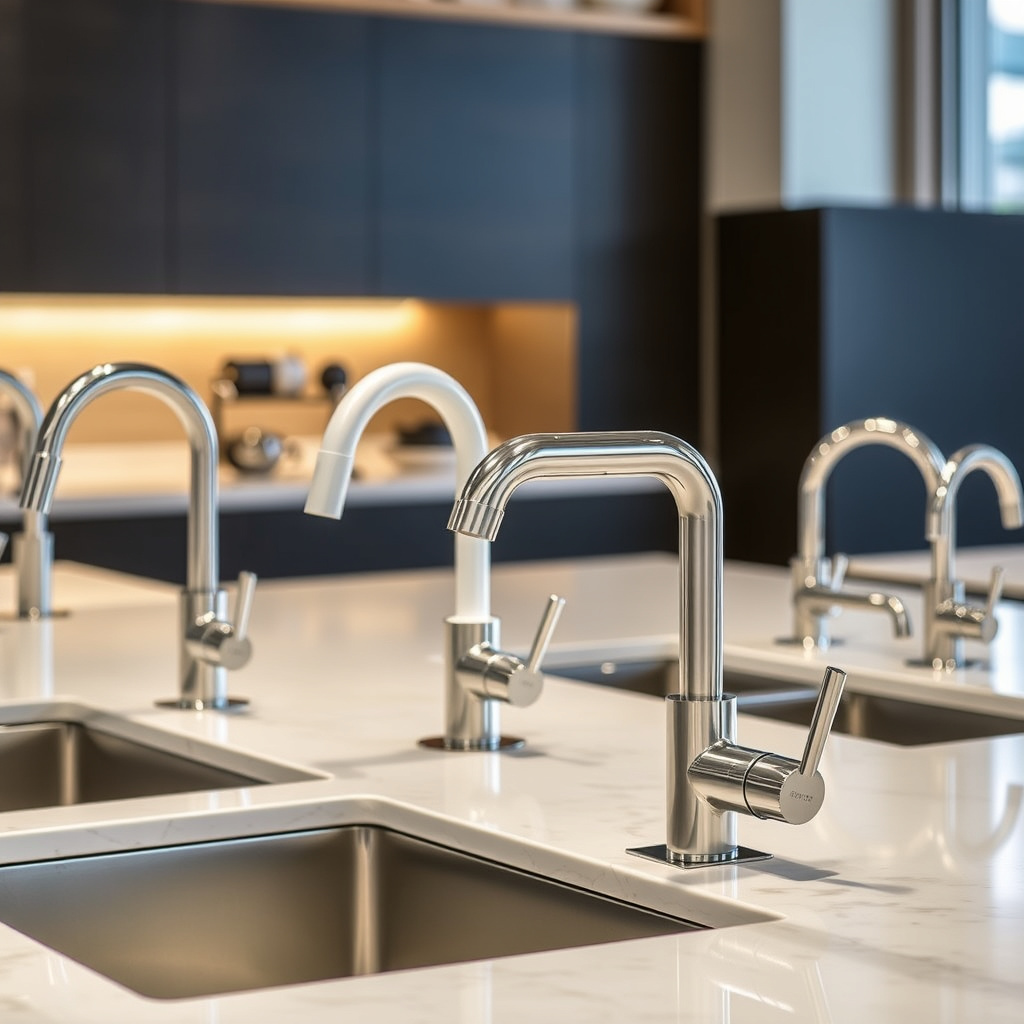
Matching Faucet Types to Sink and Usage
Selecting the best kitchen faucet replacement depends on your sink configuration, including the number of mounting holes and the deck space available. Single-hole faucets offer a sleek look, while widespread faucets allow for separate handles for hot and cold water.
Consider usage habits: pull-down faucets enhance sprayer reach and ease, while built-in filtration or touchless models add convenience, especially in busy households.
For a broader understanding of faucet types and history, refer to this detailed kitchen faucet replacement guide. kitchen faucet replacement guide.
Material and Finish Options Impacting Durability and Style
Popular finishes like stainless steel resist corrosion and fingerprints, while chrome offers a shiny, budget-friendly appearance. Brass faucets provide longevity and classic style but require proper maintenance to keep finish vibrant.
Match the faucet finish with other kitchen hardware for cohesive design, and verify that the finish’s durability rating suits your cleaning routine.
- Stainless steel: durable and low maintenance
- Chrome: shiny but prone to fingerprints
- Brass: classic look with proper upkeep
Kitchen Faucet Replacement Types Comparison
Here is a comparison of common kitchen faucet types to help you identify which best fits your kitchen setup and needs.
| Faucet Type | Number of Mounting Holes | Features | Price Range |
|---|---|---|---|
| Single-Hole Faucet | 1 | Compact design, easy installation | $50-$150 |
| Centerset Faucet | 3 holes with 4-inch spread | Combined spout and handles, space-efficient | $60-$170 |
| Widespread Faucet | 3 holes with 8-16 inch spread | Separate handles, customizable spacing | $80-$250 |
| Pull-Down Faucet | Usually single-hole | Flexible spray wand with reach | $100-$300 |
| Touchless Faucet | Usually single-hole | Sensor-activated for hands-free use | $150-$400 |
Frequently Asked Questions
Do I need a plumber to replace my kitchen faucet?
Most kitchen faucet replacements can be done by homeowners with basic tools. However, if plumbing is complicated or you encounter leaks, consulting a plumber is advisable.
How long does it take to replace a kitchen faucet?
Replacing a kitchen faucet usually takes about one hour, depending on sink accessibility and faucet type.
What should I do if water leaks after installation?
Check all connections for tightness, apply plumber’s tape to threaded joints, and ensure seals and washers are properly seated to resolve leaks.
Can I reuse my old water supply lines?
It's possible to reuse supply lines if they are in good condition without cracks or corrosion, but replacing them during faucet installation is often recommended.
What type of finish is best for a kitchen faucet?
Stainless steel is favored for durability and low maintenance, while chrome is cost-effective but may show fingerprints easily.
Key Takeaways
- Turn off water supply before starting faucet replacement to avoid leaks.
- Use proper tools like basin wrenches to loosen mounting nuts hidden under the sink.
- Select a faucet type that matches your sink’s mounting holes and usage needs.
- Test carefully for leaks after installation and secure all connections.
Conclusion
Replacing a kitchen faucet is an achievable home improvement that saves money and enhances your kitchen’s functionality and style. Start by gathering the correct tools and understanding your sink configuration. Carefully removing the old faucet and following precise installation steps results in a leak-free, stable setup that lasts.
When choosing a faucet, balance style, features, and compatibility with your sink. For smaller kitchens, single-hole pull-down models offer flexibility and ease. Larger setups may benefit from widespread faucets with separate handles. For modern convenience, touchless faucets are a worthy consideration, though they come at a higher price point.
Your next step is to measure your sink’s mounting holes and select a faucet that fits both practical needs and aesthetic preferences. With patience and attention to detail, you can confidently replace your kitchen faucet and enjoy improved performance and a fresh look.