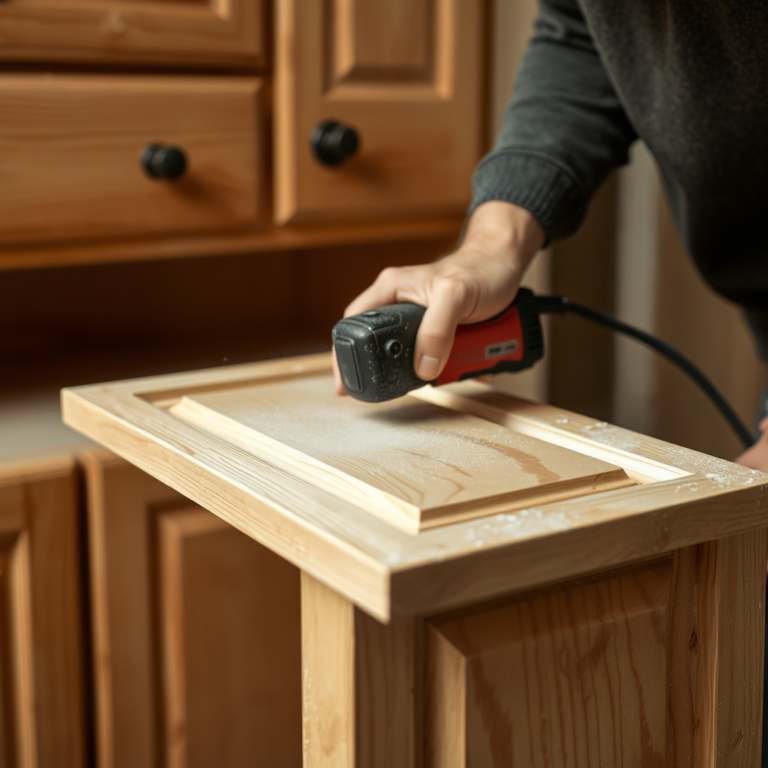
How to Hang Kitchen Cabinets: Step-by-Step Guide for a Perfect Install
Hanging kitchen cabinets requires precise measurements, strong support, and the right tools to ensure they are secure and level. Start by locating studs in your wall, marking the desired cabinet height, and installing a temporary ledger board to support the cabinets during installation. Using a drill and screws, fasten the cabinets to the studs, aligning each one carefully before securing them together for stability.
Cabinet installation matters because improperly hung cabinets can cause structural issues, misalignment, and aesthetic problems in your kitchen. Getting it right means your new storage will hold heavy items safely and enhance your kitchen’s overall function and look.
This article will walk you through how to hang kitchen cabinets effectively, covering key steps such as preparation, mounting methods, aligning multiple cabinets, and finishing touches to ensure a polished result.
Preparing for Cabinet Installation

Finding and Marking Wall Studs

Securing kitchen cabinets to wall studs is critical for support. Use a stud finder to locate studs behind drywall and mark their positions with a pencil. Marking these studs along the wall helps align cabinet screws exactly where extra support exists, preventing cabinets from pulling away or sagging under weight.
Typically, wall studs are spaced 16 or 24 inches apart. Confirm spacing and mark them in a horizontal line at the cabinet mounting height to guide installation. This preparation step ensures your cabinets will be anchored firmly and minimizes the risk of damage over time.
- Use a quality stud finder
- Mark each stud clearly at multiple heights
- Double-check spacing for accuracy
Setting the Cabinet Height and Level

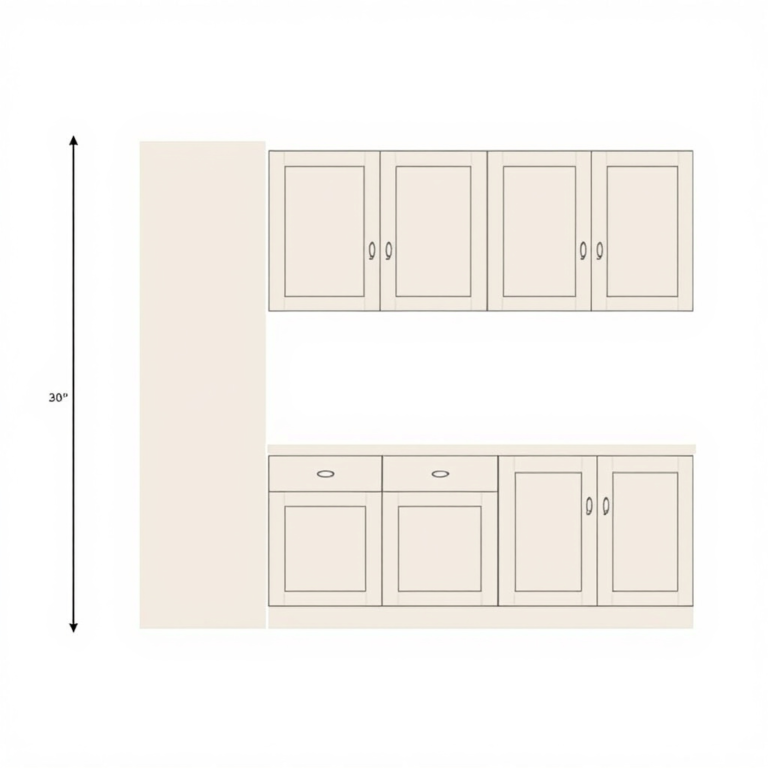
Determine the height you want your upper cabinets to hang, commonly about 54 inches from the floor to the bottom of the cabinet for standard countertops. Mark this line consistently across the wall to guide placement. Installing a temporary ledger board along this line can support the cabinet weight during mounting.
Check that this height works with your kitchen's countertop and backsplash plans. Use a level while marking the line to prevent slanting, which can cause alignment issues later. A level and straight reference line contribute to a professional-looking kitchen setup.
- Measure countertop height as reference
- Mark a continuous horizontal line
- Install temporary ledger board securely
Tools and Materials Needed

Essential Tools for Hanging Cabinets
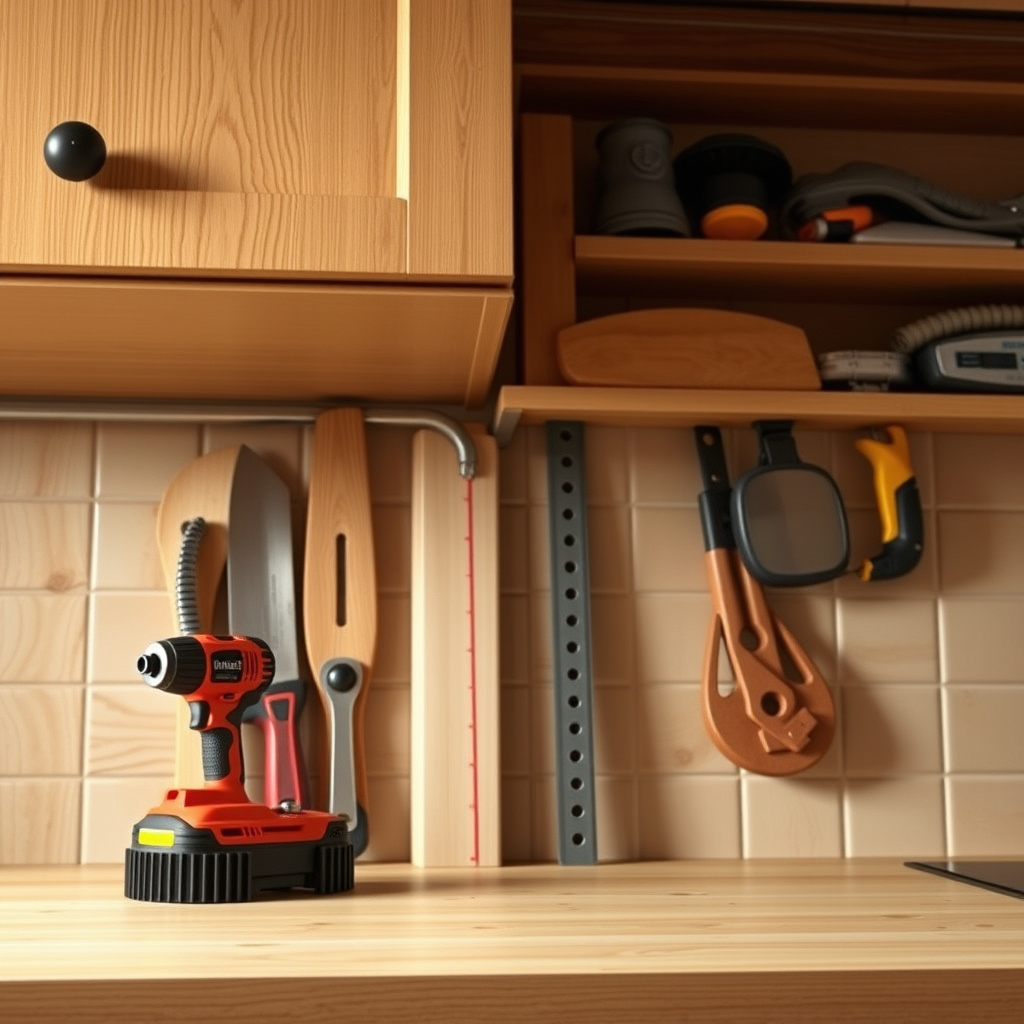
Key tools include a cordless drill with screwdriver bits, a stud finder to locate framing, a spirit level to check horizontal alignment, a tape measure for precise dimensions, and a pencil for marking. A ladder or step stool will help reach higher wall sections safely.
Having these tools ready before you start speeds up the process and helps achieve accuracy. Additionally, wearing safety glasses and gloves will protect you during drilling and handling heavy cabinets.
- Cordless drill with screwdriver bits
- Stud finder
- Spirit level
- Tape measure
- Pencil and ladder
For more on this, see our related guide: How Long Does a Kitchen Remodel Take? A Detailed Timeline Guide.
Hardware and Materials Overview

Use 2½-inch wood screws or cabinet mounting screws designed to hold heavy load. Cabinet shims help adjust and level cabinets if walls are uneven. Optional mounting brackets can provide extra security. Also, wood glue can reinforce joints when attaching adjacent cabinets.
Ensure screws are long enough to penetrate studs securely but not too long to avoid wall damage. Stock up on extra screws and hardware to avoid interruptions during the installation.
- 2½-inch wood or cabinet screws
- Cabinet shims
- Mounting brackets (optional)
- Wood glue
Mounting Kitchen Cabinets
Securing the First Cabinet
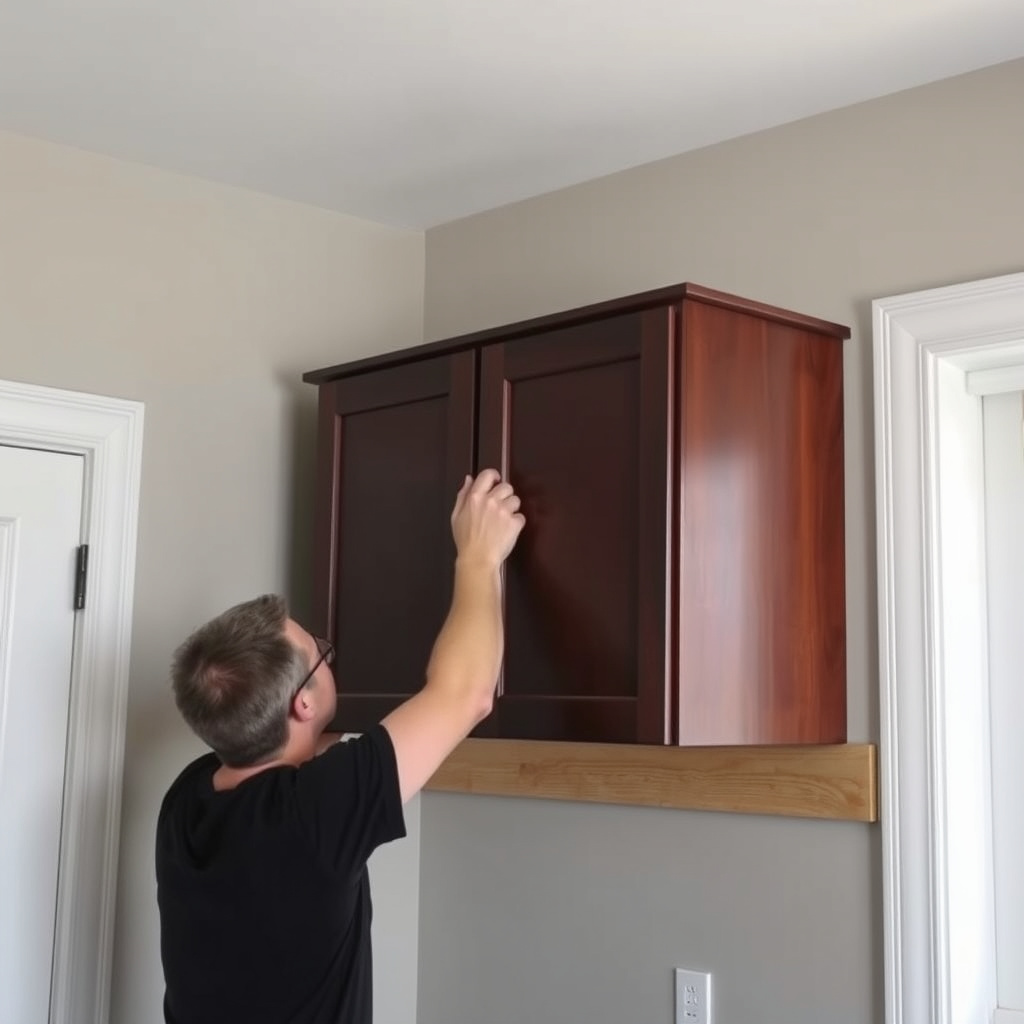
Start by hanging the corner or starting cabinet. Lift it onto the ledger board and check that it is level front to back and side to side. Insert long screws through the cabinet back rail directly into wall studs for maximum support.
Tighten screws carefully so the cabinet stays flush with the wall without bowing. This cabinet will serve as the anchor for additional cabinets, so accuracy here affects the entire installation.
- Lift cabinet on ledger board
- Check level in multiple directions
- Drive screws into studs at stress points
Aligning and Fastening Additional Cabinets
Attach cabinets side-by-side by clamping them together and driving screws through adjoining sides. This method stabilizes cabinets as a unit rather than separate boxes. Use shims behind cabinets if walls aren’t perfectly flat to keep alignment.
Regularly verify level across the connected cabinets and adjust screws or shims as needed before complete tightening. Consistency during this step prevents gaps and misalignment that are visually obvious and reduce function.
- Clamp cabinets together during installation
- Use shims for uneven walls
- Check levels frequently
Handling Wall Irregularities and Adjustments
Using Shims to Correct Wall Unevenness
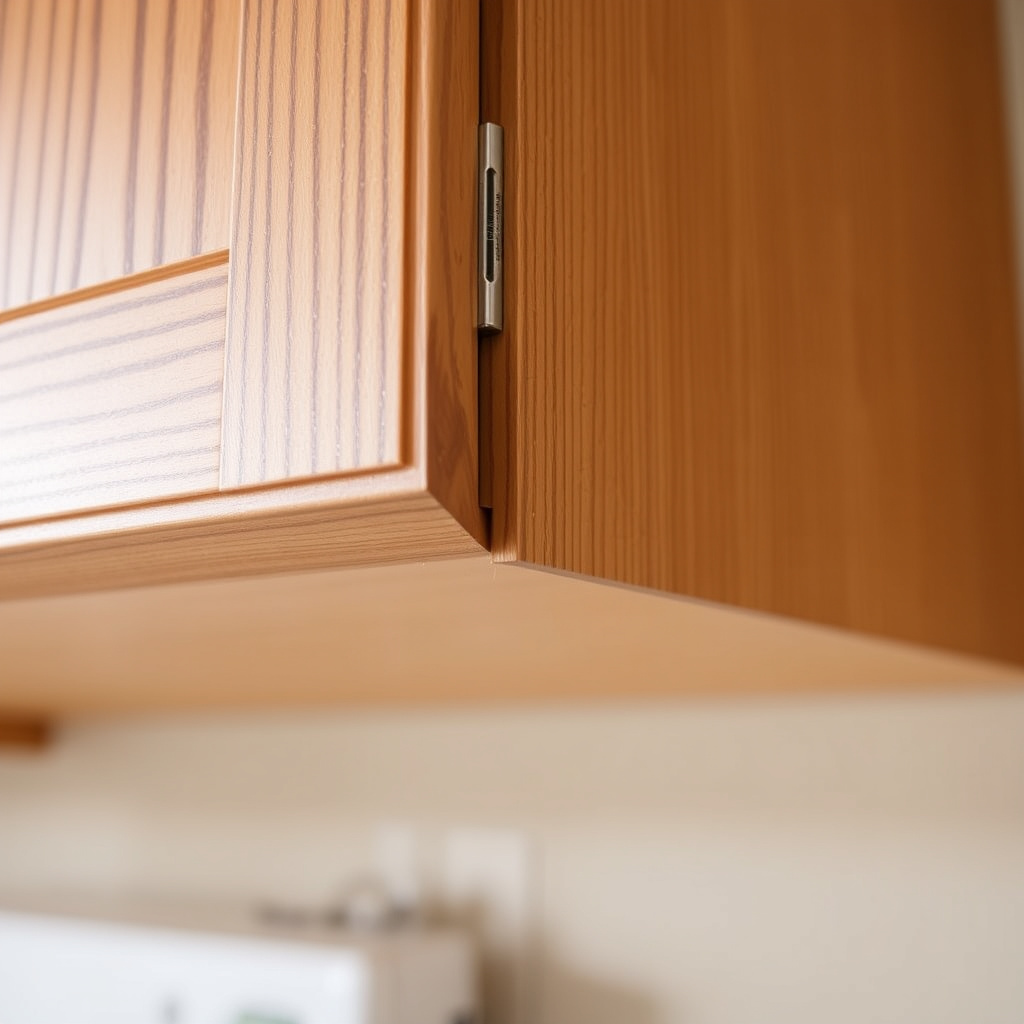
Walls and floors often aren’t perfectly flat or square. Placing wooden or composite shims behind a cabinet’s mounting points evens gaps and ensures a level installation. Insert shims carefully to prevent pushing the cabinet too far from the wall.
Trim excess shim material with a utility knife after installation, then cover gaps with trim or molding for a finished appearance. Proper use of shims avoids stress on cabinet frames and hardware.
- Insert shims at stud screw locations
- Trim shims flush after installation
- Fill gaps with trim moldings
For more on this, see our related guide: How 486 Gelyney Kitchen Exhaust Hood Work: A Detailed Explanation.
Adjusting for Out-of-Plumb Walls or Floors
If the wall isn’t vertical or floors slope, measure the deviation with a level before installing cabinets. Plan for compensation by adjusting shim thicknesses or installing cabinets slightly tilted then correcting with doors and trim.
Sometimes a furring strip behind the cabinet can create a flat mounting surface. Taking these adjustments seriously impacts how doors hang and how usable your cabinets will be once installed.
- Measure wall/floor plumbness before installation
- Use furring strips if needed
- Adjust door hinges in response to cabinet angles
Finalizing Your Kitchen Cabinet Installation
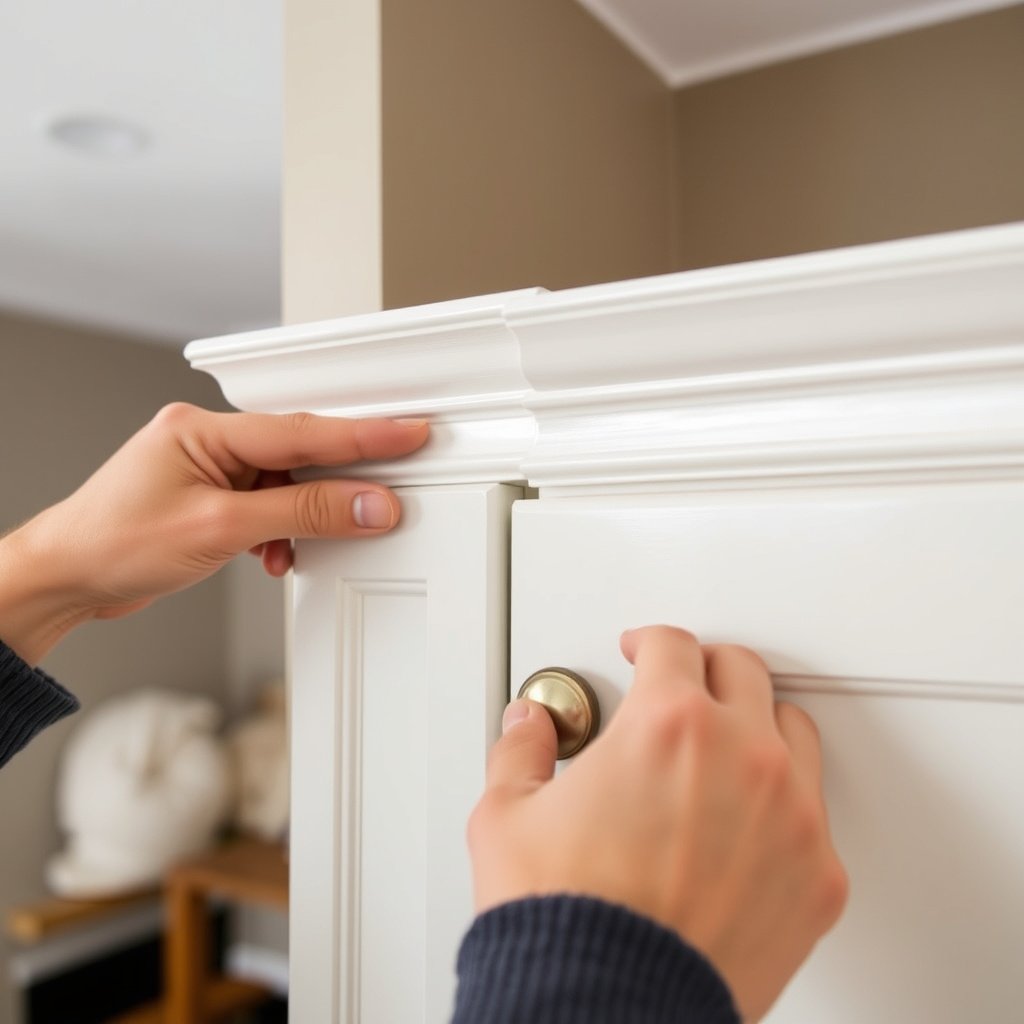
Installing Cabinet Doors and Hardware
Once cabinets are firmly mounted, attach doors with hinges aligned for even gaps and smooth operation. Install handles or knobs per your design plan, ensuring consistent placement across all cabinets for a cohesive look.
Adjust hinge screws to prevent doors from rubbing or sagging over time. Proper door installation improves both the cabinet function and kitchen aesthetics significantly.
- Install doors using adjustable hinges
- Align doors for even spacing
- Attach handles or knobs securely
For more detailed background about kitchen cabinetry and installation methods, see the Wikipedia article on kitchen cabinets. kitchen cabinet installation.
Adding Trim and Touch-Up Work
Finish the installation by adding crown molding or filler strips to cover gaps between cabinets and ceiling or walls. Use caulking to seal joints and nail holes, then paint or stain touch-ups to blend everything seamlessly.
These final touches contribute to a polished, custom look and protect cabinet edges from damage, rounding out your kitchen cabinet installation project.
- Add crown molding for a finished appearance
- Use caulk to seal gaps
- Touch up paint or stain as needed
Comparison of Common Kitchen Cabinet Types for Installation
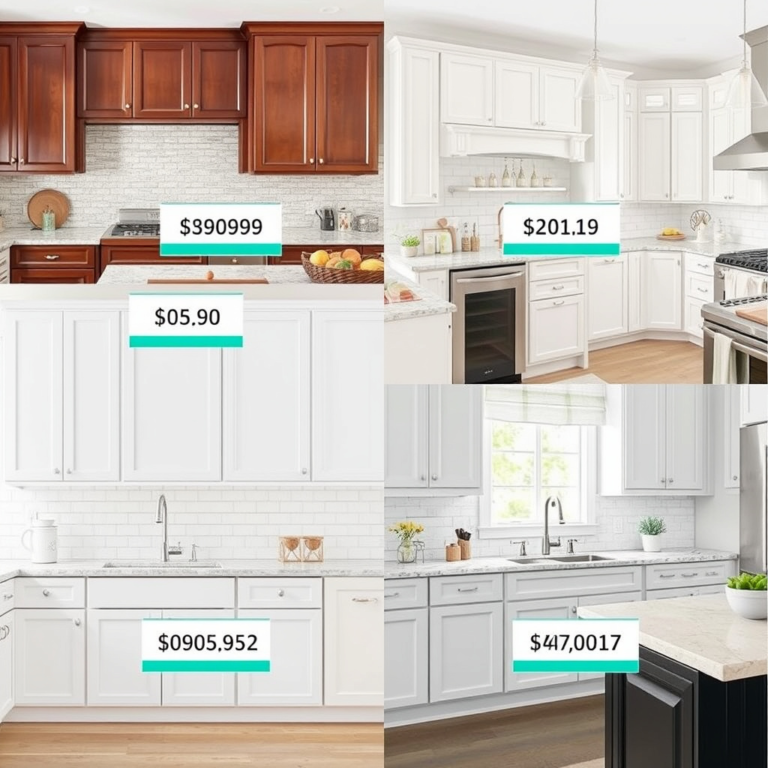
Here’s a brief comparison of popular kitchen cabinet types and how they relate to ease of installation, cost, and style options.
| Cabinet Type | Installation Complexity | Average Cost per Linear Foot | Style Variability |
|---|---|---|---|
| Stock Cabinets | Low – Preassembled and uniform | $100 – $300 | Limited but includes many basic styles |
| Semi-Custom Cabinets | Medium – Some customization, requires fitting | $150 – $650 | Wide range of styles & finishes |
| Custom Cabinets | High – Fully tailored, requires expert fitting | $500 – $1,200 | Unlimited options tailored to space |
| RTA Cabinets | Low – Flat pack, require assembly | $75 – $250 | Moderate, fewer finish options |
| Metal Cabinets | Medium – Need special hardware & care | $250 – $600 | Modern and industrial styles |
Frequently Asked Questions
What is the fastest way to hang kitchen cabinets?
Using a ledger board to temporarily support cabinets during installation and securing each cabinet to wall studs with screws is the fastest and most secure way to hang kitchen cabinets.
Can I hang kitchen cabinets without studs?
It is not recommended to hang kitchen cabinets without anchoring into studs; drywall anchors cannot support the weight and may cause cabinets to fall.
How high should upper kitchen cabinets be hung?
Standard height for hanging upper kitchen cabinets is about 54 inches from the floor to the bottom of the cabinet, leaving space above typical countertops.
Do I need help to hang kitchen cabinets?
Since kitchen cabinets are heavy and require precise alignment, having at least one helper makes the installation safer and more efficient.
What tools are essential for kitchen cabinet installation?
Essential tools include a stud finder, cordless drill, level, tape measure, and screwdrivers for a successful kitchen cabinet installation.
Key Takeaways
- Locate and mark wall studs carefully before installation.
- Use a ledger board to support cabinets during mounting.
- Level cabinets and use shims for uneven walls.
- Attach doors and add trim to complete the look.
Conclusion
Installing kitchen cabinets starts with accurate preparation: measuring wall studs, determining mounting height, and gathering necessary tools. Taking time on these initial steps directly leads to a secure and level outcome. Hanging cabinets properly safeguards kitchen longevity and usability by preventing sagging or misalignment that could compromise both appearance and safety.
For homeowners tackling this themselves, stock or RTA cabinets offer a manageable installation experience with affordable costs. Those desiring customized layouts and premium materials typically find semi-custom or custom cabinets offer expanded style options but require more precise skills and time commitment. Regardless of cabinet type, following the step-by-step installation process ensures a neat, professional finish.
Once you’ve nailed down the mounting procedure, the next phase involves securing doors, installing hardware, and adding final trim or molding to polish the space. For a kitchen upgrade that really lasts and looks great, approaching cabinet installation with patience and accuracy delivers significant satisfaction and value.