How to Remove a Kitchen Faucet: A Step-by-Step Guide
Removing a kitchen faucet can be straightforward if you follow the right steps. Start by turning off the water supply under the sink, then disconnect the water lines and mounting hardware to free the faucet from the sink.
Knowing how to properly remove a kitchen faucet matters because it allows you to tackle repairs, upgrades, or complete replacements without hiring a plumber. It also helps avoid damaging your sink or plumbing connections during the process.
This guide will cover detailed preparatory steps, how to disconnect and remove different faucet types, tool recommendations, troubleshooting common issues, and tips to safely handle the plumbing to make the task manageable for any home DIYer.
Preparing to Remove Your Kitchen Faucet
Shutting Off the Water Supply
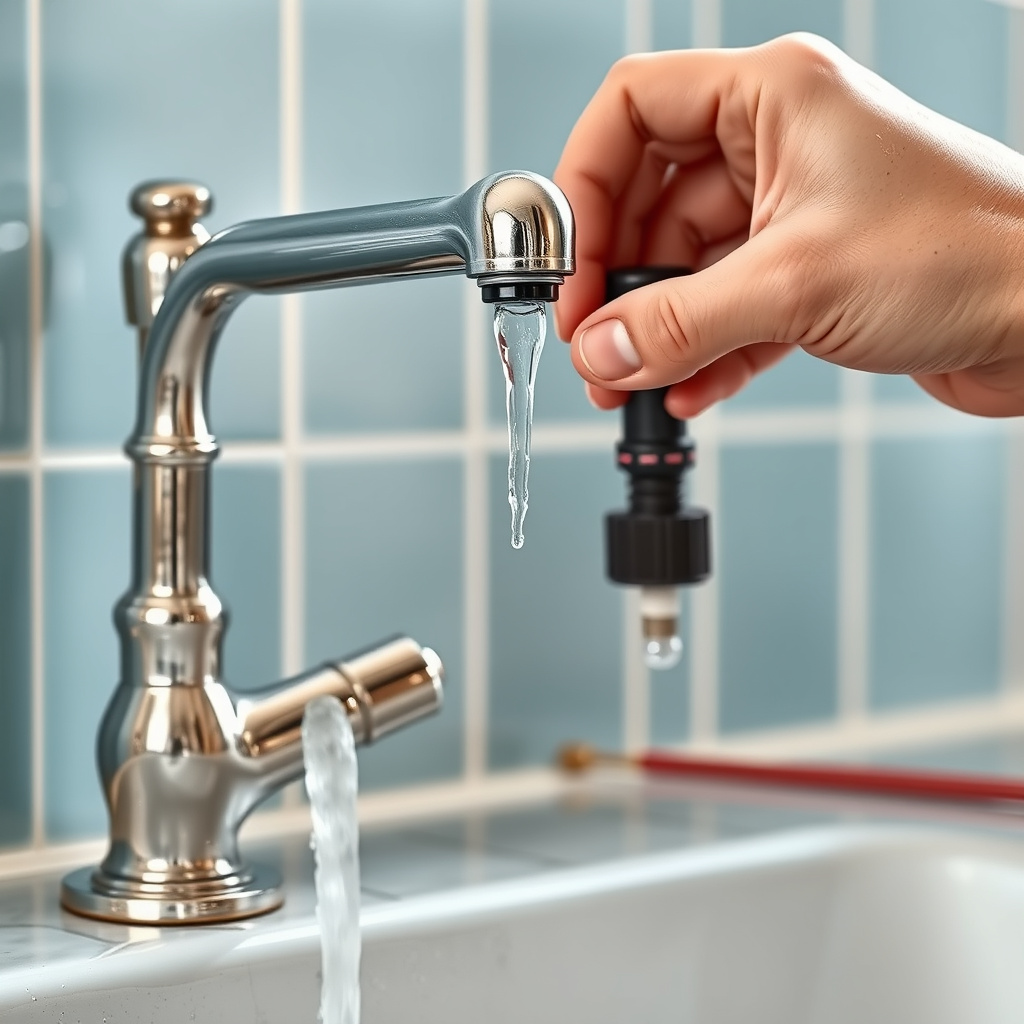
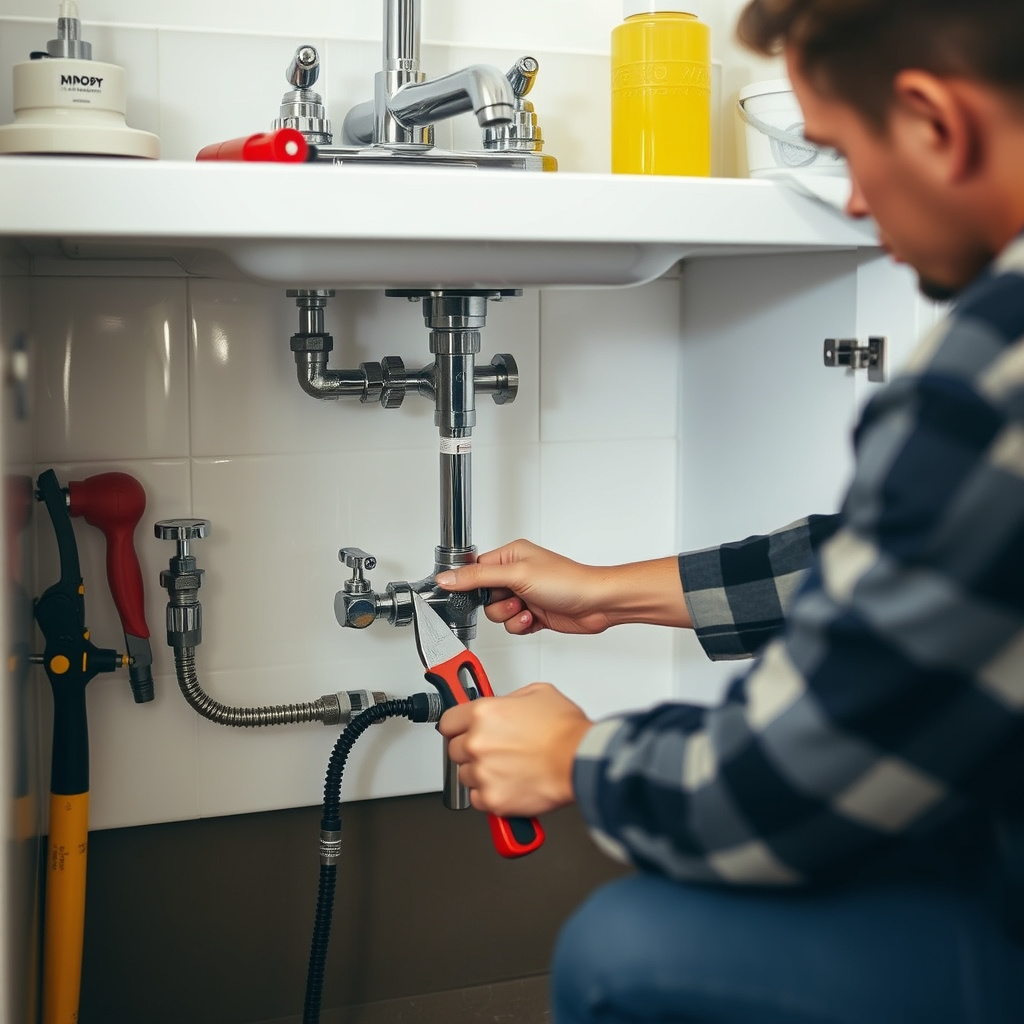
Locate the water shutoff valves beneath the sink, typically attached to the wall or cabinet floor. Turn them clockwise until fully closed to stop water flow. If there are no shutoff valves, you may need to turn off the main water supply for your home.
Double-check that no water flows by opening the faucet to release any remaining pressure and drain water from the lines, reducing mess during removal.
- Identify hot and cold shutoff valves
- Turn valves fully clockwise to close
- Release pressure by opening faucet
Gathering the Necessary Tools
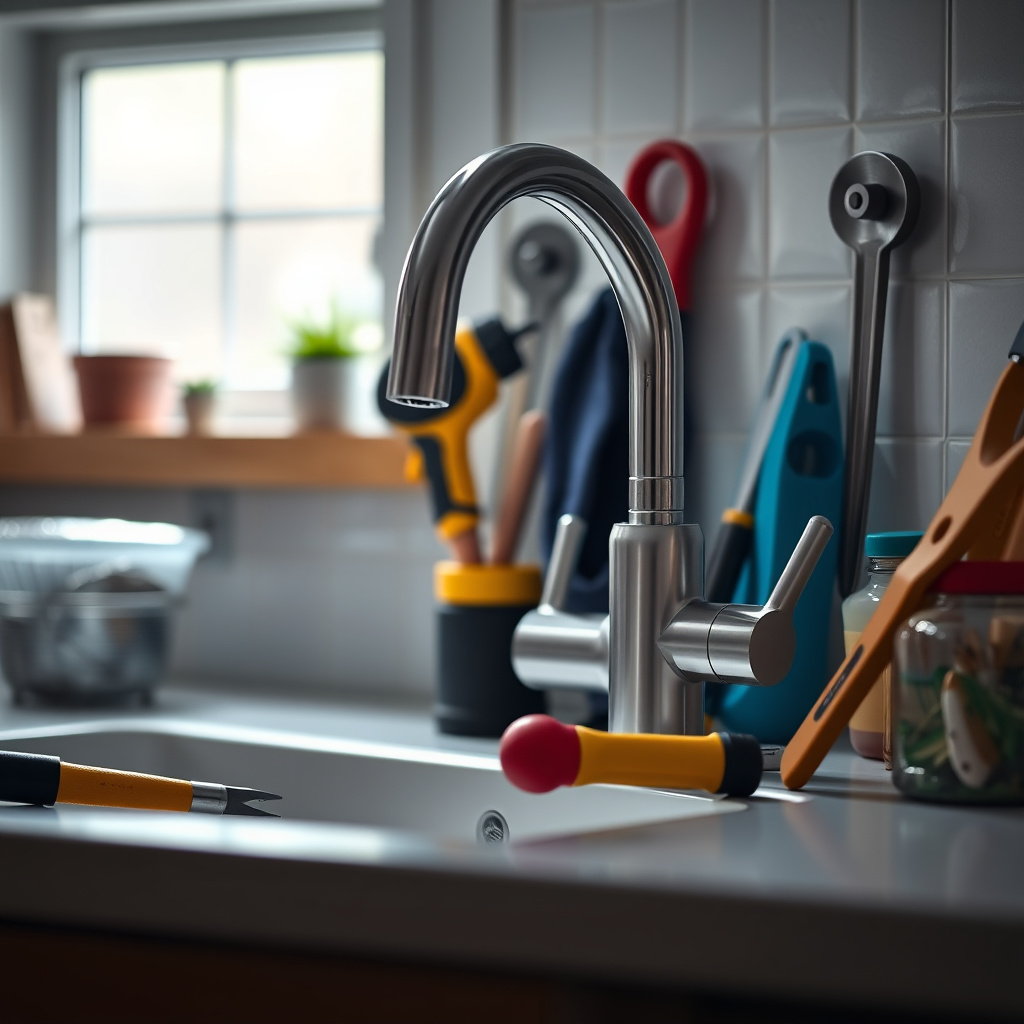
Having the right tools is essential for an efficient removal. Basic tools include a basin wrench for hard-to-reach nuts, adjustable pliers, a bucket to catch drips, and cloths for cleanup.
Depending on your faucet type, you might also need an Allen wrench, screwdriver, or lubricant to loosen stubborn connections.
- Basin wrench
- Adjustable pliers
- Screwdrivers (Phillips and flathead)
- Bucket and cloths
- Allen wrench
- Penetrating oil
Disconnecting Water Supply Lines

Loosening the Supply Line Nuts
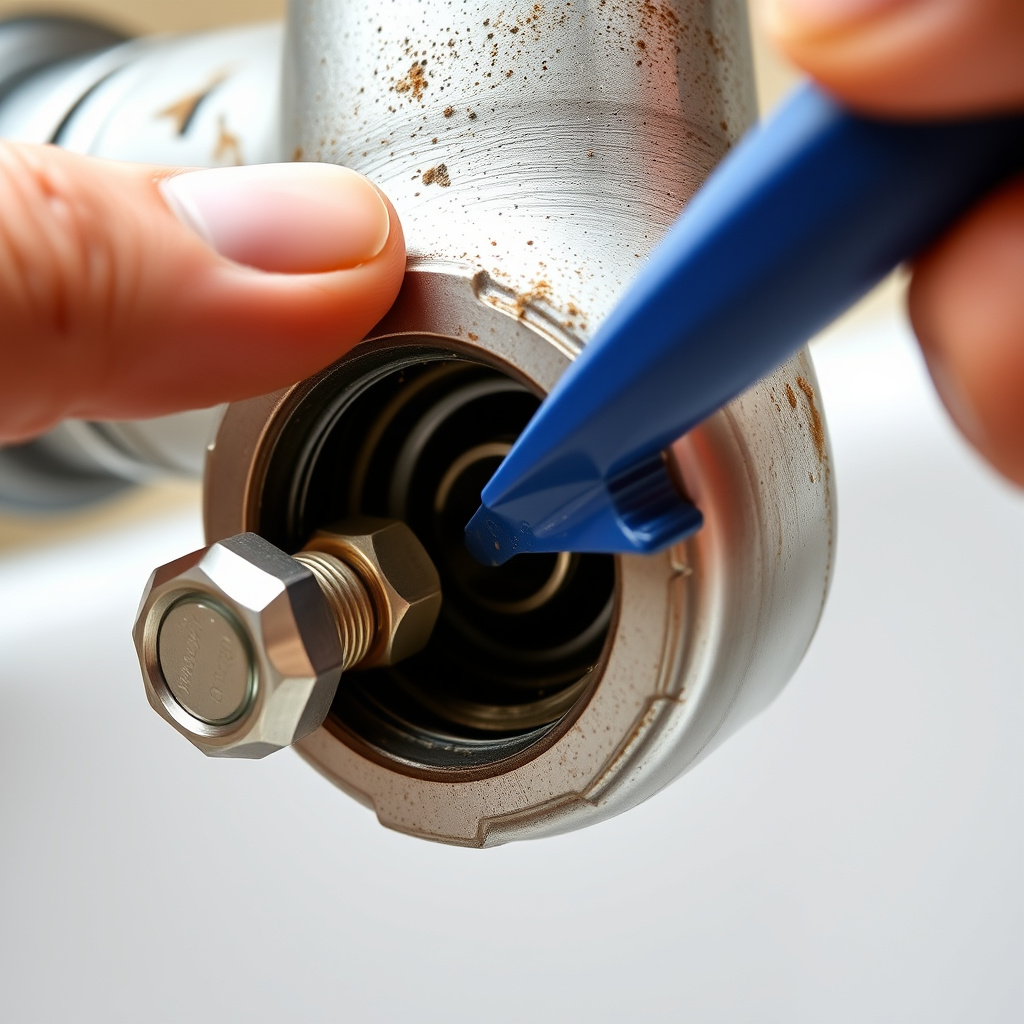
Use adjustable pliers or a basin wrench to unscrew the nuts connecting the water supply lines to the faucet valves. Turn counterclockwise and apply steady pressure to avoid stripping the fittings.
If the nuts are corroded or tight, apply penetrating oil and let it sit for several minutes before attempting removal.
- Turn nuts counterclockwise
- Apply penetrating oil for tight fittings
- Use steady pressure to prevent damage
Draining Residual Water and Handling Spills
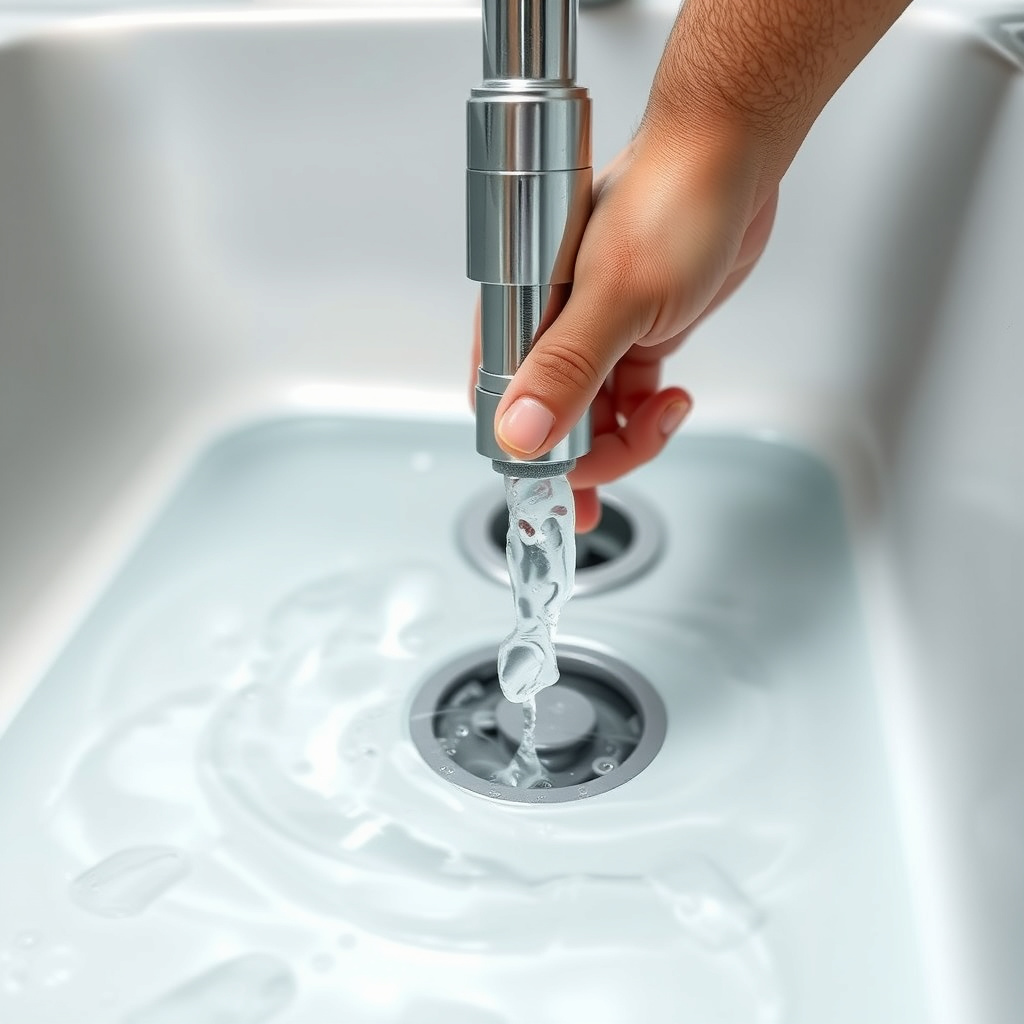
Place a bucket beneath the connections to catch any residual water when disconnecting the lines. Slowly loosen the nuts to control water flow and prevent splashing.
Keep towels handy to clean up drips and protect cabinet surfaces from water damage during the process.
- Use bucket to catch water
- Loosen nuts gradually
- Have towels ready for spills
Removing Faucet Mounting Hardware
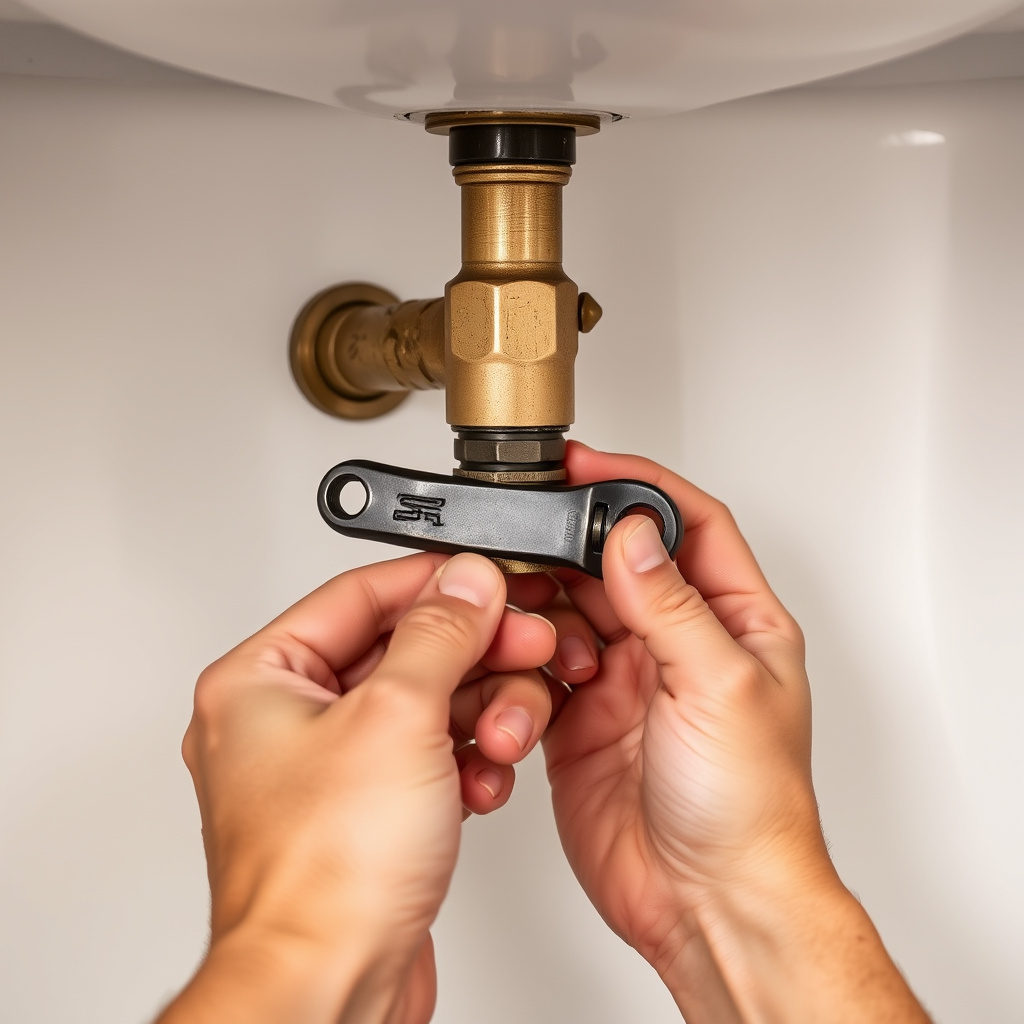
Accessing Tight Spaces Under the Sink

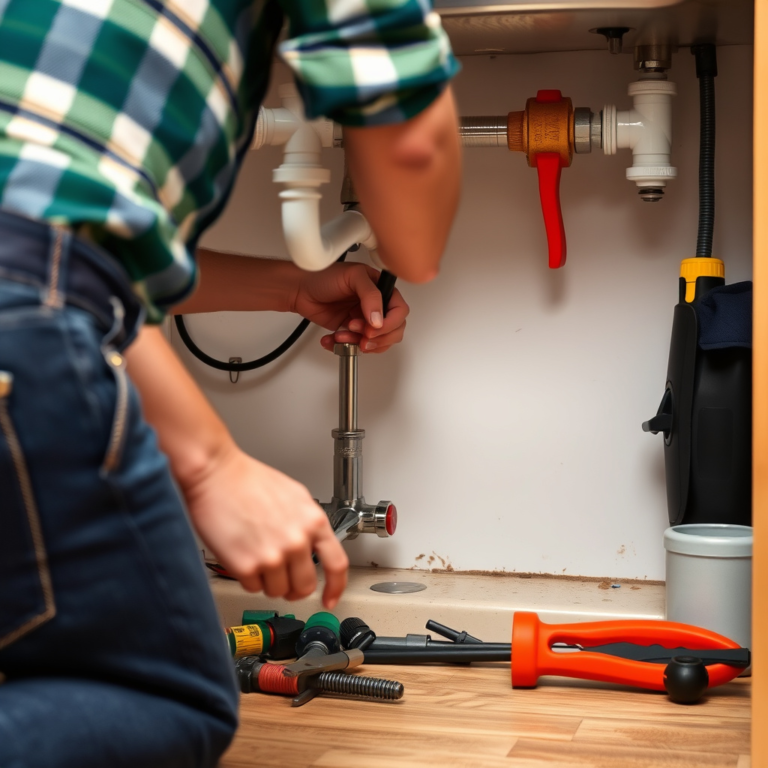
Faucet mounting nuts are typically located directly under the sink deck, often hard to reach with conventional tools. A basin wrench with an extendable handle simplifies loosening these nuts by fitting into confined spaces.
Clear out items from under the sink and use a flashlight to better see the mounting hardware for easier access.
- Use basin wrench for hard-to-reach nuts
- Clear space and improve lighting
- Work carefully to avoid damaging pipes
For more on this, see our related guide: How to Remove a Kitchen Faucet: Step-by-Step Guide.
Unscrewing the Faucet from the Sink
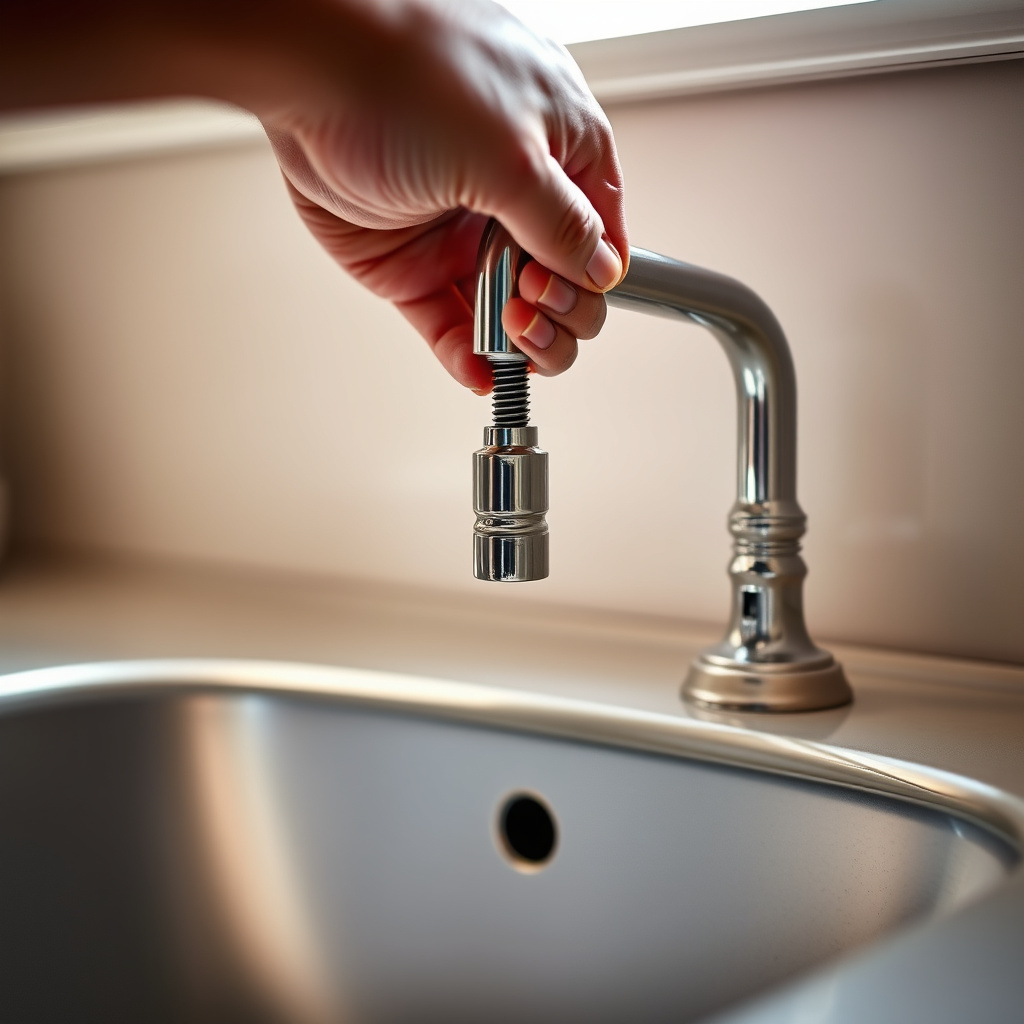
Once the mounting nuts are loose or removed, lift the faucet upwards from the sink deck. If it resists, gently wiggle it back and forth to break the seal or any adhesive, avoiding excessive force that could damage the sink surface.
Inspect the sink area for any remaining gaskets or putty and clean thoroughly before installing a new faucet.
- Remove mounting nuts completely
- Lift faucet gently with slight wiggling
- Clean sink deck post-removal
Handling Different Faucet Types
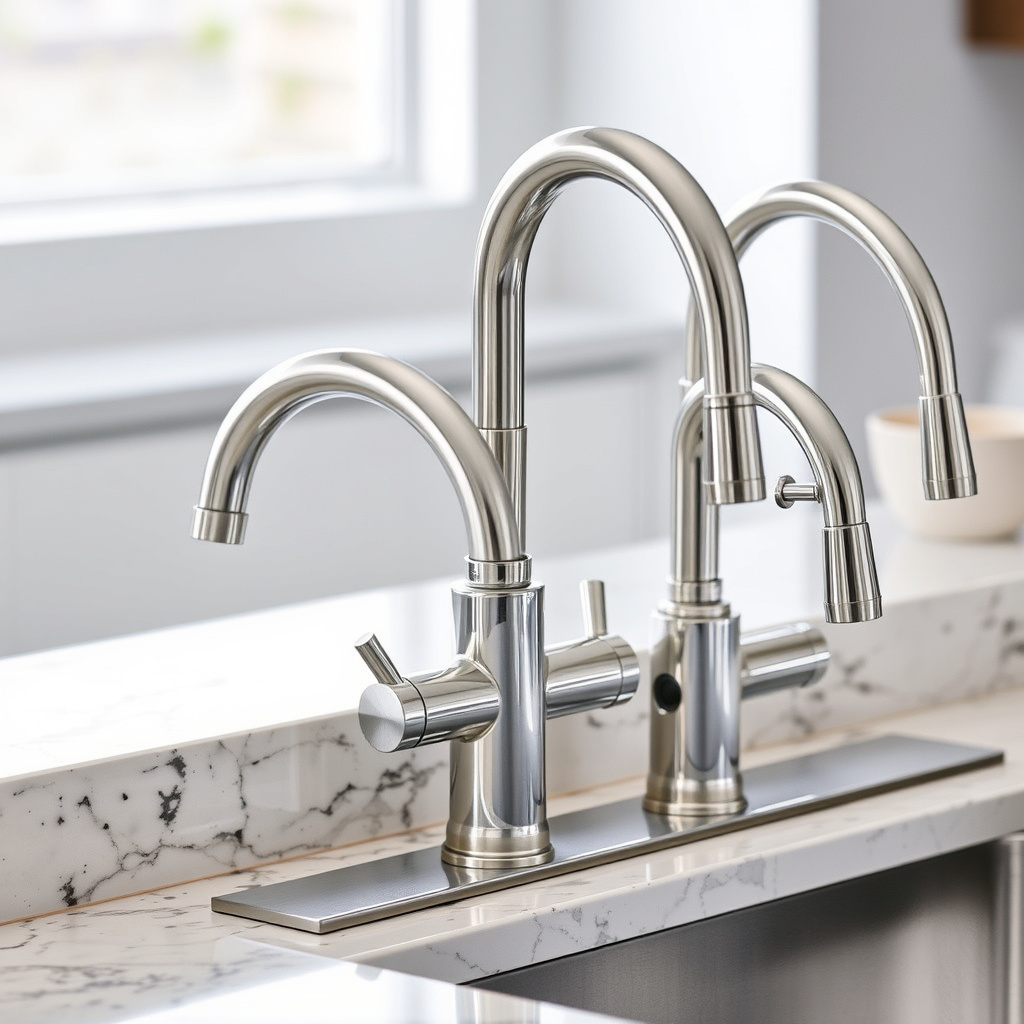
Single-Handle Faucet Removal
Single-handle faucets usually have a single mounting nut and a single water supply line or two flexible lines. After disconnecting the supply lines, remove any decorative caps and set screws to free the handle before loosening mounting hardware.
Be mindful of integrated sprayers or pull-out hoses, which may require additional disconnection steps.
- Remove handle and cap
- Disconnect integrated hoses carefully
- Use appropriate tools for mounting nuts
Double-Handle Faucet Removal
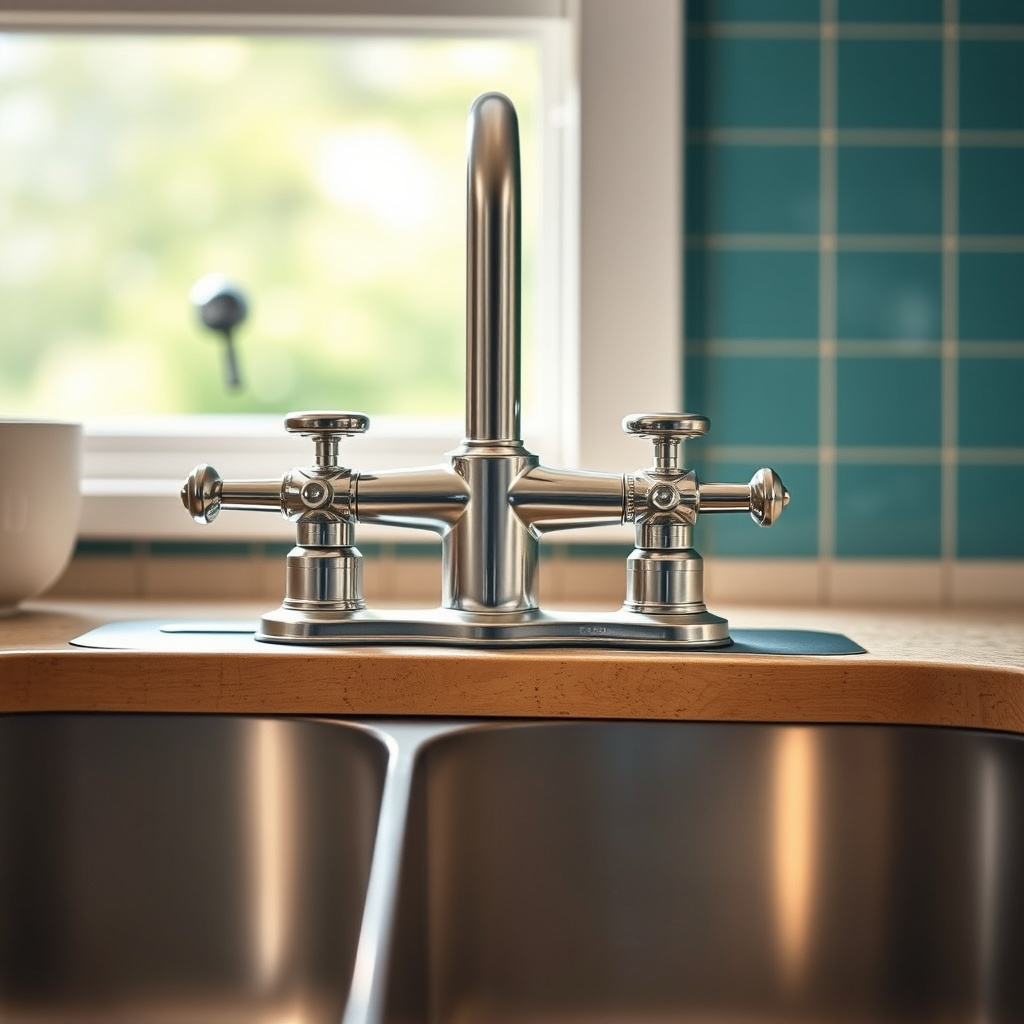
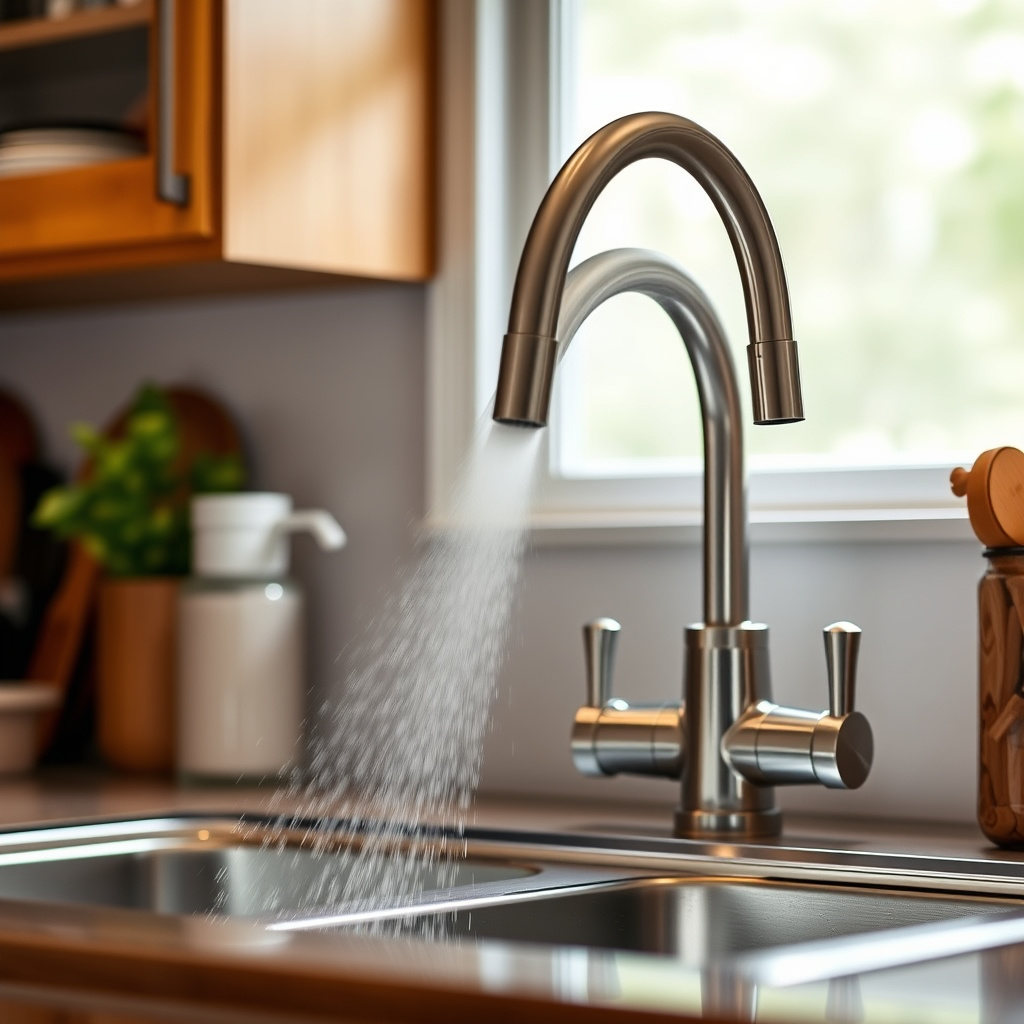
Double-handle faucets typically require disconnecting two separate supply lines and unscrewing two mounting nuts. The handles may be secured with set screws hidden under decorative caps, which need removal first.
Afterward, lift the faucet body after all connections and brackets are freed.
- Remove decorative handle caps
- Unscrew set screws on handles
- Disconnect both supply lines
Troubleshooting Common Removal Challenges

Dealing with Corroded or Stuck Parts
Old faucets often have corroded nuts and fittings that resist turning. Applying penetrating oil and letting it soak for at least 15 minutes can loosen rust buildup before attempting removal again.
Tap gently on stubborn nuts with a wrench handle to break corrosion bonds, but avoid excessive force that might damage plumbing.
- Apply penetrating oil generously
- Allow time for oil absorption
- Use gentle tapping to loosen parts
For more on this, see our related guide: How to Replace a Kitchen Sink: A Step-by-Step Guide.
Protecting Sink and Countertop Surfaces
When prying or twisting faucets to free them from the sink, use a cloth or putty knife to protect surfaces from scratches or chips. Work patiently to avoid chipping porcelain, stainless steel, or granite sink areas during faucet removal.
If adhesive residue remains, use gentle cleaner and a plastic scraper to clear the area.
- Use protective padding during removal
- Avoid metal tools against delicate surfaces
- Clean residual adhesives carefully
Post-Removal Cleanup and Inspection
Cleaning the Sink Area
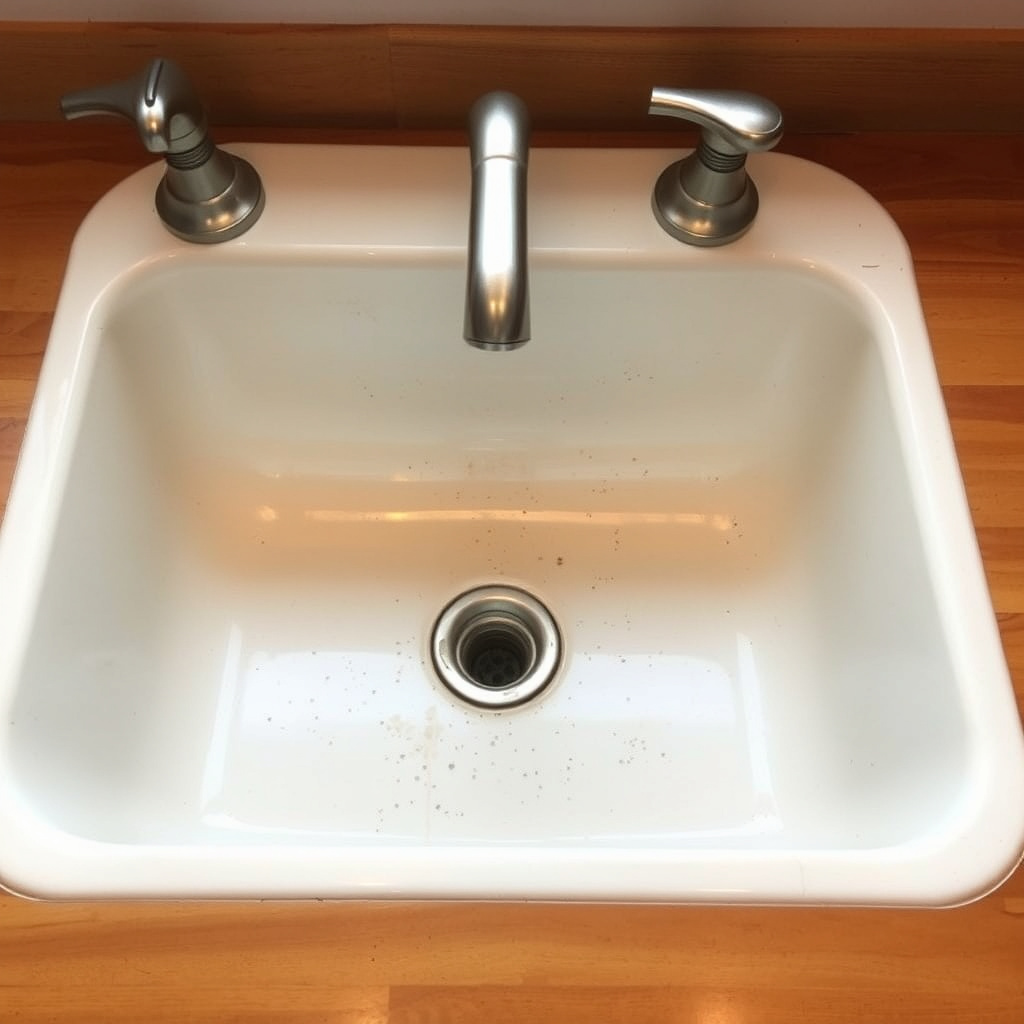
After removing the faucet, thoroughly clean the sink deck to remove mineral deposits, putty, and dirt. A mild household cleaner or vinegar solution works well for most common residues.
Cleaning ensures a smooth, sealed surface for installing your new kitchen faucet.
- Use mild cleaner or vinegar solution
- Remove all residues and old putty
- Dry area completely before next steps
For additional detailed information about kitchen faucet types and history, visit the Wikipedia article on kitchen faucets. Wikipedia article on kitchen faucets.
Checking for Plumbing Damage
Inspect supply lines, shutoff valves, and faucet holes for any signs of damage or wear that could cause leaks. Replace any worn washers, gaskets, or corroded parts before installing a new faucet.
Ensuring the plumbing is intact prevents future water damage and simplifies installation.
- Inspect for cracks or corrosion
- Replace worn washers or gaskets
- Test shutoff valves for proper function
Kitchen Faucet Removal Methods Comparison
Explore different approaches and tools for removing kitchen faucets, with comparisons based on ease of use and typical challenges.
| Method | Tool Required | Difficulty Level | Best For |
|---|---|---|---|
| Manual Wrench Removal | Basin wrench, adjustable pliers | Moderate | Standard faucets with accessible nuts |
| Penetrating Oil Assisted | Penetrating oil, wrench | Moderate-High | Rusty or corroded fittings |
| Power Tool Assistance | Electric drill with screwdriver bit | High | Removing screws in tight spots quickly |
| Professional Removal | Specialized plumbing tools | Low effort to user | Complex or inaccessible installations |
Frequently Asked Questions
Do I need to turn off the main water supply before removing a kitchen faucet?
Normally, turning off the shutoff valves under the sink is sufficient. The main water supply is only necessary to shut off if the under-sink valves are missing or malfunctioning.
Can I reuse the old faucet mounting hardware?
Reusing hardware is possible but not always recommended. Old nuts or washers may be worn or corroded, leading to leaks or poor fit. Inspect and replace parts as needed.
How can I remove a stuck faucet that won’t budge?
Apply penetrating oil to corroded parts and let it sit for several minutes before attempting again. Gently tapping the fittings can also help loosen them without causing damage.
Is it necessary to disconnect the water supply lines completely?
Yes, disconnecting both hot and cold supply lines is required to free the faucet. Make sure to catch any water drips with a bucket or towels during disconnection.
What should I do if there is damage under the sink after removal?
Inspect the damage closely and consider replacing cracked or corroded plumbing parts. Consult a professional plumber if repairs go beyond simple replacement to avoid leaks.
Key Takeaways
- Turn off water supply valves before beginning faucet removal
- Use a basin wrench to access tight mounting nuts
- Apply penetrating oil to loosen stubborn, corroded parts
- Clean and inspect plumbing after removal before installing a new faucet
Conclusion
Removing a kitchen faucet involves clear, practical steps such as shutting off water, disconnecting supply lines, and loosening mounting hardware. Understanding the tools and techniques suitable for your faucet type allows you to manage the process efficiently without damage to your sink or plumbing system. Preparation and patience are key to a smooth removal experience.
If your faucet is simple and accessible, manual removal with basic tools like an adjustable pliers and basin wrench may suffice. For faucets exhibiting corrosion or hard-to-reach mounting nuts, using penetrating oil or specialized tools can help significantly. Single-handle faucets typically require fewer disconnections than double-handle models, which might need more careful handle removal and line disassembly. Professional removal is an option for complex or outdated plumbing setups.
Starting your removal by identifying shutoff valves and having the right tools ready is the best first step. Remember to protect surfaces and carefully handle all disconnections. After removal, a thorough inspection and cleaning ensure your plumbing is ready for a replacement faucet or further maintenance. With these steps, your kitchen faucet removal will be more straightforward, safer, and ready for whatever project comes next.