How to Change a Kitchen Faucet: A Step-by-Step DIY Guide
Changing a kitchen faucet is a straightforward task that you can accomplish with basic tools and a bit of patience. The process involves shutting off water supply lines, disconnecting the old faucet, and installing the new one securely to avoid leaks. With some simple steps, you can upgrade your kitchen faucet without needing a plumber.
Whether your current faucet is leaking, outdated, or you simply want a new style, replacing it can improve both functionality and aesthetics of your kitchen. Understanding the basic plumbing connections and gathering the right tools will make this task manageable and cost-effective.
This guide covers everything from selecting the correct faucet type, preparing your workspace, disconnecting the old faucet, to installing and testing the new one for leaks. By the end, you’ll have a fully functioning kitchen faucet and the confidence to handle similar maintenance projects.
Preparing for Kitchen Faucet Replacement
Gathering Necessary Tools and Materials
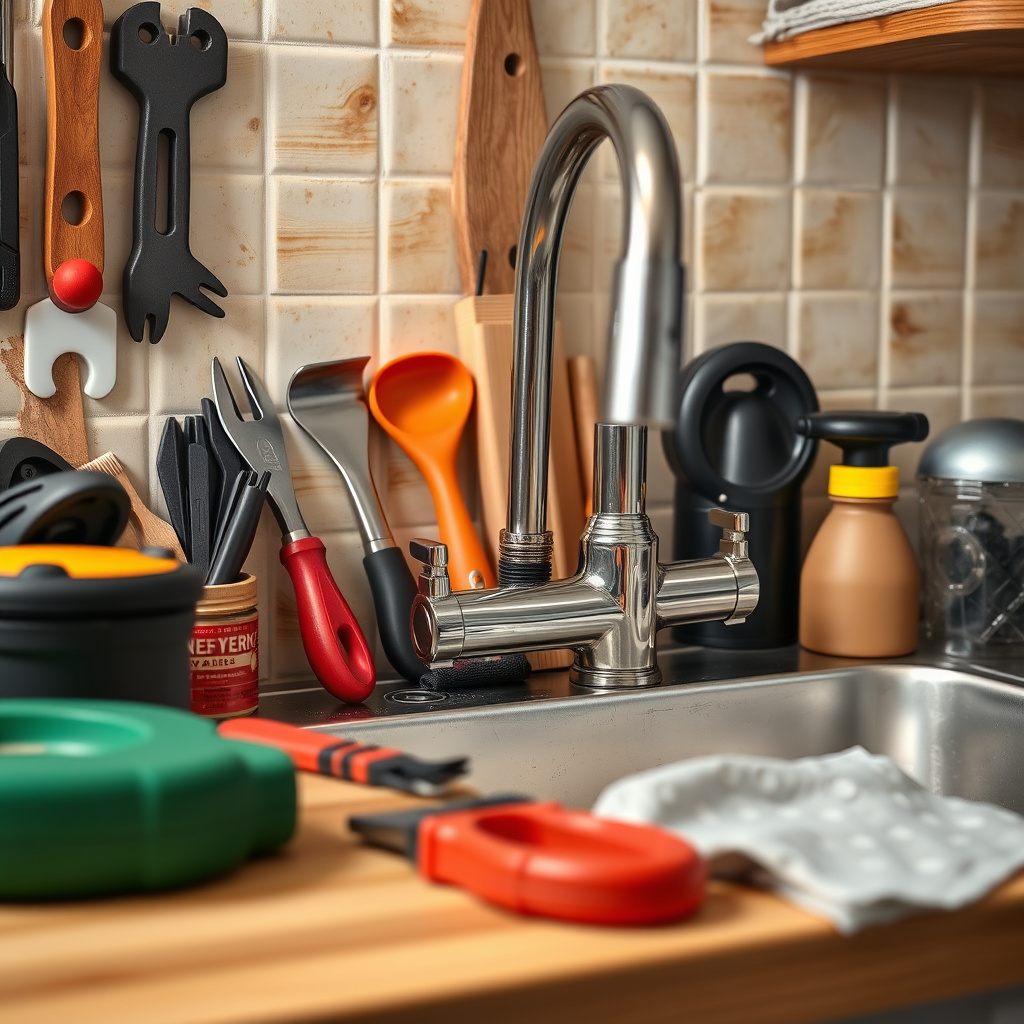
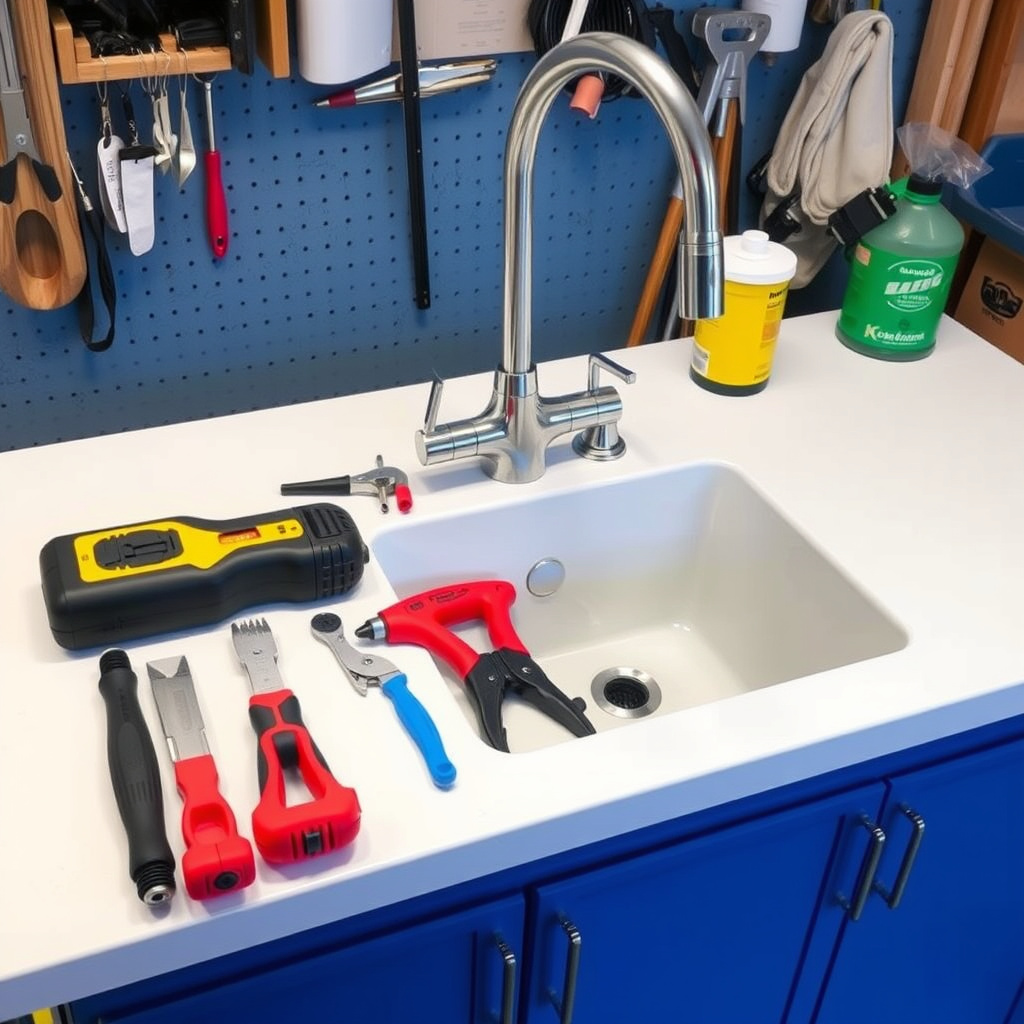
Before starting the kitchen faucet replacement, gather essential tools like adjustable wrenches, basin wrench, plumber’s tape, bucket, and cloths. A new kitchen faucet compatible with your sink type is also required. Having these ready helps avoid interruptions during the replacement process.
Don’t forget optional items such as silicone sealant or plumber’s putty, which can help with creating water-tight seals. Checking the faucet specifications ahead ensures it matches your plumbing and sink configuration.
- Adjustable wrench
- Basin wrench
- Plumber’s tape
- Bucket and rags
- Silicone sealant or plumber’s putty
Shutting Off Water Supply and Clearing Workspace

Locate and shut off the water supply valves under the sink. Open the faucet to release remaining water and relieve pressure. This prevents water spills during faucet removal.
Clear the cabinet space below the sink for easy access to plumbing. Placing a bucket helps catch any residual water during disconnection. Organizing your workspace improves efficiency and reduces frustration.
Removing the Old Kitchen Faucet
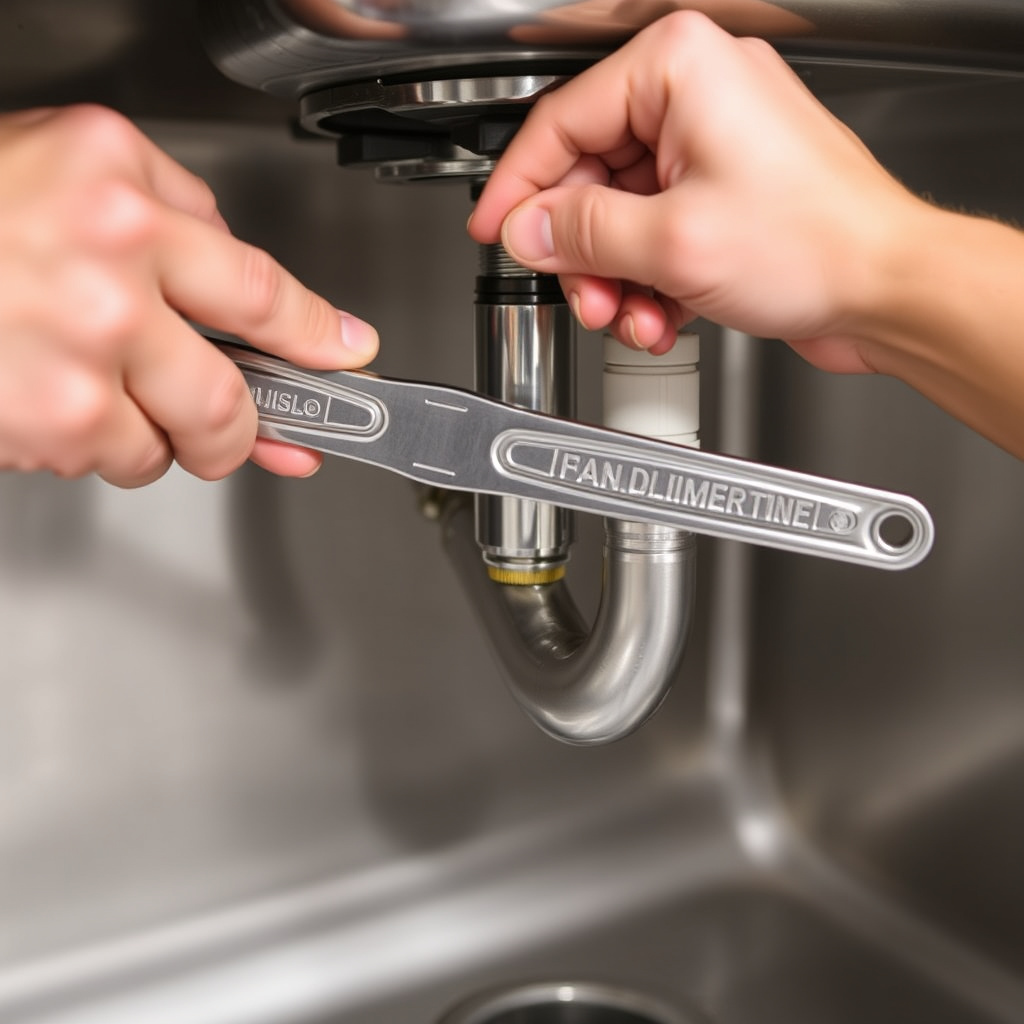
Disconnecting Supply Lines and Mounting Hardware
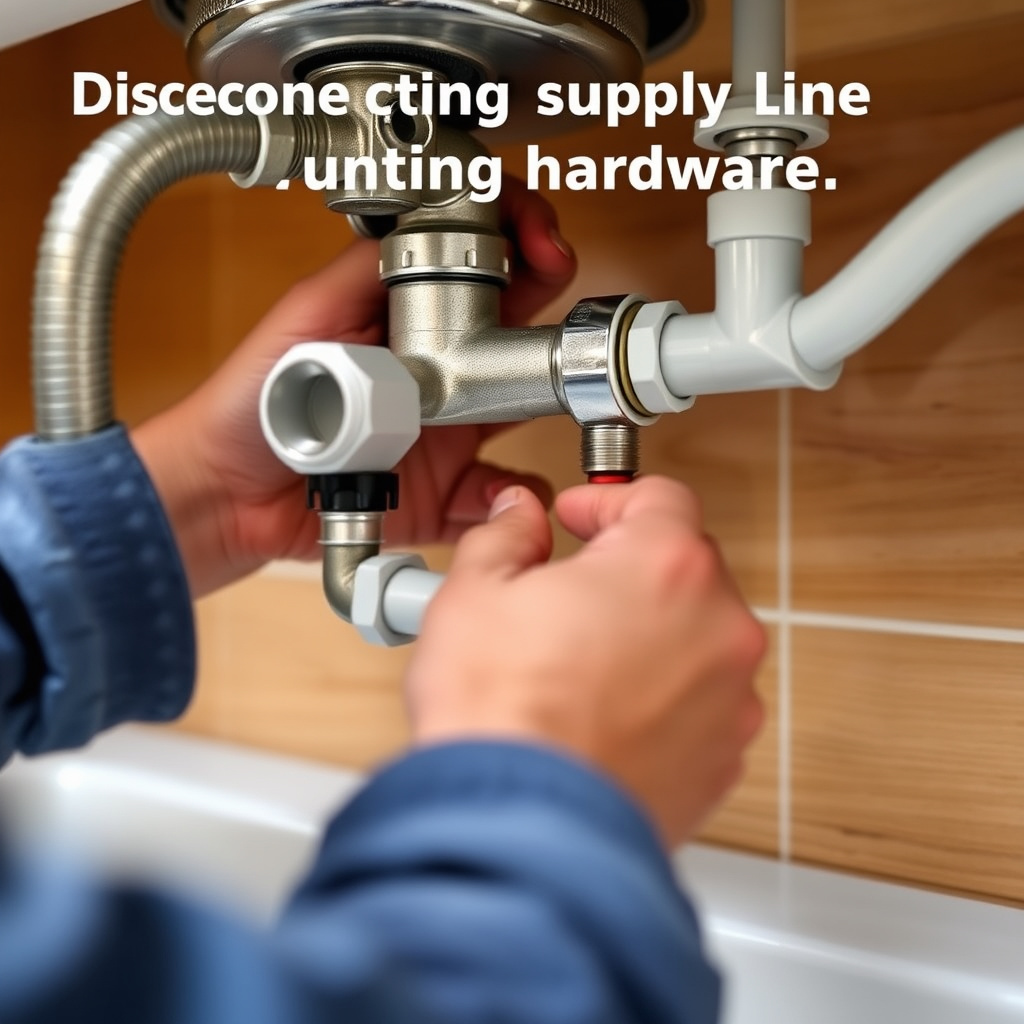
Use an adjustable wrench to disconnect the hot and cold water supply lines from the faucet. Have a bucket ready to catch any drips. Then remove the mounting nuts securing the faucet to the sink using a basin wrench, especially useful in tight spaces.
Take care not to damage supply lines or sink surfaces while loosening components. Keeping track of small parts like washers and nuts can be helpful in case you need to reuse them.
Removing the Faucet and Cleaning Mounting Area
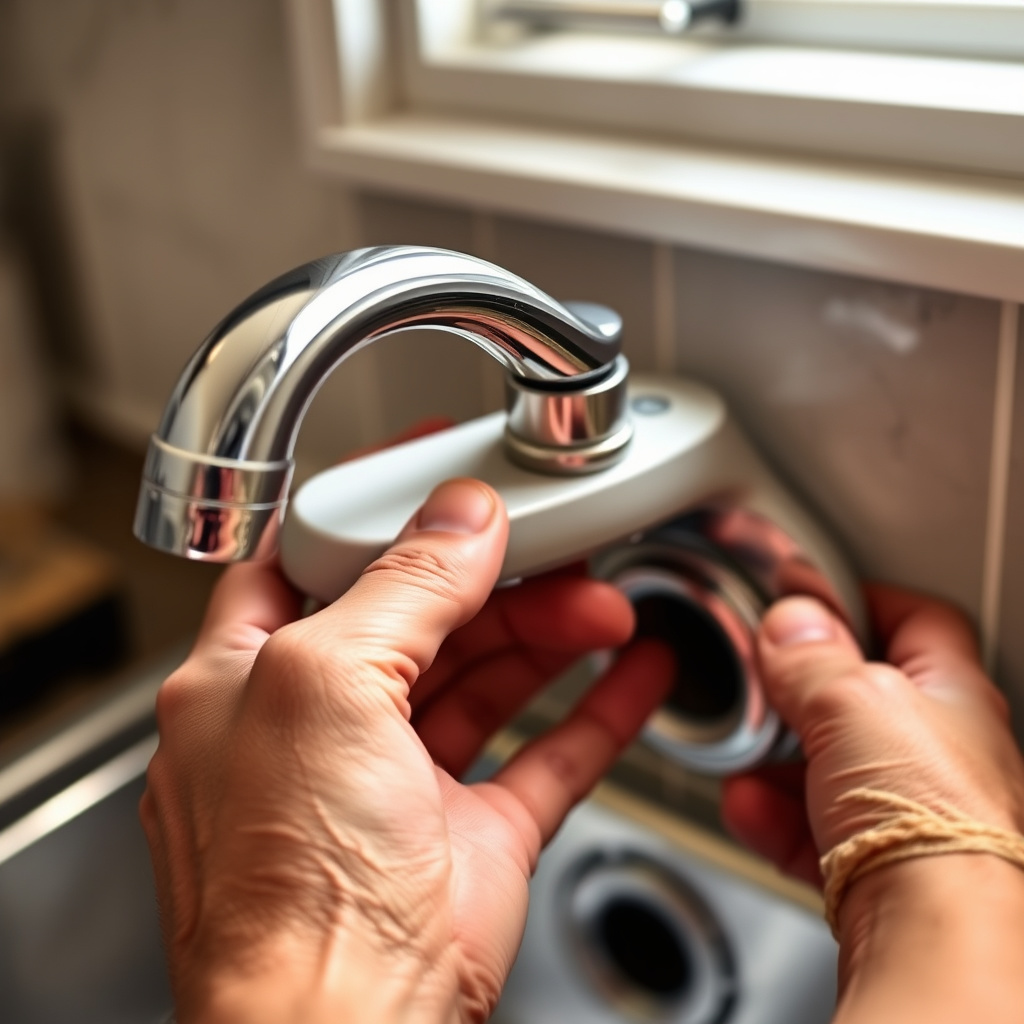
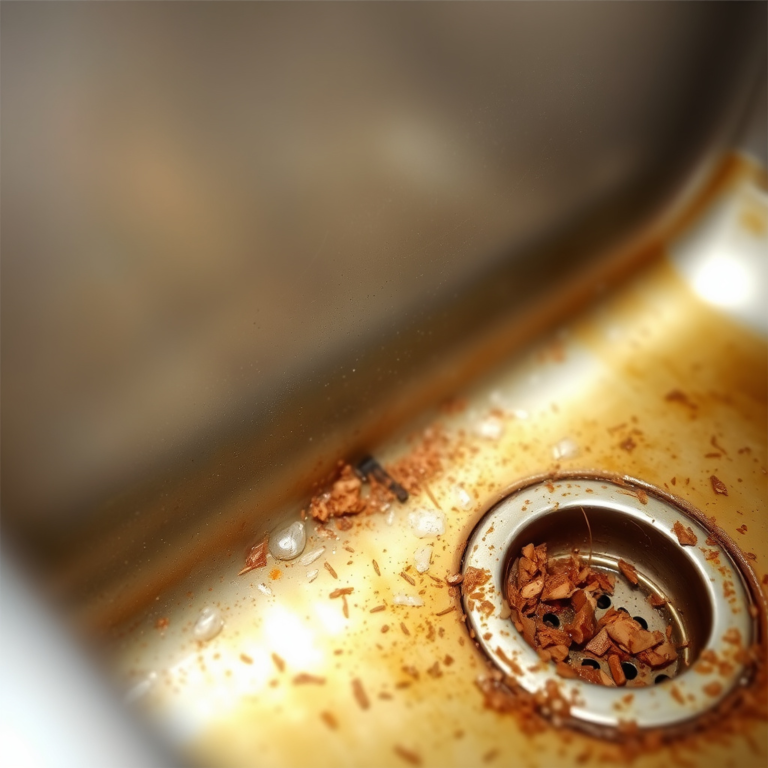
After loosening all fasteners, lift the old faucet out from the sink. Remove any old plumber’s putty or sealant residue from the mounting surface with a putty knife or sponge.
Cleaning the area ensures a smooth, even surface for the new kitchen faucet, helping to prevent leaks and ensuring proper fitment.
Installing the New Kitchen Faucet
Positioning and Securing the Faucet

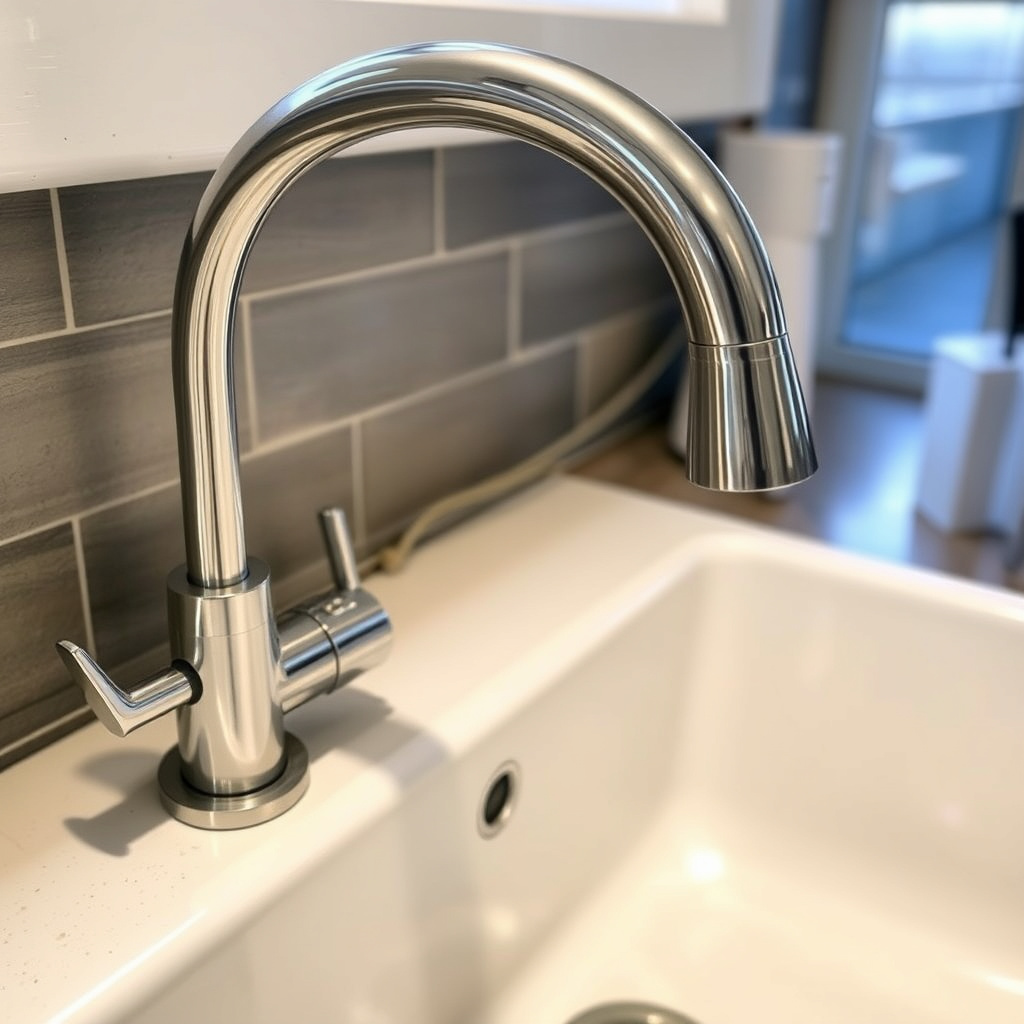
Place the new faucet into the mounting holes on the sink. If the new faucet requires plumber’s putty or a gasket, apply it according to the manufacturer’s directions to create a watertight seal.
From beneath the sink, thread and tighten the mounting nuts to secure the faucet. Use a basin wrench to tighten spaces that are hard to reach but avoid overtightening to prevent damage.
For more on this, see our related guide: How to Build an Outdoor Kitchen: A Step-by-Step Guide for Your Backyard.
Reconnecting Water Supply Lines
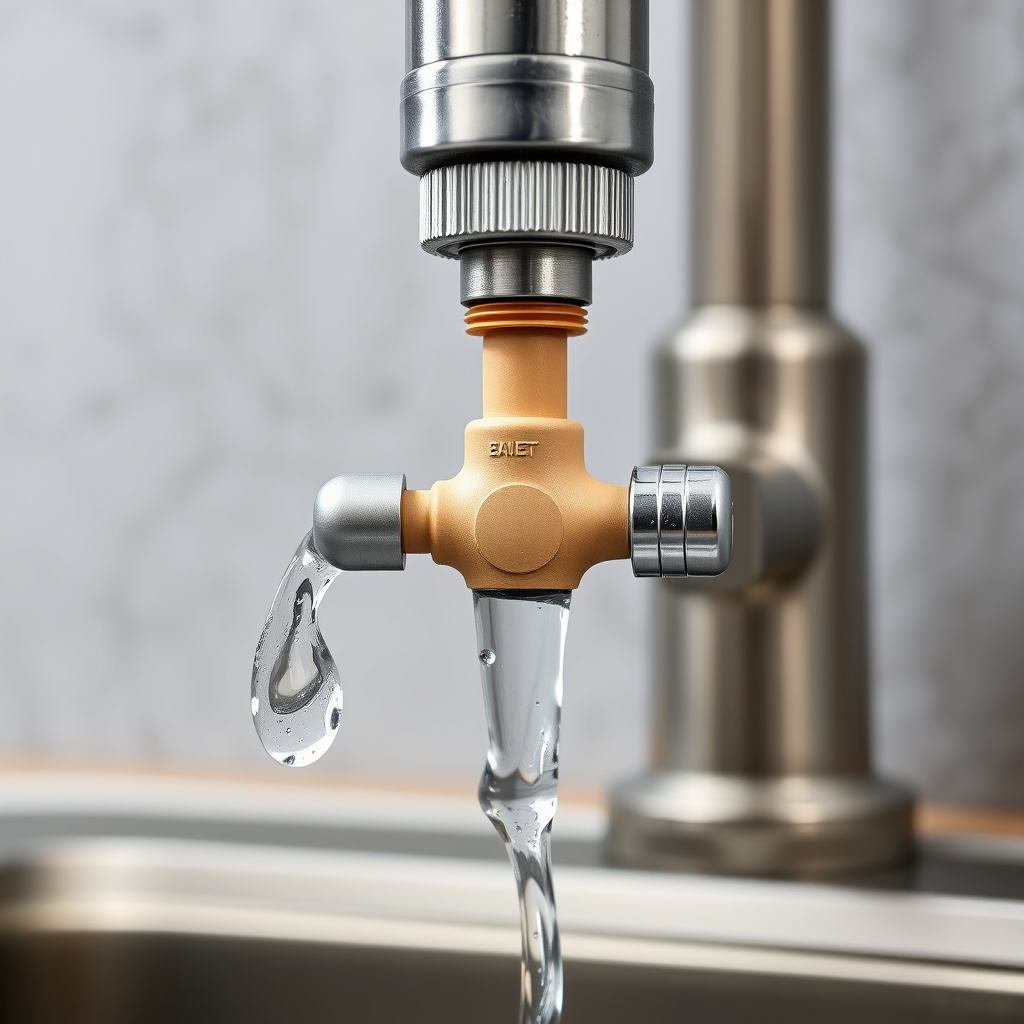
Attach the hot and cold water supply lines to the new faucet’s corresponding connectors. Wrap threads with plumber’s tape for extra protection against leaks.
Use an adjustable wrench to tighten connections carefully. After reconnecting, ensure all connections are firm to avoid drips but do not overtighten.
- Use plumber’s tape on threaded connections
- Verify hot and cold line placement
Testing and Final Adjustments
Checking for Leaks and Proper Function
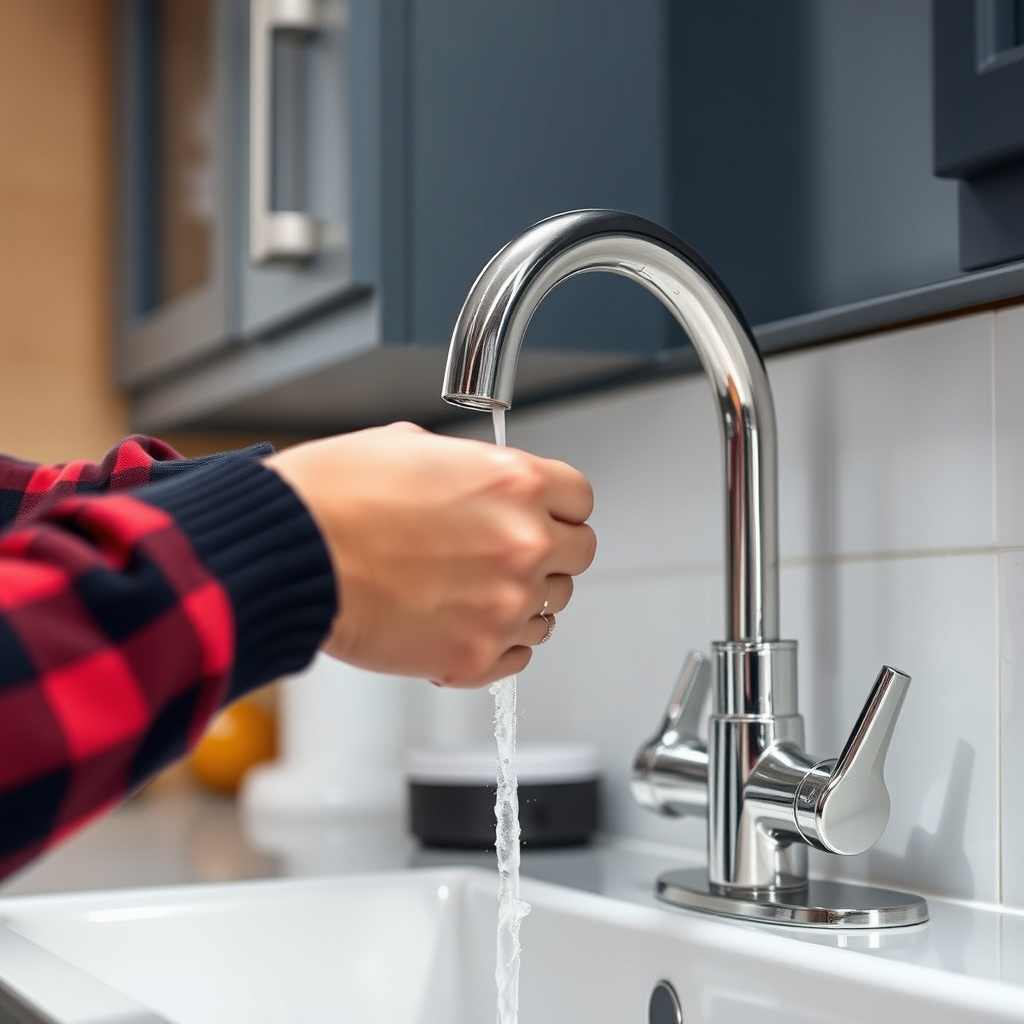
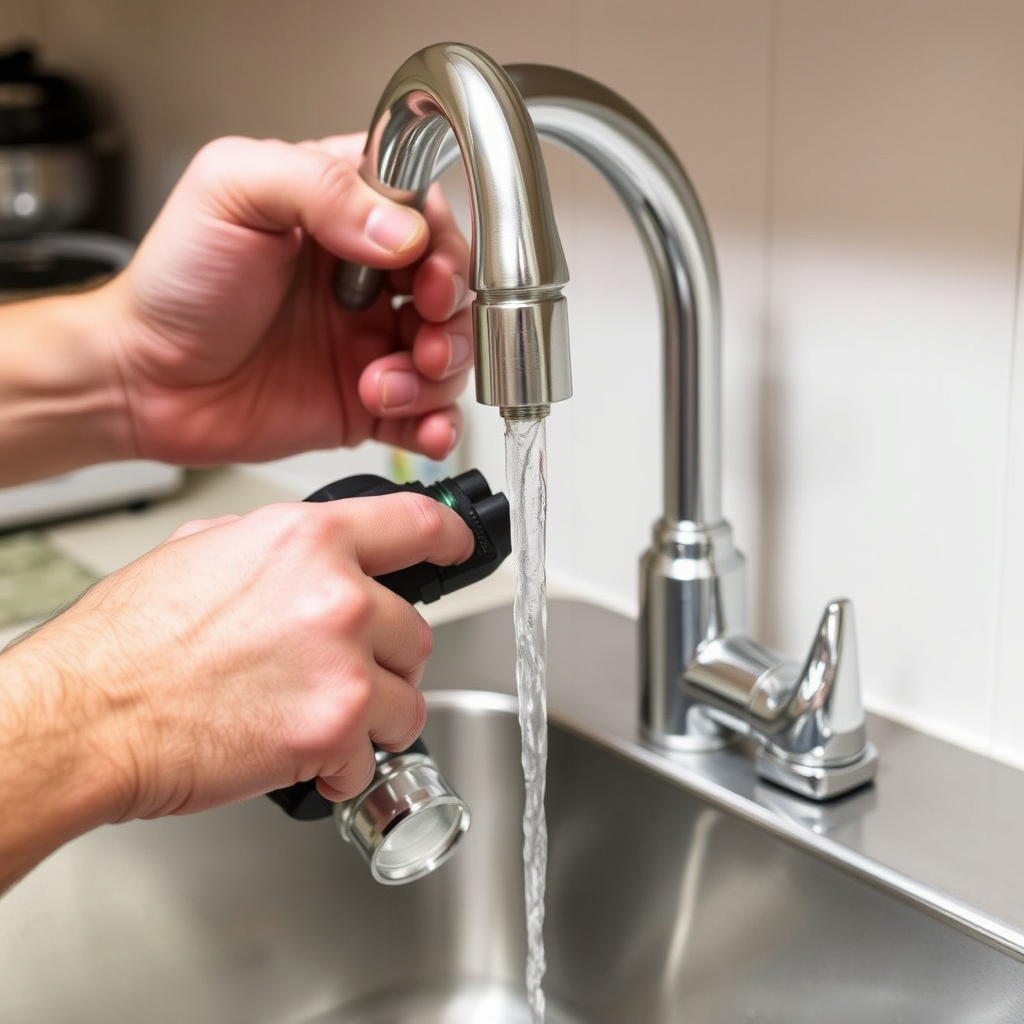
Turn on the water supply valves slowly and open the new faucet to check for leaks at all connection points. Watch carefully under the sink and around the faucet base for any drips or water pooling.
If leaks appear, tighten the connections slightly or add plumber’s tape as needed. Verify that both hot and cold water flow correctly and the faucet handle operates smoothly.
Cleaning Up and Finishing Touches
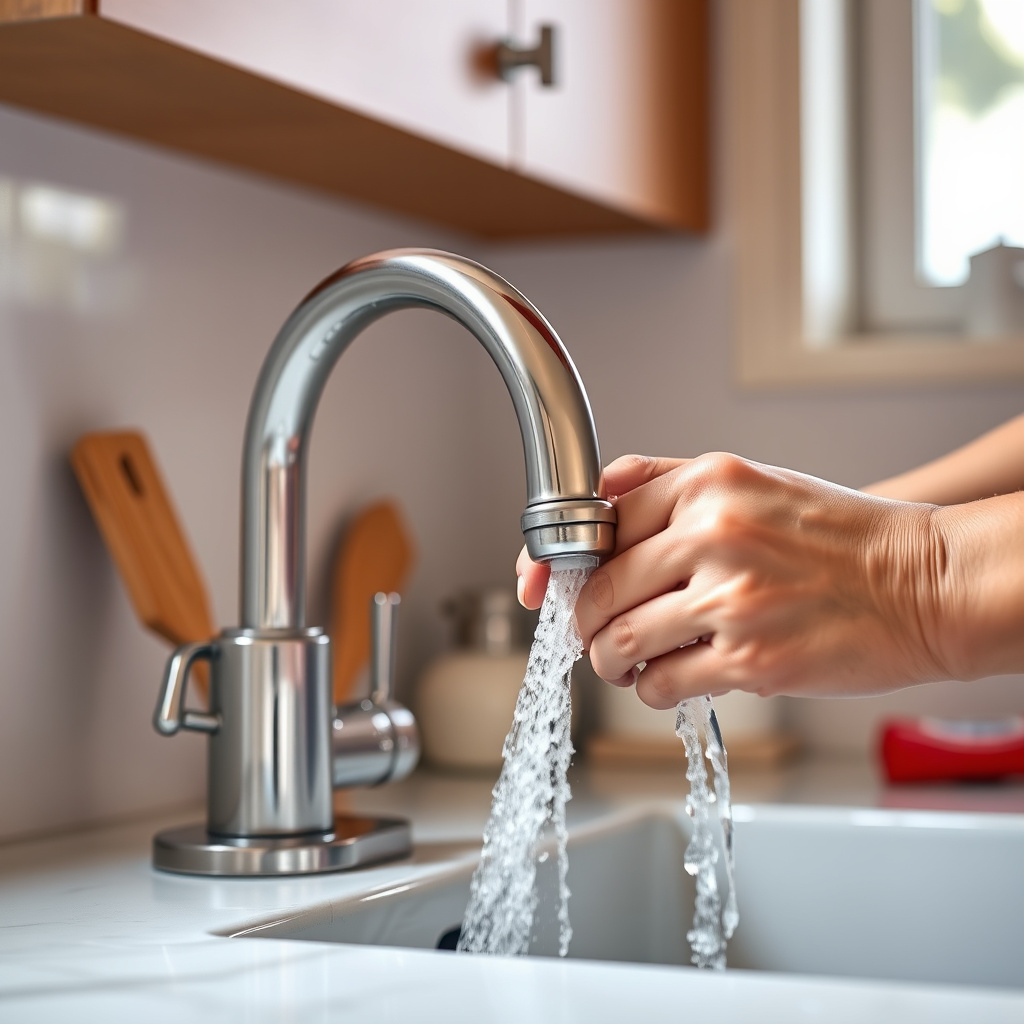
Wipe down the faucet and sink area to remove fingerprints, putty residue, or water spots. Dispose of the old faucet and any debris properly.
Test the faucet’s spray functions or additional features if applicable. Confirm that all parts operate as expected before completing the project.
Considerations for Different Kitchen Faucet Types
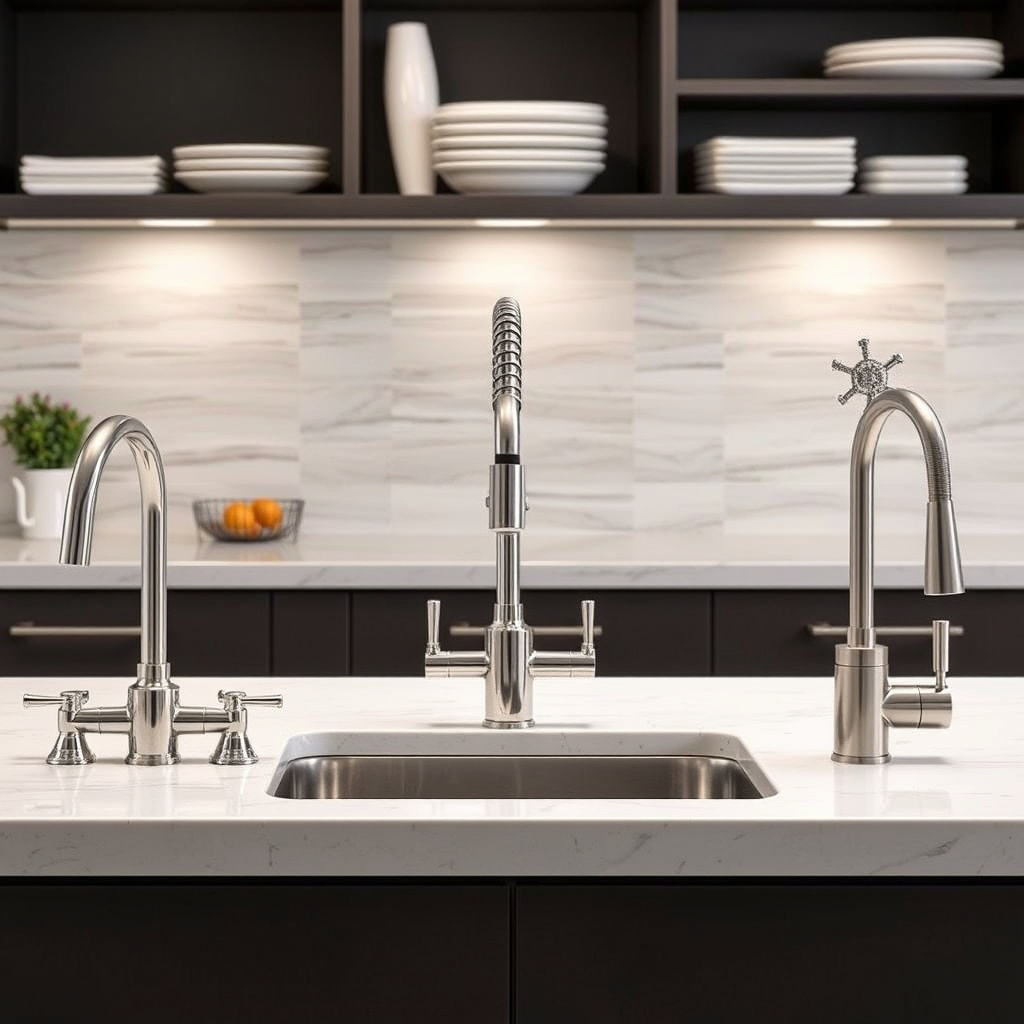
Single-Handle vs. Double-Handle Faucets

Single-handle faucets control both water temperature and flow with one lever, making installation simpler and operation quicker. Double-handle faucets separate hot and cold controls, which can offer more precise temperature adjustments but may require more complicated plumbing.
When choosing a replacement, verify your sink configuration to match the faucet type. Single-handle faucets often need fewer mounting holes, reducing installation complexity.
For more on this, see our related guide: How Much to Remodel a Kitchen: A Clear Cost Breakdown and Guide.
Pull-Down and Pull-Out Sprayer Faucets
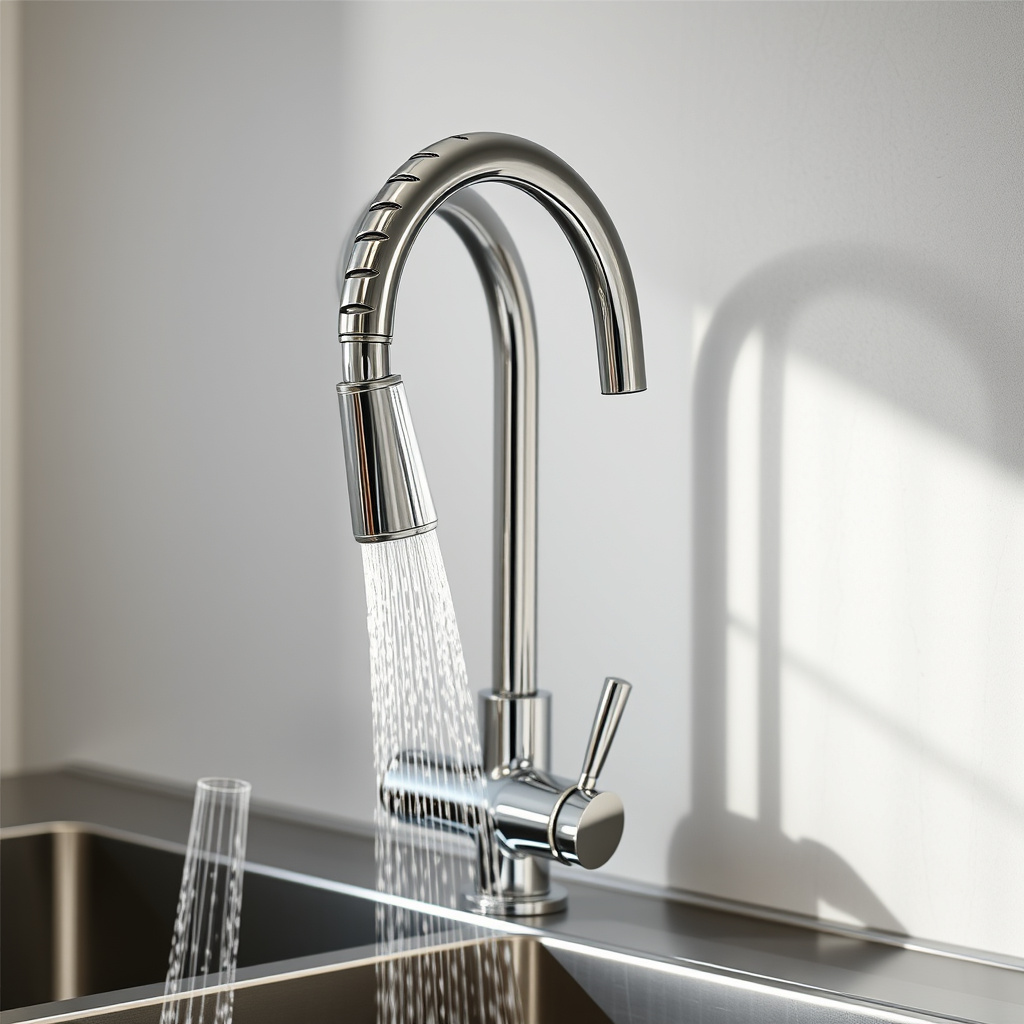
Pull-down and pull-out faucets feature retractable spray heads, increasing convenience for washing dishes or rinsing the sink. These models have additional hoses and weights that require precise installation.
Replacing these faucets may demand extra attention to hose connections and counterweight placement beneath the sink to ensure smooth operation.
Dealing with Installation Challenges
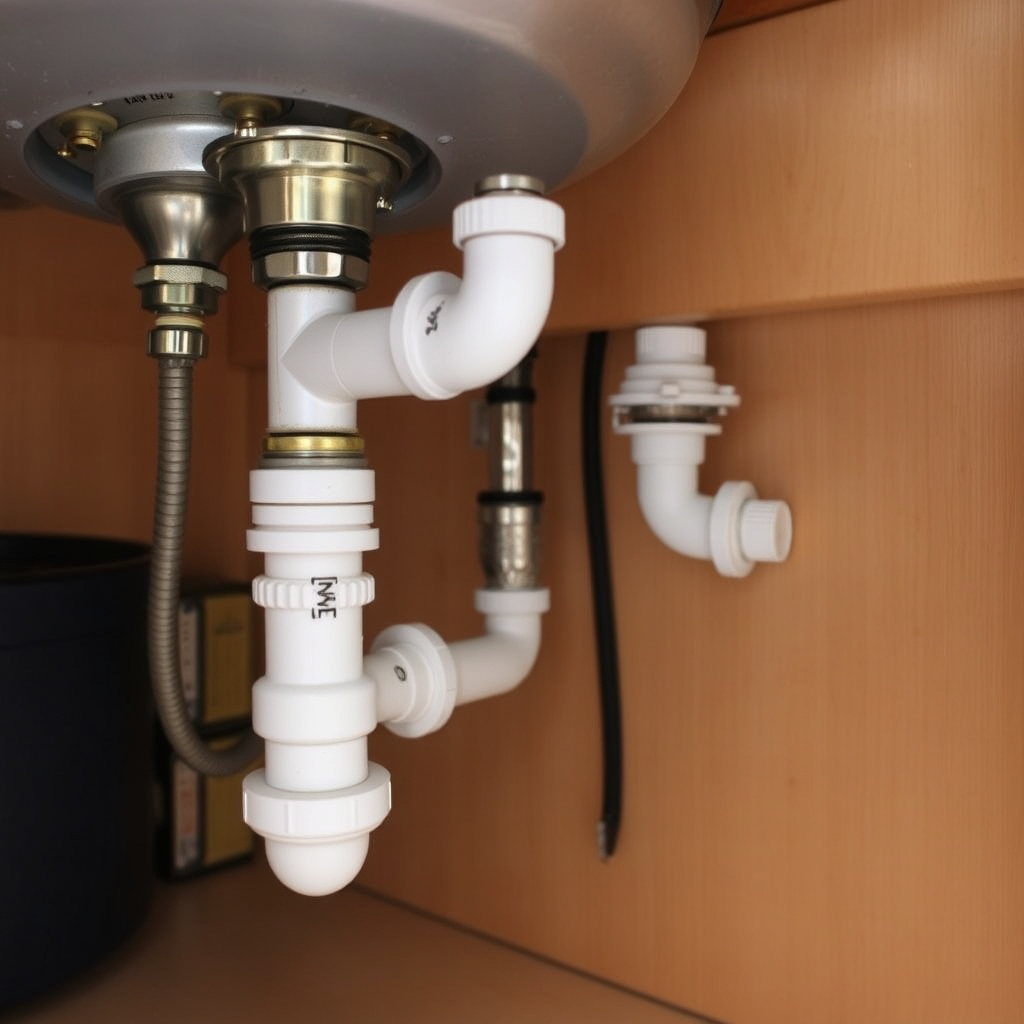
Tight Spaces and Limited Accessibility

Kitchens with limited cabinet space can make reaching mounting nuts difficult. A basin wrench is particularly helpful for loosening and tightening fasteners in confined areas.
Removing and repositioning items under the sink and using flashlight illumination can ease the installation process in cramped spaces.
Old or Corroded Plumbing Connections
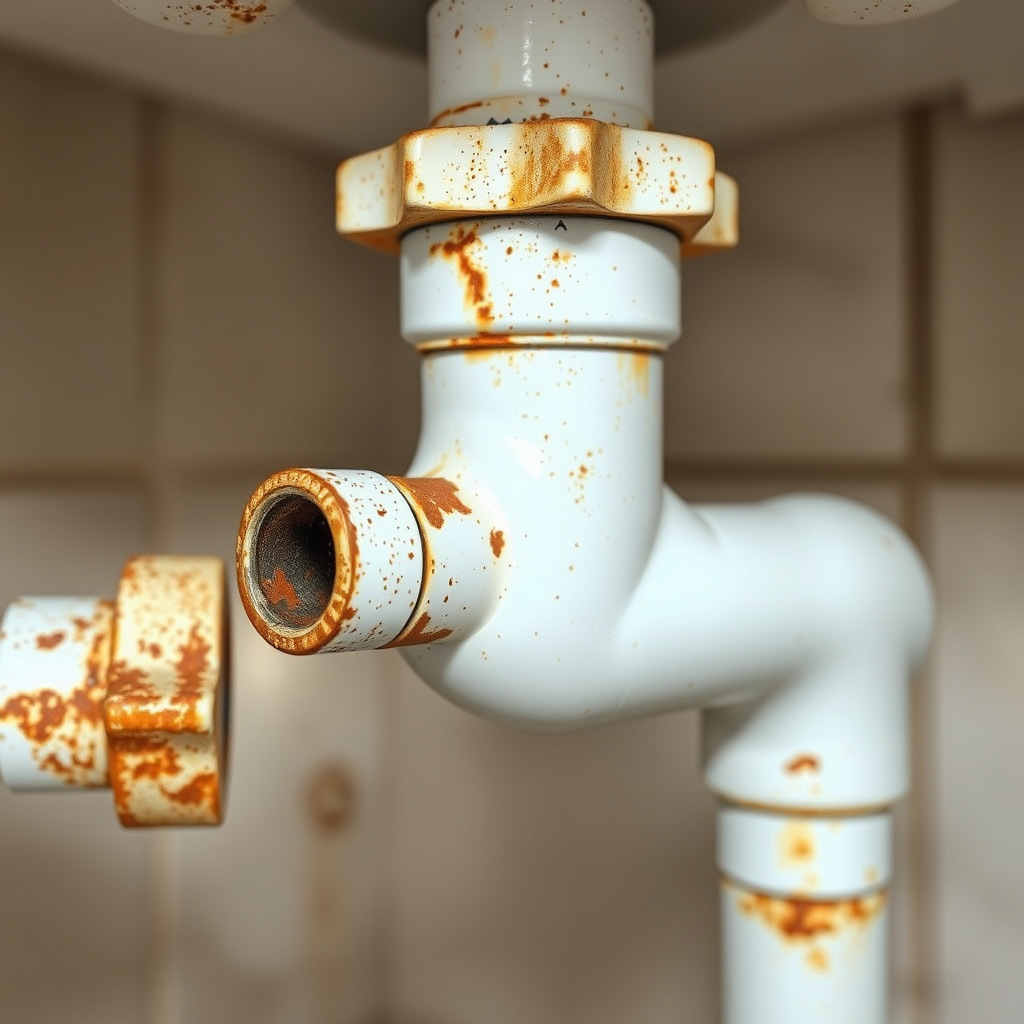
If existing water lines or nuts are corroded, they may be hard to remove and prone to damage. Applying penetrating oil beforehand can help loosen rusted fittings.
In some cases, replacing old supply lines is advisable to avoid future leaks and ensure compatibility with the new kitchen faucet.
Maintaining Your New Kitchen Faucet
Regular Cleaning and Leak Inspection
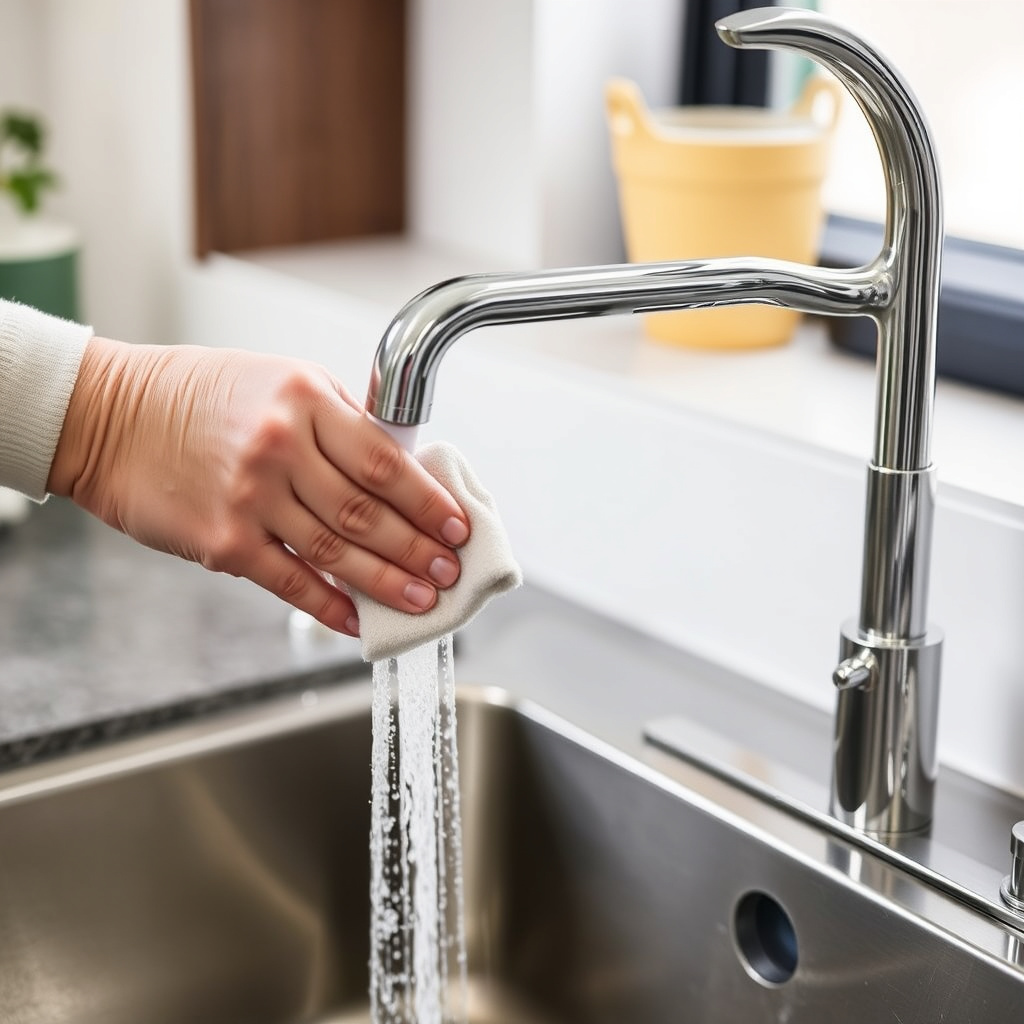
Cleaning the faucet regularly prevents grime buildup and prolongs its finish. Check connections periodically for drips to catch leaks early and avoid water damage.
Use mild detergent and soft cloths for cleaning to avoid damaging surfaces or seals.
For a deeper understanding of different kitchen faucet types and designs, the Wikipedia article on Kitchen faucet offers an excellent overview. Kitchen faucet.
Replacing Parts and Troubleshooting Issues
Over time, faucet cartridges or aerators may wear out or clog. Familiarize yourself with replacement parts and keep brand-specific components handy.
Minor leaks can often be resolved by tightening connections or replacing washers without a full faucet replacement.
Kitchen Faucet Types Comparison
Below is a quick comparison of common kitchen faucet types to help identify which suits your needs best.
| Type | Installation Complexity | Water Control | Features | Average Cost |
|---|---|---|---|---|
| Single-Handle | Low | One lever controls temperature and flow | Simple, easy to use | $70 – $250 |
| Double-Handle | Medium | Separate hot and cold controls | Classic look, precise adjustment | $90 – $300 |
| Pull-Down Sprayer | Medium | One lever + retractable spray head | Flexible water direction | $120 – $350 |
| Pull-Out Sprayer | Medium | One lever + extendable spray head | Versatile for small spaces | $110 – $320 |
| Touchless/Smart | High | Sensor or smart control | Hands-free operation | $180 – $500 |
Frequently Asked Questions
How long does it usually take to change a kitchen faucet?
Most kitchen faucet replacements take about one to two hours, depending on your experience and any complications like old plumbing or tight spaces.
Do I need to shut off water to both hot and cold lines?
Yes, shutting off both hot and cold water supply valves under the sink prevents leaks and water damage during faucet removal and installation.
Can I install a single-handle faucet if I had a double-handle before?
You can, but you may need to cover extra mounting holes or make modifications to the sink, as single-handle faucets usually require fewer holes.
What should I do if the mounting nuts are stuck?
Try applying penetrating oil and letting it sit before attempting to loosen with a basin wrench. Patience and gentle force usually help avoid damage.
Is plumber’s putty necessary when installing a kitchen faucet?
It depends on the faucet design. Many modern faucets use rubber gaskets or silicone sealant instead. Check the manufacturer’s instructions to be sure.
Key Takeaways
- Shut off both hot and cold water supply before starting the replacement.
- Use appropriate tools like a basin wrench for difficult-to-reach fasteners.
- Match the new faucet type to your sink’s mounting holes and plumbing.
- Check all connections carefully for leaks after installation.
Conclusion
Replacing a kitchen faucet involves clear preparation, careful removal of the old unit, and proper installation of the new fixture. By following a systematic approach—starting with shutting off supplies, then disconnecting old parts, and securing the new faucet—you minimize issues like leaks and mechanical failure. Understanding the faucet type, your sink’s compatibility, and using the right tools helps make the task manageable for most homeowners.
For straightforward upgrades, single-handle faucets offer simplicity and ease of installation, especially for those doing a kitchen faucet replacement for the first time. If your kitchen demands more flexibility, pull-down or pull-out sprayer models enhance utility but require more careful assembly. In cases of older plumbing, taking extra caution to replace corroded lines or use penetrating oil can prevent complications. Touchless faucets provide advanced features but come with higher cost and complexity.
Once you’ve chosen the right faucet and completed installation, monitoring for leaks and conducting routine maintenance will keep your kitchen running smoothly. This project can be a rewarding DIY improvement that elevates both your kitchen’s look and functionality. Starting with the right knowledge and proper tools paves the way for successful faucet replacement and long-term satisfaction.