How to Remove a Kitchen Sink: Step-by-Step Guide for a Smooth Replacement
Removing a kitchen sink begins by turning off the water supply and disconnecting the drain pipes and faucet. After the plumbing is safely detached, cut any sealant around the sink edges and carefully lift the sink from the countertop or cabinet. This method works for both drop-in and undermount sinks.
Understanding how to remove a kitchen sink yourself can save money and give you greater control during kitchen renovation or maintenance. Many people hesitate because they worry about plumbing complexity, but with the right tools and approach, the process is straightforward.
This article covers each step involved in sink removal, including tools required, managing plumbing connections, dealing with different sink types, and safety tips. We’ll also compare removal strategies for common kitchen sink styles and provide answers to frequent questions.
Preparation Before Removing Your Kitchen Sink
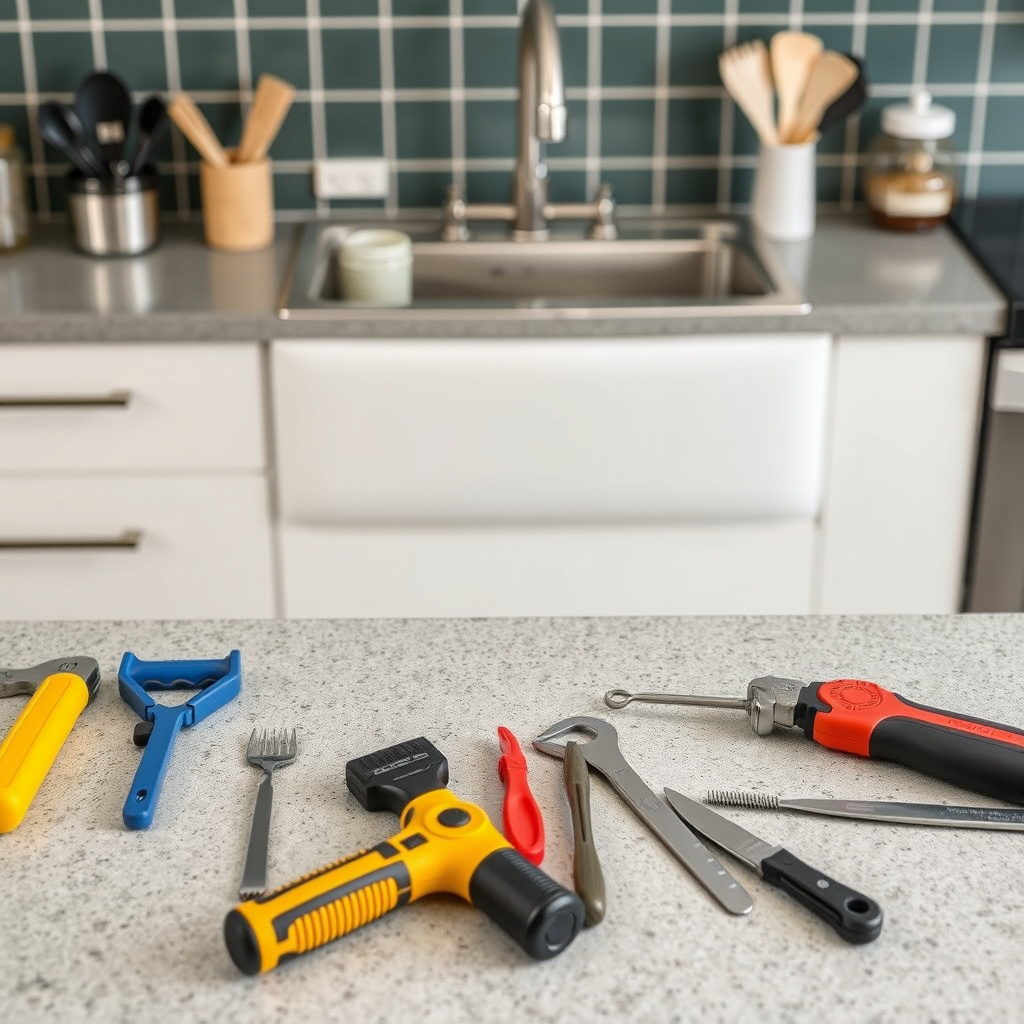
Gathering Required Tools and Materials
Before starting, collect essential tools such as an adjustable wrench, plumber’s putty, putty knife, bucket, towels, screwdrivers, and possibly a hacksaw. Having everything organized prevents delays during removal and keeps the workspace safe.
Don’t forget safety gear like gloves and eye protection, especially when working with pipes or removing old caulking. A flashlight or headlamp can help inspect tight plumbing spaces beneath the sink.
- Adjustable wrench
- Bucket to catch water
- Putty knife for removing sealant
- Gloves and eye protection
Turning Off Water and Clearing the Area
Locate and shut off the valves supplying water to your kitchen faucet. This avoids leaks or water damage during disassembly. Then, open the tap to drain any remaining water from the lines.
Clear the cabinet underneath the sink to provide room for maneuvering and place towels or plastic to protect cabinetry from drips or debris.
Disconnecting Plumbing Connections
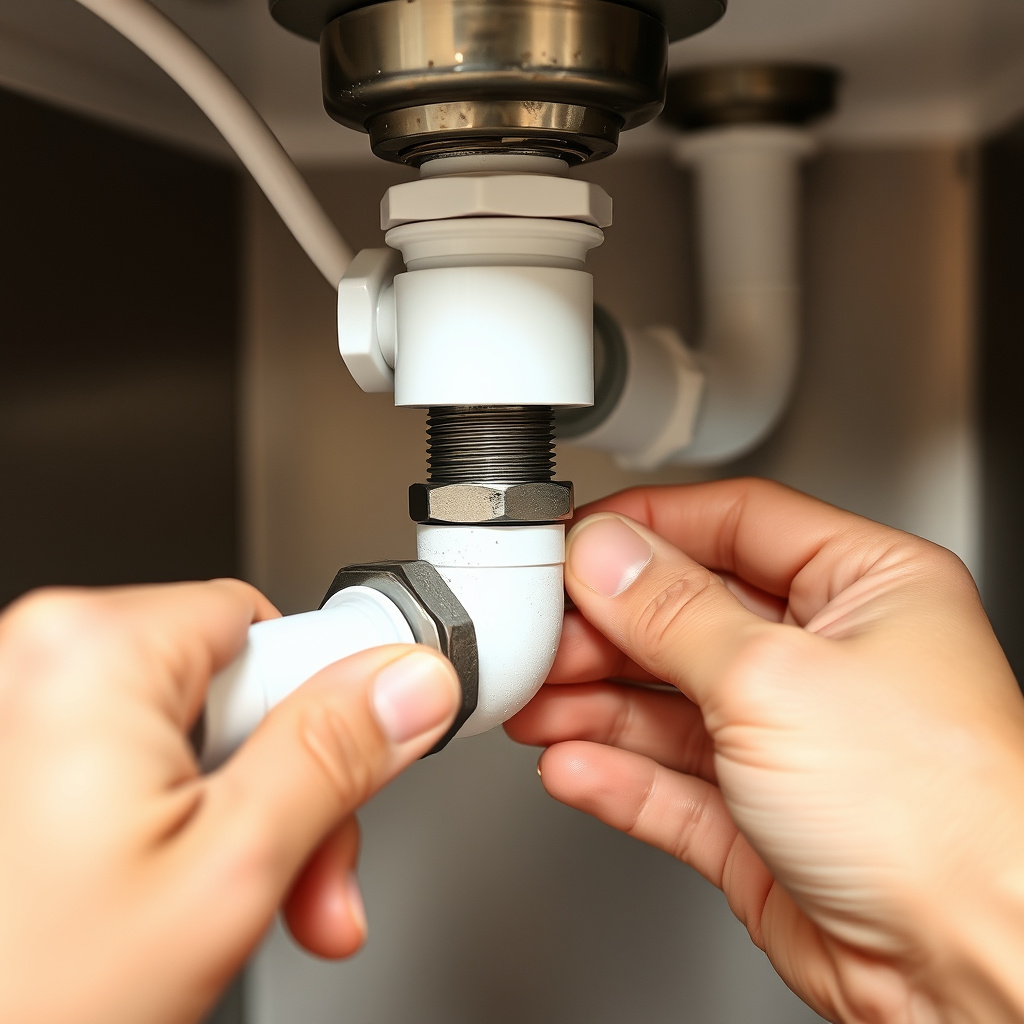
Removing the Trap and Drain Pipes
Position a bucket under the trap to catch residual water. Use a wrench to loosen slip nuts connecting the trap and drain pipes. Carefully remove the trap and pipes, keeping all parts for potential reuse or replacement.
If the pipes are corroded or stuck, applying penetrating oil a few minutes beforehand can ease removal. Always check for leaks in old pipes that may require replacement.
- Put bucket to catch water
- Loosen slip nuts with wrench
- Use penetrating oil if necessary
Detaching Water Supply Lines and Faucet
Once the drain pipes are disconnected, unscrew the water supply lines at both the shutoff valves and faucet connections. Carefully detach the faucet itself if it will also be removed or replaced during sink work.
Take care not to bend or damage supply lines if you plan to reuse them. Labeling parts or taking photos before disassembly can help with reinstallation.
Removing the Sink from the Countertop
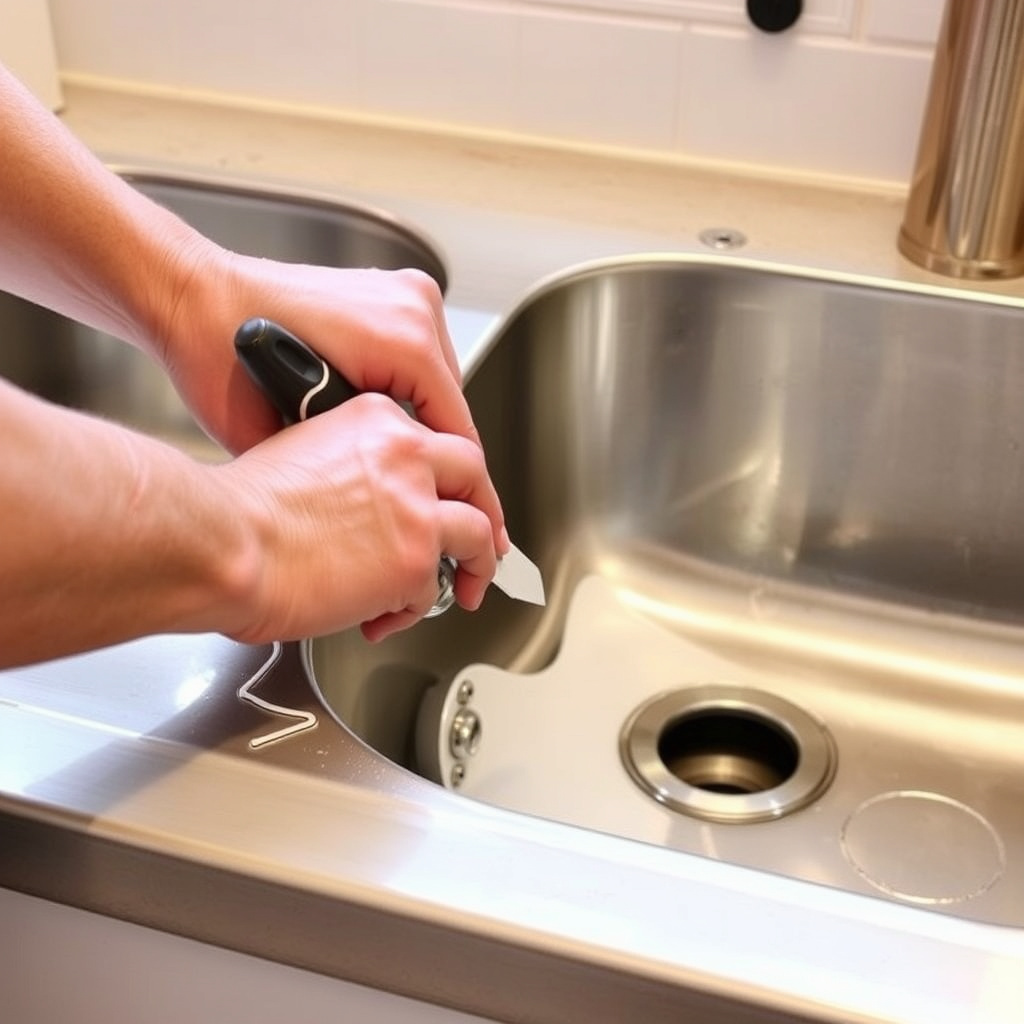
Breaking the Seal Between Sink and Counter
For most kitchen sinks, a bead of caulk or plumber’s putty seals the sink rim to the countertop. Use a putty knife or utility knife to carefully cut or pry this seal, loosening the sink’s grip without damaging surrounding surfaces.
Be patient during this step to avoid chipping the counter or sink edges, especially if the countertop is granite or tile.
- Use putty or utility knife carefully
- Protect countertop edges during cutting
For more on this, see our related guide: How to Get Rid of Kitchen Gnats: Effective and Safe Strategies.
Lifting Out Drop-In and Undermount Sinks
Drop-in sinks usually lift straight out once the seal is cut and clips underneath are removed. Undermount sinks require releasing mounting brackets beneath the counter, which may need a screwdriver or wrench.
With help, lift the sink gently to avoid bending or dropping it. If the sink is stuck, verify all attachments are freed or tap lightly around edges to loosen.
- Remove mounting clips or brackets
- Get assistant for heavy sinks
Handling Different Kitchen Sink Types

Removing Drop-In vs. Undermount Sinks
Drop-in sinks rest on the countertop with a visible rim and are generally easier to remove by cutting the seal and detaching clips. Undermount sinks attach beneath the counter using brackets, requiring more access and careful detachment.
Because undermount sinks are fixed from below, inspecting the cabinet interior is crucial to locate all fasteners before attempting removal.
- Drop-in: simple seal cut and clip removal
- Undermount: remove mounting brackets under counter
Special Cases: Farmhouse and Composite Sinks
Farmhouse sinks, which extend past the countertop, may need additional support removal and more space to extract. Composite material sinks require gentle handling to avoid cracks.
Some farmhouse models have caulk and adhesives that must be softened with heat for cleaner removal.
Post-Removal Cleanup and Preparing for Installation
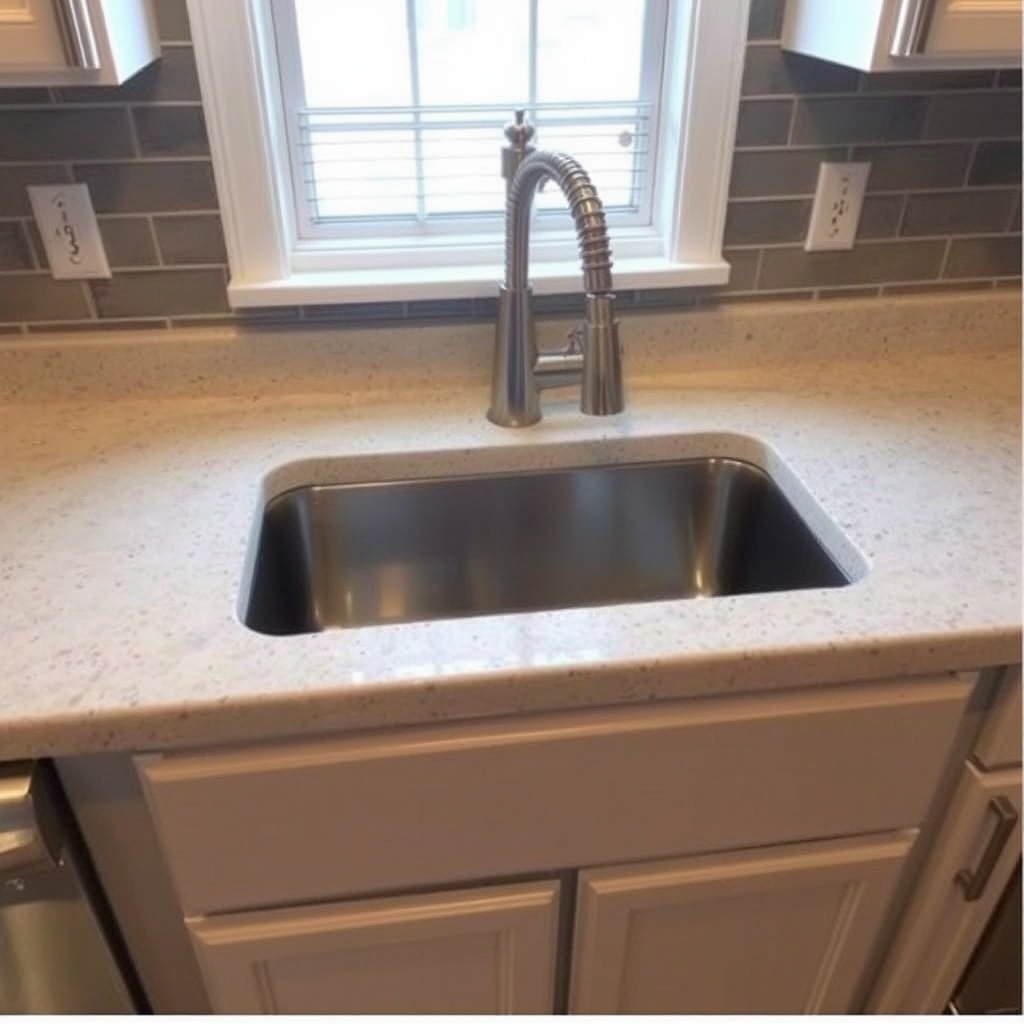
Cleaning Old Sealant and Surface Preparation
Once the sink is removed, scrape away remaining caulk or putty with a putty knife and clean the surface thoroughly. Remove debris, dust, and grease to promote strong adhesion for the new sink.
Check the countertop for damage or uneven spots that may need repair prior to installing the replacement sink.
- Scrape old sealant completely
- Use cleaner to degrease surface
For more on this, see our related guide: How to Install Kitchen Sink Drain: A Step-by-Step Guide for Homeowners.
Inspecting Plumbing for Repairs or Upgrades
Use this opportunity to inspect supply lines, shutoffs, and drain components. Replace worn or corroded parts to avoid leaks once the new sink is installed.
Properly tightened and sealed plumbing connections are vital for lasting sink functionality.
- Replace corroded pipes or fittings
- Verify shutoff valves work properly
Tips for a Safe and Efficient Sink Removal

Safety Measures When Working With Plumbing
Always turn off the water supply and use gloves to protect your hands from sharp edges or debris. Eye protection guards against unexpected splashes or dust when cutting sealant.
Work in a well-ventilated area, especially if using chemical sealant removers or solvents.
- Wear gloves and eye protection
- Work with good ventilation
For more detailed background on sink types and plumbing basics, refer to this comprehensive sink plumbing basics and installation resource. sink plumbing basics and installation.
Organizing Parts and Documenting Process
Keep removed nuts, bolts, and clips in labeled containers or bags. Photograph disassembled connections to reference during new sink installation.
Clear labeling and notes reduce errors and simplify reassembly.
- Label all removed parts
- Take photos before disassembly
Kitchen Sink Removal Methods Comparison
Here is a comparison of common kitchen sink removal methods considering ease, time required, and typical tools needed.
| Sink Type | Removal Difficulty | Average Time | Special Tools Needed |
|---|---|---|---|
| Drop-In Sink | Low | 30-60 minutes | Putty knife, wrench |
| Undermount Sink | Medium | 1-2 hours | Screwdriver, wrench, putty knife |
| Farmhouse Sink | High | 2-3 hours | Putty knife, wrench, heat gun |
| Composite Sink | Medium | 1-2 hours | Putty knife, wrench, gentle handling tools |
Frequently Asked Questions
Do I need to turn off water before removing a kitchen sink?
Yes, shutting off the water supply at the shutoff valves prevents leaks and water damage during sink removal.
Can I remove the kitchen sink myself without a plumber?
Most homeowners can remove a kitchen sink safely with basic tools and proper steps, especially for drop-in models.
What should I do if the plumbing pipes are stuck?
Applying penetrating oil to corroded nuts and waiting can help loosen them, reducing the risk of pipe damage.
How do I handle heavy farmhouse sinks during removal?
Get assistance and remove any support brackets carefully to safely lift heavy farmhouse sinks out of the countertop.
Is it necessary to clean old sealant after sink removal?
Absolutely. Cleaning away old sealant ensures a smooth, clean surface for applying new adhesive and prevents leaks.
Key Takeaways
- Turn off water and clear space before starting sink removal
- Use the right tools and cut sealants carefully to avoid damage
- Understand differences between sink types for proper removal
- Inspect plumbing and clean surfaces before new installation
Conclusion
Approaching the task of how to remove a kitchen sink involves methodical preparation, attention to plumbing disconnections, and careful detachment from the countertop. By methodically turning off water supplies, loosening pipes, and systematically cutting seals, homeowners can handle sink removal without damage or leaks. The key is to be patient, use appropriate tools, and respect the variations among sink styles to navigate the job effectively.
For those replacing a standard drop-in sink, the process is generally quicker and requires minimal tools, making it suitable for DIYers with moderate handyman experience. Undermount or farmhouse sinks add complexity, necessitating extra steps such as bracket removal or gentle adhesive loosening. Kitchen sink installation tips shared here can also be applied in reverse when installing a new sink, utilizing the cleaned and prepped surfaces and inspected plumbing lines for better results.
If you plan to upgrade your kitchen or repair faulty plumbing, starting with a clean, clear sink removal process simplifies the entire project. Begin by assembling your tools, shutting off supplies, documenting connections, and following the step-by-step sequence. Should complications arise, consulting a professional plumber ensures safety and preserves the longevity of your kitchen’s plumbing infrastructure.