How to Measure a Kitchen: A Step-by-Step Guide for Accurate Dimensions
Measuring a kitchen accurately involves taking precise dimensions of the room’s length, width, and height as well as noting the position of doors, windows, and appliances. Using a tape measure, laser measure, or measuring wheel, you record wall lengths, countertop space, and clearances to create an exact sketch or floor plan.
Knowing how to measure a kitchen properly is essential for remodeling, installing new cabinetry, or designing an efficient kitchen layout. Mistakes can lead to costly errors in ordering materials or fitting appliances, so attention to detail matters and speeds up any kitchen project.
This article walks through how to measure your kitchen, step-by-step, covering tools needed, key areas to measure, and how to organize your data. It also includes tips on recording measurements for cabinetry and appliances, plus comparison tables to clarify measurement priorities.
Gathering Tools to Measure a Kitchen
Essential Measuring Tools
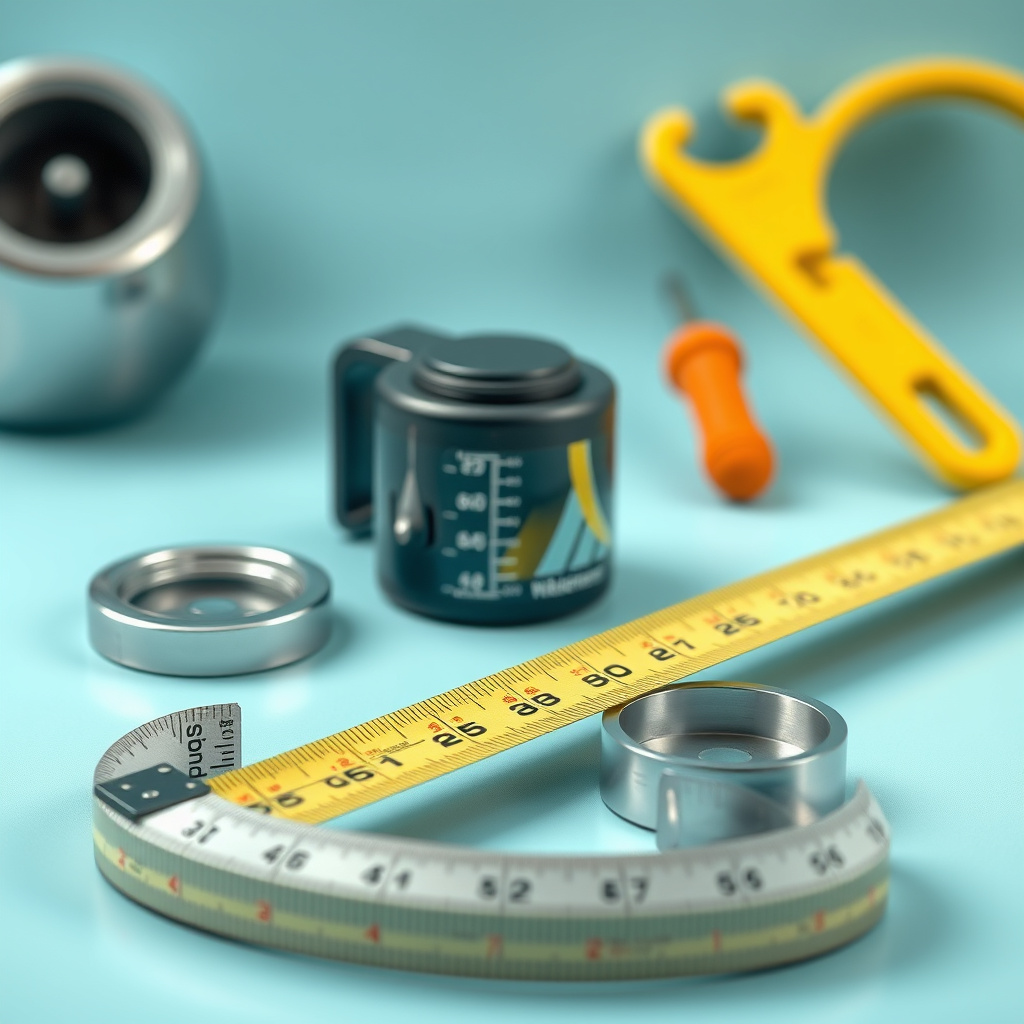
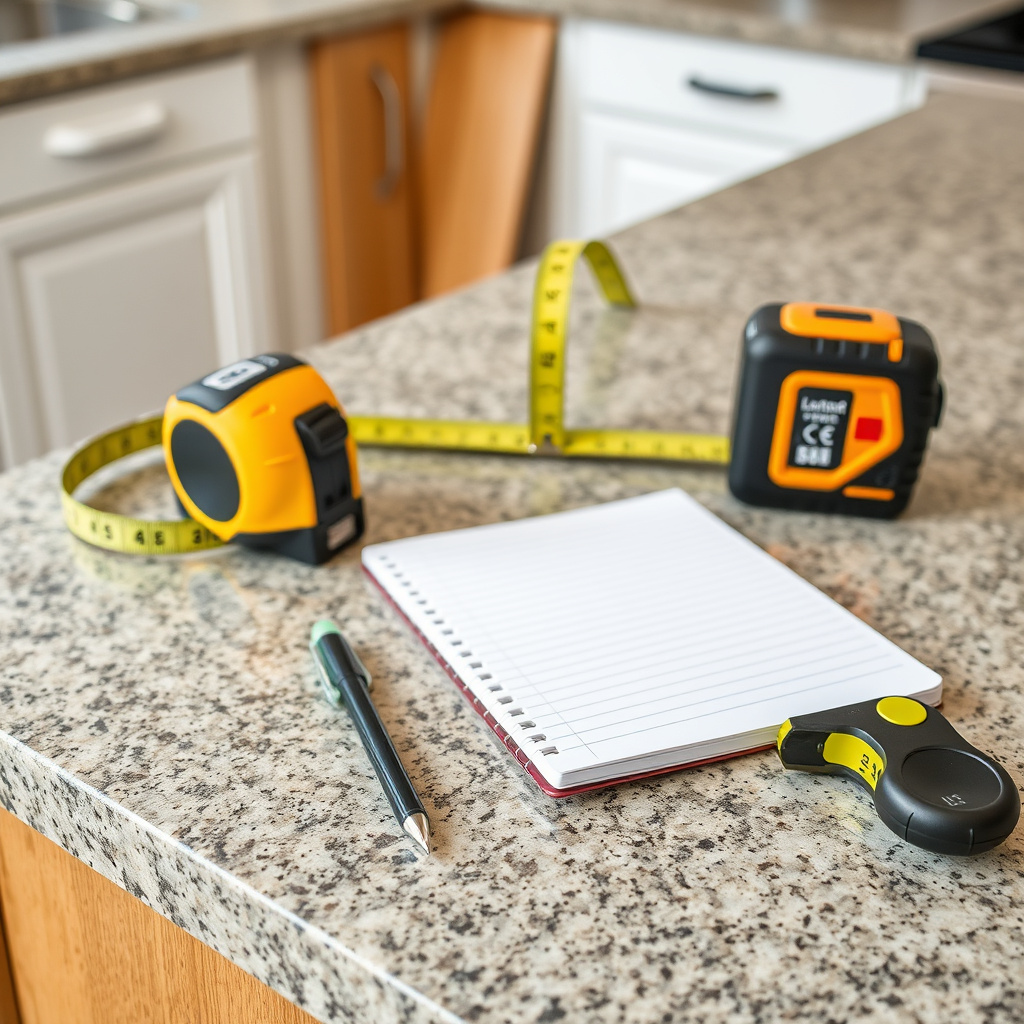
To measure a kitchen efficiently, gather a tape measure of at least 25 feet, a pencil, graph paper or a notebook, and optionally a laser distance meter for faster, more accurate measurements. A stepladder may help in measuring ceiling height.
These tools allow you to record wall lengths, heights, and features precisely. You’ll also want to have a camera or smartphone on hand to photograph areas for reference, particularly when noting existing cabinetry locations and obstructions.
- Tape measure (25+ feet)
- Graph paper or notebook
- Pencil and eraser
- Laser distance meter (optional)
- Camera or smartphone
Preparing the Kitchen for Measurement
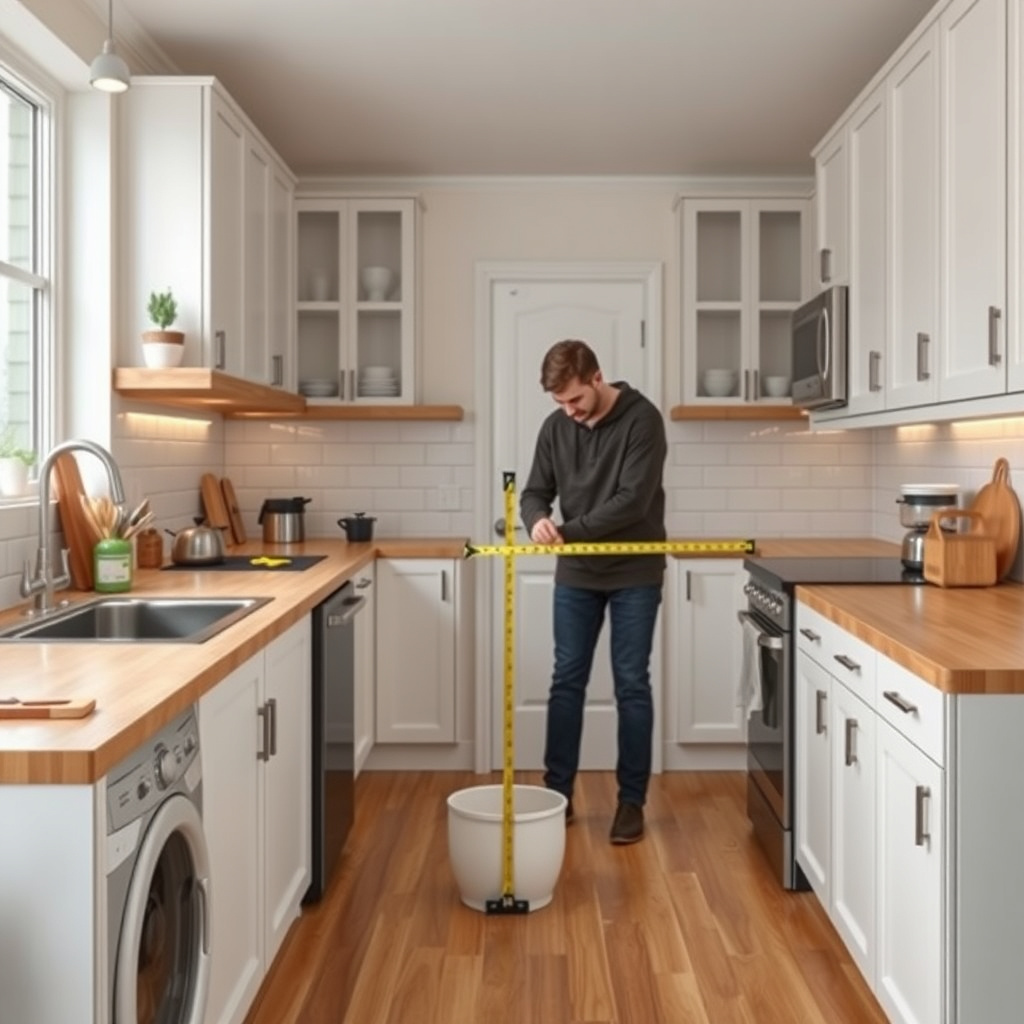
Clear countertops and create enough space to move freely during measurements. Remove small appliances that might obstruct accurate wall or counter measuring. Good lighting helps visibility of marks and notes while measuring.
Understanding current kitchen layout features, such as where cabinets, appliances, windows, and doors are located, helps structure your measurement process. Mapping major elements first simplifies recording measurements in a logical order.
Measuring Dimensions and Layout Features
Wall Lengths and Ceiling Height
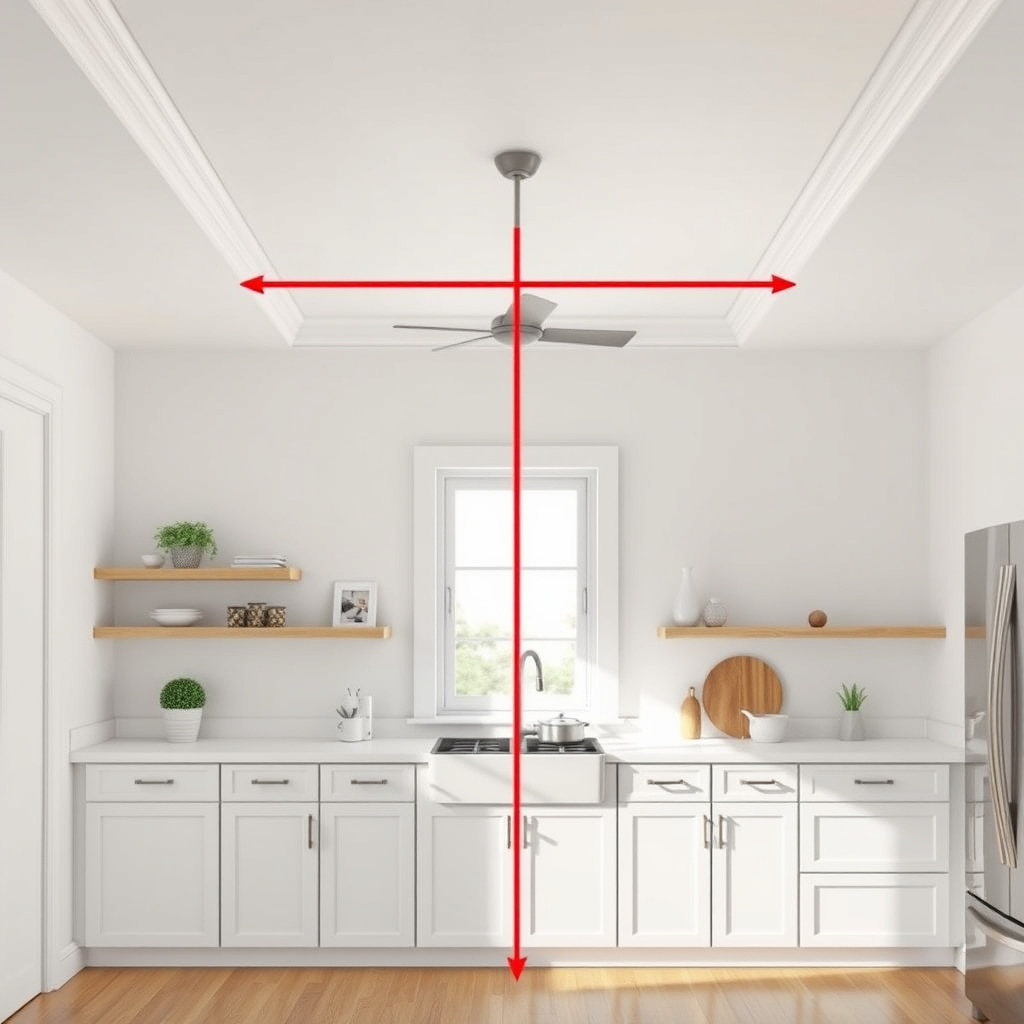
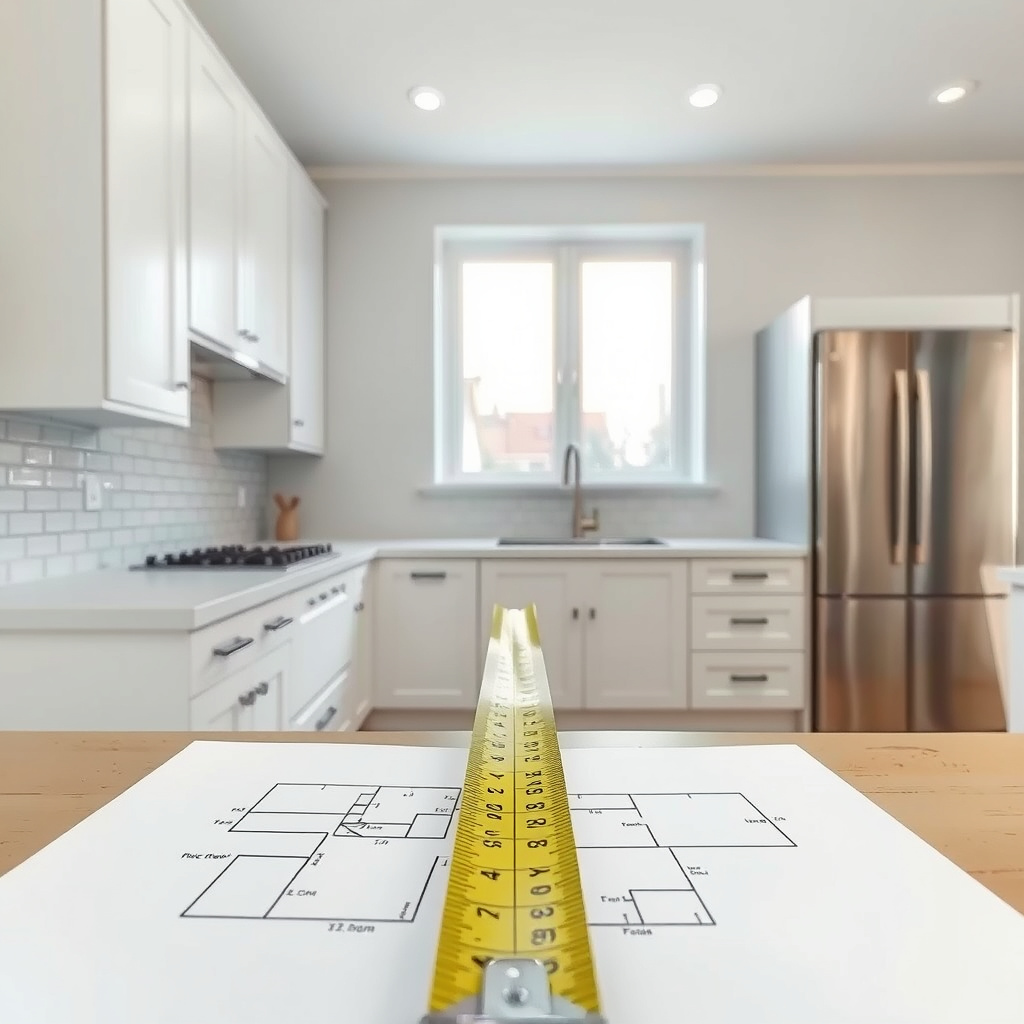
Measure each wall’s length from corner to corner, recording each in feet and inches. Make note of baseboard, molding, or any irregularities where walls meet floors or ceilings. Measuring ceiling height in multiple spots can identify uneven ceilings.
It’s best to start with perimeter walls and then include measurements for alcoves or recesses. Document doors and windows along walls with their dimensions and distances from corners to ensure accurate placement on your plan.
Doors, Windows, and Openings
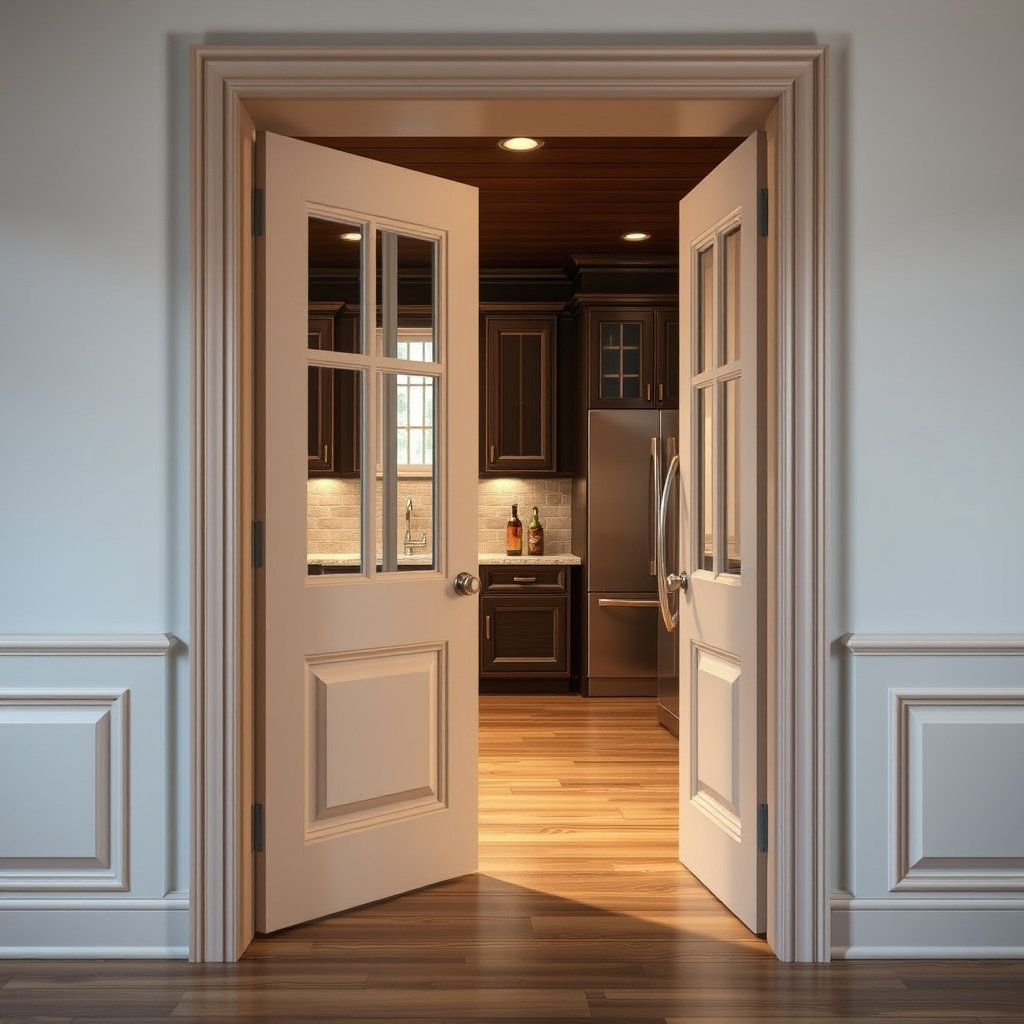
Measure each door and window’s width and height, plus their distance from the nearest corner of the wall. Note the swing direction of doors and the style of windows to anticipate cabinetry and appliance clearances.
Record how far window sills are from the floor and distance between windows or openings, which affects countertop and upper cabinet placement.
- Door width and height
- Window width and height
- Distance from nearest wall corners
- Door swing direction
Measuring Cabinetry and Appliance Spaces
Cabinet Frontage and Depth
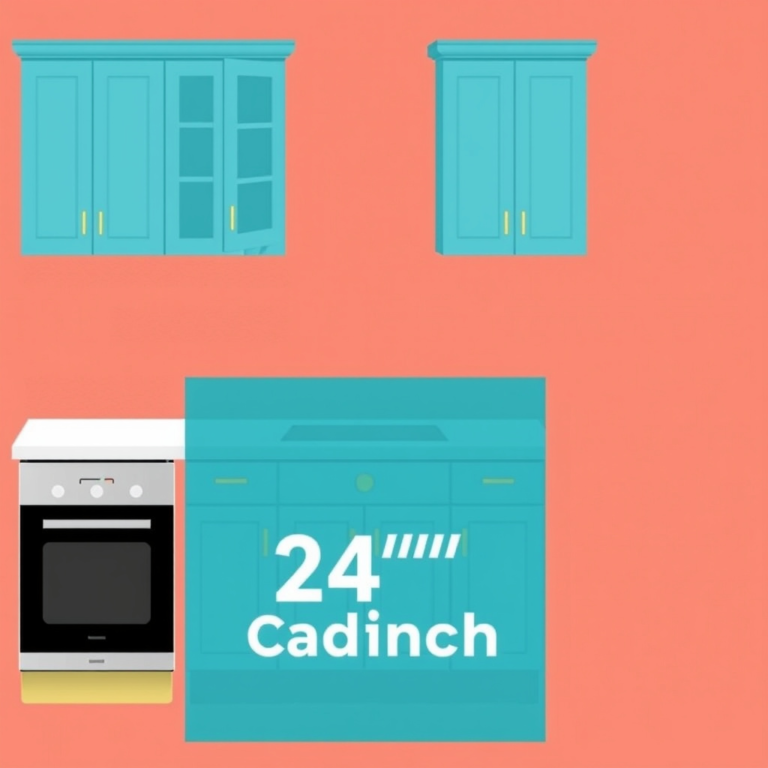
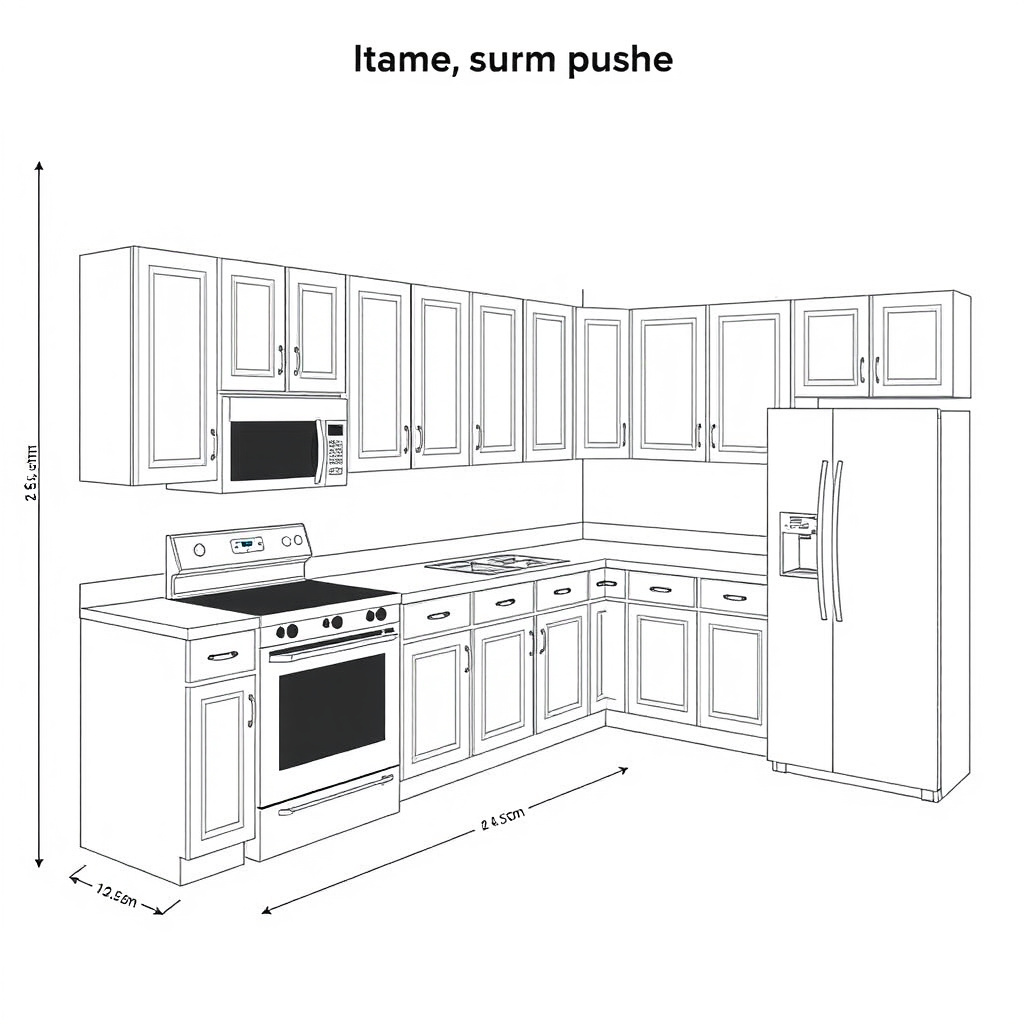
Measure the width and height of existing cabinets, along with the depth from front faces to walls. Note any irregularities like false fronts or built-in units. These measurements help when planning replacement cabinets or new installations.
Record the thickness of countertop overhangs and backsplash areas as these can influence fitting of appliances or additional cabinetry.
For more on this, see our related guide: How to Measure a Kitchen Sink: A Step-by-Step Guide.
Appliance Clearance and Layout Measurements
Identify spaces designated for large appliances like refrigerators, dishwashers, ovens, and microwaves. Measure widths, heights, and depths, as well as clearance space required for doors and ventilation.
This step is critical for kitchen layout measurements to guarantee appliances fit properly without interfering with cabinetry or walkways.
- Width, height, depth
- Clearance for doors and ventilation
- Distance from adjacent cabinets and walls
Recording and Organizing Kitchen Measurements
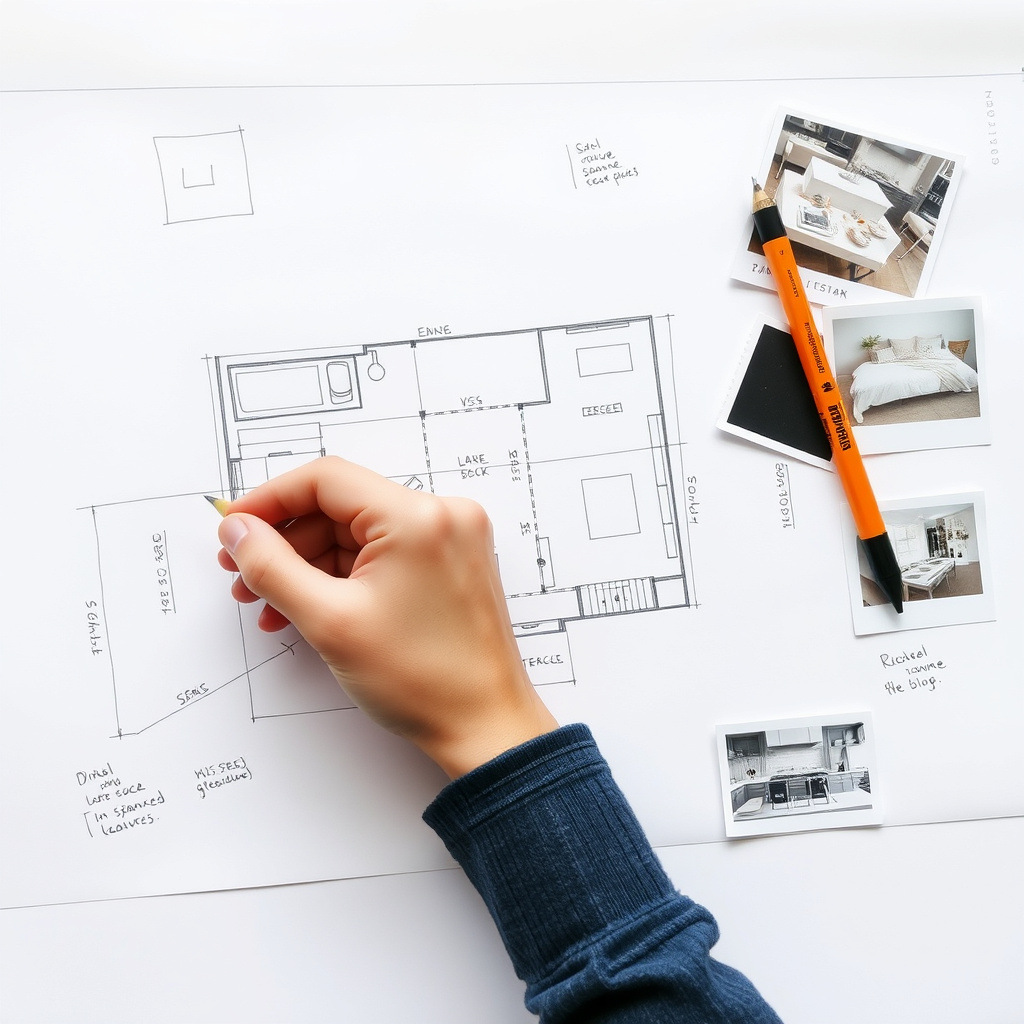
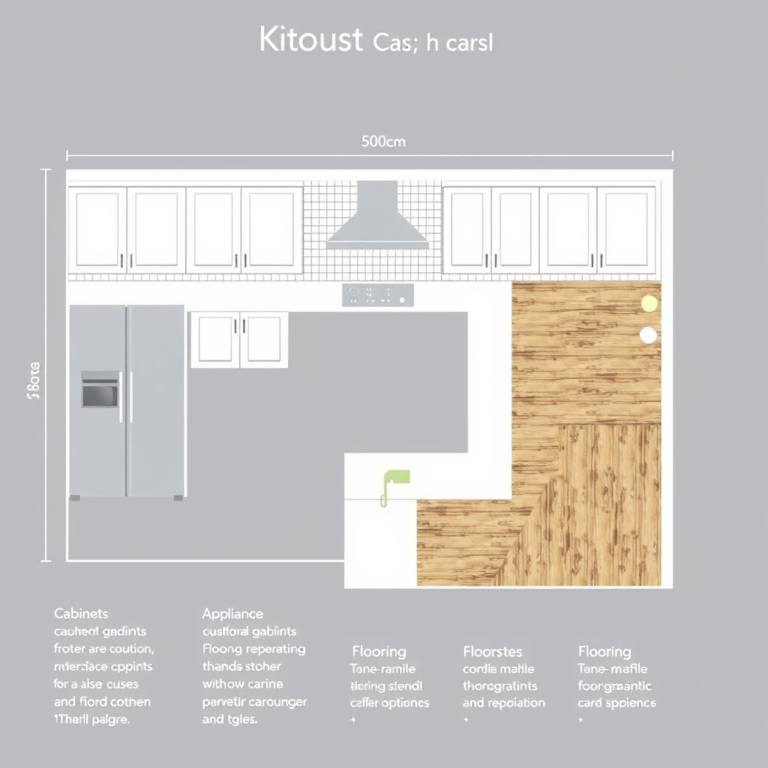
Creating a Scaled Kitchen Floor Plan
Transfer collected measurements onto graph paper or digital software using a consistent scale, such as 1/4 inch per foot. Include all walls, doors, windows, cabinetry, and appliances in the layout.
A detailed floor plan helps visualize space relationships and identify potential issues with kitchen layout measurements before any physical changes occur.
Double-Checking and Verifying Measurements
Review all dimensions carefully to catch errors or omissions. Measuring key distances twice or more prevents costly mistakes. Compare dimensions against photos and notes for consistency.
Keeping measurements organized by categories—walls, cabinetry, appliances—makes referencing easier during kitchen remodeling or planning stages.
- Verify wall lengths twice
- Cross-check window and door dimensions
- Organize measurements logically
Common Challenges When Measuring a Kitchen
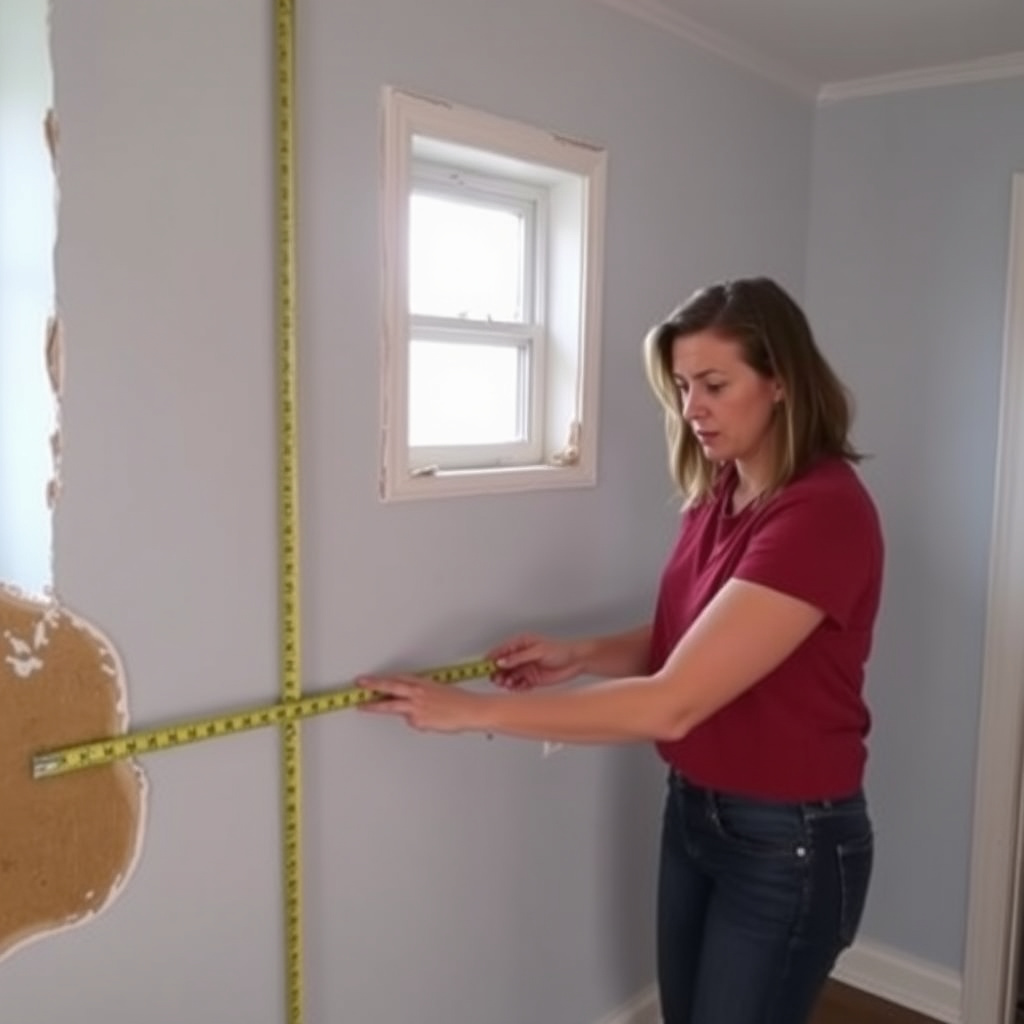
Dealing with Irregular Walls and Angles
Older kitchens often feature walls that are not perfectly straight or square, which complicates accurate measurement. Take multiple measurements along the length and note any deviations.
Using laser measuring tools can improve accuracy for irregular angles compared to tape measures, which are best suited to straight walls.
For more on this, see our related guide: How Tall Are Kitchen Counters? Standard Measurements and Custom Options Explained.
Accounting for Obstructions and Fixtures
Bulky fixtures like soffits, plumbing chases, or structural beams affect available space. Identify and measure these carefully to factor them into your kitchen layout measurements.
Sometimes tape measures may be limited by obstacles; a laser distance meter can help measure at awkward angles or over obstructions.
Using Technology to Enhance Kitchen Measurements
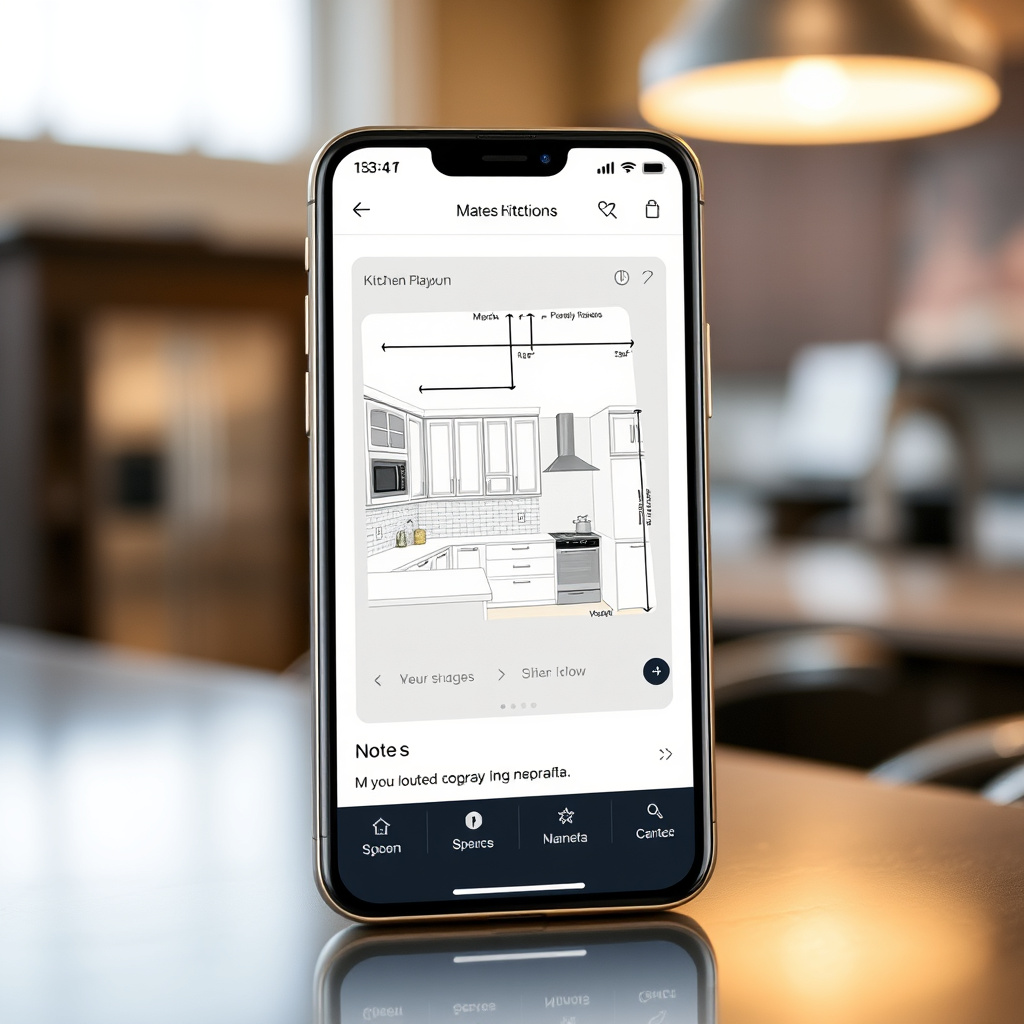
Digital Apps for Measuring and Planning
Several smartphone apps use augmented reality or camera integration to measure room dimensions quickly. These can speed up the measuring process and allow instant visualizations.
While apps improve convenience, verifying app-generated measurements with physical tools is wise to maintain accuracy.
- AR measurement apps
- Digital floor plan creation
- Integration with remodeling software
For a broad overview of kitchens and space planning, you can explore kitchen measurement techniques on Wikipedia. kitchen measurement techniques.
Laser Distance Meters vs Traditional Tape Measures
Laser distance meters provide faster, more precise measurements, especially in large or awkward spaces. They reduce human error from bending or stretching tape.
However, tape measures remain valuable for detailed measurements near edges or small spaces where laser tools may struggle.
- Measurement speed
- Accuracy improvements
- Different use cases
Comparison of Measuring Tools for Kitchen Layout
Here’s a comparison of popular measuring tools, highlighting their suitability for different kitchen measurement scenarios.
| Tool Type | Accuracy | Ease of Use | Best Use Case | Cost Range |
|---|---|---|---|---|
| Tape Measure | Moderate (±1/8 inch) | Easy | Short distances, detailed edge measurements | $5–$20 |
| Laser Distance Meter | High (±1/16 inch) | Moderate | Large spaces, quick wall-to-wall measurements | $30–$150 |
| Measuring Wheel | Low to Moderate | Easy | Measuring perimeter or long runs | $15–$50 |
| Smartphone AR Apps | Variable | Very Easy | Quick estimates and basic layout planning | Free–$20 |
| Digital Floor Plan Software | High (depends on input) | Moderate | Design and remodeling planning | $0–$200 |
Frequently Asked Questions
What is the best way to measure walls in a kitchen?
Use a tape measure or a laser distance meter for accuracy. Measure from corner to corner at floor and ceiling levels to identify any irregularities.
Should I measure ceiling height in the kitchen?
Yes, ceiling height measurements help determine cabinet sizes and lighting fixture placement, especially if you plan to install tall cabinets.
How do I measure for built-in appliances?
Measure the width, height, and depth of the appliance space plus clearance for opening doors and ventilation to ensure a proper fit.
Can smartphone apps replace traditional measuring tools?
Apps offer convenience for quick measurements but often lack the precision of tape measures or laser meters. It’s best to verify app measurements physically.
How do I handle irregular walls when measuring?
Take multiple measurements at intervals along the wall and note any variations. Consider using a laser distance meter for better accuracy.
Key Takeaways
- Use a tape measure and laser distance meter for accurate kitchen measurements.
- Measure walls, ceiling height, doors, windows, cabinetry, and appliance spaces carefully.
- Organize measurements on a scaled floor plan for clear visualization.
- Double-check all dimensions to avoid costly errors during remodeling.
Conclusion
Measuring a kitchen accurately requires a methodical approach and attention to detail. By starting with essential tools like tape measures and optionally laser distance meters, you can capture the length, width, and height of the room along with any openings and features. Focusing on precise kitchen layout measurements ensures you avoid mistakes when ordering materials or fitting appliances, which can save time and money in the long run.
If you’re renovating or updating cabinetry, pay close attention to cabinet frontage and depth measurements, as well as clearance for appliances such as refrigerators or dishwashers. For homeowners looking to sketch or digitize their layout, transferring measurements to graph paper or architectural software helps clarify spatial relationships before purchasing. Comparing different measuring tools also helps select what fits your kitchen’s size and complexity best.
To move forward, gather your measuring tools and begin recording basic dimensions of walls, openings, and existing fixtures. Then, organize your notes into a detailed floor plan that tracks each important measurement. This practical step is foundational before any kitchen remodeling or design project and brings confidence that your plans will fit your space exactly as intended.