How to Change Kitchen Faucet: Step-by-Step Guide for a Smooth Installation
Changing a kitchen faucet requires a few essential steps: turning off the water supply, disconnecting the old faucet, preparing the sink, and installing the new fixture securely. This process can be handled by most homeowners with basic tools and careful attention to detail.
Upgrading your kitchen faucet not only improves the look of your kitchen but can also enhance functionality with better water flow, features like a pull-out sprayer, or improved water efficiency. Knowing how to replace the faucet correctly helps avoid leaks and potential water damage.
This article covers detailed instructions on changing a kitchen faucet, necessary tools, common challenges, and expert tips to make your installation smooth. Whether replacing a broken faucet or upgrading for style, you'll find everything needed to get the job done right.
Gathering Tools and Materials Before Changing Kitchen Faucet
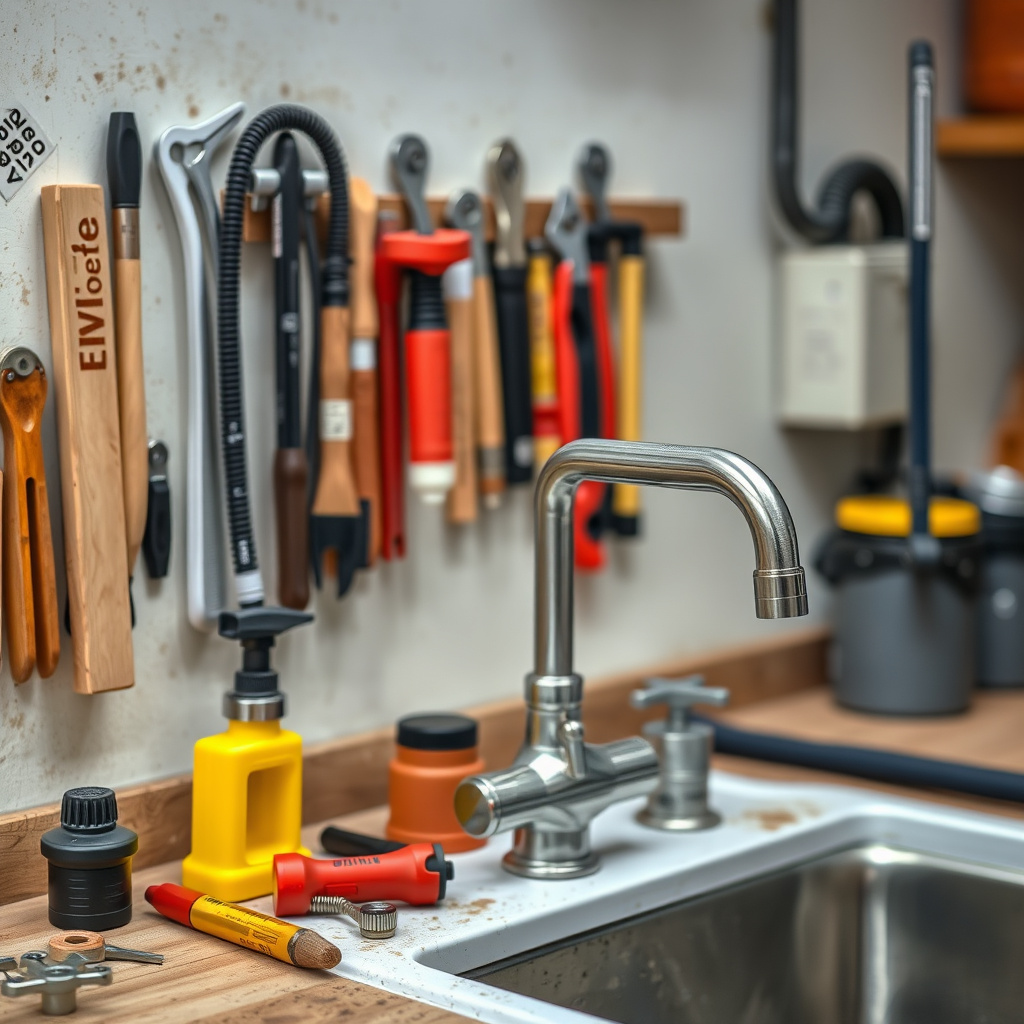
Essential Tools You'll Need
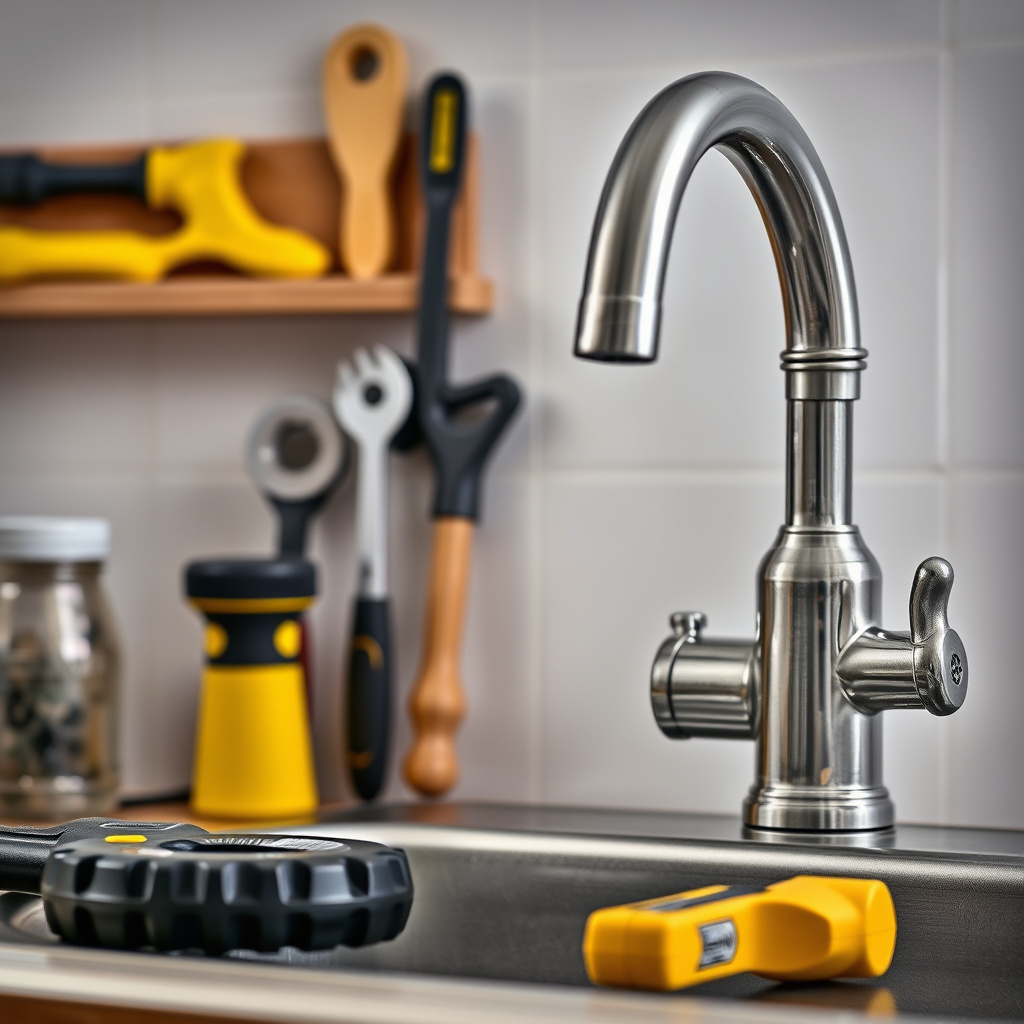
Before beginning the faucet change, assemble all necessary tools. Key tools include an adjustable wrench, basin wrench, plumber’s tape, bucket, and a screwdriver. Having these items at hand prevents interruptions during installation.
Some faucet models might require additional items like Allen wrenches or silicone sealant. Checking the faucet’s installation manual for specific requirements ensures a smooth process.
- Adjustable wrench
- Basin wrench
- Plumber’s tape (Teflon tape)
- Bucket or towel
- Screwdrivers (Phillips and flathead)
- Allen wrench (if needed)
- Silicone sealant (sometimes)
Selecting the Right Replacement Faucet
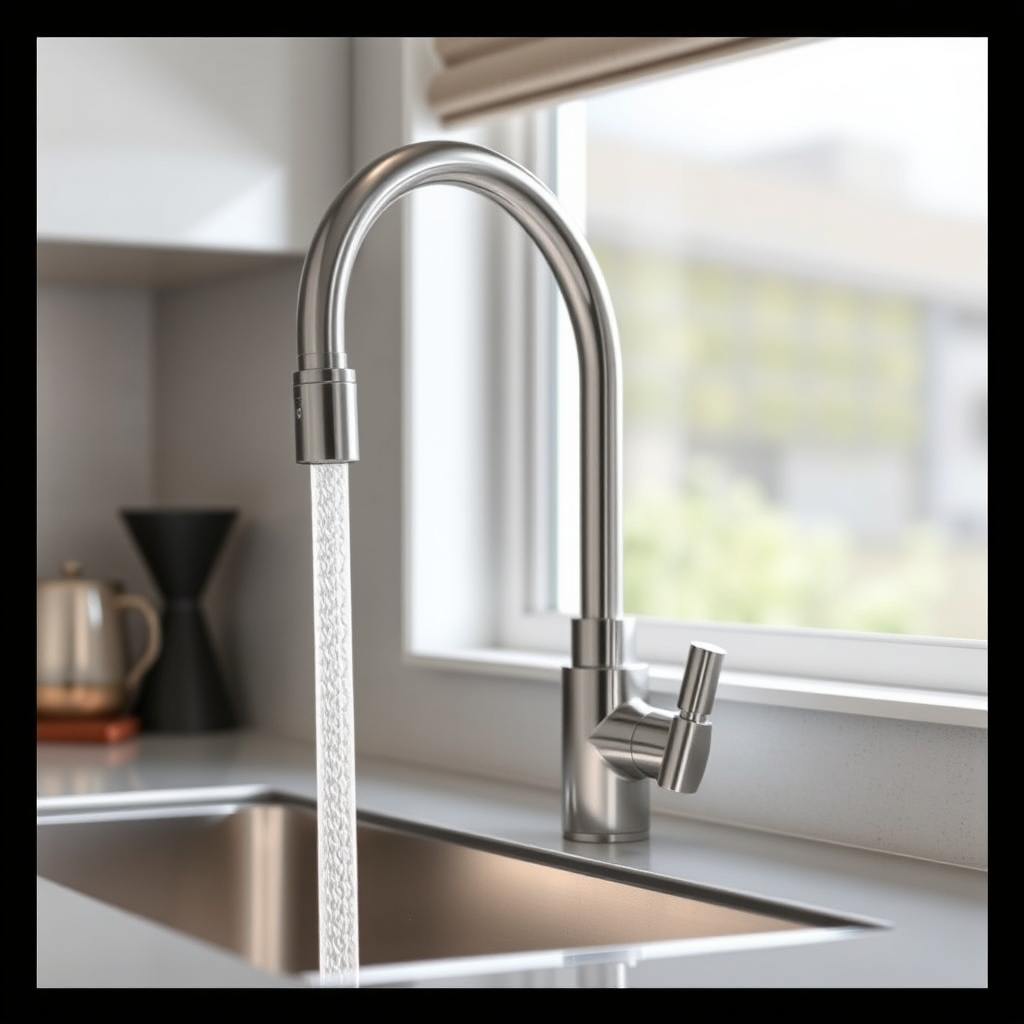
Choosing a faucet that fits your sink configuration is essential. Decide between single or double handle faucets, consider the number of holes in the sink, and check compatibility with your countertop thickness.
Material and finish choices also affect durability and style—brass and stainless steel are popular for longevity, while finishes range from chrome to matte black. Matching these to your kitchen aesthetic creates a cohesive look.
Preparing for Faucet Removal and Installation

Turning Off Water Supply and Draining Lines
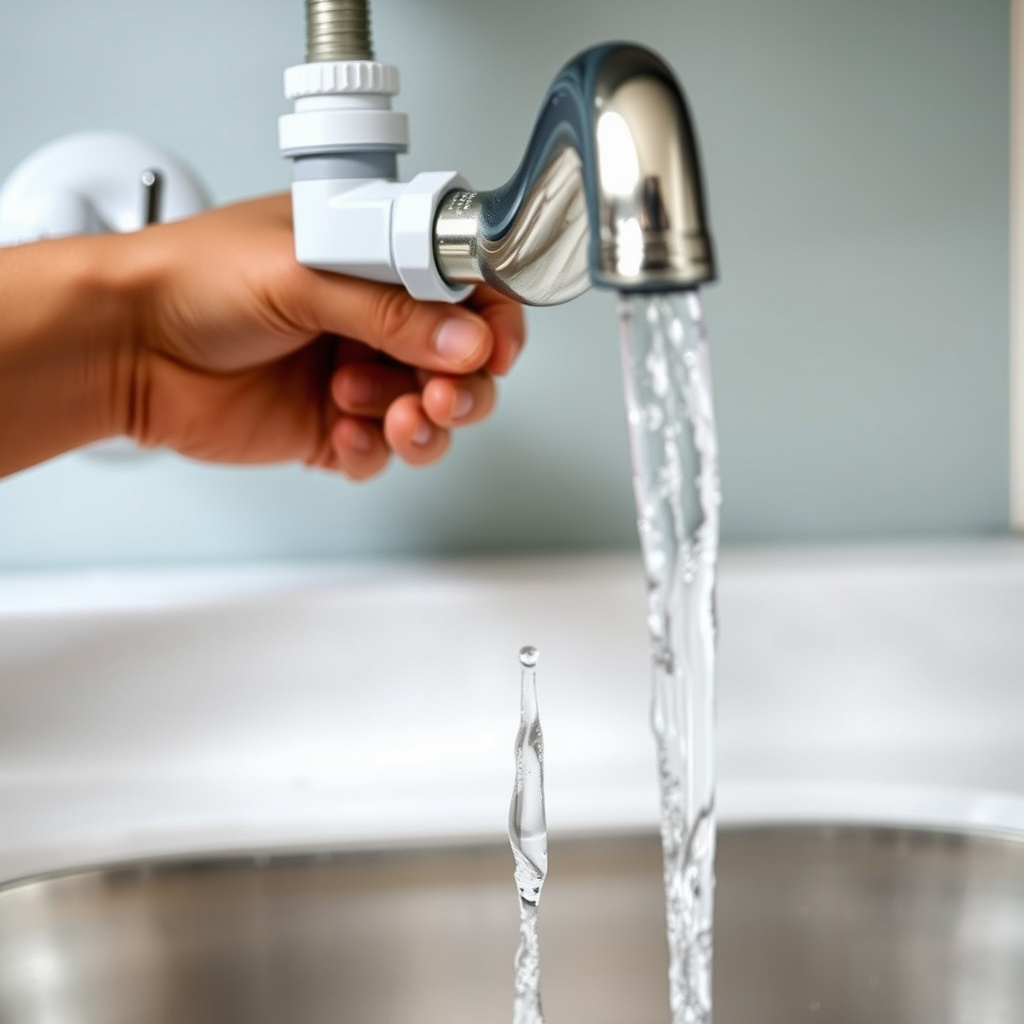
Locate the shutoff valves beneath the sink and turn them clockwise to stop water flow. If no valves are present, shut off the main water supply to the house to prevent leaks during removal.
Open the faucet handles to relieve remaining pressure and drain water from the lines. Place a bucket underneath to catch any drips when disconnecting supply lines.
Removing the Old Faucet Safely
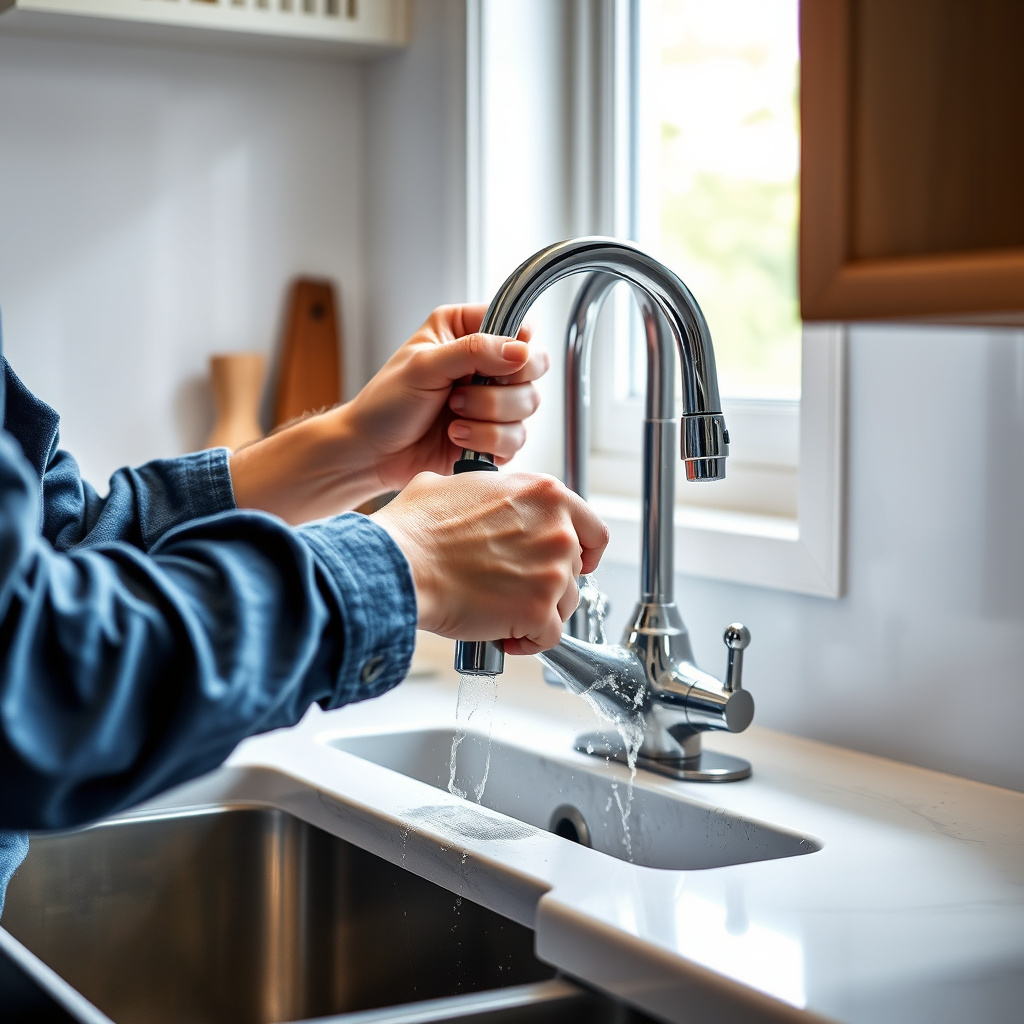
Using the basin wrench, loosen the nuts that hold the faucet in place from below the sink. Disconnect water supply lines carefully, keeping the bucket below to catch residual water.
If the faucet is stuck due to old sealants or corrosion, applying penetrating oil and gently wiggling can help. Remove any old putty or gasket material from the sink surface to prepare for the new installation.
Installing the New Kitchen Faucet Step-by-Step
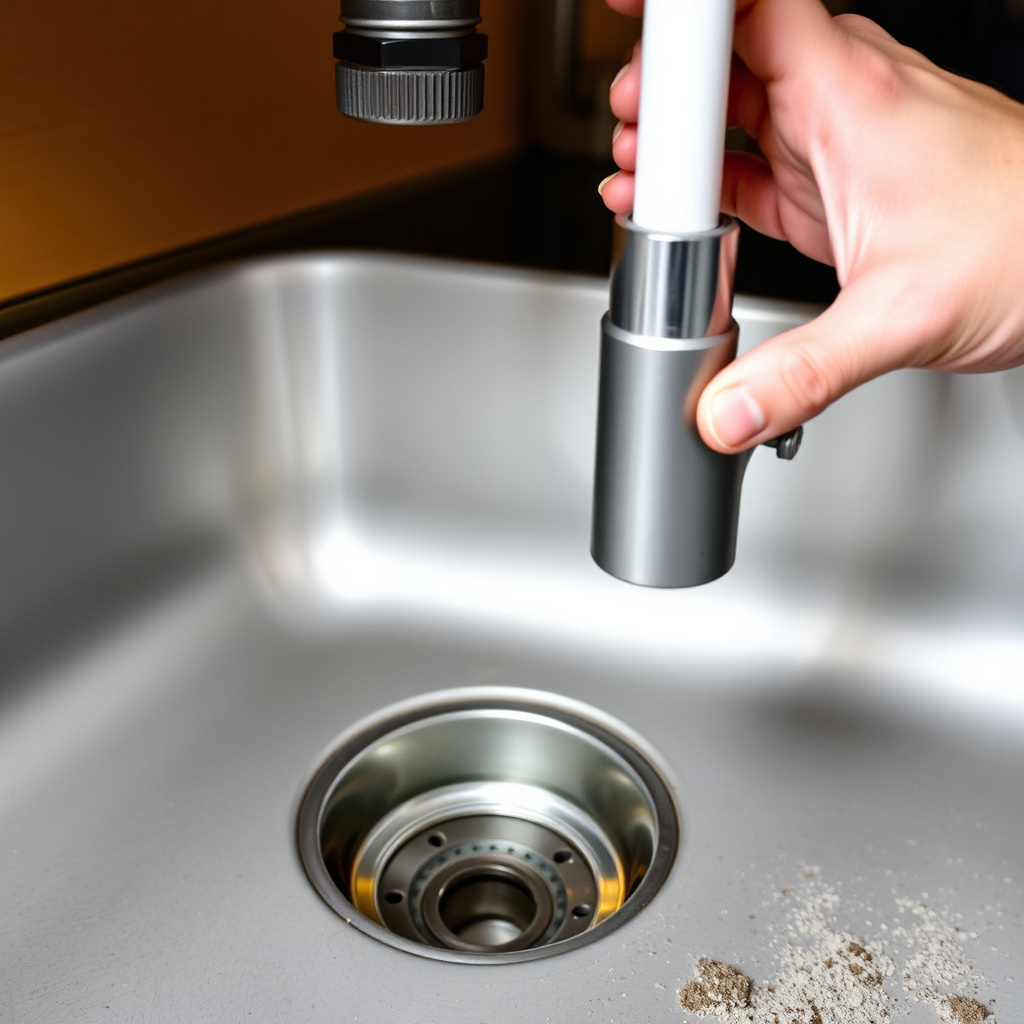
Positioning and Securing the Faucet
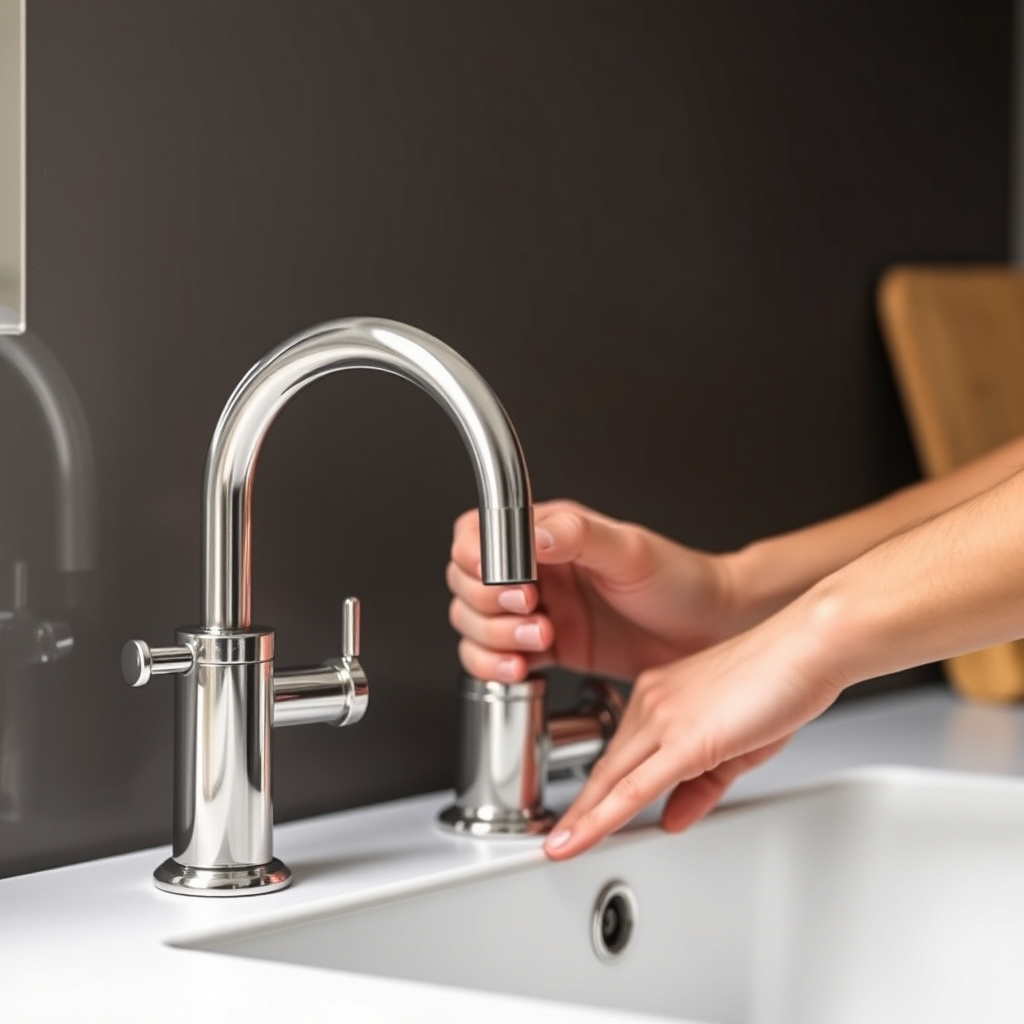
Insert the faucet into the sink holes, aligning it properly for water flow and handle operation. From below, thread on mounting nuts and hand-tighten before using the basin wrench for a final secure fit.
Be careful not to overtighten, which can crack the sink or faucet components. Check the faucet’s instructions for recommended torque levels or tightness to avoid damage.
For more on this, see our related guide: How to Change a Kitchen Faucet: A Step-by-Step DIY Guide.
Connecting Water Supply Lines and Testing
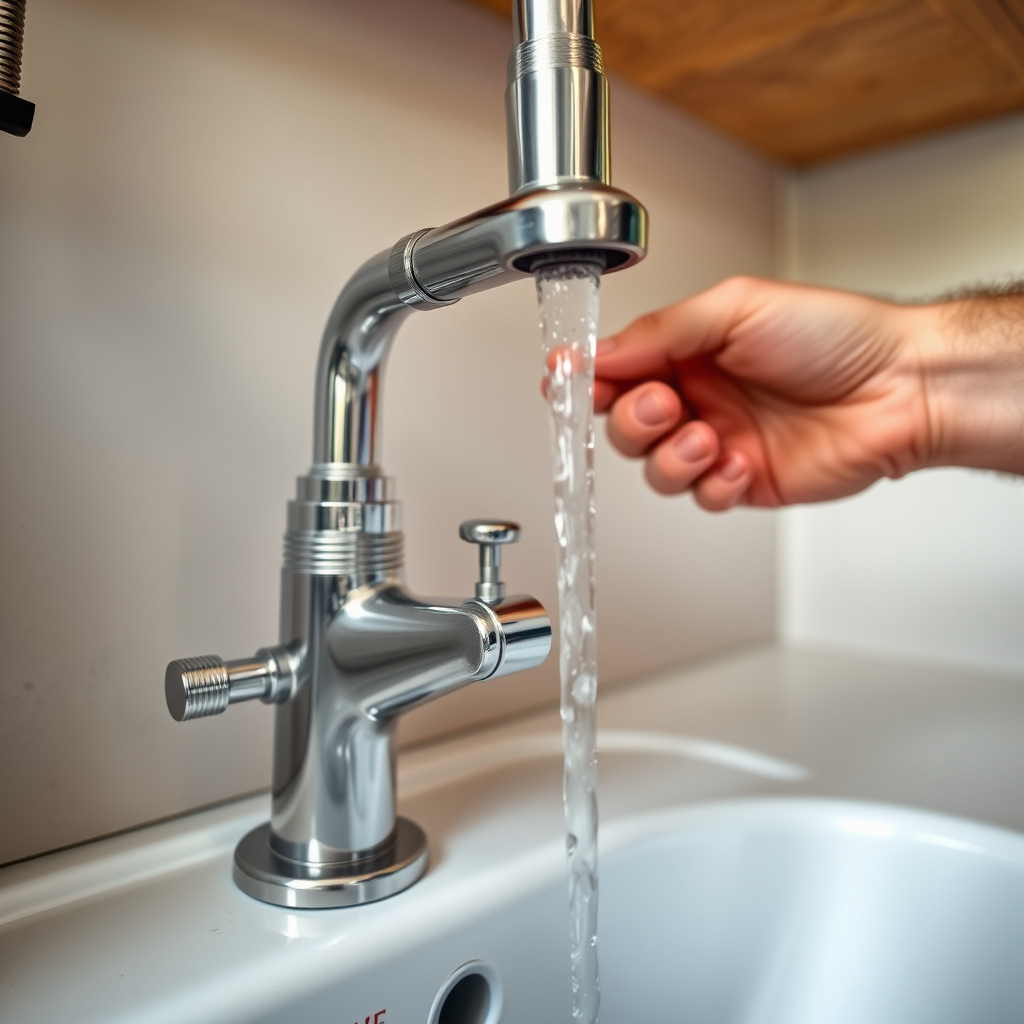
Wrap plumber’s tape around the supply line threads to prevent leaks and attach them to the faucet valves. Hand tighten first, then use the wrench to secure, avoiding over-tightening.
Turn the water supply back on slowly and check for leaks. Open the faucet handles to flush any debris and observe if both hot and cold water flow properly.
Troubleshooting Common Issues When Changing Kitchen Faucet
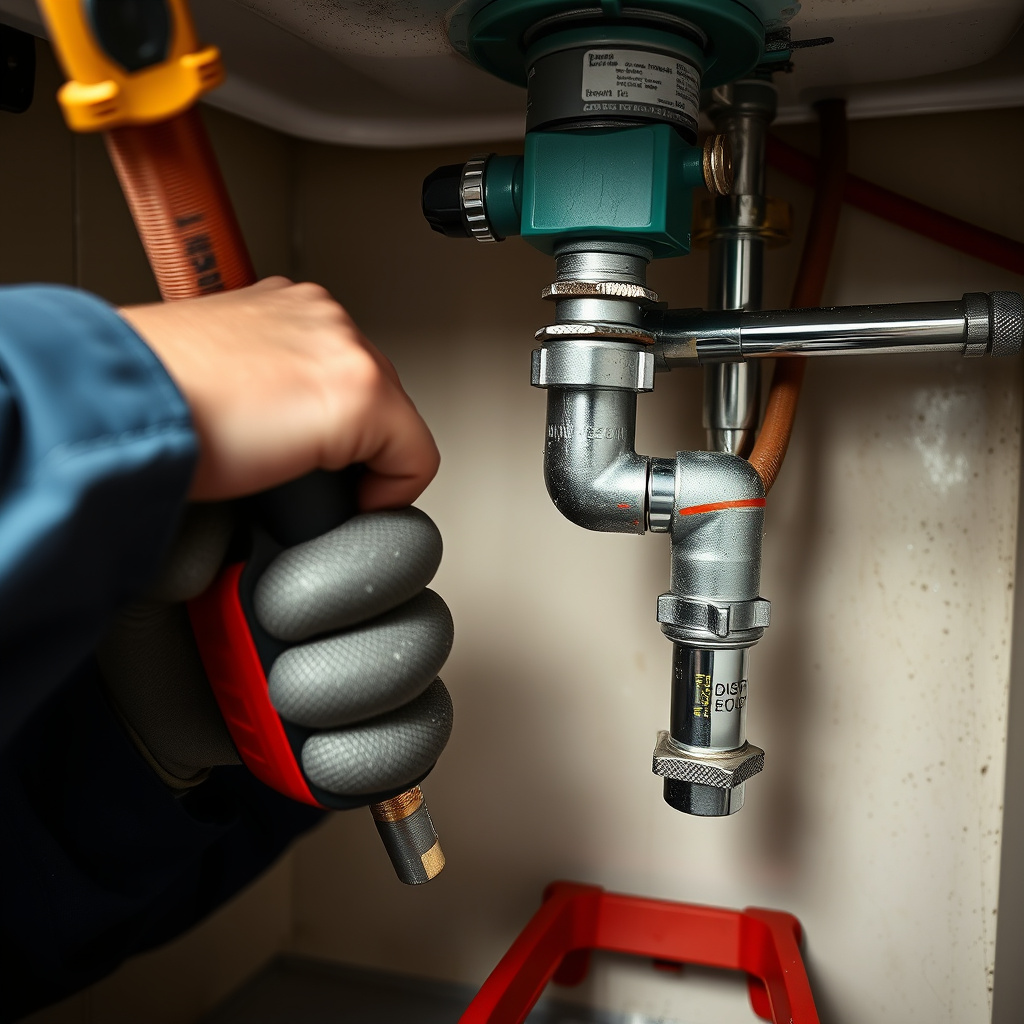
Dealing with Leaks after Installation

Leaks often occur from loose connections or missing plumber’s tape. Tighten supply lines carefully and add tape if necessary. Inspect the faucet base for gaps that may require silicone sealant application.
Also examine supply hoses for cracks or damage, replacing any faulty parts to ensure a leak-free setup.
- Check all connections
- Add plumber’s tape where needed
- Apply silicone sealant at faucet base
- Replace damaged hoses
Addressing Fit and Alignment Problems
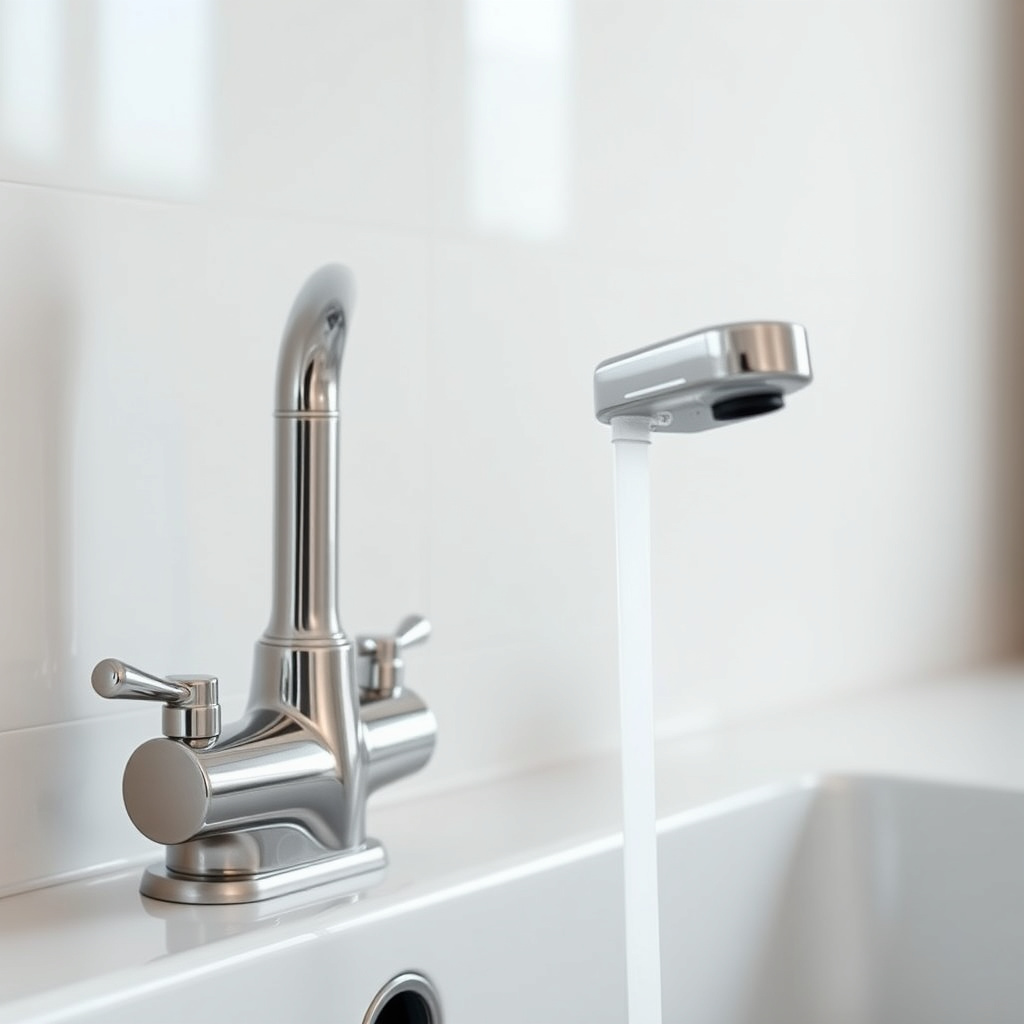
If the faucet does not align properly with the sink or handles struggle to operate, double-check that the faucet matches your sink hole configuration. Some faucets may require adapters or special mounting brackets.
Adjust the positioning before fully tightening nuts. Minor repositioning can prevent functional and aesthetic issues.
Maintaining Your New Kitchen Faucet for Longevity
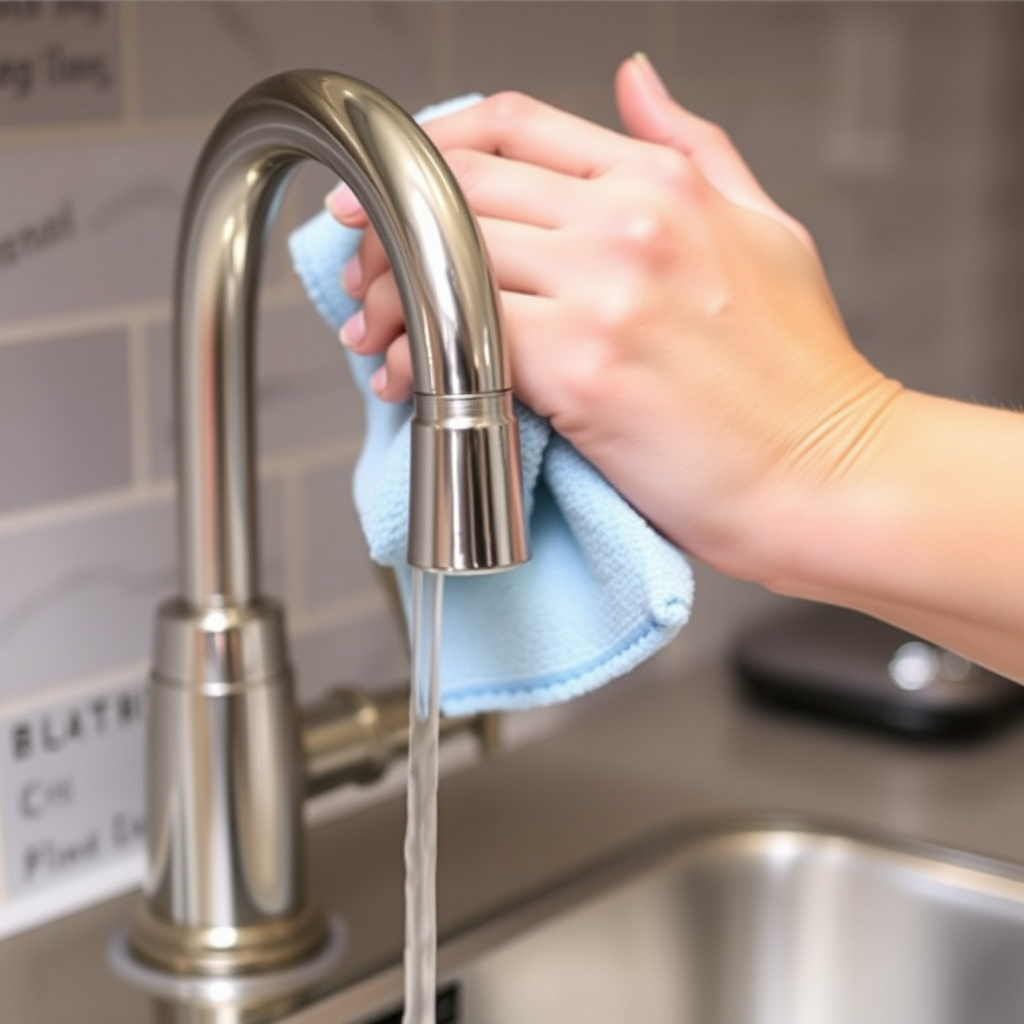
Regular Cleaning and Avoiding Corrosion
Clean the faucet surface regularly with mild soap and water, avoiding harsh abrasives that can damage finishes. Dry after cleaning to prevent water spots and corrosion.
Check aerators periodically for mineral buildup which can reduce water flow and clean as needed by soaking in vinegar solution.
- Use mild soap and water
- Avoid abrasive cleaners
- Dry after cleaning
- Clean aerators to remove buildup
For more on this, see our related guide: How Much Should a 10×10 Kitchen Remodel Cost? A Detailed Pricing Guide.
When to Replace Parts or the Entire Faucet
Faucet cartridges and washers wear out over time causing drips. Replacing these parts extends faucet life. If corrosion is visible on metal parts or leaks persist despite repairs, consider full faucet replacement.
Choosing models with replaceable internal components simplifies maintenance and reduces future costs.
Tips for a Professional-Looking Kitchen Faucet Installation
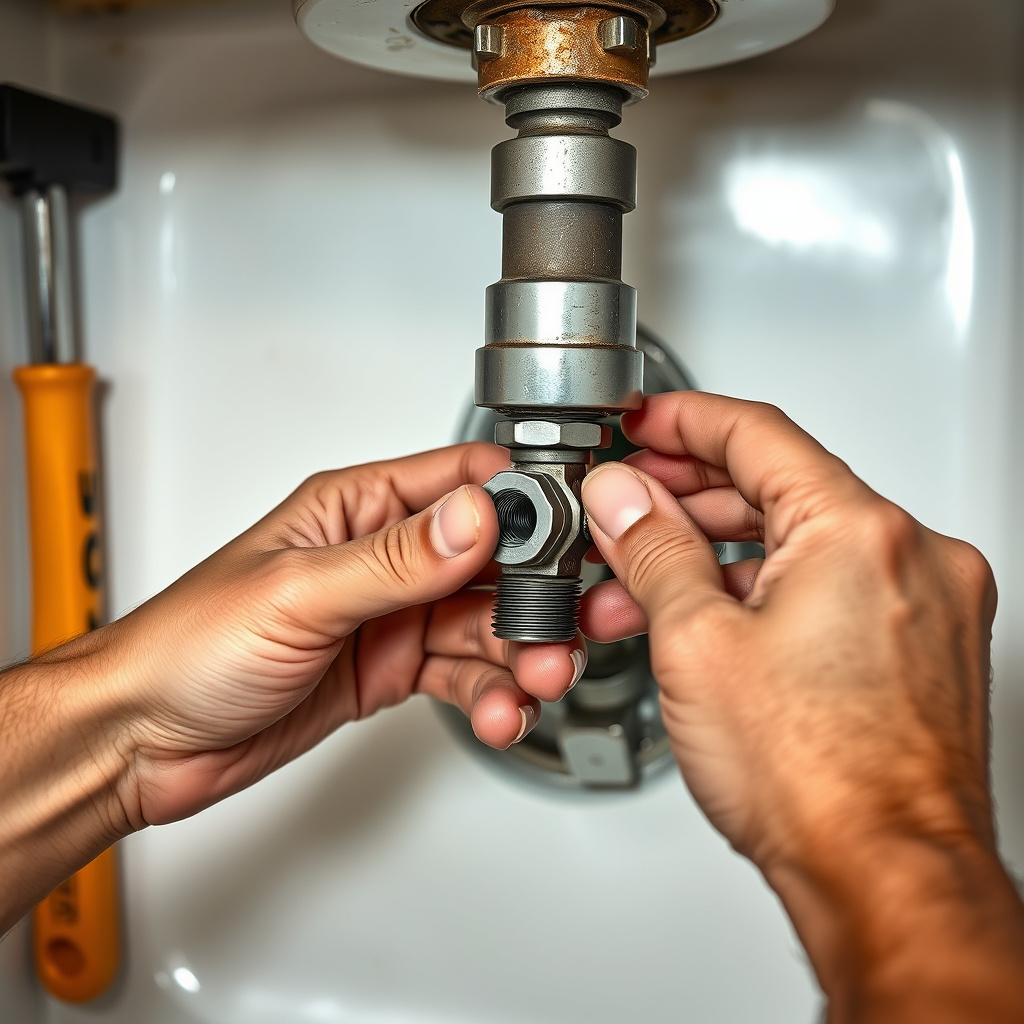
Aligning Faucet and Sink Holes Precisely
Take time to center the faucet accurately over sink holes before securing nuts. Misalignment can cause uneven water flow and reduce the kitchen’s visual appeal.
Use a level if needed and preview the faucet handles movement range to confirm no obstruction.
For more detailed history and technical information on faucets, you can visit the kitchen faucet article on Wikipedia. kitchen faucet article on Wikipedia.
Using Sealants and Plumber’s Tape Correctly
Apply plumber’s tape evenly around threaded connections to create watertight seals but avoid overlapping excessively as this can prevent proper tightening.
Some faucets benefit from a thin bead of silicone at the base to prevent water leakage beneath the fixture, especially on granite or stone sinks.
- Wrap plumber’s tape clockwise around threads
- Avoid excessive tape buildup
- Apply silicone sealant at base if needed
Kitchen Faucet Type Comparison
This table compares common kitchen faucet types based on installation ease, price range, and features, helping you select the best fit for your kitchen.
| Faucet Type | Installation Difficulty | Price Range | Features |
|---|---|---|---|
| Single-handle | Easy | $50 – $200 | One handle controls temperature and flow, space-saving |
| Double-handle | Moderate | $70 – $250 | Separate hot and cold handles, traditional look |
| Pull-out sprayer | Moderate | $100 – $300 | Retractable spray head for flexible use |
| Touchless | Difficult | $150 – $400 | Hands-free operation, requires batteries or power supply |
| Commercial style | Difficult | $200 – $600 | High-arc, powerful sprayers, professional look |
Frequently Asked Questions
Can I change my kitchen faucet without turning off the water supply?
It is essential to turn off the water supply before changing a kitchen faucet to avoid water damage and leaks during removal and installation.
How long does it typically take to replace a kitchen faucet?
A standard kitchen faucet replacement usually takes about one to two hours, depending on experience and faucet type.
Do I need special tools to change a kitchen faucet?
Most faucet changes require basic plumbing tools like an adjustable wrench and basin wrench, which are sufficient for standard installations.
What should I do if my new faucet leaks after installation?
Check all connections for tightness, reapply plumber’s tape if necessary, and inspect seals or hoses. Tightening or replacing parts often stops leaks.
Can I install a new faucet with a different hole configuration than my sink?
Adapters or deck plates can cover unused holes, allowing installation of faucets with fewer holes on sinks designed for more holes.
Key Takeaways
- Turn off water supply before removing the old faucet to prevent leaks.
- Select a faucet compatible with your sink’s hole configuration and thickness.
- Use proper tools like a basin wrench and plumber’s tape for secure installation.
- Regular maintenance, including cleaning aerators, extends faucet life.
Conclusion
Changing a kitchen faucet involves a straightforward sequence of steps, including preparation, removal, installation, and testing, all of which can be managed with some patience and the right tools. Identifying the correct faucet type for your sink layout and carefully following installation instructions greatly reduce the chances of leaks or damage. This hands-on project not only refreshes your kitchen’s appearance but also improves usability and water efficiency.
For those seeking simple upgrades, single-handle or pull-out sprayer faucets offer easy installation and functional advantages. More advanced options like touchless or commercial-style faucets provide increased convenience and durability but require more involved setups and potentially professional help. Choosing based on your kitchen's needs and your comfort level with tools ensures a successful outcome.
Starting with thorough preparation—turning off the water, assembling tools, and verifying compatibility—sets a solid foundation. After completing your faucet change, perform a careful leak check and test operations fully. If complications arise, reviewing steps or consulting professional resources is wise. Overall, swapping out a kitchen faucet can be a satisfying home improvement accomplished in few hours.