How to Remove a Kitchen Faucet: Step-by-Step Guide
Removing a kitchen faucet involves turning off the water supply, detaching the supply lines, loosening the mounting nuts under the sink, and then lifting the faucet out. This task can be done with simple tools like an adjustable wrench and some patience.
Knowing how to remove a kitchen faucet is essential whether you're upgrading your fixtures, fixing leaks, or preparing for a new installation. Proper removal prevents damage to your sink and plumbing and makes the next steps much easier.
In this article, you'll find clear steps to remove various types of kitchen faucets, tips on handling hard-to-reach areas beneath the sink, and guidance on tools you'll need. We'll also cover common challenges and safety advice to make your project smooth.
Preparing to Remove Your Kitchen Faucet
Shutting Off the Water Supply
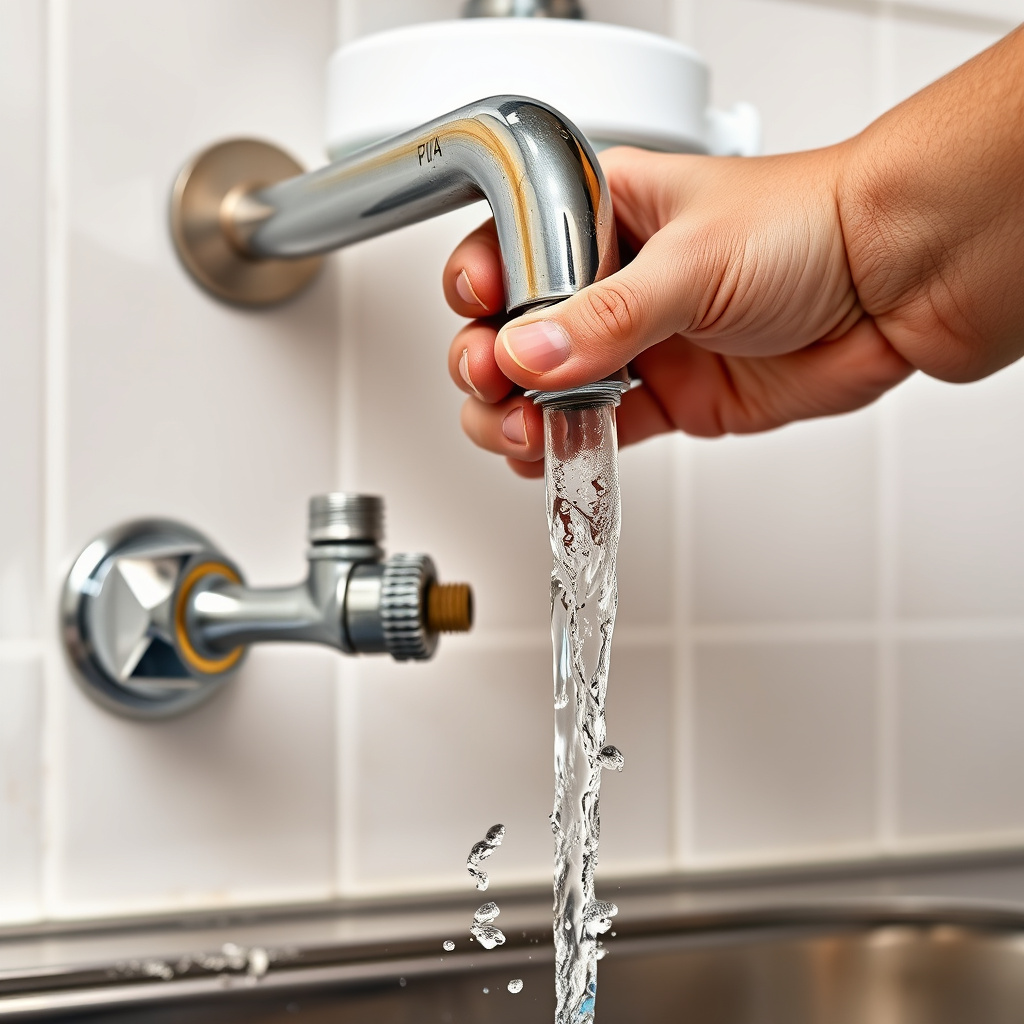
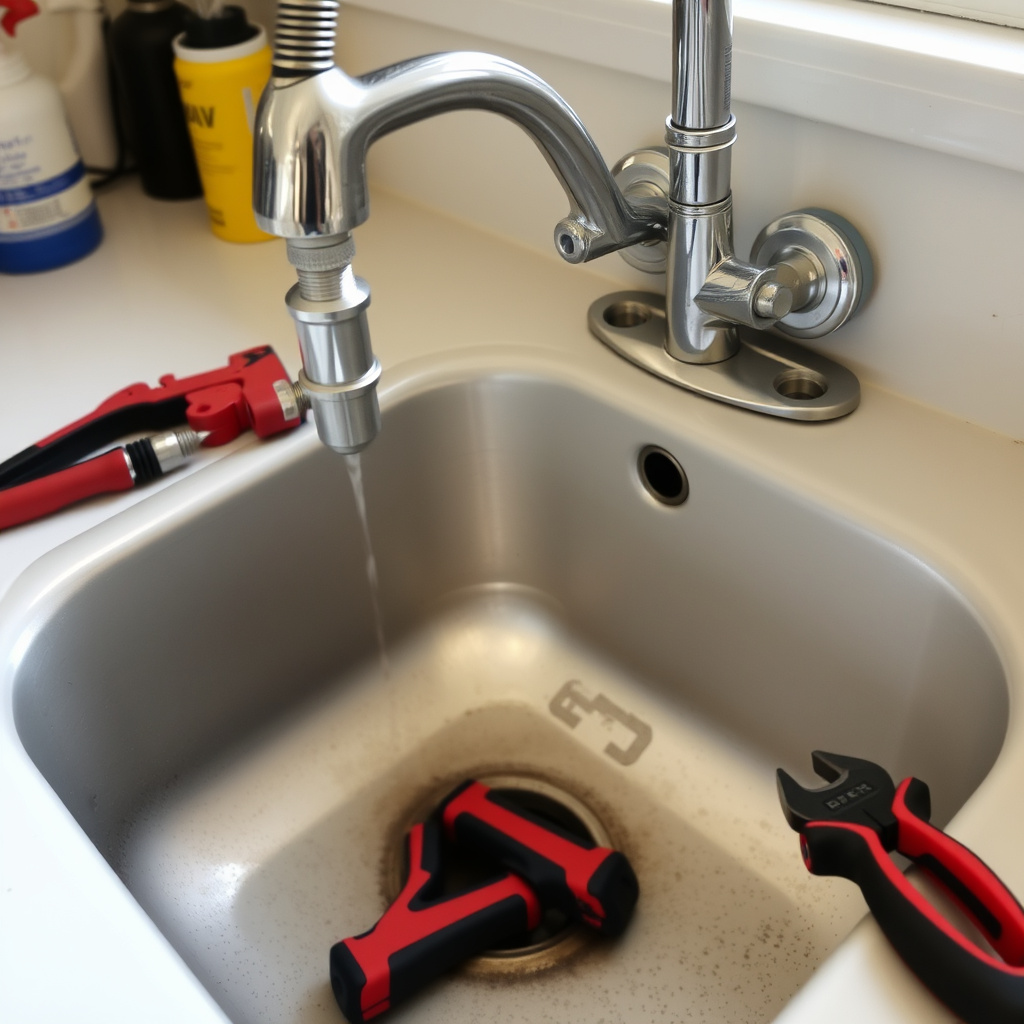
Before starting, locate the shutoff valves under the sink and turn them clockwise to stop water flow. If there are no individual valves, shutting off the main water supply to the house is necessary to avoid leaks during removal.
Once the water is off, open the faucet to relieve pressure and drain any remaining water. This step prevents spills during disassembly.
Gathering Necessary Tools and Materials
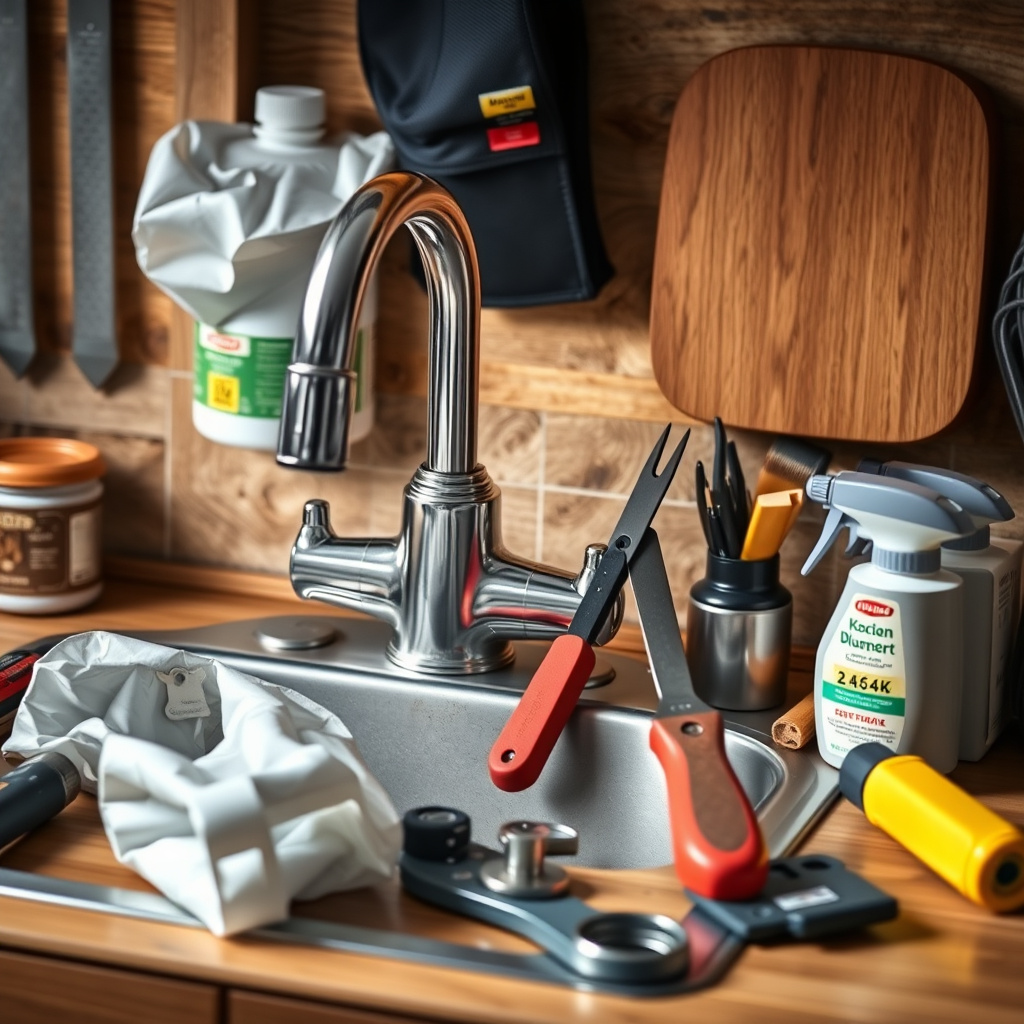
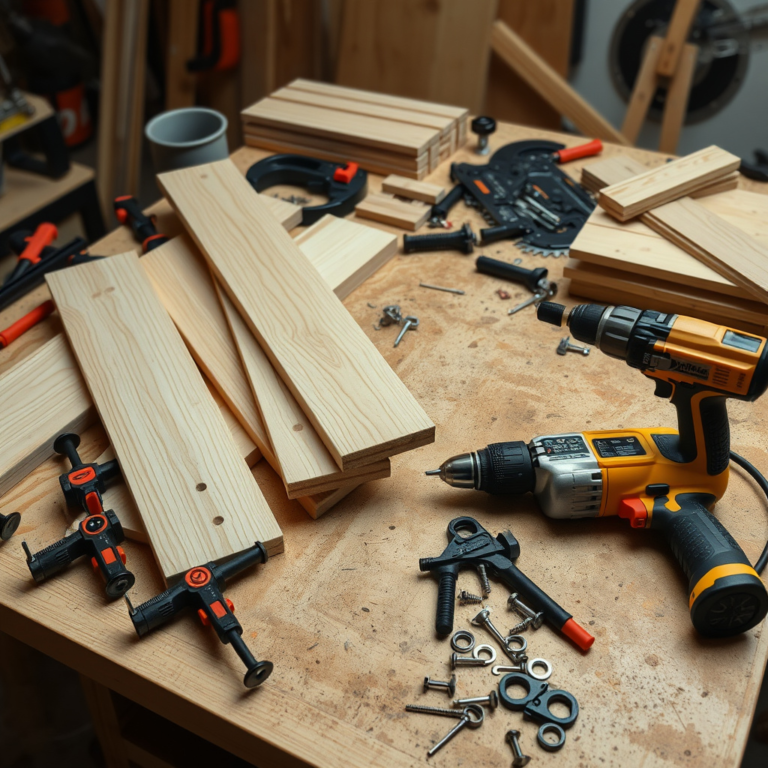
Common tools include an adjustable wrench, basin wrench (for hard-to-reach mounting nuts), pliers, and towels to catch drips. Having these ready will save time and reduce frustration during the removal.
If your faucet has decorative caps or covers hiding screws, a flathead screwdriver might be helpful. Also, consider gloves for protection if your workspace is tight or plumbing is corroded.
- Adjustable wrench
- Basin wrench
- Pliers
- Towels
- Flathead screwdriver
- Protective gloves
Disconnecting the Faucet from Plumbing
Detaching Supply Lines
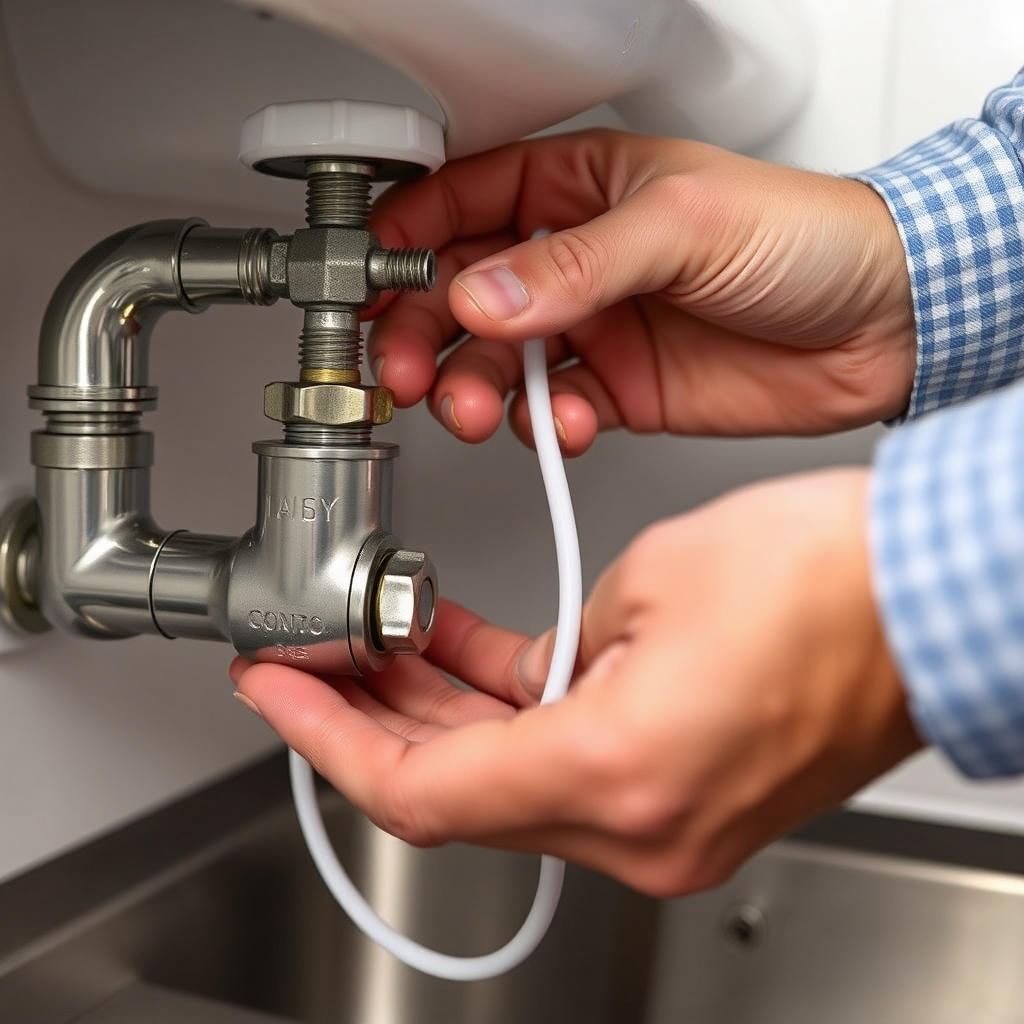
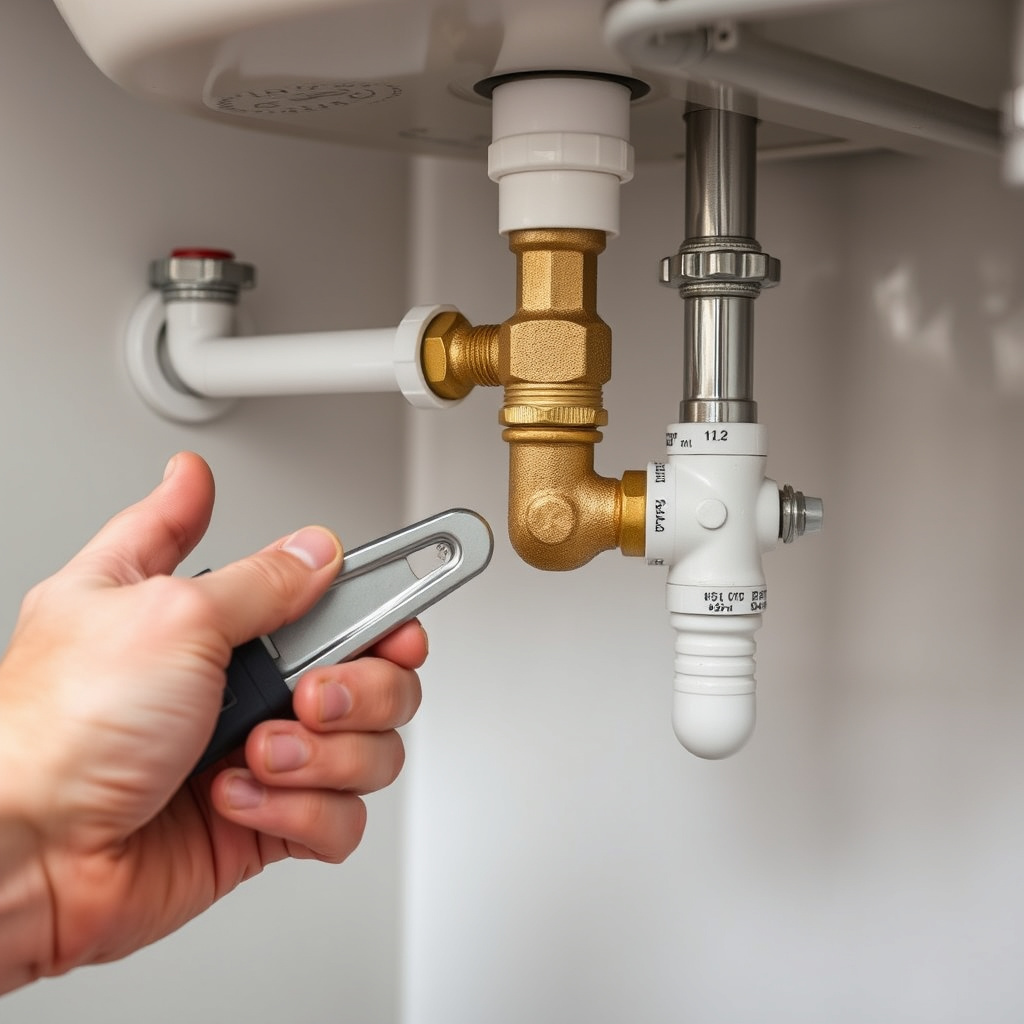
Using an adjustable wrench, carefully loosen the nuts connecting the hot and cold water supply lines to the faucet. Be prepared for minor water drips by placing a towel or bucket underneath.
If connections are difficult to loosen due to corrosion or tight spaces, applying a penetrating lubricant or using a basin wrench can help without damaging fittings.
Removing Mounting Hardware
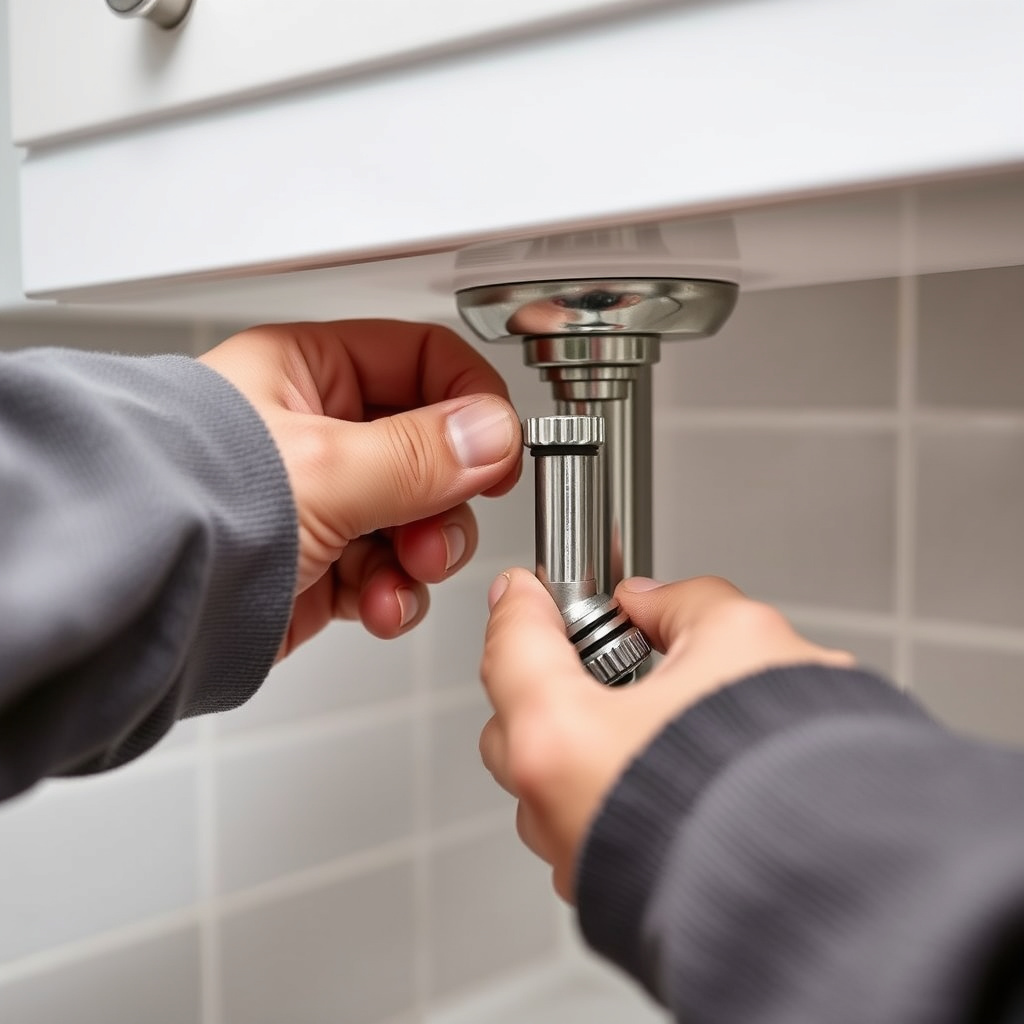
Under the sink, faucet mounting nuts hold the fixture in place. These are usually tightened onto threaded rods coming from the faucet. Accessing them often requires a basin wrench because of limited space.
Once the nuts loosen, hold the faucet steady from above to prevent it from dropping suddenly when freed.
Removing Different Types of Kitchen Faucets
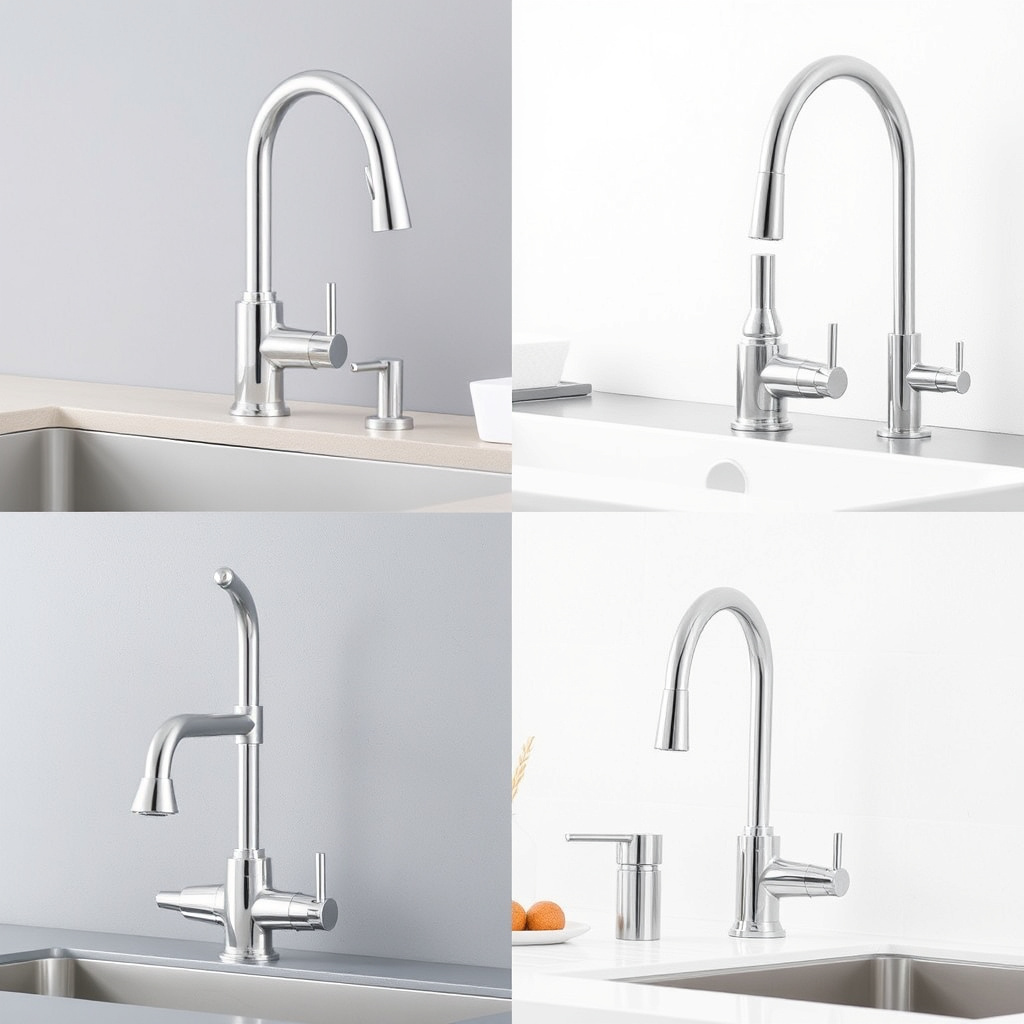
Single-Hole Faucets
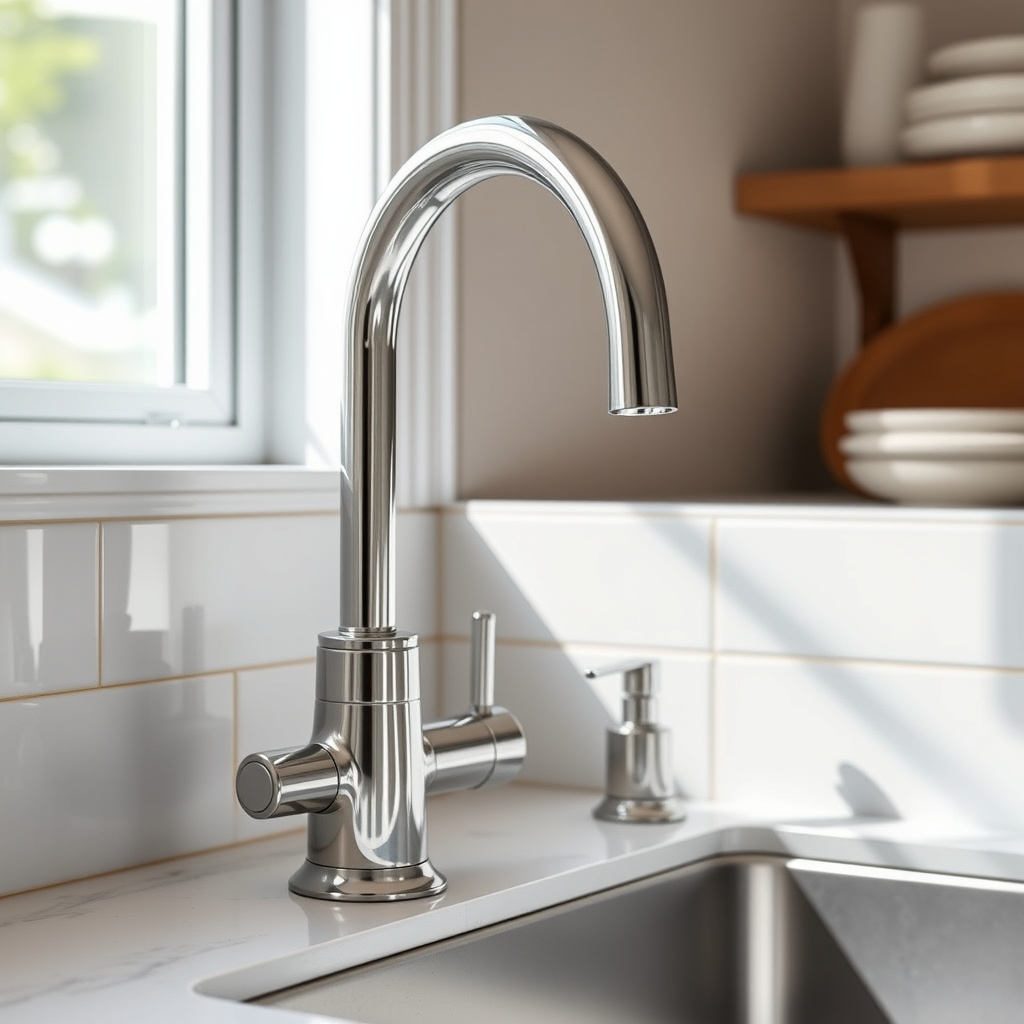
Single-hole faucets typically mount through one hole on the sink or countertop. After loosening the mounting nut, you can lift the entire faucet assembly out straight from above.
Check for silicone or plumber’s putty sealing the base; if present, gently cut through it with a utility knife to avoid scratching the sink surface.
For more on this, see our related guide: How to Change Kitchen Faucet: Step-by-Step Guide for a Smooth Installation.
Multi-Hole Faucets with Separate Handles
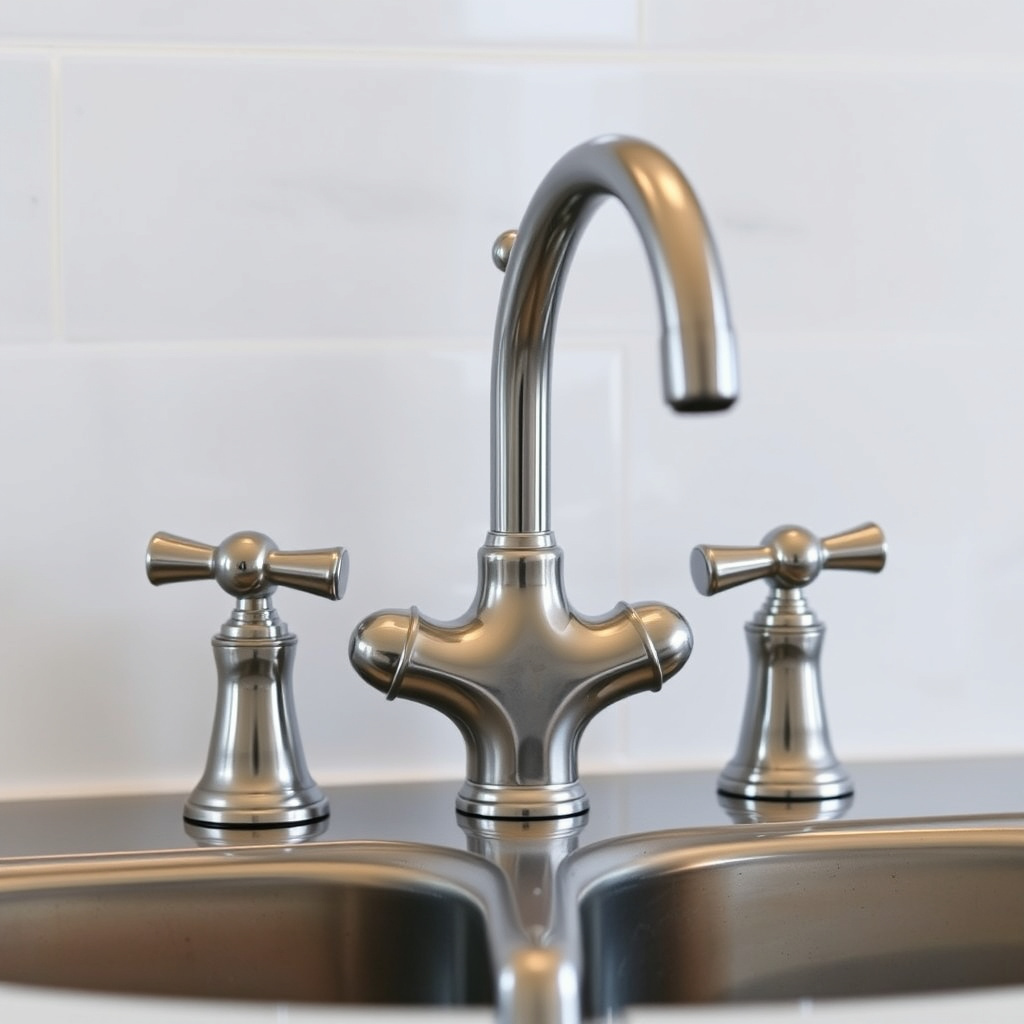
Multi-hole faucets often split the spout and handles into different pieces. After removing the mounting hardware, lift each component separately.
Note that some models have connecting tubes or clips beneath the sink; carefully disconnect these attachments before removal.
Handling Common Challenges
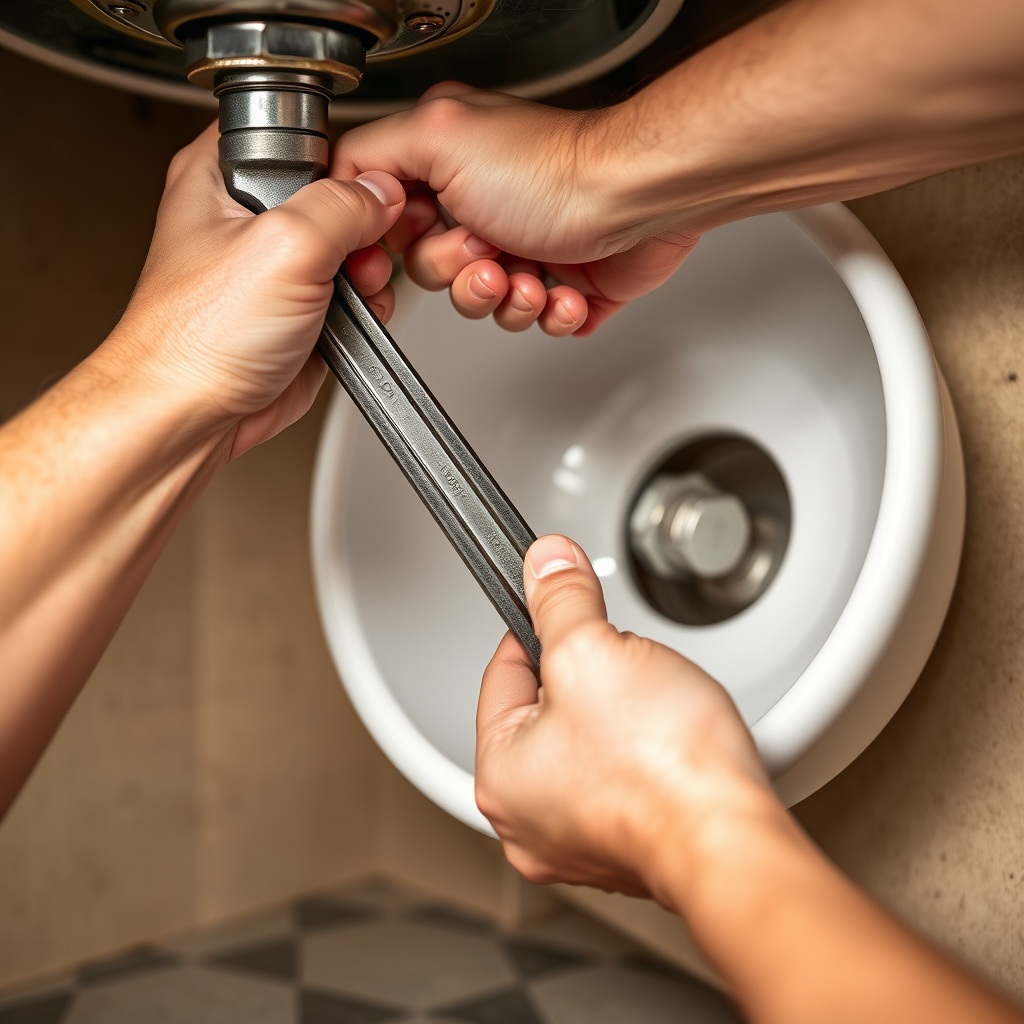
Dealing with Hard-to-Reach Fasteners
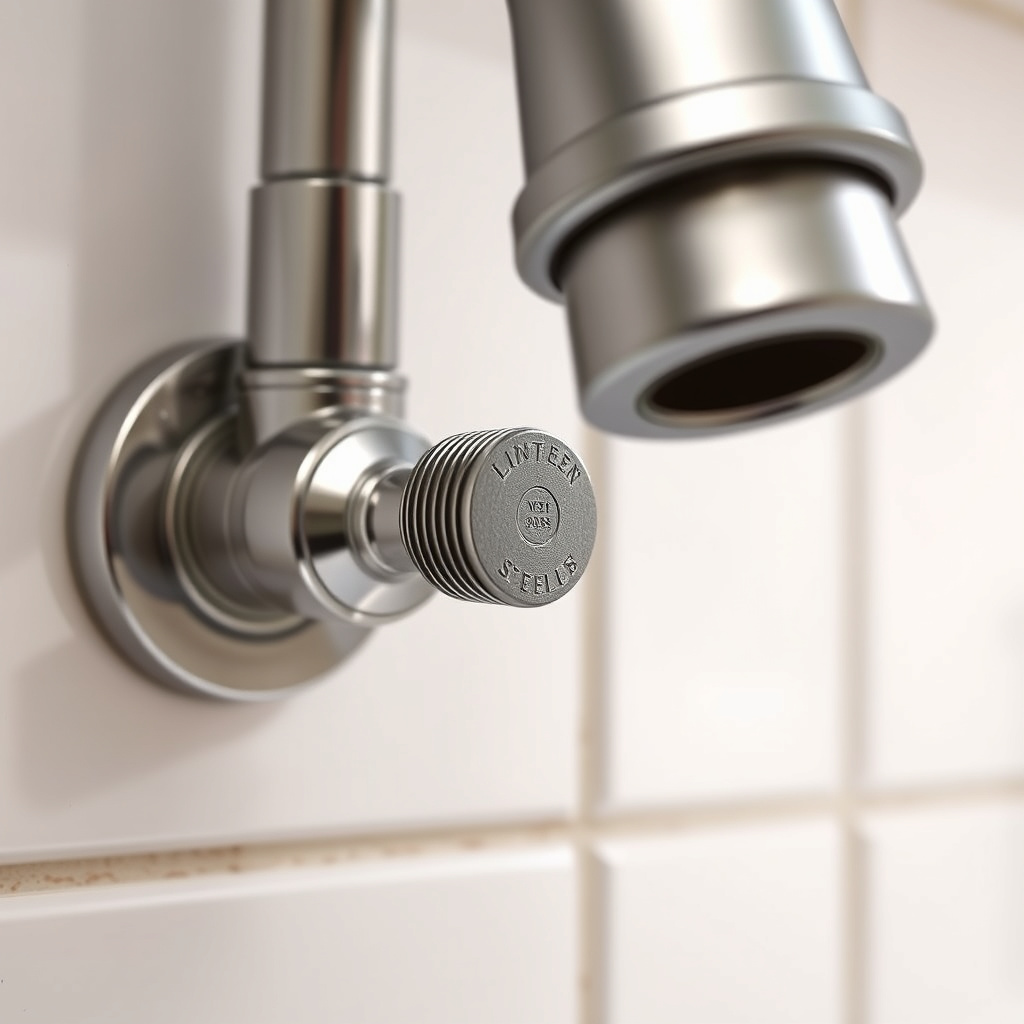
Tight spaces often make reaching mounting nuts difficult. A basin wrench's long handle and swiveling jaw allow you to access these nuts without removing other cabinet hardware.
If tools still can’t reach, temporarily removing lower cabinet shelves can improve access and leverage.
Removing Corroded or Stuck Parts
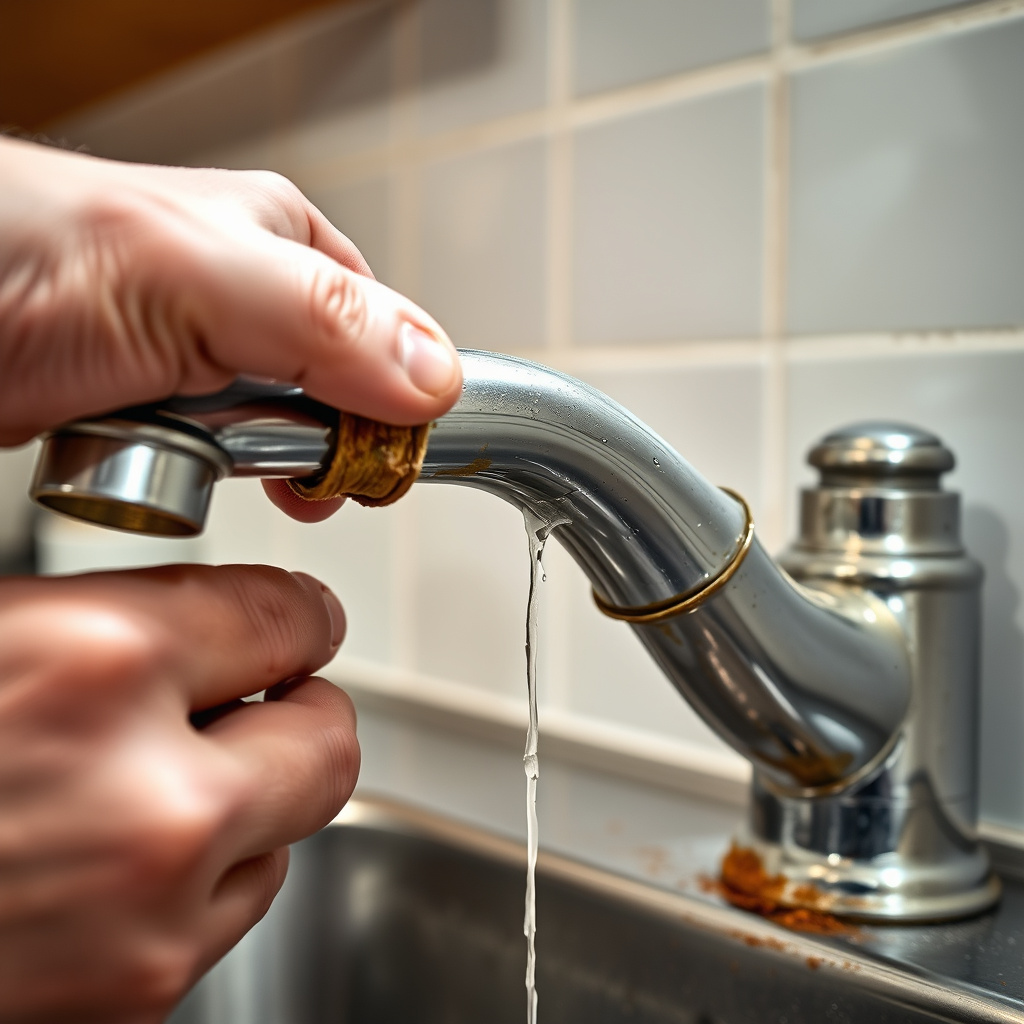
Corrosion over time can seize nuts and connections. Applying penetrating oil and letting it soak for 10-15 minutes loosens rust.
Use gentle rocking motions with the wrench instead of forcing parts; applying excessive force risks damaging pipes or the sink.
Post-Removal Steps and Clean-Up
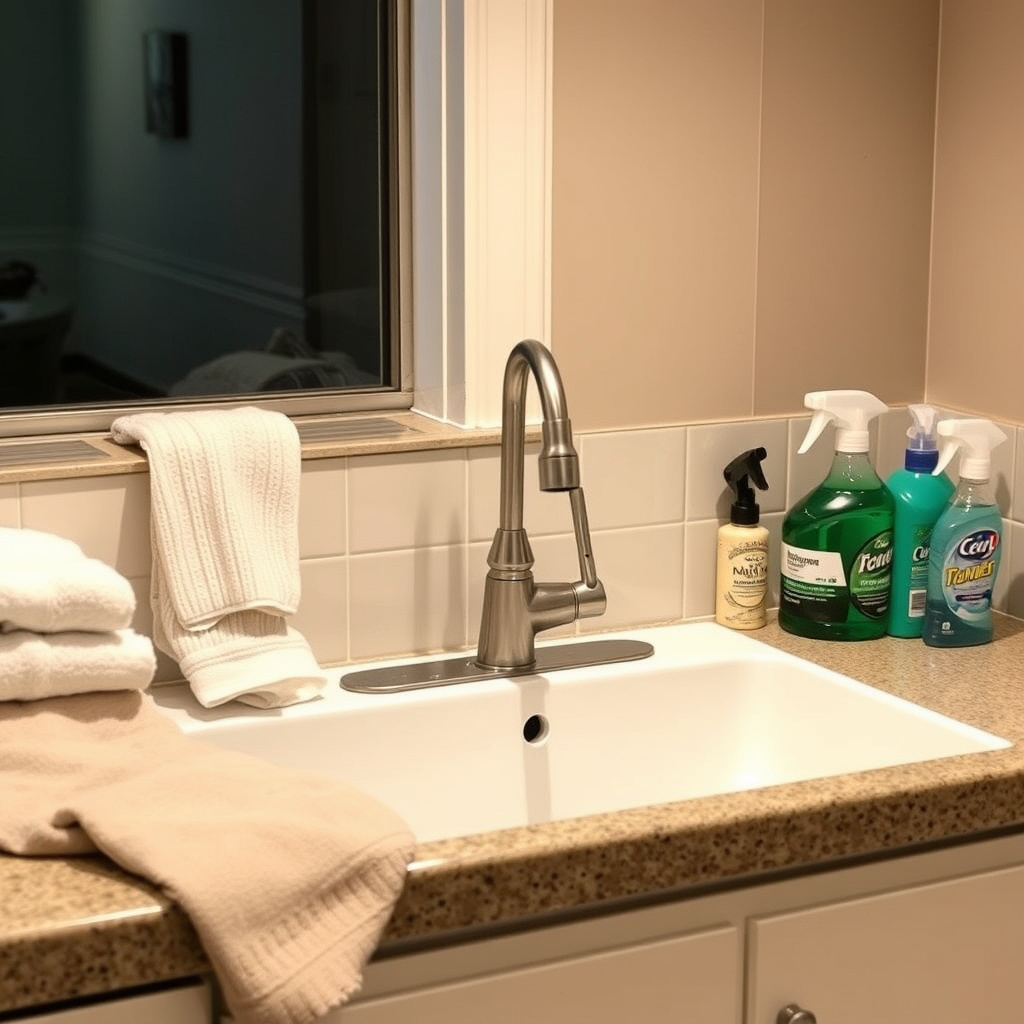
Cleaning the Sink Area
After removing the faucet, clean any plumber's putty or sealant residue from the sink surface using a plastic scraper and mild cleaner to prepare for new fixture installation.
Inspect the drain area for damage or buildup that could affect the new faucet's fit.
For more on this, see our related guide: How to Change a Kitchen Faucet: A Step-by-Step DIY Guide.
Inspecting Plumbing Components
Before installing a new faucet, check the water supply lines and shutoff valves for leaks or wear. Replace any compromised parts to avoid future issues.
Testing the water supply after removal can confirm that no accidental damage occurred during the process.
Safety Tips for Removing Kitchen Faucets
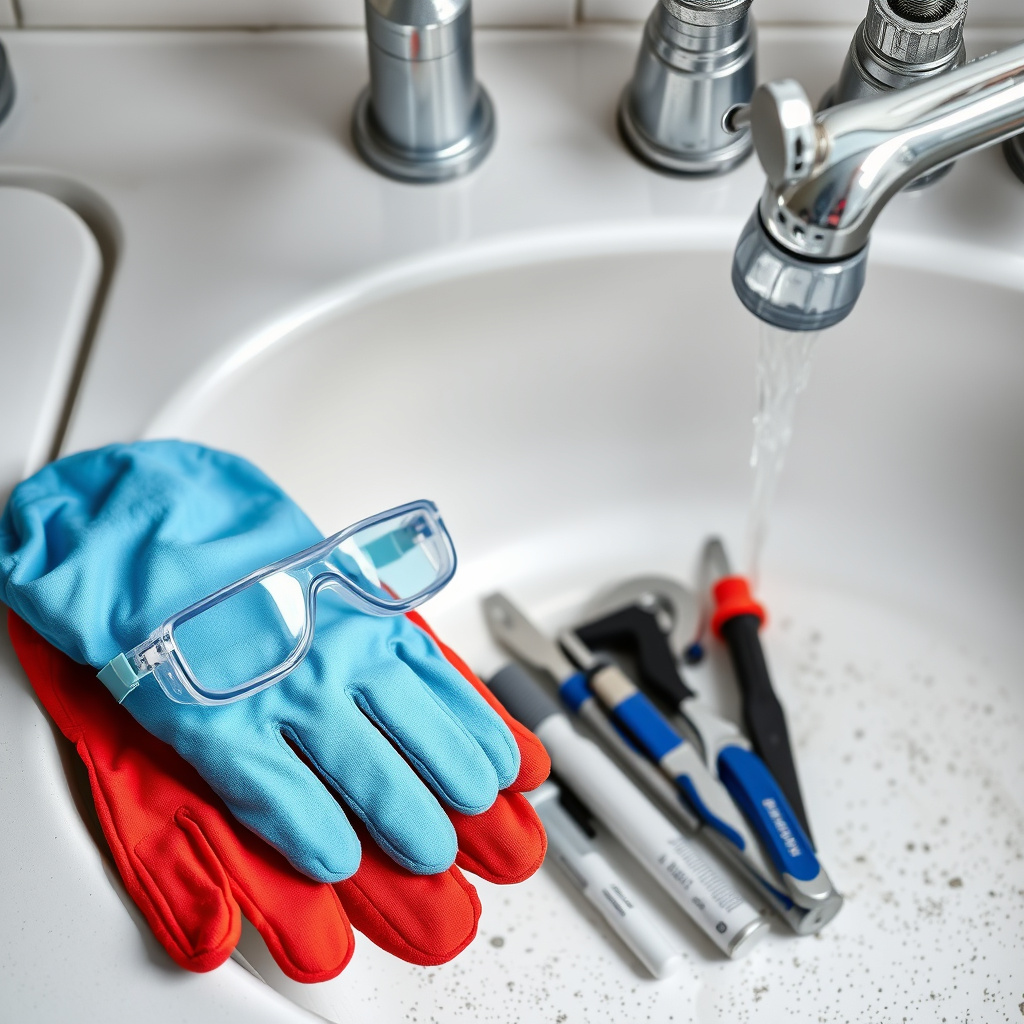
Protective Measures
Wearing gloves protects your hands from sharp edges and corroded parts, while goggles guard against water sprays or debris when loosening fittings.
Ensure the workspace is well-lit to avoid mistakes or accidents in the confined sink area.
For more detailed background on faucet types and mechanisms, check the kitchen faucet information on Wikipedia. kitchen faucet information on Wikipedia.
Preventing Water Damage
Keep towels and a small bucket ready to catch drips when disconnecting supply lines. Double-check that water is truly shut off before starting.
Leave cabinet doors open during work to avoid moisture buildup and provide easy access should leaks occur.
Kitchen Faucet Removal Methods Comparison
Here's a concise comparison of common methods and tools used to remove kitchen faucets, highlighting ease of use and suitability for various faucet types.
| Method/Tool | Best For | Ease of Use | Limitations |
|---|---|---|---|
| Adjustable Wrench | Most faucet supply line nuts | High | Limited in tight spaces |
| Basin Wrench | Hard-to-reach mounting nuts | Moderate | Requires some practice |
| Penetrating Oil | Corroded fasteners | Easy | Takes time to work |
| Towels and Buckets | Water containment | Very Easy | Does not aid removal |
| Utility Knife | Cutting sealants | Easy | Risk of scratching sink |
Frequently Asked Questions
Do I need to shut off the main water supply to remove a kitchen faucet?
Not necessarily; most sinks have individual shutoff valves under them. Turn these off to stop water flow. If absent, then shutting off the main supply is required.
Can I remove a kitchen faucet without special tools?
Basic tools like an adjustable wrench might suffice, but a basin wrench is highly recommended for tight nuts under the sink, making removal easier and safer.
How can I prevent water damage during faucet removal?
Turn off water supply, open faucet to release pressure, and place towels or buckets under the work area to catch any drips or leaks that may occur.
What should I do if the mounting nuts won’t budge?
Apply penetrating oil to loosen corrosion and wait 10-15 minutes. Then try loosening gently with a basin wrench or adjustable wrench, avoiding excessive force.
Is it necessary to clean the sink after removing the faucet?
Yes, cleaning off old sealant and grime ensures the new faucet fits properly and seals well, preventing leaks or damage.
Key Takeaways
- Always shut off the water supply before removing a kitchen faucet.
- Use the right tools, especially a basin wrench, for hard-to-reach nuts.
- Address corrosion with penetrating oil to avoid damaging parts.
- Clean the sink area thoroughly after faucet removal before installing a new one.
Conclusion
Removing a kitchen faucet requires careful preparation and the right approach to avoid damaging plumbing or the sink. Starting by shutting off water and gathering proper tools establishes a solid foundation for a trouble-free process. Skilled use of adjustable and basin wrenches unlocks even the tightest mounting nuts, while patience prevents forceful mishaps. Understanding your faucet type, whether single-hole or multi-hole, allows targeted removal methods that keep the system intact and ready for future upgrades.
For most homeowners, single-hole faucets offer a straightforward removal experience with simple lifting after mounting nuts are loosened. Multi-hole or more complex faucet setups demand separating individual components and watching for hidden connectors beneath the sink. In cases where corrosion complicates removal, applying penetrating lubricant and methodical loosening prevents damage. Post-removal care, including cleaning old putty and inspecting supply lines, lays the ground for a smooth kitchen faucet replacement. Whether upgrading to modern pull-down models or repairing an existing fixture, these steps help manage the transition efficiently.
Once the faucet is removed, your next step should be evaluating the sink environment and replacing any worn valves or supply lines. If you feel uncertain about specific techniques or encounter persistent issues, consulting a professional plumber is wise. However, with organized effort and adherence to safety tips, removing a kitchen faucet is well within the reach of most DIY enthusiasts. This knowledge empowers you to refresh your kitchen plumbing whenever needed with confidence and control.