How to Refinish Kitchen Cabinets: A Step-by-Step Guide for a Fresh Look
Refinishing kitchen cabinets requires removing old finishes, smoothing surfaces, and applying new stain or paint to restore their appearance. The process begins by cleaning the cabinets thoroughly, sanding them down to bare wood or a smooth surface, and then applying your choice of stain, paint, or sealant for a refreshed look. This hands-on method transforms dated or worn cabinetry without the cost of full replacement.
Refinishing matters because kitchen cabinets are often the focal point of a kitchen, influencing the entire room's look and feel. Over time, finishes wear out from heat, moisture, and frequent use, making cabinets look tired or outdated. Instead of replacing them, refinishing saves money, cuts waste, and allows homeowners to customize colors or finishes to match evolving styles or decor.
This article will cover all critical steps for how to refinish kitchen cabinets, including proper prep work, choosing the right materials, detailed sanding techniques, selecting stain or paint, applying protective coatings, and helpful tips to achieve a durable, professional-looking finish.
Preparing Your Kitchen Cabinets for Refinishing
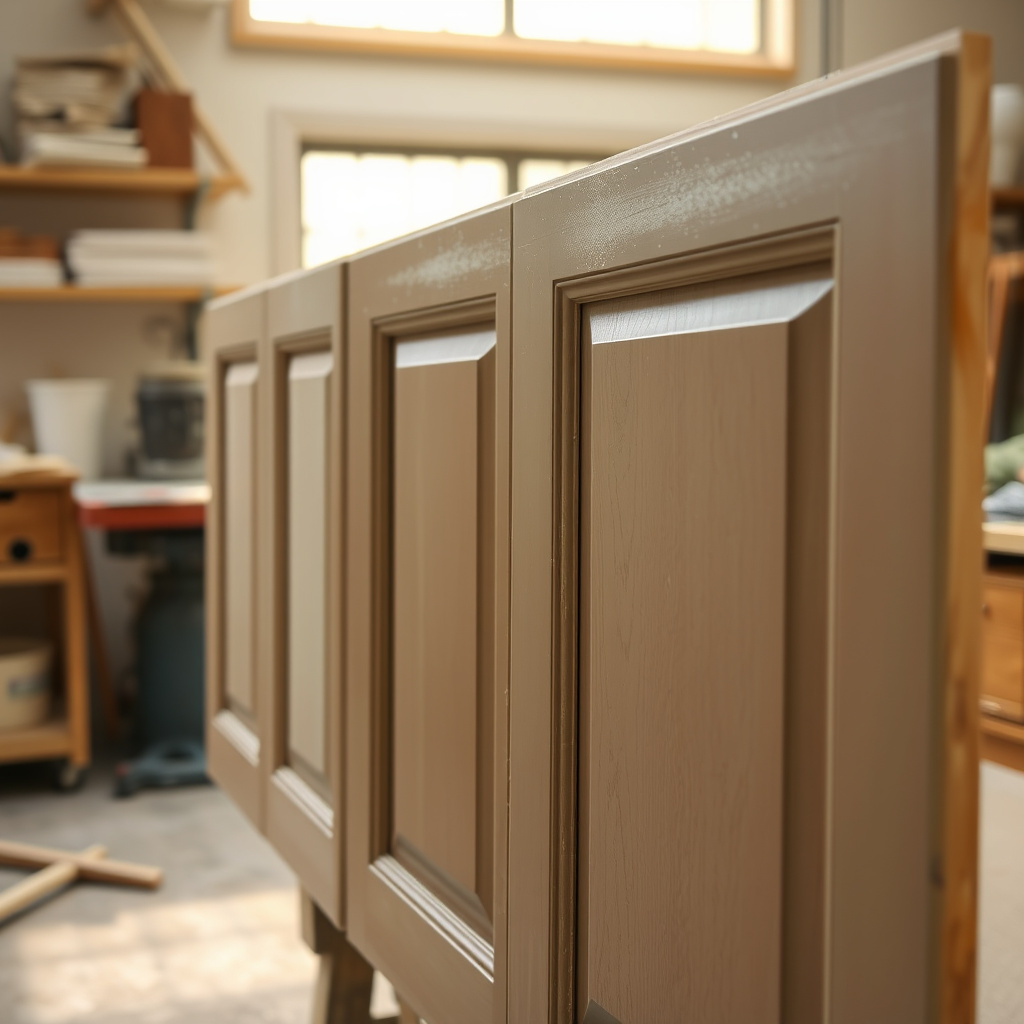
Cleaning and Removing Hardware
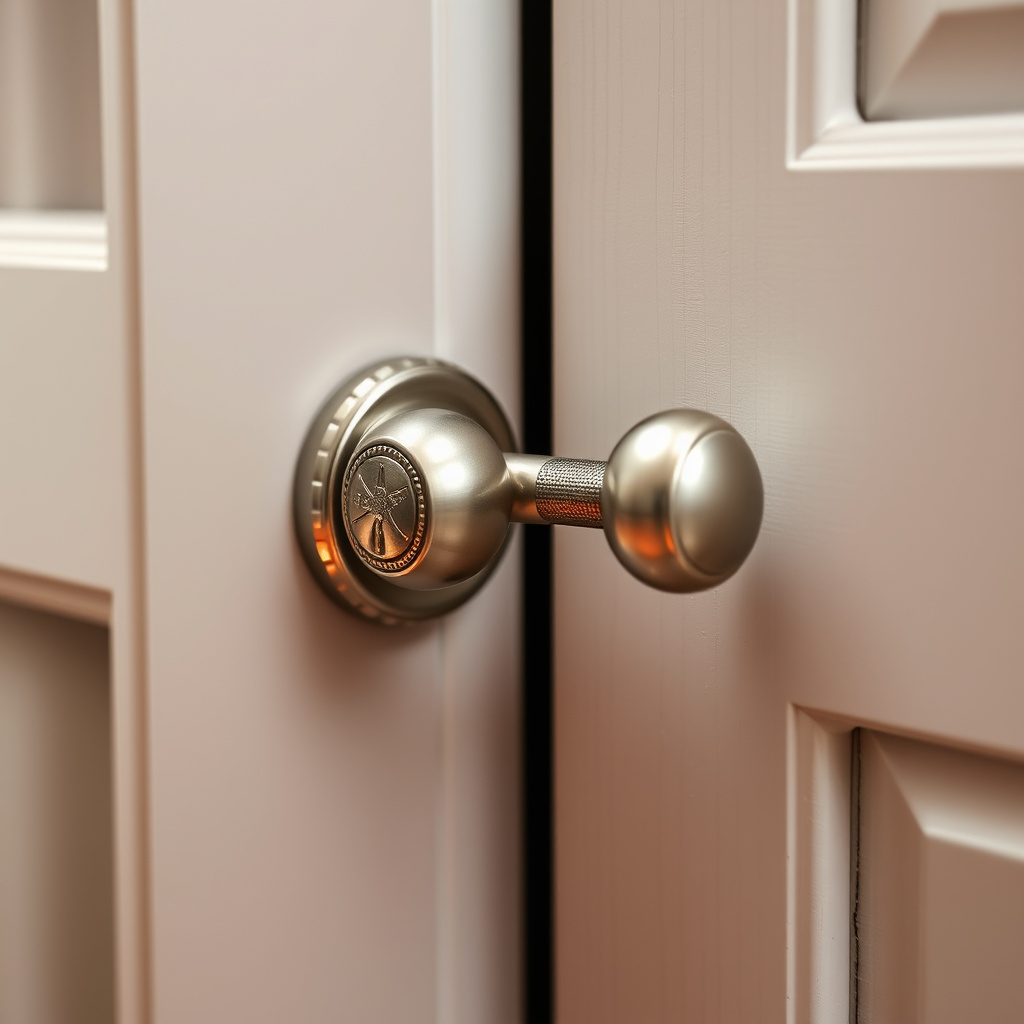
Before any refinishing, thoroughly clean cabinet surfaces to remove grease, dirt, and grime. Use a degreaser or a warm water and mild detergent solution with a sponge. After cleaning, remove all cabinet doors, drawers, and hardware like knobs and hinges to make the refinishing process easier and more precise.
Label each piece to simplify reassembly, and store screws and hardware in small containers or bags. This careful step helps avoid damaging cabinet frames during sanding and allows for a uniform finish on the doors and drawer fronts.
- Use a strong degreaser for greasy kitchens
- Take photos for hardware placement reference
- Work in a well-ventilated area during cleaning
Sanding Techniques for a Smooth Base
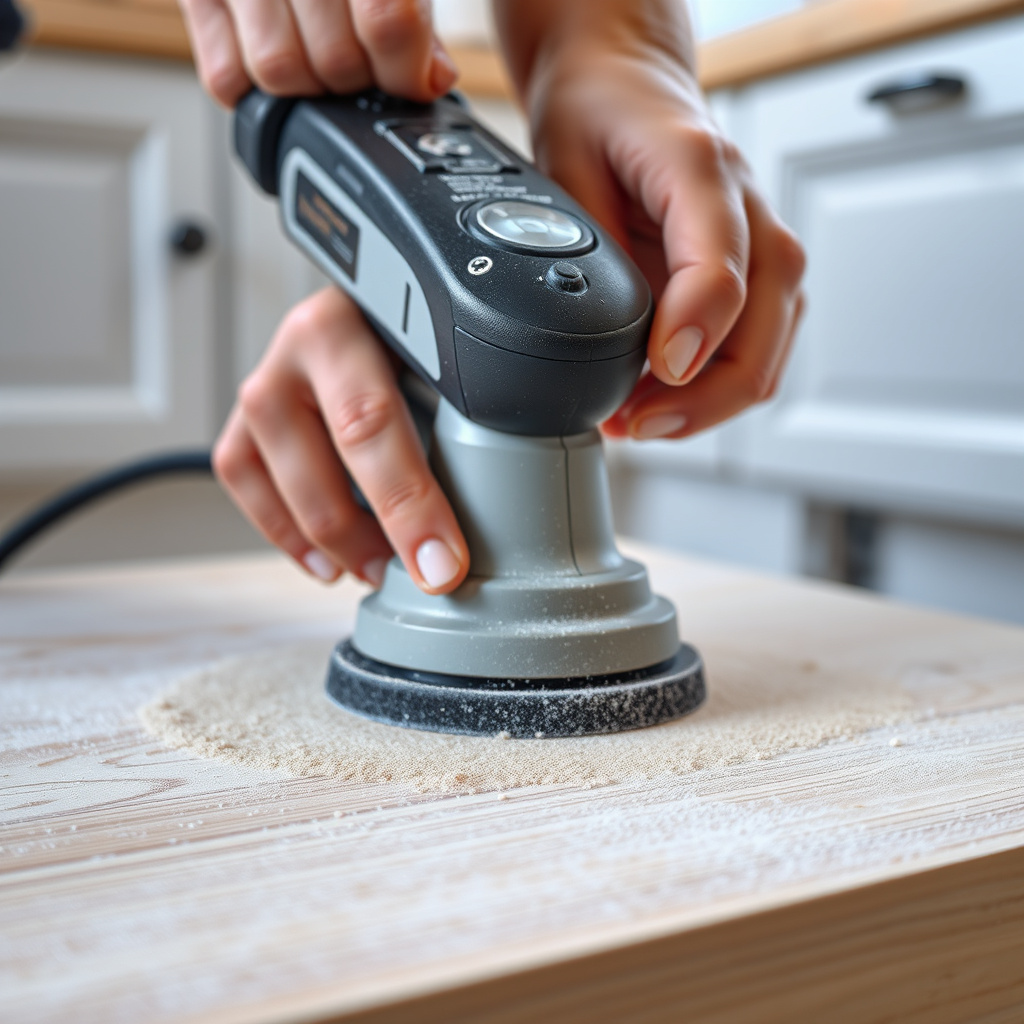
Sanding removes the existing finish and provides a rough surface that new paint or stain can adhere to better. Start sanding with medium-grit sandpaper (around 120-150 grit) to strip old varnish or paint, then finish with fine-grit (220 grit) to smooth the wood without damaging it. Power sanders can speed this up but require careful handling around edges.
Wear protective gear like masks and goggles to protect from dust. Avoid over-sanding veneer or thin plywood, which could expose the substrate. Proper sanding ensures a long-lasting finish that looks sleek and professional.
- Sand with the grain to prevent scratches
- Vacuum dust between sanding steps
- Hand-sand corners and detailed areas
Selecting Finishing Products for Kitchen Cabinets
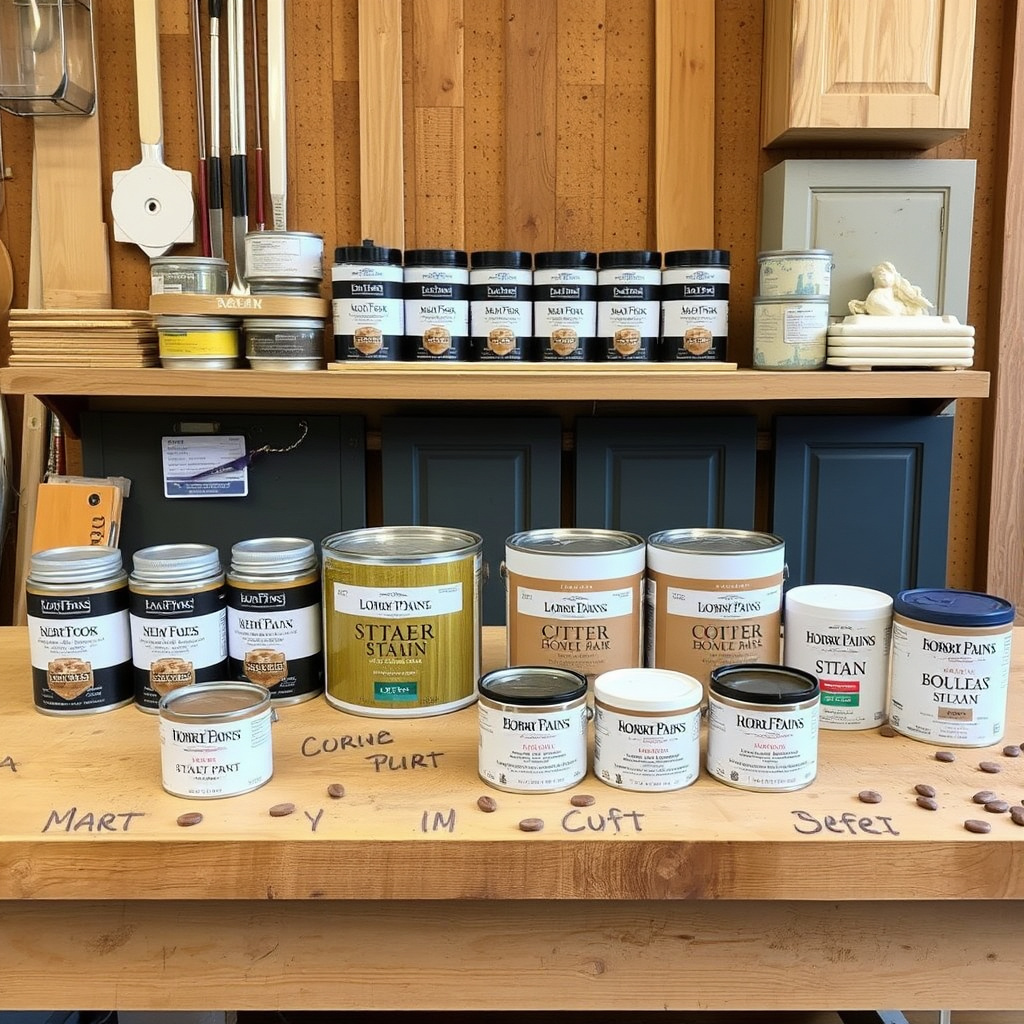
Choosing the Right Stain or Paint
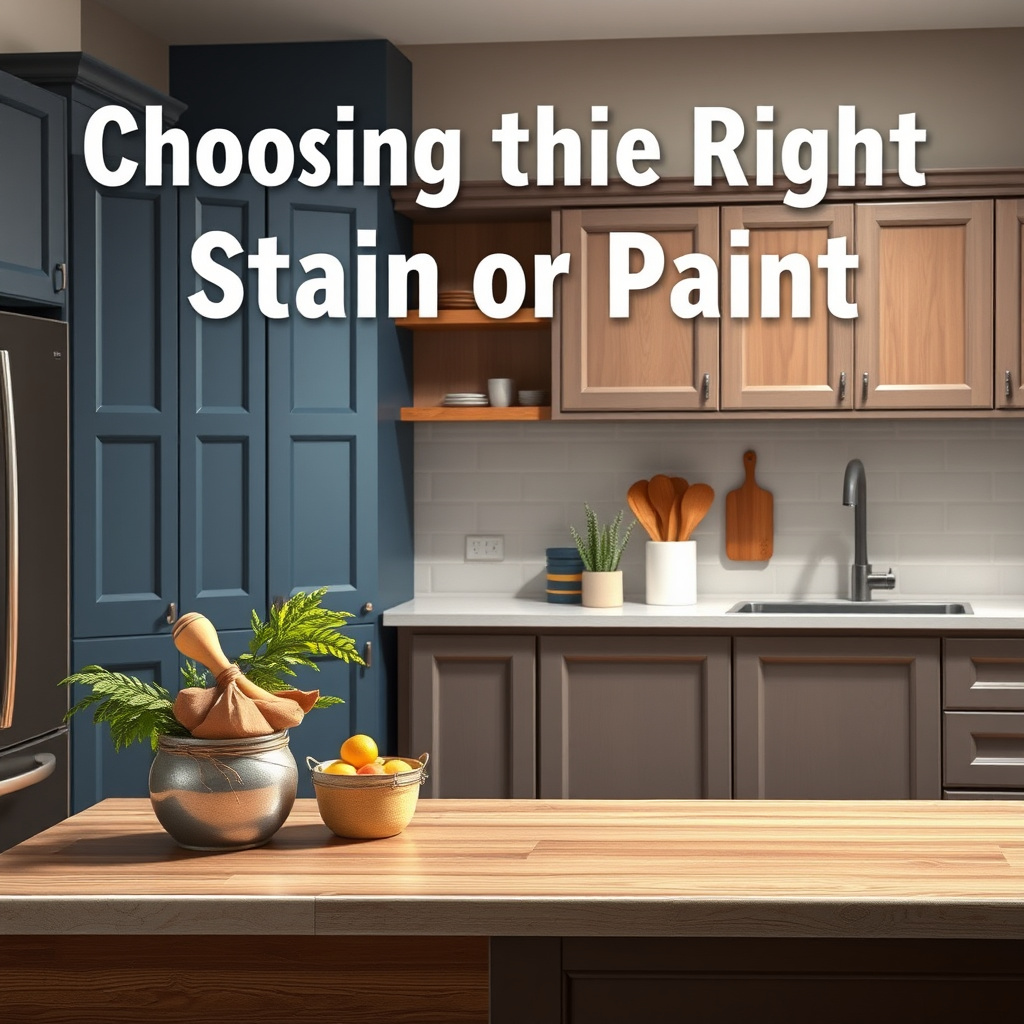
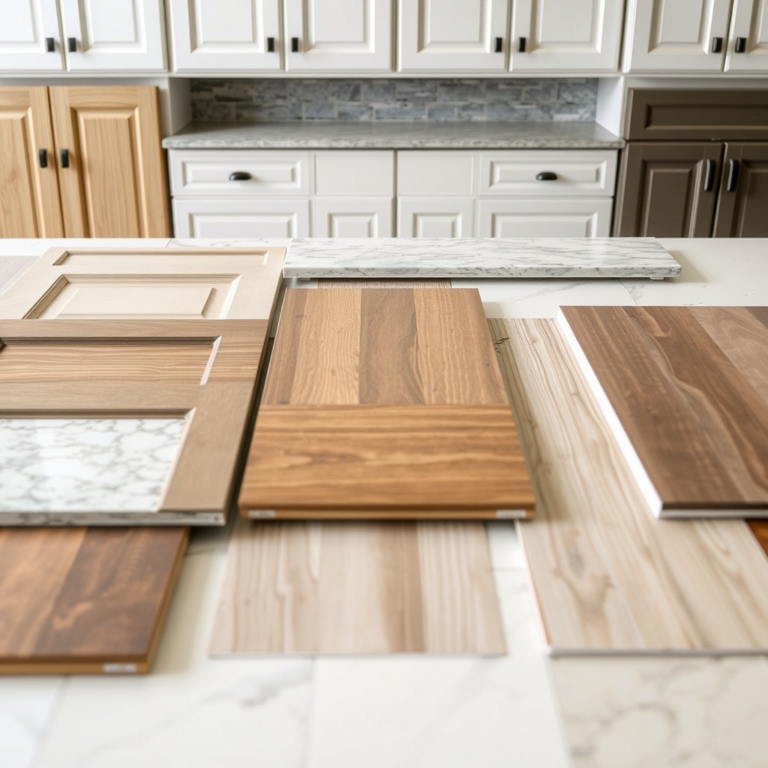
When refinishing kitchen cabinets, deciding between staining or painting depends on the wood type and desired style. Wood stain highlights natural grain and is ideal for solid woods, providing a warm or rich tone. Paint offers a uniform look and suits any wood but hides grain details. High-quality cabinet paints resist moisture and wear better than standard house paints.
Consider factors such as kitchen lighting and coordinating countertops or floors. For stains, select colors that accentuate your wood species, while for paint, choose durable enamel or acrylic formulas made specifically for cabinetry.
- Stains: oil-based or water-based options
- Paints: enamel, acrylic, or alkyd formulas
- Test samples on leftover wood for color preview
Sealants and Protective Topcoats
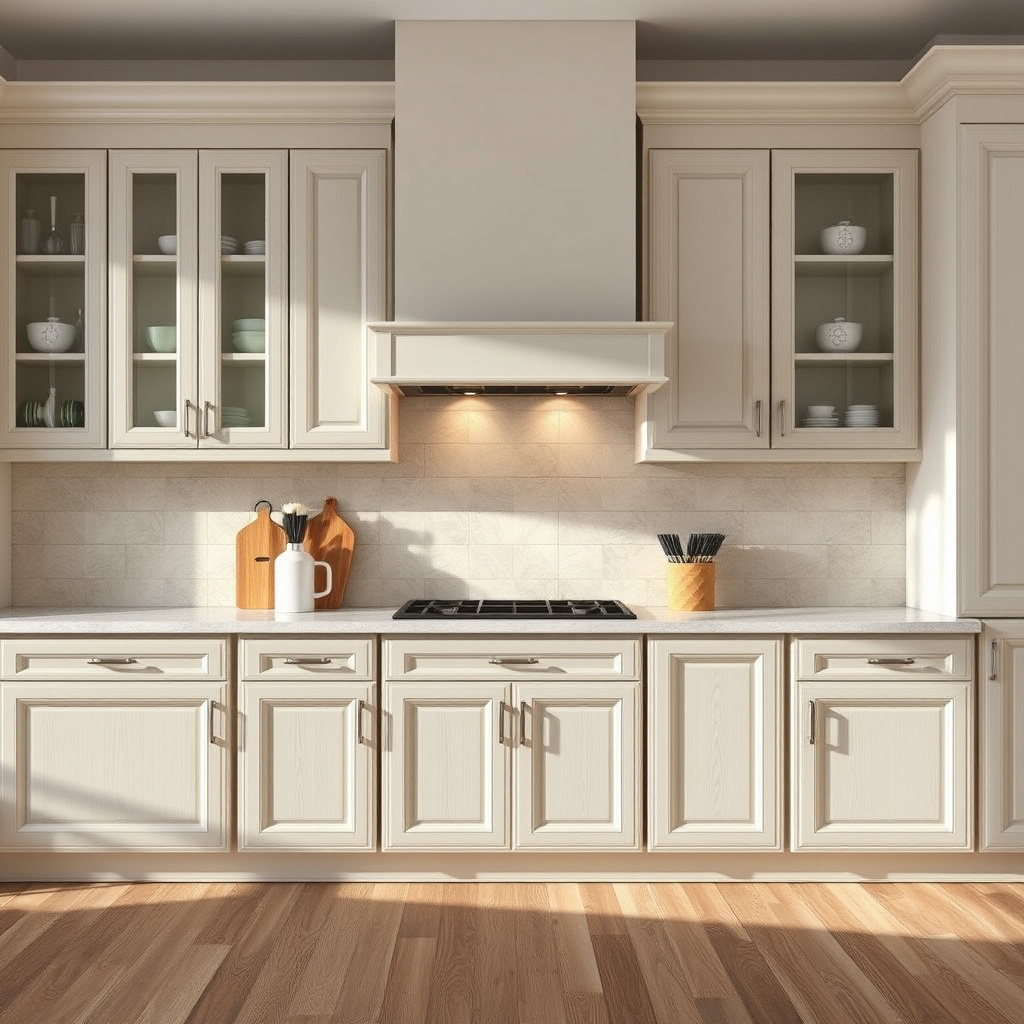
After staining or painting, applying a protective topcoat prolongs the finish’s life. Polyurethane coatings for stains add durability and moisture resistance; they come in gloss, satin, or matte finishes. For painted cabinets, acrylic or water-based polyurethanes prevent yellowing and cracking. Some prefer conversion varnishes or lacquer for smoother, factory-like finishes but these require more ventilation and expertise.
Proper curing time between coats is crucial to avoid sticky or uneven surfaces. Typically, two to three thin coats provide the best protection, with light sanding between layers to promote adhesion.
- Choose water-based poly for low odor, quick drying
- Allow 24 hours curing after final coat
- Use fine sandpaper (320 grit) between coats
Painting Kitchen Cabinets: Techniques and Tips
Priming for a Flawless Finish
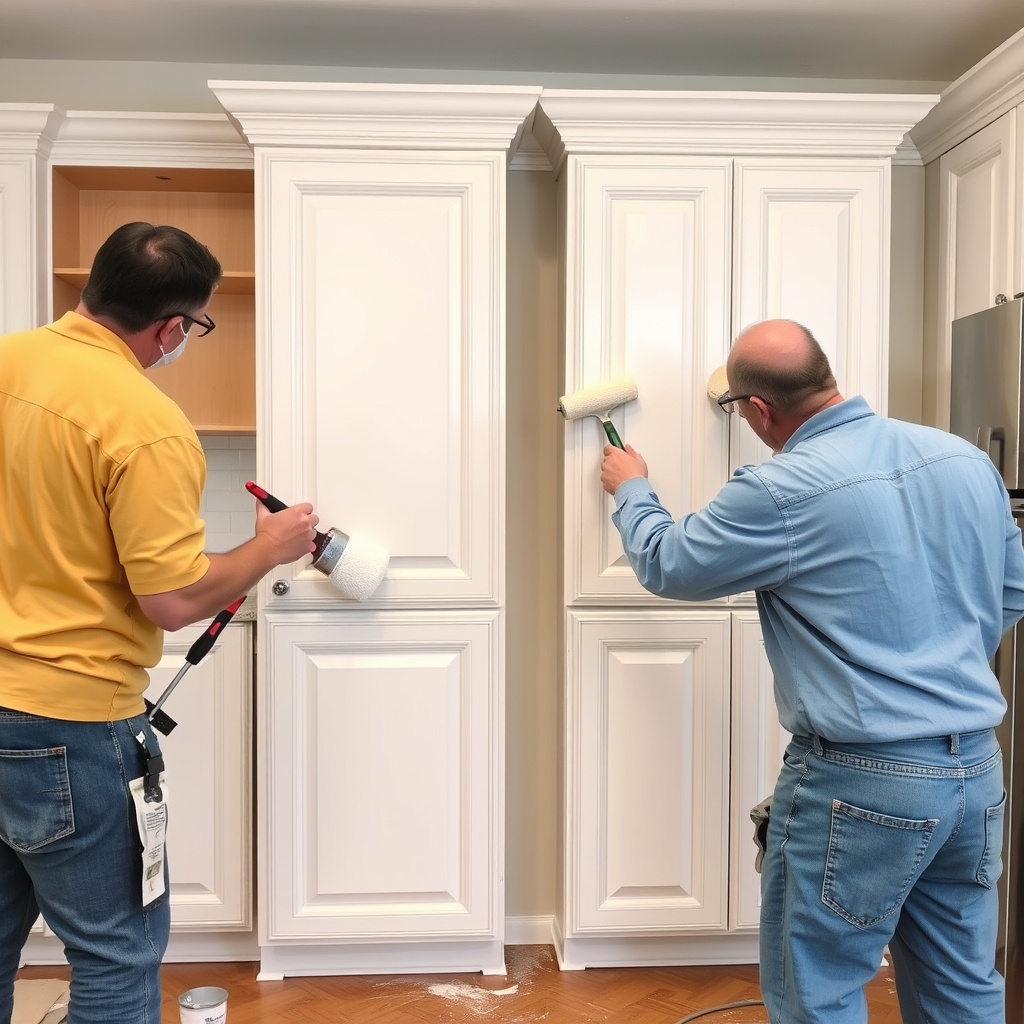
Applying primer to bare or sanded wood ensures better paint adhesion and uniform coverage. Use a bonding primer designed for woods or previously finished surfaces. It seals porous wood fibers, preventing blotchy or patchy finishes. Primer also blocks stains and tannins from bleeding through light-colored paints.
Spread a thin, even coat using a brush or foam roller, avoiding drips. Allow the primer to dry fully according to product instructions, usually about two hours, before sanding lightly to smooth any raised grain or rough spots.
- Choose stain-blocking primer for knotty woods
- Avoid heavy application that causes runs
- Sand lightly with 220-grit between primer and paint
For more on this, see our related guide: How Much to Paint Kitchen Cabinets: A Detailed Cost Guide.
Applying Paint Evenly for a Professional Look
Use high-quality brushes for edges and detailed areas, and foam rollers for flat panels, to avoid brush marks. Thin coats, applied patiently, prevent drips and uneven texture. After the first coat dries, sand lightly and clean dust before a second or third coat for solid coverage.
Work in a dust-free, well-ventilated space to minimize debris adhesion. Paint the cabinet frames and doors separately to control drying and prevent sticking during reinstallation.
- Apply 2-3 thin coats for durability
- Sand lightly between coats to improve adhesion
- Keep a wet edge to prevent lap marks
Staining Kitchen Cabinets for a Natural Finish
Applying Stain Smoothly
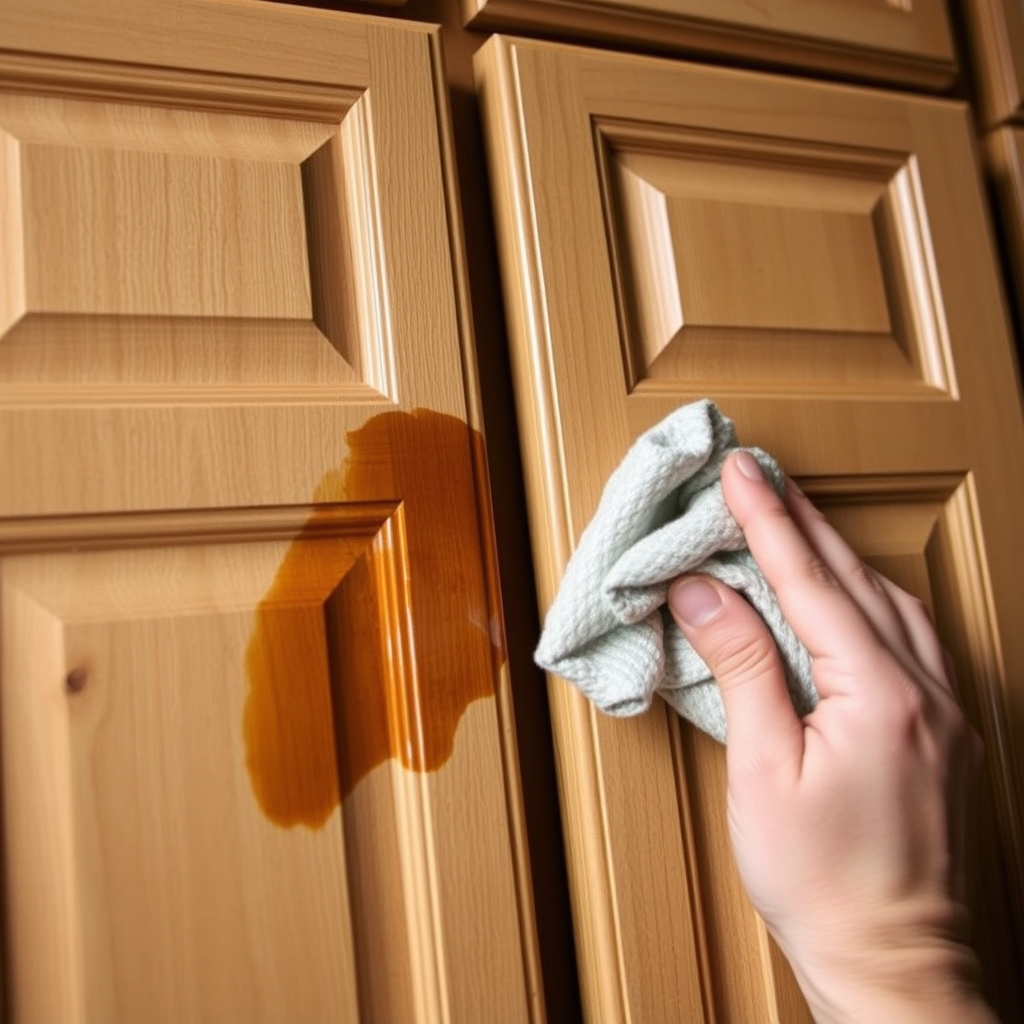
When staining kitchen cabinets, work with the wood grain to achieve uniform absorption and avoid blotches. Use a high-quality brush or a lint-free cloth to spread the stain and wipe off excess promptly for even color. Different woods absorb stain unevenly, so a test spot helps anticipate results.
Apply thin coats, allowing each to penetrate and dry for up to 24 hours before adding additional layers. Layering stain gradually creates a richer tone without oversaturating or creating sticky residues.
- Stir stain thoroughly before use
- Avoid overlapping strokes to reduce streaks
- Wear gloves to protect your hands
Enhancing Grain with Pre-Stain Conditioners
Softwoods like pine or maple often absorb stain irregularly, causing patchiness. Applying a pre-stain wood conditioner evens out absorption by sealing pores temporarily. Apply it with a brush or cloth and let dry according to instructions before staining.
Conditioners help maintain a consistent color and avoid blotchy finishes, especially for light or transparent stains where grain visibility is important.
- Use conditioner only on bare, sanded wood
- Apply evenly with no pooling
- Work quickly after conditioner application
Reassembling and Maintenance After Refinishing
Reattaching Hardware Carefully
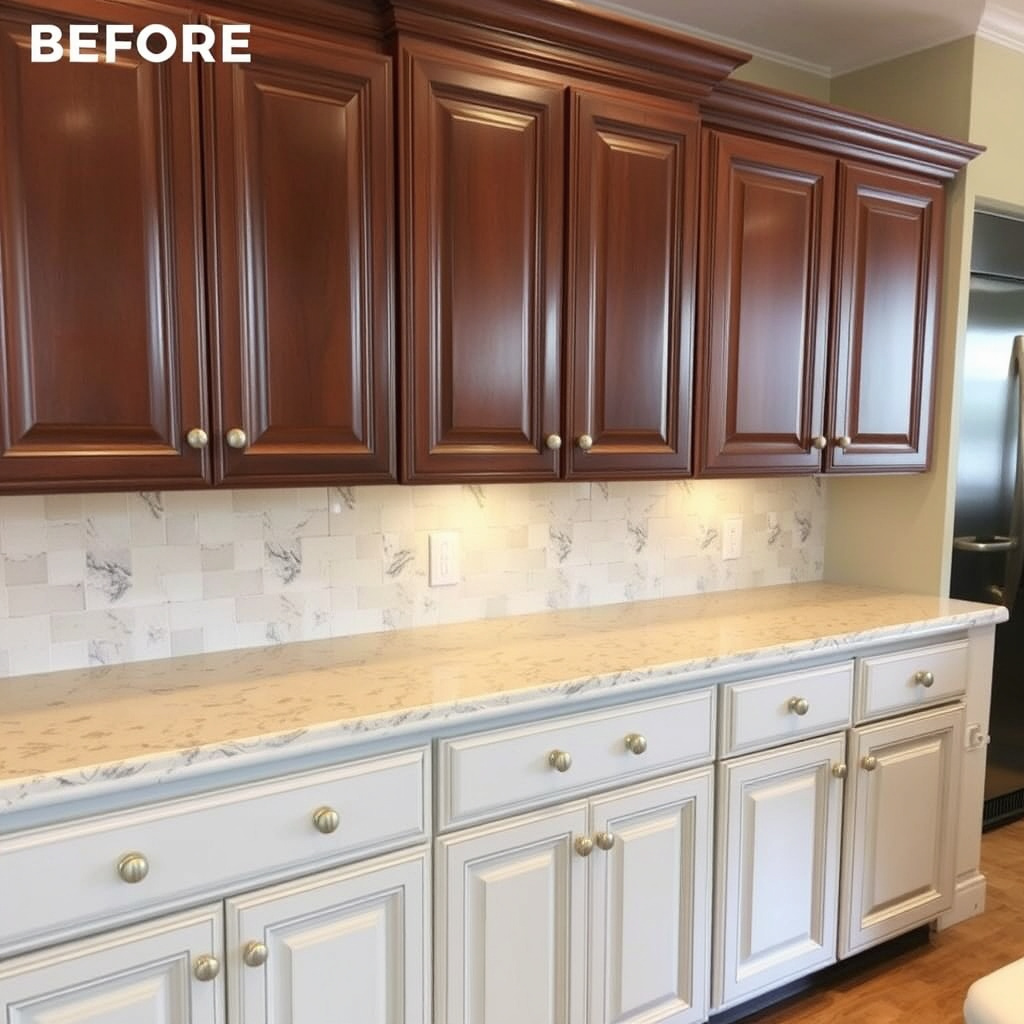
Once all coats are dry and cured, reattach cabinet doors, drawers, and hardware. Check hinges and screws for wear, replacing if necessary to ensure doors hang straight and close correctly. Avoid over-tightening to prevent wood damage around holes.
Clean the hardware before reinstalling or consider upgrading knobs and pulls to complement your newly refinished cabinets and elevate your kitchen’s style.
- Label each door and drawer during disassembly
- Use a screwdriver that fits screws perfectly
- Test doors open and close smoothly
For more on this, see our related guide: How to Build a Kitchen Island: A Step-by-Step Guide for Your Home.
Maintaining Your Newly Finished Cabinets
To prolong the life of your refinished kitchen cabinets, clean them gently with a soft cloth and mild cleaner. Avoid harsh chemicals or abrasive scrubbing that can wear down finishes. Address spills and stains promptly to prevent damage to paint or stain layers.
Regular dusting and occasional polishing with products suited to your finish type keep cabinets looking fresh. Periodic inspection can catch early signs of finish wear or damage for touch-up.
- Use non-abrasive cleaners recommended for wood
- Avoid excessive moisture or steam on surfaces
- Consider reapplying a fresh topcoat every few years
Common Challenges When Refinishing Kitchen Cabinets
Dealing with Peeling or Flaking Finish
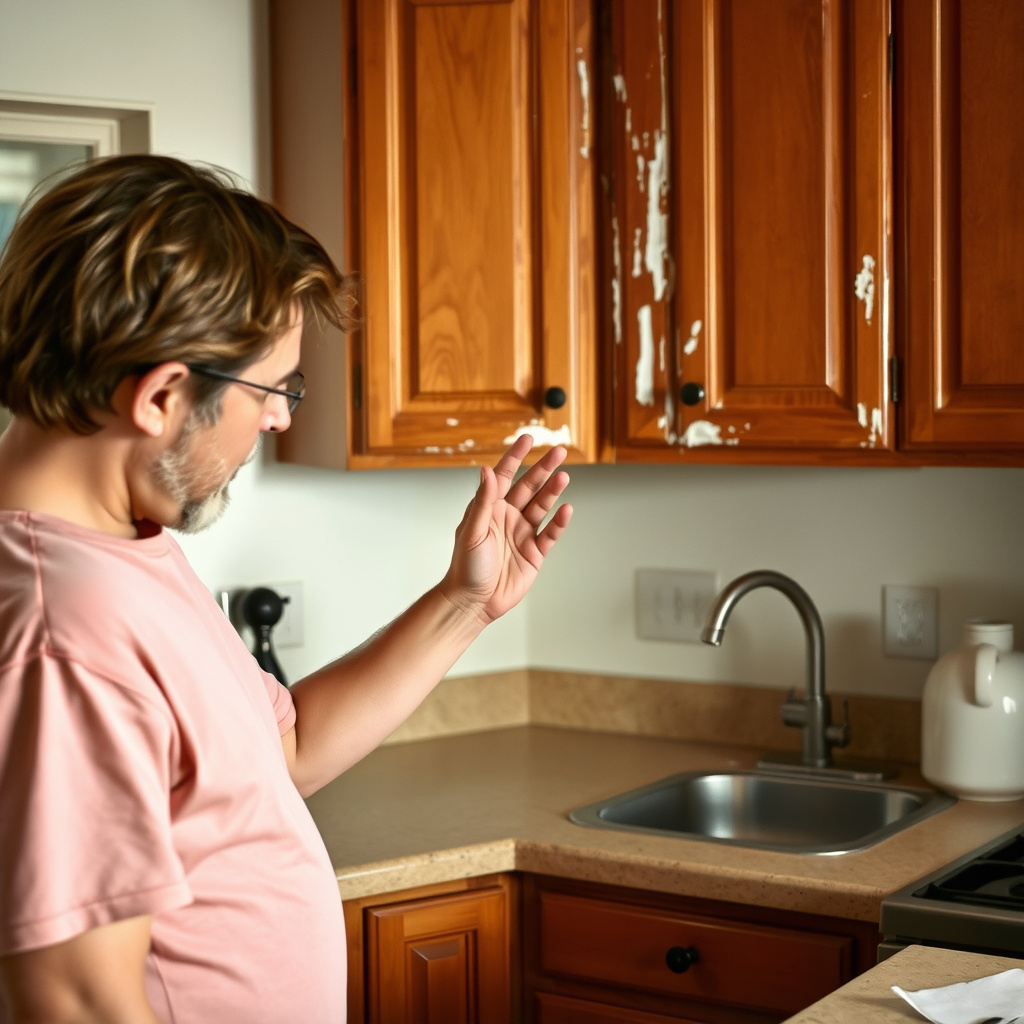
Peeling or flaking finishes often result from improper surface preparation or moisture exposure. Stripping old paint thoroughly and sanding down to smooth wood is essential before refinishing. Moisture sources such as leaks or high humidity should be resolved to prevent recurring issues.
Use quality primers and sealants designed for kitchen environments. If flaking persists, consider consulting a professional to identify underlying problems like wood rot or inappropriate past finishes.
- Remove all loose paint before repainting
- Address moisture problems proactively
- Test primer adhesion on a small area
For additional expert advice and detailed refinishing tips, visit this comprehensive guide on kitchen cabinet refinishing tips. kitchen cabinet refinishing tips.
Handling Difficult Wood Types
Certain woods like mahogany or oak can be challenging due to dense grain or natural oils that repel stain or paint. For these, solvent-based primers or specialized conditioning agents enhance adhesion. Heavy sanding and repeated testing may be needed to get an even finish.
Consult product labels for wood compatibility and sample test on scrap pieces. This careful approach helps avoid wasted time and results that require redoing.
- Use wood conditioner or sealers as directed
- Sand thoroughly with increasingly fine grits
- Be patient with multiple coats and dry times
Kitchen Cabinet Refinishing Methods Comparison
Here’s a side-by-side look at common refinishing methods, highlighting pros, cons, durability, and cost to help decide what works best for your cabinets.
| Refinishing Method | Durability | Cost Range | Finish Appearance | Ease of Application |
|---|---|---|---|---|
| Painting | High | $150-$400 | Solid color, hides grain | Moderate |
| Staining | Moderate to High | $100-$350 | Natural wood look, shows grain | Moderate |
| Refinishing with Veneer Wrap | Moderate | $200-$500 | Smooth, contemporary look | Difficult |
| Spray Lacquer Finish | High | $300-$600 | Smooth, factory-like shine | Technical |
| Oil-Based Polyurethane Over Stain | Very High | $120-$300 | Warm, glossy finish | Easy to Moderate |
Frequently Asked Questions
How long does it take to refinish kitchen cabinets?
Refinishing kitchen cabinets typically takes several days to a week, accounting for cleaning, sanding, drying, applying multiple coats, and curing time between steps.
Can I refinish kitchen cabinets without removing the doors?
While possible, removing doors and hardware is recommended for even sanding and painting or staining to avoid missed spots and achieve the best finish.
What type of paint is best for kitchen cabinets?
Cabinet-specific enamel or acrylic paints with a semi-gloss or satin finish are preferred due to their durability and moisture resistance.
Do I need to use a primer before painting cabinets?
Using a bonding primer improves paint adhesion, seals wood tannins, and prevents blotchiness, making it an important step for a smooth, lasting finish.
How can I prevent brush marks when painting cabinets?
Use high-quality brushes and foam rollers, apply thin coats, and keep a wet edge while working to reduce brush marks and create an even surface.
Key Takeaways
- Proper cleaning and sanding are essential for a smooth base.
- Choosing paint or stain affects both look and maintenance.
- Applying primer and protective topcoats improves durability.
- Careful reassembly and ongoing maintenance extend cabinet life.
Conclusion
Refinishing kitchen cabinets is a practical way to breathe new life into your kitchen without the high cost of replacement. The key to success lies in thorough preparation, selecting appropriate products like primers, paints, or stains, and applying them carefully with patience. Attention to detail ensures your refinished cabinets deliver a polished, professional appearance that can last for years.
Depending on your style goals and wood type, painting offers a wide palette of colors and a smooth finish ideal for modern kitchens, while staining preserves natural wood beauty, perfect for traditional or rustic spaces. Methods such as spray lacquers or oil-based polyurethanes provide extra durability for high-moisture environments. Evaluate your needs, available time, and budget to choose the best approach.
Before you start, gather materials, label cabinet parts, and set up a well-ventilated workspace. Remember that refinishing is a step-by-step process, rewarding those who take their time. Once complete, enjoy a refreshed kitchen look that reflects your personal style and adds value to your home.