How to Seal Kitchen Sink to Countertop Effectively
Sealing a kitchen sink to the countertop is a straightforward task that helps prevent water damage and mold growth by creating a reliable moisture barrier. The most common method involves applying a high-quality silicone sealant around the sink rim where it meets the countertop to fill gaps and keep water from seeping underneath.
This process matters because an improperly sealed sink can lead to persistent leaks, water stains, and damage to cabinetry below. Ensuring a tight seal protects your kitchen from costly repairs and preserves the integrity of both the sink and countertop materials.
In this article, we will cover the essential materials you need, step-by-step instructions for sealing various sink types, tips for choosing the best sealant for kitchen sink applications, and methods for maintaining the seal over time. You'll finish with a solid understanding of how to keep your kitchen dry and looking great.
Materials Needed for Sealing Your Kitchen Sink
Types of Sealants Suitable for Kitchen Sinks
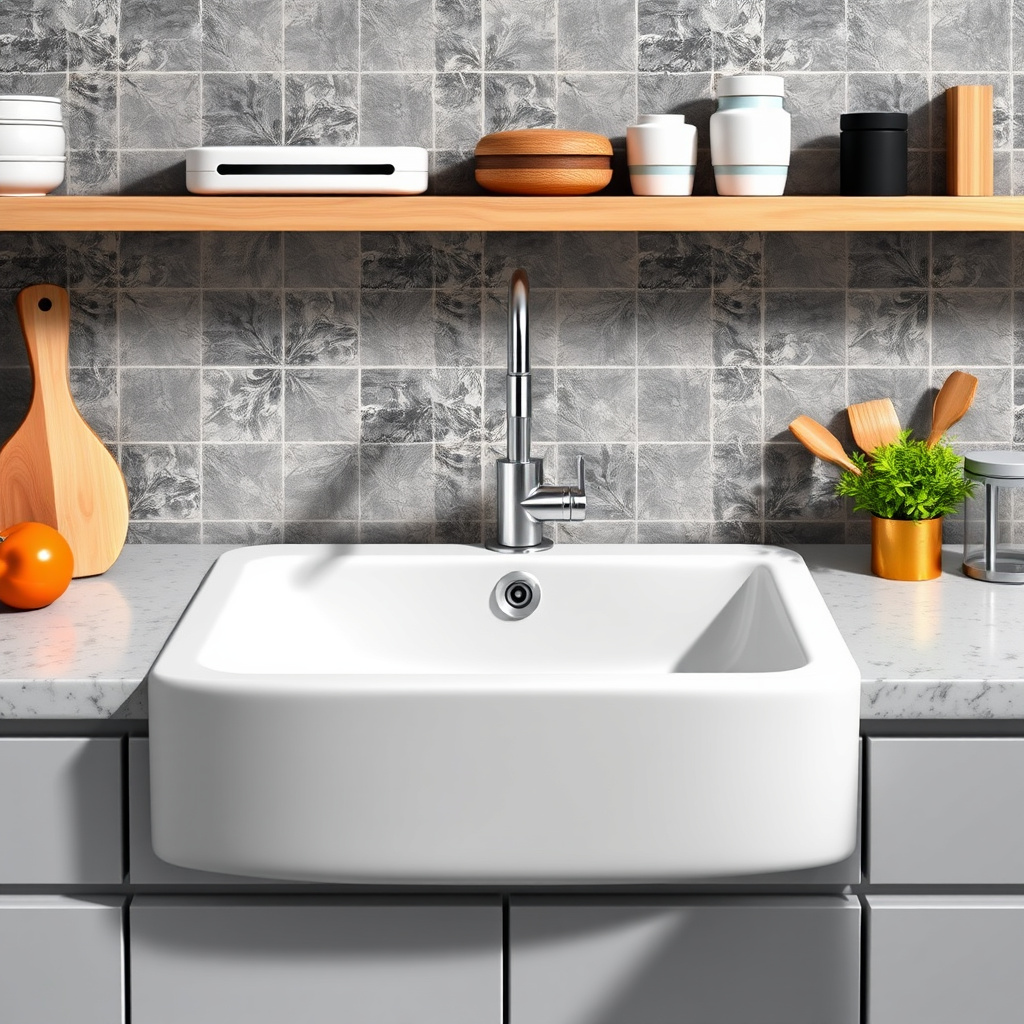
Silicone sealant is the preferred choice for sealing kitchen sinks due to its waterproof and flexible properties that withstand temperature changes and movement. Look for 100% silicone sealants labeled as mold-resistant and safe for kitchen use. Alternative options like latex caulk are less durable and not recommended for areas exposed to constant moisture.
The best sealant for kitchen sink applications is clear or matching the countertop color for an invisible finish. Make sure the sealant is mildew-resistant and adheres well to both metal and composite sink materials as well as common countertop surfaces such as granite, laminate, and quartz.
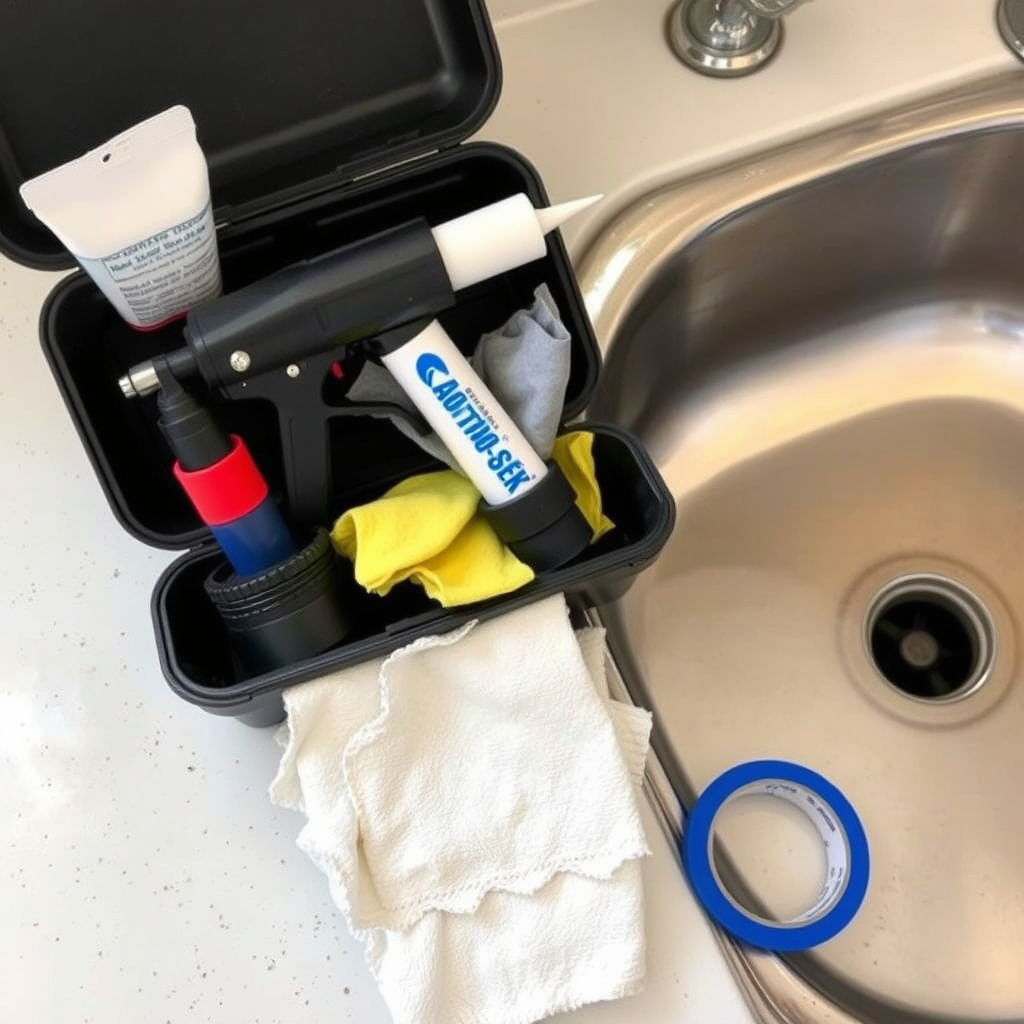
- 100% silicone sealant, mold-resistant
- Clear or color-matched options
- Caulking gun for application
- Cleaning sponges and rubbing alcohol
Additional Tools and Preparation Supplies
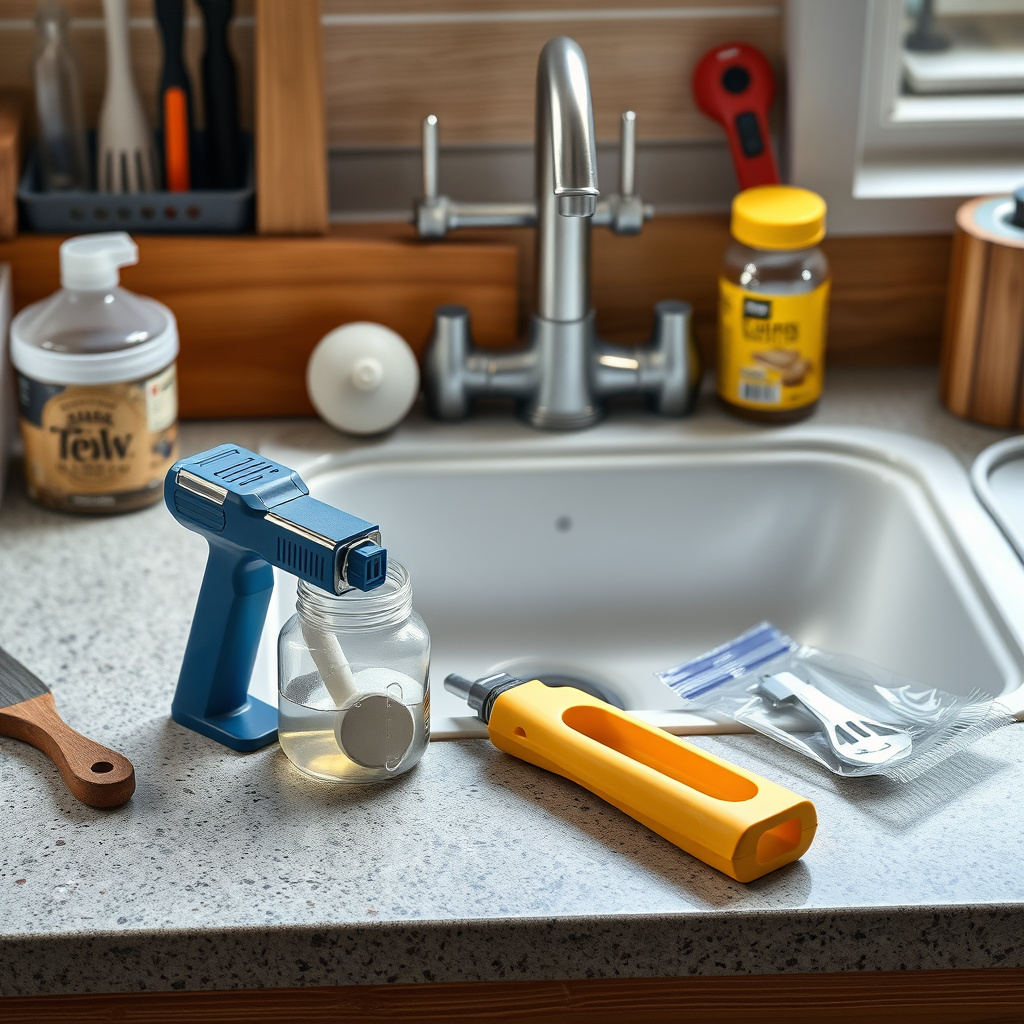
Before sealing, you need a clean, dry workspace to ensure proper adhesion. Gather painter's tape to mask edges and create a neat seal line, a putty knife or scraper to remove old sealant, and lint-free cloths for surface cleaning. Rubbing alcohol or a mild cleaner helps eliminate grease and dirt from the sink rim and countertop.
Having these tools ready and preparing the surfaces thoroughly prevents common mistakes like bubbles, gaps, or peeling later, contributing to the seal's longevity and your kitchen's appearance.
- Painter's tape
- Putty knife or sealant remover
- Lint-free cloths
- Rubbing alcohol or surface cleaner
Step-by-Step Process to Seal Kitchen Sink to Countertop
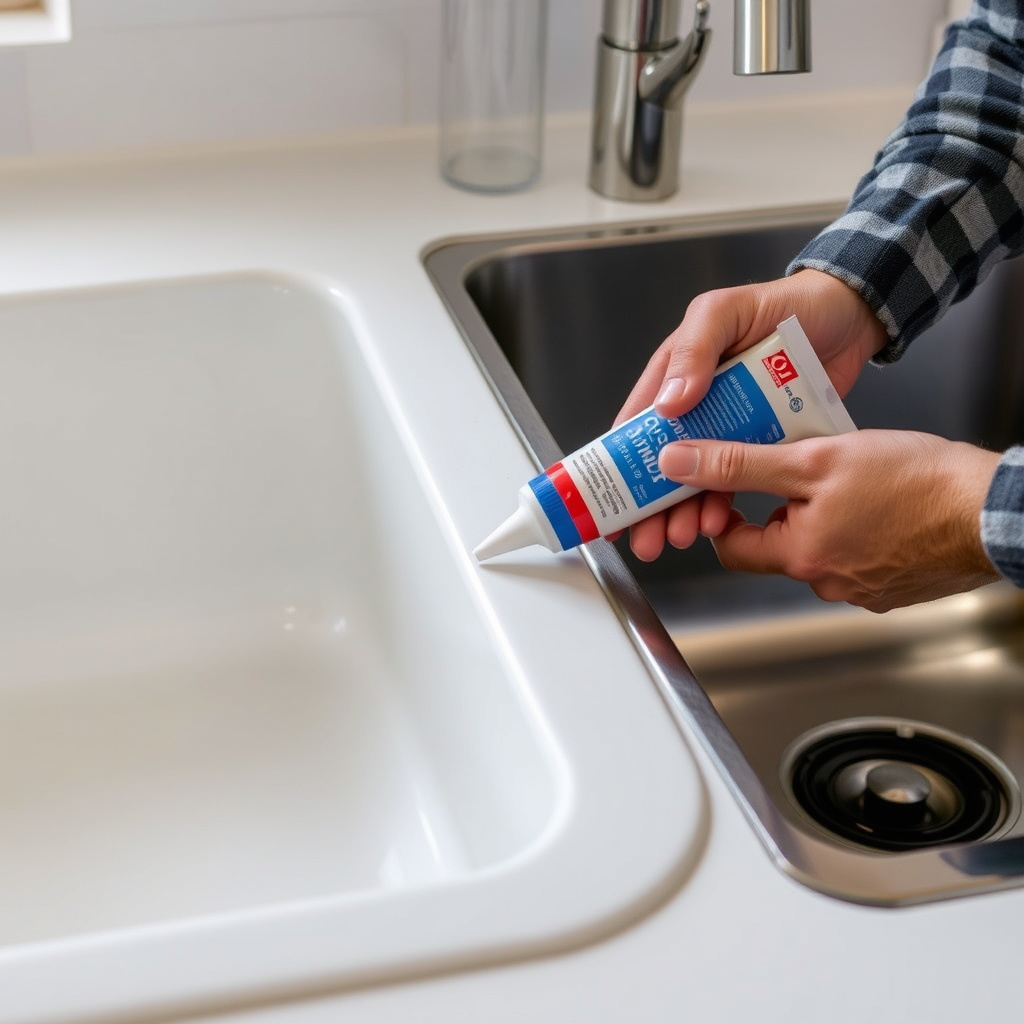
Cleaning and Removing Old Sealant
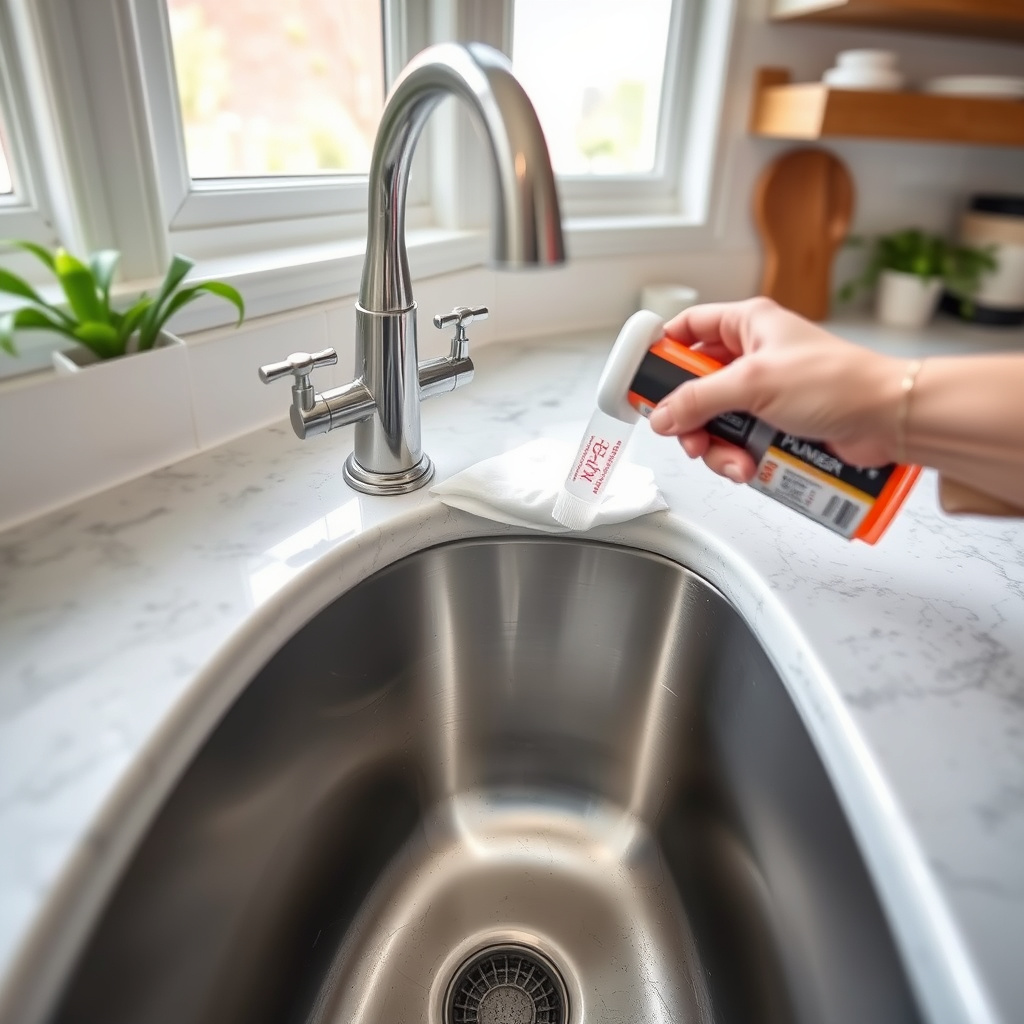
Start by wiping down the sink edge and countertop joint with a cleaner and allow it to dry completely. Use a putty knife or sealant remover to scrape away any leftover old caulk or debris. The surfaces must be entirely clean and dry for the new sealant to bond properly.
Inspect the gap between sink and countertop for any damage or irregularities that may require repair before sealing. Removing all residue eliminates potential seal failures and ensures a smooth line.
Applying the Silicone Sealant
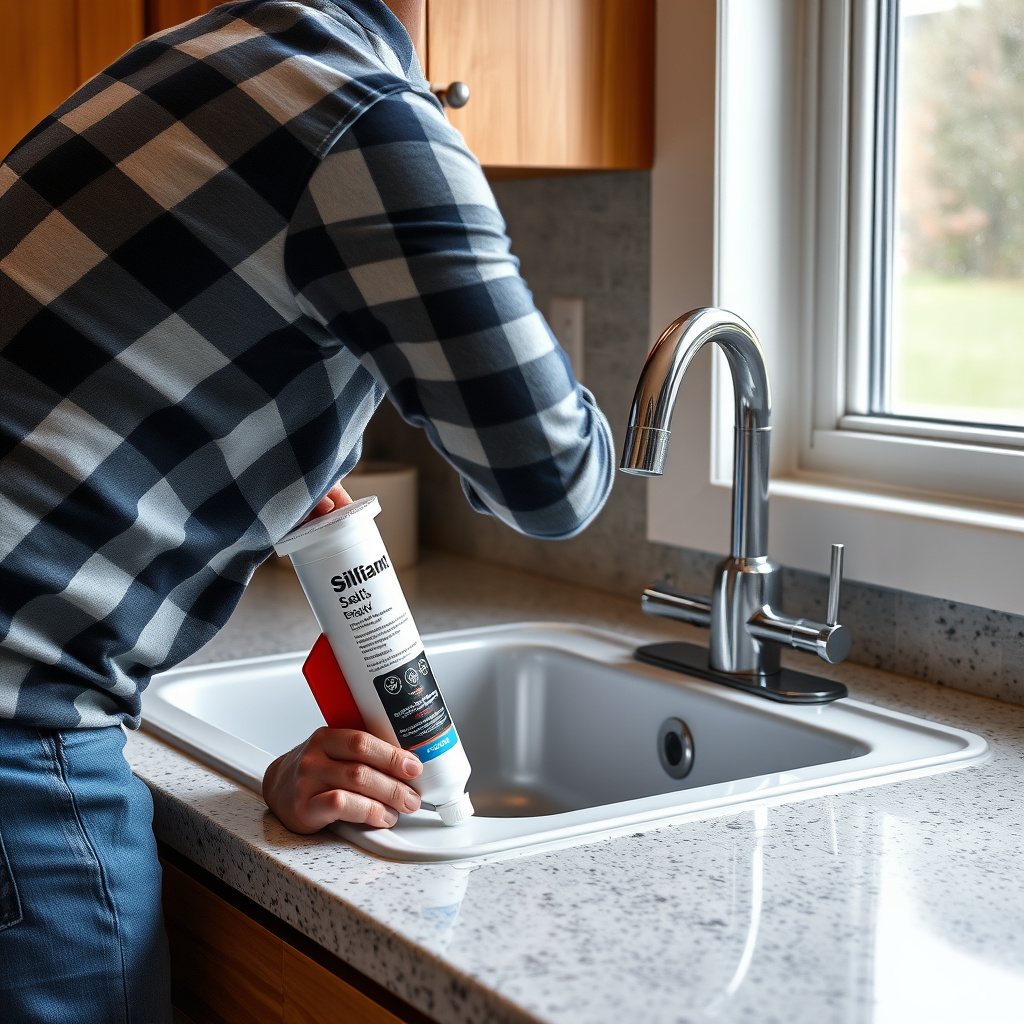
Apply painter's tape along both sides of the sink edge to keep the sealant line straight and prevent mess. Load the silicone sealant tube into a caulking gun, cut the nozzle at a 45-degree angle sized to the joint width, and slowly run a steady bead around the entire sink edge.
Immediately smooth the sealant bead using a wet finger or a silicon smoothing tool, removing excess and creating a clean finish. Remove tape carefully before the sealant skins over to avoid pulling away cured sealant.
- Cut sealant nozzle to appropriate width
- Apply steady bead using caulking gun
- Smooth bead promptly for neat finish
- Remove painter's tape before sealant sets
Sealing Different Sink Types and Countertops
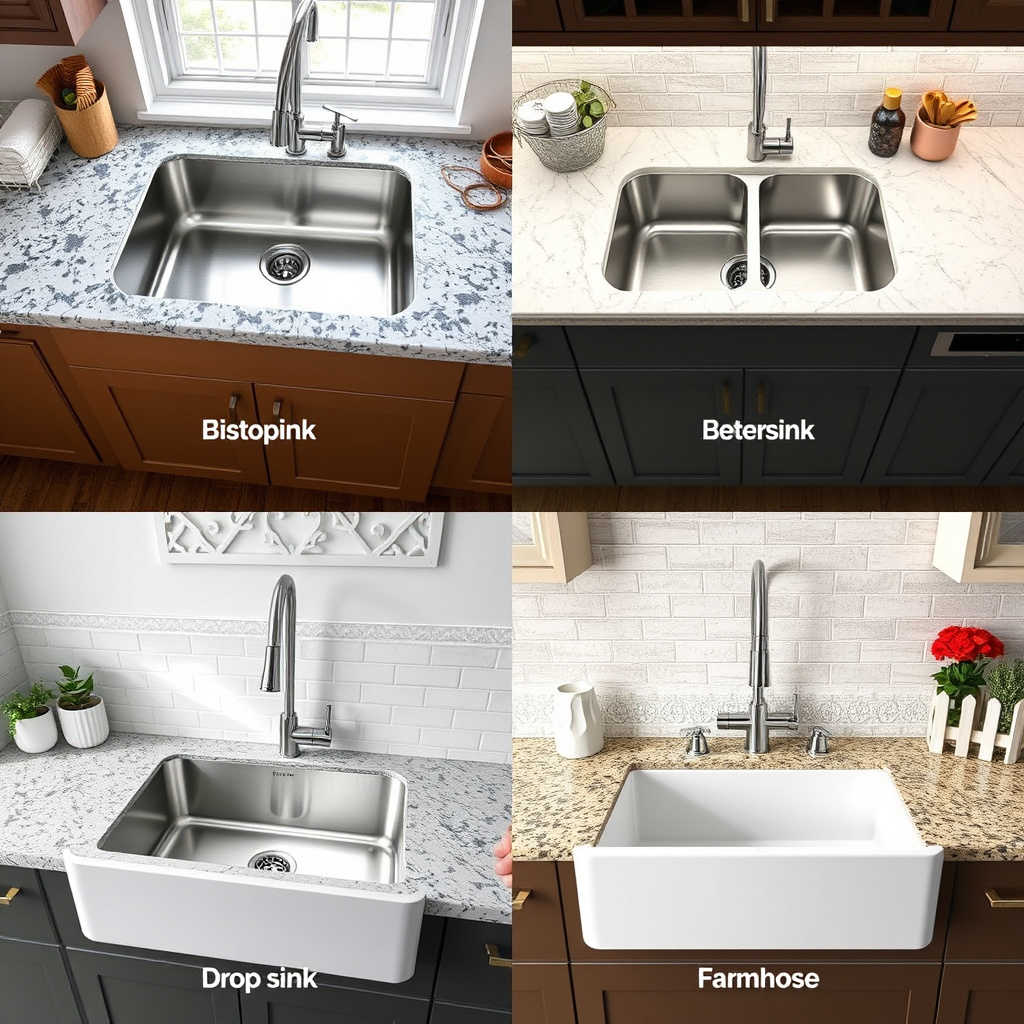
Drop-In vs. Undermount Sink Sealing Techniques
Drop-in sinks rest on the countertop with a visible rim, making sealing a straightforward perimeter seal with silicone sufficient. Focus on sealing the lip where the sink flange contacts the countertop to prevent water seepage.
Undermount sinks attach below the countertop, requiring sealing on the underside and sometimes using additional clamps or adhesives. Silicone sealant applied at the edge inside the cabinet area blocks moisture under the counter and protects cabinetry.
For more on this, see our related guide: How to Get Rid of Kitchen Gnats: Effective and Safe Strategies.
Sealing on Granite, Laminate, and Quartz Countertops
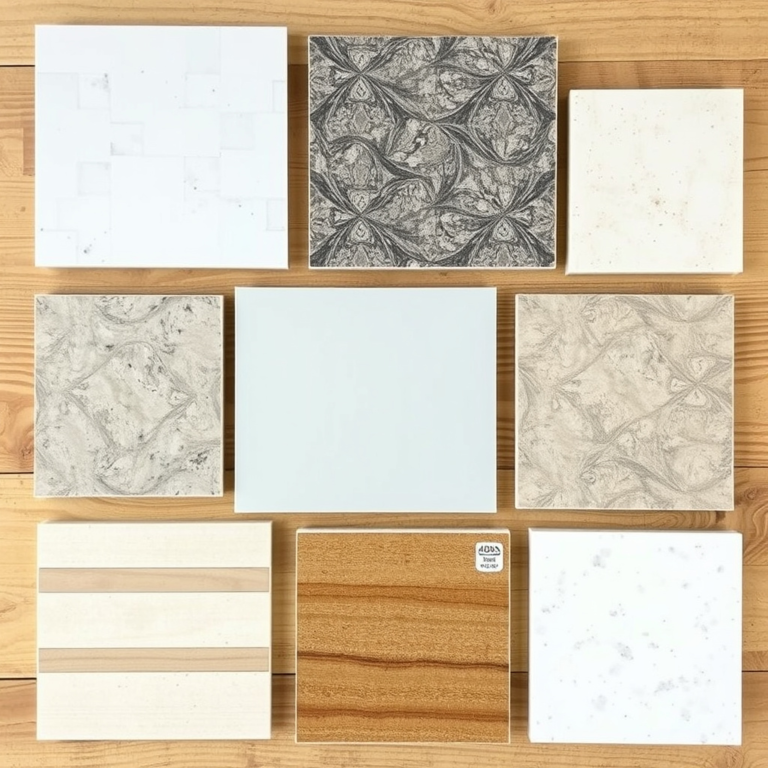
Granite and quartz countertops are non-porous and sturdy and work well with silicone sealants. Clean with alcohol and dry fully before application to avoid sealant lifting on contaminants. Avoid acidic cleaners prior to sealing.
Laminate countertops are more susceptible to water damage if unsealed properly. Use a sealant specifically suited for laminate surfaces for better adhesion and flexibility as laminate can expand with moisture and heat.
- Avoid acidic cleaners on natural stone
- Choose sealants recommended for laminate
- Allow extra curing time on porous surfaces
Maintenance and Troubleshooting of Sink Seals
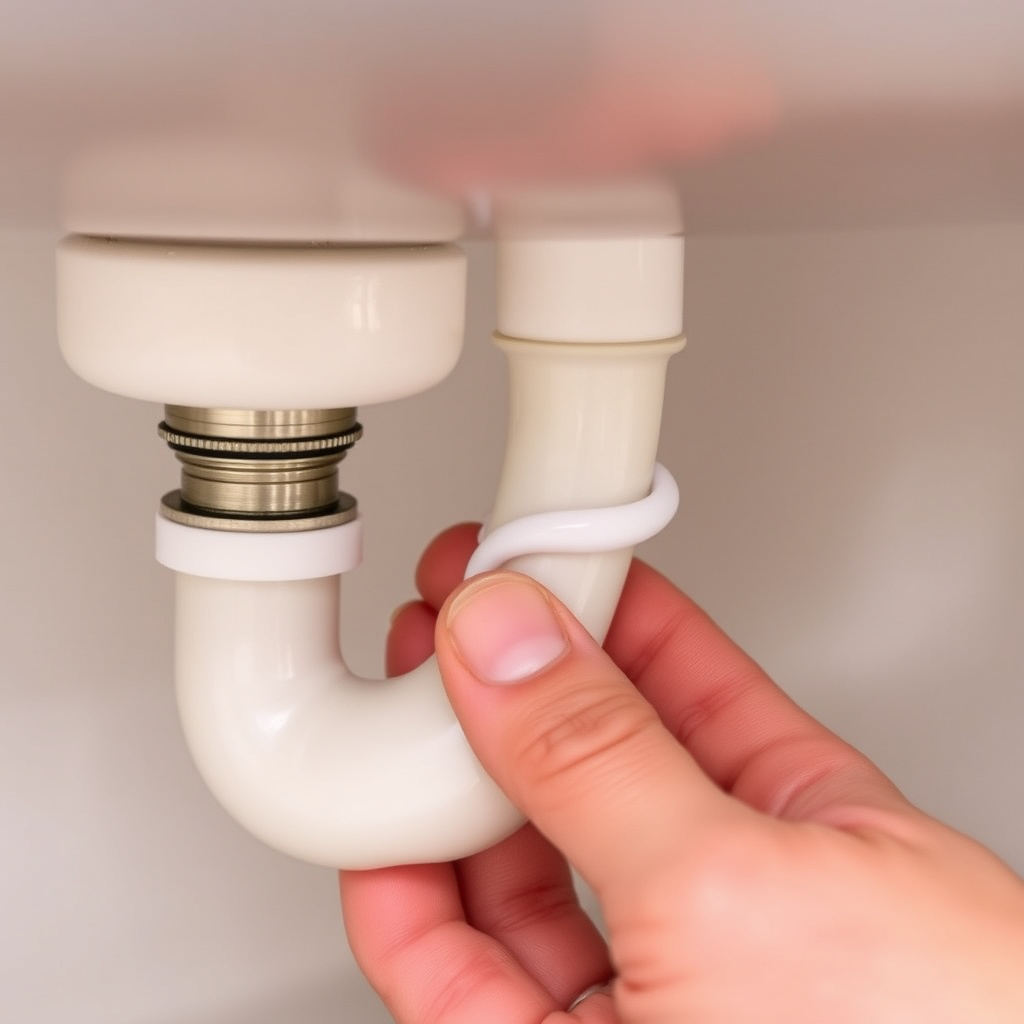
When to Replace or Repair the Sealant
Over time, sealant can crack, peel, or discolor due to cleaning chemicals, heat, or regular wear. Inspect the seal at least once a year for these signs. Replace the silicone seal if water seeps underneath or mold starts to appear despite cleaning.
Small cracks can sometimes be repaired by carefully removing the damaged section and reapplying fresh silicone. Persistent or large failures require fully stripping out old sealant and resealing to maintain a watertight barrier.
Cleaning and Preserving the Silicone Seal
Prevent mold and buildup by wiping the seal with a damp sponge and mild detergent regularly. Avoid abrasive cleaners or scrubbing pads which can damage silicone. If mold appears, treat with a vinegar solution or a commercial mold cleaner safe for silicone.
Proper maintenance prolongs the life of the sealant and maintains kitchen hygiene by keeping the seal smooth and free from bacteria and grime.
- Use mild detergent and soft cloths
- Apply vinegar to mold spots
- Avoid abrasive tools on silicone
Choosing the Best Sealant for Kitchen Sink Applications
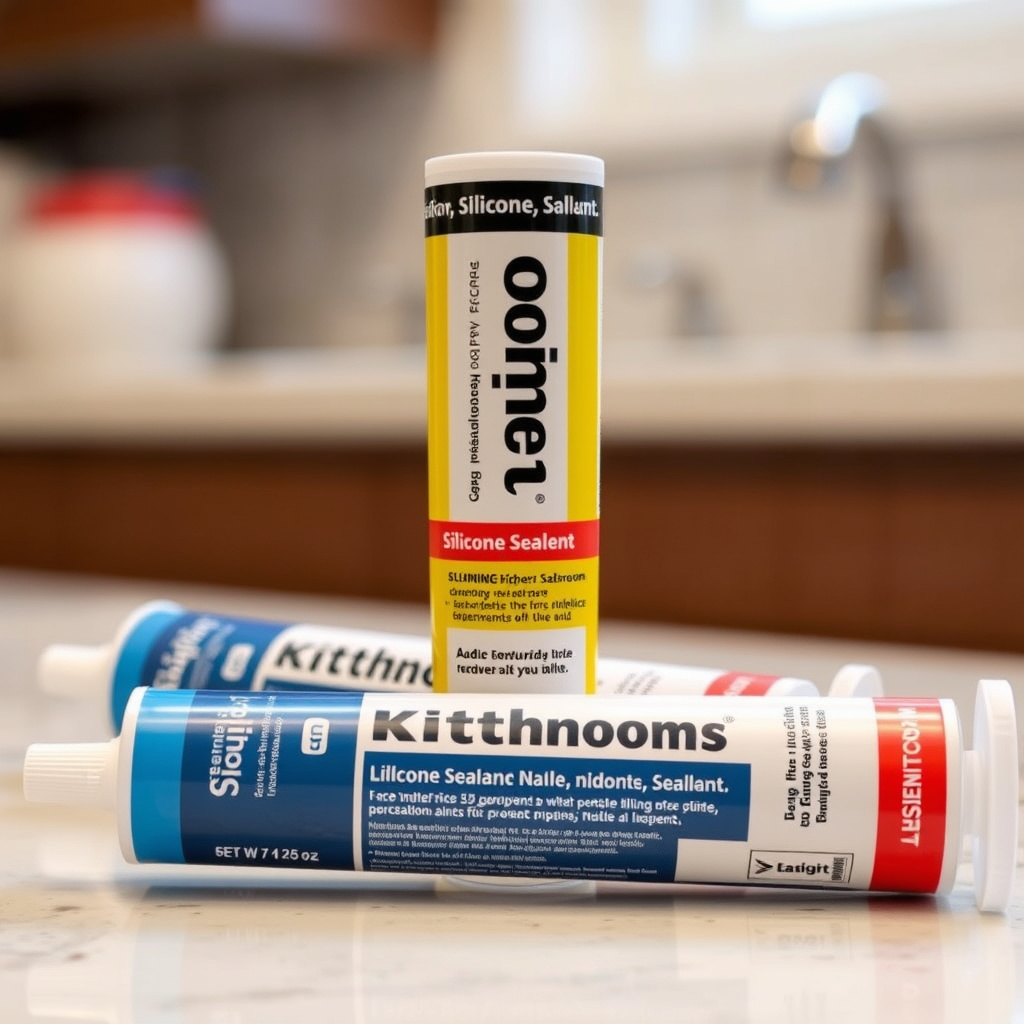
Factors Affecting Sealant Selection
When selecting the best sealant for kitchen sink use, consider waterproofing quality, mold resistance, flexibility to cope with temperature changes, and compatibility with sink and countertop materials. Sealants that cure clear or match colors maintain aesthetic appeal.
Also, check the sealant’s drying time and durability ratings. Fast curing sealants speed up the installation process but might sacrifice flexibility, so pick based on your project's urgency and expected wear.
For more on this, see our related guide: How to Plan a Kitchen Remodel: A Step-by-Step Guide for Your Dream Space.
Recommended Sealant Brands and Products
Popular sealant brands such as GE Silicone II, DAP 100% Silicone Kitchen & Bath, and Loctite Clear Silicone Waterproof Sealant are trusted for kitchen sink applications. These products offer excellent adhesion, remain flexible after curing, and resist mold effectively.
Always verify the product label to confirm suitability for kitchen sinks and verify application instructions for best results. Checking online reviews can also provide insight into user satisfaction and performance.
- GE Silicone II
- DAP 100% Silicone Kitchen & Bath
- Loctite Clear Silicone Waterproof
Common Mistakes to Avoid When Sealing a Kitchen Sink
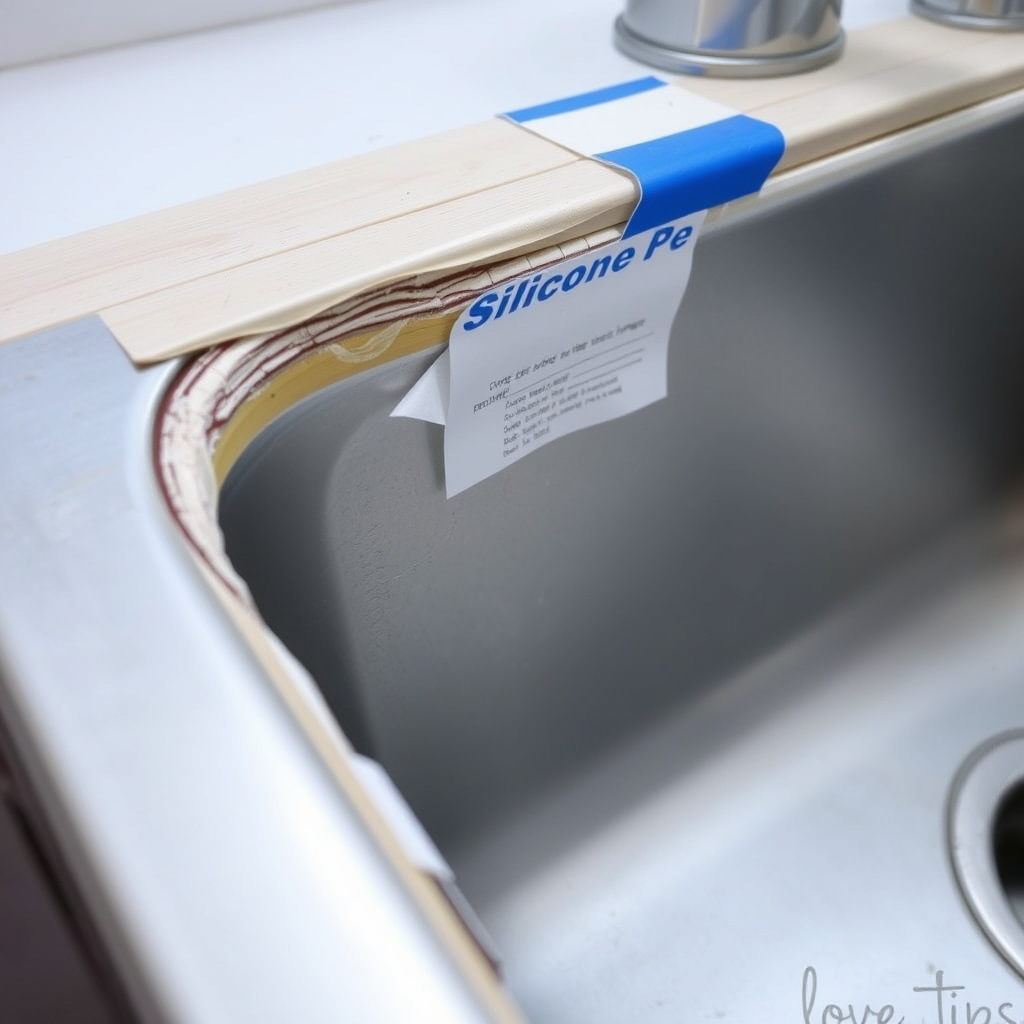
Applying Sealant on Dirty or Wet Surfaces
Applying silicone sealant on surfaces that are wet, dirty, or oily leads to poor adhesion and early seal failure. Always clean and dry the sink edge and countertop joint thoroughly before applying any sealant.
Neglecting this step results in peeling or bubbles under the sealant, which allows water to penetrate and cause damage beneath your countertop.
For a more detailed overview of countertop and sink installation considerations, refer to this comprehensive resource. countertop and sink installation.
Using the Wrong Sealant Type or Color
Using a non-kitchen-specific sealant like general-purpose latex caulk or nonsilicone products compromises waterproofing and durability. Also, applying a sealant color that contrasts heavily with the countertop or sink edge can be visually distracting.
Select a 100% silicone, mold-resistant sealant designed for kitchen use and choose a clear or color-matched product to keep the kitchen looking polished and professional.
Comparison of Popular Kitchen Sink Sealant Types
This table highlights key features and suitability of common sealants for sealing kitchen sinks to countertops.
| Sealant Type | Waterproofing | Mold Resistance | Flexibility | Drying Time | Best For |
|---|---|---|---|---|---|
| 100% Silicone | Excellent | High | High | 2-6 hours | All sink and countertop types |
| Latex Caulk | Moderate | Low | Moderate | 30 mins – 1 hour | Temporary, low-moisture areas |
| Polyurethane | Excellent | Moderate | High | 24 hours | Heavy-duty sealing, exterior kitchens |
| Hybrid Sealants | Good | High | High | 1-3 hours | Versatile indoor kitchen applications |
Frequently Asked Questions
Can I use regular caulk instead of silicone for sealing my kitchen sink?
Regular caulk, especially latex-based, is not recommended because it lacks water resistance and flexibility. Silicone sealants specifically designed for kitchens provide long-lasting waterproof seals and resist mold growth.
How do I remove old silicone sealant from my kitchen sink?
Use a putty knife or specialized sealant remover to gently scrape off old silicone. Soften stubborn areas with sealant remover product or heat from a hairdryer, then clean the surface thoroughly before reapplying new sealant.
How often should I reseal my kitchen sink?
Inspect the seal once a year and reseal when you notice cracks, peeling, or mold that won’t clean off. Typically, silicone seals last 5 to 10 years under normal conditions but may need repair sooner in heavy-use kitchens.
Is it safe to use colored sealant around a kitchen sink?
Colored sealants are safe if labeled for kitchen use, but choosing clear or color-matched silicone blends best with your countertop and sink for a subtle, neat appearance.
Can sealing a kitchen sink prevent water damage to cabinets?
Yes, properly sealing the sink to the countertop forms a water-tight barrier that protects cabinets below from moisture infiltration and potential rot or mold issues.
Key Takeaways
- Use 100% silicone sealant for durable, waterproof kitchen sink seals.
- Clean and dry surfaces thoroughly before applying sealant.
- Apply painter’s tape and smooth the sealant for a neat finish.
- Inspect and maintain seals regularly to avoid leaks and mold.
Conclusion
Sealing your kitchen sink to the countertop is a vital step to preserve your kitchen’s structure and appearance. It involves selecting the right silicone sealant, preparing the surfaces carefully, and applying the sealant with attention to detail. By following the correct procedure, you create a protective barrier that prevents water damage, mold growth, and unsightly stains around your sink area.
Different sinks and countertop materials might require slight adjustments to the sealing approach. For example, drop-in sinks need a perimeter bead, while undermount sinks require extra sealing below the counter. Sealants like GE Silicone II or DAP Kitchen & Bath work well across most surfaces, including granite, quartz, and laminate. Regular inspection and timely repairs keep the seal intact, maintaining your kitchen’s waterproofing for years to come.
If you’re preparing to seal your kitchen sink, gather quality silicone sealant, cleaning supplies, and a caulking gun. Take your time to clean, tape, apply, and smooth the sealant, then let it cure according to product instructions. This easy but essential maintenance step will safeguard your kitchen against leaks and extend the lifespan of your cabinetry and countertop.