How to Replace Kitchen Sink Faucet Quickly and Easily
Replacing a kitchen sink faucet involves removing the old fixture, preparing the area, installing the new faucet, and connecting water lines properly. This task can usually be done with basic tools and a bit of patience, making it accessible for most homeowners.
Understanding how to replace kitchen sink faucet can save you money on plumber fees and refresh the look of your kitchen. It also provides an opportunity to upgrade to a faucet better suited to your needs, like touchless or pull-down options.
This article will guide you through the necessary steps, from gathering tools and materials to installation tips and troubleshooting common problems, ensuring your kitchen faucet replacement goes smoothly.
Preparing to Replace Kitchen Sink Faucet
Gathering Tools and Materials

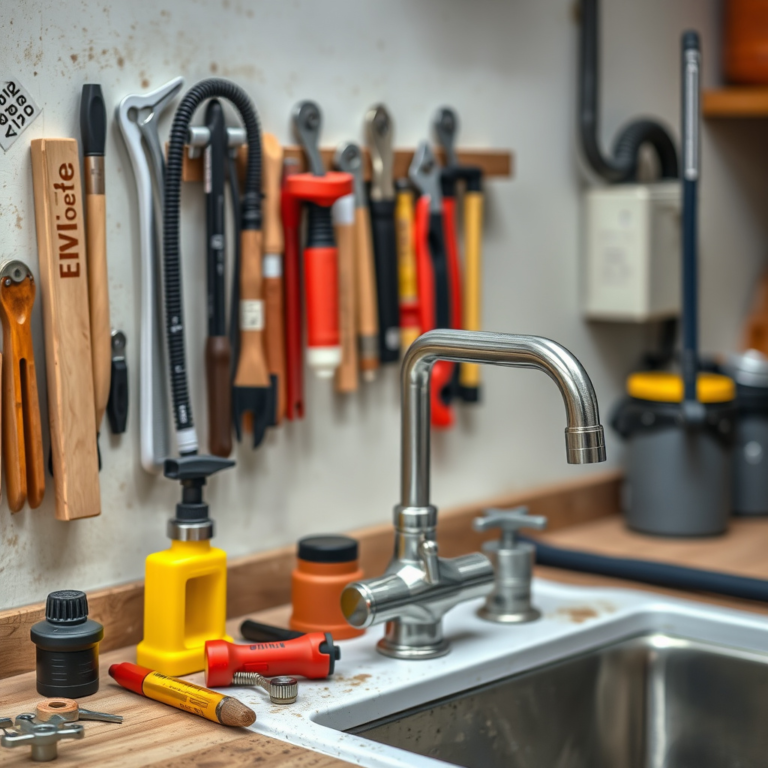
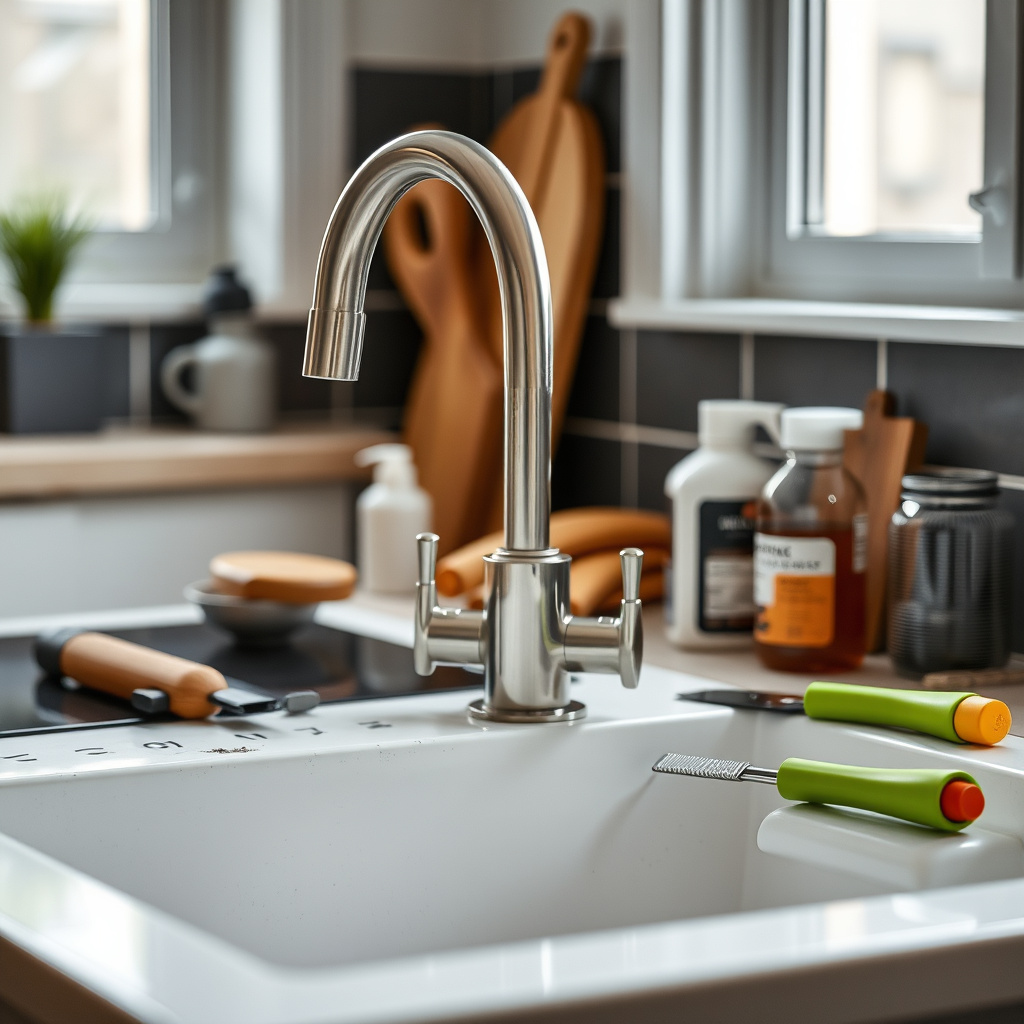
Before starting the replacement, collect the essential tools such as an adjustable wrench, basin wrench, plumber’s tape, bucket, and cleaning supplies. Selecting the correct faucet type and style for your sink is also important.
Ensure you have replacement parts like washers or supply lines if not included with your new faucet. Double-check the faucet’s compatibility with your sink’s mounting holes and water line connections to avoid surprises.
- Adjustable wrench
- Basin wrench
- Plumber’s tape (Teflon tape)
- Bucket or bowl
- Cleaning cloth
Shutting Off Water and Preparing the Area
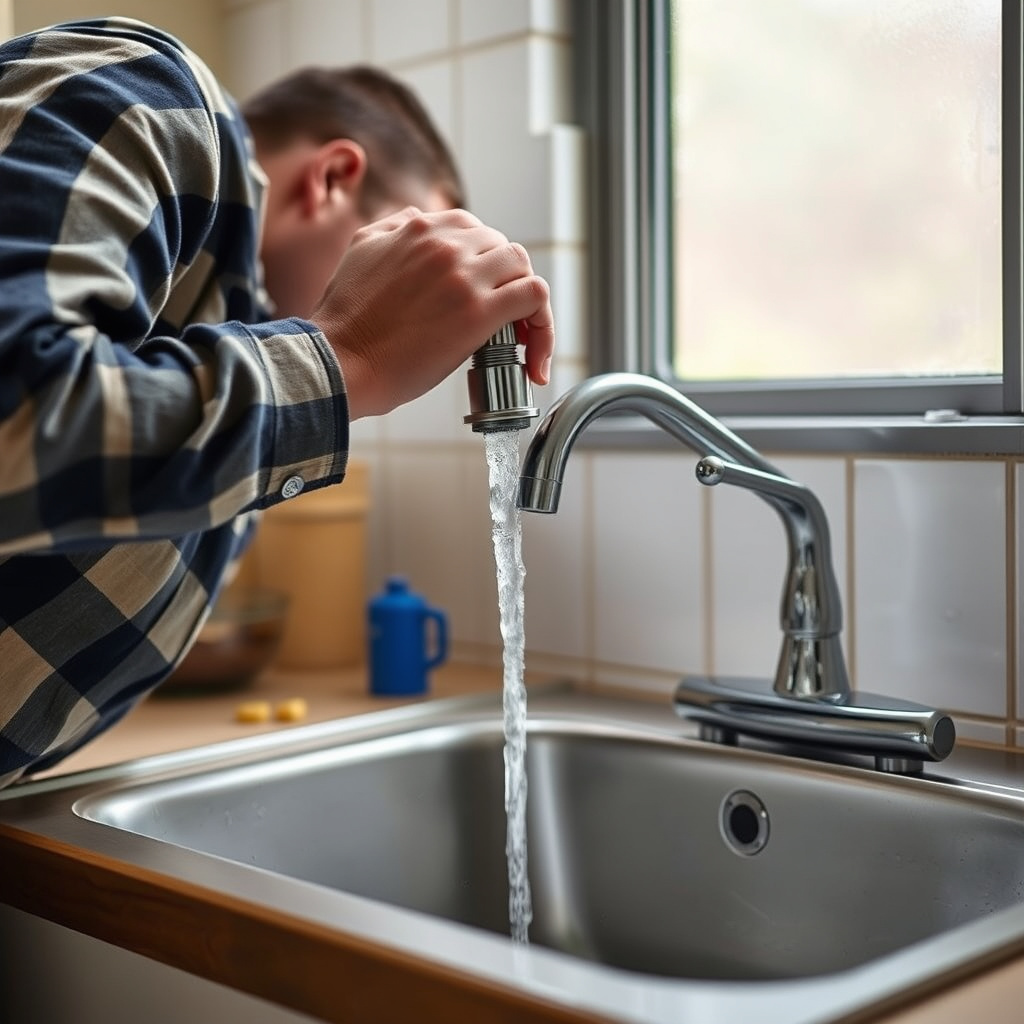
Start by turning off your home’s water supply valves under the sink, then open the faucet to release residual water pressure. Place a bucket beneath to catch any draining water during disconnection.
Clear under-sink cabinets and lay down a towel or mat to protect surfaces from drips. Having easy access will make loosening nuts and bolts simpler when removing the old faucet.
Removing the Old Kitchen Sink Faucet
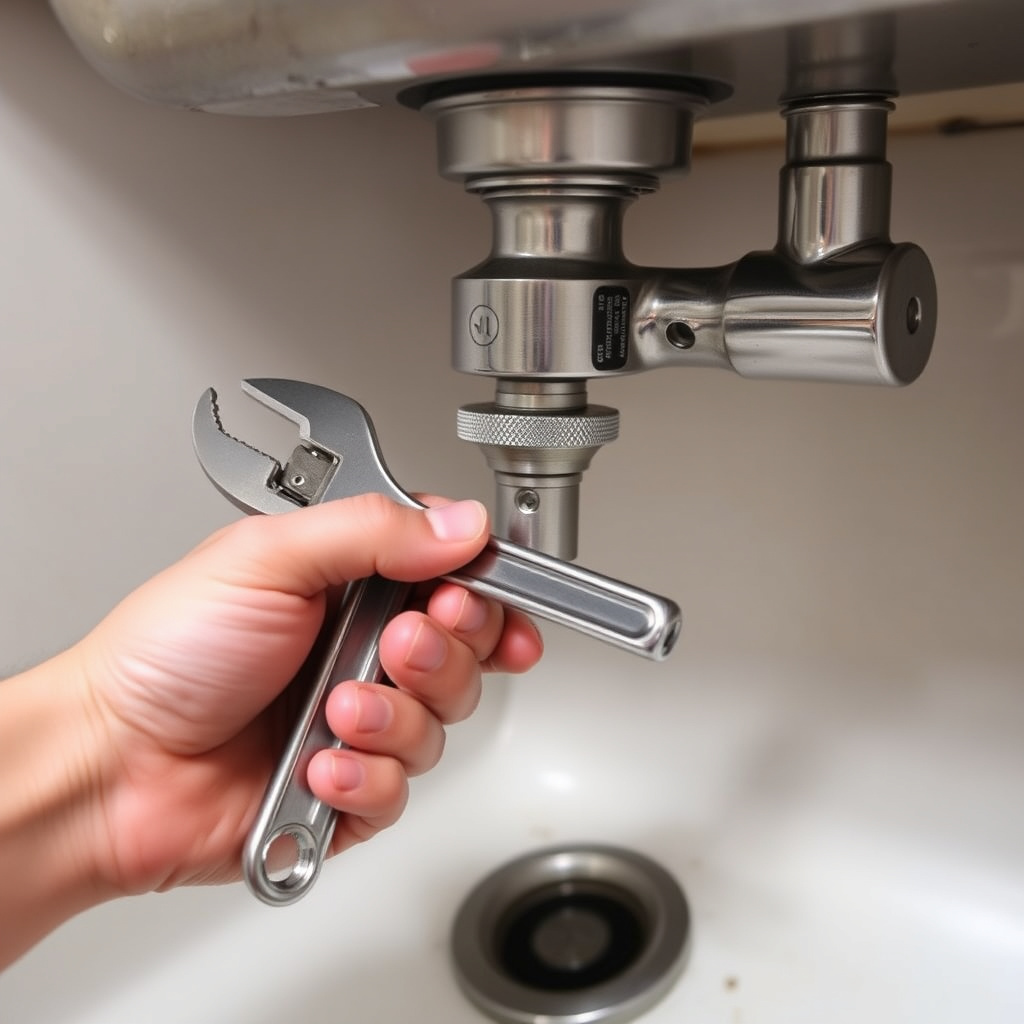
Disconnecting Water Supply Lines
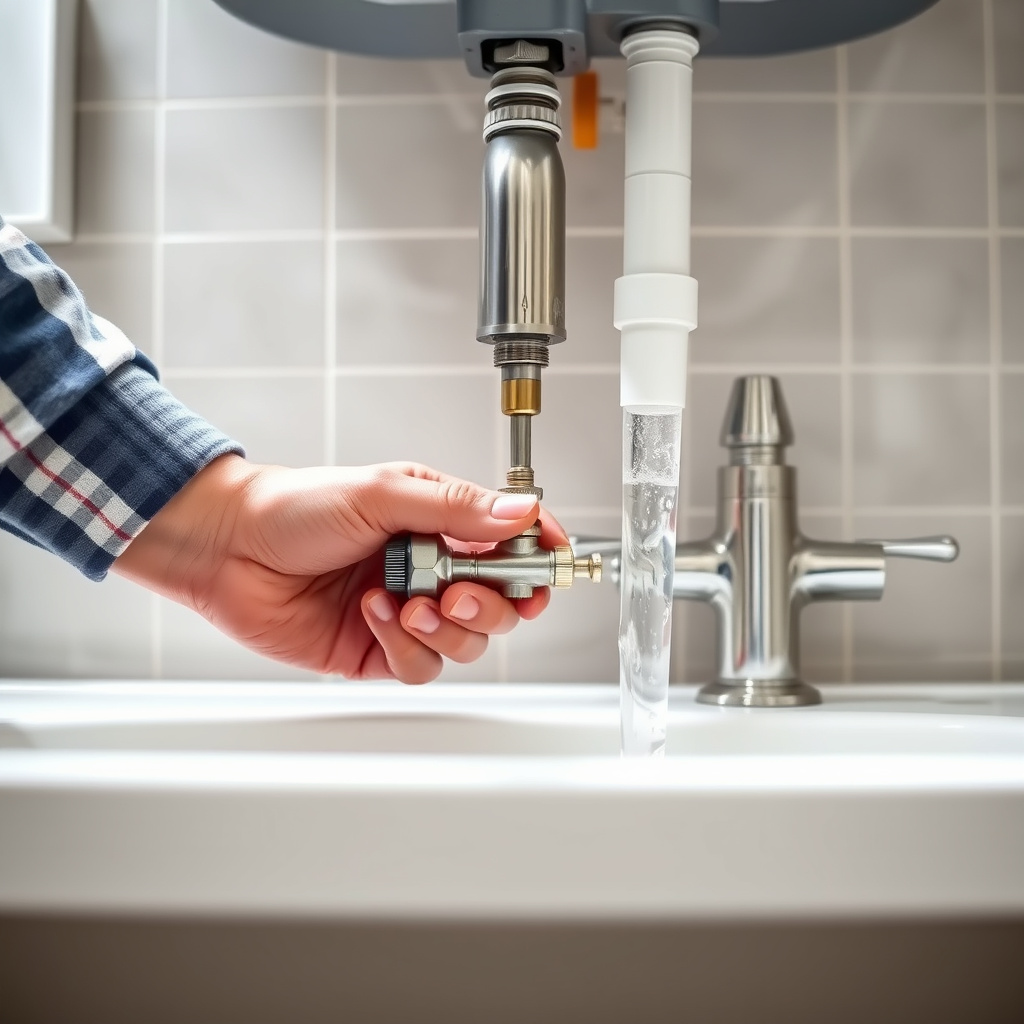
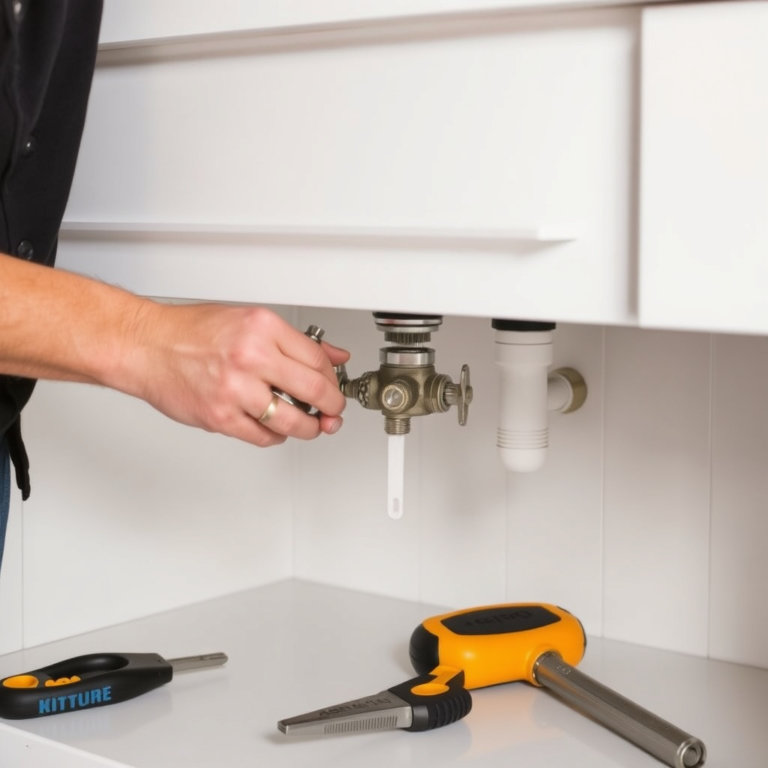
Loosen the nuts connecting water supply lines to the faucet using an adjustable wrench. Be gentle to avoid damaging supply line fittings or valves. Drain remaining water into your bucket.
If supply lines are old or damaged, consider replacing them during the installation process for better reliability and leak prevention.
Removing Mounting Hardware and Faucet
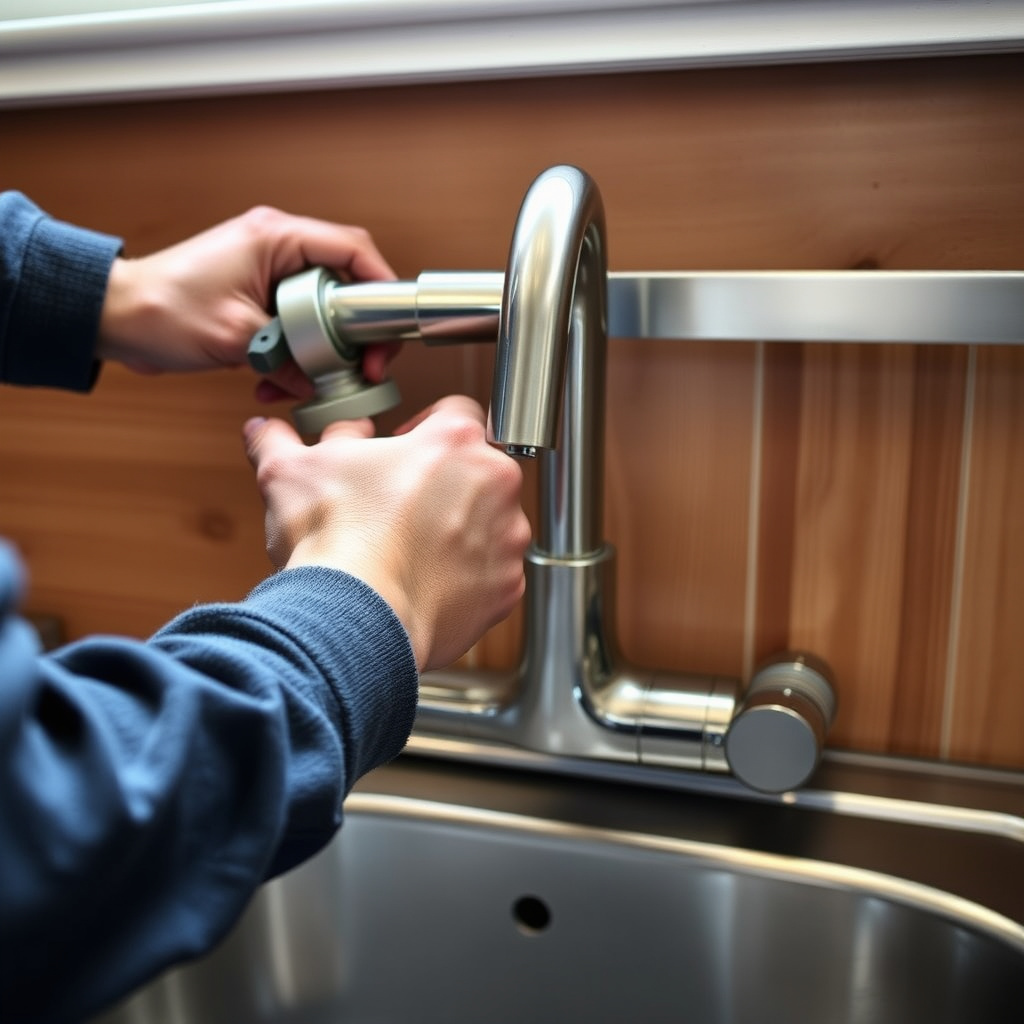
Using a basin wrench, loosen and remove the mounting nuts securing the faucet to the sink from underneath. This often requires maneuvering in tight spaces, so patience is key.
Once the nuts are free, lift out the old faucet from above the sink. Clean the sink surface of any grime or putty residue to prepare for the new fixture.
Installing the New Kitchen Sink Faucet
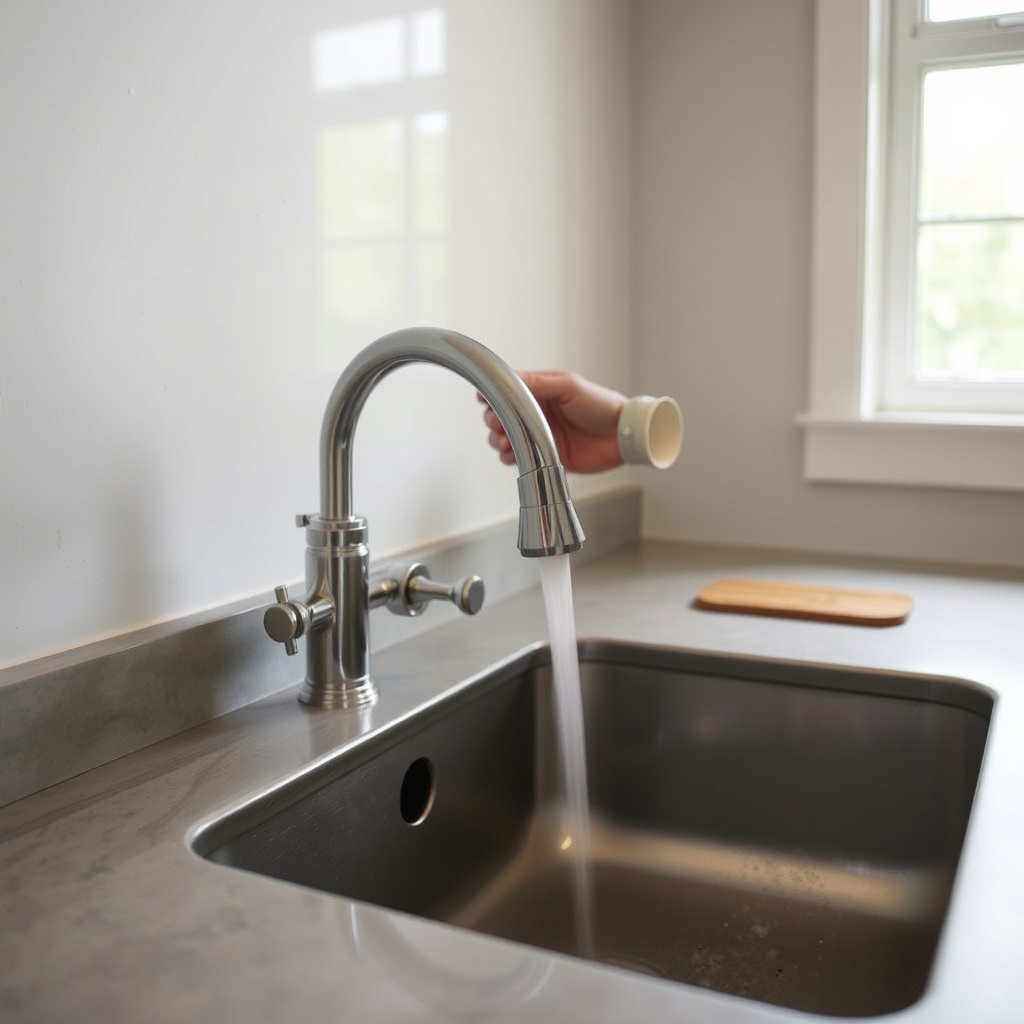
Positioning and Securing the Faucet
Insert the new faucet’s mounting shanks through the sink holes. From underneath, fasten the mounting nuts to hold the faucet firmly in place, using a basin wrench for tightness without over-tightening.
Check the faucet’s alignment at the top to ensure it’s straight and secure before connecting water lines. A stable faucet prevents leaks and loosening over time.
For more on this, see our related guide: How to Plan a Kitchen Remodel: A Step-by-Step Guide for Your Dream Space.
Connecting Water Supply Lines and Testing
Wrap plumber’s tape on faucet threads and attach supply lines tightly but carefully using your adjustable wrench. Turn water valves back on slowly and check for leaks at all connection points.
Run hot and cold water through the faucet to flush out any debris and verify smooth operation. Re-tighten any connections if minor leaks appear.
Common Issues When Replacing Kitchen Sink Faucet
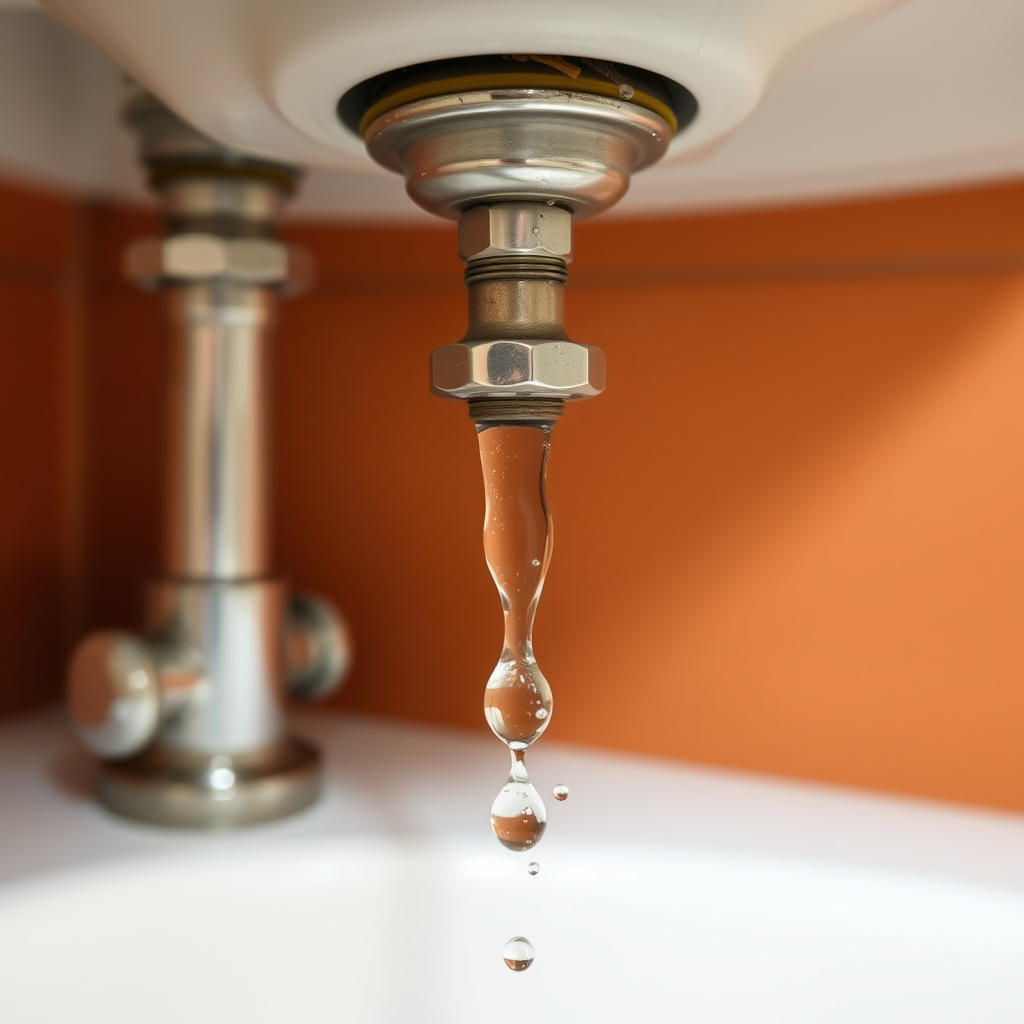
Dealing with Stuck or Corroded Nuts
Old mounting nuts and supply line fittings can become rusted and difficult to loosen. Applying penetrating oil and letting it sit before attempting removal helps.
If a nut remains stuck, gently using heat or tap gently with a hammer may assist, but be cautious not to damage plumbing.
- Use penetrating oil
- Allow time to soak
- Avoid excessive force
Preventing Leaks After Installation
Leaks often result from loose fittings or missing plumber’s tape. Double-check all joints and tighten connections carefully to stop drips.
Regularly inspecting the faucet’s base and supply line connections after replacement helps catch leaks early and avoids water damage.
Choosing the Right Replacement Faucet
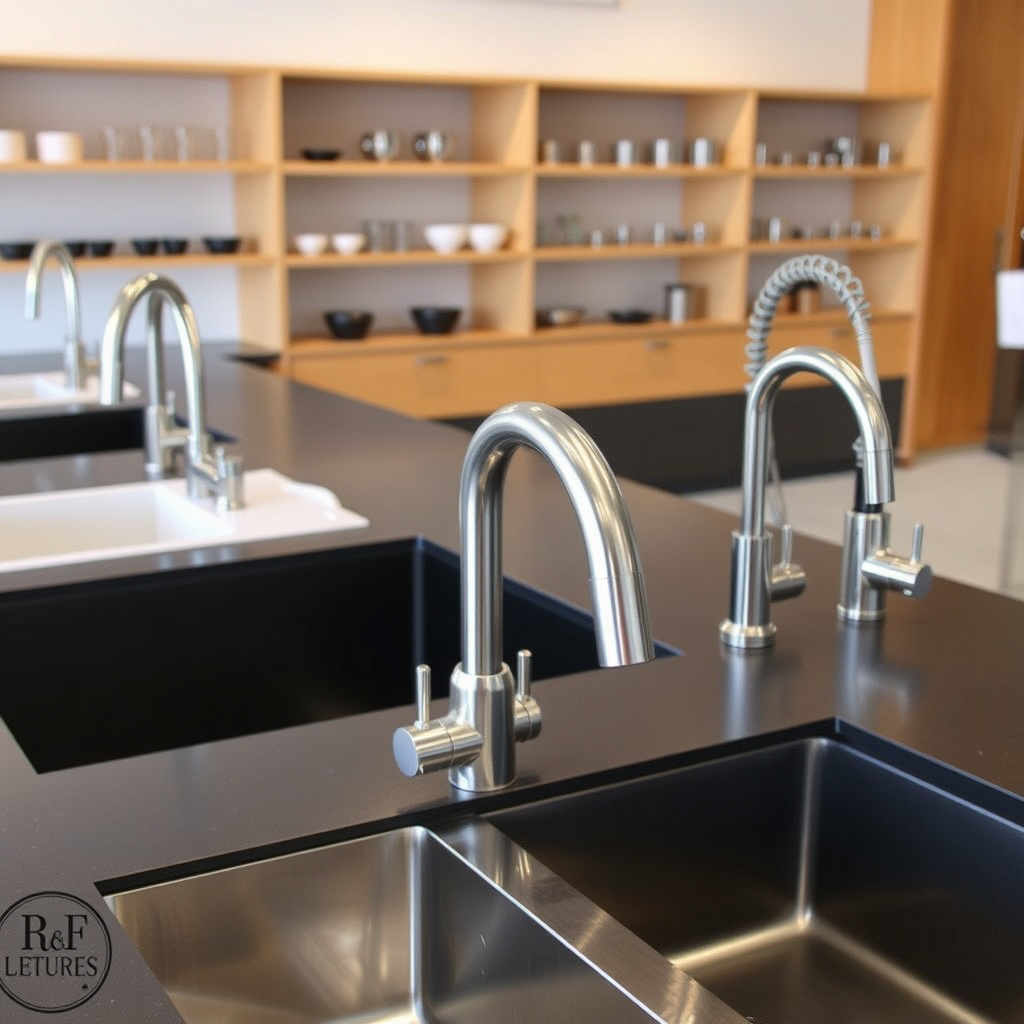
Styles and Features to Consider
Depending on your kitchen design, select from single-handle, double-handle, pull-down sprayers, or touchless faucets. Functionality and aesthetics both play important roles.
Consider finishes like chrome, brushed nickel, or matte black that complement your sink and countertop. Features such as water-saving capabilities or high-arc designs enhance usability.
- Single vs. double handle
- Sprayer or touchless options
- Finish and material choices
For more on this, see our related guide: How to Measure a Kitchen Sink: A Step-by-Step Guide.
Compatibility with Existing Sink Setup
Measure your sink’s hole count and spacing before purchasing to ensure the faucet fits. Some faucets require additional drilling or adapters for installation.
Check supply line sizes and water pressure requirements to avoid performance issues and ease of installation.
- Hole count and spacing
- Supply line compatibility
- Water pressure considerations
Maintaining Your New Kitchen Sink Faucet

Routine Cleaning and Care
Regularly wipe the faucet with a mild soap solution and soft cloth to preserve the finish and prevent mineral buildup. Avoid abrasive cleaners that can scratch surfaces.
Clean aerators periodically to maintain water flow and remove deposits that reduce efficiency.
For more detailed technical information on faucet types and installation, consult this kitchen faucet replacement guidance. kitchen faucet replacement guidance.
Addressing Minor Repairs Quickly
Fix drips or loose handles promptly by replacing washers or tightening connections. Early maintenance prevents more invasive faucet repairs.
Keep necessary tools handy and seek manufacturer instructions for model-specific fixes.
- Replace washers to fix drips
- Tighten loose parts regularly
- Consult manual for guidance
Kitchen Faucet Replacement Method Comparison
Here is a comparison of common approaches to kitchen faucet replacement based on DIY difficulty, cost, and time required.
| Method | Difficulty Level | Average Cost | Estimated Time |
|---|---|---|---|
| DIY Replacement | Moderate | Cost of faucet + <$50 tools | 1-3 hours |
| Professional Plumber | Low | 150-300 USD | 1-2 hours |
| Partial Replacement (e.g., supply lines only) | Easy | 20-50 USD | 30 minutes to 1 hour |
| Touchless Faucet Upgrade | Moderate | 100-400 USD | 2-4 hours |
| Adapter or Rough-in Replacement | High | 100-500 USD | 3-6 hours |
Frequently Asked Questions
Do I need to turn off the main water supply to replace the faucet?
Usually, turning off the water valves under the sink is sufficient for faucet replacement. Turning off the main supply is only necessary if individual valves do not stop water flow.
Can I reuse the old supply lines with my new faucet?
If the old supply lines are in good condition and compatible, you can reuse them. However, it’s often wise to replace them to prevent leaks and ensure a secure fit.
What if my sink has only one hole but the faucet needs three?
You can use a deck plate to cover extra holes for faucets requiring more than one hole. Alternatively, choose a faucet designed for single-hole sinks.
How do I fix a leaking faucet after replacement?
Check all connections and tighten them gently. Applying plumber’s tape on threaded connections can also prevent leaks. If leaks persist, inspect washers or seals for damage.
Is it difficult to install a touchless kitchen faucet?
Installing a touchless faucet is more complex due to electrical or battery components but follows similar plumbing steps. Reading the installation manual carefully helps avoid issues.
Key Takeaways
- Turn off the water valves and clear the sink area before starting replacement.
- Remove old faucet carefully using proper tools like a basin wrench.
- Select a faucet compatible with your sink's hole configuration and water supply.
- Test all connections thoroughly to prevent leaks after installation.
Conclusion
Replacing a kitchen sink faucet involves a few straightforward steps but requires careful preparation and attention to detail. By systematically shutting off water, disconnecting hardware, removing the old faucet, and installing the new one, most homeowners can successfully complete the project without professional help. A methodical approach reduces the chance of leaks and fits your new fixture securely, adding convenience and style to your kitchen. Understanding faucet types, sink compatibility, and proper connection procedures forms the core of making this replacement an effective upgrade rather than a frustrating mess.
When deciding on a new faucet, consider what fits your kitchen's look and usability needs—options like pull-down sprayers or touchless models offer innovative features but may require more intricate installation. For straightforward upgrades, a single-handle faucet might suffice, while replacing old supply lines simultaneously can improve the plumbing system’s longevity. If you prefer a hassle-free solution or your sink setup is unusual, hiring a professional plumber might be the best route. Otherwise, following this guide and a reliable kitchen faucet installation guide will empower you to enhance your space confidently.
The next time your faucet leaks or you're ready to refresh your kitchen’s look, try replacing your kitchen sink faucet yourself with the guidance offered here. Gather your tools and new faucet choice, allocate a couple of hours, and proceed step-by-step to achieve a leak-free, stylish kitchen fixture. With some patience and care, you’ll save money and enjoy the satisfaction of a DIY plumbing success.