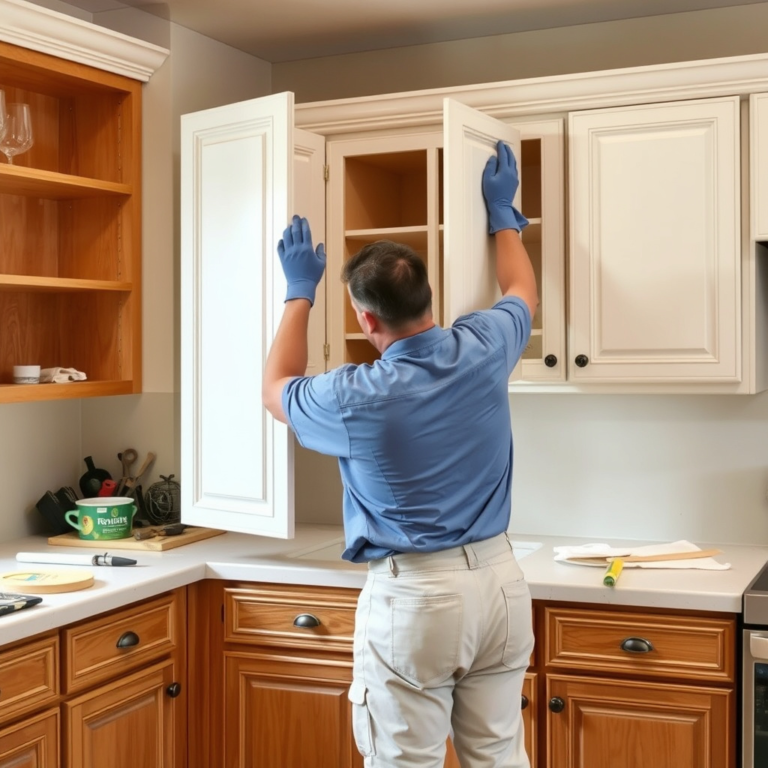
How To Replace Kitchen Cabinets: A Step-by-Step Guide
Replacing kitchen cabinets involves removing the old units, preparing the space, and installing new cabinets to revitalize your kitchen's functionality and appearance. The process starts with careful measurement and planning, followed by systematic removal of existing cabinetry, and ends with precise installation and finishing touches.
Kitchen cabinets often define the room's style and usability, so replacing them can dramatically update your home. Whether your cabinets are outdated, damaged, or just no longer suit your needs, this project can be tackled by DIY enthusiasts with moderate carpentry skills or with professional help if preferred.
This article will guide you through each stage of replacing kitchen cabinets, including preparation, how to properly remove your current cabinets, tips on installing new ones, and finishing steps to ensure a polished, lasting result. We will also cover common challenges and recommend tools that make the process easier.
Measuring and Planning Your Kitchen Cabinet Replacement
Taking Accurate Measurements
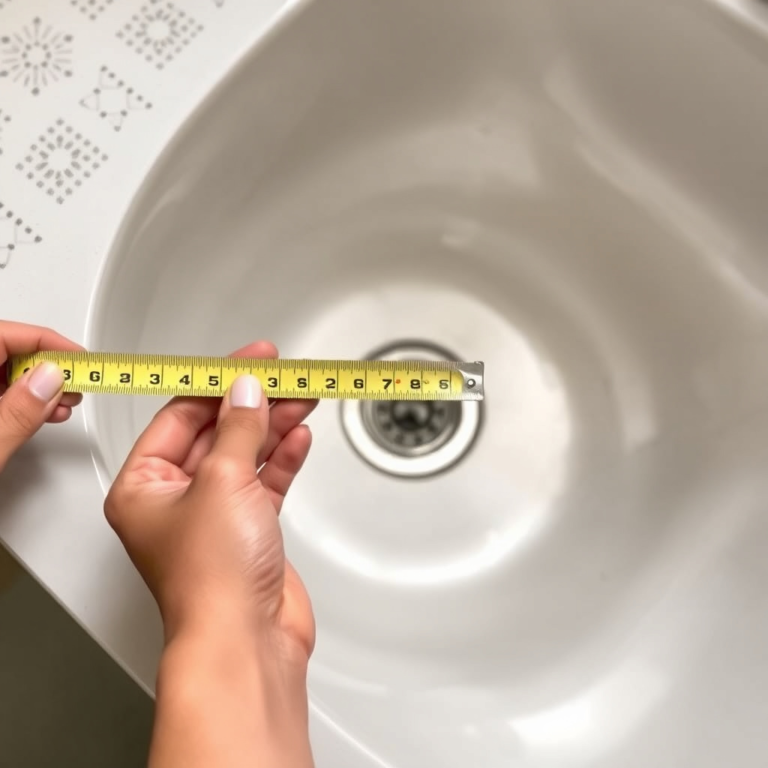
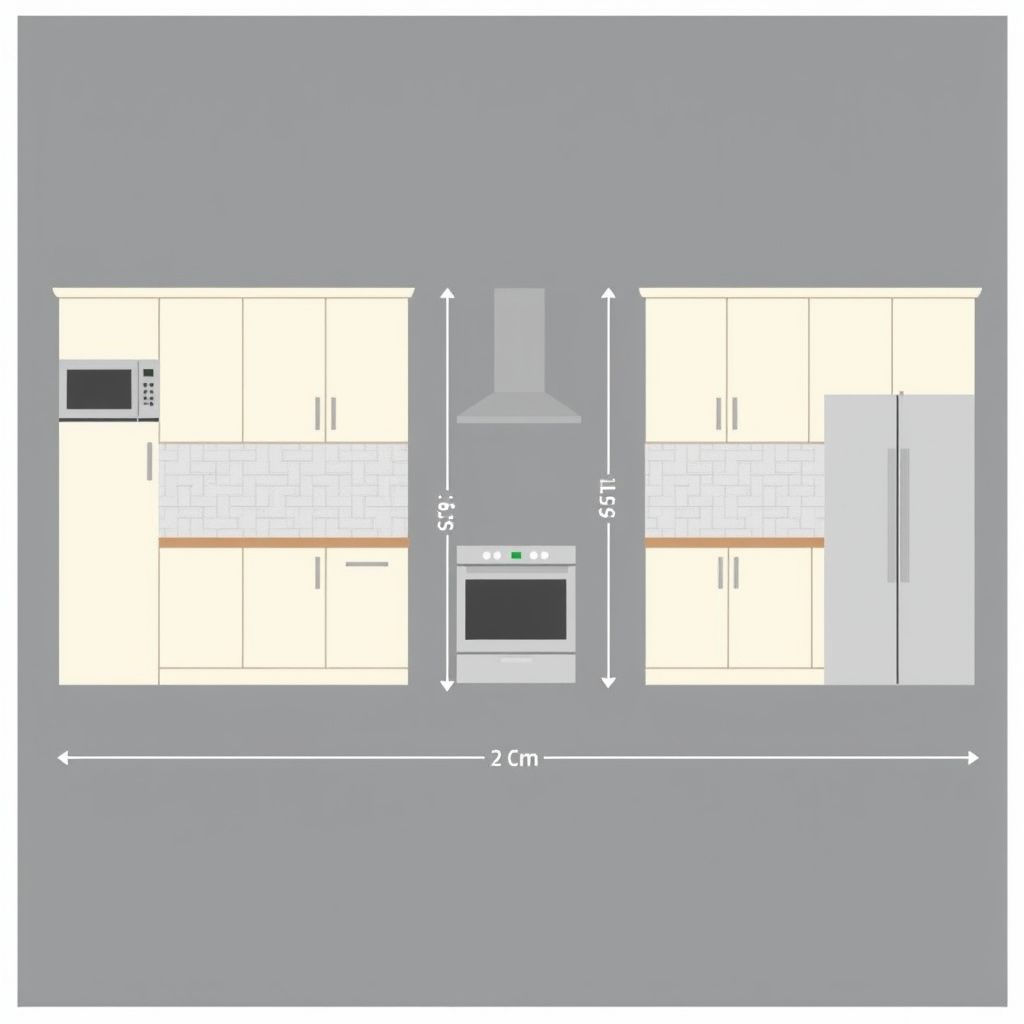
Before removing or buying new cabinets, it’s critical to measure your kitchen space precisely. Measure all walls, window and door clearances, and ceiling height to match cabinets perfectly.
Use a tape measure and record widths, heights, and depths of existing cabinets, plus overhead clearances. Accurate measurements help avoid costly errors when purchasing new cabinetry.
- Measure wall length where cabinets will be installed
- Note locations of electrical outlets and plumbing
- Record cabinet opening heights and depths
- Double-check measurements for accuracy
Creating a Cabinet Layout Plan
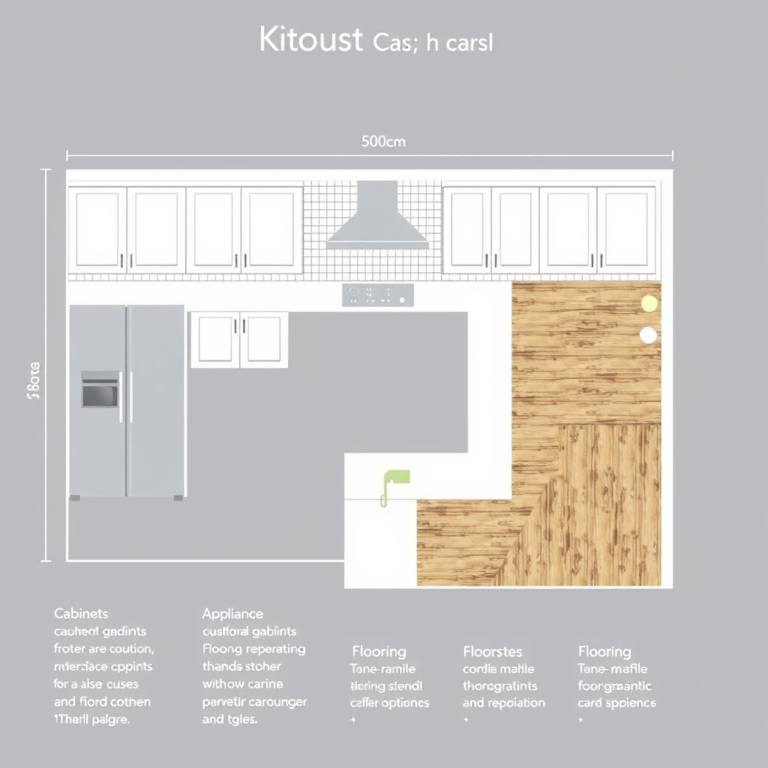
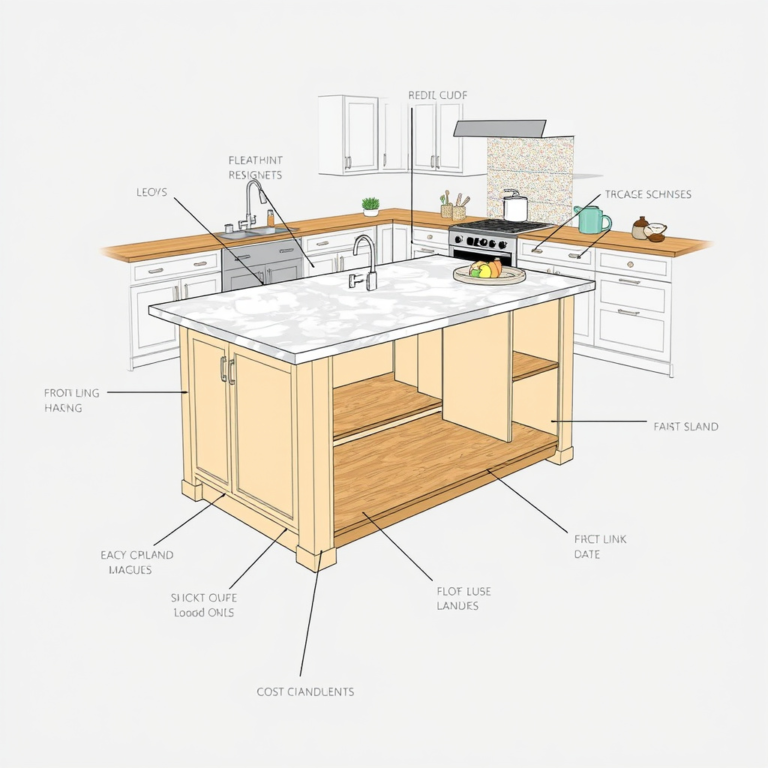
With measurements in hand, sketch a layout plan showing where new cabinets will go. Include base cabinets, wall cabinets, and tall units noting dimensions and placements.
Consider ergonomics and workflow, such as placing frequently used items near workspaces and appliances. This stage helps visualize the final kitchen setup and reveals any needed modifications.
- Sketch floor plan with cabinet outlines
- Mark appliances and sinks clearly
- Plan for storage needs and usability
- Consult manufacturer specs for cabinet dimensions
Removing Old Kitchen Cabinets Safely and Efficiently
Preparing the Kitchen for Removal
Start by clearing countertops and removing items inside cabinets. Turn off power to outlets near cabinetry to avoid accidents when working around electrical wiring.
Protect floors by laying down drop cloths. Have safety gear such as gloves and eye protection ready to prevent injuries during demolition.
- Clear cabinets and countertops
- Shut off nearby electrical circuits
- Lay floor protection
- Wear safety gloves and goggles
Step-by-Step Cabinet Removal Process
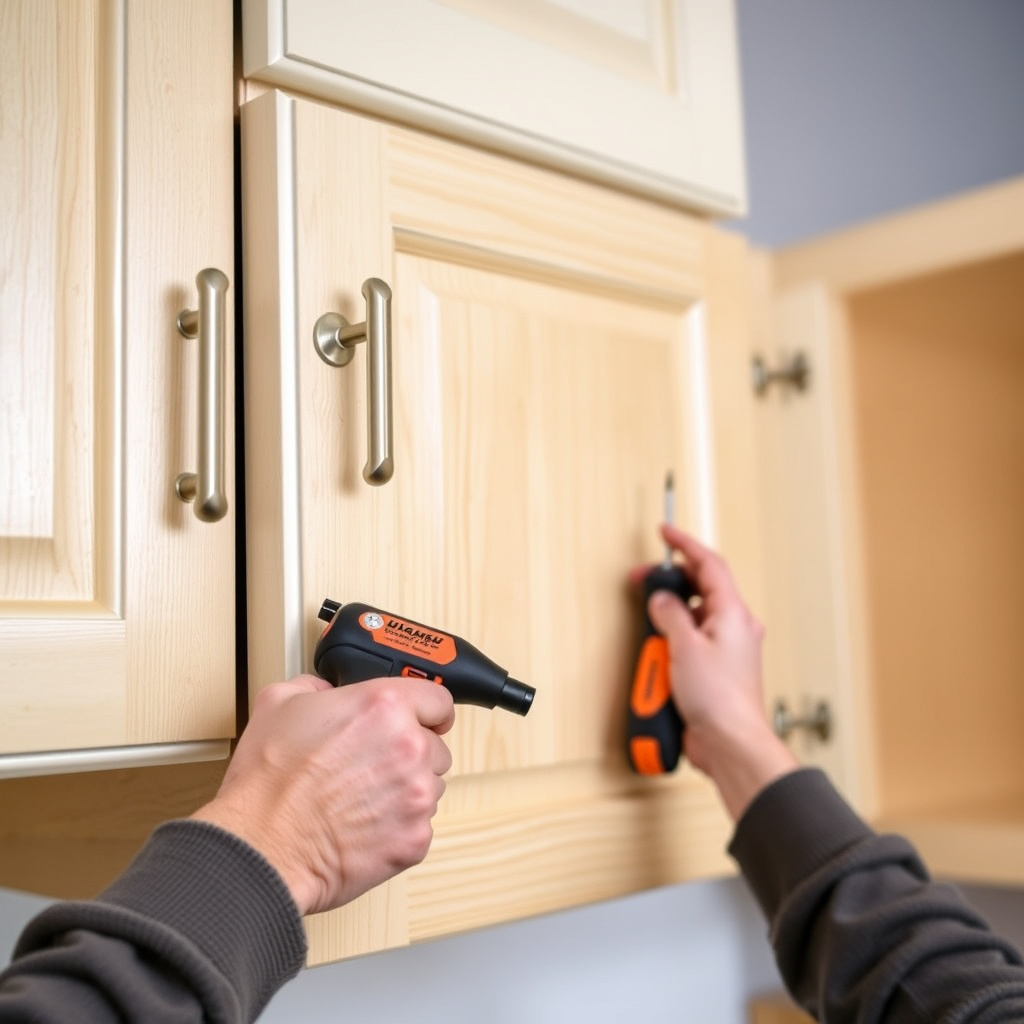
Remove cabinet doors and drawers first by unscrewing hinges and tracks. Then unscrew the cabinet boxes from the wall studs starting with upper wall cabinets before base units.
Use a pry bar carefully to loosen cabinets glued or nailed to the walls. Check for plumbing or gas lines behind cabinets to avoid damage.
- Take off cabinet doors and drawers
- Unscrew wall cabinets from studs
- Remove base cabinets carefully
- Inspect for hidden wiring or plumbing
Installing New Kitchen Cabinets with Confidence
Preparing the Walls and Floor for Installation
Once old cabinets are gone, inspect walls and floors for damage or unevenness. Repair holes and smooth surfaces before mounting new cabinets to ensure proper fit and stability.
Use a level to check wall flatness. Add shims where needed to create a flat mounting surface for base and wall units.
- Patch wall holes and paint if needed
- Level walls and floors
- Use shims for uneven areas
- Confirm measurements once more
For more on this, see our related guide: How Much to Replace Kitchen Cabinets: A Complete Cost Guide.
Mounting Cabinets and Securing Them
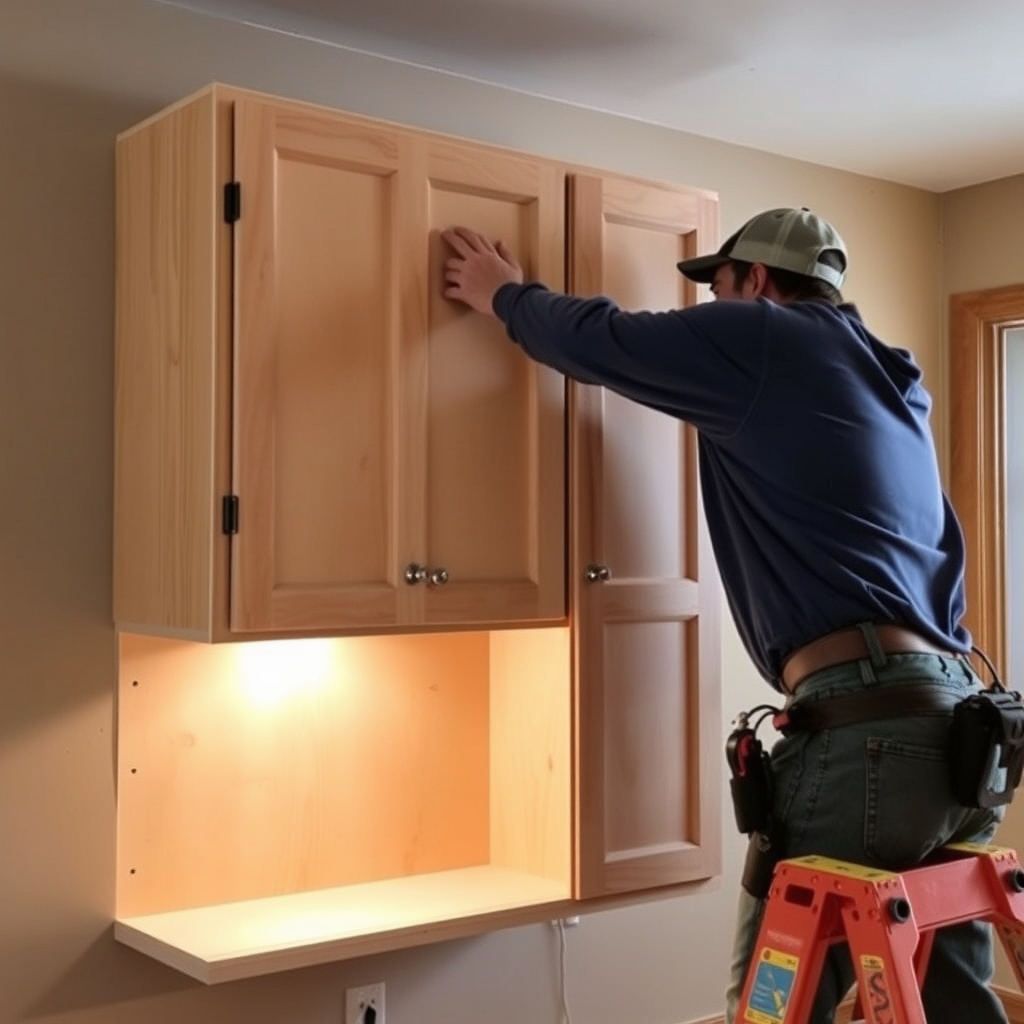
Start with wall cabinets at the highest points to align with ceiling or soffits. Use a level to position and secure cabinets with screws through studs. Then, install base cabinets ensuring they’re level on the floor.
Connect cabinets side-by-side with clamps and screws for a tight fit. Finally, attach doors, drawers, and hardware according to the manufacturer’s instructions.
- Install wall cabinets first
- Level and screw cabinets into studs
- Connect adjacent cabinets securely
- Attach doors and drawer fronts
Finishing Touches and Maintenance for New Cabinets
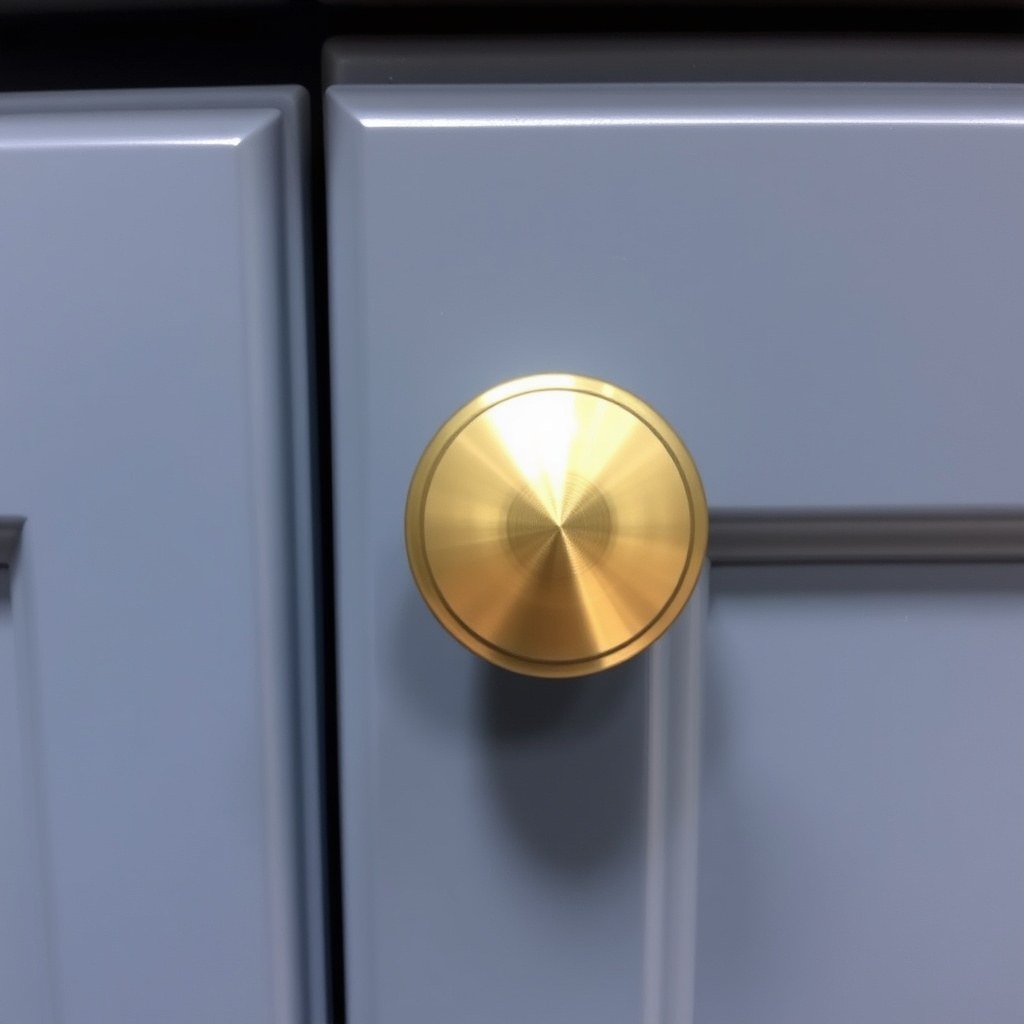
Sealing, Painting, and Hardware Installation
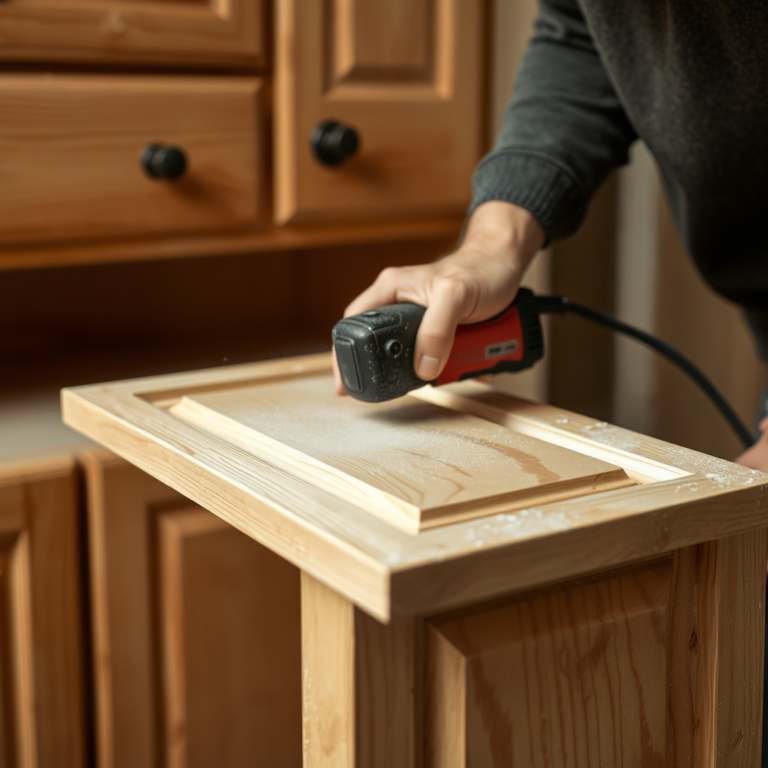
Apply caulk around edges where cabinets meet walls for a seamless appearance. Paint or stain cabinets if they come unfinished or need touch-ups.
Install handles, knobs, and drawer pulls to match your kitchen style. Quality hardware can greatly enhance the look and usability of your cabinets.
- Caulk gaps between cabinet and wall
- Paint or stain as needed
- Install hardware according to design
- Clean surfaces after installation
Tips for Maintaining Your Kitchen Cabinets
Clean cabinet surfaces regularly with gentle cleaners to maintain finish integrity. Avoid harsh chemicals that can damage wood or paint.
Address any loose hinges or hardware promptly to prevent further wear. Routine maintenance extends the lifespan of your kitchen cabinets and keeps them looking fresh.
- Use mild soap and water for cleaning
- Tighten loose screws and hinges
- Avoid excessive moisture exposure
- Inspect periodically for damage
Tools and Materials Needed for Replacing Kitchen Cabinets

Essential Tools for the Job
To replace kitchen cabinets safely and efficiently, gather a power drill with screwdriver bits, pry bar, level, measuring tape, and stud finder. These tools help remove old cabinets and install new units accurately.
Having clamps and shims on hand will assist with holding cabinets in place during installation and leveling surfaces for a proper fit.
- Power drill and screwdrivers
- Pry bar and hammer
- Level and tape measure
- Stud finder and clamps
- Shims for leveling
For more on this, see our related guide: Can Lighting in Kitchen Improve Cooking and Ambiance?.
Materials Required for Installation
New kitchen cabinets often come with mounting screws, but additional materials like wood filler, caulk, paint or stain, and cabinet hardware are also necessary to complete the project.
Purchase screws sized appropriately for cabinet thickness and wall stud dimensions to ensure secure fastening.
- Mounting screws and anchors
- Wood filler and caulk
- Paint or stain as desired
- Cabinet handles and knobs
Common Challenges in Kitchen Cabinet Replacement and How to Avoid Them

Dealing with Uneven Walls and Floors
Older homes often have walls and floors that are not perfectly straight or level, which can complicate cabinet installation. Using shims can compensate for uneven surfaces to ensure cabinets are aligned.
Measuring carefully and setting cabinets with a level at every step helps avoid gaps and misalignment that affect appearance and function.
- Use shims to level cabinets
- Check level continuously during installation
- Adjust cabinet placement for uneven walls
- Consider professional help for severe irregularities
For more detailed historical and technical background, see the Wikipedia article on Kitchen cabinet. Kitchen cabinet.
Avoiding Damage During Removal and Installation
Old cabinets can be nailed or glued into place, which may damage walls during removal. Take time to loosen attachments gently with the right tools to preserve drywall integrity.
When installing, ensure screws go directly into studs to prevent cabinet loosening and potential damage over time.
- Use pry bar carefully to remove cabinets
- Protect walls with padding during removal
- Screw into studs for secure mounting
- Avoid overtightening screws to prevent cracks
Types of Kitchen Cabinets: Material and Style Comparison
This table compares popular kitchen cabinet types by material, durability, cost, and visual appeal to help you select the best option.
| Material | Durability | Cost Range | Visual Style | Maintenance |
|---|---|---|---|---|
| Solid Wood | High durability, strong and repairable | $500–$1200 per cabinet | Classic and warm aesthetic | Requires regular cleaning and occasional refinishing |
| Plywood | Good durability with layered construction | $300–$700 per cabinet | Varies; often veneered for visual appeal | Easy to clean; less prone to warping |
| MDF (Medium Density Fiberboard) | Moderate durability, susceptible to moisture | $200–$500 per cabinet | Smooth surface ideal for paint | Avoids moisture exposure; easy cleaning |
| Particleboard | Lower durability, less moisture resistant | $100–$400 per cabinet | Often covered with laminate; modern look | Needs careful upkeep to avoid swelling |
| Thermofoil | Good moisture resistance with vinyl layer | $150–$600 per cabinet | Shiny, smooth finish; contemporary style | Wipe clean; prone to cracking with heat exposure |
Frequently Asked Questions
How long does it usually take to replace kitchen cabinets?
Replacing kitchen cabinets typically takes 2 to 5 days depending on the kitchen size, complexity of layout, and whether you’re handling removal and installation yourself or hiring professionals.
Can I install new cabinets over existing ones?
While it is possible to install new cabinets over old ones, it is generally not recommended because it may result in misalignment, reduced cabinet depth, and poorer stability.
What tools do I need for kitchen cabinet installation?
Essential tools include a power drill, screwdriver, pry bar, level, measuring tape, stud finder, clamps, and shims. These help with removal, accurate alignment, and secure mounting.
Should I paint or stain my new cabinets after installation?
Painting or staining depends on your cabinet material and desired look. Unfinished wood benefits from staining, while MDF or plywood is often painted. Finish after installation for a smooth look.
How do I maintain kitchen cabinets to keep them looking new?
Clean cabinet surfaces regularly with mild soap and water, avoid harsh chemicals, tighten loose hardware as needed, and prevent moisture buildup to extend their lifespan.
Key Takeaways
- Accurate measurement and planning are critical before starting cabinet replacement.
- Remove old cabinets with care to avoid damaging walls and plumbing.
- Leveling walls and floors helps achieve properly aligned new cabinets.
- Use quality tools and materials to ensure a durable and attractive installation.
Conclusion
Replacing kitchen cabinets involves a clear sequence of measuring, removal, installation, and finishing. Measuring thoroughly ensures the right fit and avoids costly mistakes. Removing old cabinets carefully preserves wall integrity, while leveling the space sets the stage for a smooth installation. Attention to detail during mounting secures durability and alignment. Taking time with finishing touches like caulking and hardware installation enhances kitchen aesthetics.
For homeowners aiming to personalize their kitchen upgrade, choosing the right cabinet type and style is essential. Solid wood cabinets offer timeless durability, while materials like MDF and plywood can fit budgets and styles differently. Base cabinet installation before wall units generally provides easier alignment. Following kitchen cabinet installation tips like securing cabinets directly into studs and using shims for uneven surfaces will prevent problems later. Consider professional help if walls are extensively irregular or plumbing is complicated.
To start your kitchen cabinet replacement, gather necessary tools and measure your space precisely. Opt for cabinetry options that suit your style and maintenance preferences. Then, approach removal and installation step-by-step with patience for best results. With this hands-on guide, upgrading your kitchen cabinets can be a rewarding project that transforms your space both functionally and visually.