How to Replace a Kitchen Faucet: A Step-by-Step Guide
Replacing a kitchen faucet involves turning off the water supply, disconnecting the old faucet, preparing the sink area, and installing the new fixture. It generally takes between 30 minutes to an hour with basic tools like a wrench, screwdriver, and plumber's tape.
Upgrading your kitchen faucet can improve both functionality and style, making everyday tasks like washing dishes and filling pots easier. Plus, it can prevent leaks or other plumbing issues caused by old or faulty faucets.
This article will cover the entire kitchen faucet replacement process, from selecting the right faucet and gathering tools to removing the old fixture, installing the new one, and testing for leaks. Whether you're a beginner or have some DIY experience, these kitchen faucet replacement tips will help you complete the job efficiently.
Understanding Kitchen Faucet Types and Features
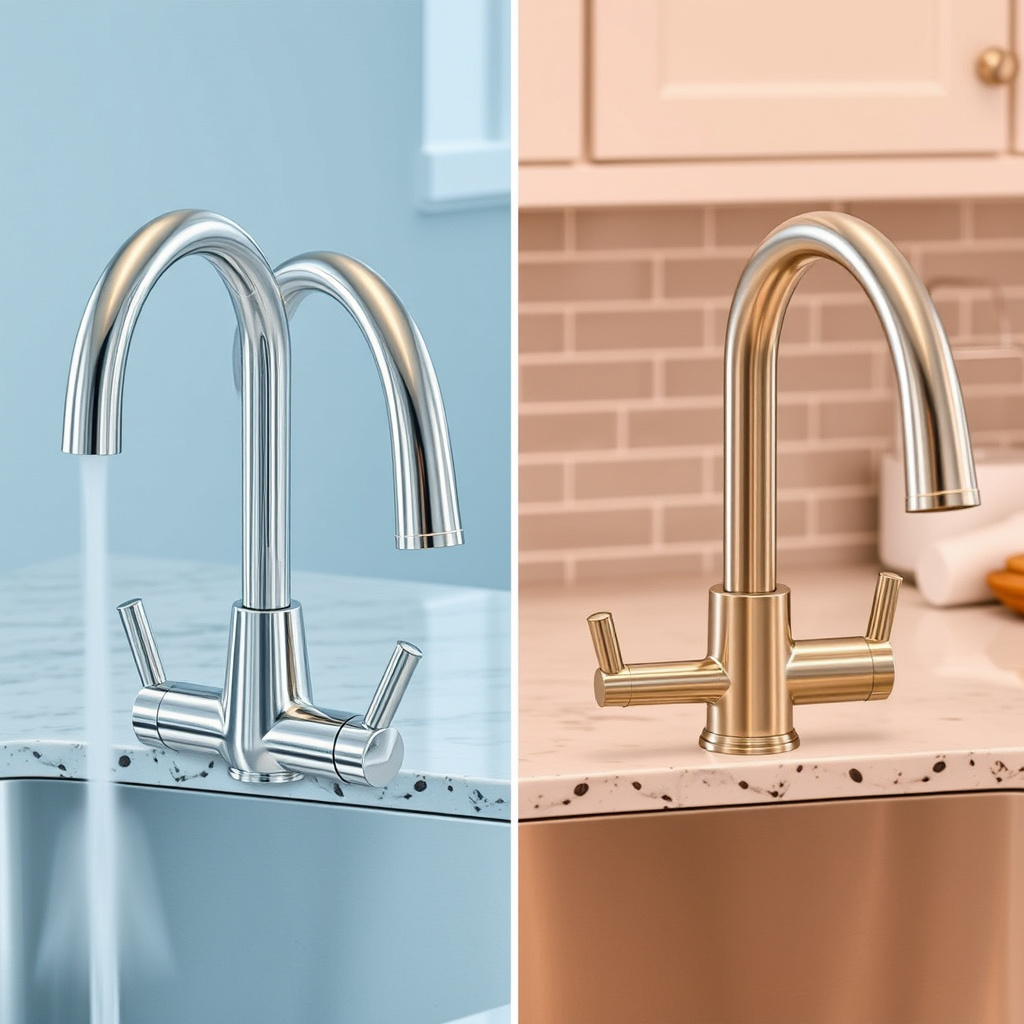
Common Kitchen Faucet Styles
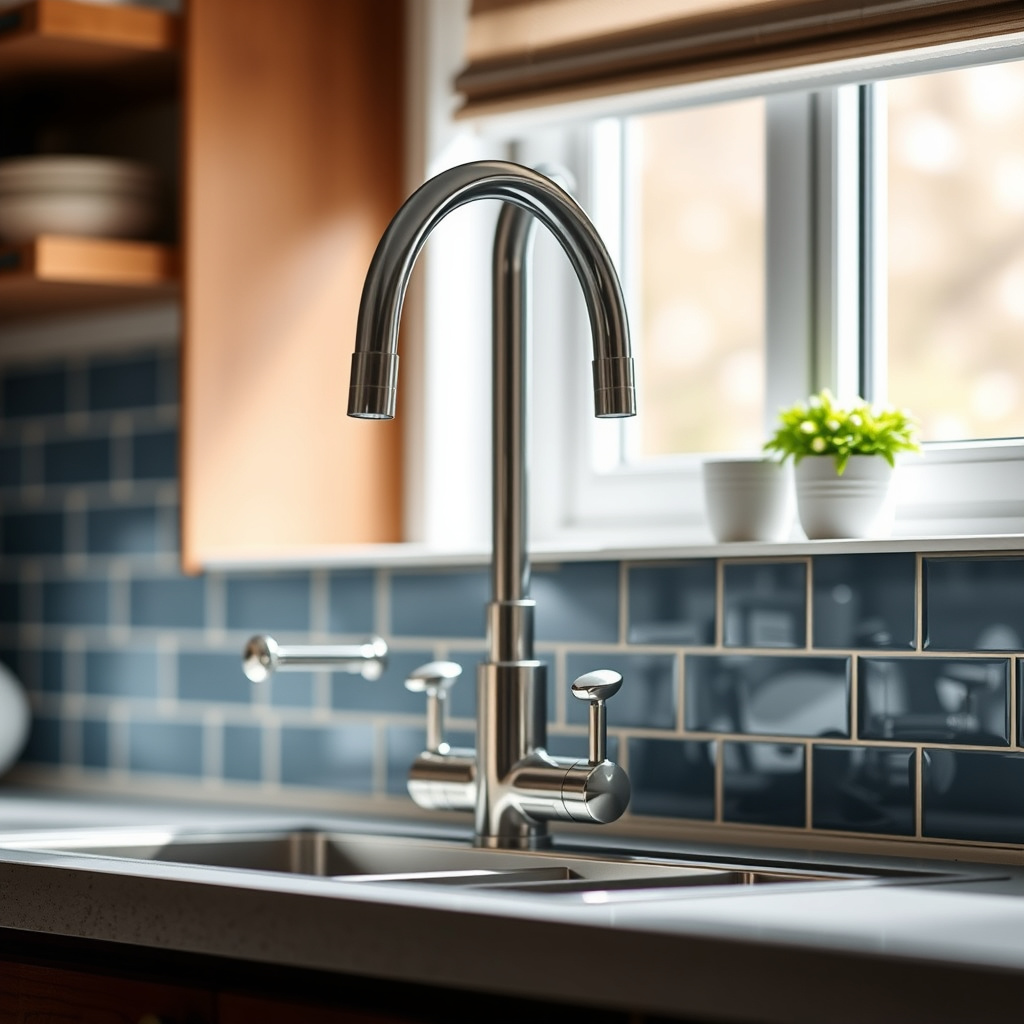
There are several faucet styles to choose from, including single-handle, double-handle, pull-out, pull-down, and touchless models. Single-handle faucets offer easy temperature control, while double-handle faucets provide separate hot and cold adjustments. Pull-out and pull-down faucets add flexibility with spray functionalities.
Knowing the style that fits your sink and kitchen design helps narrow down choices. The style also impacts installation requirements, so identifying your existing faucet type before replacing it will save time.
- Single-handle faucets
- Double-handle faucets
- Pull-out sprayers
- Pull-down sprayers
- Touchless faucets
Features to Consider When Choosing a Faucet
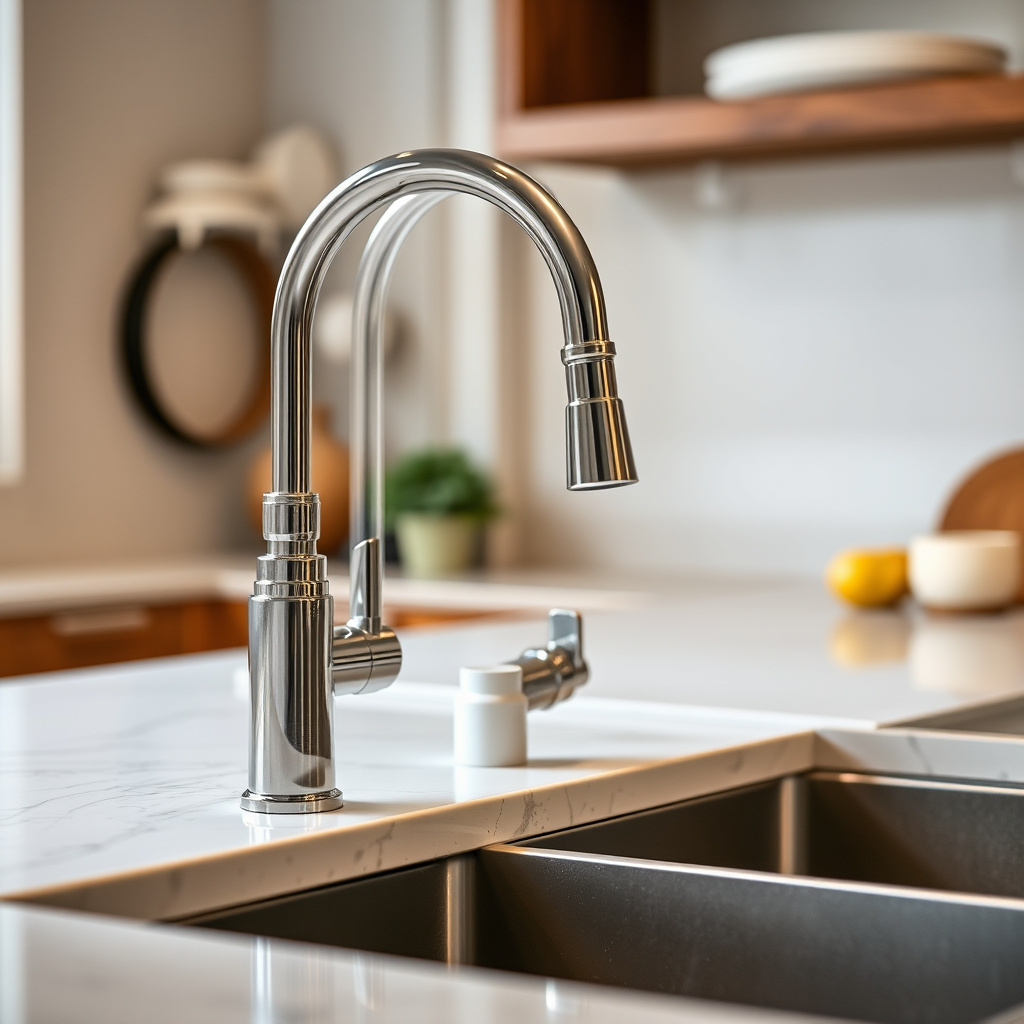
Features like spray patterns, water flow rate, finish, and durability affect both performance and aesthetics. Some faucets offer multiple spray modes for rinsing or filling large pots, while water-efficient models help reduce consumption.
The finish—chrome, stainless steel, brushed nickel, or bronze—should complement your kitchen decor. Additionally, check mounting options and the number of holes on your sink, as these determine compatibility.
- Multiple spray modes
- Water efficiency ratings
- Finish options
- Mounting style compatibility
Preparing for Kitchen Faucet Replacement
Gathering Tools and Materials
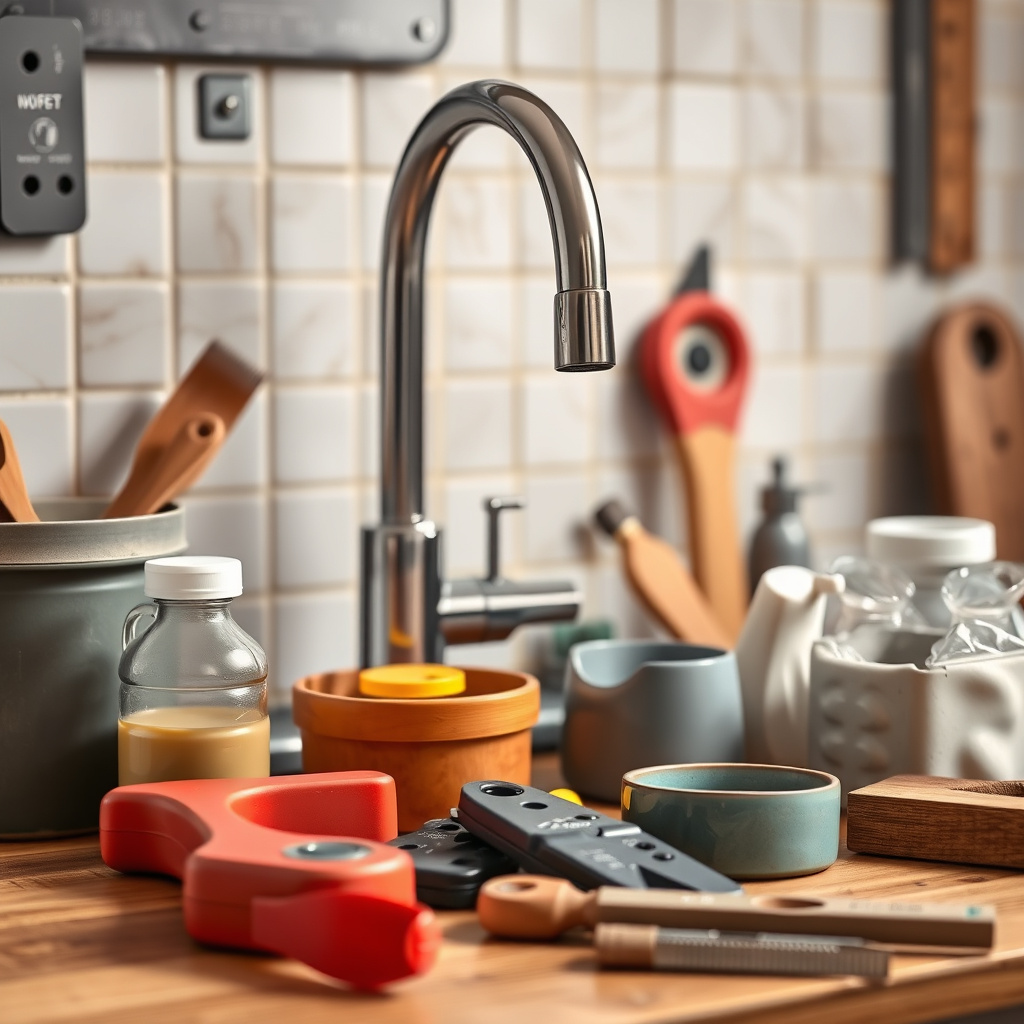
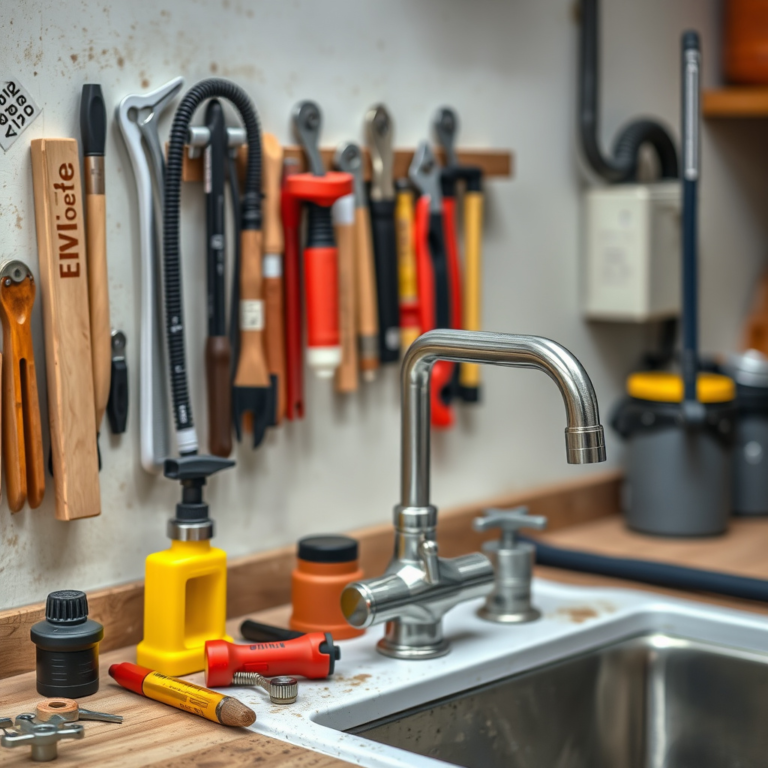
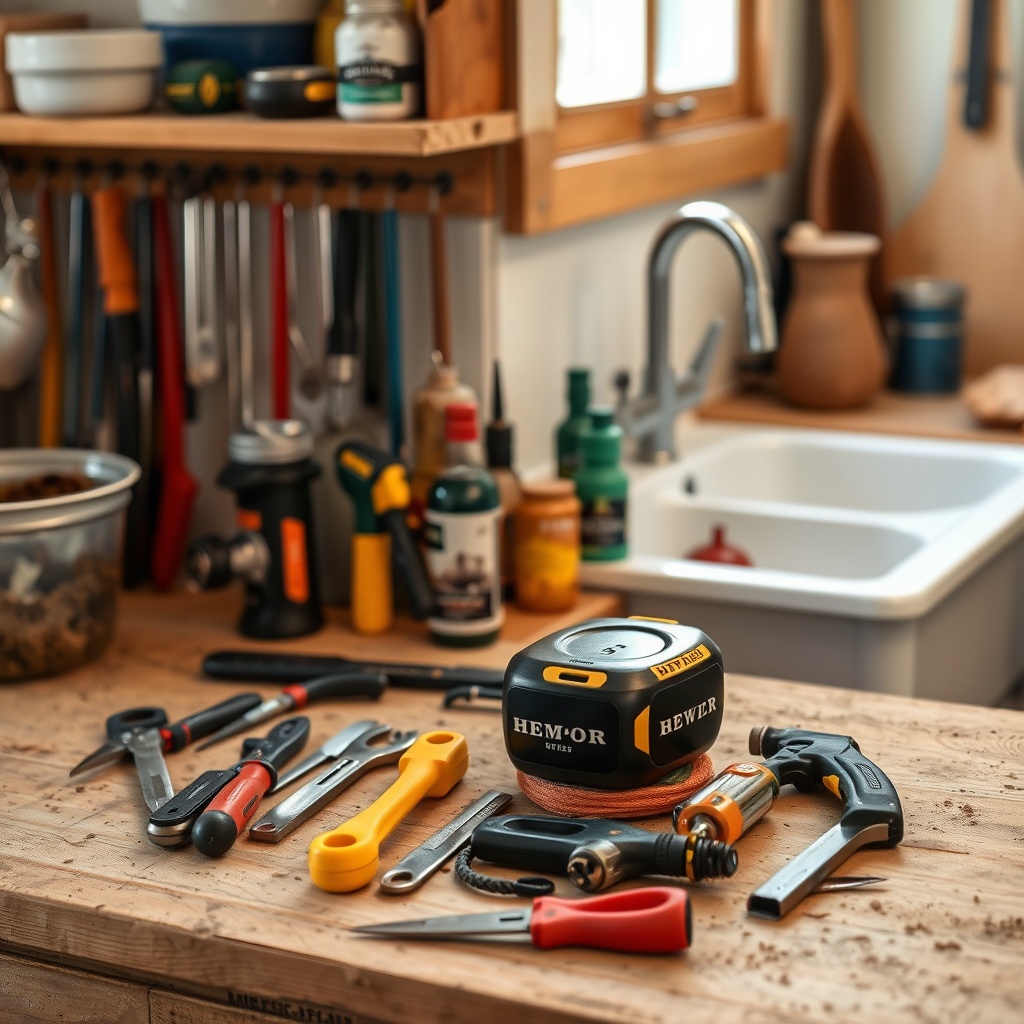
To replace a kitchen faucet, you'll typically need an adjustable wrench, basin wrench, screwdriver, plumber’s tape, bucket, and possibly penetrating oil if nuts are rusted. Having all these items ready before starting prevents interruptions.
Additionally, a flashlight can be useful due to limited visibility under the sink. Always double-check the product instructions for any specific tools required for your new faucet model.
- Adjustable and basin wrenches
- Screwdrivers
- Plumber's tape
- Bucket or towels
- Penetrating oil
Shutting Off Water and Clearing Under-Sink Area
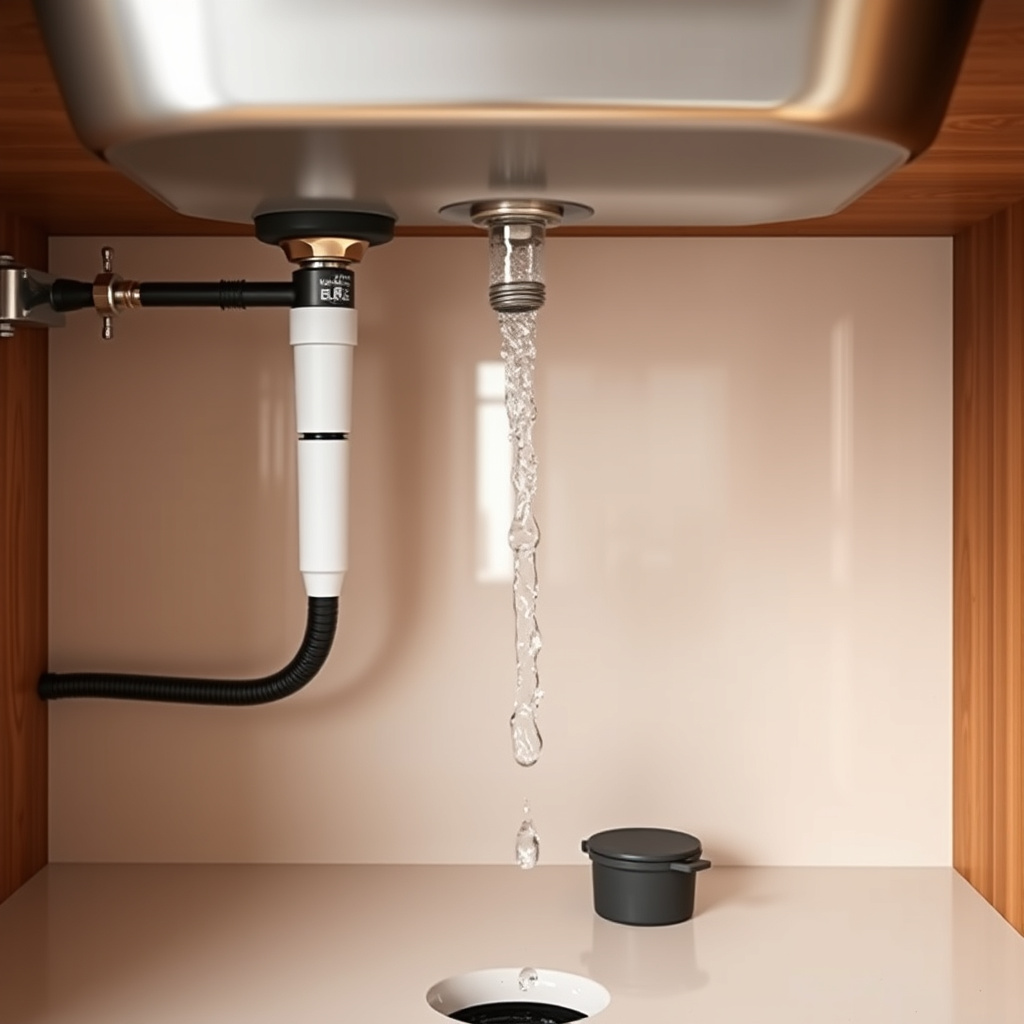
Locate and close the shut-off valves beneath the sink to stop water flow. If those valves are missing or nonfunctional, turn off the main water supply for the house. Opening the faucet afterward relieves remaining pressure.
Clear the cabinet under the sink of any items to give you room to work comfortably. Placing a bucket can catch water that drips during disconnection.
Removing the Old Kitchen Faucet
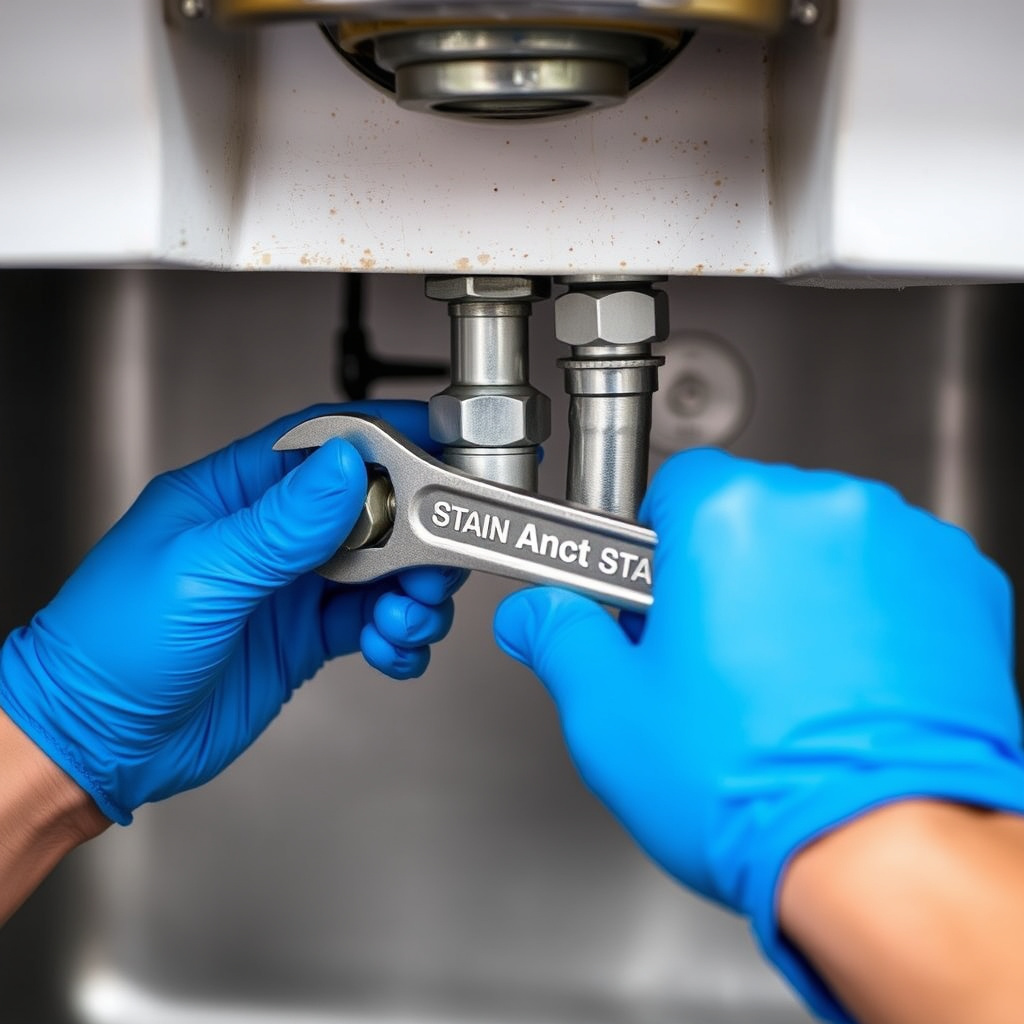
Disconnecting Water Supply Lines
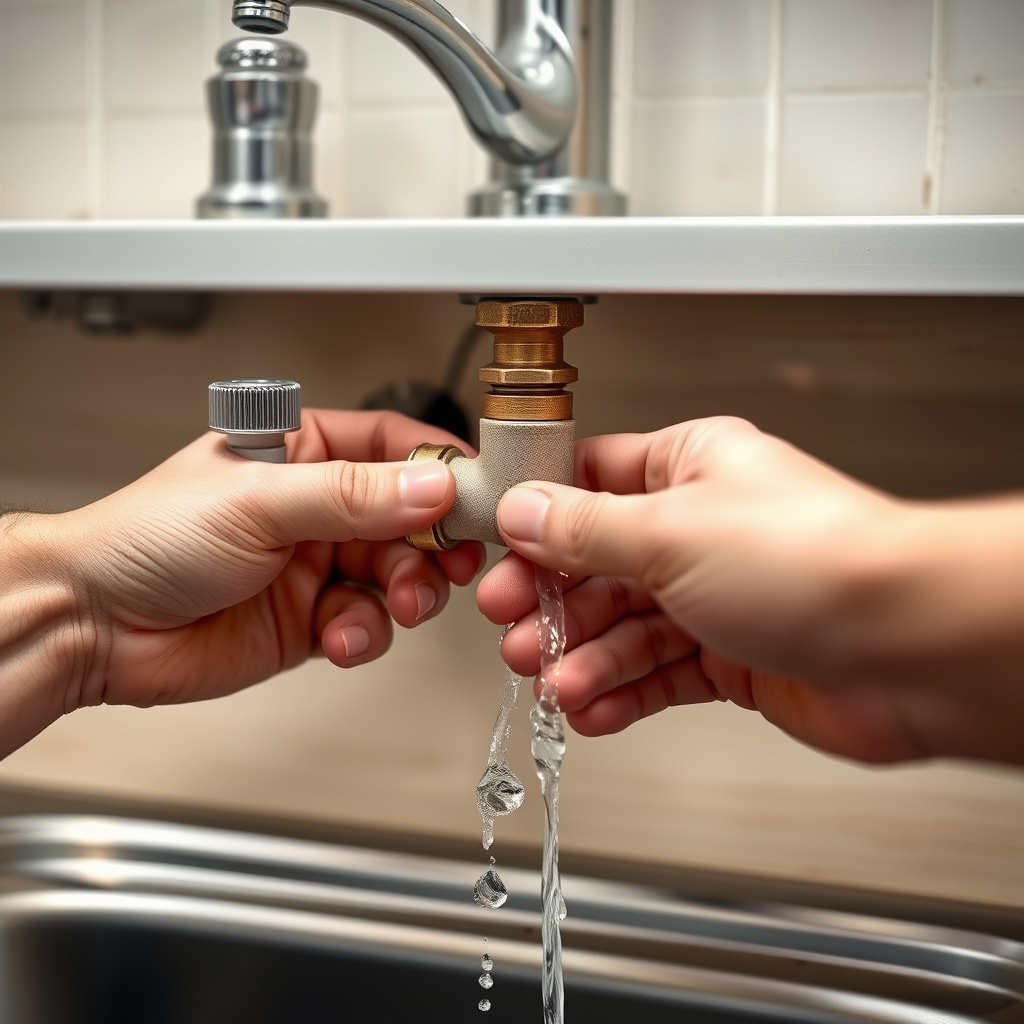
Using an adjustable wrench, carefully loosen the nuts connecting the water supply lines to the faucet. Expect some residual water to leak out, so have towels or a bucket ready.
If the supply lines are worn or corroded, this is a good time to replace them along with the faucet to avoid future leaks.
For more on this, see our related guide: How to Replace a Kitchen Faucet: A Step-by-Step Guide.
Loosening Faucet Mounting Hardware
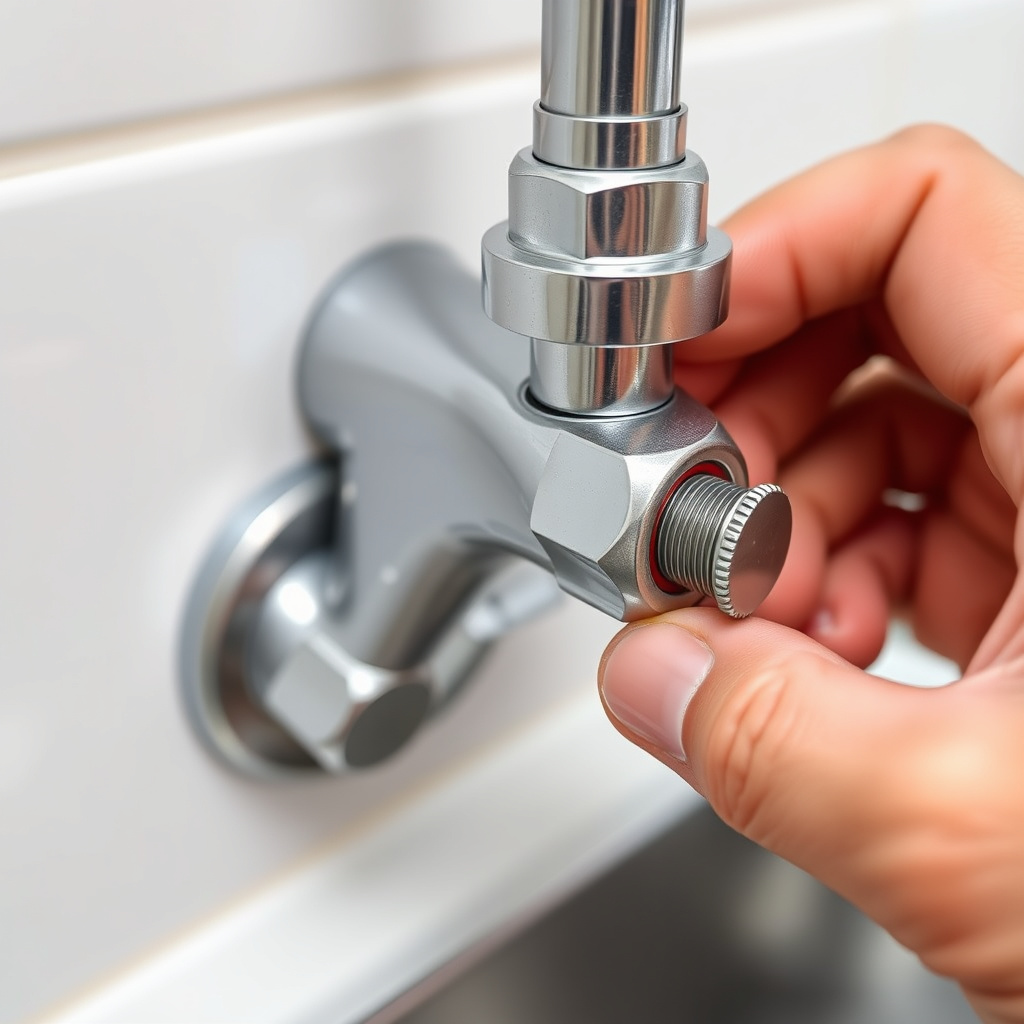
Underneath the sink, use a basin wrench to reach and loosen the mounting nuts holding the faucet in place. Some faucets may have a mounting plate requiring removal.
Once these are removed, you can lift the old faucet off the sink. Clean the sink surface to remove any old putty or grime before installing the new faucet.
Installing the New Kitchen Faucet
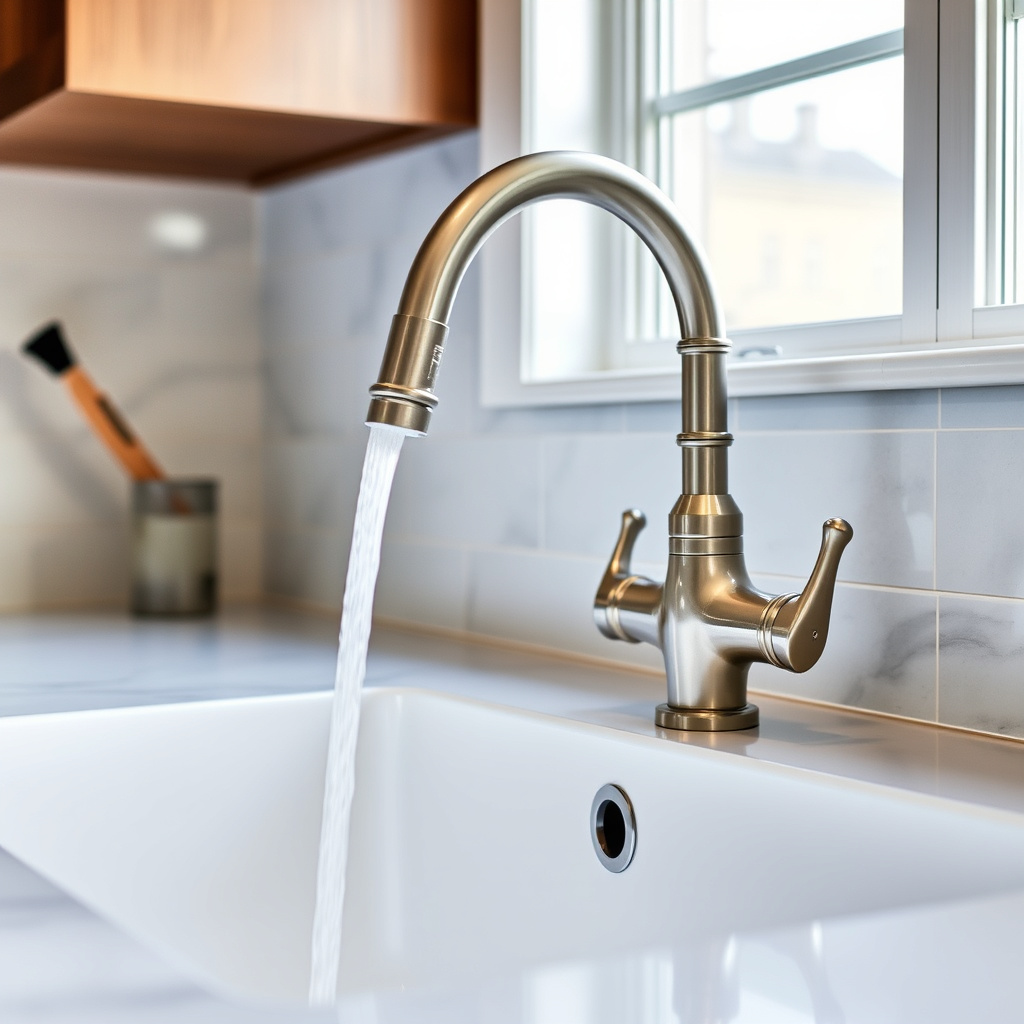
Positioning and Securing the Faucet
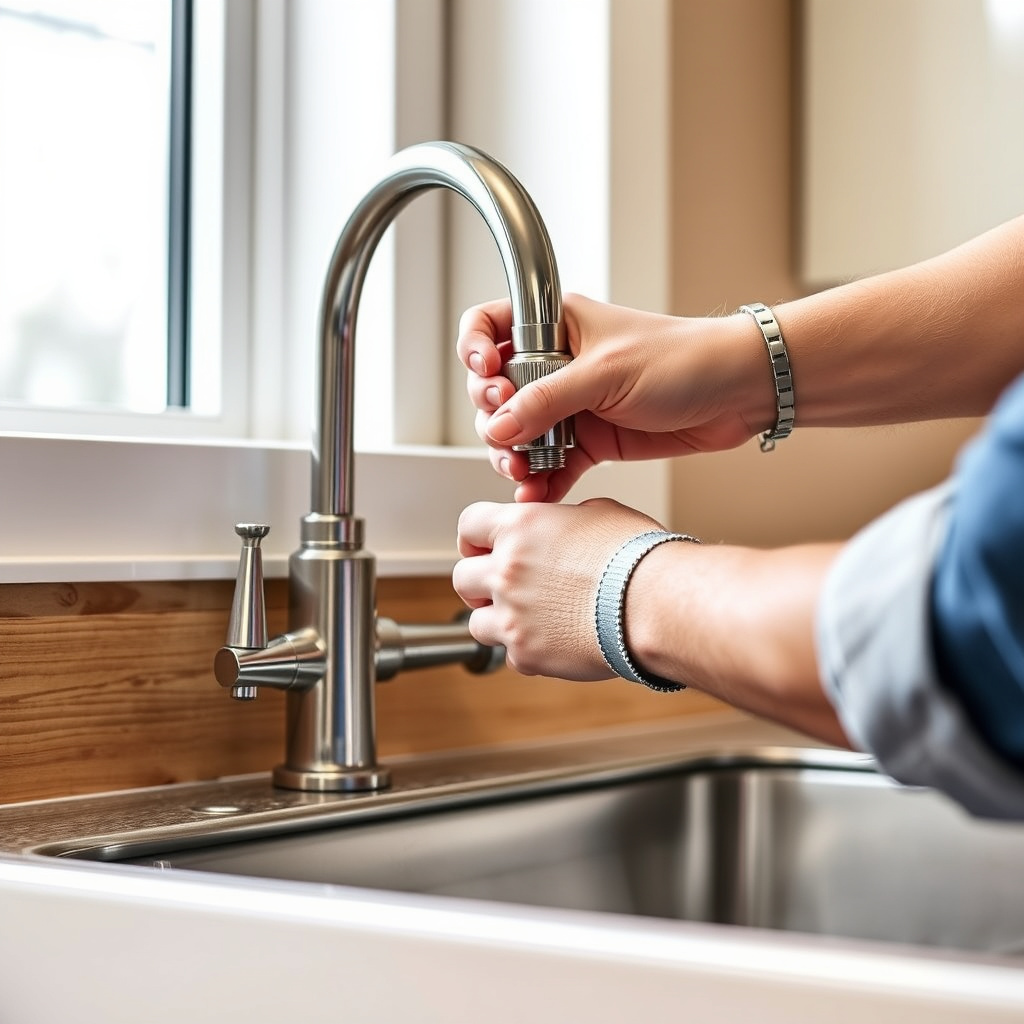
Apply plumber’s putty or gasket to the base of the faucet to ensure a watertight seal. Insert the faucet through the sink mounting holes and secure it underneath with mounting nuts using a basin wrench.
Make sure the faucet is aligned properly before fully tightening, preventing misplacement or leaks.
Connecting Water Supply Lines and Testing
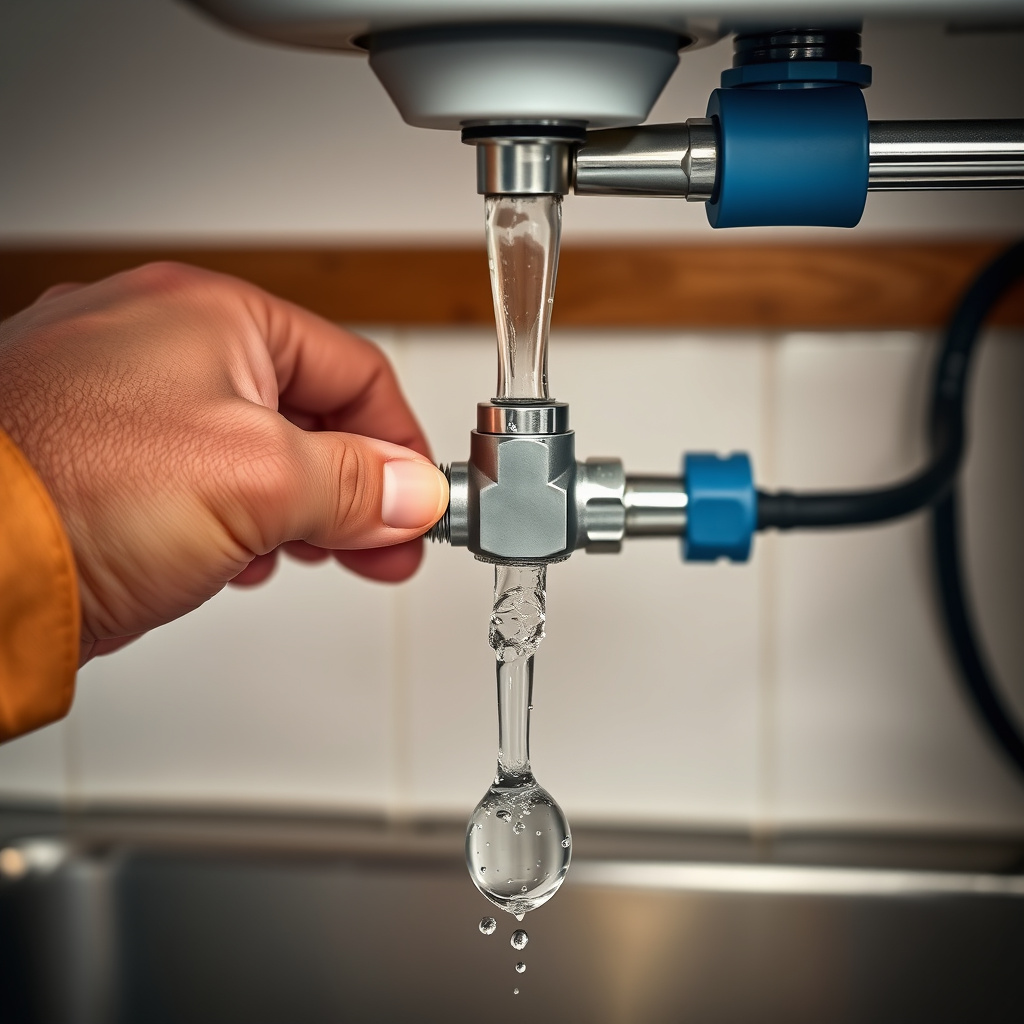
Attach the water supply lines to the faucet’s inlet pipes, ensuring connections are snug but not over-tightened to avoid damage. Wrap threads with plumber’s tape for extra sealing.
Afterward, turn the water supply back on gradually and check for leaks. Test both hot and cold settings, including any spray features, to confirm proper operation.
Troubleshooting Common Issues During Replacement
Dealing with Stubborn or Rusted Connections
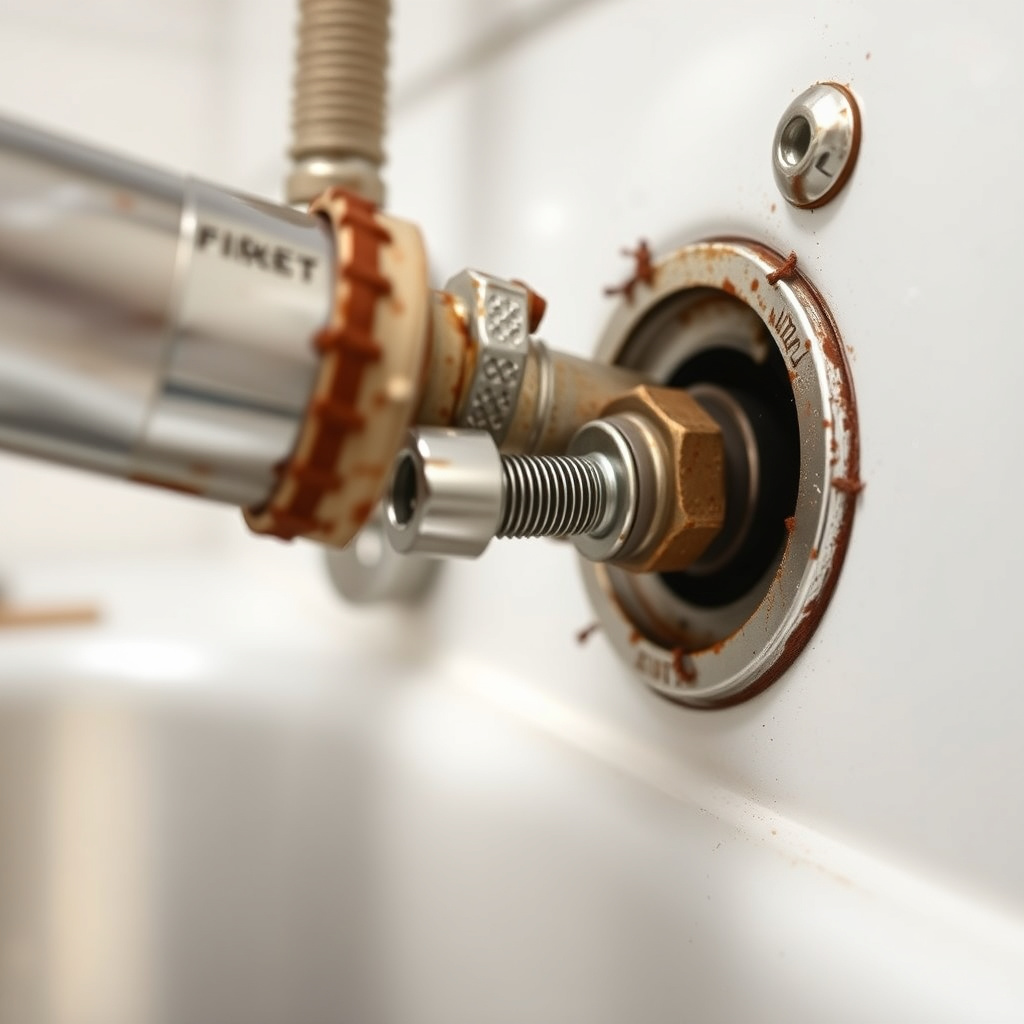
Old plumbing fixtures often have rusted nuts that resist loosening. Applying penetrating oil and letting it sit for 10-15 minutes can ease removal without damaging plumbing.
Using the correct sized wrench and good leverage reduces the chance of rounding off hardware.
For more on this, see our related guide: How to Clean Kitchen Sink Drain: Easy and Effective Methods.
Handling Leaks and Poor Water Flow
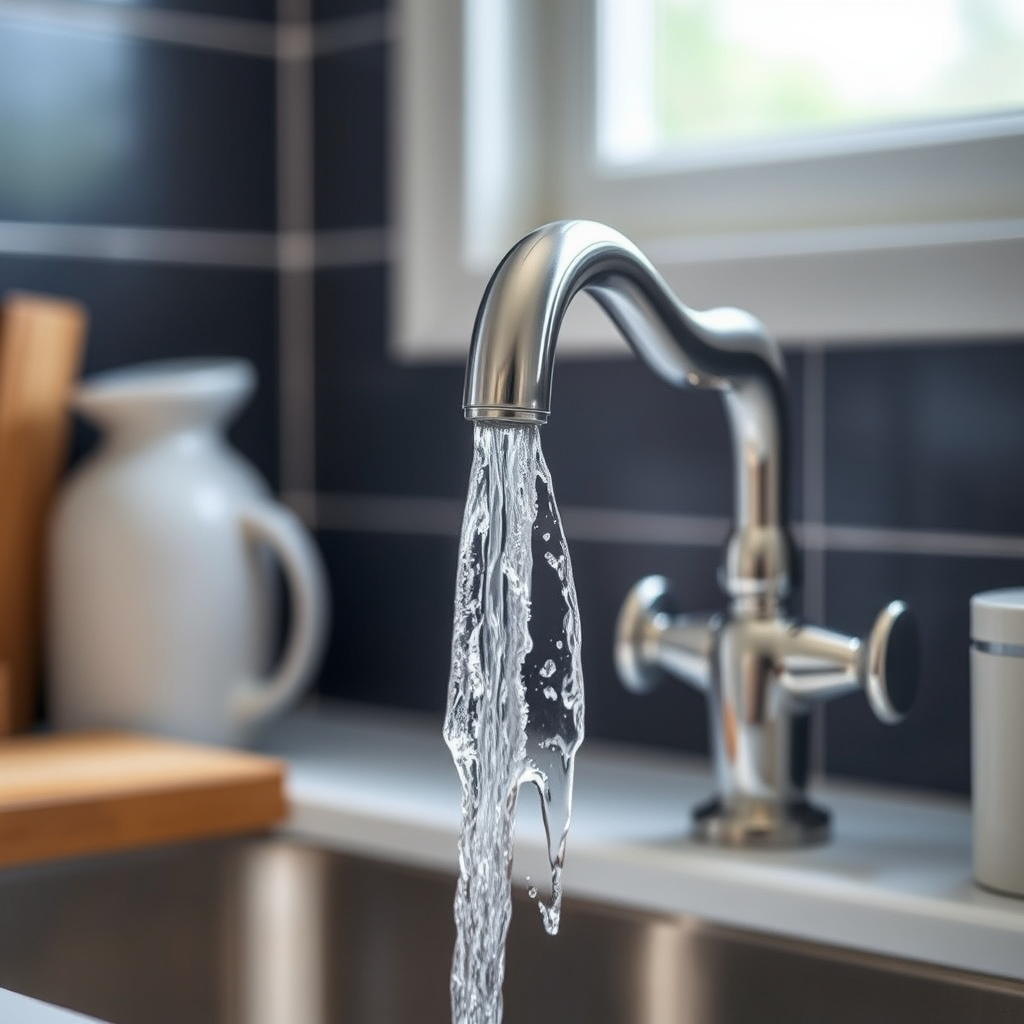
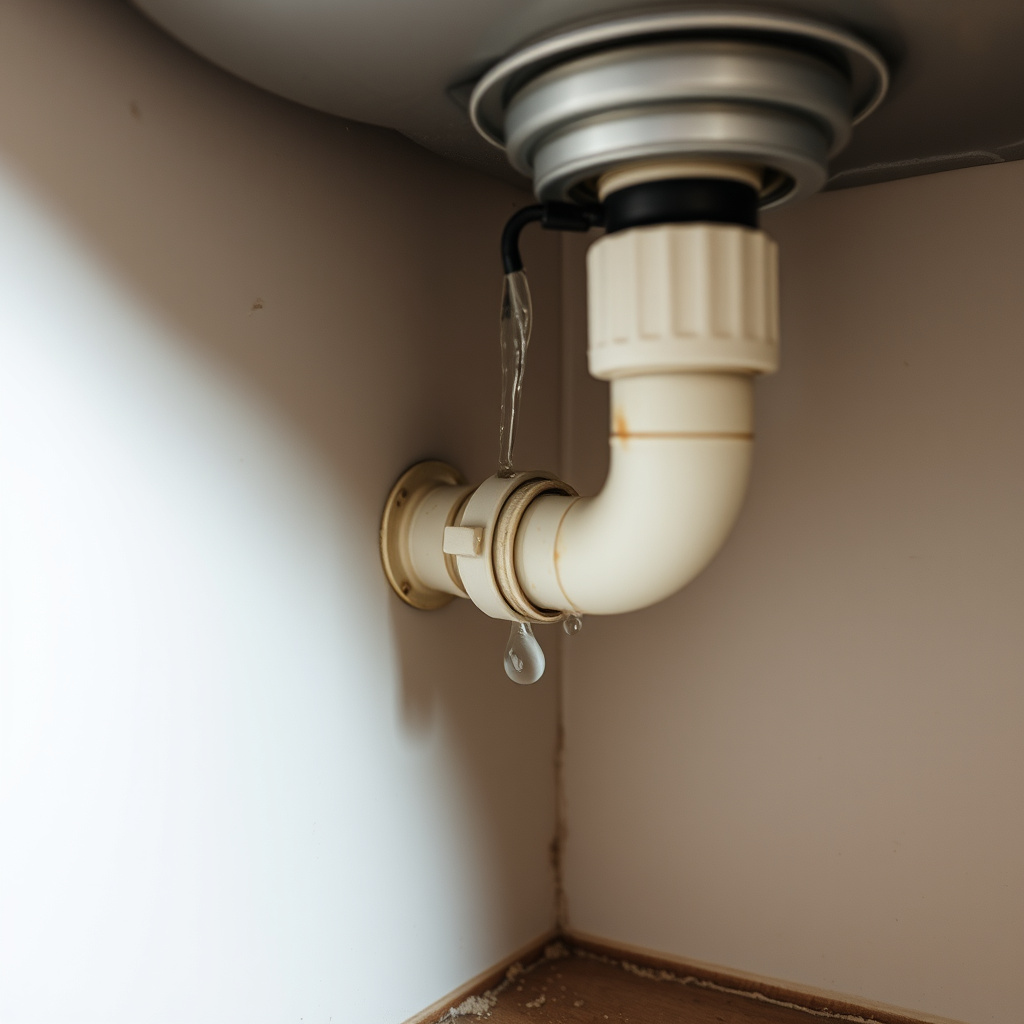
If you notice leaks after installation, double-check that supply lines and mounting nuts are tight and sealed with plumber’s tape. Low water flow may indicate clogged aerators or supply valves not fully opened.
Clearing aerators of mineral deposits or flushing supply lines can restore proper flow.
Maintaining Your Kitchen Faucet for Longevity
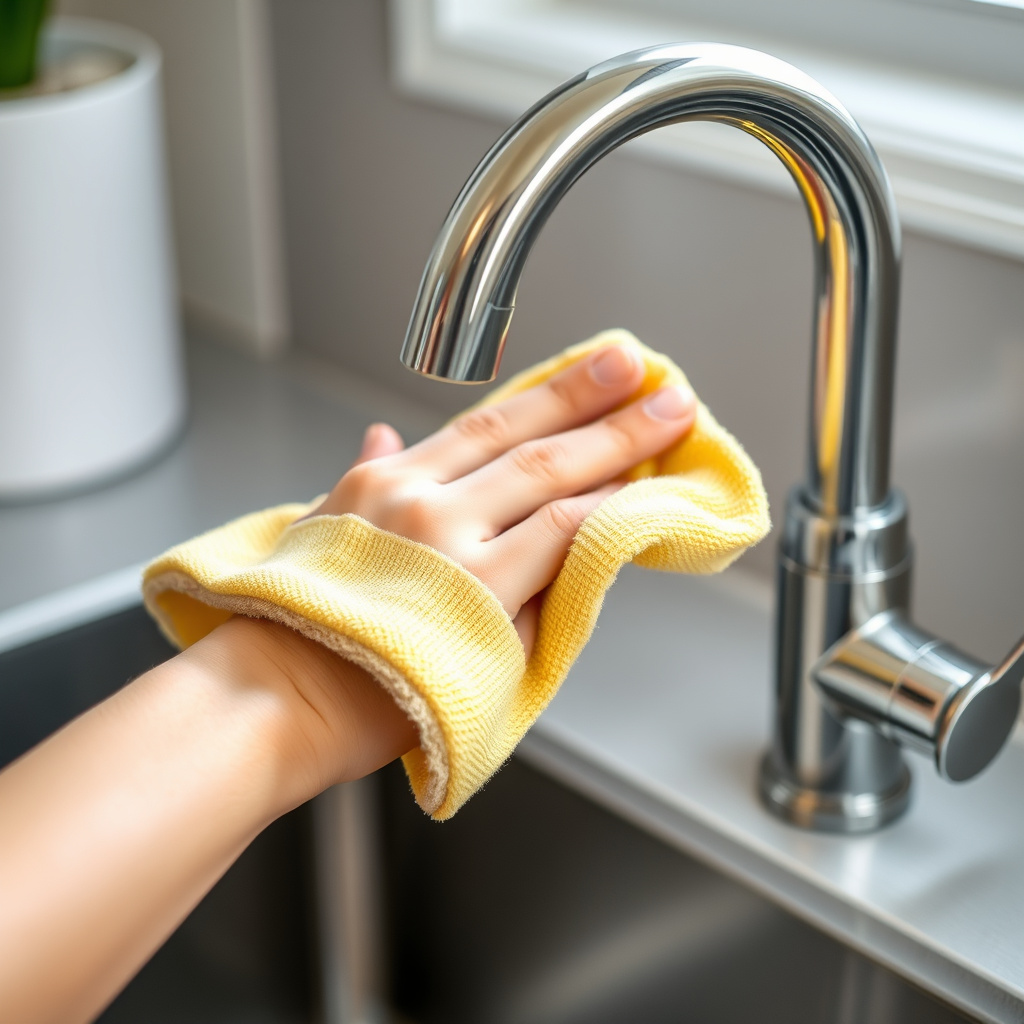
Regular Cleaning and Care Tips

Clean your faucet regularly with mild soap and water to prevent mineral buildup and preserve the finish. Avoid abrasive cleaners that can scratch or damage surfaces.
Wiping faucets dry after use reduces water spots and corrosion.
- Use non-abrasive cleaners
- Dry faucet after use
- Clean aerators periodically
For a comprehensive overview of kitchen faucets, including history and design variations, check out this kitchen faucet information from Wikipedia. kitchen faucet information from Wikipedia.
When to Replace or Upgrade Your Faucet
Signs like persistent leaks, corrosion, difficulty operating handles, or outdated features indicate it’s time for replacement or upgrade. Modern kitchen faucets offer improved water efficiency and added convenience features.
Evaluating these factors annually helps maintain your kitchen’s functionality and style.
Kitchen Faucet Type Comparison
Below is a comparison of popular kitchen faucet types to help you choose the best option for your needs.
| Faucet Type | Ease of Installation | Functionality | Typical Cost | Recommended For |
|---|---|---|---|---|
| Single-handle | Easy | Simple temperature control | $50-$150 | Most kitchens |
| Double-handle | Moderate | Separate hot and cold control | $70-$200 | Traditional style kitchens |
| Pull-down sprayer | Moderate | Flexible spray head | $100-$250 | Heavy use, versatile needs |
| Pull-out sprayer | Moderate | Compact spray head | $90-$220 | Small sinks or limited space |
| Touchless | Advanced | Hands-free operation | $150-$400 | High-tech, hygiene focused |
Frequently Asked Questions
How long does it typically take to replace a kitchen faucet?
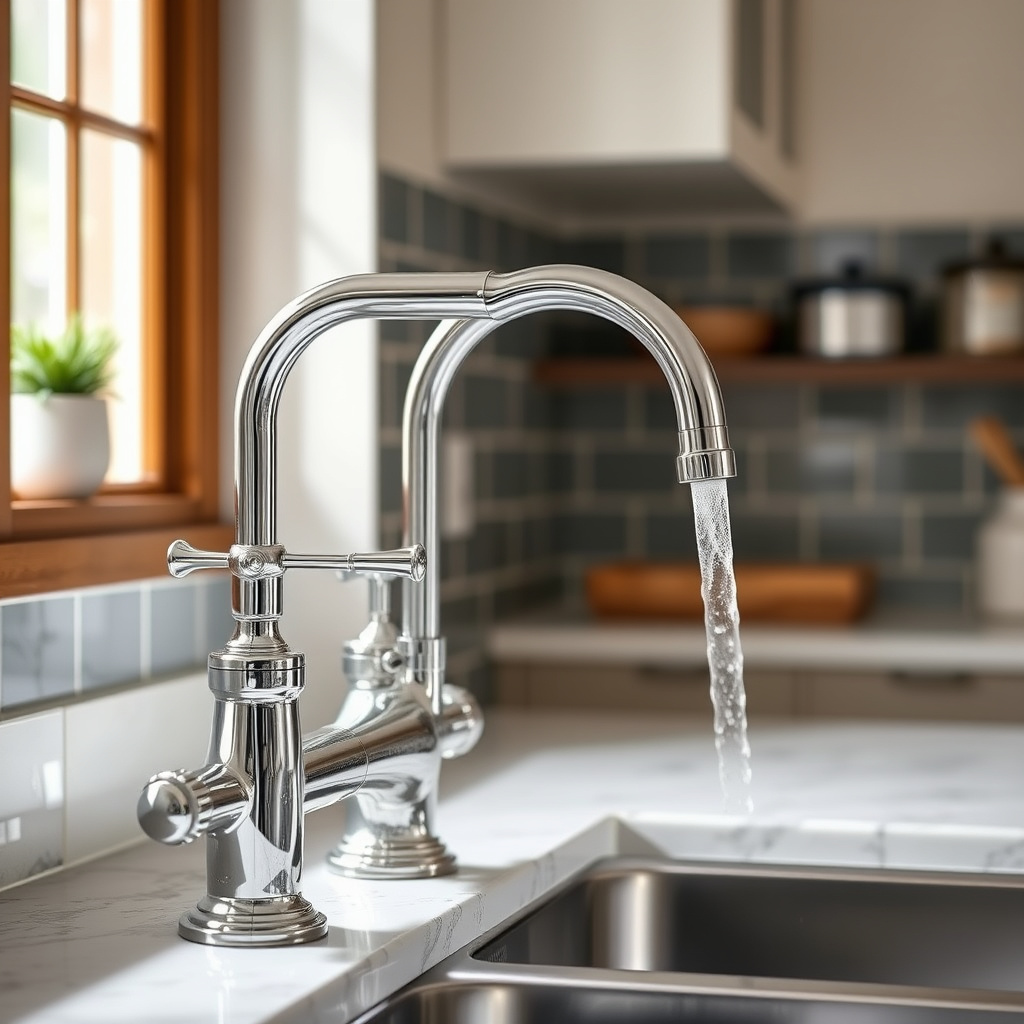
Replacing a kitchen faucet usually takes between 30 minutes to an hour, depending on your experience and any complications like rusted parts.
Do I need special tools to replace a kitchen faucet?
Basic tools like an adjustable wrench, basin wrench, screwdriver, and plumber's tape are usually sufficient for most faucet replacements.
Can I replace a kitchen faucet myself without a plumber?
Yes, many homeowners can replace a kitchen faucet on their own by following instructions carefully and having the right tools.
How do I know if my new faucet is compatible with my sink?
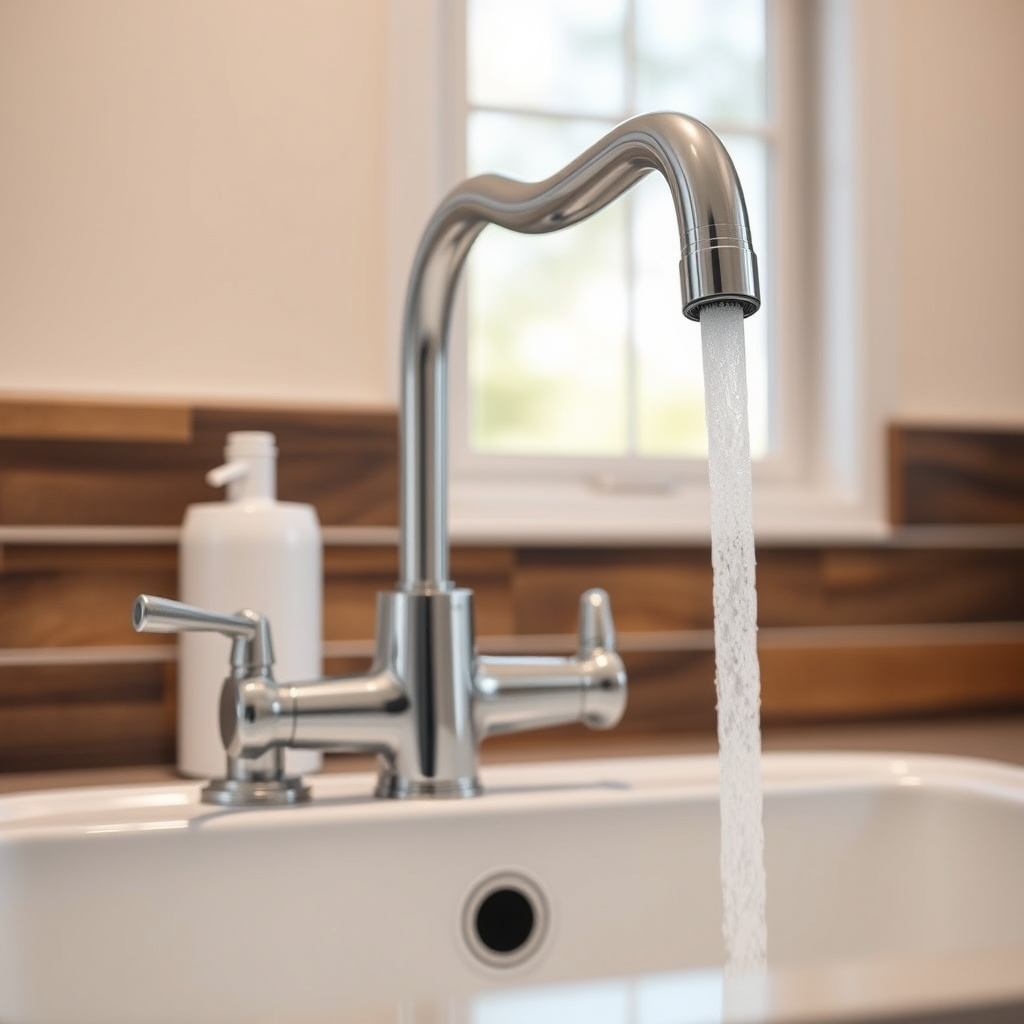
Check the number of mounting holes and their spacing on your sink to ensure compatibility with the faucet's mounting requirements.
What causes leaks after installing a new kitchen faucet?
Leaks usually happen if supply connections or mounting nuts are not tight, or if plumber’s tape was not applied properly.
Key Takeaways
- Identify your faucet style and features before purchasing replacement
- Prepare tools and shut off water supply to avoid messes
- Use plumber’s tape and proper wrenches to secure connections
- Test thoroughly for leaks and smooth operation after installation
Conclusion
Replacing a kitchen faucet involves understanding your current setup, choosing a compatible and functional new faucet, preparing with the right tools, and carefully removing the old fixture before installing the replacement. Following systematic steps reduces surprises and ensures a solid, leak-free outcome. This hands-on approach transforms a common household task into an achievable DIY project that can refresh your kitchen’s look and performance.
When selecting a new faucet, consider styles like single-handle or pull-down sprayers depending on your daily kitchen tasks and preferences. For smaller sinks, a pull-out faucet can maximize space, while touchless models provide added convenience and hygiene. Following kitchen faucet replacement tips such as checking sink hole configuration and applying plumber’s tape on threaded connections makes installation smoother and prevents future leaks.
After installation, routine maintenance like cleaning aerators and wiping the faucet dry keeps it performing well for years to come. If you encounter stubborn hardware or leaks, revisiting the connection tightness and sealant application is wise. Overall, taking measured steps during replacement and upkeep ensures your kitchen faucet remains reliable and stylish, improving your kitchen experience immediately.