How to Paint Kitchen Cabinets Like a Pro: Step-by-Step Guide
Painting kitchen cabinets starts with proper preparation: clean all surfaces, remove hardware, sand to smooth imperfections, then apply primer before painting with the right paint type. This process guarantees a durable and attractive finish.
Kitchen cabinets undergo frequent use and exposure to moisture, so painting them correctly extends their lifespan and refreshes your kitchen's look without the expense of replacing. Selecting the best paint for kitchen cabinets and following a thorough method ensures lasting beauty and function.
This article breaks down the painting process into clear stages including surface prep, choosing materials, painting technique, and finishing touches to help anyone achieve professional results on kitchen cabinets.
Preparing Your Kitchen Cabinets for Painting
Cleaning and Removing Hardware
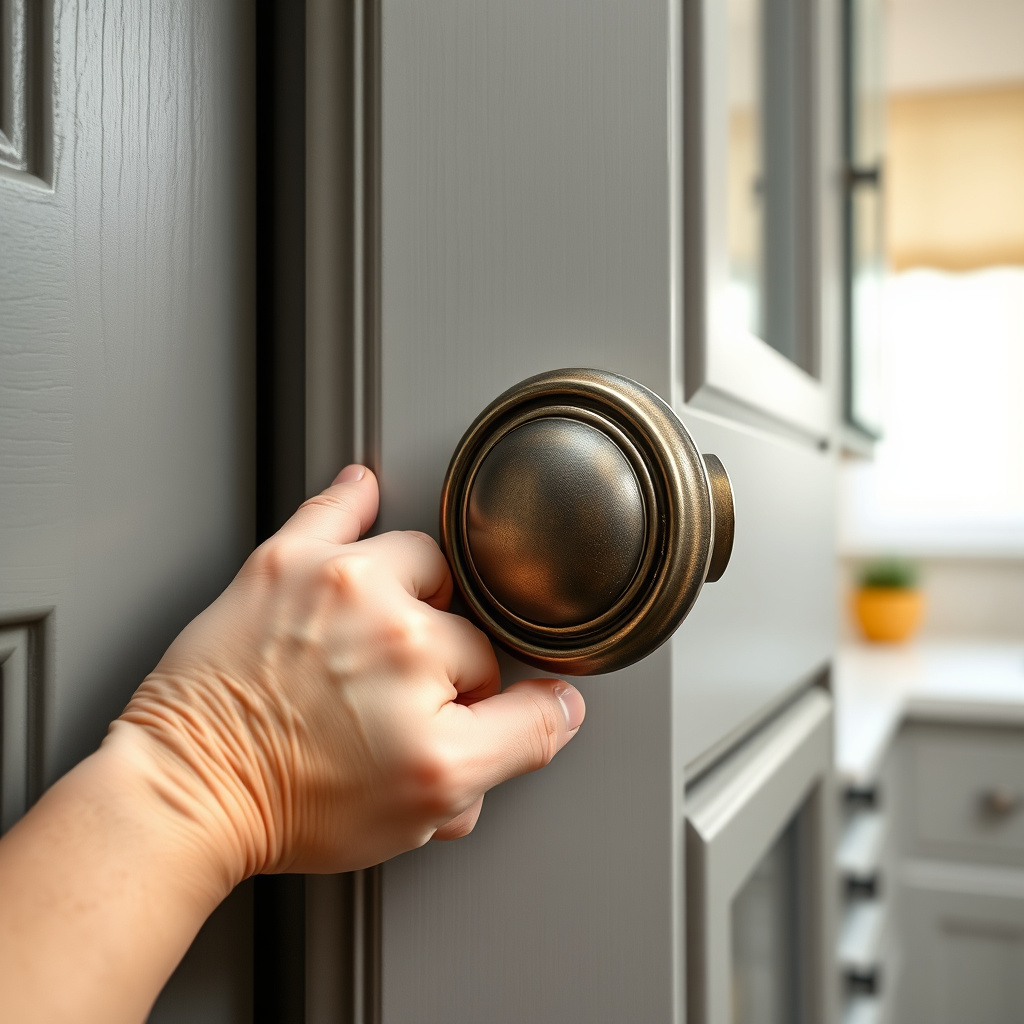
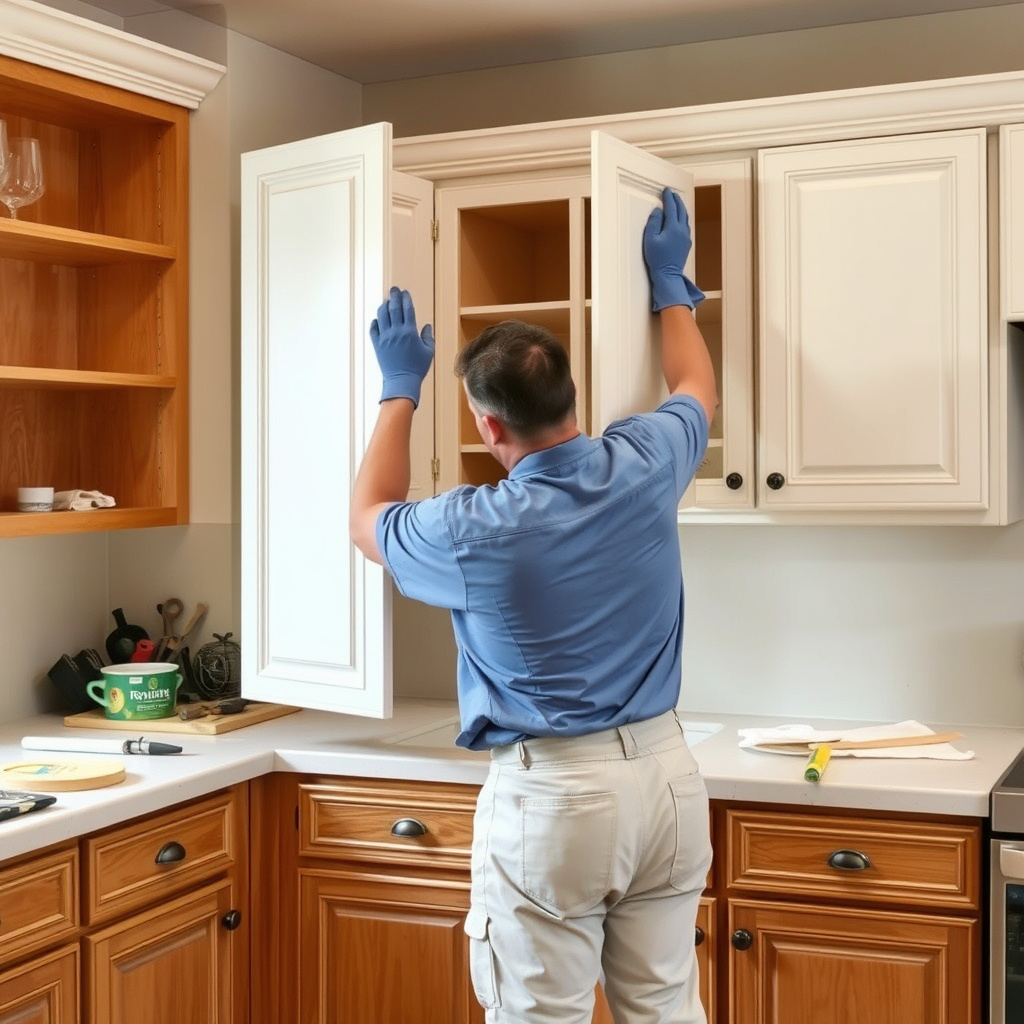
Start by removing all cabinet doors, drawers, and hardware like handles and hinges. Clean every surface thoroughly with a degreaser to remove oils and kitchen residues that could prevent paint adhesion.
Allow the cabinets to dry completely after cleaning to avoid trapping moisture beneath paint layers, which can cause bubbling or peeling later.
- Use a heavy-duty degreaser such as TSP
- Wear gloves to protect your skin
- Label doors and hardware for easier reassembly
Sanding the Surfaces
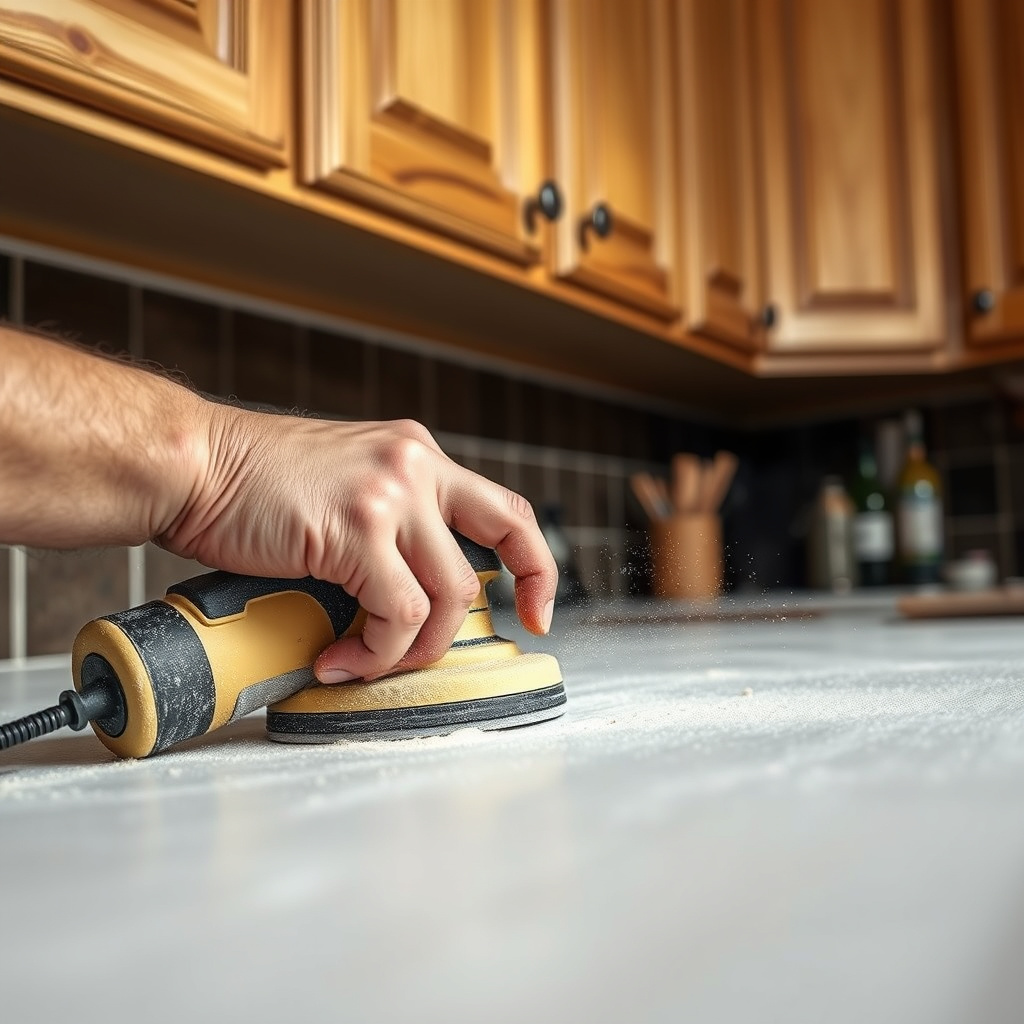
Lightly sand the cabinet surfaces with fine-grit sandpaper (around 220 grit) to remove the gloss from factory finishes and create a profile the primer can grip.
Focus on edges, corners, and any damaged areas for smoothness, then wipe down all dust using a tack cloth or damp rag before priming.
- Use an orbital sander for larger flat panels
- Sand inside door panels carefully to avoid gouges
Choosing the Right Materials
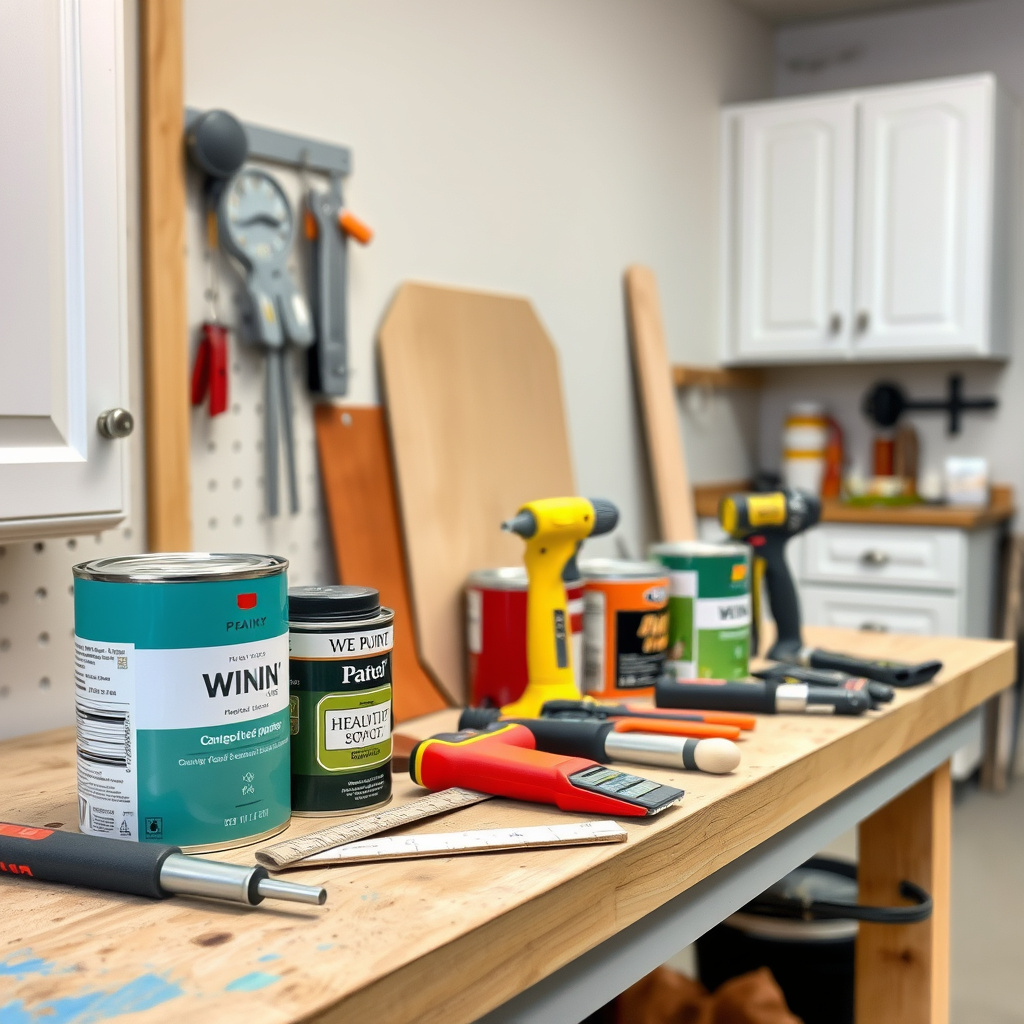
Selecting the Best Paint for Kitchen Cabinets
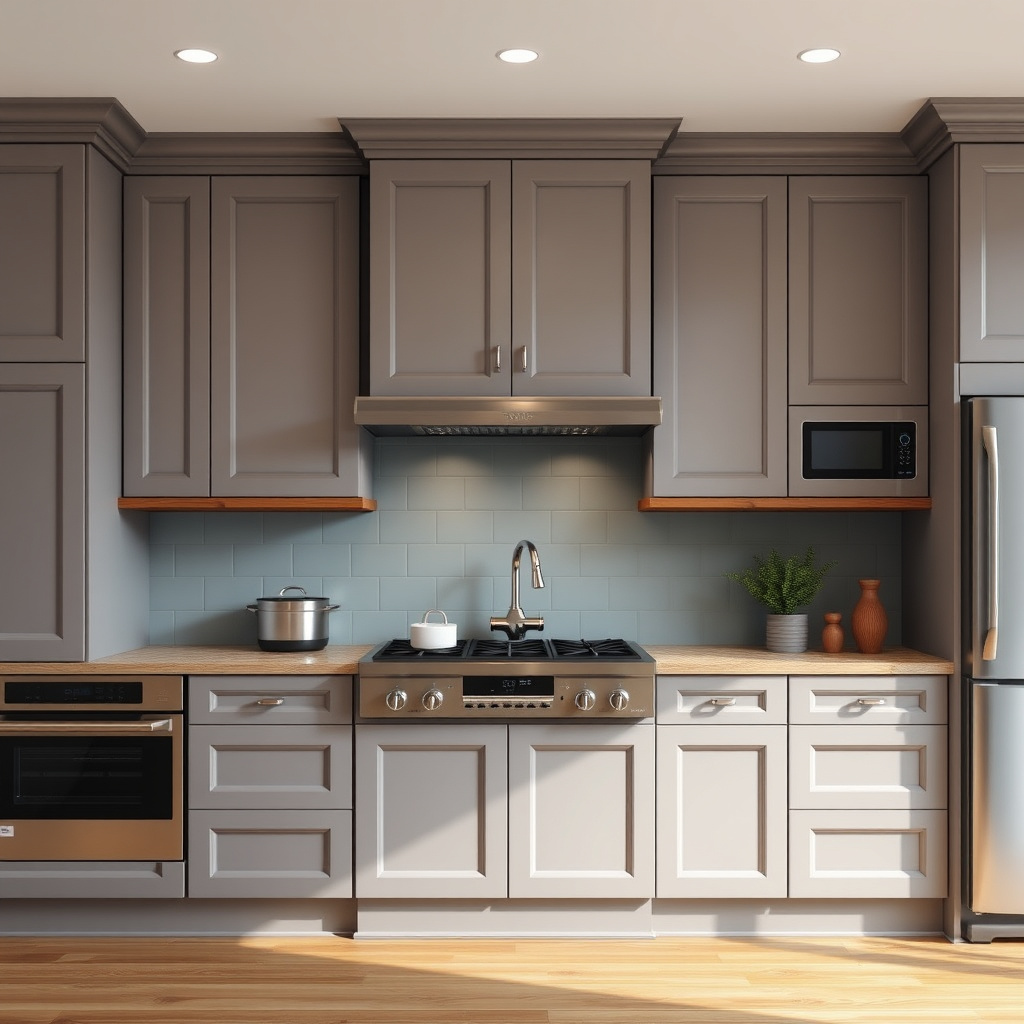
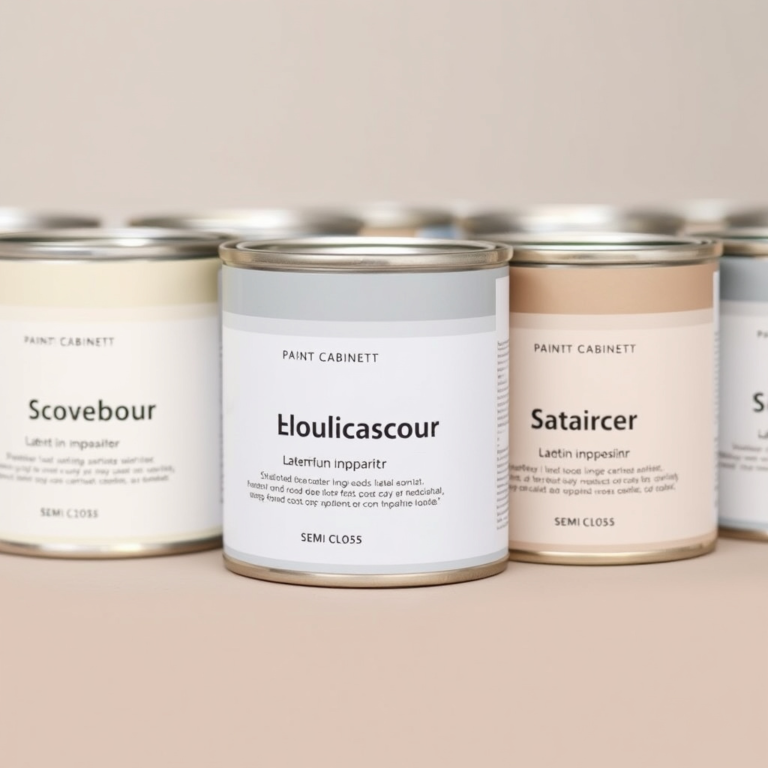
For a durable finish, choose a high-quality paint specifically designed for cabinets or furniture. Semi-gloss or satin finishes provide easy cleaning and resist moisture better than flat paints.
Popular options include acrylic latex paints and alkyd-based enamels, which offer a smooth and long-lasting coat suited to kitchen environments.
- Consider water-based enamel paints for low odor
- Check drying times for your choice of paint
For more on this, see our related guide: How to Plan a Kitchen Remodel: A Step-by-Step Guide for Your Dream Space.
Gathering Essential Tools
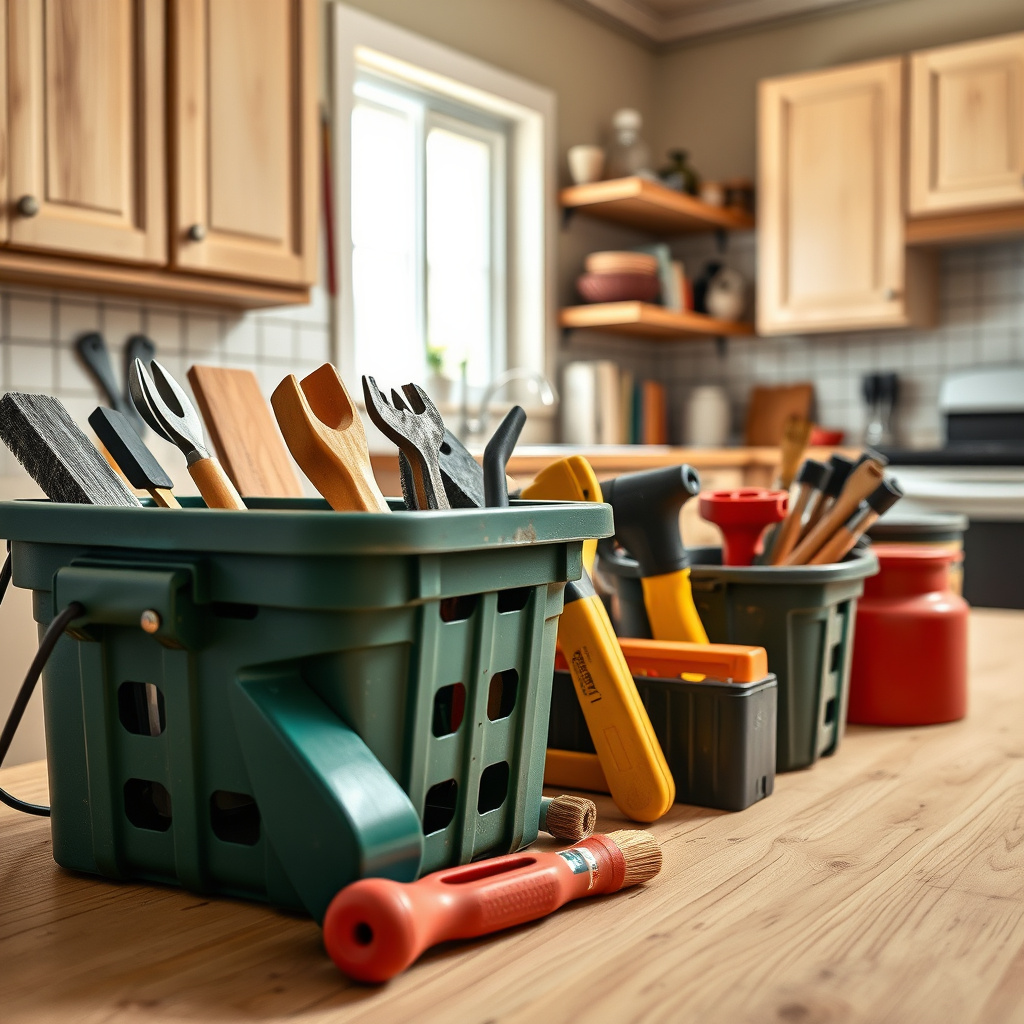
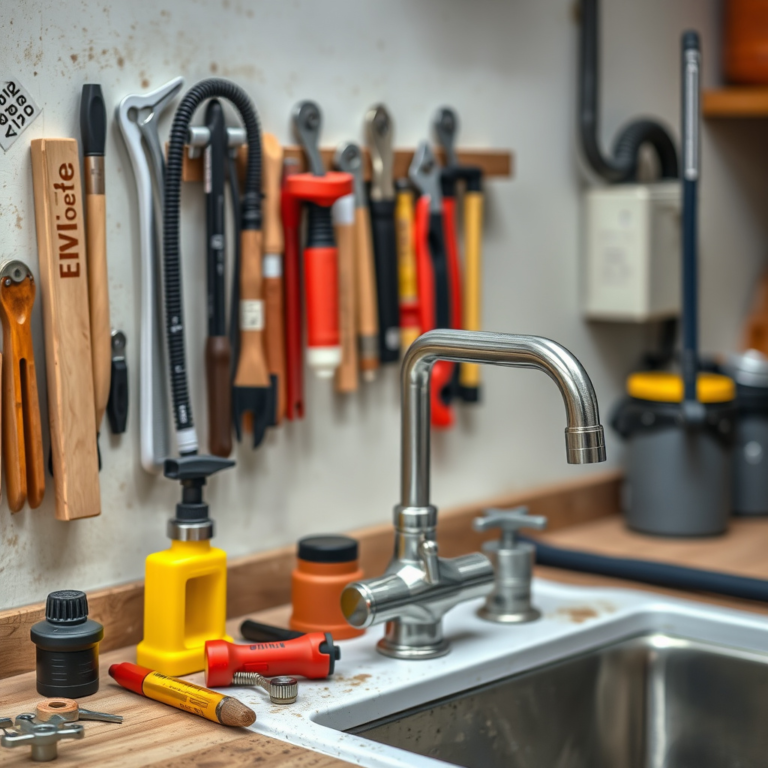
Gather brushes with synthetic bristles, foam rollers for smooth surfaces, high-quality primer, painter's tape, drop cloths, and sanding supplies to complete your project efficiently.
Using painters’ pyramids to elevate doors during drying helps avoid dust settling on wet paint and reduces handling marks.
- Use a brush for detailed areas and a roller for flat panels
- Have multiple sandpaper grits ready for finishing
Priming and Painting Your Kitchen Cabinets
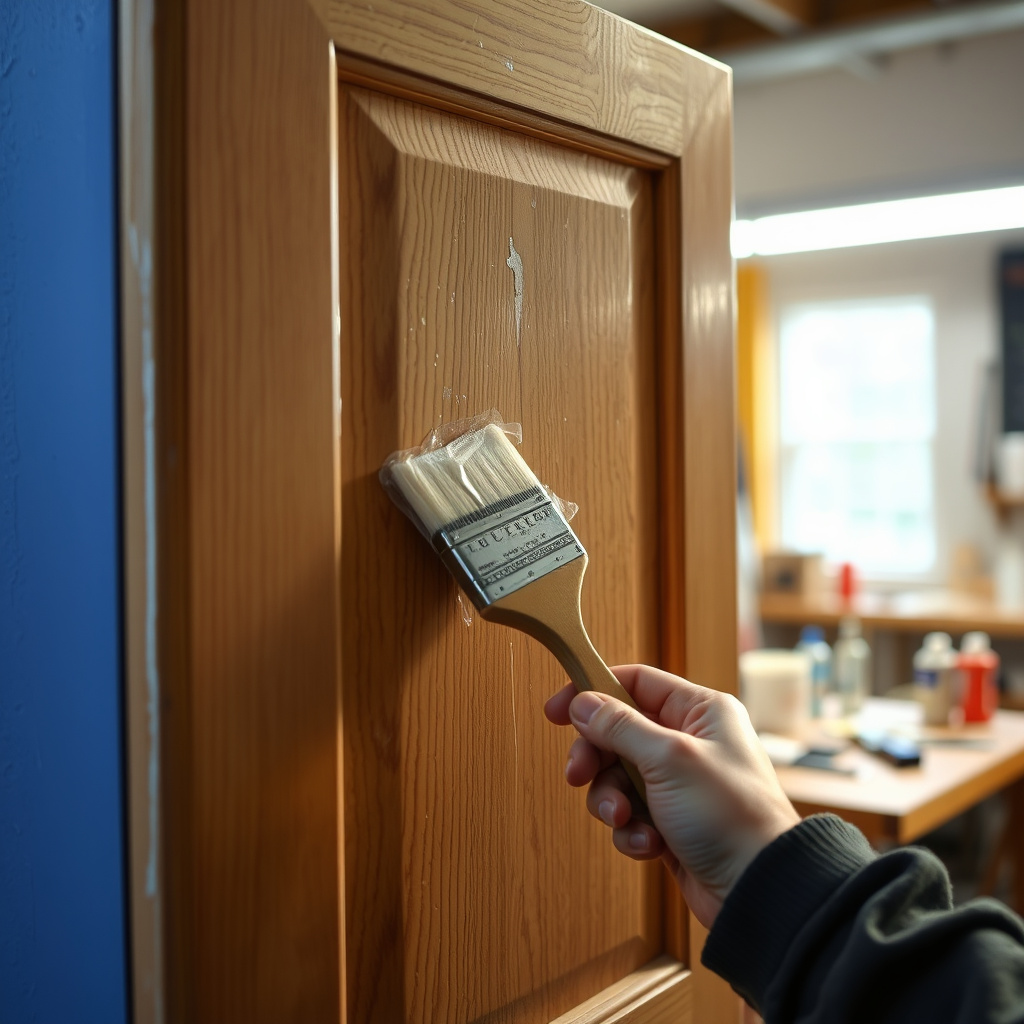
Applying Primer Correctly
Apply a thin and even coat of stain-blocking primer to all surfaces to help the paint adhere and block spots or tannins from bleeding through.
Wait until the primer is completely dry and lightly sand it with very fine sandpaper for a smooth base before painting.
- Use a quality brush for corners and edges
- Apply primer in a dust-free environment
Painting Technique for a Smooth Finish
Apply paint in thin, even coats using a foam roller for large areas and a brush for detailed trim to reduce visible strokes and drips.
Two to three coats usually yield the best coverage, allowing proper drying time between each. Light sanding between coats further improves paint adhesion and smoothness.
- Maintain a wet edge to avoid lap marks
- Avoid applying thick coats which may cause runs
Finishing Touches and Reassembly
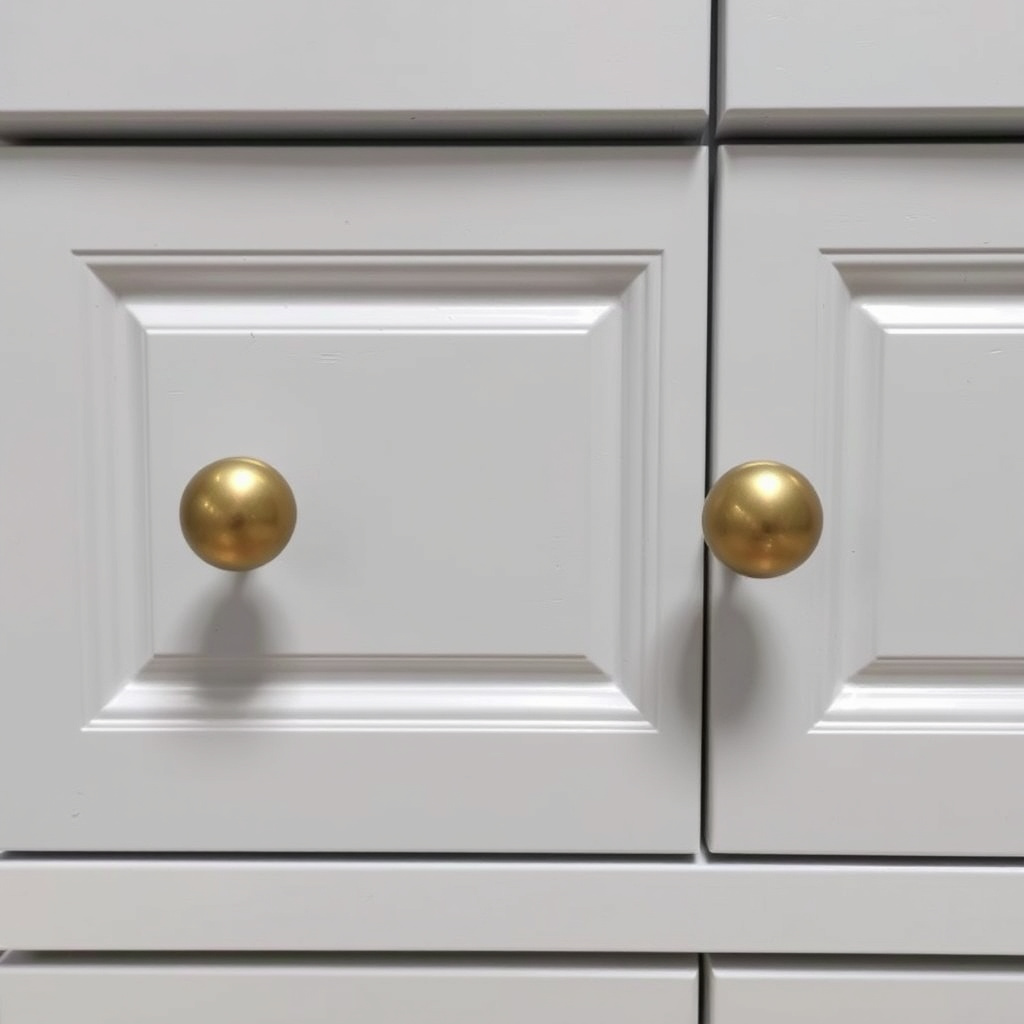
Sealing and Protecting the Paint
To guard against wear and stains, apply a clear polyurethane or acrylic topcoat designed for cabinets. Choose a finish compatible with your paint to avoid clouding or yellowing.
This step enhances durability, particularly for high-traffic kitchens where surfaces endure frequent cleaning.
- Use water-based finishes for less odor and faster drying
- Apply at least two thin coats for proper protection
For more on this, see our related guide: How to Make a Small Kitchen Look Bigger: Practical Design Tips.
Reinstalling Doors and Hardware
Once all paint and sealant layers are fully cured, carefully reattach cabinet doors, drawers, and hardware. Adjust hinges if necessary to align doors properly.
Label your pieces from earlier preparation to speed up reassembly and avoid confusion.
- Use new hardware screws if old ones stripped
- Check that all doors close smoothly
Maintaining Painted Kitchen Cabinets
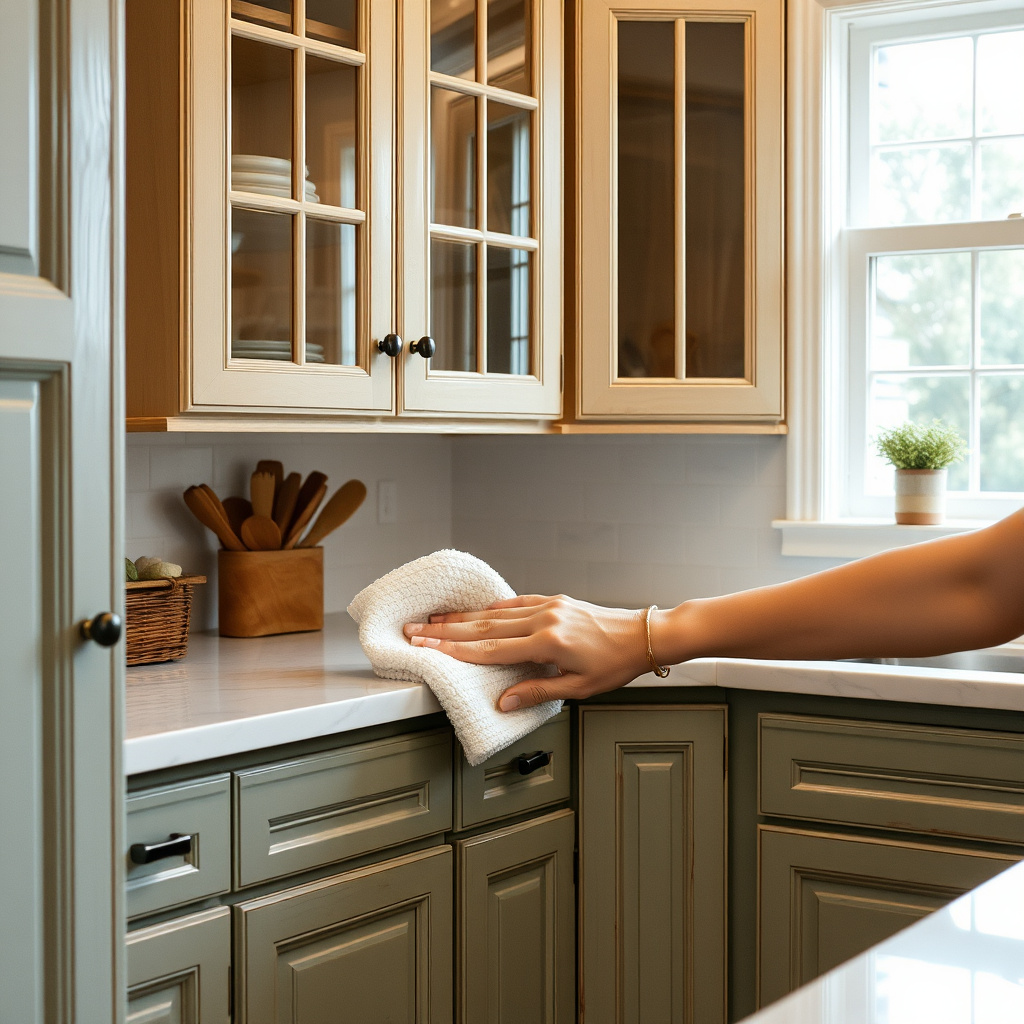
Cleaning Without Damaging the Finish
Use mild soap and water with a soft cloth to clean painted cabinet surfaces. Avoid abrasive cleaners or scrubbers that might scratch or dull the paint.
Promptly wipe away spills, grease, and stains to maintain the cabinet’s fresh look over time.
- Test cleaning solution on a hidden area first
- Do not saturate edges with water to prevent swelling
For additional insights into cabinet painting techniques, see painting kitchen cabinets techniques on Wikipedia. painting kitchen cabinets techniques.
Touch-Ups and Repair Tips
Keep leftover paint for small touch-ups to cover minor chips or scratches. Lightly sand damaged spots and apply paint with a small brush to blend seamlessly.
Periodic inspection helps catch wear early and prolong cabinet attractiveness.
- Store paint in airtight containers to prevent drying
- Use painters’ putty for fixing dents before painting
Types of Paint for Kitchen Cabinets: A Comparison
Here’s a comparison of common paint types used for kitchen cabinets, detailing durability, finish, and drying times to help you pick the best paint.
| Paint Type | Durability | Finish Options | Drying Time | Ease of Use |
|---|---|---|---|---|
| Water-based acrylic latex | High | Satin, Semi-gloss | 1-2 hours to touch dry | Easy cleanup, low odor |
| Alkyd-based enamel | Very high | Gloss, Semi-gloss | 6-8 hours to touch dry | Requires mineral spirits cleaning |
| Chalk paint | Moderate | Matte | 1 hour to touch dry | Minimal prep, requires sealing |
| Milk paint | Moderate | Matte | 30 minutes to dry | Natural finish, needs sealing |
| Oil-based paint | High | Gloss, Semi-gloss | 8+ hours to dry | Strong smell, longer curing |
Frequently Asked Questions
Do I really need to sand kitchen cabinets before painting?
Yes, sanding removes the gloss and roughens the surface, helping primer and paint bond better, which results in a smoother and longer-lasting finish.
Can I use regular wall paint on kitchen cabinets?
While possible, wall paint is not ideal for cabinets as it lacks the durability and moisture resistance required for kitchen surfaces.
How long should painted kitchen cabinets dry before reinstalling?
It's best to wait at least 24 to 48 hours for paint to cure sufficiently before handling or reinstalling the cabinet doors to avoid damage.
What is the best finish for kitchen cabinets?
Semi-gloss or satin finishes provide a balance between durability, ease of cleaning, and aesthetic appeal for kitchen cabinetry.
Should I apply a clear coat over painted kitchen cabinets?
Applying a compatible clear polyurethane or acrylic topcoat protects the paint from scratches, stains, and moisture, extending its lifespan significantly.
Key Takeaways
- Proper prep with cleaning and sanding is essential for paint adhesion.
- Choose semi-gloss or satin paints designed for cabinet durability.
- Apply thin, even coats with primer and allow full drying between layers.
- Use a clear protective topcoat for lasting finish and easy maintenance.
Conclusion
Painting kitchen cabinets requires a careful approach to preparation, product selection, and technique. By thoroughly cleaning, sanding, and priming the surfaces, you create a solid foundation that allows paint to adhere well and resist the kitchen’s humid, high-use environment. Selecting the right type of paint, especially those formulated for cabinetry, ensures a finish that withstands scratches, stains, and repeated cleaning, creating a refreshed kitchen look that lasts.
For most homeowners, water-based acrylic latex paint in a semi-gloss or satin finish provides the best balance of durability and ease of use. Alkyd-based enamels, while extremely durable, require more ventilation and longer drying times, better suited to experienced DIYers or professionals. Remember to apply multiple thin coats and use a clear protective topcoat to enhance resistance to wear. This approach adapts well to various kitchen styles, from traditional wooden cabinets to modern flat panels.
Once you’ve completed painting and finishing, maintain your kitchen cabinets by using mild cleaning agents and promptly addressing any chips or scratches with touch-ups from leftover paint. This way, your freshly painted kitchen cabinetry maintains its vibrant look and durability for years. If you’re ready to refresh your kitchen, following this guide step-by-step will help make your cabinet painting project a rewarding success.