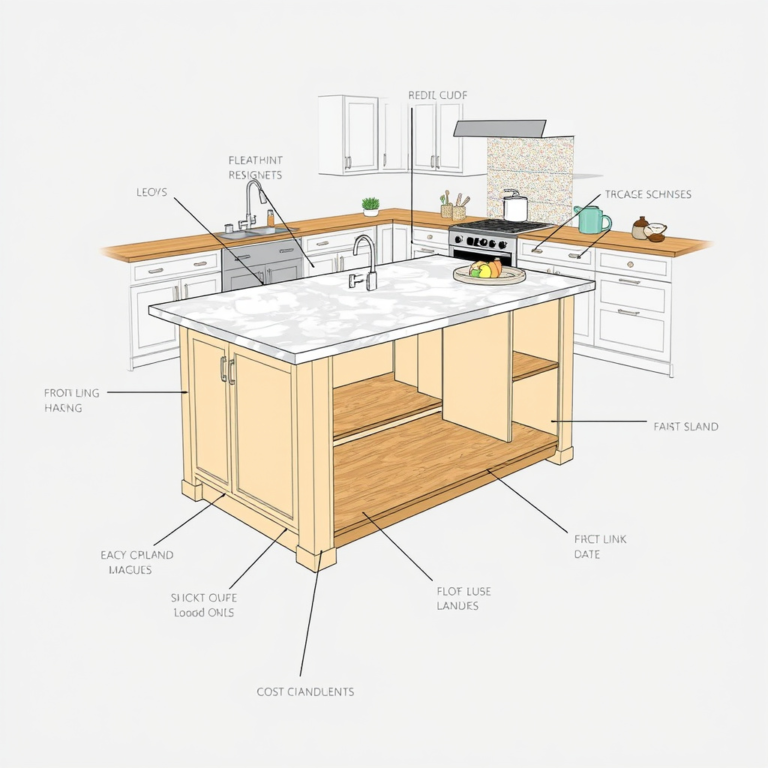
How to Install a Backsplash in the Kitchen: A Step-by-Step Guide
Installing a backsplash in the kitchen can transform its look while protecting your walls from spills and stains. You start by measuring the area accurately, preparing the surface, selecting the right adhesive and tiles, then carefully applying and finishing the backsplash. This process requires some basic tools but can be completed by most DIY enthusiasts within a day or two.
A backsplash not only brings personality to your kitchen but also offers practical benefits such as easier cleaning and wall protection. Whether you opt for ceramic tiles, glass panels, or peel-and-stick alternatives, knowing the installation steps helps avoid common mistakes and gives your kitchen a polished appearance.
This article breaks down the installation process into manageable stages, from preparation through grout application. Additionally, we cover material choices, tool recommendations, cost considerations, and common pitfalls. By the end, you’ll be confident tackling your kitchen backsplash installation and enhancing your cooking space.
Measuring and Planning Your Backsplash Installation
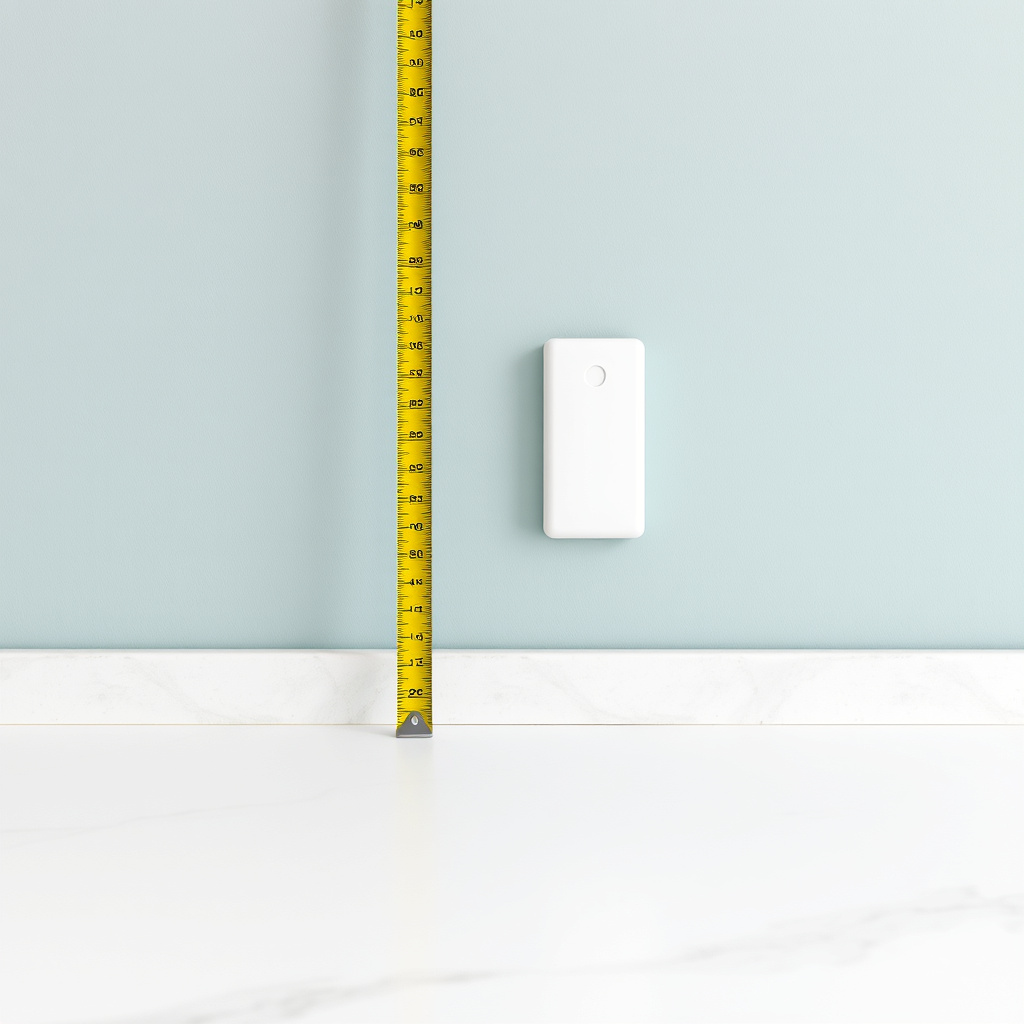
Accurate Measurements for a Perfect Fit
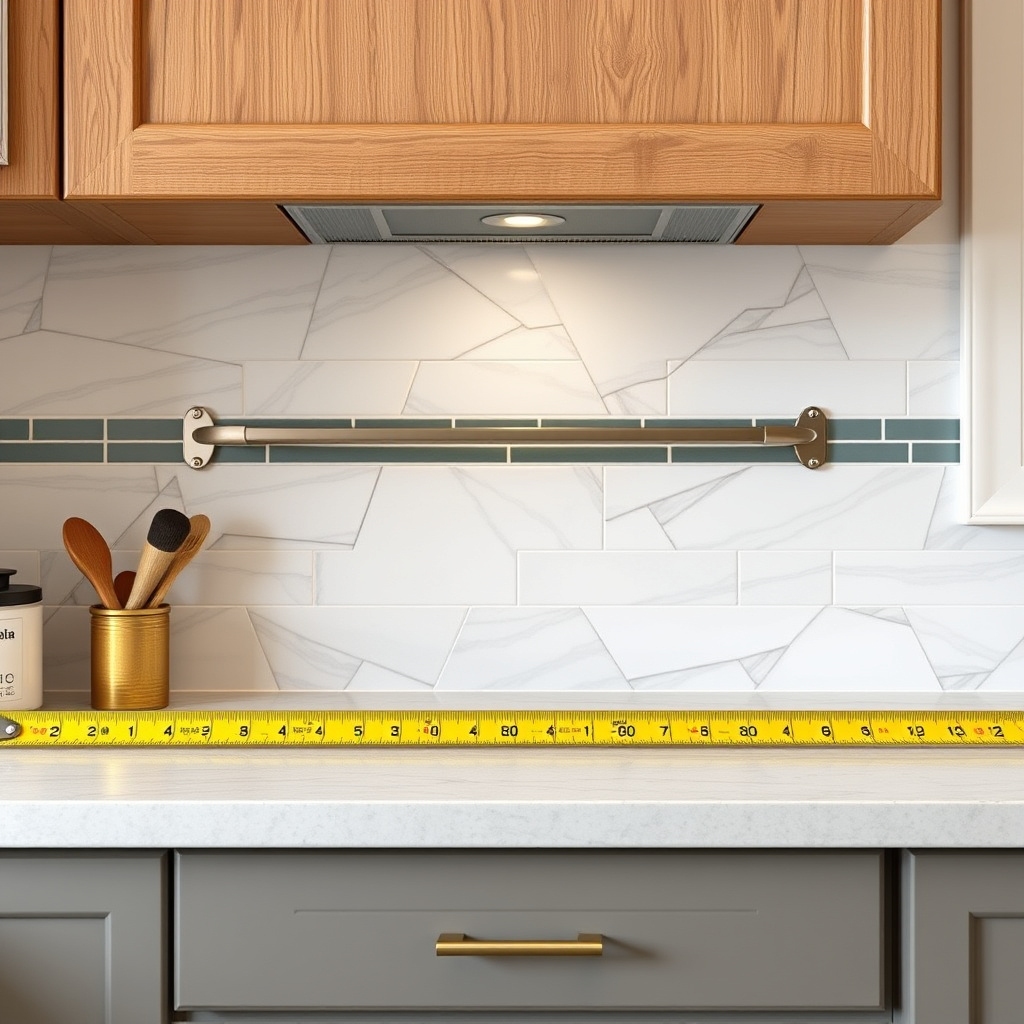
Begin by measuring the width and height of the area where the backsplash will be installed. Use a metal tape measure for precision and record exact dimensions. Don’t forget to account for any outlets or switches that might interrupt the backsplash.
Accurate measurements help determine how many tiles or the size of material needed, minimizing waste and cost. Planning beforehand also lets you visualize tile layouts, patterns, and trim pieces for a seamless installation.
- Measure width and height of backsplash area
- Note positions of outlets and switches
- Calculate total square footage for materials
Choosing the Right Backsplash Material
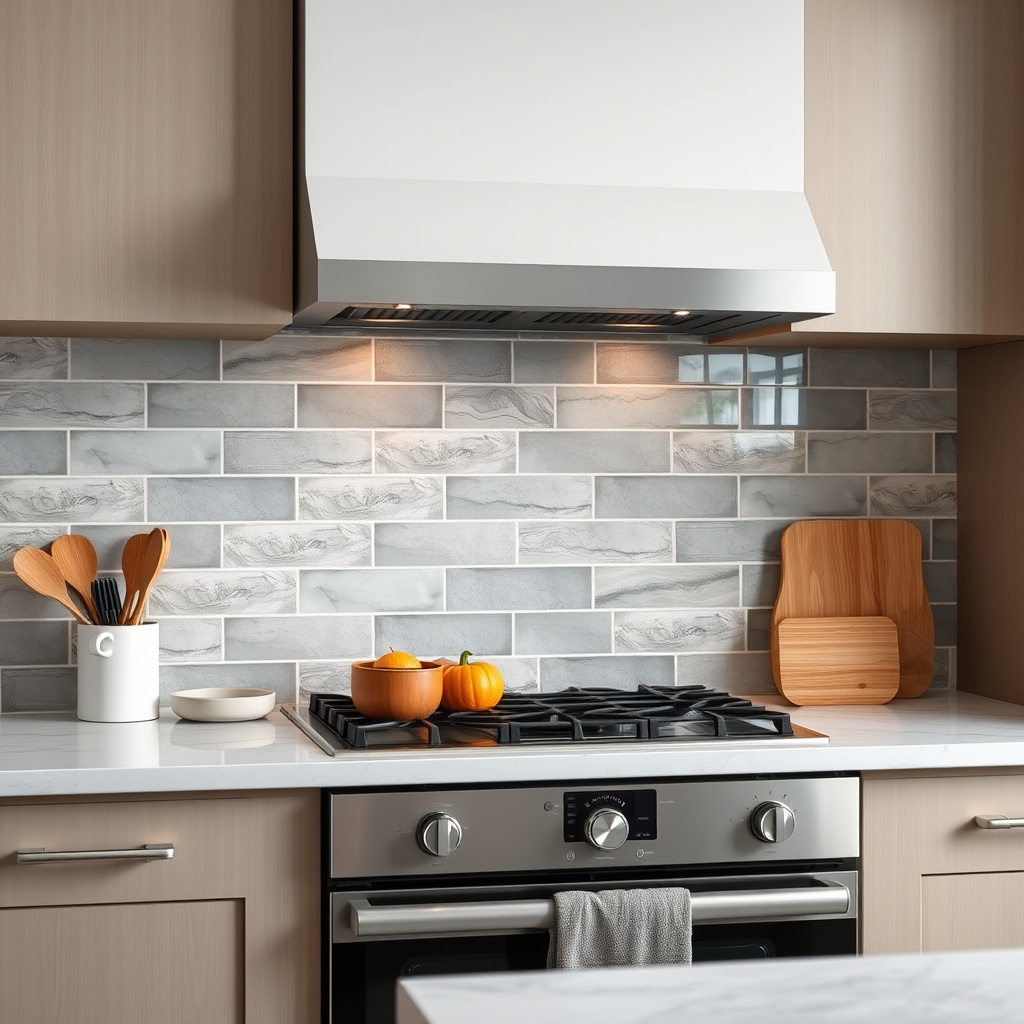
Selecting a material is essential since it affects installation method, durability, and style. Popular choices include ceramic and porcelain tiles, glass, natural stone, and peel-and-stick options. Each material requires specific adhesives and preparation.
Think about your kitchen’s existing design, budget, and how much maintenance you can commit to. For instance, glass tiles add a sleek modern look and reflect light, while ceramic tiles provide classic durability with a variety of patterns.
- Ceramic and porcelain tile for durability
- Glass tile for modern aesthetics
- Stone for natural texture
- Peel-and-stick options for easy installation
Preparing the Wall Surface for Installation
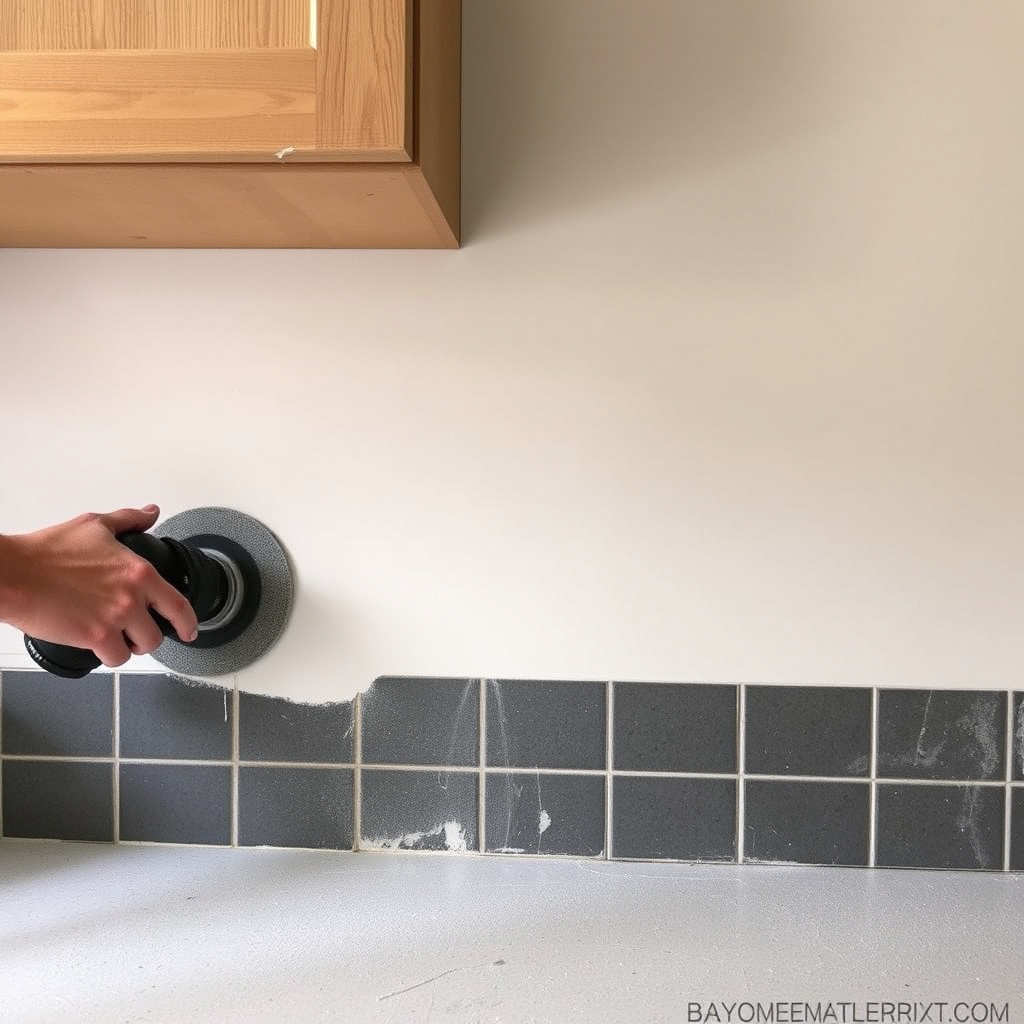
Cleaning and Repairing the Surface
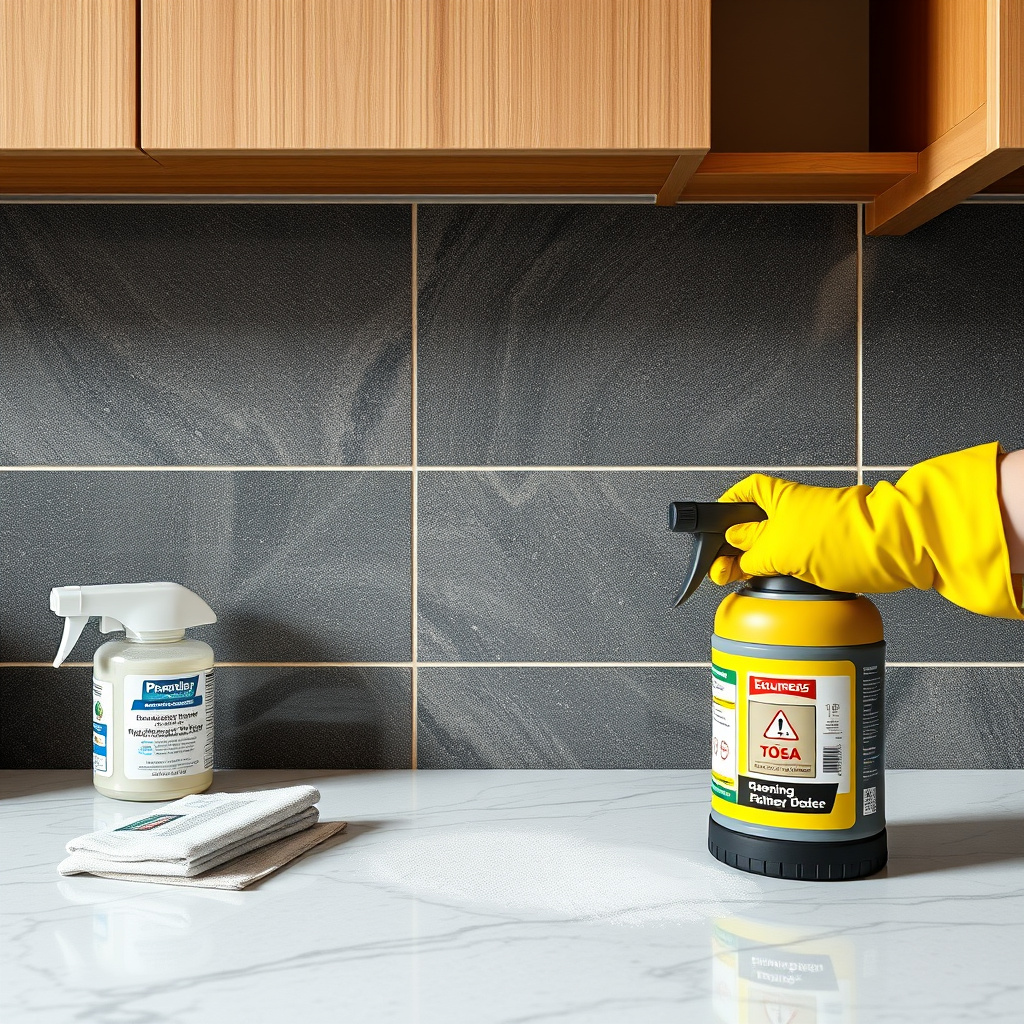
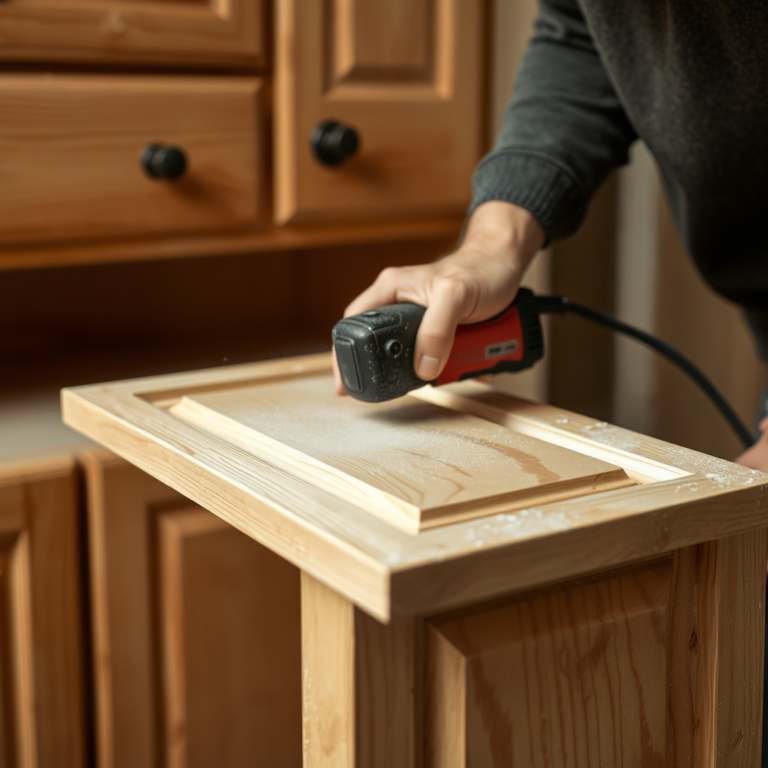
Ensure the wall is clean, dry, and free from grease or dust before installation. Use a degreaser or mild cleaner on kitchen walls that can accumulate cooking residue. If the wall has holes or bumps, fill and sand them smooth for an even surface.
A flat surface helps tiles adhere properly and prevents bumps that could cause tiles to crack or come loose over time. Skipping this step may result in a less durable backsplash.
- Clean grease and dust using a degreaser
- Fill holes or dents with spackling compound
- Sand uneven areas smooth
Applying Primer or Underlayment
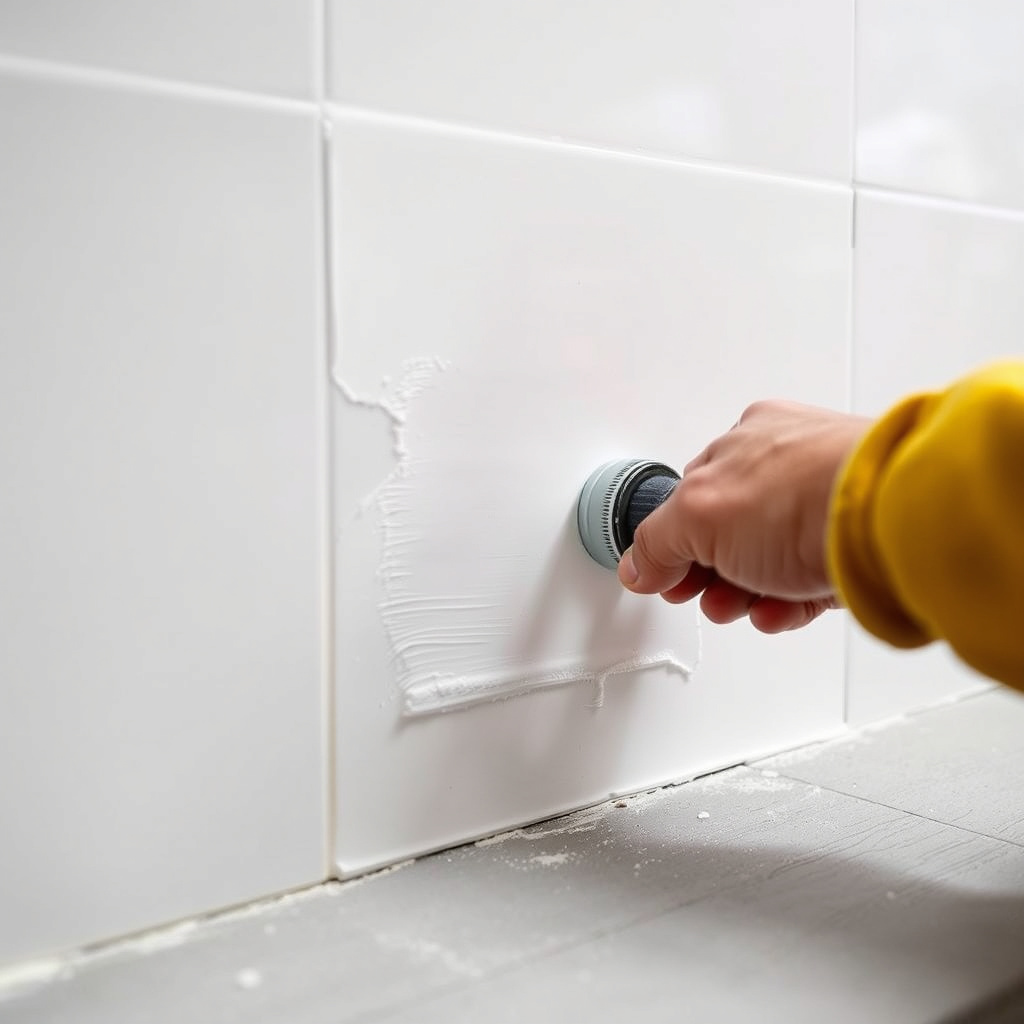
Many walls benefit from a primer or tile backer board to improve adhesion and moisture resistance. If installing over drywall, apply a quality primer or cement board to create a strong foundation for the backsplash.
This step is especially important in kitchens where moisture and heat fluctuate. Using the right underlayment also reduces the risk of grout cracking or tile loosening later.
- Apply primer for better adhesion over drywall
- Use cement backer board for moisture-prone areas
- Let primer dry fully before tiling
Installing the Backsplash Tiles
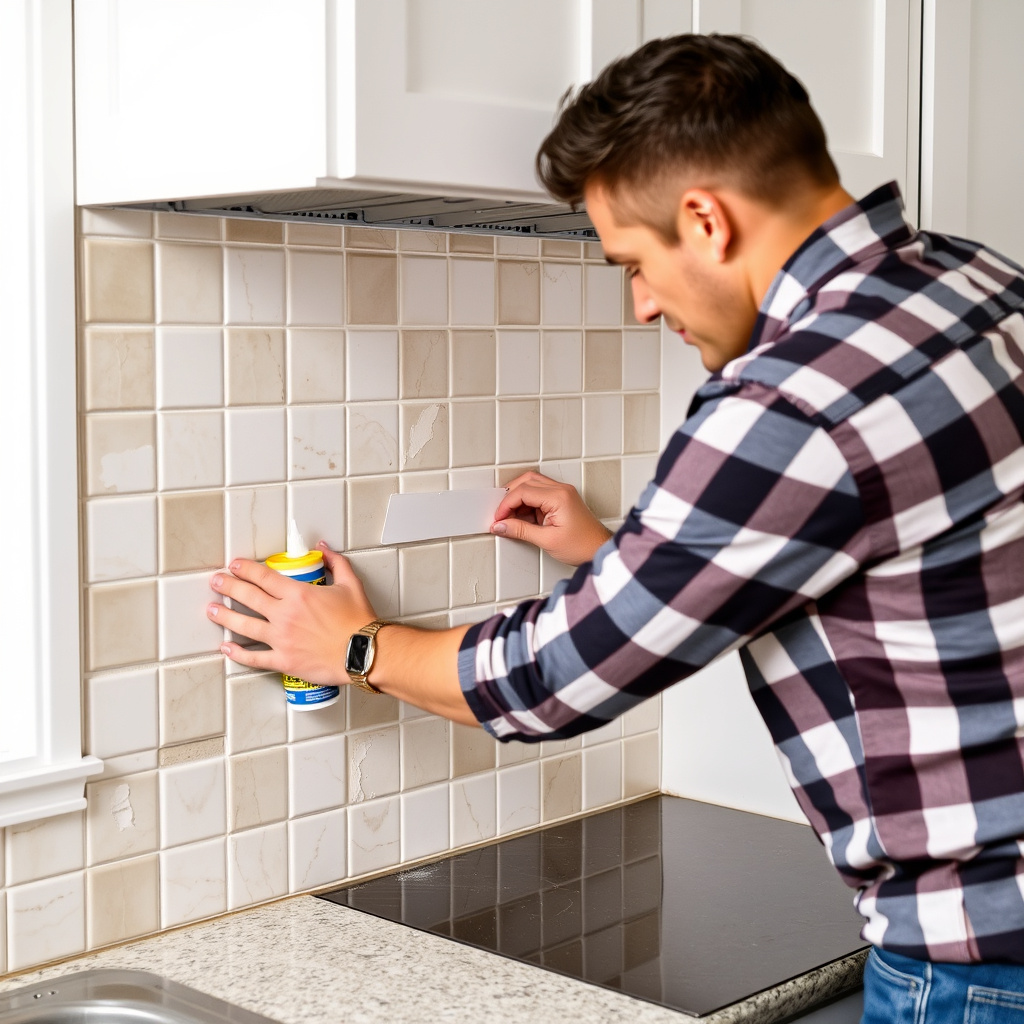
Applying Adhesive and Positioning Tiles
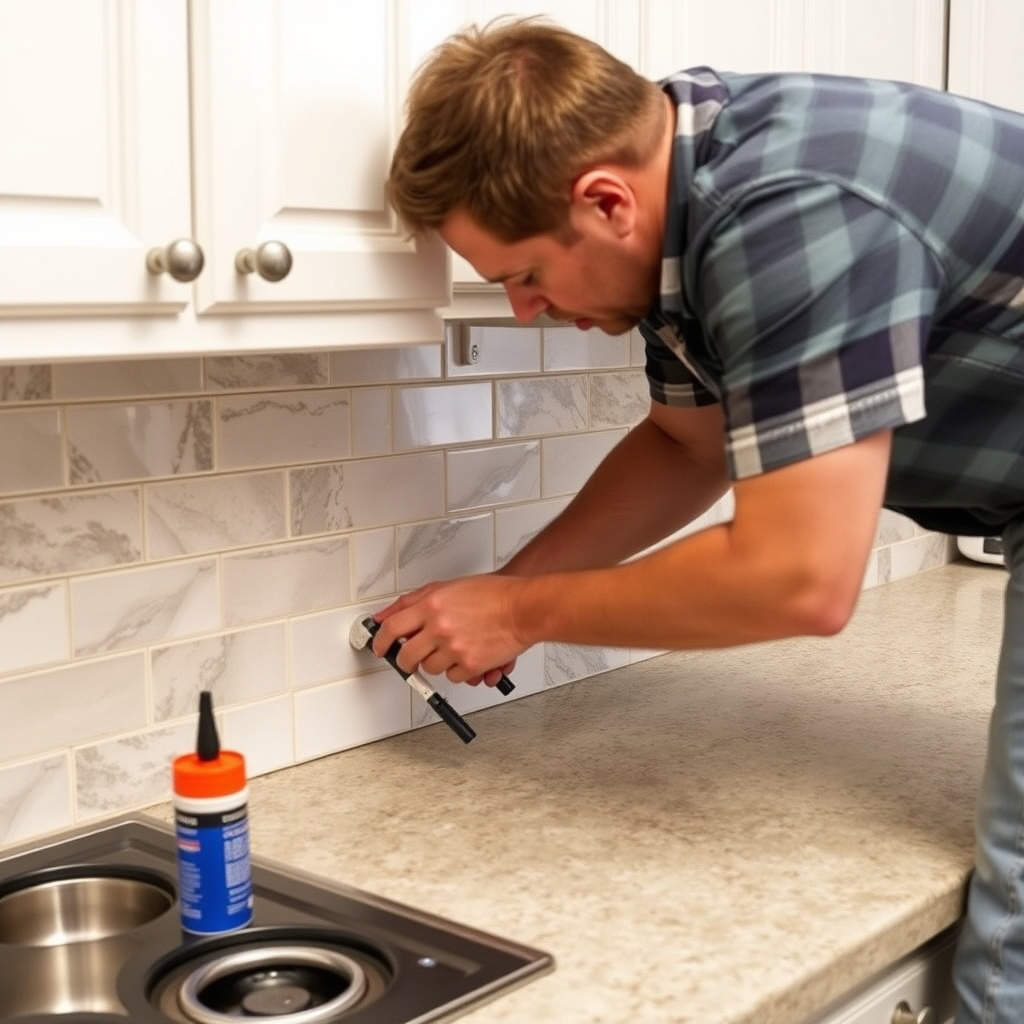
Select the correct adhesive based on your tile type and wall surface. For ceramic or glass tiles, thin-set mortar is common, while peel-and-stick materials need no adhesive. Use a notched trowel to spread adhesive evenly on the wall in small sections.
Place tiles carefully starting from the center or an edge, using spacers to keep consistent gaps. Press tiles firmly into the adhesive and use a level to keep rows straight. Work patiently to avoid misalignment.
- Choose adhesive compatible with tile and wall
- Spread adhesive evenly with a notched trowel
- Use tile spacers for uniform grout lines
- Check alignment with a level regularly
For more on this, see our related guide: How Much to Remodel a Kitchen: A Clear Cost Breakdown and Guide.
Cutting Tiles to Fit Edges and Outlets
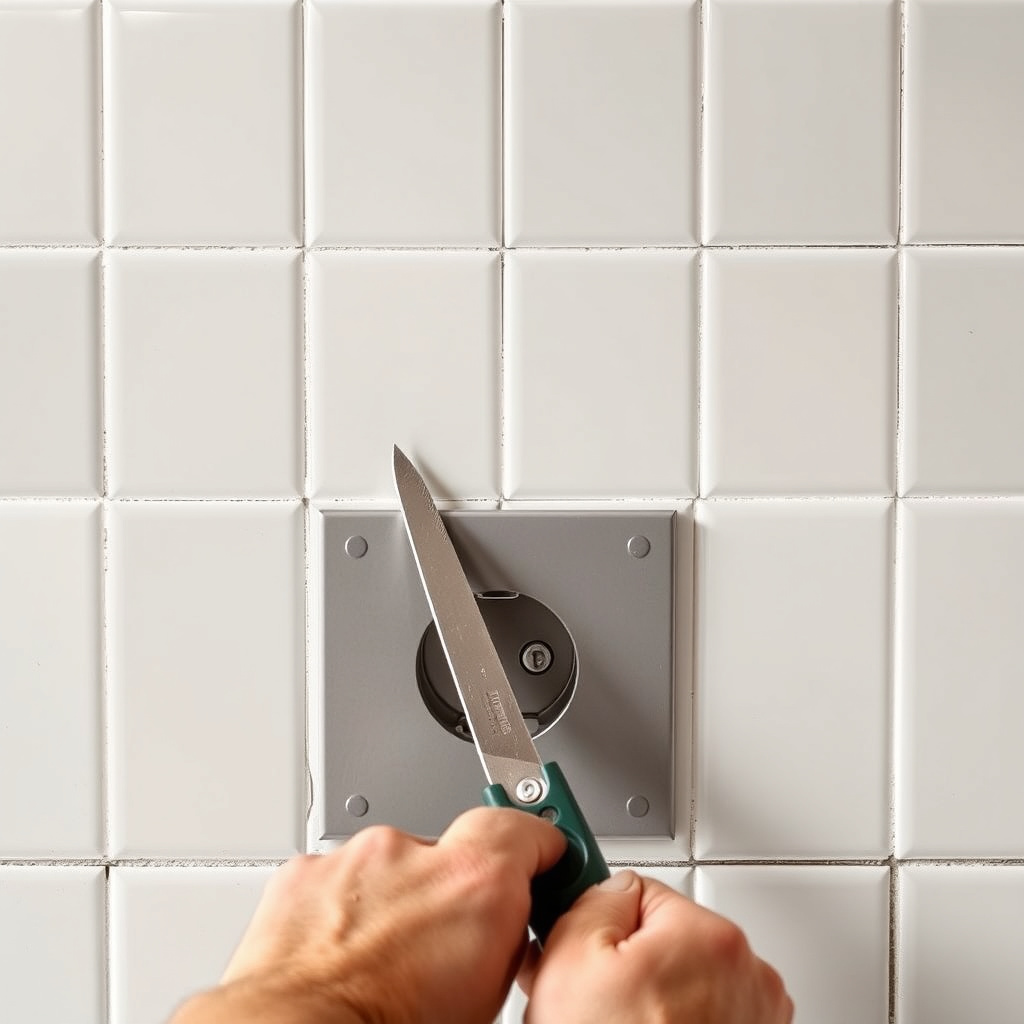
Tile cutting is necessary around corners, outlets, and switches. For straight cuts, a manual tile cutter works well, while a wet saw is best for detailed cuts or harder materials like stone. Measure carefully before cutting.
Use a tile nipper or rotary tool for rounded or irregular shapes. Always wear safety glasses and gloves while cutting tiles to protect yourself.
- Use manual cutter for straight cuts
- Wet saw for stone or thick tiles
- Tile nippers for rounded edges
- Always measure twice before cutting
Grouting and Finishing Your Kitchen Backsplash
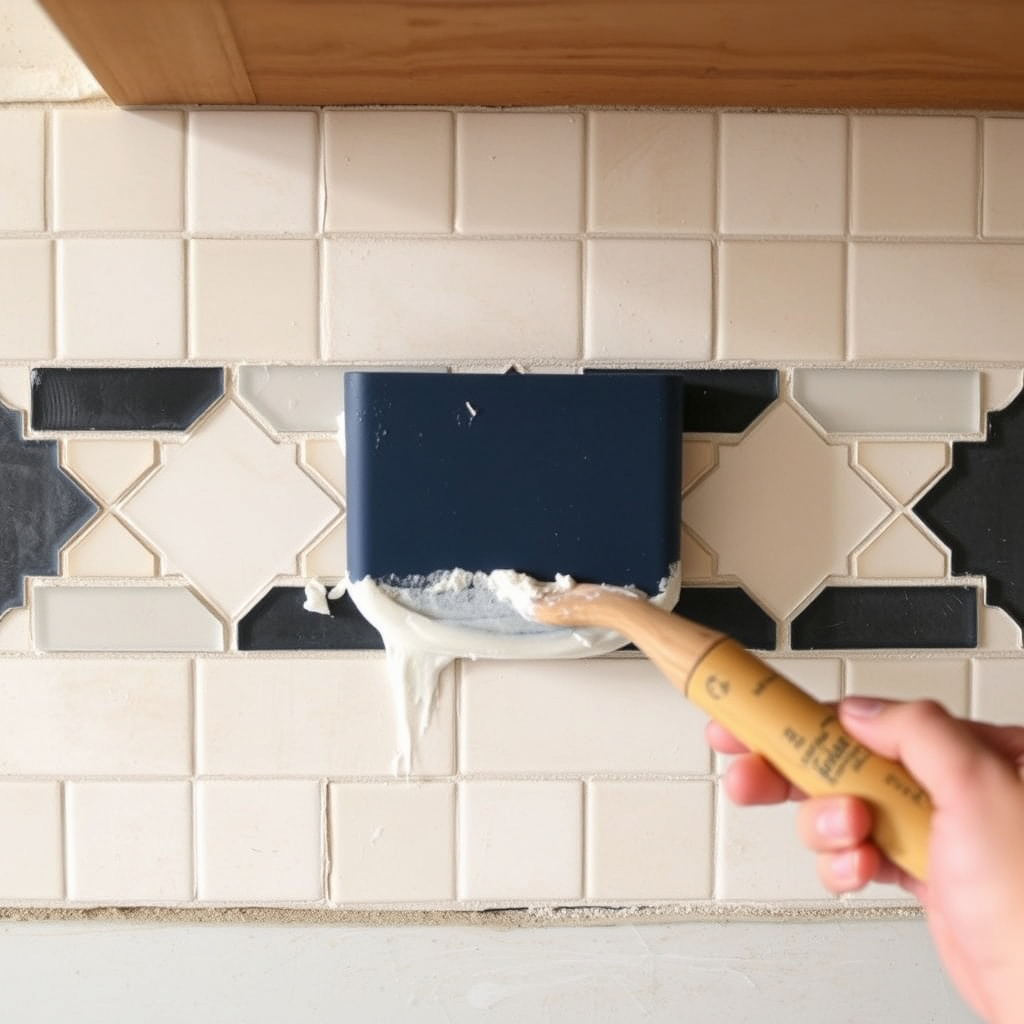
Mixing and Applying Grout
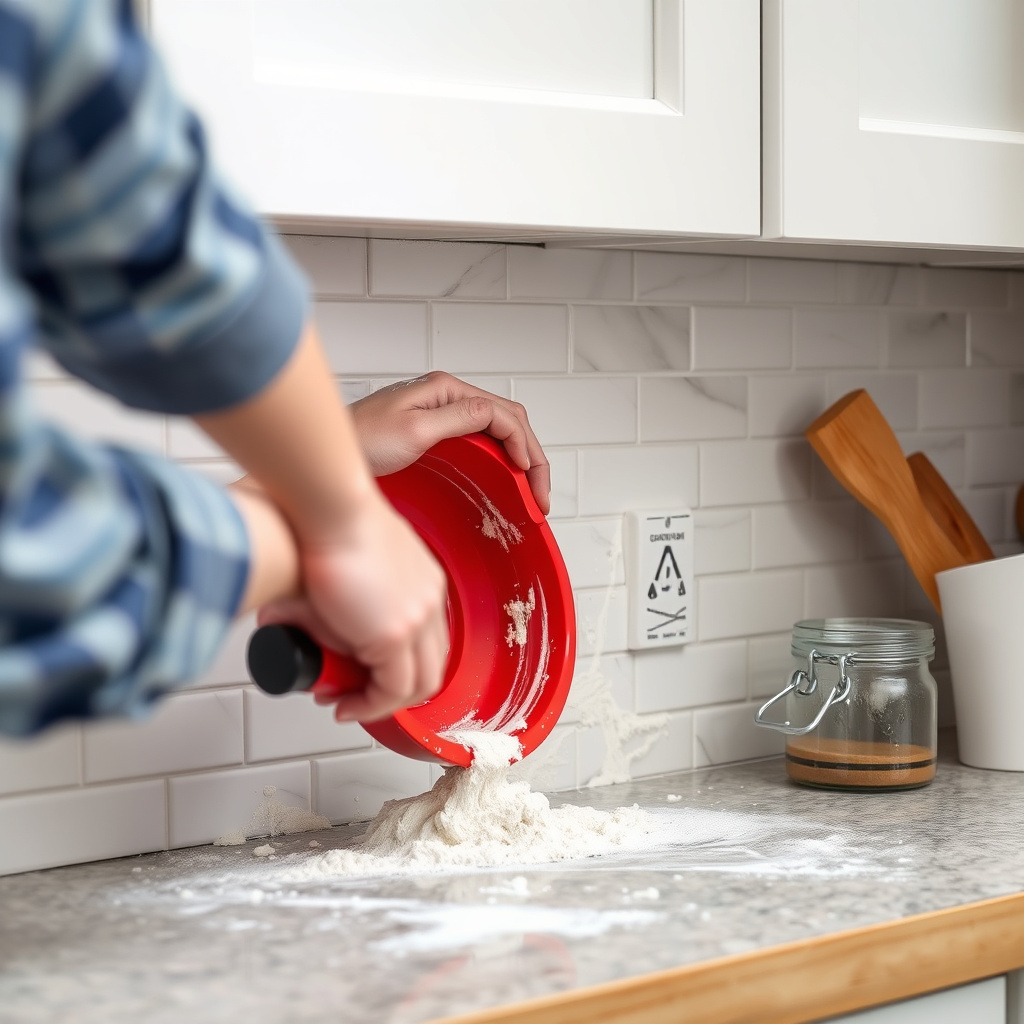
Once tile adhesive has cured (usually 24 hours), mix grout according to manufacturer instructions, aiming for a smooth, peanut-butter consistency. Apply grout with a rubber float at a 45-degree angle, forcing it into gaps between tiles.
Remove excess grout by wiping diagonally across tiles with a damp sponge. Repeat rinsing to keep tiles clean while grout sets.
- Wait 24 hours before grouting
- Mix grout to smooth consistency
- Apply grout diagonally with float
- Clean excess grout with damp sponge
Sealing and Cleaning for Durability
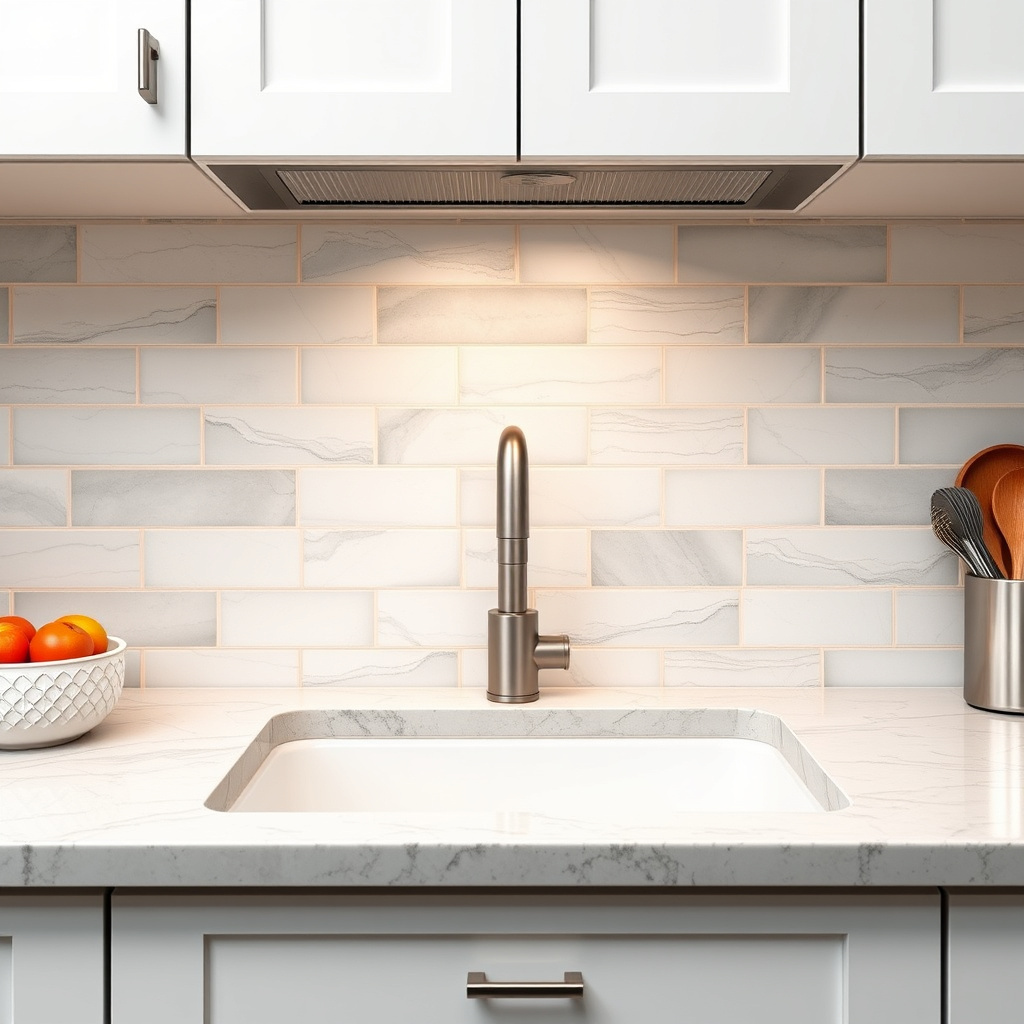
After grout dries (usually 72 hours), seal grout lines to prevent staining and water damage. Use a grout sealer brush or applicator and follow label instructions. Periodically clean the backsplash with non-abrasive cleaners to maintain appearance.
Well-sealed grout lengthens the backsplash’s lifespan and reduces maintenance, especially in busy kitchen areas prone to spills.
- Apply grout sealer after grout drying
- Use appropriate applicator for even coverage
- Clean tiles regularly with mild cleaners
Tools and Materials Needed for Kitchen Backsplash Installation
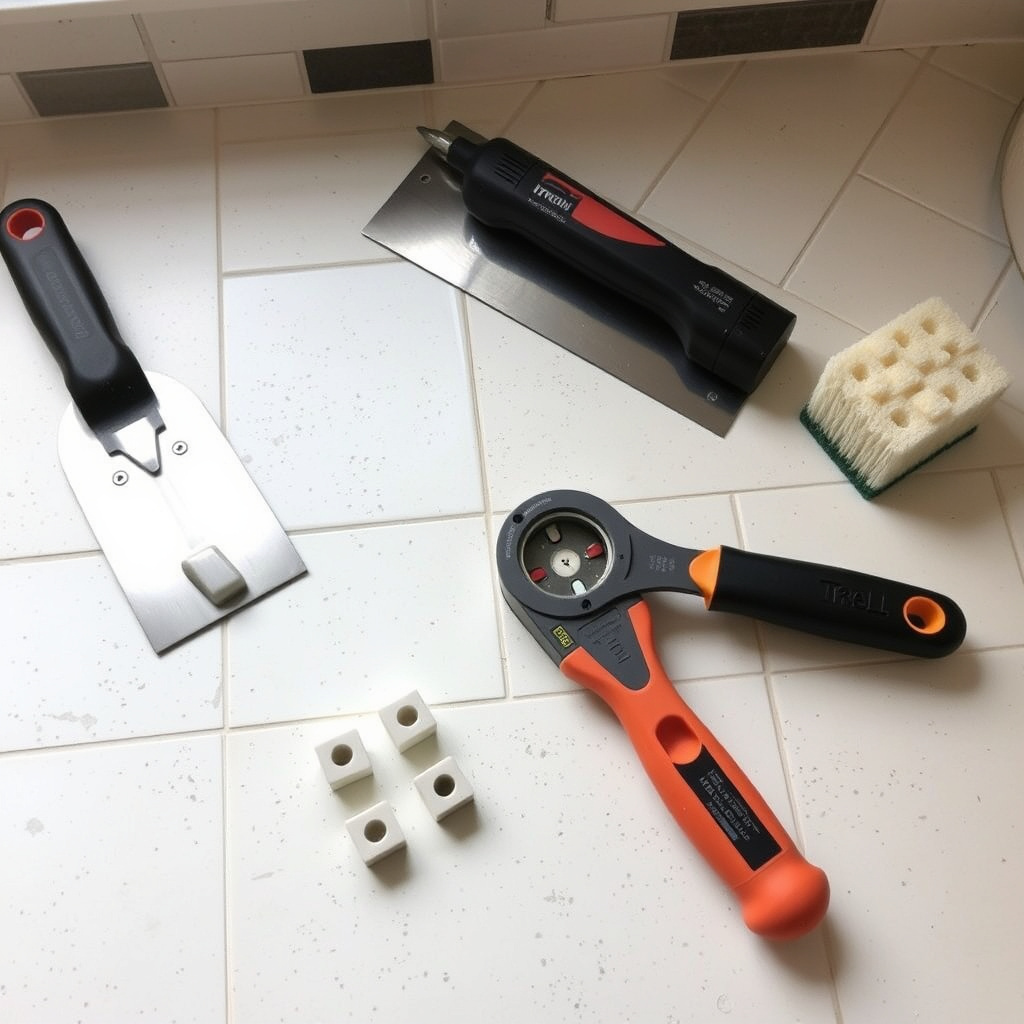
Essential Tools for Installation
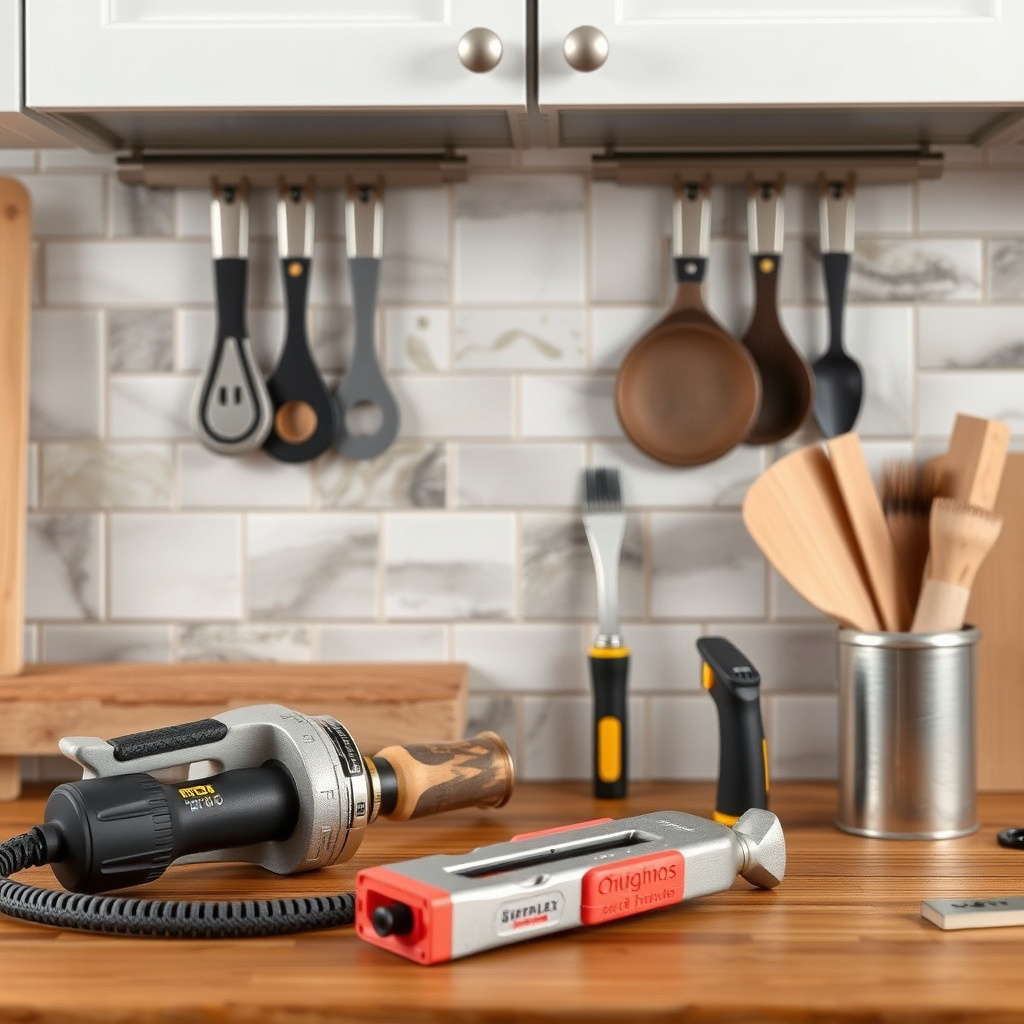
A successful backsplash installation demands specific tools like a tape measure, level, notched trowel, tile spacers, tile cutter or wet saw, rubber grout float, sponge, and safety gear such as gloves and eye protection. Having these ready ahead of time speeds up the process.
Choosing quality tools suitable for your tile type improves installation precision and reduces risk of tile breakage or poor adhesion.
- Tape measure and level
- Notched trowel and grout float
- Tile cutter or wet saw
- Tile spacers and sponge
- Safety gloves and goggles
For more on this, see our related guide: How Much Is a Kitchen Remodel? A Detailed Cost Guide for Homeowners.
Materials and Supplies Overview
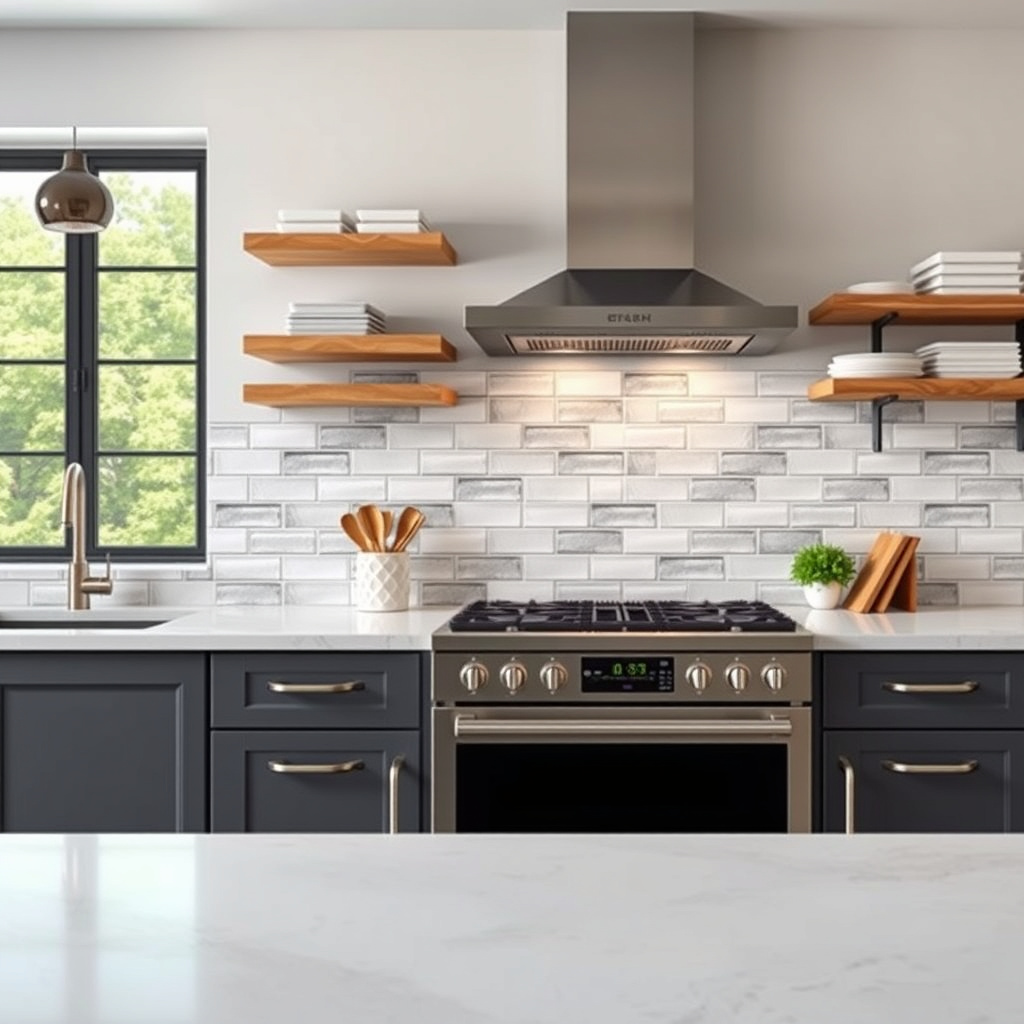
Materials include the tiles themselves, adhesive (thin-set mortar or recommended glue), grout, grout sealer, wall primer or backer board (optional), and cleaning supplies. Confirm compatibility between adhesive, grout, and tile for optimal bond and appearance.
Buy extra tiles beyond measured square footage to cover mistakes or future repairs. Check expiration dates on adhesives and grout before purchase.
- Tiles covering area plus 10-15% extra
- Tile adhesive suitable for selected tiles
- Grout matching tile spacing and color
- Grout sealer for protection
- Primer or backer board if needed
Cost and Time Considerations for Kitchen Backsplash Installation

Estimating Materials and Labor Costs
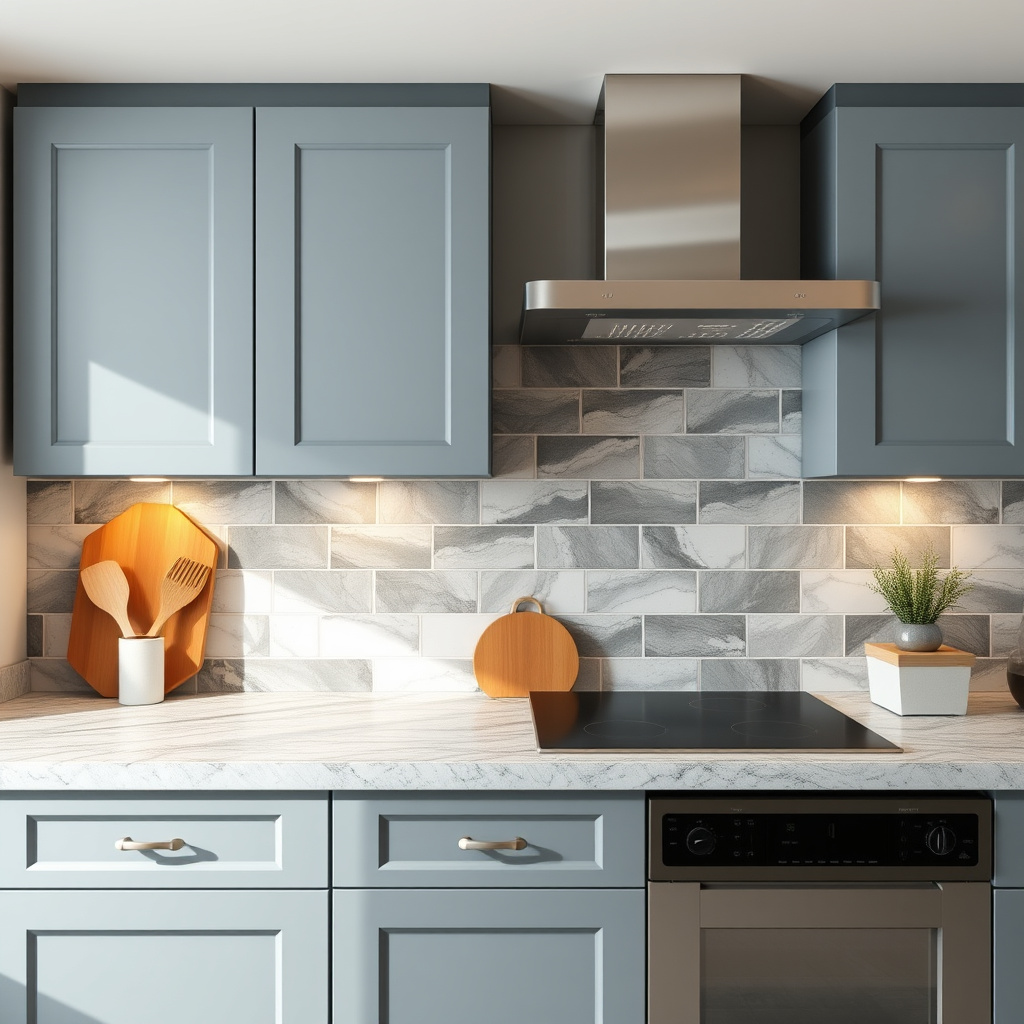
Backsplash costs vary widely by material choice, kitchen size, and labor type (DIY or professional). Ceramic tile materials usually range from $5 to $15 per square foot, with glass or stone options costing more. Professional installation adds $10 to $20 per square foot.
Knowing material expenses plus needed tools and supplies helps budget realistically. DIY installations save money but require time and effort.
- Calculate tile and supply costs per square foot
- Add labor if hiring professionals
- Consider tool purchase or rental fees
For additional practical advice and tool recommendations, check out the backsplash guidance from the Home Depot. backsplash guidance from the Home Depot.
Timeframe for DIY vs Professional Installation
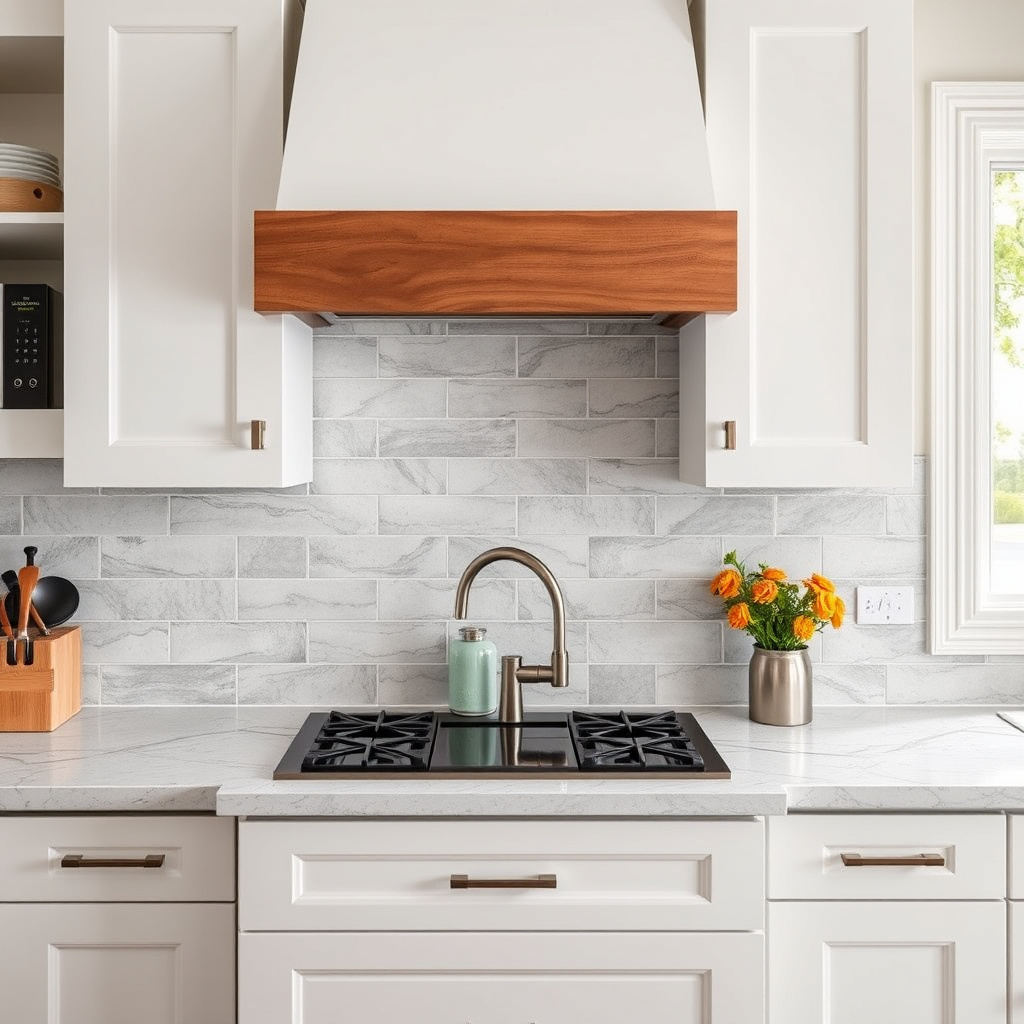
An average DIY backsplash installation takes 1 to 3 days depending on kitchen size and tile complexity, including drying times for adhesive and grout. Professionals can complete the job faster, usually within a day or two, with cleaner finishes.
Planning your schedule around drying times is important to avoid rushing and to allow proper curing for durability.
- DIY installations: 1-3 days including drying
- Professional installers: 1-2 days typical
- Allow full cure times for adhesive and grout
Backsplash Material Category Comparison
Here’s a comparison of popular backsplash materials detailing cost, durability, installation difficulty, and maintenance to help you choose.
| Material | Average Cost per Sq Ft | Durability | Installation Difficulty | Maintenance |
|---|---|---|---|---|
| Ceramic Tile | $5–$10 | High | Moderate | Low |
| Glass Tile | $10–$20 | Medium | High | Medium |
| Natural Stone | $15–$30 | High | High | High |
| Peel-and-Stick | $2–$8 | Low | Very Low | Medium |
| Porcelain Tile | $7–$15 | Very High | Moderate | Low |
Frequently Asked Questions
Can I install a backsplash myself without professional help?
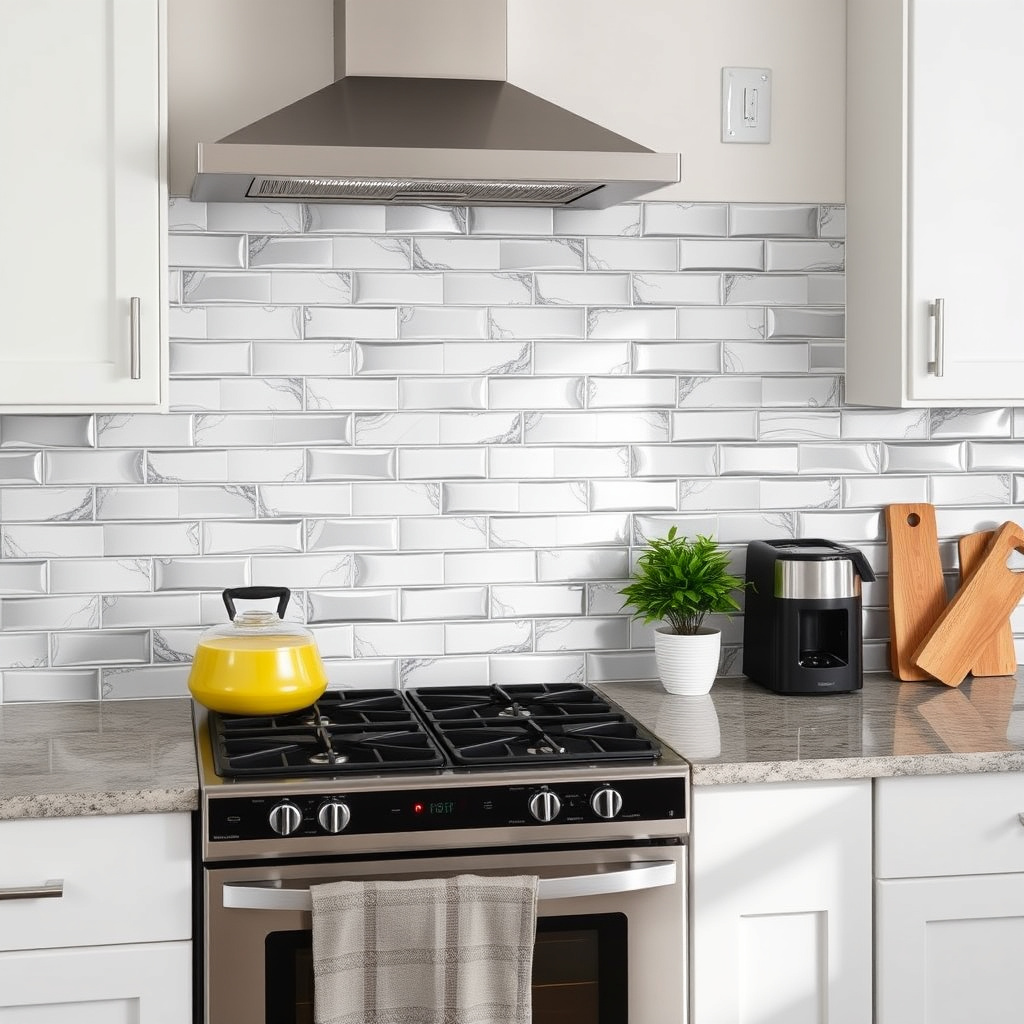
Yes, installing a backsplash yourself is doable if you have basic DIY skills, the right tools, and patience. Start with simpler materials like peel-and-stick or ceramic tiles and follow step-by-step instructions carefully.
How long does a typical backsplash installation take?
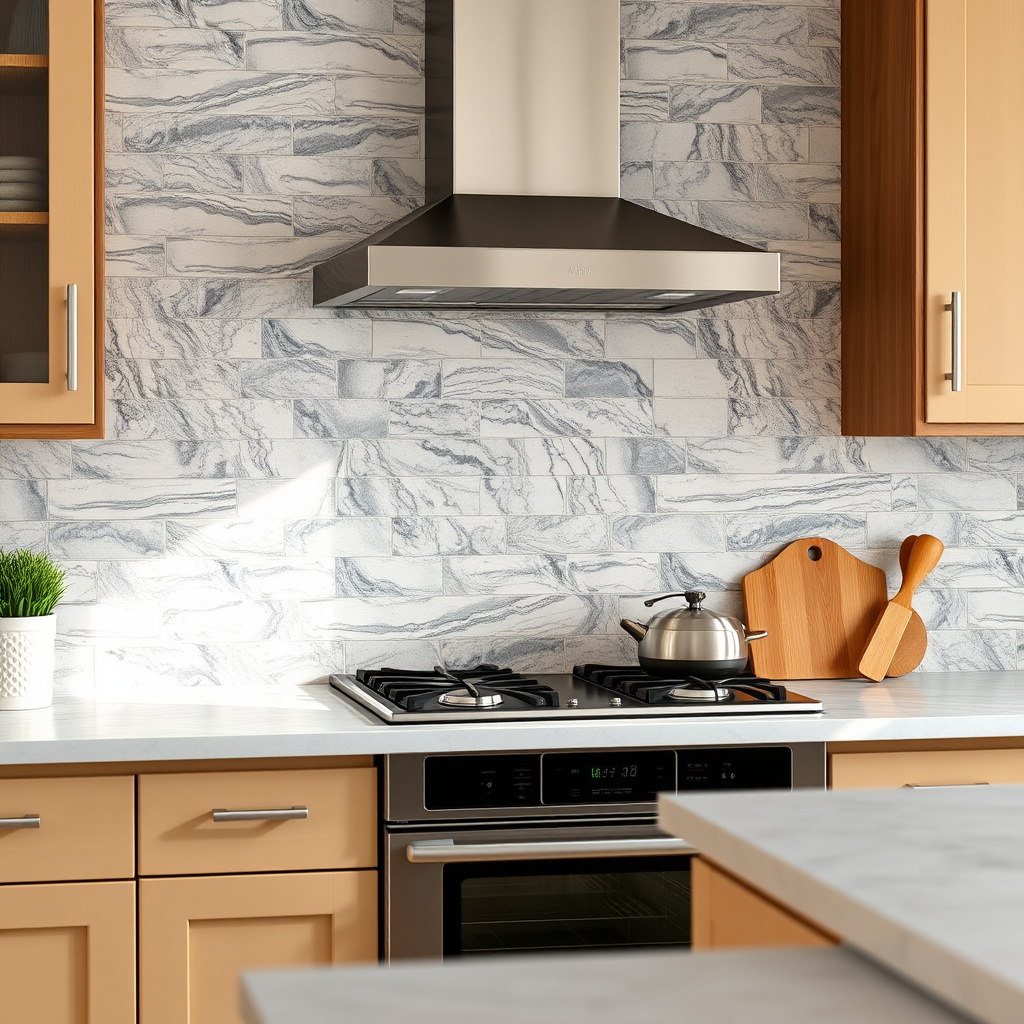
A DIY kitchen backsplash installation usually takes between one and three days, including wall preparation, tile laying, and grout drying times. Professional installers may finish in one to two days.
What tools are essential for backsplash installation?
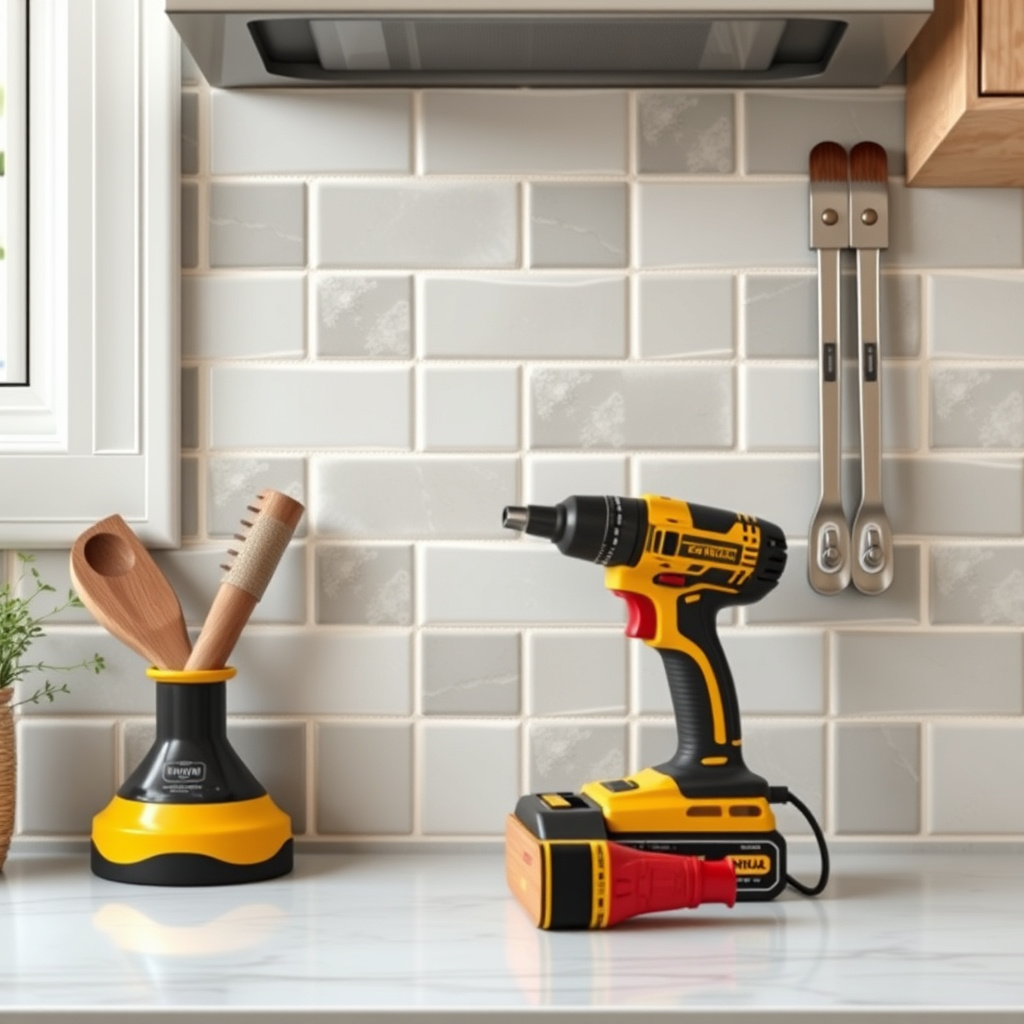
Necessary tools include a tape measure, level, notched trowel, tile spacers, tile cutter or wet saw, grout float, sponge, and safety equipment like gloves and goggles.
How do I clean and maintain my backsplash after installation?
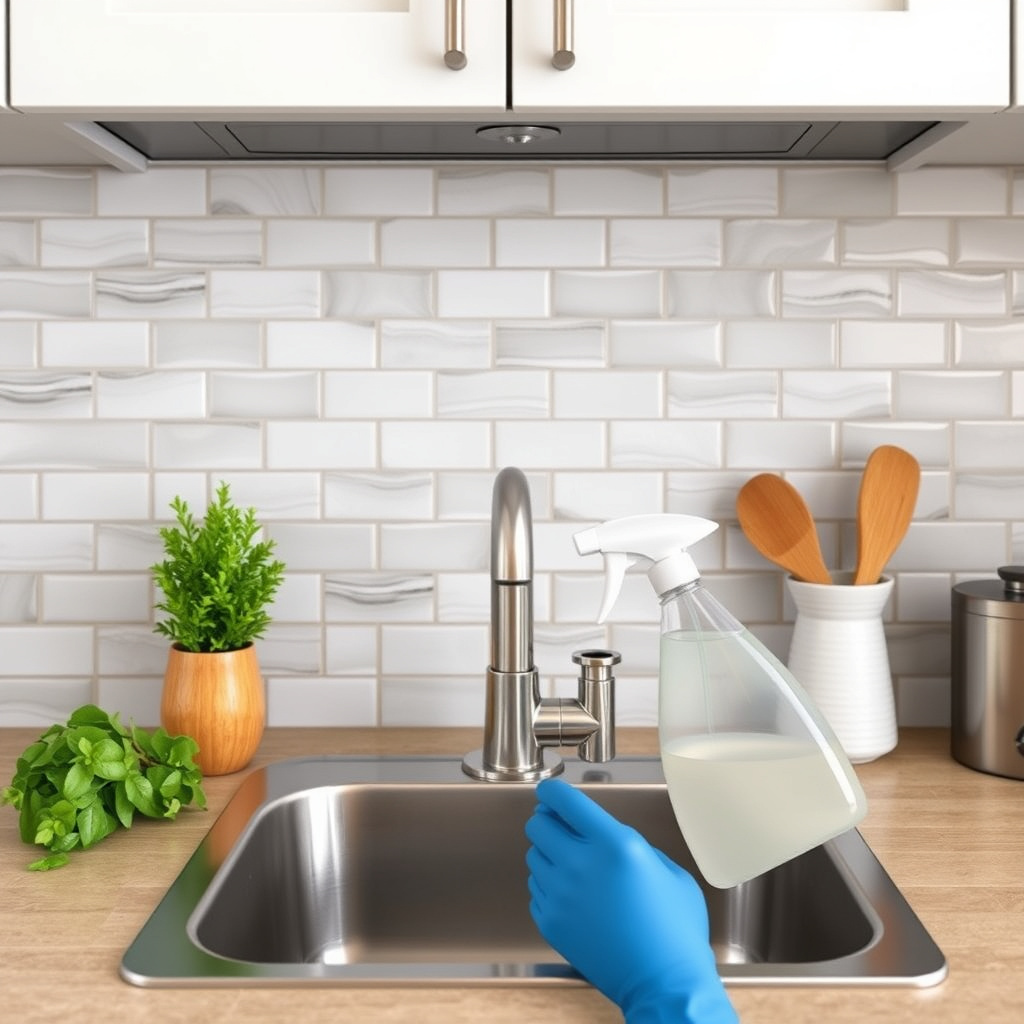
Regular cleaning with mild, non-abrasive cleaners keeps your backsplash looking fresh. If grout is sealed properly, occasional resealing every couple of years helps prevent stains and water damage.
Is grout sealing necessary after installing backsplash tiles?
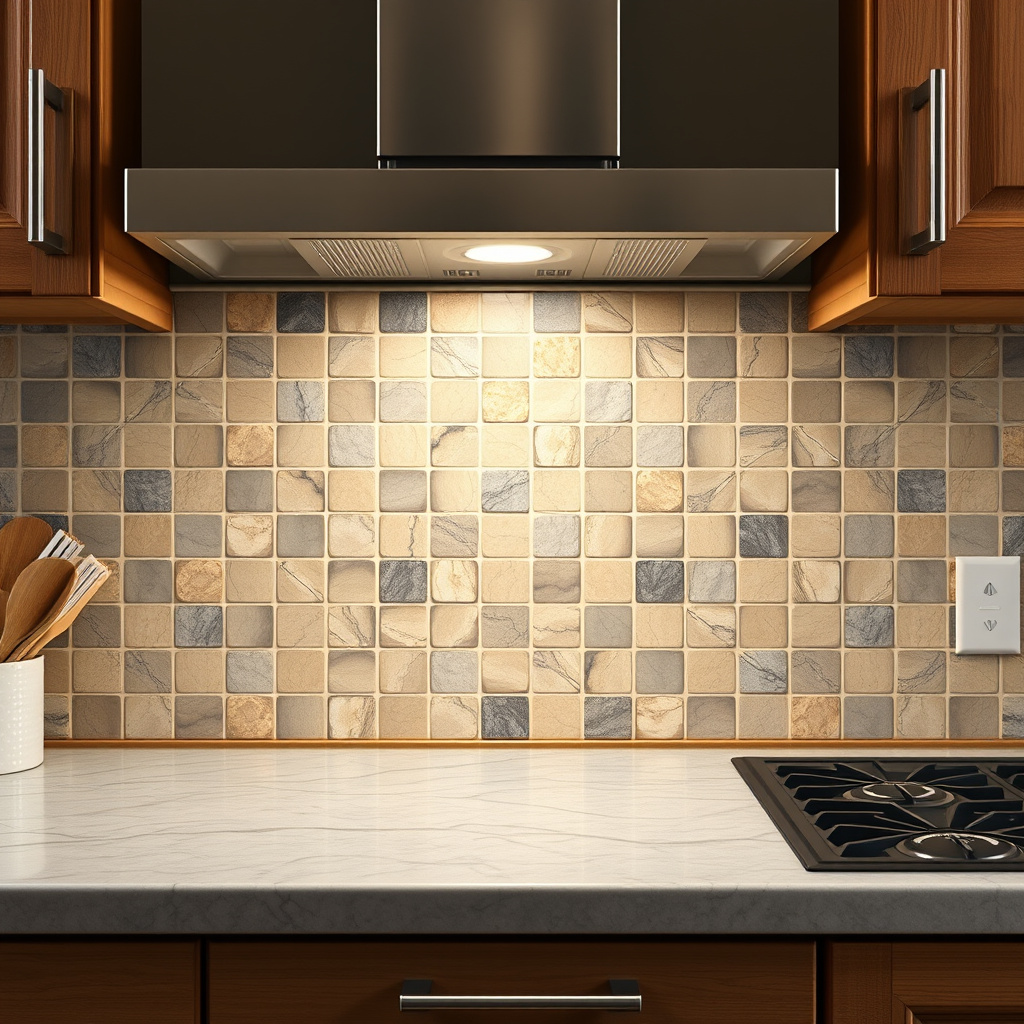
Yes, sealing grout protects it from stains and moisture, significantly extending the backsplash’s life and keeping it easier to clean.
Key Takeaways
- Measure carefully and plan layout before buying materials.
- Prep the wall thoroughly for best tile adhesion.
- Use correct adhesive and tools for your tile type.
- Seal grout to protect and prolong backsplash durability.
Conclusion
Understanding how to install a backsplash in the kitchen requires combining accurate measurements, proper wall preparation, material selection, and careful tile placement. Each step contributes to a long-lasting, visually appealing backsplash that enhances your kitchen environment. Taking time to follow installation best practices will prevent common problems like loose tiles or grout cracks, ensuring your work stands the test of time.
For those seeking a balance of style and ease, ceramic or porcelain tiles offer durability with manageable installation complexity, paired with available kitchen backsplash installation tips to simplify the process. If a faster, less technical approach suits your needs, peel-and-stick options are an economical choice though less durable. You may prefer professional help for glass or natural stone backsplashes, as those materials require specialized cutting tools and adhesive techniques.
After reviewing your kitchen’s style, budget, and skill level, start by gathering all necessary tools and supplies, then tackle preparation and installation methodically. This approach not only saves money but also provides satisfaction from a DIY project well done. In any case, apply grout sealer after completion to protect your backsplash investment and enjoy the refreshed kitchen ambiance for years to come.