How to Restain Kitchen Cabinets: A Step-by-Step Guide for a Fresh Look
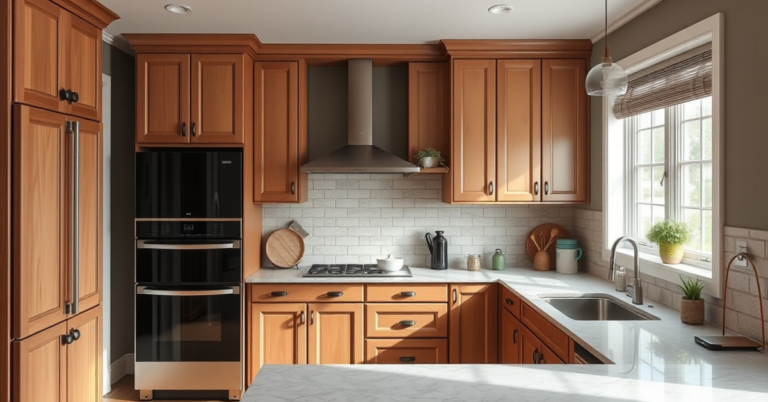
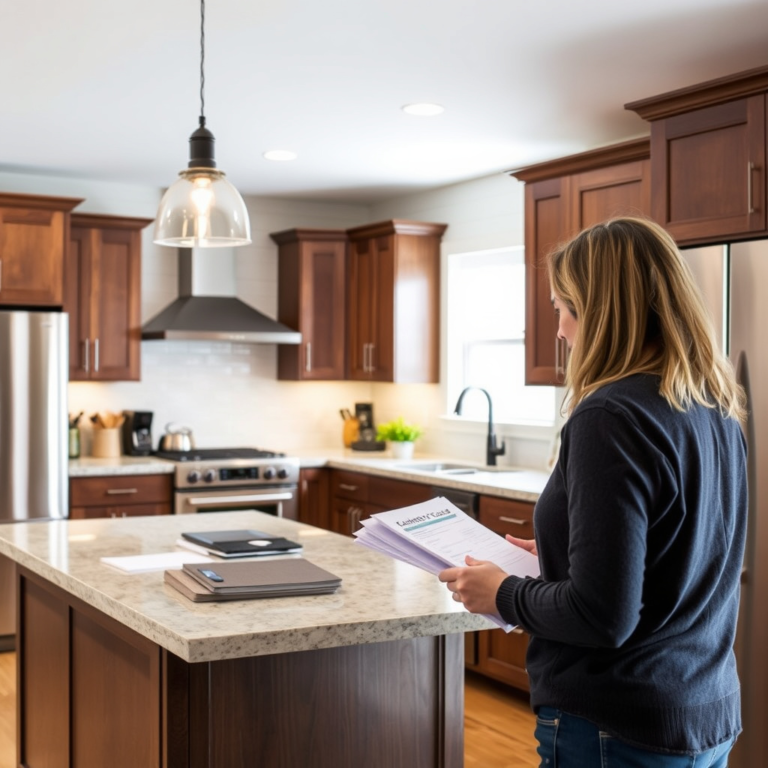
Restaining kitchen cabinets is a practical way to rejuvenate your kitchen’s appearance and extend the life of your cabinetry. The process involves removing the old finish, preparing the wood surface, applying a new stain, and protecting it with a finish coat. This method allows you to change color tones, enhance the wood grain, and achieve a fresh, updated look without a full cabinet replacement.
Kitchen cabinets take a significant amount of wear and tear, and their finish can fade, chip, or become outdated over time. Instead of replacing the entire cabinetry, restaining is a cost-effective and environmentally friendly solution that can transform your kitchen’s style. Knowing how to restain kitchen cabinets properly ensures a smooth, professional result that can last for years.
This article will guide you through the essential steps to restain kitchen cabinets, covering surface preparation, stain selection, application techniques, drying times, and final sealing. Additionally, we’ll explore tools and safety tips to help you get the best results from your cabinet refinishing project.
Preparing Your Kitchen Cabinets for Restaining
Removing Hardware and Cleaning
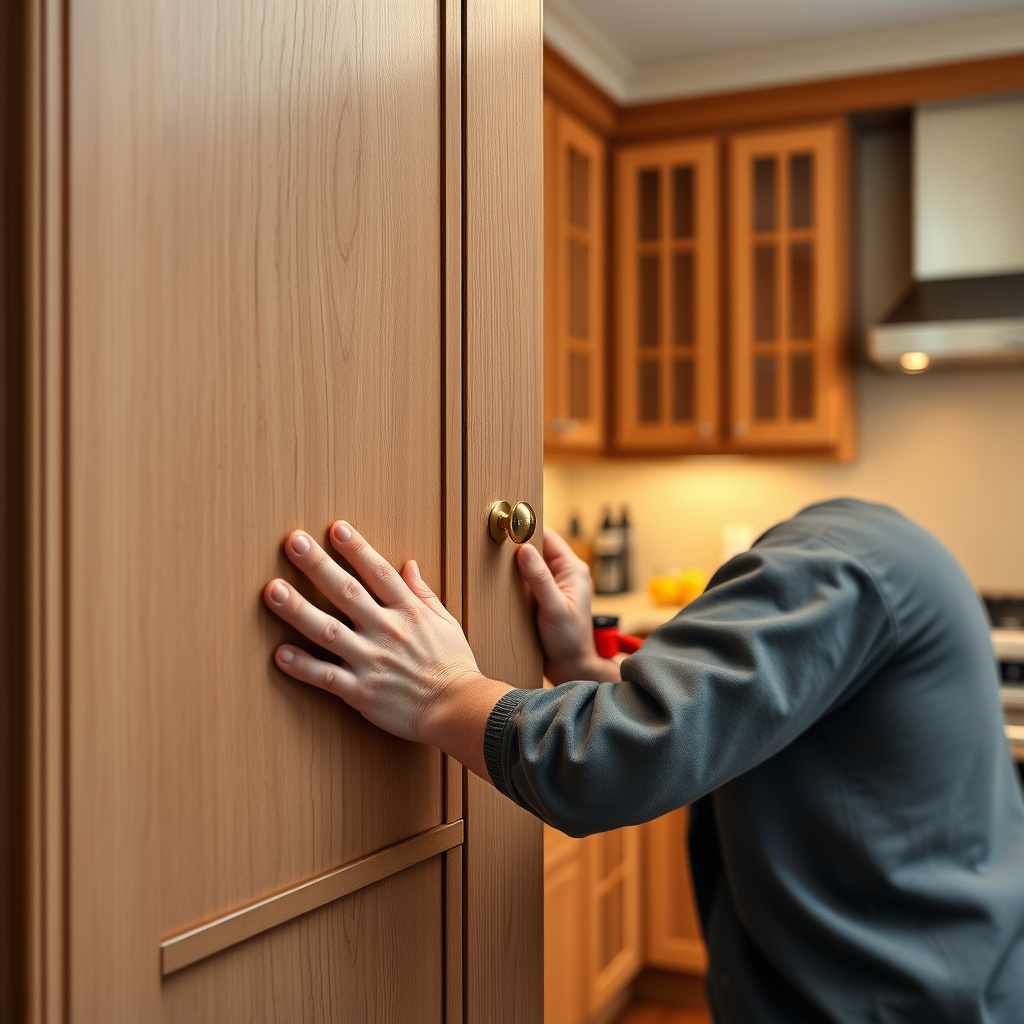
Begin your project by taking off all cabinet doors, drawers, and hardware such as knobs and hinges. This makes the sanding and staining process easier and ensures even application without smudges.
Thorough cleaning is essential to eliminate grease, dirt, and residual grime. Use a degreaser or a mixture of warm water and mild detergent, scrubbing surfaces gently with a sponge or cloth. Rinse and allow the wood to dry completely before moving on.
- Remove knobs, handles, and hinges carefully
- Label doors and drawers for easy reassembly
- Use a degreaser for removing kitchen residues
- Dry surfaces fully before sanding
Sanding and Stripping Old Finish
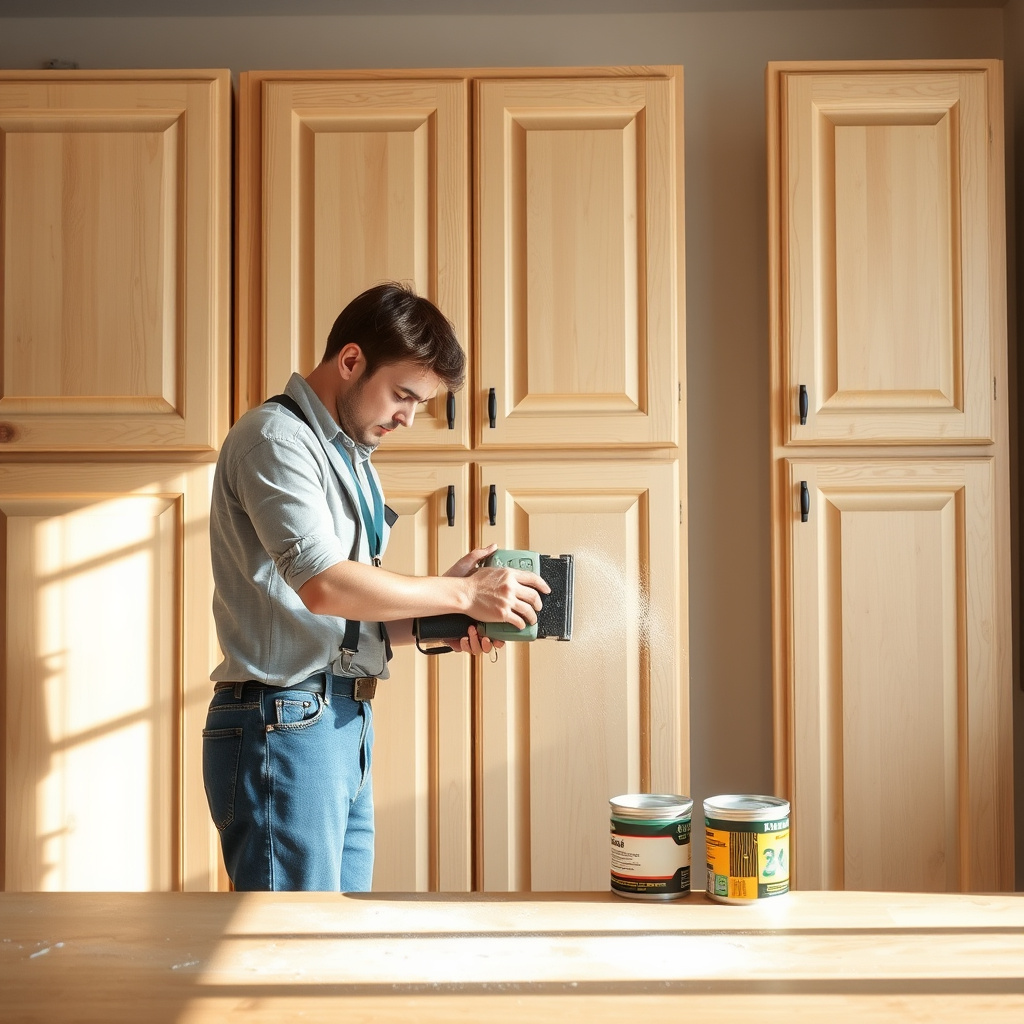
Sanding removes the previous finish and opens the wood pores for better stain absorption. Start with medium-grit sandpaper (120-grit) and finish with finer grit (220-grit) for a smooth surface.
If your cabinets have multiple layers of paint or a stubborn finish, chemical stripping might be necessary. Choose a paint stripper suitable for wood and follow the manufacturer’s safety guidelines.
- Use an orbital sander for flat surfaces
- Sand edges and corners by hand
- Apply chemical stripper if sanding isn’t enough
- Wear gloves and a mask during stripping
Choosing the Right Stain for Your Kitchen Cabinets
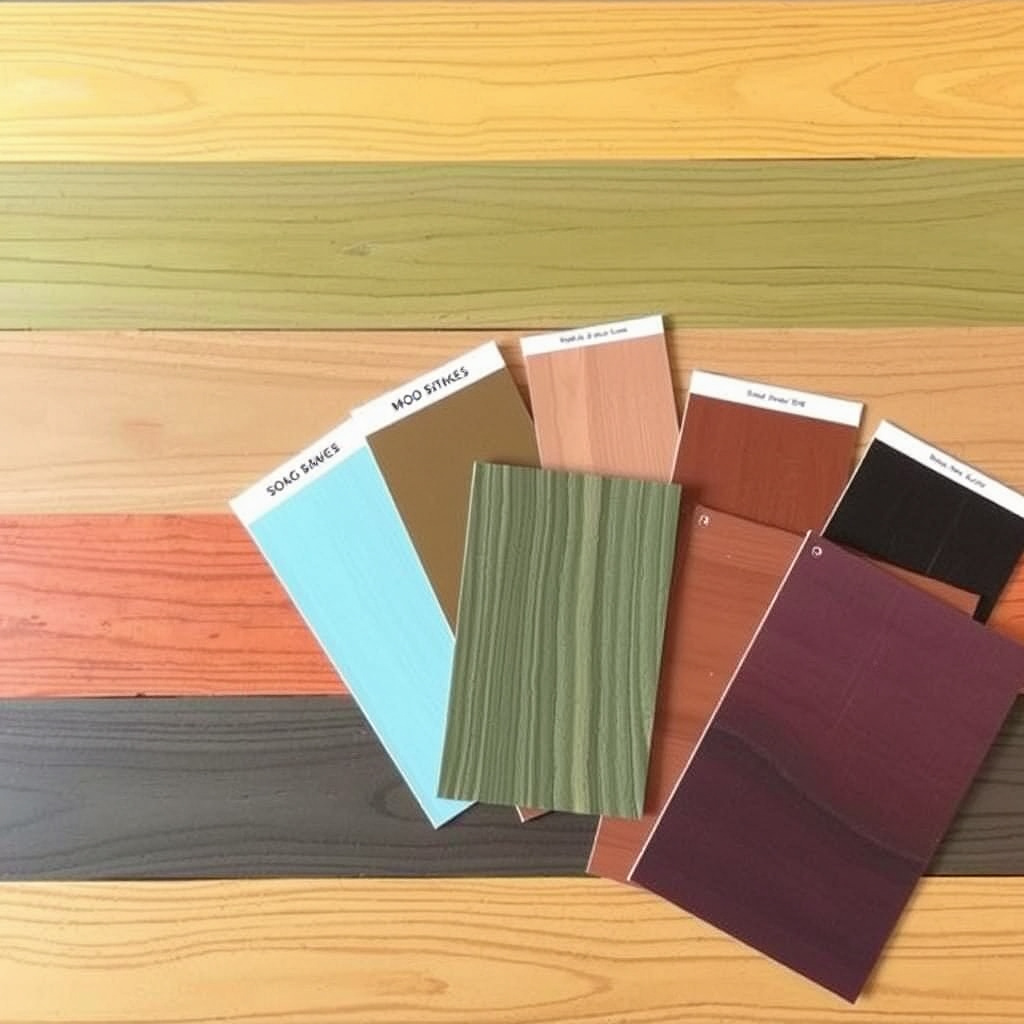
Types of Wood Stain
Oil-based stains penetrate deeply and enhance natural wood grain but take longer to dry and require mineral spirits for cleanup. They provide rich color saturation and durable finishes.
Water-based stains dry faster and have less odor, making them more user-friendly for indoor projects. They offer good color control but may raise wood grain requiring light sanding between coats.
- Oil-based: deep penetration, longer drying
- Water-based: quick drying, easier cleanup
- Gel stains: thick, ideal for vertical surfaces
- Consider sample tests before deciding
Selecting the Right Color
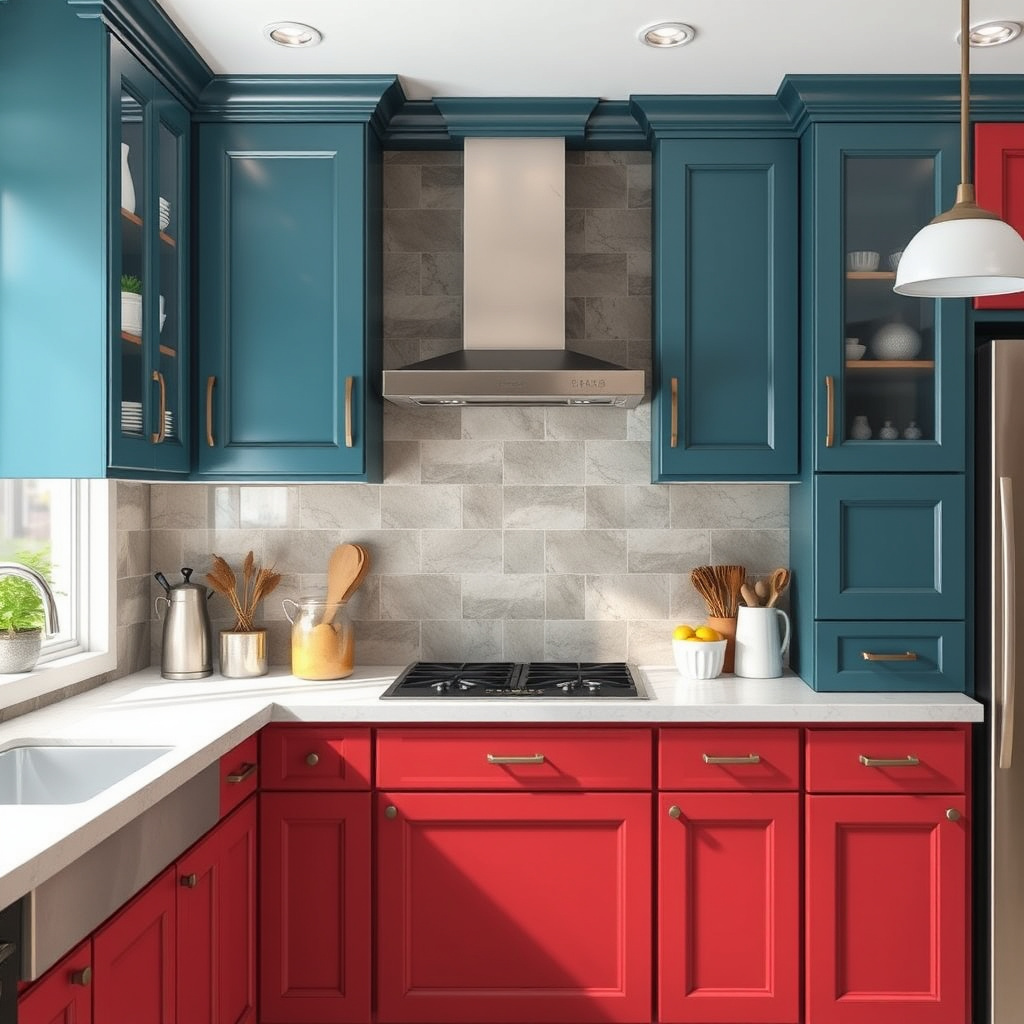
Choose a stain color that complements your kitchen style and existing décor. Lighter stains highlight the wood’s natural patterns, while dark stains provide a modern or traditional look depending on undertones.
Test your chosen stain on a hidden cabinet area or a scrap wood piece to confirm the color and finish. Lighting conditions in your kitchen can affect appearance, so evaluate samples at different times of day.
- Match stain tone with countertop and flooring
- Use sample patches before full application
- Consider warm vs. cool undertones
- Avoid colors that overpower your kitchen space
Applying Stain and Sealer to Kitchen Cabinets
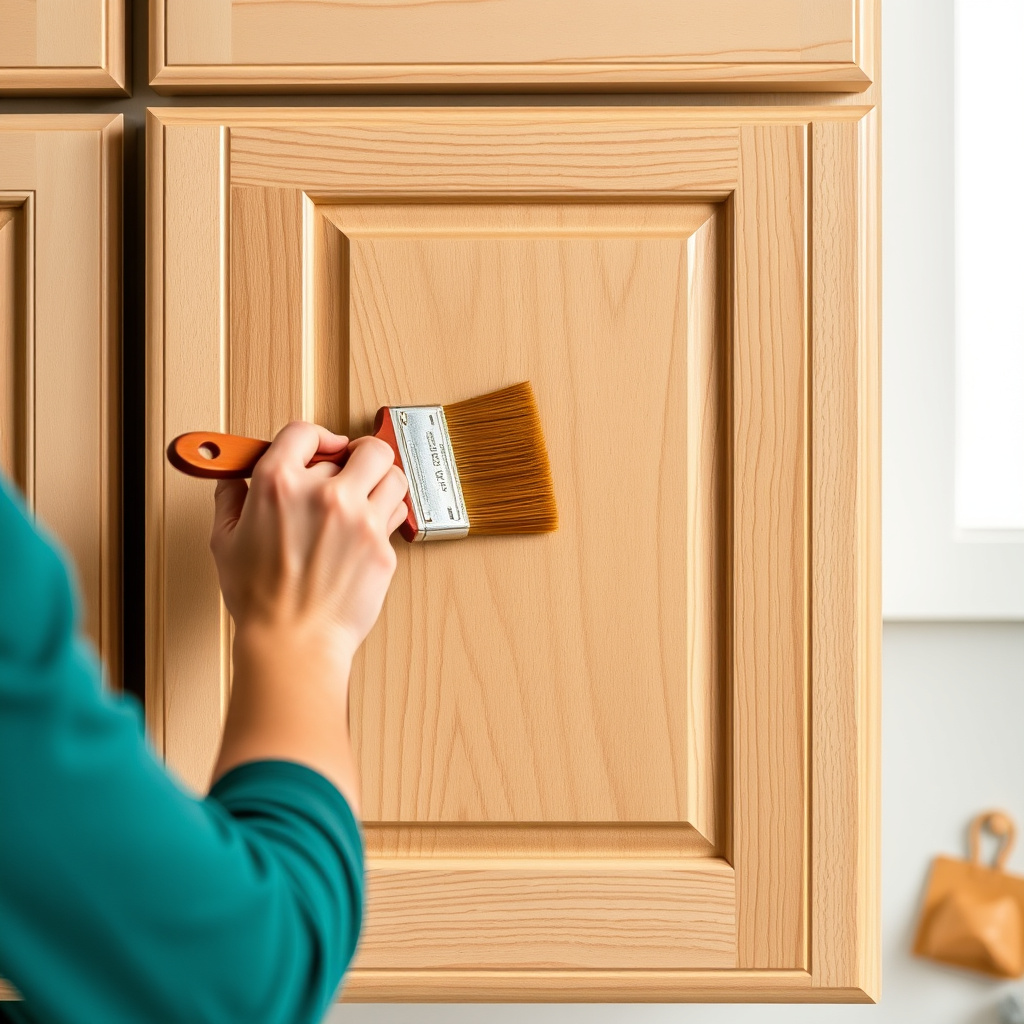
Staining Techniques
Apply stain evenly using a natural-bristle brush or lint-free cloth, brushing in the wood grain direction. Avoid blotches by wiping excess stain off promptly with a clean cloth after application.
Multiple thin coats produce better results than a single thick one. Allow adequate drying time between coats—generally 4 to 6 hours for oil-based stains and about 2 hours for water-based.
- Brush or wipe stain along wood grain
- Remove excess with a clean rag immediately
- Apply 2-3 coats for richer color
- Maintain good ventilation during drying
Sealing and Protecting Finished Cabinets
Once staining is complete and dry, seal the cabinets with a clear protective finish like polyurethane to guard against moisture and wear. Options include oil-based and water-based clear coats, each with its own benefits regarding durability and drying time.
Use fine brushes or foam applicators and apply multiple thin layers with light sanding between coats to achieve a smooth, tough finish. Proper sealing extends the stain’s longevity and keeps cabinets looking refreshed.
- Choose polyurethane or lacquer for sealing
- Apply 2-3 coats with light sanding between
- Ensure dust-free environment while sealing
- Allow full curing before reinstalling hardware
Safety and Maintenance Tips for Restained Cabinets
Health and Safety Precautions
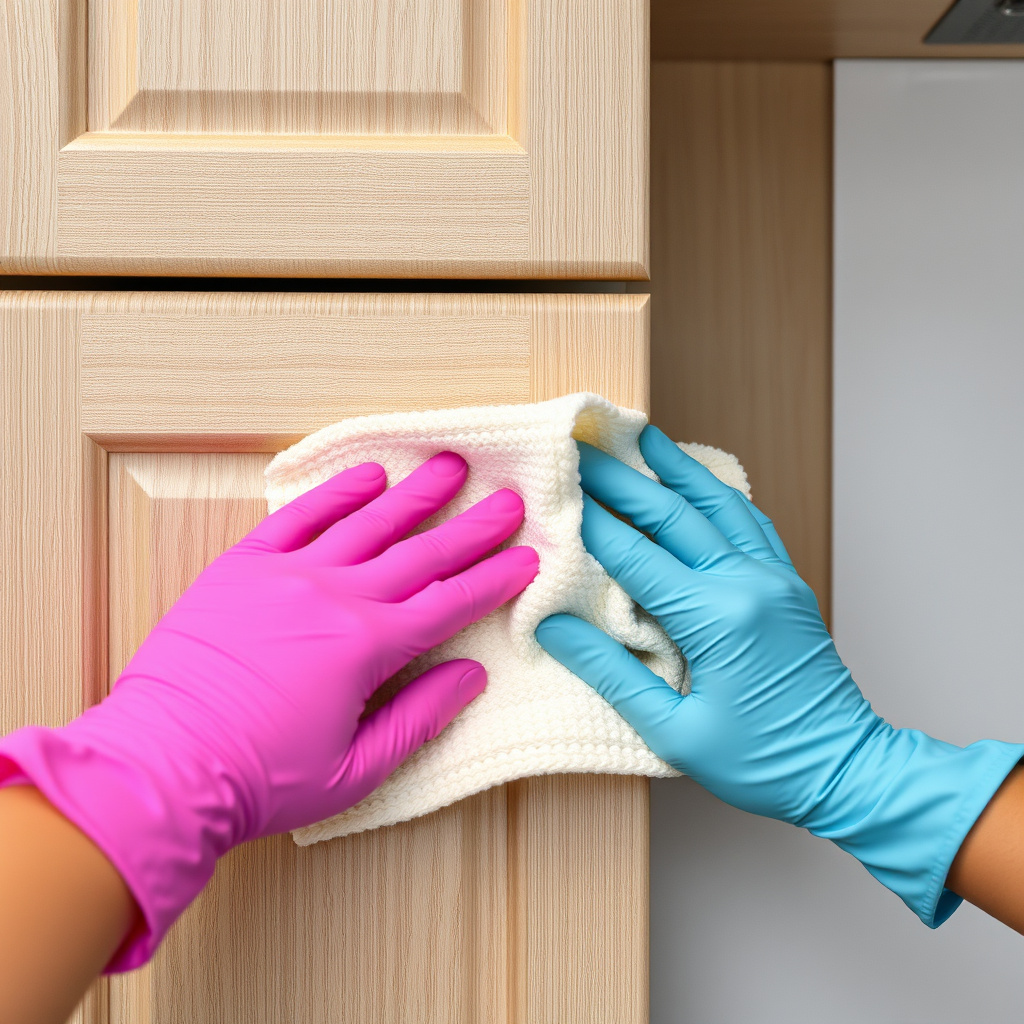
Staining and stripping wood release chemicals that require working in a well-ventilated area. Use protective gear including gloves, goggles, and a respirator mask to avoid skin contact and inhalation.
Dispose of rags soaked with stain or stripper carefully, as they can spontaneously combust. Store chemicals away from heat and follow local regulations for disposal.
- Work outdoors or in ventilated rooms
- Wear gloves, mask, and safety glasses
- Keep away from open flames
- Properly dispose of hazardous waste
Maintaining Restained Cabinets
Use mild cleaning agents post-restain to protect the finish. Avoid abrasive scrubbers or harsh chemicals that can degrade the protective topcoat. Wipe spills immediately to prevent staining.
Periodic reapplication of protective finish can support long-term cabinet beauty. Inspect areas prone to wear, especially around handles and edges, and touch up as needed to retain the finish.
- Clean with soft cloth and gentle cleaners
- Avoid excessive moisture contact
- Reapply sealant every few years
- Handle cabinets gently to prevent scratches
Tools and Materials Needed for Restaining Kitchen Cabinets
Essentials for Surface Preparation
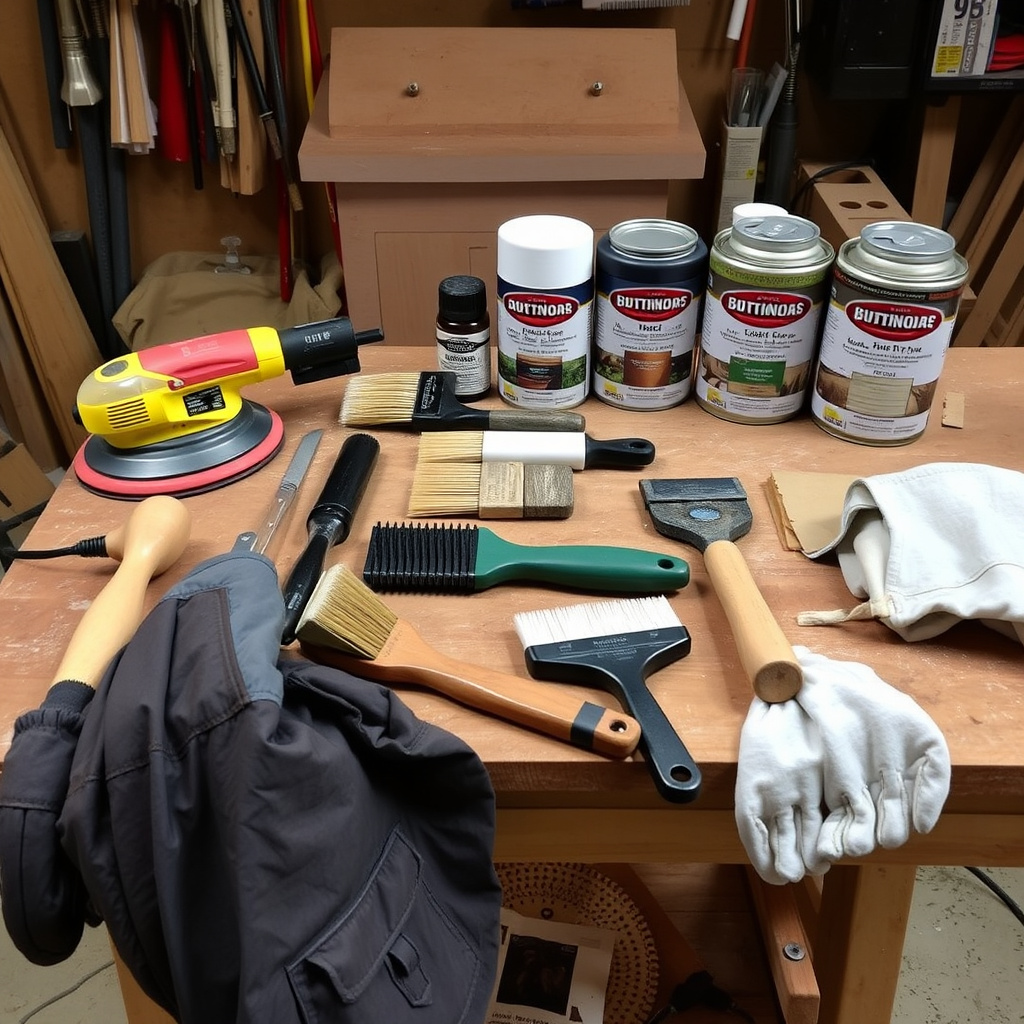
Quality sanding tools—both an orbital sander and hand sanding blocks—are critical for preparing your cabinet surfaces efficiently. The right sandpaper grits help you remove old finishes without damaging the wood.
In addition, reliable cleaning supplies such as degreasers and tack cloths help remove debris and dust, setting a proper base for staining.
- Orbital sander and sanding blocks
- 120- and 220-grit sandpapers
- Degreaser or mild detergent
- Tack cloths for dust removal
Application and Safety Gear
Use quality brushes or lint-free rags for stain and sealer application to ensure even coating and a smooth finish. Foam brushes can help with controlled application on edges.
Personal protective equipment—gloves, safety glasses, and respirators—is essential to keep you safe from hazardous fumes and skin irritation during staining or stripping.
- Natural bristle or foam brushes
- Lint-free cloths for wiping stain
- Chemical-resistant gloves
- Respirator mask and safety goggles
Dealing with Common Challenges When Restaining Kitchen Cabinets
Fixing Surface Imperfections
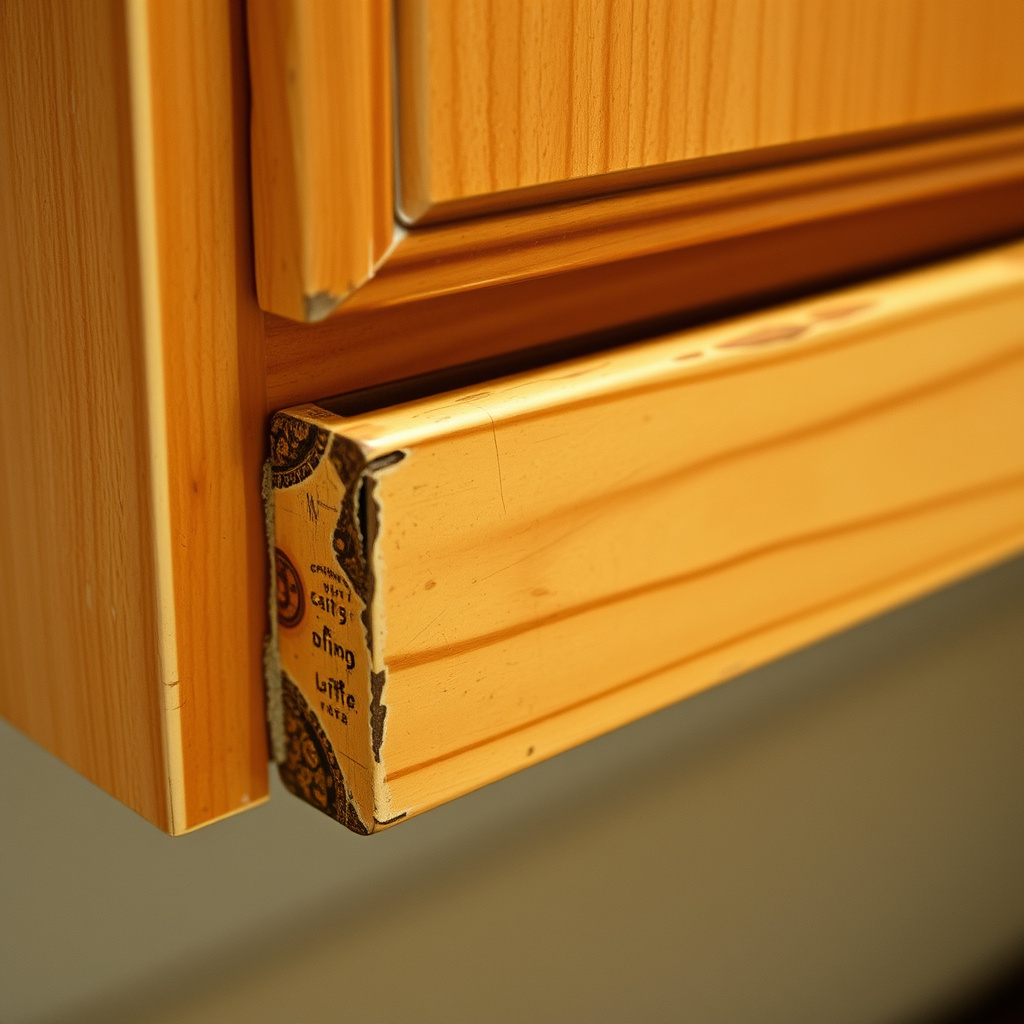
Scratches, dents, and stains can affect the finish quality. Light imperfections may be sanded out, but deep gouges require wood filler compatible with stain colors to achieve a uniform surface.
After applying and drying filler, sand the area smooth to blend with surrounding wood before proceeding to stain application.
- Choose stainable wood filler for repairs
- Sand filler flush with cabinet surface
- Test stain on repaired spots
- Apply filler sparingly for best results
For more detailed information on wood finishing methods applicable to kitchen cabinets, explore kitchen cabinet finishing techniques. Kitchen cabinet finishing techniques.
Handling Uneven Stain Absorption
Difficult woods or previously finished cabinets may absorb stain unevenly, causing blotchiness. Using a pre-stain wood conditioner helps promote uniform staining by partially sealing wood pores.
Allow conditioner to penetrate according to product instructions before applying stain. This step is especially helpful for soft and porous wood species.
- Apply pre-stain conditioner evenly
- Follow recommended wait times before staining
- Test on scrap wood first
- Avoid over-sanding which may cause blotches
Kitchen Cabinet Restaining Methods Comparison
This table compares different restaining approaches, highlighting preparation, finish quality, durability, and time investment to help you make an informed choice.
| Method | Preparation Time | Finish Quality | Durability | Cost Estimate |
|---|---|---|---|---|
| Sanding and Staining | Moderate | High – natural wood finish | High with sealer | $150-$300 |
| Chemical Stripping and Staining | High (chemical application) | Very High – removes all finish | Very High with proper sealing | $200-$400 |
| Painting Cabinets | Low to Moderate | Opaque finish | Moderate to High | $100-$250 |
| Gel Stain Application | Moderate | Uniform color on difficult woods | High with sealer | $180-$350 |
| Professional Refinishing Service | Varies | Excellent, professional-grade | Very High | $500-$1200 |
Frequently Asked Questions
How long does it take to restain kitchen cabinets?
Restaining kitchen cabinets usually takes 3 to 5 days including preparation, drying, and sealing times, depending on the number of coats applied and drying conditions.
Can I restain kitchen cabinets without removing the doors?
Removing cabinet doors and hardware is recommended for even staining and easier access, but small touch-ups or minor restaining can be done in place with extra care.
Is sanding mandatory before restaining kitchen cabinets?
Yes, sanding is necessary to remove old finishes and create a rough surface that allows the new stain to adhere properly and evenly.
What is the best type of stain for kitchen cabinets?
Oil-based stains offer deeper color and durability, but water-based stains dry faster and have less odor, making them popular choices depending on project needs.
How do I maintain restained kitchen cabinets?
Clean restained cabinets gently with mild detergent and a soft cloth, avoid harsh chemicals, wipe spills quickly, and consider reapplying a protective finish every few years.
Key Takeaways
- Restaining revives kitchen cabinets without replacement
- Proper surface prep is critical for good adhesion
- Stain type and color affect final look and durability
- Sealing protects and extends the cabinet finish’s life
Conclusion
Choosing to restain kitchen cabinets is a practical approach that balances budget, style, and sustainability. Success hinges on detailed surface preparation, selecting the right stain and sealer, and applying multiple thin coats thoughtfully. The main keyword, how to restain kitchen cabinets, anchors the process by highlighting essential techniques that can transform old cabinetry into a refreshed focal point for your kitchen. Recognizing the importance of safety, tools, and ongoing maintenance rounds out the knowledge needed for a satisfying DIY cabinet project.
Different scenarios call for different restaining approaches: sanding and staining is excellent for natural wood finishes, while gel stains work well for tricky woods prone to blotching. Chemical stripping offers the best surface preparation for older cabinetry with multiple layers of finish. If you want durability with a quick turnaround, water-based stains combined with polyurethane sealer provide professional results. Consider your kitchen style and maintenance comfort level when selecting your restaining method.
To get started, gather your tools and assess your cabinets’ current condition. Test your preferred stain color on an inconspicuous spot before committing to the full project. With patience and attention to detail, learning how to restain kitchen cabinets unlocks the potential to elevate your kitchen's aesthetics and protection long-term. You’re now ready to refresh your kitchen the cost-effective, hands-on way.