How to Draw a Kitchen: A Step-by-Step Guide for Beginners
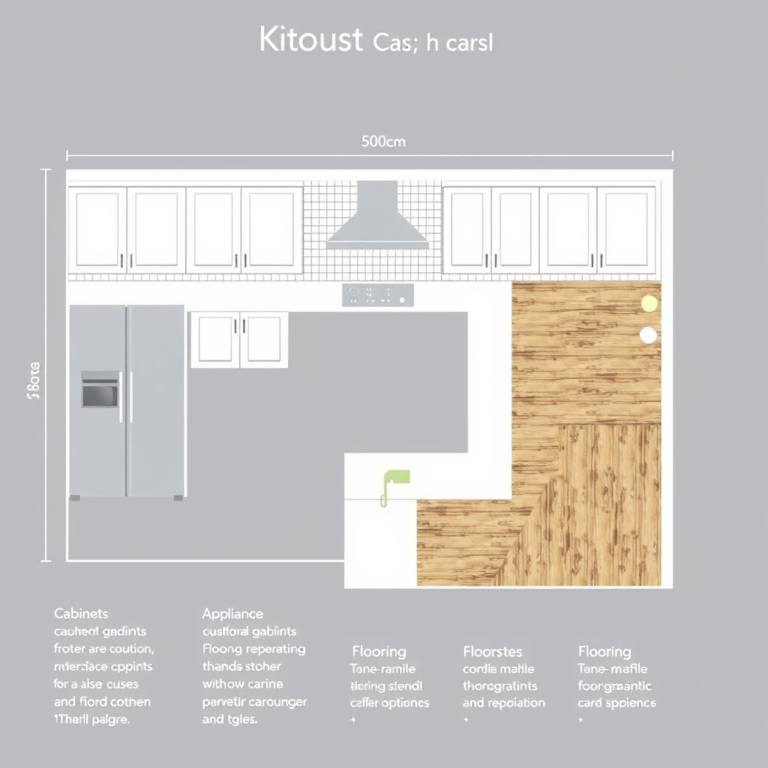
Drawing a kitchen starts with understanding its basic structure: cabinets, appliances, countertops, and the overall layout. Begin by sketching a simple floor plan to establish the shape and size, then add details like doors, windows, and furniture. This foundational approach makes the process manageable for anyone.
Knowing how each element fits together visually enhances the realism and clarity of your kitchen drawing. Kitchens are familiar spaces, and capturing their dimensions and common features accurately helps convey a believable scene or design concept. This also improves your ability to visualize and plan kitchen layouts.
This guide breaks down the drawing process into clear stages—from sketching the floor plan to adding perspective, proportions, and fine kitchen details. You’ll also find tips on common kitchen styles and drawing techniques that make your sketches more lively and functional.
Planning Your Kitchen Drawing
Laying Out the Floor Plan
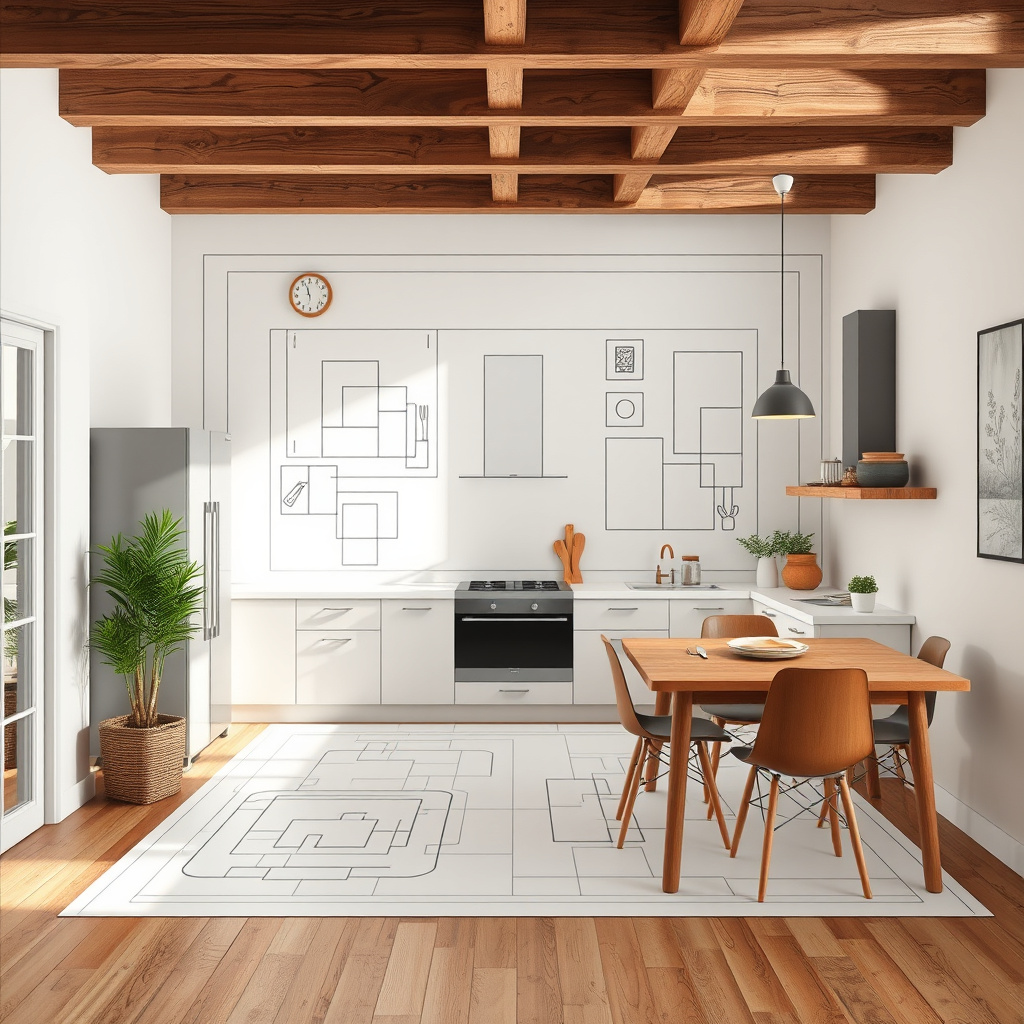
Start by drawing a rectangle or square to represent the room’s floor area. Use a ruler to keep lines straight and measure desired dimensions roughly. Indicate walls, doorways, and windows to define spatial limits.
Mark where key features like cabinets, sink, and appliances will go. This rough blueprint guides your composition and helps maintain accurate proportions across the entire drawing.
- Draw room perimeter to scale
- Position entry points and windows
- Mark appliance and fixture locations
Choosing the Kitchen Style
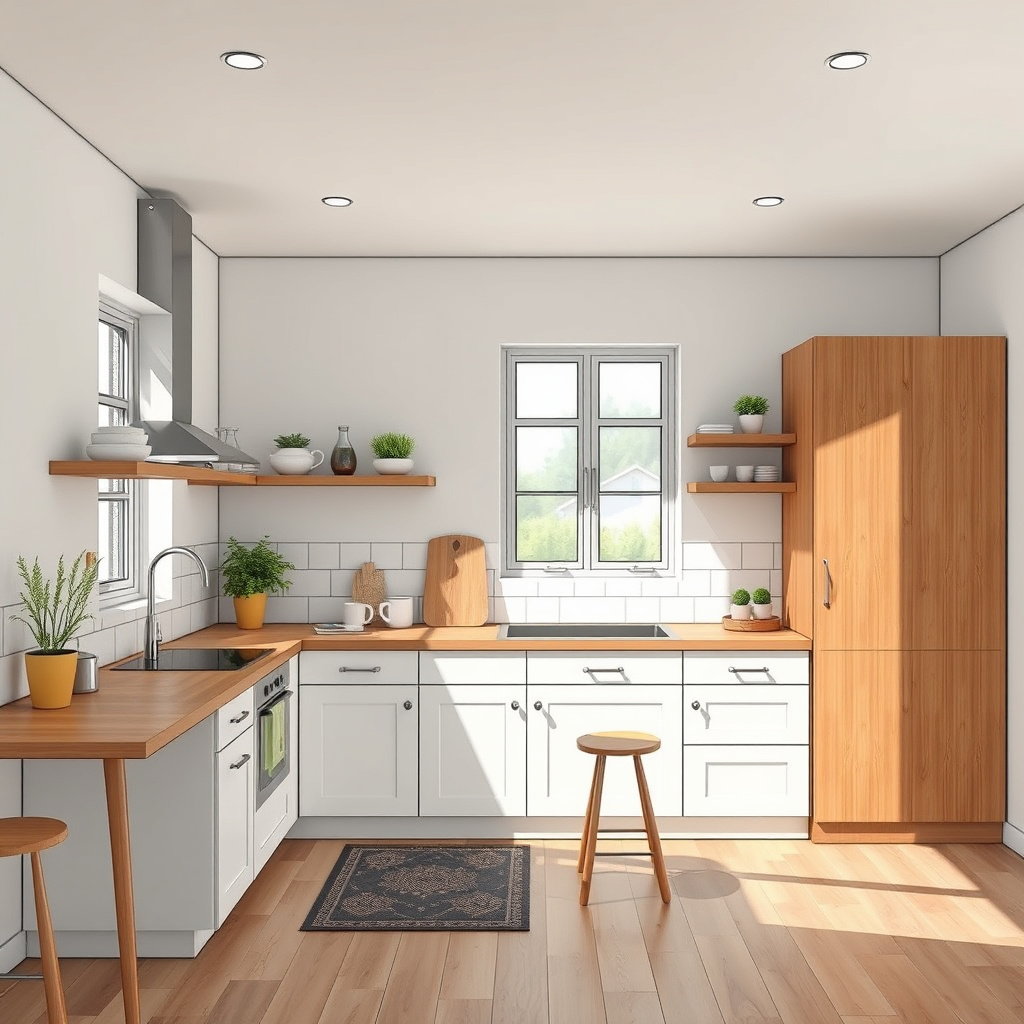
Select a kitchen style such as modern, farmhouse, or traditional before deepening your sketch. Each style affects cabinet shapes, appliances, and decorative details you’ll add later.
Understanding kitchen drawing techniques for different styles helps tailor your approach and enhances the authenticity of your illustration.
- Modern kitchens: clean lines, minimal details
- Farmhouse: rustic textures, open shelving
- Traditional: ornate cabinetry, classic fixtures
Drawing Cabinets and Countertops
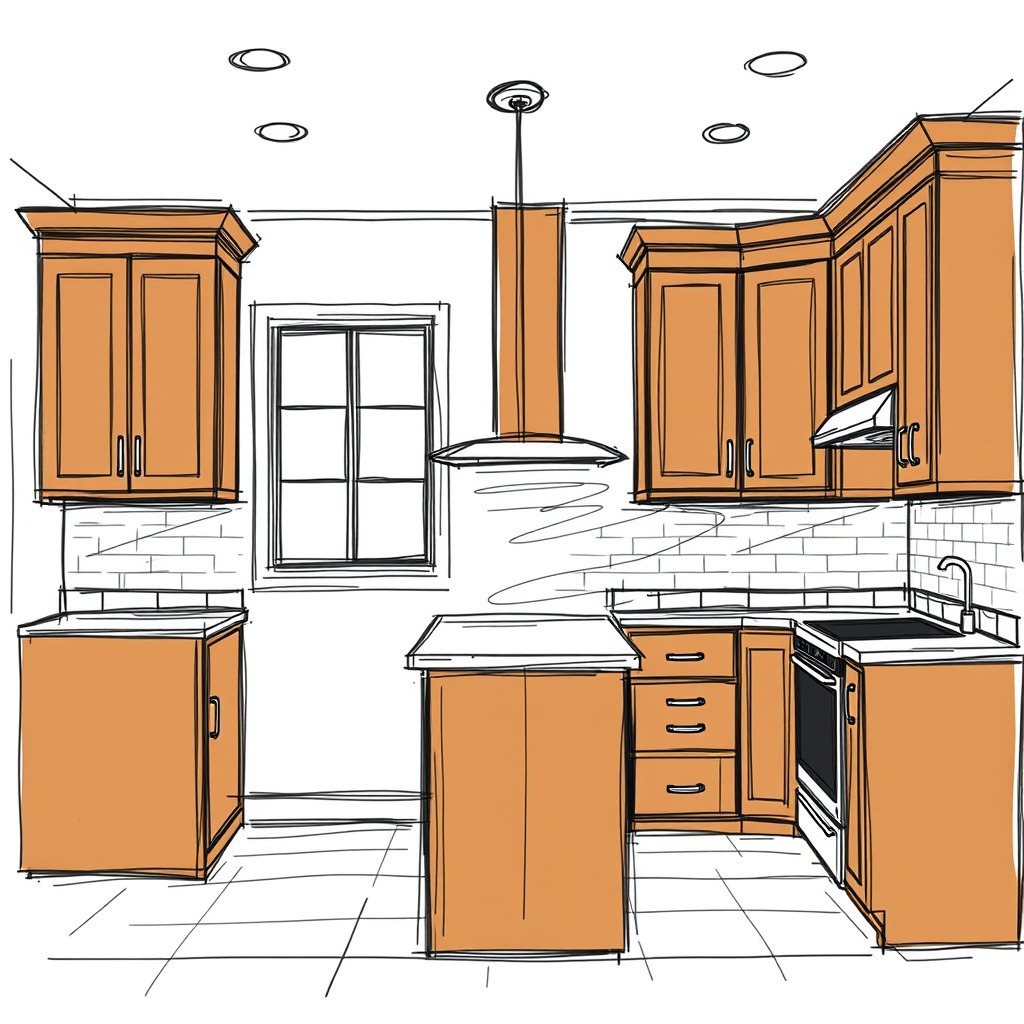
Sketching Base and Wall Cabinets
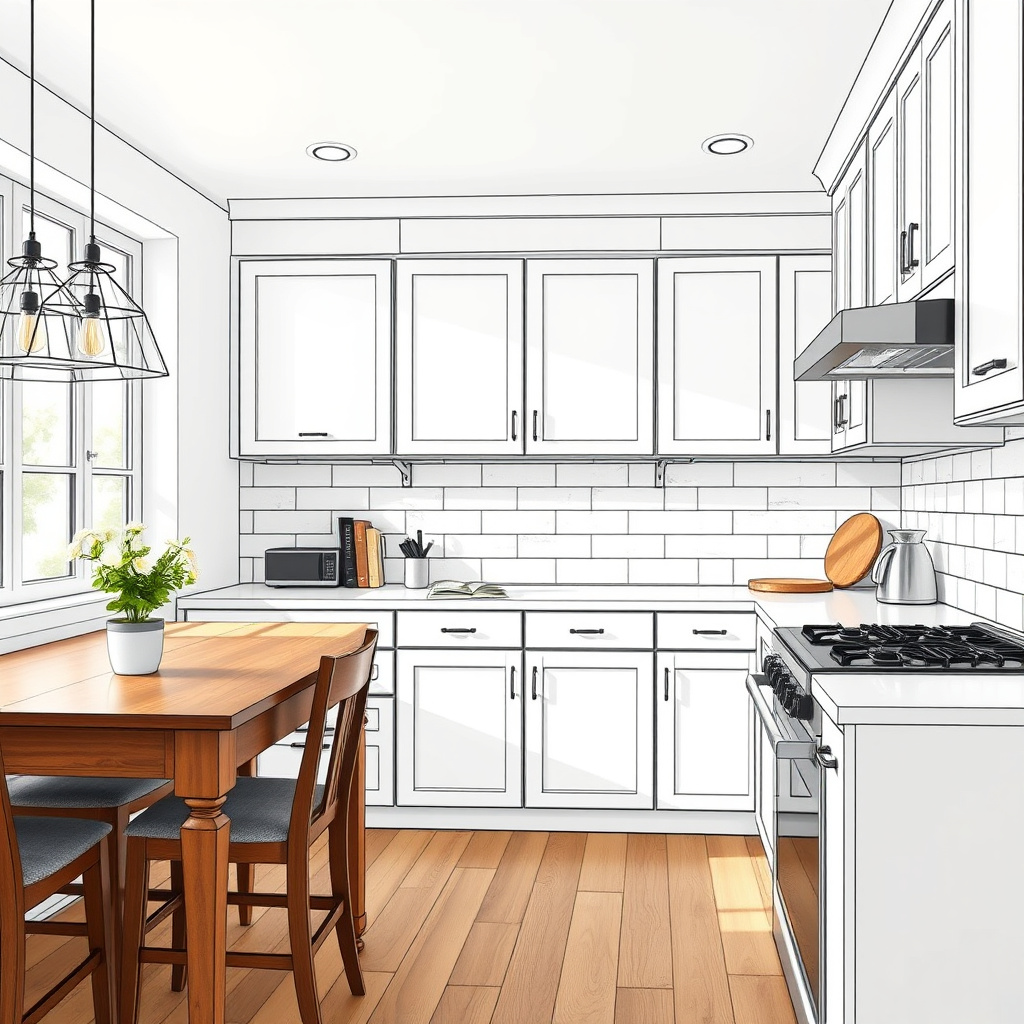
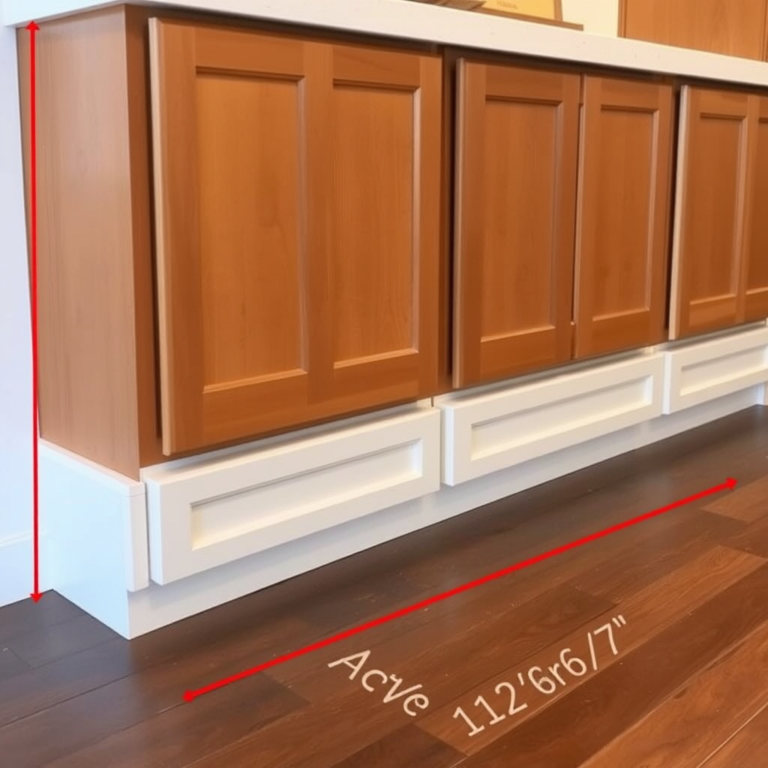
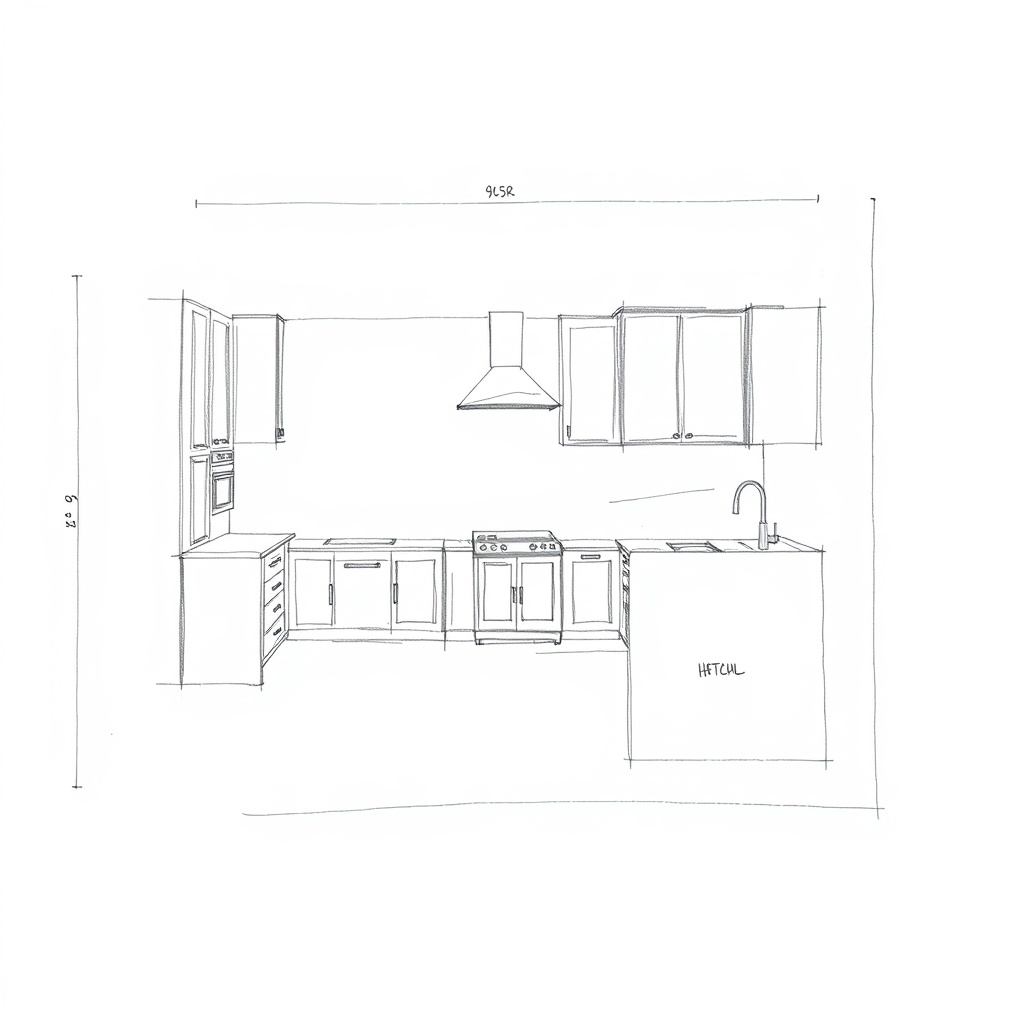
Begin by drawing cubes to represent base cabinets, keeping consistent height and depth measurements. Add doors and drawer fronts using straight lines.
Wall cabinets usually sit above countertops and should be drawn smaller in height but aligned horizontally. Use light guidelines to maintain perspective.
- Maintain uniform cabinet dimensions
- Keep door panels symmetrical
- Use perspective lines for depth
Adding Countertops and Backsplash
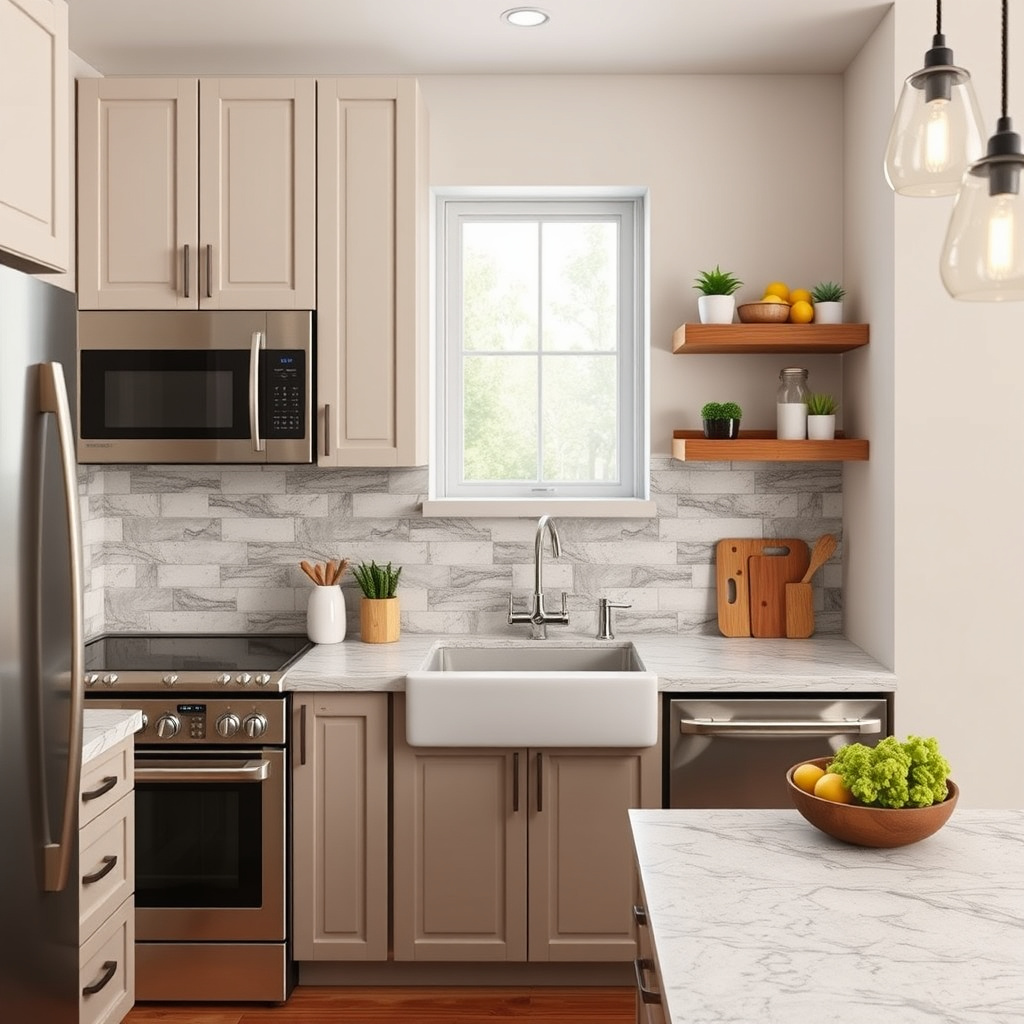
Extend a horizontal plane over the base cabinets to create countertops. Add thickness by drawing a parallel horizontal line along the edge. For a backsplash, sketch a vertical extension from the countertop’s back edge.
Details like rounded corners, faucet placement, and material texture help bring life to this section.
- Draw countertop edges with thickness
- Include sink and faucet locations
- Sketch backsplash height and pattern
Incorporating Appliances and Fixtures
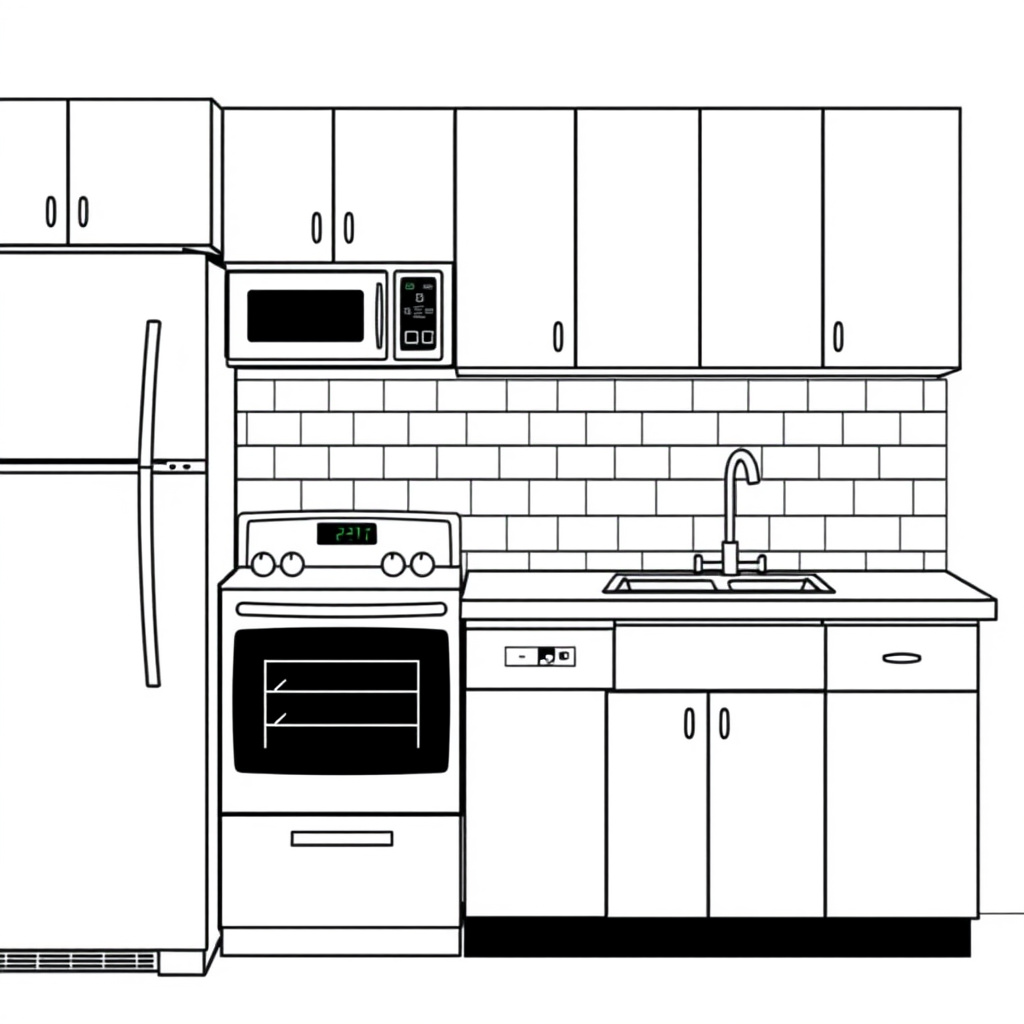
Positioning Major Appliances
Sketch outlines of stoves, refrigerators, and dishwashers within your cabinet layout. Keep appliance sizes proportional to cabinets and room scale.
Appliances usually have clean geometric shapes; focus on symmetry and adding distinguishing features like handles and control panels.
- Estimate appliance dimensions carefully
- Use reference images for appliance details
- Align appliances with cabinetry for realism
For more on this, see our related guide: How to Organize Kitchen Drawers for Maximum Efficiency.
Drawing Lighting and Fixtures
Include hanging lights, under-cabinet lighting, and ceiling fixtures by sketching simple shapes like circles or rectangles placed logically around the kitchen.
Lighting adds ambiance and depth to your drawing and emphasizes important areas such as the cooking zone.
- Draw fixtures with proper scale
- Use shadows to imply light source
- Place lighting where functional
Applying Perspective and Proportion
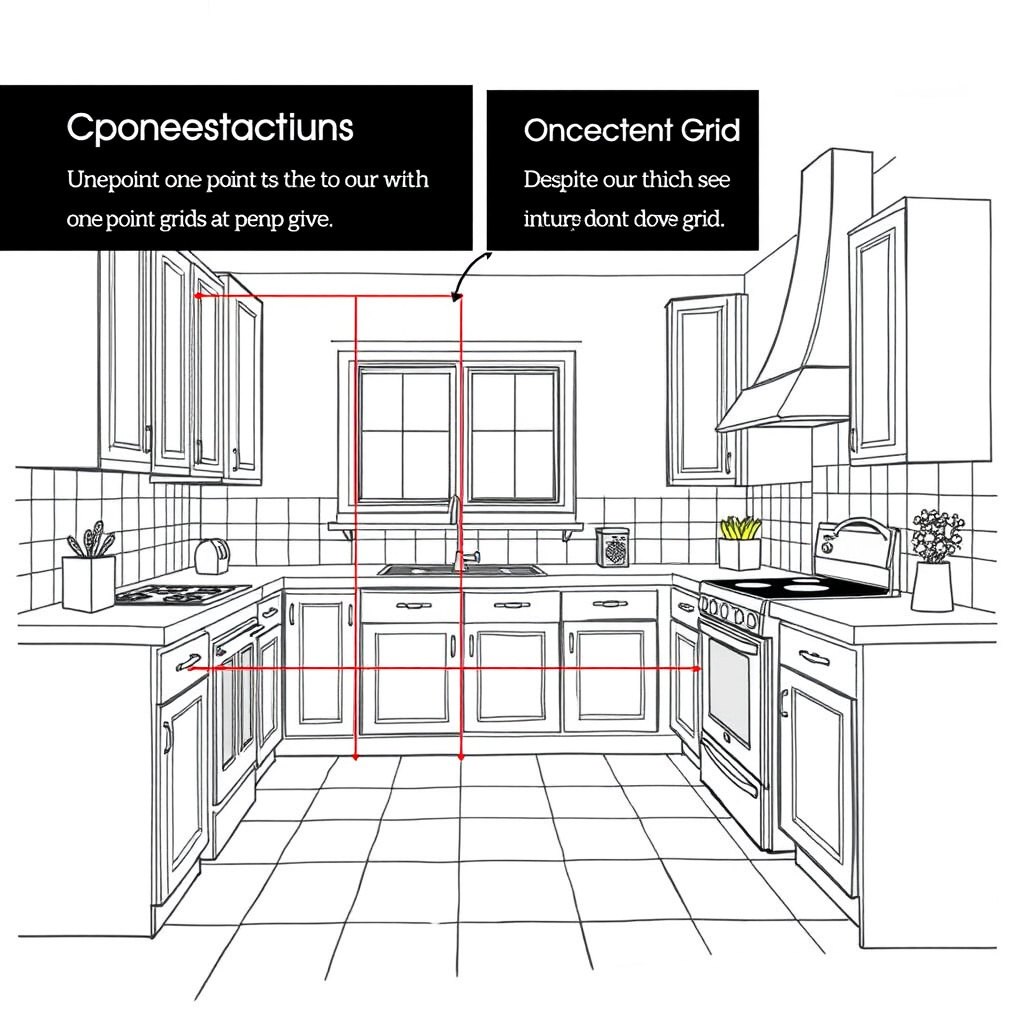
Using One-Point Perspective
One-point perspective works well for straight-on kitchen views. Establish a vanishing point on the horizon and guide all horizontal lines to converge there.
This simplifies depth cues and helps maintain realistic spatial relationships between cabinets, appliances, and walls.
- Set horizon and vanishing point first
- Align all horizontal lines accordingly
- Use perspective to size objects proportionally
Exploring Two-Point Perspective
Two-point perspective creates dynamic angled views by adding a second vanishing point. Use this when drawing corners or more complex kitchen layouts.
It demands careful alignment to avoid distorted shapes but results in more visually engaging compositions.
- Locate two vanishing points on horizon
- Draw vertical lines independent of perspective
- Converge horizontal lines to two points
Detailing Textures and Finishes
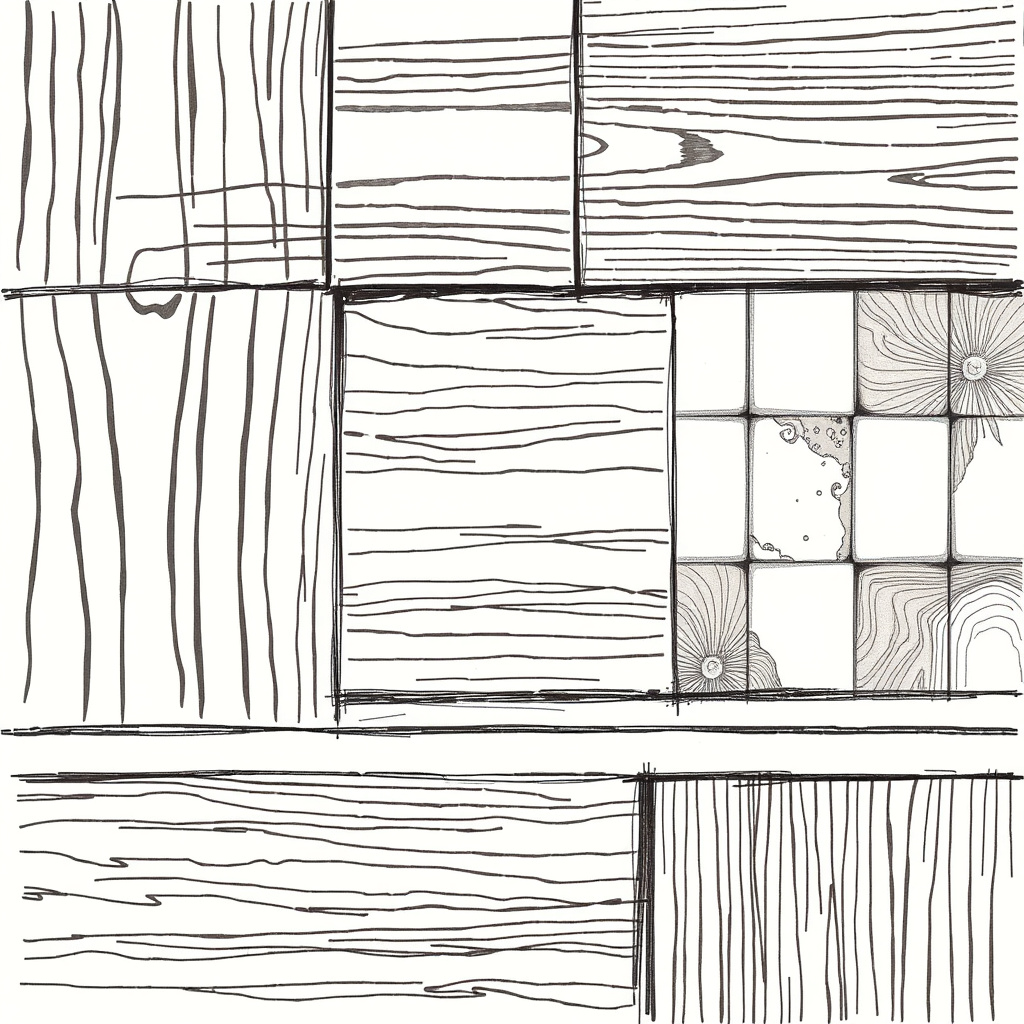
Rendering Wood and Cabinet Finishes
Add wood grain lines or smooth planes to cabinets depending on the material. Techniques like crosshatching or stippling simulate texture effectively.
Highlighting shiny or matte finishes can also be done using shading and directional strokes.
- Use fine lines for wood grain
- Vary shading for finish effects
- Emphasize edges with darker lines
For more on this, see our related guide: How to Get Rid of Kitchen Gnats: Effective and Safe Strategies.
Sketching Tiles and Countertop Surfaces
Draw backsplash tiles as a grid pattern; consider common shapes like subway or mosaic tiles. For countertops, indicate patterns like granite veining or marbling.
Texture details add realism and differentiate materials visually.
- Draw tile outlines cleanly
- Add subtle texture for stone surfaces
- Use shading to indicate surface depth
Finalizing Your Kitchen Drawing
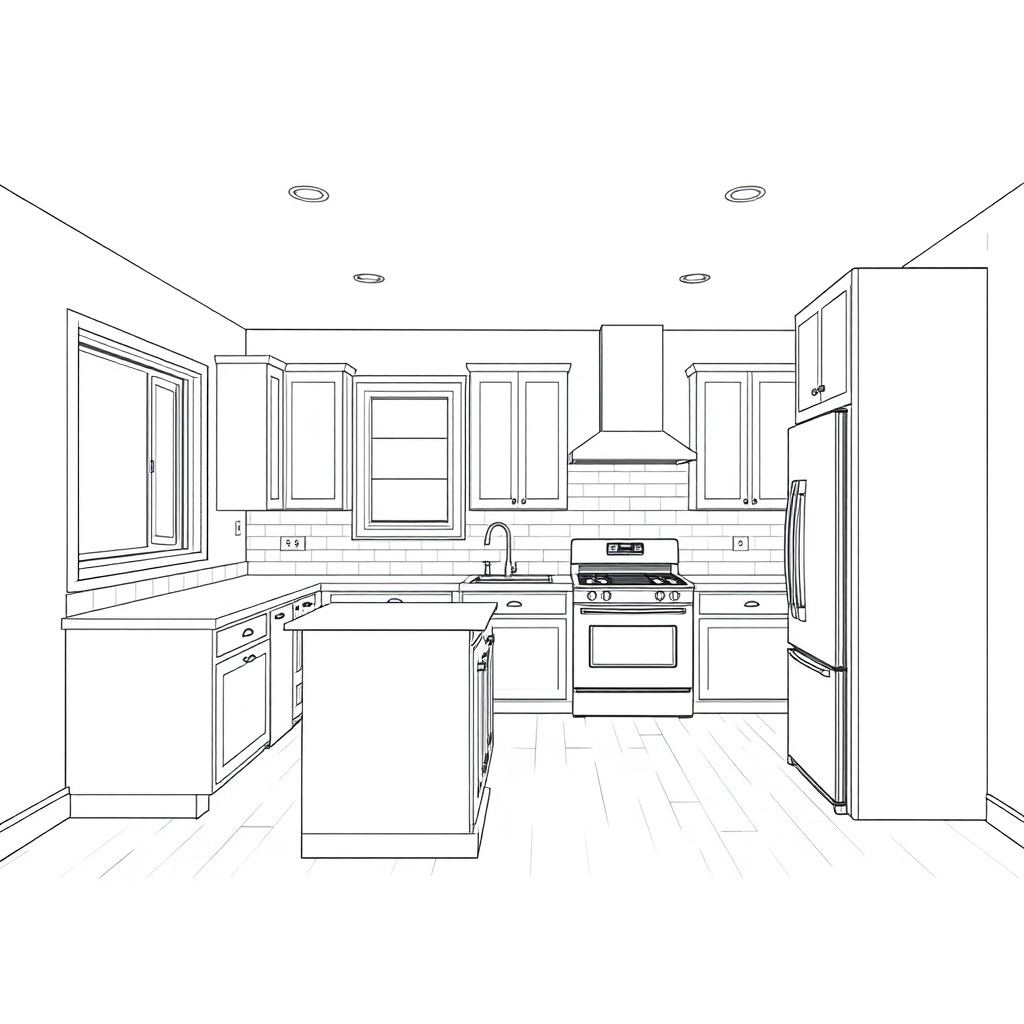
Inking and Line Refinement
Once the pencil sketch meets your satisfaction, trace over key lines with ink or a darker pencil. Remove unnecessary guidelines to clean the drawing.
Selecting varying line weights can add depth and focus to important details.
- Use fine liners for precision
- Vary line thickness for emphasis
- Erase pencil marks after inking
For a deeper understanding of kitchen layout and design principles, exploring interior kitchen design concepts can be very helpful. interior kitchen design concepts.
Adding Shadows and Highlights
Apply shading to indicate light direction and form. Shadows under cabinets and around appliance edges add depth. Highlights on glossy surfaces create contrast.
This final step brings your kitchen sketch closer to a three-dimensional presence.
- Determine primary light source
- Shade accordingly with pencils or markers
- Use eraser or white ink for highlights
Kitchen Drawing Styles Comparison
Explore how different kitchen drawing styles impact the look and feel of your sketch with this side-by-side comparison.
| Style | Visual Characteristics | Typical Features | Best For |
|---|---|---|---|
| Modern | Clean, sleek, minimal lines | Flat panels, stainless steel appliances | Contemporary designs and architectural plans |
| Farmhouse | Rustic and warm with textured surfaces | Open shelves, wood grain, apron sinks | Cozy, traditional home decor sketches |
| Traditional | Ornate details and classic shapes | Decorative moldings, raised panels | Historical or luxury kitchen concepts |
| Industrial | Raw materials and exposed structures | Metal finishes, open ductwork | Urban loft-style kitchen presentations |
| Scandinavian | Simple, bright, functional | Light wood, white surfaces, minimal clutter | Minimalist and efficient kitchen designs |
Frequently Asked Questions
What basic tools do I need to draw a kitchen?
You will need pencils ranging from hard to soft, a ruler for straight lines, an eraser, fine liners or ink pens for outlining, and optionally colored pencils or markers for adding textures and shading.
How do I keep kitchen proportions accurate in my drawing?
Start with a scaled floor plan and apply perspective guidelines such as one-point or two-point perspective. Use measurements for cabinets and appliances relative to room dimensions.
Can I draw a kitchen without professional architectural training?
Yes, by focusing on the basic shapes, perspective, and proportion, anyone can create a clear and appealing kitchen drawing that communicates design ideas effectively.
What are common mistakes when drawing kitchens?
Common errors include inconsistent perspective, incorrect proportions, overcrowding elements, and neglecting lighting and texture details that add realism.
How can I improve my kitchen drawing skills over time?
Practice regularly by sketching different kitchen layouts, study photos or real kitchens for reference, and learn various shading and texturing techniques.
Key Takeaways
- Start with a clear floor plan to organize space effectively.
- Choose a kitchen style to guide design details and drawing approach.
- Use perspective techniques to maintain realistic depth and proportion.
- Add textures and shading last to enhance visual interest and realism.
Conclusion
Drawing a kitchen involves balancing layout accuracy with artistic detail. Begin by sketching out a floor plan to map the space and key elements. Focus on proportion and perspective to create a believable room. Then, layer in components like cabinets, countertops, appliances, and fixtures thoughtfully. By organizing the process into manageable steps, anyone can translate a kitchen concept onto paper clearly and attractively.
For those seeking guidance, modern kitchens with streamlined shapes offer a straightforward start, while farmhouse or traditional styles demand attention to ornate details and texture. Each style requires adapting your drawing techniques to match cabinet designs and materials. Paying attention to lighting, finishes, and realistic appliance placement elevates your kitchen sketches and supports visualization whether for design presentations or artistic expression.
The best next step is to gather reference images of kitchens matching your preferred style and begin sketching simple floor plans using pencil and ruler. Practice kitchen drawing techniques gradually, focusing on one aspect at a time like cabinetry or perspective. Over time, you’ll develop confidence and skill that bring your kitchen illustrations vividly to life.