How to Fix a Dripping Kitchen Faucet: A Step-by-Step Repair Guide
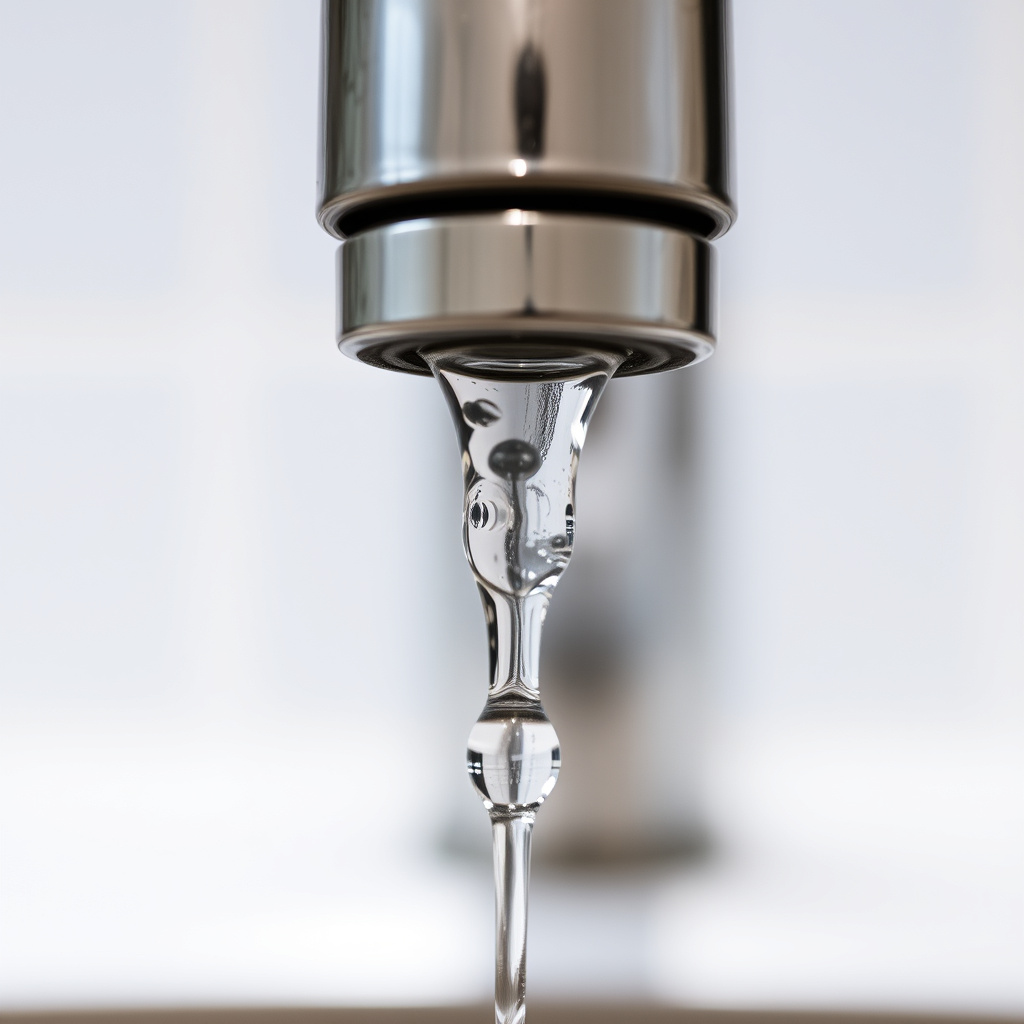
A dripping kitchen faucet is usually caused by worn-out washers, cartridges, or valves that no longer seal properly. Fixing it yourself involves shutting off water, disassembling the faucet, replacing the faulty parts, and reassembling everything carefully.
Fixing leaks quickly is important to prevent water waste and higher utility bills. A persistent drip can also cause stains and damage to your sink or countertop over time. Many kitchen faucets follow similar repair steps, making this a manageable home maintenance task if you follow the right procedures.
This article will explain the common reasons behind faucet drips, the tools and materials needed, and provide detailed instructions on how to repair different types of kitchen faucets. You’ll also find tips on troubleshooting and preventive maintenance to keep your faucet drip-free.
Identifying the Cause of a Dripping Kitchen Faucet
Common Internal Parts That Fail
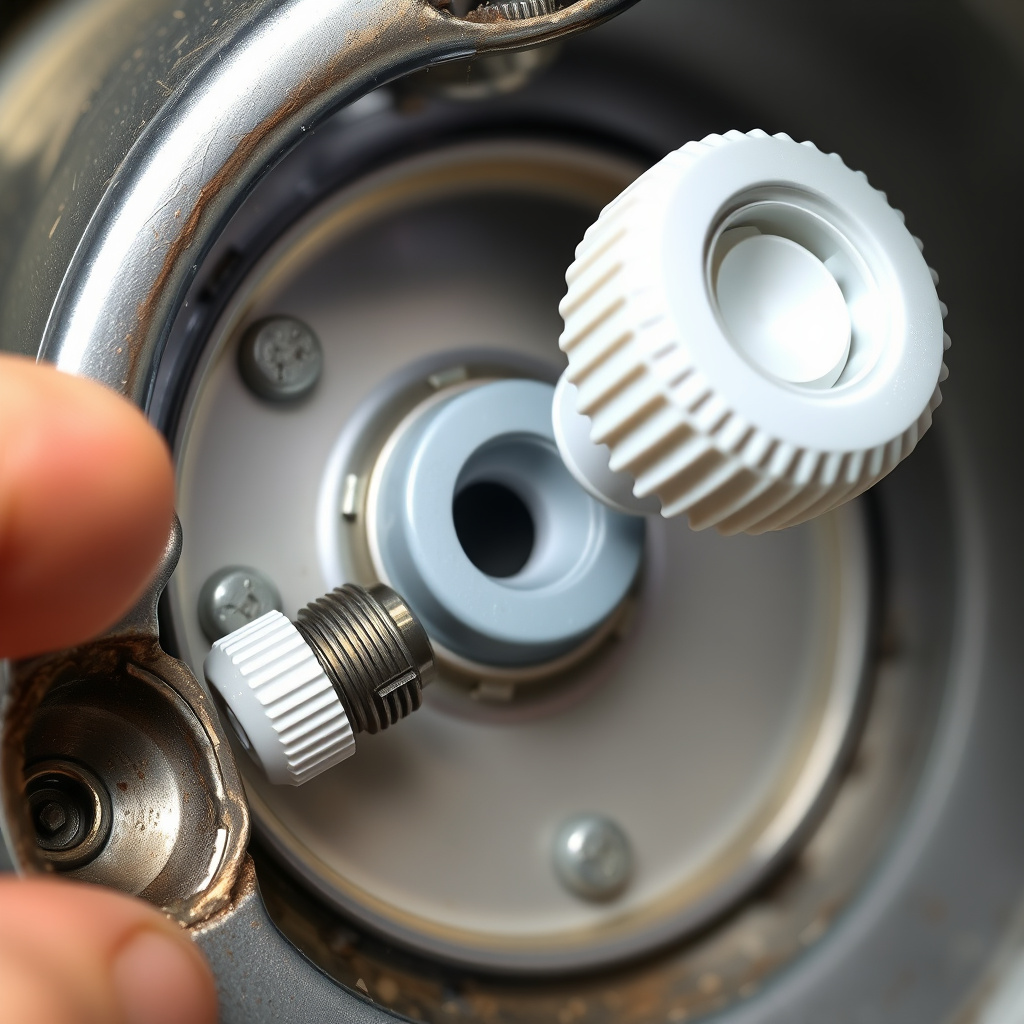
Most kitchen faucet drips stem from worn washers, O-rings, or cartridges. Washers create a seal, and if they become hardened or warped, water leaks through. O-rings seal the stem and spout; damaged ones allow drips. Cartridges, common in single-handle faucets, regulate flow and can wear out internally.
Understanding your faucet type – compression, cartridge, ball, or ceramic-disc – helps pinpoint the likely part at fault. Compression faucets usually suffer washer wear, while cartridge and ceramic-disc faucets often have defective cartridges or seals causing the drip.
- Worn rubber washer
- Damaged O-ring
- Faulty cartridge
- Loose valve seat
Signs and Symptoms to Observe

Besides dripping, you might notice a faucet handle that feels loose or difficult to turn, inconsistent water flow, or corrosion stains around the base which indicate internal leaks. Sprays or leaks under the sink may mean loose connections or worn supply lines.
Listening for water dripping sounds even when the faucet is off also helps identify slow leaks. Different symptoms can hint whether the problem is in the valve seat, cartridge, or supply lines, guiding your repair approach efficiently.
Tools and Materials Needed for Kitchen Faucet Repair
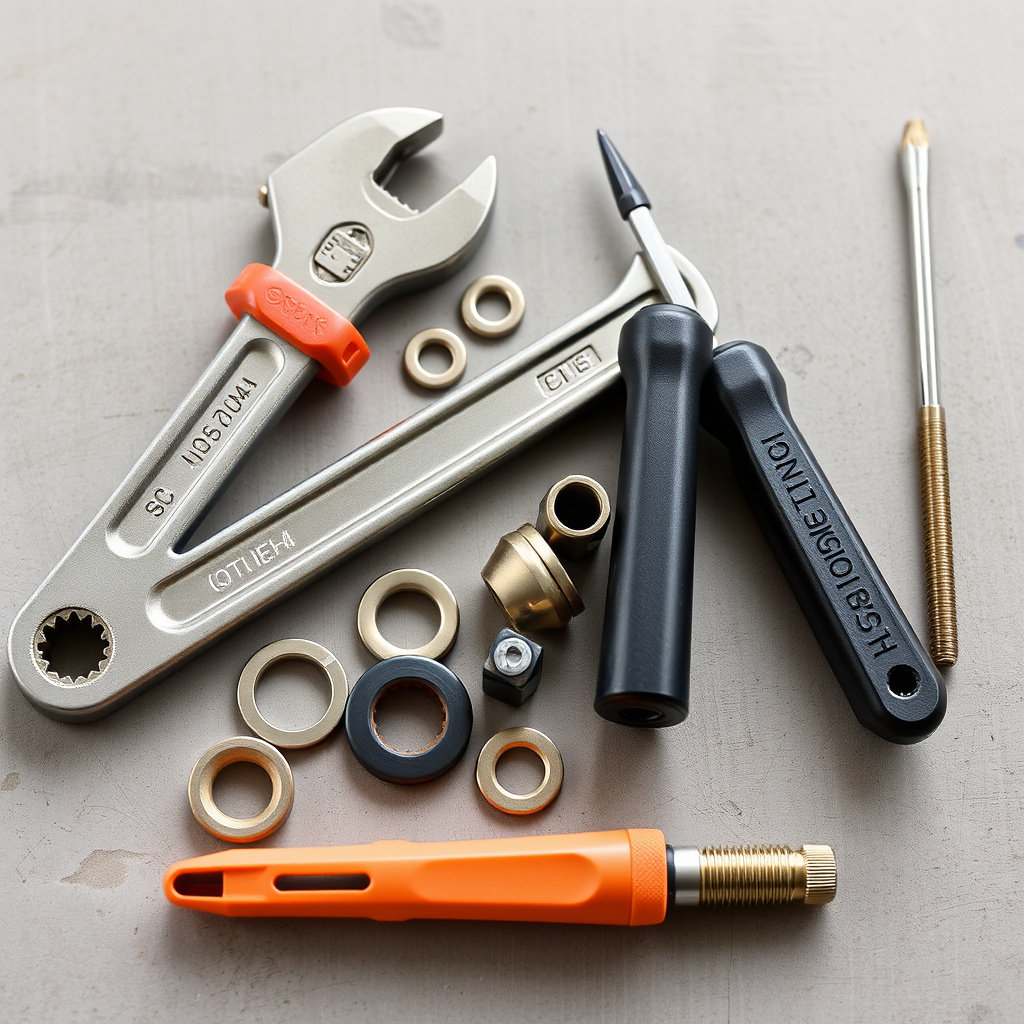
Basic Tools for the Job
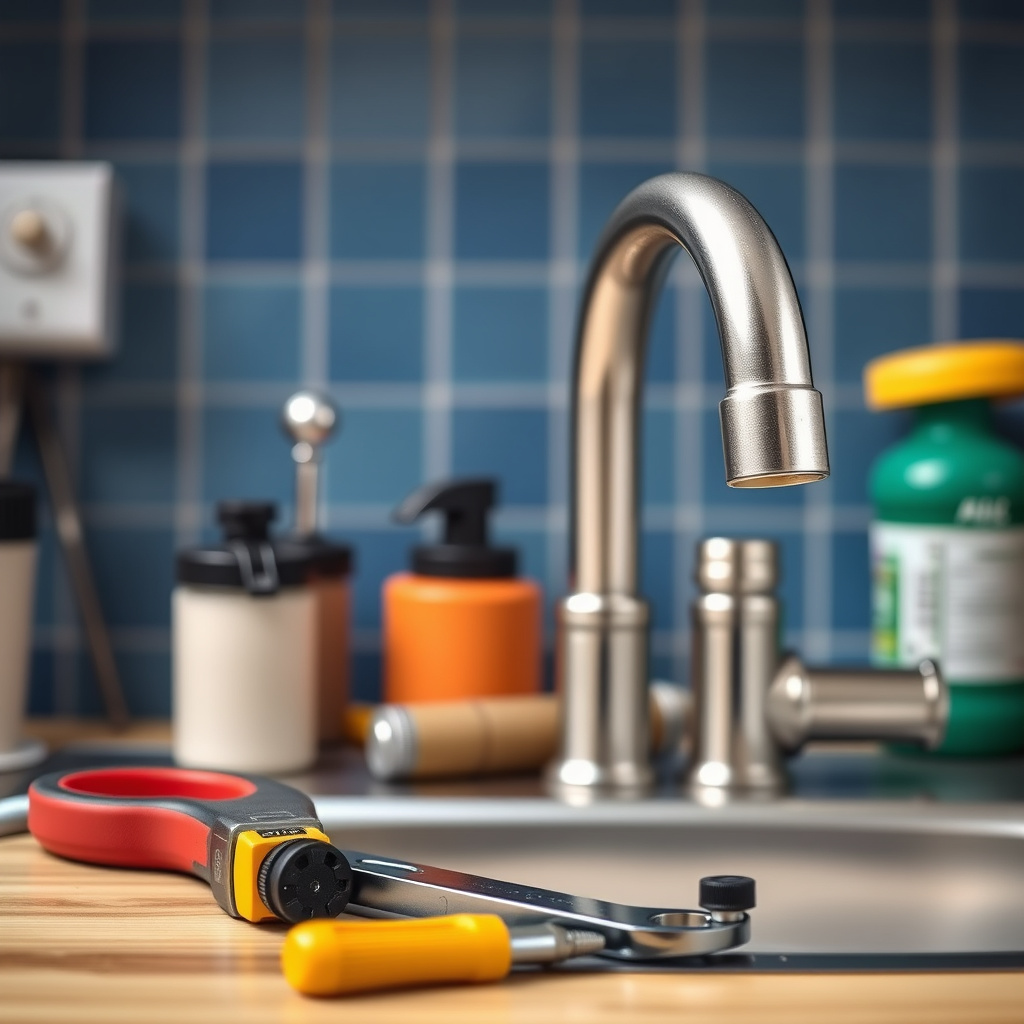
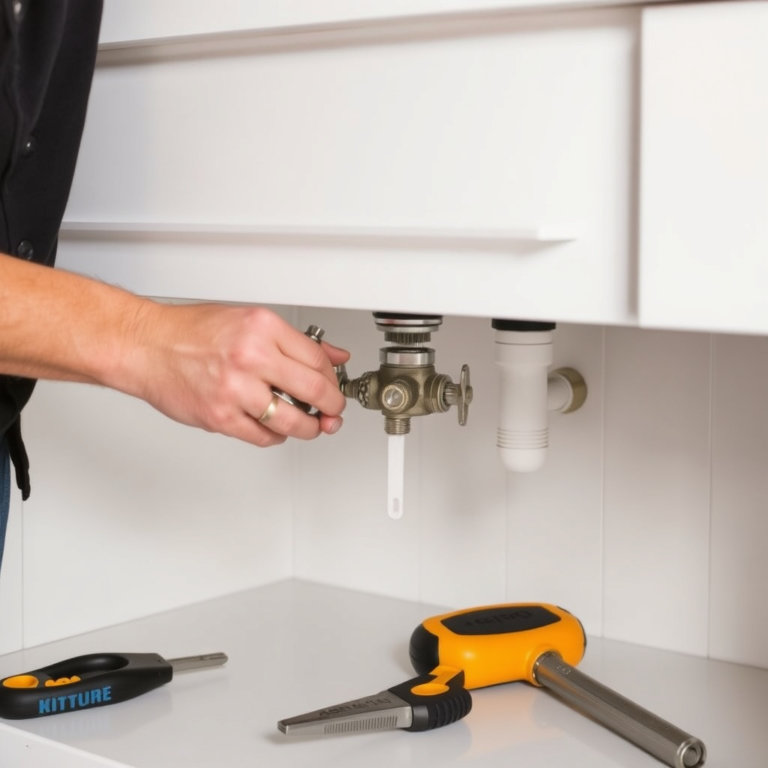
To fix a dripping kitchen faucet, you’ll need a set of common plumbing tools: an adjustable wrench, flathead and Phillips screwdrivers, pliers, and possibly an Allen wrench. Having a basin wrench is useful for hard-to-reach fittings under the sink.
Gathering tools before starting prevents delays and ensures you can safely remove and reinstall faucet parts without causing damage or frustration during the process.
- Adjustable wrench
- Flathead and Phillips screwdrivers
- Pliers
- Allen wrench
- Basin wrench (optional)
Replacement Parts and Materials
You will need replacement washers, O-rings, or cartridges specific to your faucet model. Bringing the old parts to a hardware store helps you find exact matches. Also have plumber’s grease handy to lubricate rings and seals during reassembly.
In some cases, you may need new valve seats or spout seals if corrosion or damage is present. Buying a faucet repair kit designed for your faucet brand simplifies the process by including the right parts in one package.
- Washers and O-rings
- Faucet cartridge or valve seat
- Plumber’s grease
- Repair kit for specific faucet model
Step-by-Step Process to Fix a Dripping Kitchen Faucet
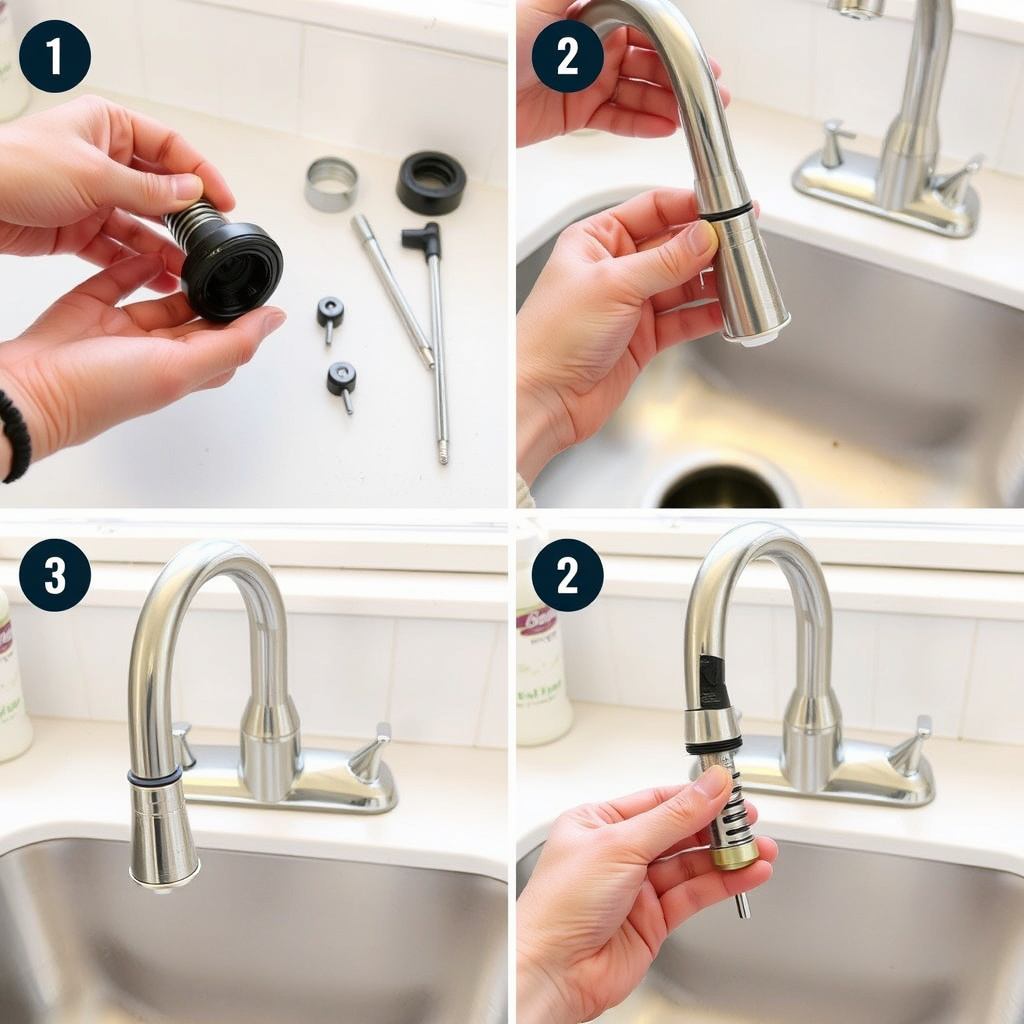
Shutting Off Water and Disassembling the Faucet
Begin by turning off the water supply valves under the sink completely to avoid leaks during repair. Open the faucet to release any remaining water and pressure before removing the handle assembly with appropriate tools.
Carefully take off any decorative caps to access screws holding the handle, then remove the cartridge, stem, or valve stem depending on your faucet type. Keep track of parts and order of removal to simplify reinstallation.
For more on this, see our related guide: How to Plumb a Kitchen Sink: Step-by-Step Guide for DIY Installation.
Replacing Parts and Reassembling
Inspect removed parts closely for damage or wear. Replace washers, O-rings, or cartridges with new matching components. Apply plumber’s grease on O-rings and moving parts to ensure smooth operation and a tight seal.
Put everything back in reverse order, making sure all screws and connections are secure but not overtightened. Turn water supply back on and test the faucet for any further drips, adjusting assembly if necessary.
Fixing Specific Faucet Types with a Drip
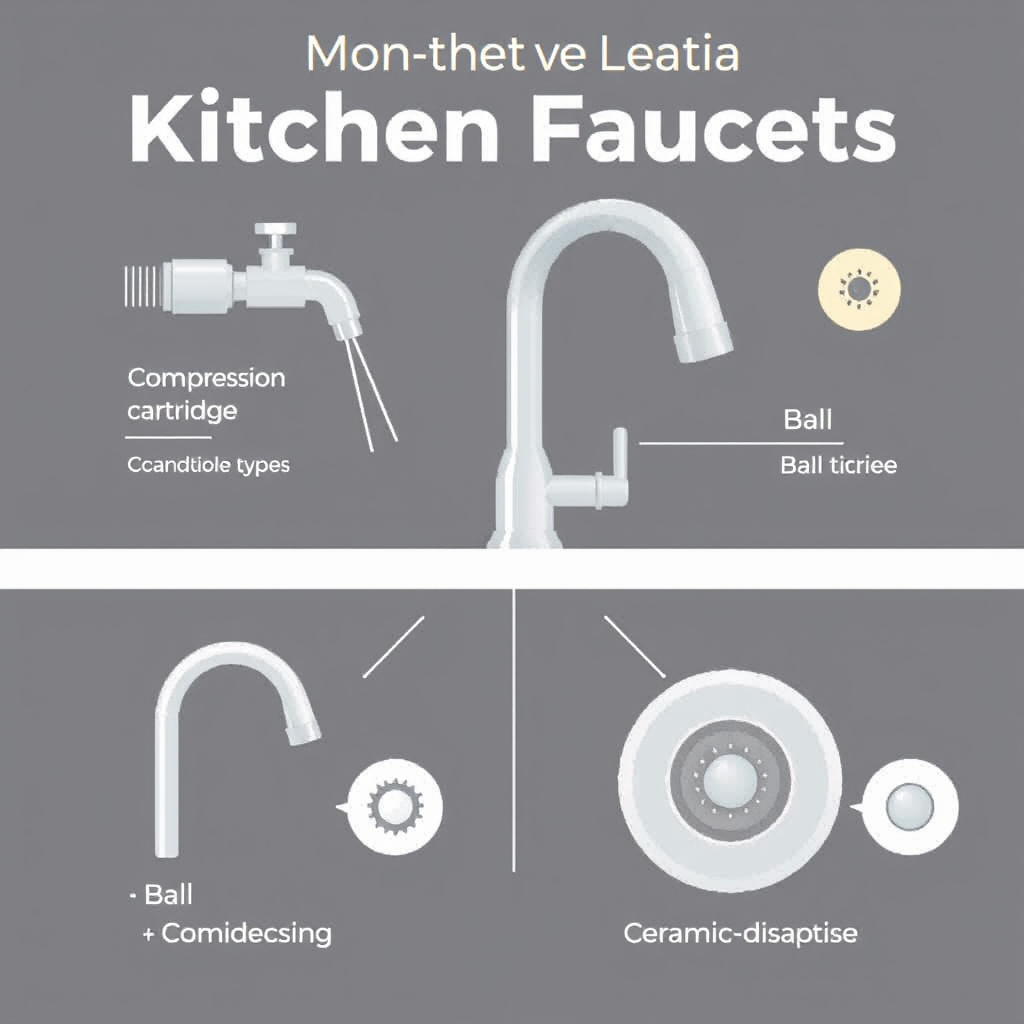
Repairing Compression Faucets
Compression faucets have separate hot and cold handles with washers that press against valve seats. Replacing old washers and cleaning or resurfacing valve seats often stops drips. Removing the valve stem lets you access these parts easily.
Be mindful to match washer size and thickness exactly. Slight mismatches can cause leaks. Also inspect the valve seat for corrosion and clean or replace if damaged.
- Remove handle and valve stem
- Replace worn rubber washer
- Check valve seat for corrosion
Repairing Cartridge and Ceramic-disc Faucets
Cartridge faucets function with a replaceable cartridge controlling water flow. A worn cartridge typically causes dripping. Removing the handle reveals the cartridge, which can be pulled out and swapped with an identical new part.
Ceramic-disc faucets use durable discs but still require cartridge replacement when leaking. These faucets usually have fewer washers and O-rings, so the cartridge is typically the central component to fix.
- Remove handle cover
- Extract and replace cartridge
- Lubricate seals with plumber’s grease
Troubleshooting and Preventive Tips
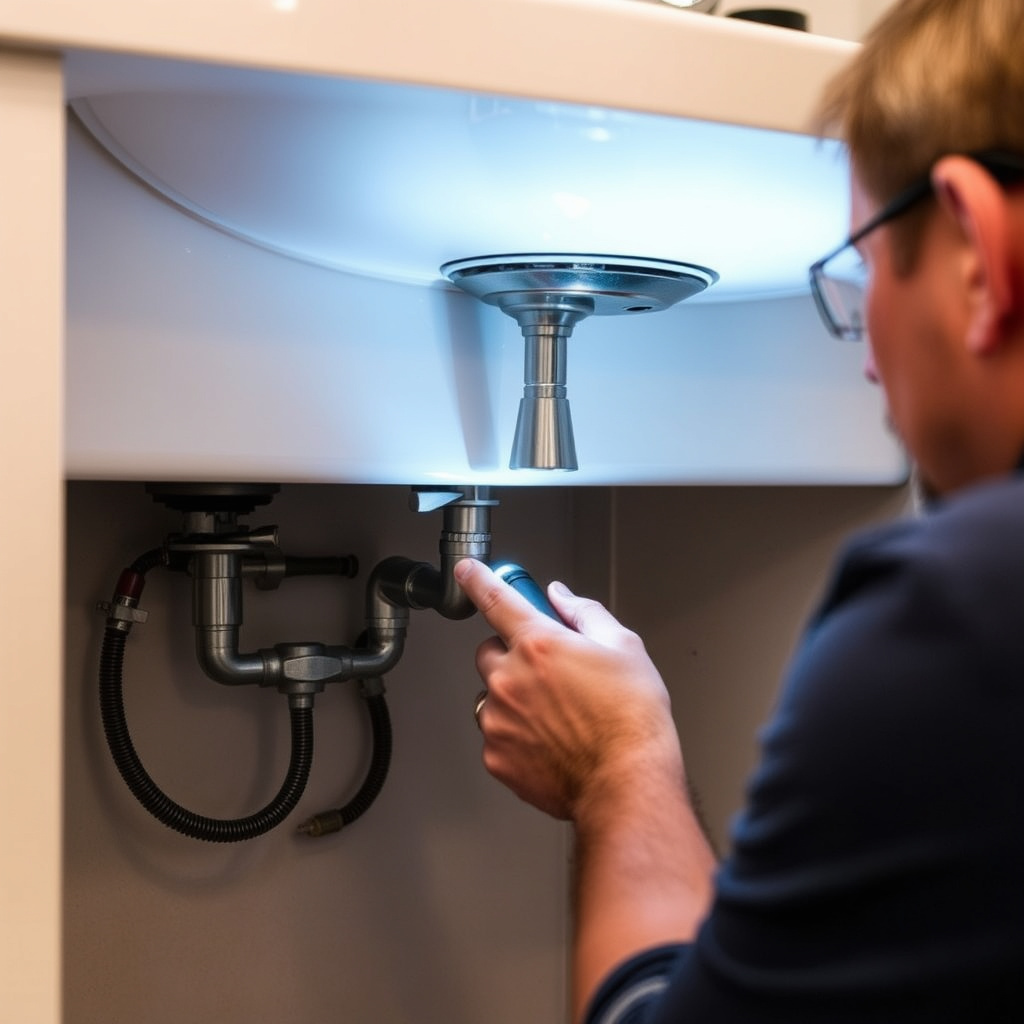
Common Troubleshooting Steps
If the faucet still drips after part replacement, check for debris inside the valve seat or supply line that might prevent a full seal. Tighten all connections and verify the parts are installed correctly without cross-threading.
Older faucets may have corroded seats needing professional resurfacing or replacement. Testing the water pressure can also diagnose if high pressure exacerbates leaks.
For more on this, see our related guide: How to Fix Leaky Kitchen Faucet: A Step-by-Step Repair Guide.
Maintaining a Drip-Free Kitchen Faucet
Clean your faucet aerators regularly to prevent clogs that affect flow and pressure, which can stress internal parts. Avoid overtightening handles and use gentle care to extend wash components’ life.
Periodic inspection of washers and O-rings lets you spot wear early and replace parts before leaks start. Using water softeners can reduce mineral buildup in hard water areas.
- Regular aerator cleaning
- Gentle handle operation
- Routine washer/O-ring inspections
- Consider water softening in hard water areas
When to Call a Professional Plumber
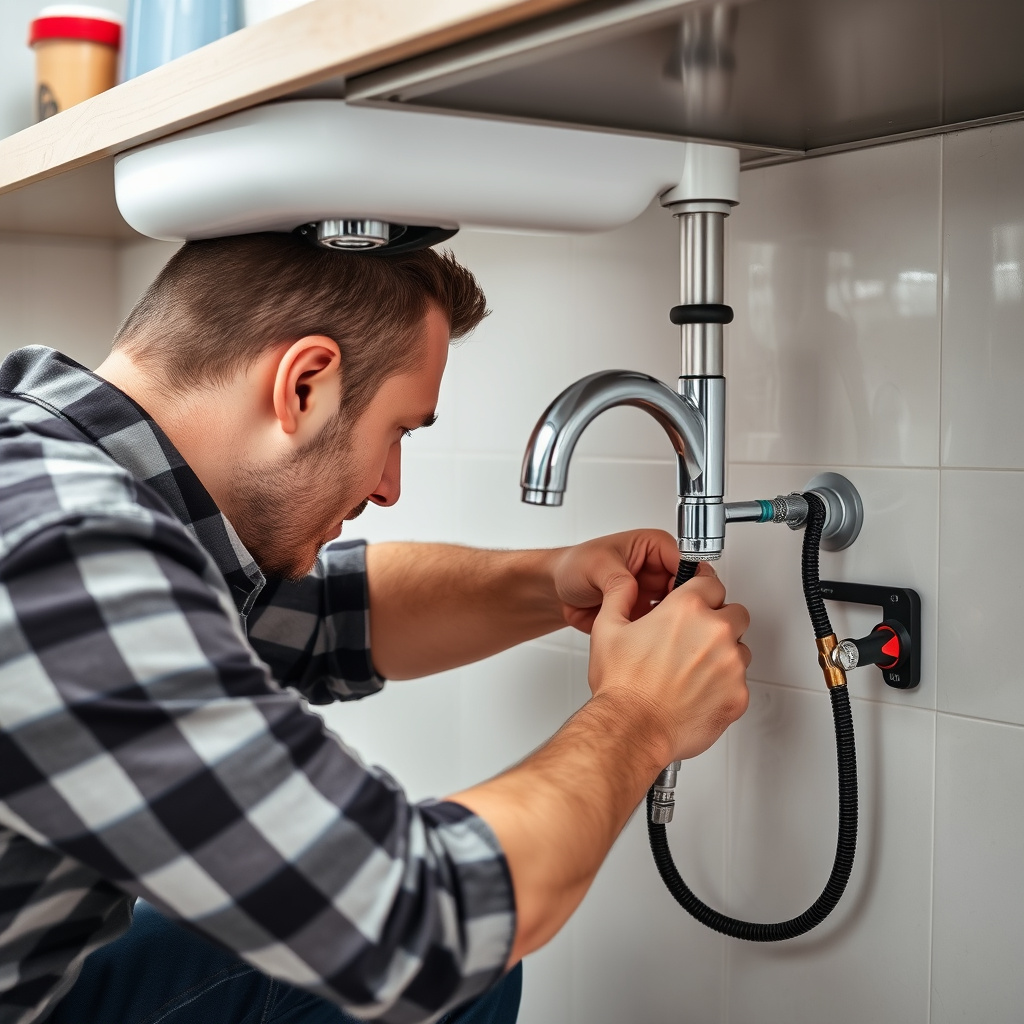
Complex Issues Beyond DIY Repair
If your leaking faucet has damaged or corroded valve seats that can’t be resurfaced, or if pipes show signs of serious corrosion, a professional’s expertise will ensure a safe and effective fix without causing unintended damage.
Similarly, if tools or replacement parts are unavailable for an older or uncommon model, or if the leak persists despite multiple attempts, calling a plumber prevents water damage and repeated frustration.
For more detailed background on faucet components and history, the Wikipedia article on kitchen faucet maintenance and repair offers helpful insights. kitchen faucet maintenance and repair.
Evaluating Cost vs. Replacement
Sometimes, especially with very old faucets, replacement may be more cost-effective than repair after multiple leaks. A plumber can help assess whether faucet replacement or a major repair is a better long-term investment.
Upgrading to a newer faucet model often provides water-saving features and warranties, which can reduce future repair needs.
Kitchen Faucet Repair Methods Comparison
This table compares repair methods based on faucet type, complexity, typical costs, and common replacement parts.
| Faucet Type | Common Cause of Drip | Repair Complexity | Typical Part Cost | DIY Suitability |
|---|---|---|---|---|
| Compression | Worn washer | Moderate | $5–$10 | Good |
| Cartridge | Faulty cartridge | Easy to moderate | $10–$30 | Good |
| Ball | Damaged seals | Moderate | $15–$40 | Fair |
| Ceramic-disc | Worn cartridge | Easy | $20–$50 | Good |
| Old/Corroded Seats | Valve seat corrosion | Difficult | $15–$50 | Poor |
Frequently Asked Questions
How long does it take to fix a dripping kitchen faucet?
Fixing a dripping kitchen faucet generally takes between 30 minutes to an hour depending on the faucet type and your experience with basic plumbing repairs.
Can I use any washer or cartridge for repairs?
No, replacement washers and cartridges must match your faucet's make and model to work properly and prevent further leaks.
What causes faucets to start dripping suddenly?
Sudden drips often result from washer wear, mineral buildup, or a loose valve seat that disrupts the faucet's seal.
Is it necessary to replace the entire faucet if it drips?
Not always. Most drips can be fixed by replacing internal parts, but severely corroded or very old faucets might need complete replacement.
Can hard water affect kitchen faucet leaks?
Yes, hard water causes mineral deposits that wear seals and washers faster, increasing the chance of leaks.
Key Takeaways
- Dripping faucets usually result from worn washers, O-rings, or cartridges.
- Having the right tools and parts specific to your faucet model makes repairs easier.
- Most kitchen faucet types follow similar repair basics with some variations.
- Proper maintenance and timely repairs prevent water waste and damage.
Conclusion
Fixing a dripping kitchen faucet yourself is often straightforward once you identify the faulty component, whether it’s a washer, O-ring, or cartridge. The process requires careful disassembly, part replacement, and thorough inspection to ensure a lasting seal. Approaching faucet repair systematically, with the proper tools and attention to detail, can save both water and money and avoid unnecessary plumbing bills.
Compression and cartridge faucets are the most common in homes and usually the easiest to fix with basic parts that are cheap and widely available. Ball and ceramic-disc faucets may require slightly more attention during cartridge replacement but still fall within manageable DIY repairs. When corrosion or older faucet models present challenges, consulting a plumber is wise for a professional assessment or replacement plan.
If your faucet has been dripping for a while, gathering the correct replacement parts and setting aside about an hour for the task is a practical next step. Following the outlined repair method or sourcing a faucet repair kit matched to your model can restore quiet, drip-free operation quickly. Regular maintenance afterward will keep your kitchen faucet working reliably for years.