How to Snake a Kitchen Sink: Quick and Effective Drain Clearing
To snake a kitchen sink, first remove the sink trap under the basin, then insert the plumbing snake or auger into the drain pipe to break up or retrieve the clog. Turn the snake handle clockwise until resistance eases, then pull back to clear debris. Reassemble the trap and run water to check drainage.
Clogged kitchen sinks disrupt daily routines and can cause unpleasant odors and water backup. Knowing how to snake your sink drain yourself can save money on plumber visits and let you address minor blockages promptly without harsh chemicals that may damage pipes.
This article covers the necessary tools, safety tips, preparation steps, detailed snaking instructions, and advice for preventing future kitchen sink clogs. Whether it's grease, food particles, or debris causing the backup, you'll gain practical skills to keep your drain flowing freely.
Essential Tools and Safety for Snaking a Kitchen Sink
Choosing the Right Plumbing Snake
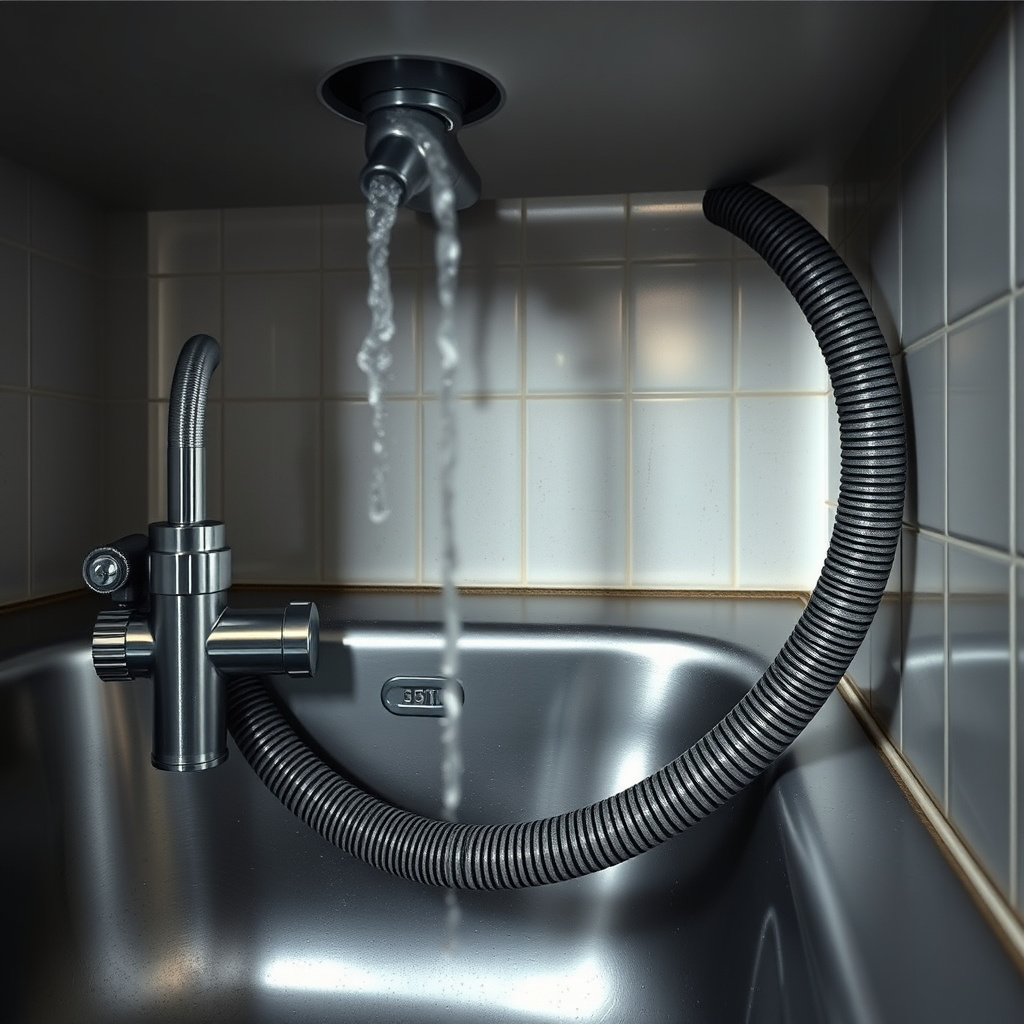
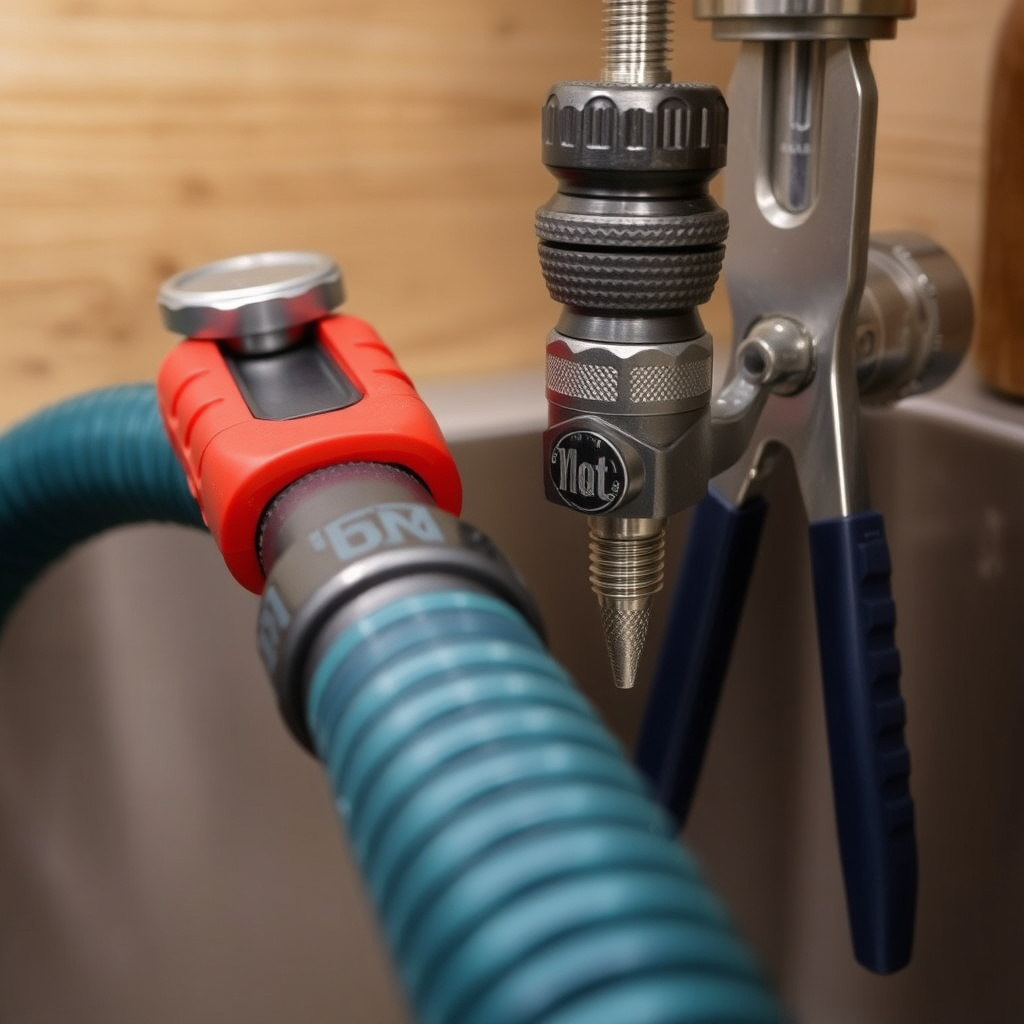
Select a hand-crank plumbing snake of about 15 to 25 feet for kitchen sinks. It should have a flexible yet sturdy cable with a corkscrew tip designed to grab clogs or break them apart. Motorized snakes are typically unnecessary for residential kitchen drains and can damage pipes if misused.
Make sure to use a snake appropriate for your drain diameter to avoid getting stuck. Plastic-coated cables reduce pipe scratching. Some snakes come with various heads for different clog types; these are useful but optional for standard kitchen sink drains.
- Hand-crank snake of 15-25 feet
- Flexible cable with corkscrew head
- Plastic coating to protect pipes
- Avoid overly long or motorized snakes for kitchen sinks
Safety Precautions and Protective Gear

Always wear rubber gloves and eye protection to avoid contact with dirty water and chemical residues that might still be in the pipes. A pair of old clothes is advisable as the work can be messy.
Ensure there are no electrical appliances plugged in near the sink area to reduce shock risk. Working in a well-ventilated room will also help dissipate any odors or fumes that may arise when clearing the drain.
- Rubber gloves and safety goggles
- Protective clothing
- Keep electrical devices unplugged
- Work in ventilated areas
Preparation Before You Snake the Kitchen Sink Drain
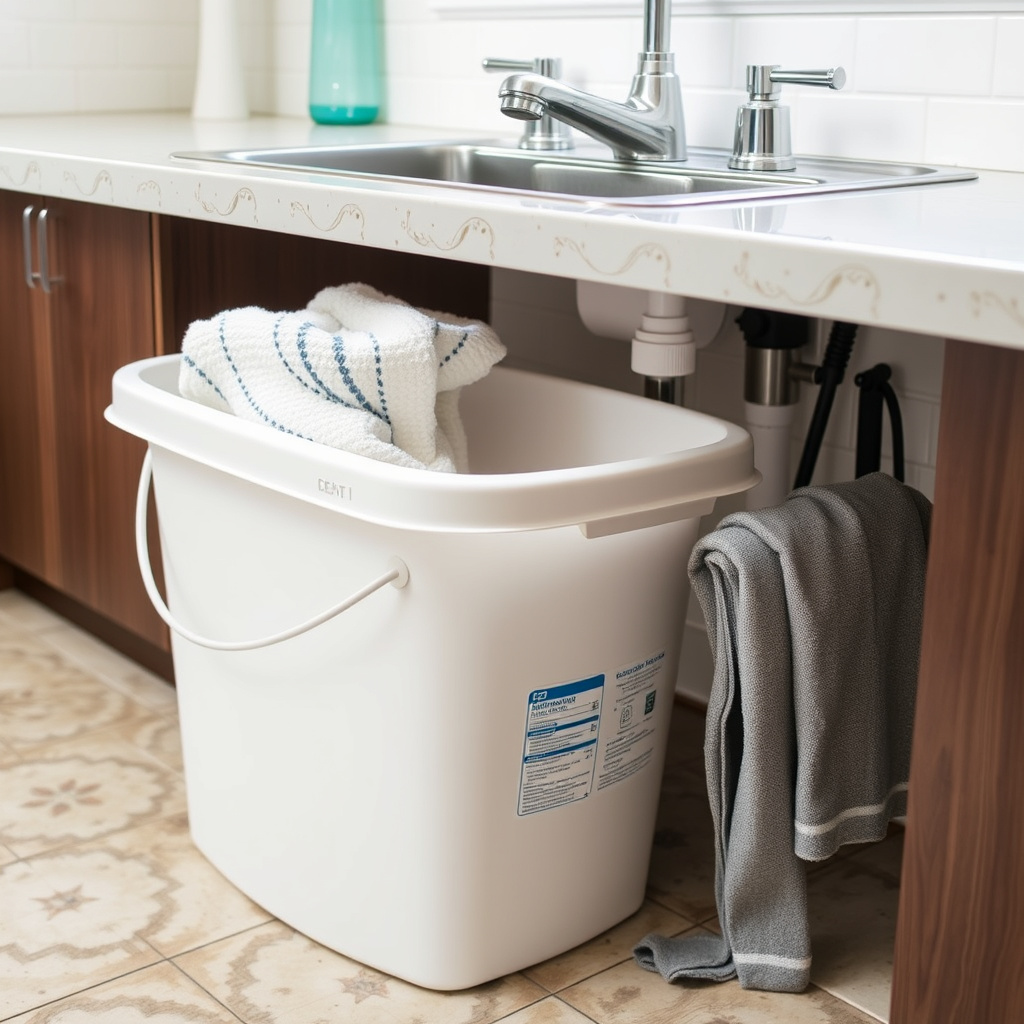
Clearing the Area and Accessing the Sink Trap
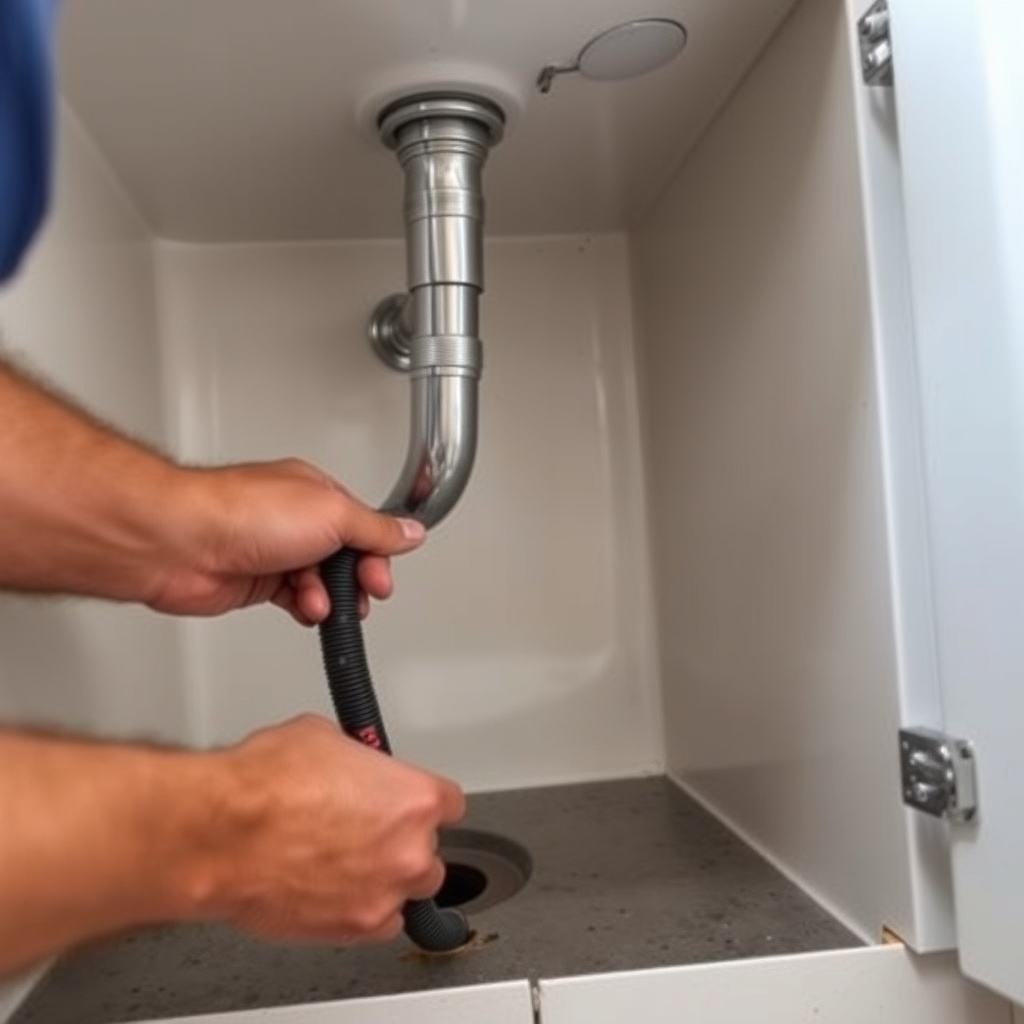
Start by clearing everything under the sink to allow free movement and working space. Place a bucket beneath the plumbing trap to catch any water or debris that may spill when detaching pipes.
Use adjustable pliers to loosen the slip nuts on the P-trap carefully. Remove the trap and inspect for blockages before proceeding. This step prevents pushing the clog deeper and allows you to clear debris directly from the trap if needed.
- Clear cabinet under sink
- Place bucket under trap
- Use pliers to loosen slip nuts
- Inspect and clean trap if clogged
For more on this, see our related guide: How to Install Kitchen Sink Drain: A Step-by-Step Guide for Homeowners.
Gathering Materials and Preparing the Snake
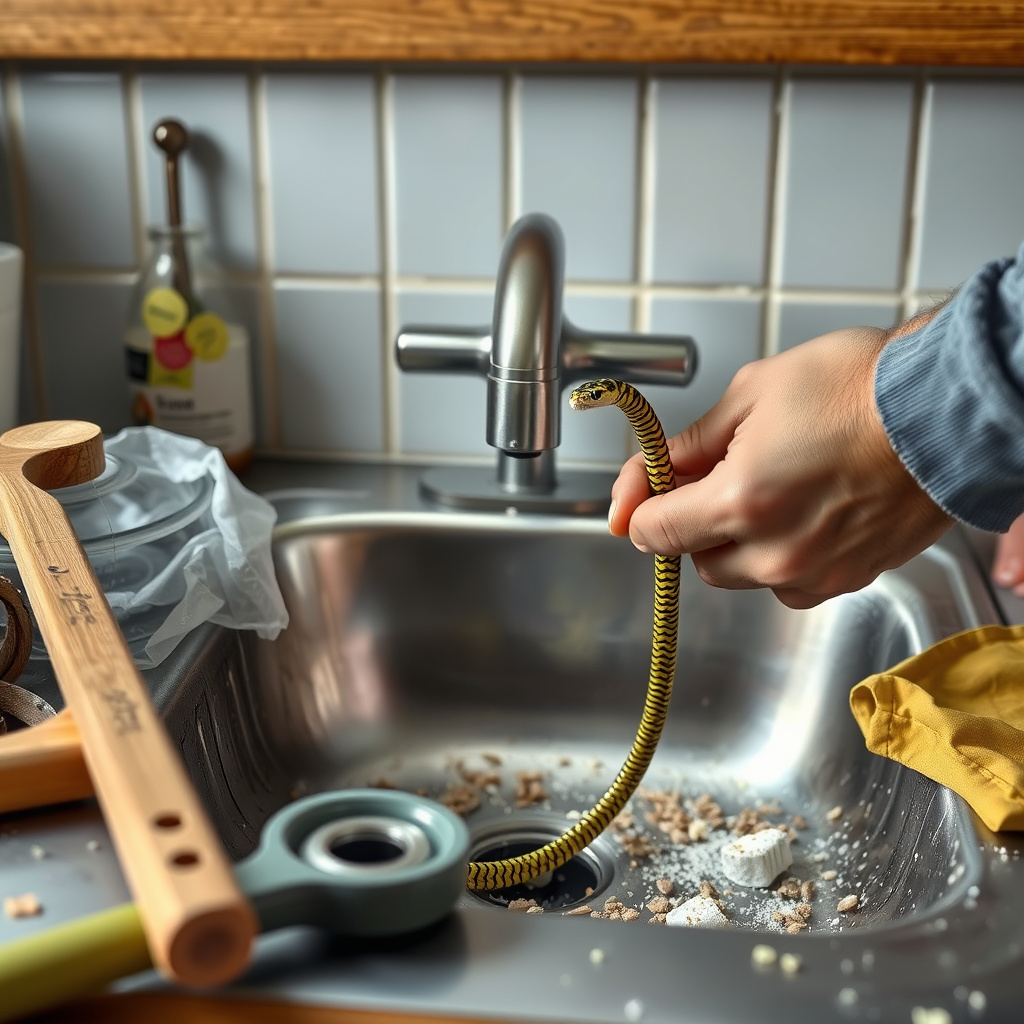
Lay the plumbing snake nearby and ensure the cable advances and retracts smoothly without kinks. Inspect the tip for any damage to avoid harming the pipe walls.
Have towels ready to wipe spills. If available, keep a flashlight handy to see inside the dark pipe opening. Some users also use a mild drain cleaner before snaking to soften tougher grease clogs, but this is optional and should be done with care.
- Check snake cable and tip
- Prepare towels and flashlight
- Optional: use mild drain cleaner beforehand
Step-by-Step Instructions to Snake a Kitchen Sink Drain
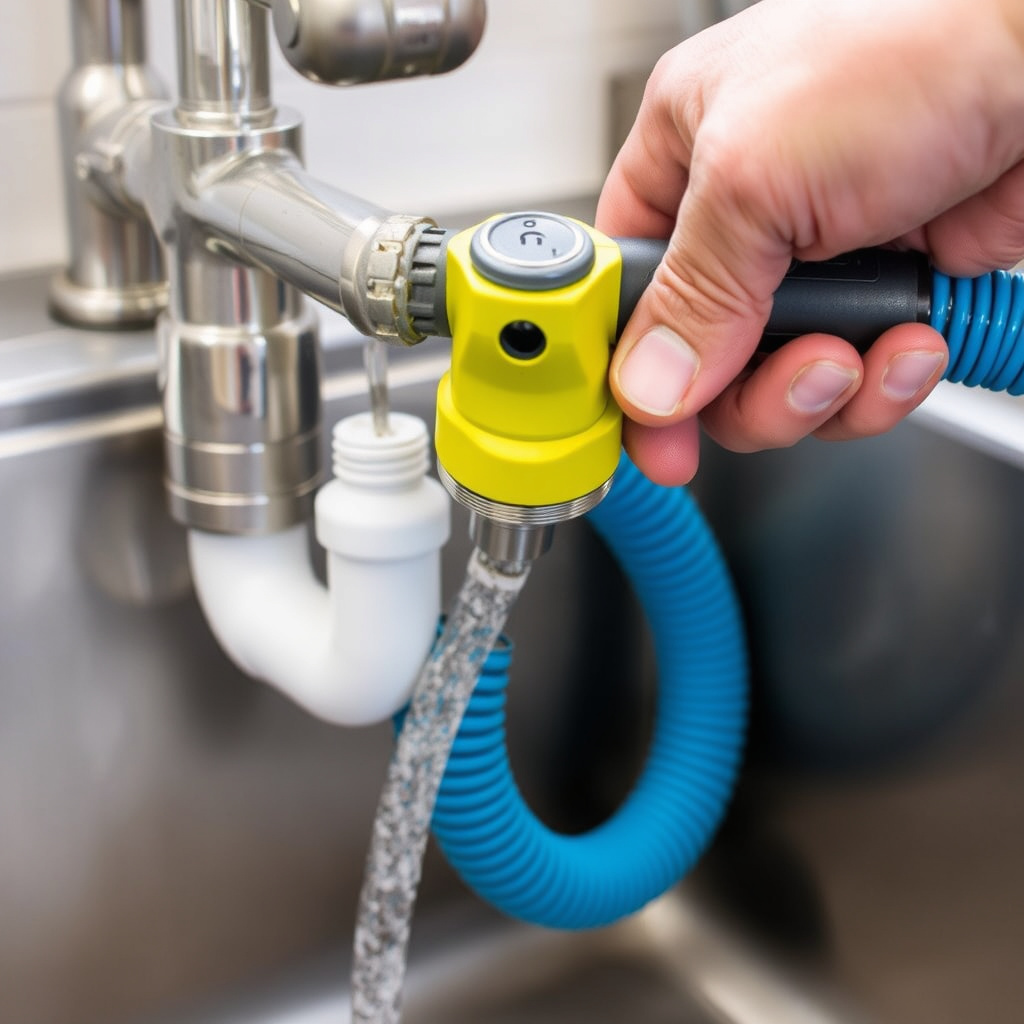
Inserting and Maneuvering the Snake
Insert the end of the snake cable into the open drainpipe after removing the trap. Begin slowly pushing the cable while turning the hand crank clockwise. The turning action allows the corkscrew tip to break through or latch onto the clog.
If resistance is met, gently work the snake back and forth to loosen the blockage. Avoid forcing the snake as that can damage pipes or kink the cable. Continue until the snake advances freely several feet beyond the trap location.
- Insert cable into drainpipe
- Turn crank clockwise while pushing
- Work snake back and forth if stuck
- Advance until free movement
Removing the Snake and Checking Drain Flow
Slowly retract the snake while turning it counterclockwise to securely pull out any debris. Remove the snake entirely and dispose of any material attached to the tip appropriately.
Reinstall the sink trap securely and run hot water for several minutes to flush out loosened debris and confirm the drain flows freely. If water still drains slowly, repeating the snaking process or checking further down the line may be necessary.
- Retract snake carefully
- Dispose of removed debris
- Reassemble sink trap
- Run hot water to verify flow
Troubleshooting Common Issues While Snaking Your Kitchen Sink

When the Snake Gets Stuck or Won’t Advance
If the snake cable jams inside the drain, avoid forceful pulling. Instead, gently rotate counterclockwise to disengage. Slightly retract and try directing the cable at different angles to bypass tight bends or build-ups.
If the snake repeatedly gets stuck, it could signal a major blockage requiring a longer cable or professional attention to avoid pipe damage or a snapped snake cable inside the plumbing.
- Rotate snake gently if stuck
- Try repositioning cable angle
- Consider professional help for major clogs
For more on this, see our related guide: How to Plumb a Kitchen Sink: Step-by-Step Guide for DIY Installation.
Persistent Drain Clogs After Snaking
If blockages persist, it may be a sign of grease solidification or root intrusion deeper in the sewer line. Chemical cleaners should be avoided post-snaking as they can worsen pipe damage.
In such cases, contacting a plumber with advanced drain cameras or hydro-jetting equipment might be the best option. Regular kitchen sink drain cleaning can help prevent these recurring issues.
- Avoid harsh chemical cleaners after snaking
- Consider professional drain inspection
- Maintain regular drain cleaning
Preventative Maintenance for Kitchen Sink Drain Cleaning
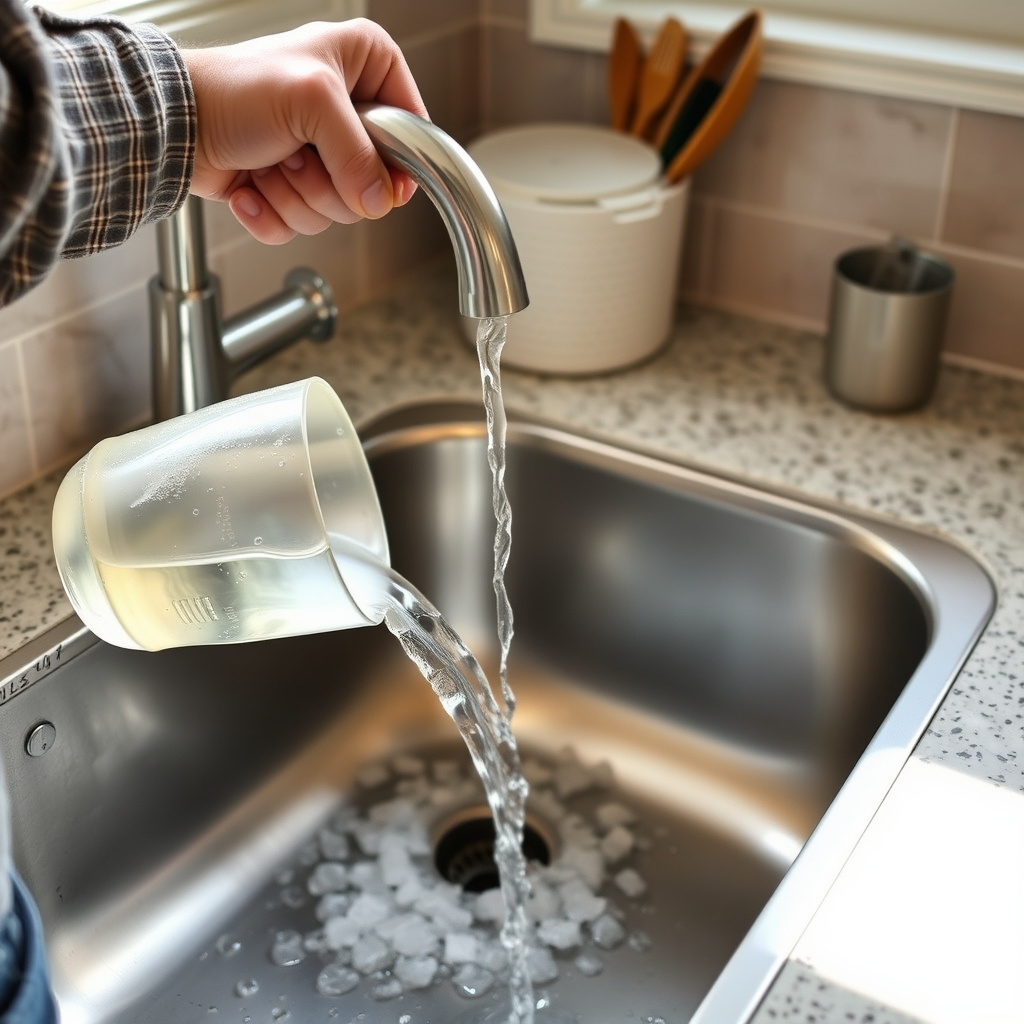
Routine Practices to Avoid Clogs
Avoid washing grease, coffee grounds, or fibrous food scraps down the drain. Use a drain strainer to catch debris from entering the pipes. Flush drains regularly with hot water to dissolve minor build-ups naturally.
Routine inspections of the trap and occasional snaking every few months can keep flow smooth. Eliminating non-degradable waste like eggshells also helps maintain clear drains.
- Use drain strainers
- Flush with hot water regularly
- Avoid grease and fibrous food scraps
- Inspect and snake pipes periodically
For additional details on various drain cleaning methods, consult the resource on drain cleaning techniques on Wikipedia. Drain cleaning techniques on Wikipedia.
Choosing Products That Support Drain Health
Opt for enzyme-based drain cleaners when necessary, as they break down organic matter safely without harming pipes. Avoid caustic chemical drain cleaners especially with older pipes or after mechanical snaking.
Biodegradable dish soaps and minimal use of cooking oils reduce greasy residue accumulation. Educating household members on what not to pour down the drain helps extend drain lifespan significantly.
- Use enzyme-based drain cleaners
- Avoid harsh chemicals
- Use biodegradable soaps
- Educate on drain-safe disposal habits
Types of Plumbing Snakes for Kitchen Sink Drains
Here is a comparison of popular plumbing snake types based on flexibility, length, ease of use, and typical cost to help you choose the best tool for your kitchen sink drain cleaning.
| Type | Length | Flexibility | Ease of Use | Typical Cost |
|---|---|---|---|---|
| Hand-crank snake | 15–25 feet | High | Moderate | $25–$50 |
| Drum auger | 10–15 feet | Moderate | Easy | $20–$40 |
| Electric snake | 25–50 feet | Moderate | Requires experience | $100–$200 |
| Spring auger | 10 feet | Low | Easy | $15–$30 |
| Manual drain rod set | 10–40 feet (interlocking rods) | High | Moderate | $30–$60 |
Frequently Asked Questions
Can I snake a kitchen sink drain without removing the trap?
Removing the trap makes snaking easier and prevents pushing clogs deeper. While it's possible to insert a snake through the drain opening, removing the trap lets you access the main clog point and clean the trap itself.
How often should I snake my kitchen sink drain?
Snaking every 3–6 months helps prevent major buildups, especially in kitchens with heavy grease or food waste. Regular maintenance avoids stubborn clogs and keeps water draining smoothly.
What if snaking doesn’t clear the clog completely?
If snaking fails, the blockage might be deep in the sewer line or caused by root intrusion. Call a professional plumber for inspection with specialized cameras or advanced clearing tools.
Is it safe to use chemical drain cleaners after snaking?
Using harsh chemical cleaners after mechanical snaking can damage pipes and worsen clogs. It's better to rely on mechanical methods or enzyme-based cleaners that safely break down organic debris.
Can I rent a plumbing snake instead of buying one?
Yes, many hardware stores offer rental options for snakes, which is cost-effective for one-time use. Ensure you receive instructions on proper use to avoid damage.
Key Takeaways
- Remove the sink trap before snaking for easier clog access.
- Use a hand-crank snake between 15 and 25 feet for kitchen sinks.
- Wear protective gear and prepare your workspace with towels and a bucket.
- Regular kitchen sink drain cleaning prevents tough blockages.
Conclusion
Successfully snaking a kitchen sink involves preparation, the right tools, and patience. Starting by removing the trap to access the clog directly allows you to use a hand-crank plumbing snake effectively. This hands-on approach avoids potential damage from harsh chemicals and reduces reliance on professional services, saving both time and expense. By methodically inserting and maneuvering the snake, you can break apart or retrieve blockages that cause slow draining or backups.
For homeowners who frequently experience sink clogs, investing in a flexible, mid-length snake and performing kitchen sink drain cleaning every few months offers a practical strategy to maintain clear pipes. Those dealing with persistent or deep-seated clogging may need to combine snaking with professional inspection tools, such as drain cameras or hydro-jetting equipment. Being proactive with simple preventative maintenance like avoiding grease disposal down the drain and using strainers can extend the effectiveness of the snaking process.
Take the time to familiarize yourself with sink trap removal and snaking mechanics safely. Start with manageable blockages to build confidence and prevent pipe damage. Keeping your kitchen sink drains flowing enhances your home's plumbing health and your daily convenience. When larger plumbing challenges arise, knowing when to call in a professional ensures the job gets done thoroughly without risking costly repairs.