How to Stain Kitchen Cabinets: A Step-by-Step Guide for Beautiful Results
Staining kitchen cabinets is an effective way to refresh your kitchen’s look without the expense of a full replacement. By applying the right stain and following proper preparation steps, you’ll enhance the wood’s natural grain and add a rich, lasting finish. Knowing how to stain kitchen cabinets correctly can save time and yield professional-looking results.
Kitchens are often the most used rooms in a home, making cabinet durability and appearance important. Staining preserves and protects wood while allowing you to customize the color intensity. Unlike painting, staining penetrates the wood surface, highlighting its texture rather than covering it with an opaque coat.
This guide explains how to stain kitchen cabinets step-by-step, including surface preparation, selecting the best wood stain for cabinets, application techniques, drying times, and finishing touches. Whether you're a beginner or have some DIY experience, these detailed instructions will help you achieve a smooth, even finish that lasts.
Preparing Kitchen Cabinets for Staining
Removing Hardware and Cleaning Surfaces
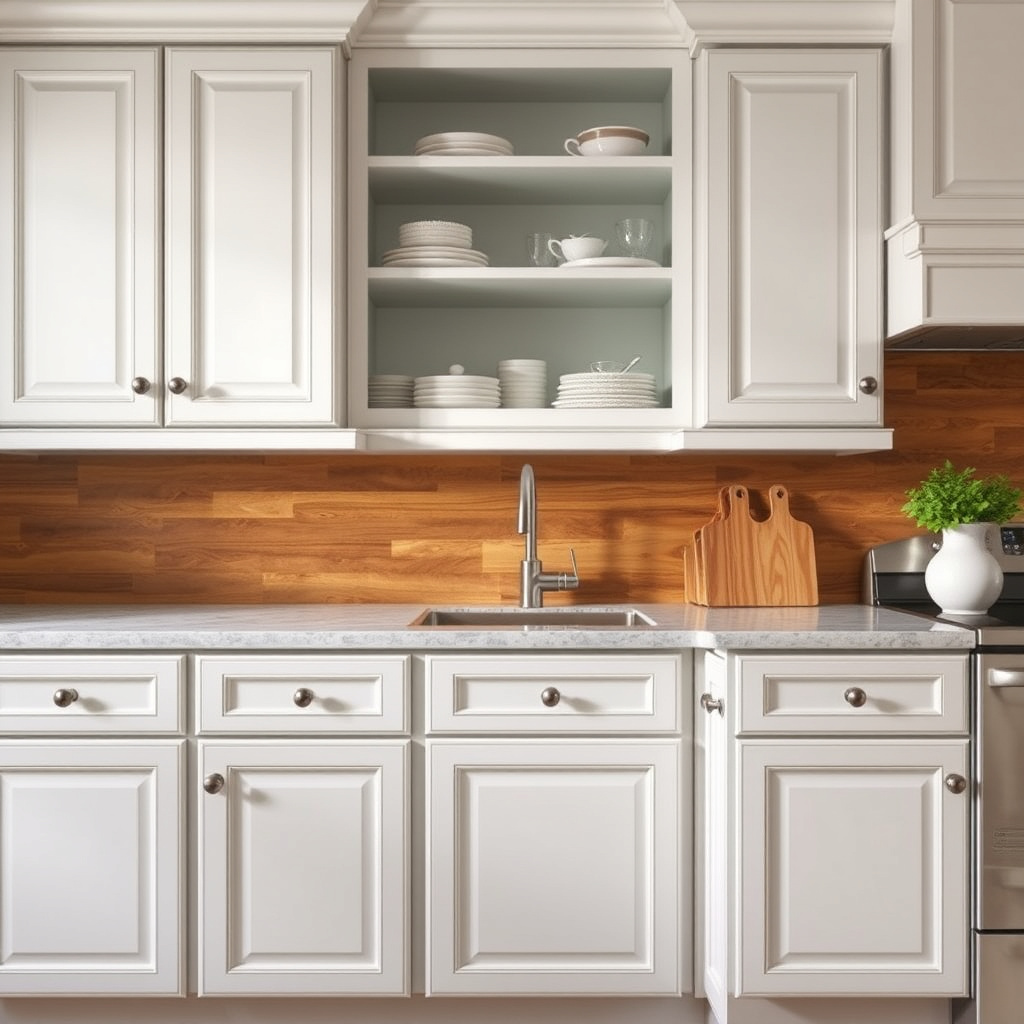
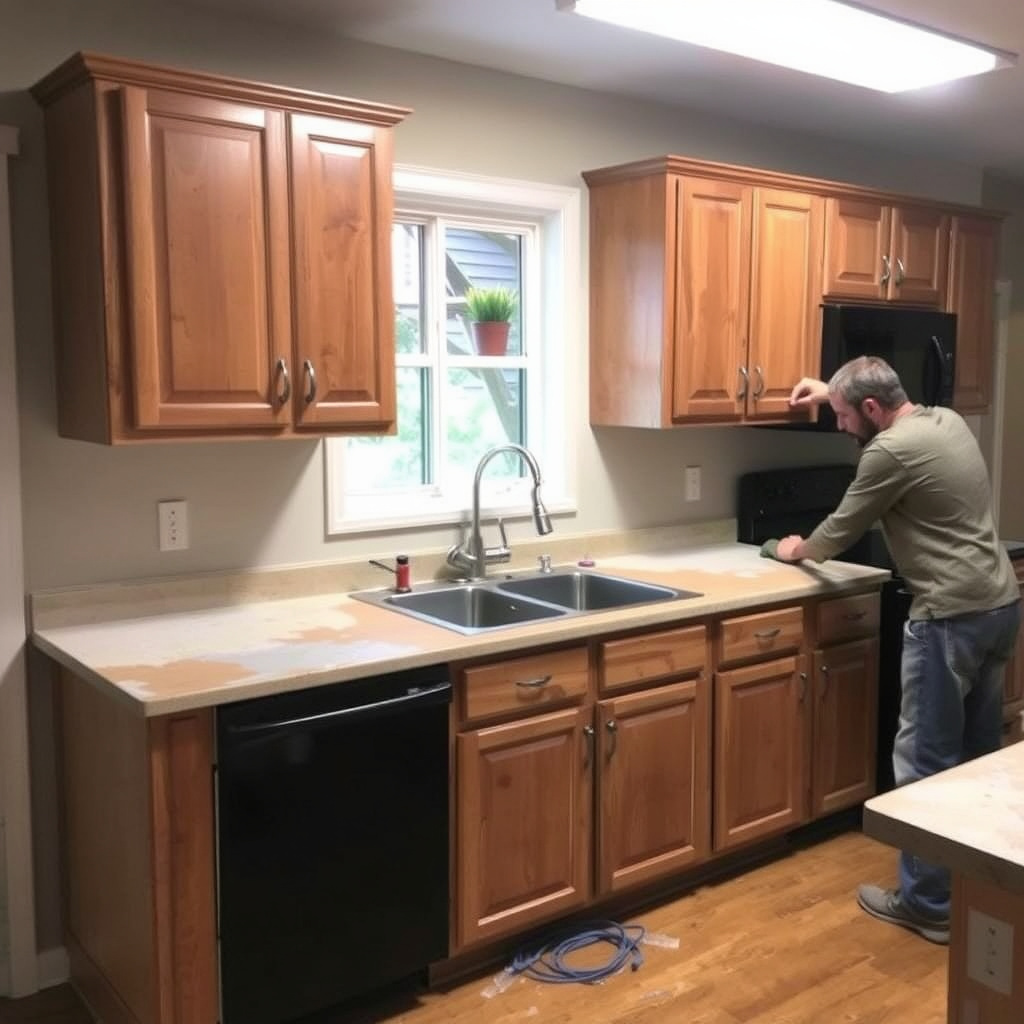
Before starting to stain, take down all cabinet doors, drawers, and remove handles or knobs. This makes it easier to reach every surface evenly and prevents stain from getting on hardware. After disassembly, clean all surfaces thoroughly with a mild detergent or trisodium phosphate solution to remove grease, dirt, and old finish residues.
Allow the cabinets to dry fully. Inspect for any damage like dents, chips, or holes and fill them with wood filler. This ensures a smooth base for staining and prevents uneven absorption of the stain.
- Remove all cabinet hardware
- Clean with degreasing detergent
- Let surfaces dry completely
- Fill dents or holes with wood filler
Sanding Techniques for a Smooth Finish
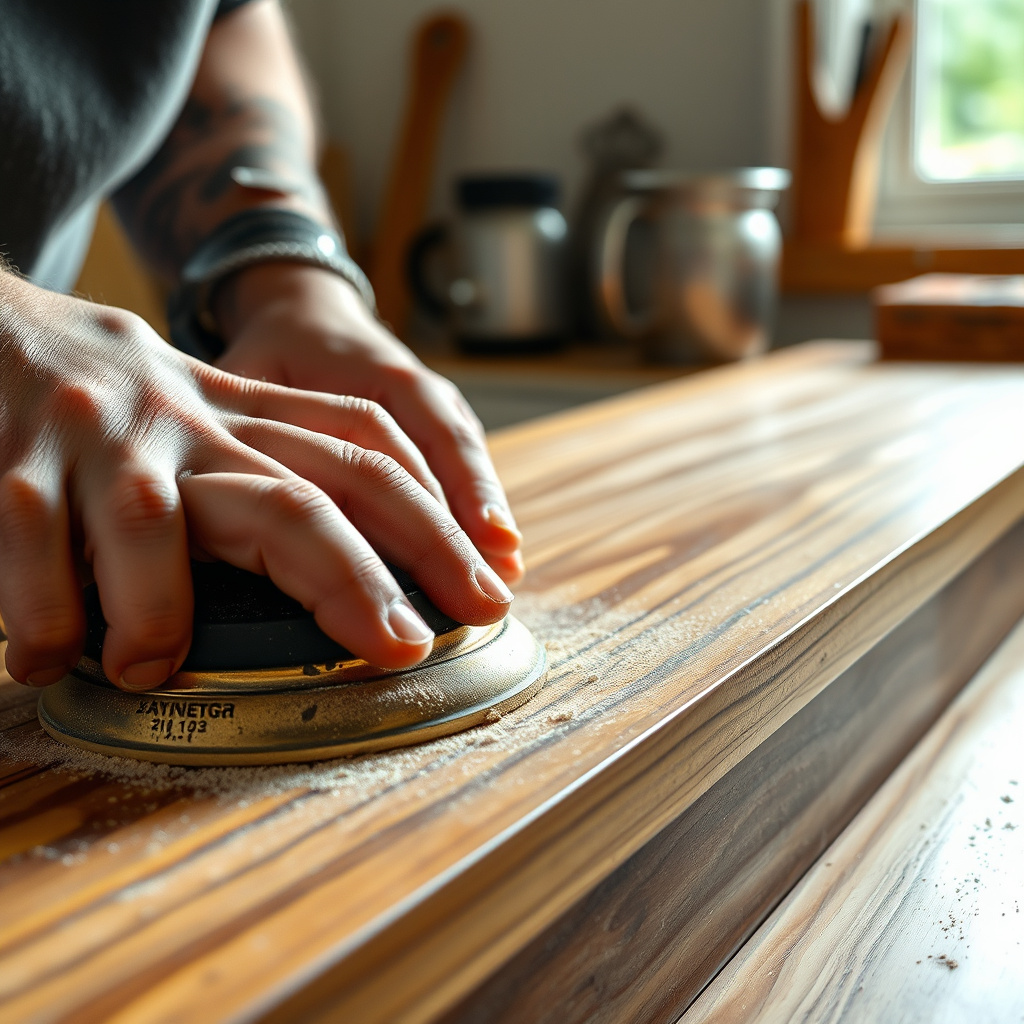
Sanding is critical for a successful stain job because it opens the wood grain and removes any glossy finish that might interfere. Start with medium-grit sandpaper like 120-grit to strip old surface layers, then move to 220-grit for finishing. Use a sanding block or orbital sander to maintain an even pressure.
After sanding, wipe down surfaces with a tack cloth or damp rag to remove dust. This prevents particles from showing up in the final finish and ensures the wood stain penetrates evenly.
- Use 120-grit sandpaper first
- Finish sanding with 220-grit
- Remove sanding dust completely
Choosing the Best Wood Stain for Cabinets
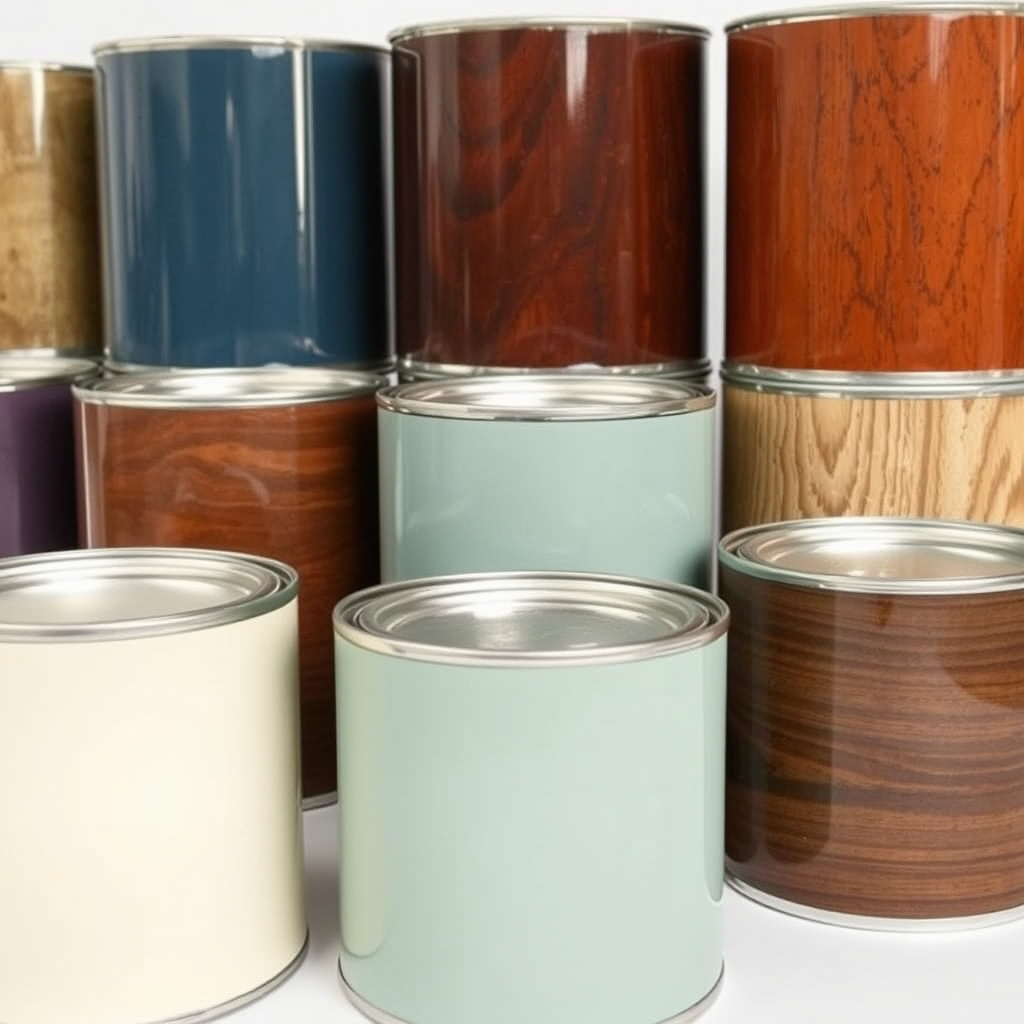
Types of Wood Stains Suitable for Kitchen Cabinets
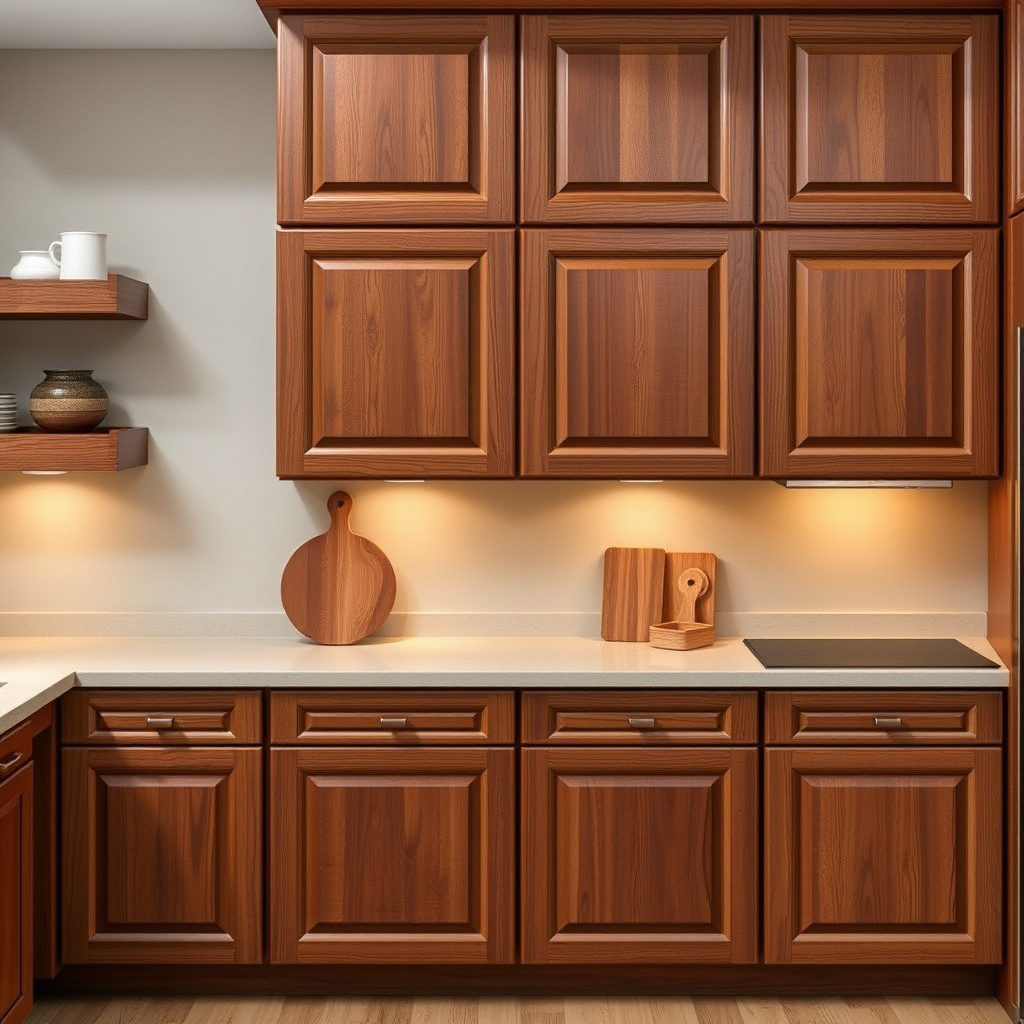
Wood stains come in oil-based, water-based, and gel varieties. Oil-based stains penetrate deeply and offer rich color but have longer drying times and stronger odors. Water-based stains dry quickly with less odor and offer easier clean-up, but sometimes accentuate wood grain differently. Gel stains are thicker, great for vertical surfaces, and reduce drip marks on cabinet doors.
Choosing the right type depends on your skill level, ventilation in your workspace, and the desired look. Many professionals recommend oil-based stains for kitchen cabinets for their depth of color and durability.
- Oil-based stains: deep color, longer dry time
- Water-based stains: fast drying, easy clean-up
- Gel stains: thick, less dripping, good for vertical
Selecting the Color and Finish
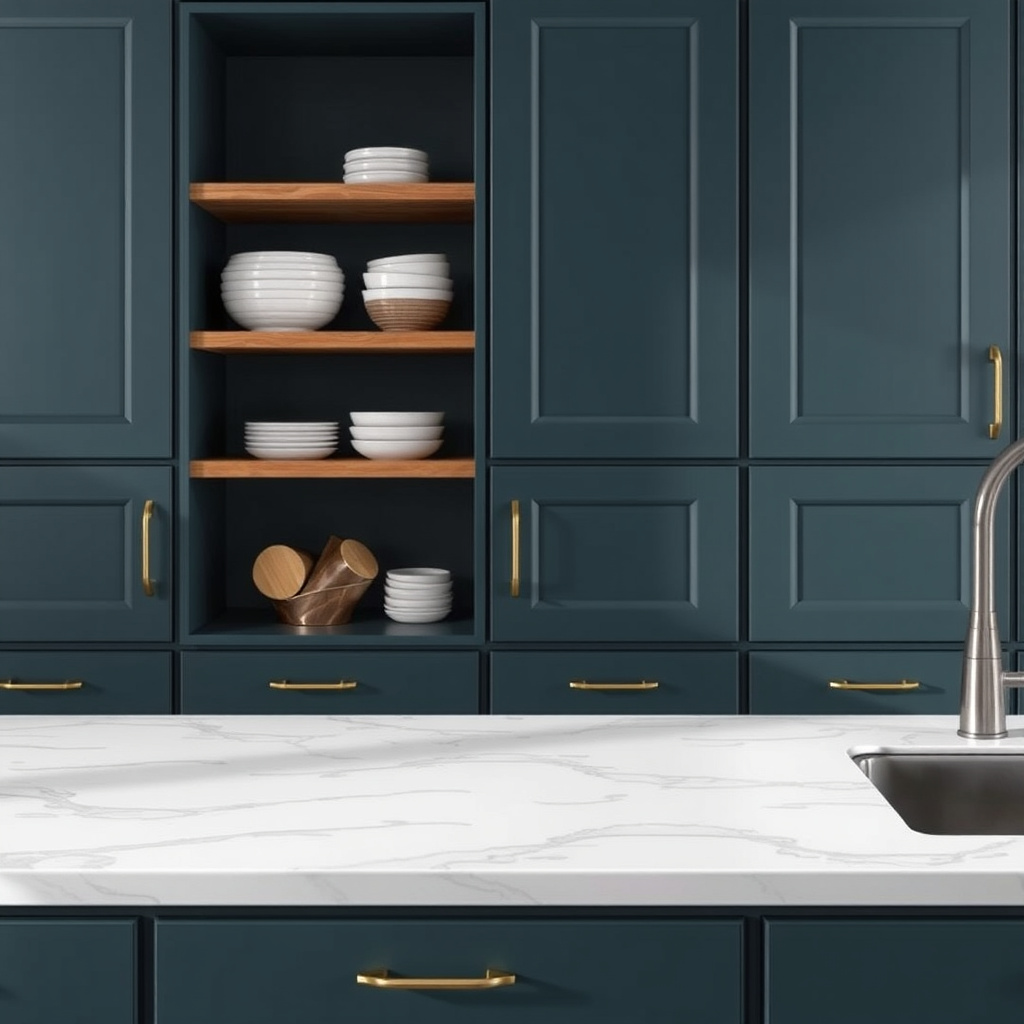
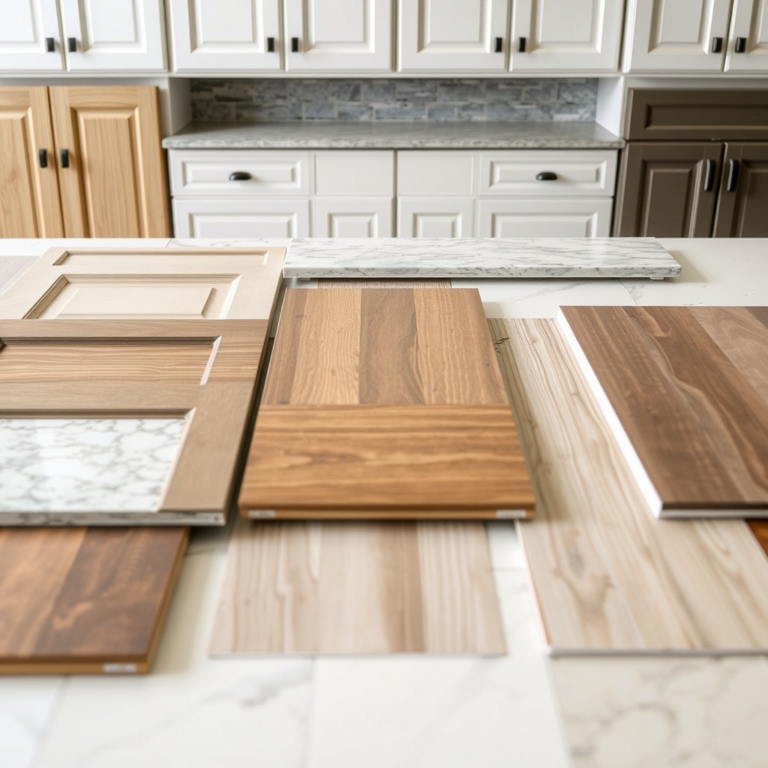
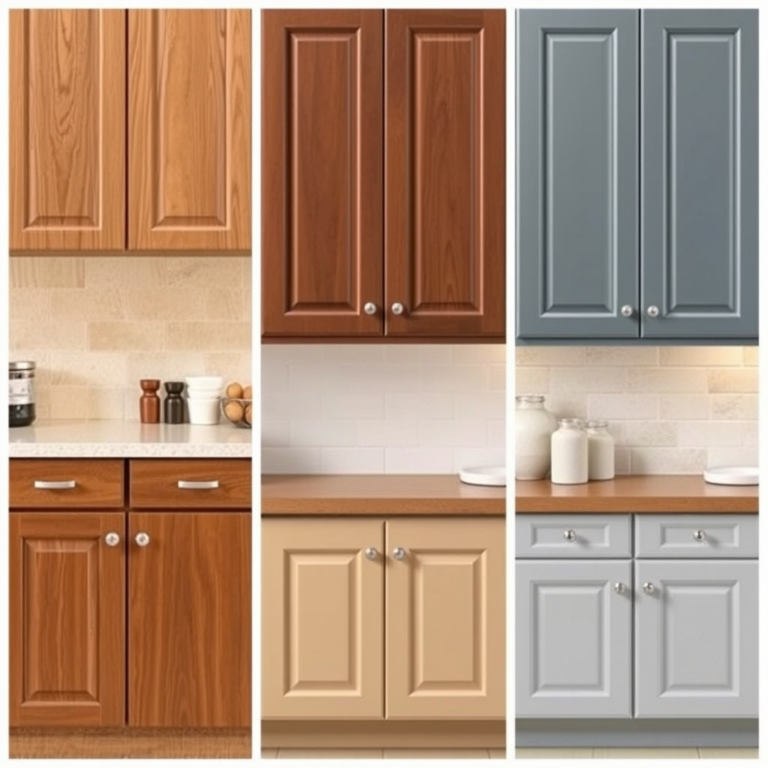
The color choice should complement your kitchen design and wood type. Natural woods like maple or oak take stain differently, so test colors on scraps or hidden cabinet spots first. Semi-transparent stains maintain visible wood grain, while solid stains provide a paint-like opaque finish.
Finish sheen levels range from matte to gloss. A satin finish offers the best balance of appearance and durability for kitchen cabinets, resisting fingerprints and easy to clean.
- Test stain color on scrap wood
- Semi-transparent vs. solid stain options
- Satin finish is popular for cabinets
Applying Stain to Kitchen Cabinets
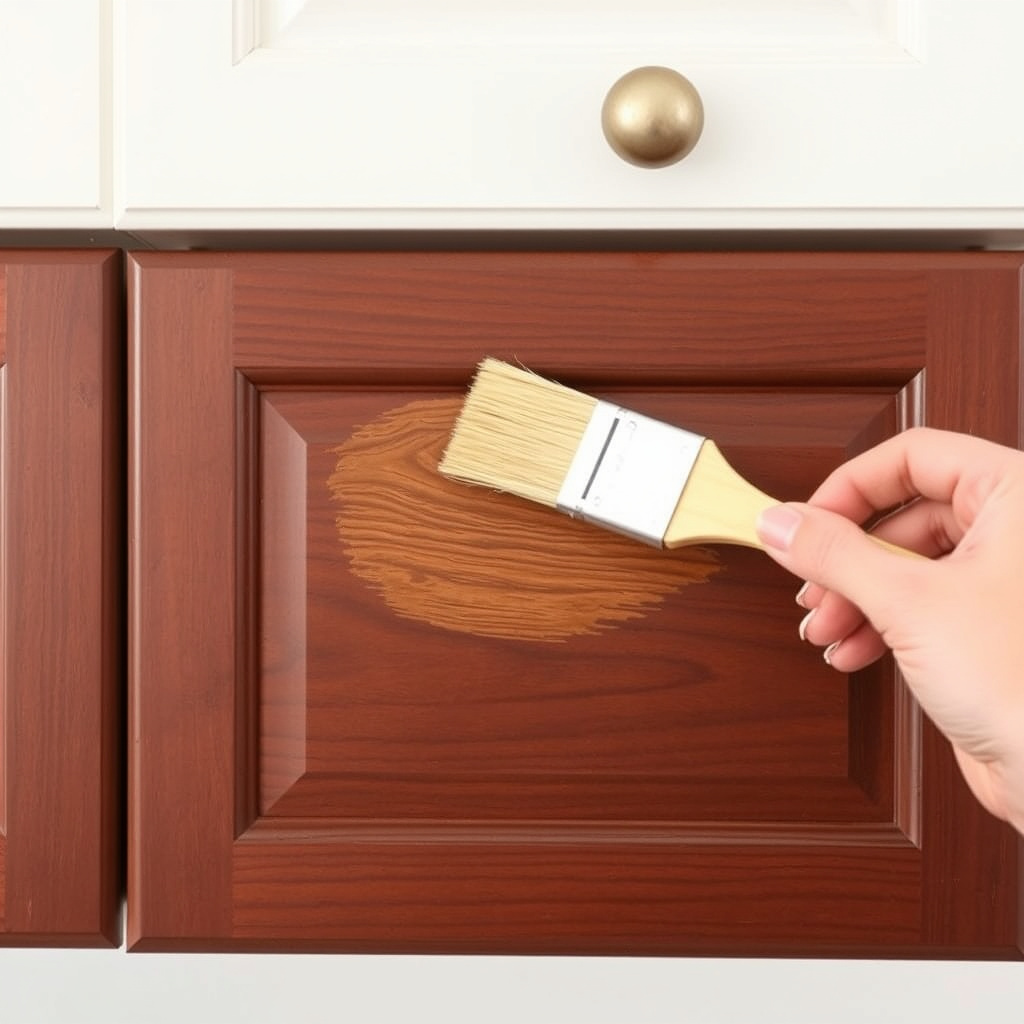
Step-by-Step Staining Process
Start by stirring the stain thoroughly to mix pigments. Apply a thin, even coat with a brush or lint-free rag, following the wood grain direction. Wipe off excess stain with a clean cloth after a few minutes to avoid blotches or uneven color patches.
Allow the first coat to dry completely as per the manufacturer’s instructions, usually 4-6 hours. For deeper color intensity, apply a second coat following the same steps.
- Stir stain well before use
- Apply thin coats with brush or rag
- Wipe off excess stain after application
- Let dry fully between coats
For more on this, see our related guide: Can Lighting in Kitchen Improve Cooking and Ambiance?.
Tips for Avoiding Common Staining Problems
Blotchy spots often come from uneven sanding or excess stain left on the surface. Consistent sanding and prompt wiping help. Avoid applying thick layers or painting over wet stain coats as this causes streaks or bubbles.
Work in a well-ventilated space and maintain an ambient temperature above 65°F (18°C) for proper drying. Using pre-stain wood conditioners can also improve color uniformity on soft or porous wood types.
- Ensure sanding is even
- Avoid thick stain layers
- Use pre-stain conditioner if needed
- Maintain proper drying environment
Sealing and Protecting Stained Cabinets
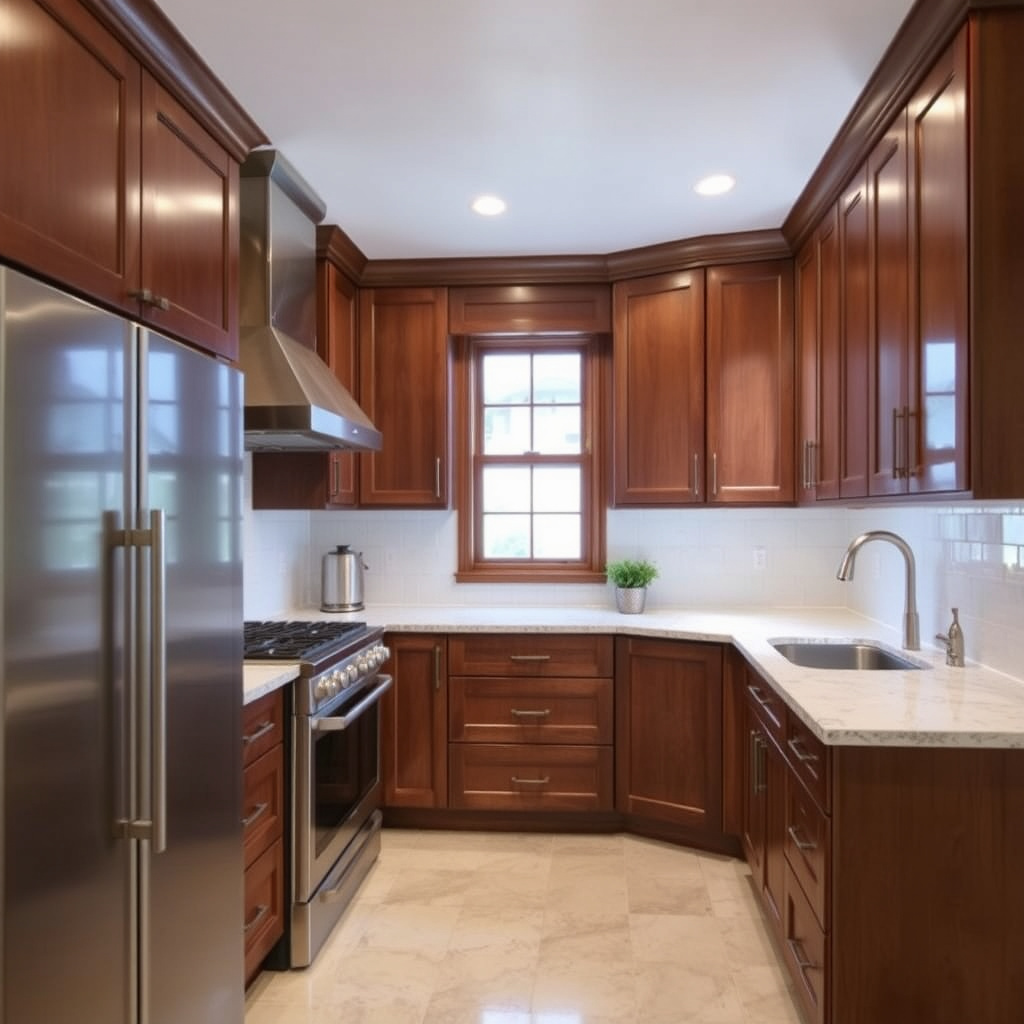
Choosing the Right Clear Finish
After staining, sealing with a clear protective finish guards the wood from moisture, heat, and daily wear. Polyurethane is a common choice for kitchen cabinets; oil-based versions are very durable but slower to dry, while water-based options dry faster with less odor.
Consider finishes labeled 'cabinet grade' or 'floor grade' for extra toughness. A minimum of two coats is recommended for long-lasting protection.
- Oil-based polyurethane: durable, longer dry
- Water-based polyurethane: faster dry, less odor
- Look for cabinet or floor grade products
Applying and Maintaining the Finish
Apply clear coats with a high-quality synthetic brush or foam applicator, brushing with the wood grain. Sand lightly between coats with fine-grit sandpaper to smooth imperfections and improve adhesion. After final coat, wait at least 24 hours before reassembling cabinets or use to prevent smudging.
Routine cleaning with mild soap and soft cloth preserves the finish and helps avoid damage from harsh chemicals or scrubbing.
- Use synthetic brush for clear coat
- Sand lightly between coats
- Wait 24 hours before heavy use
- Clean gently to maintain finish
Advanced Techniques for Custom Look
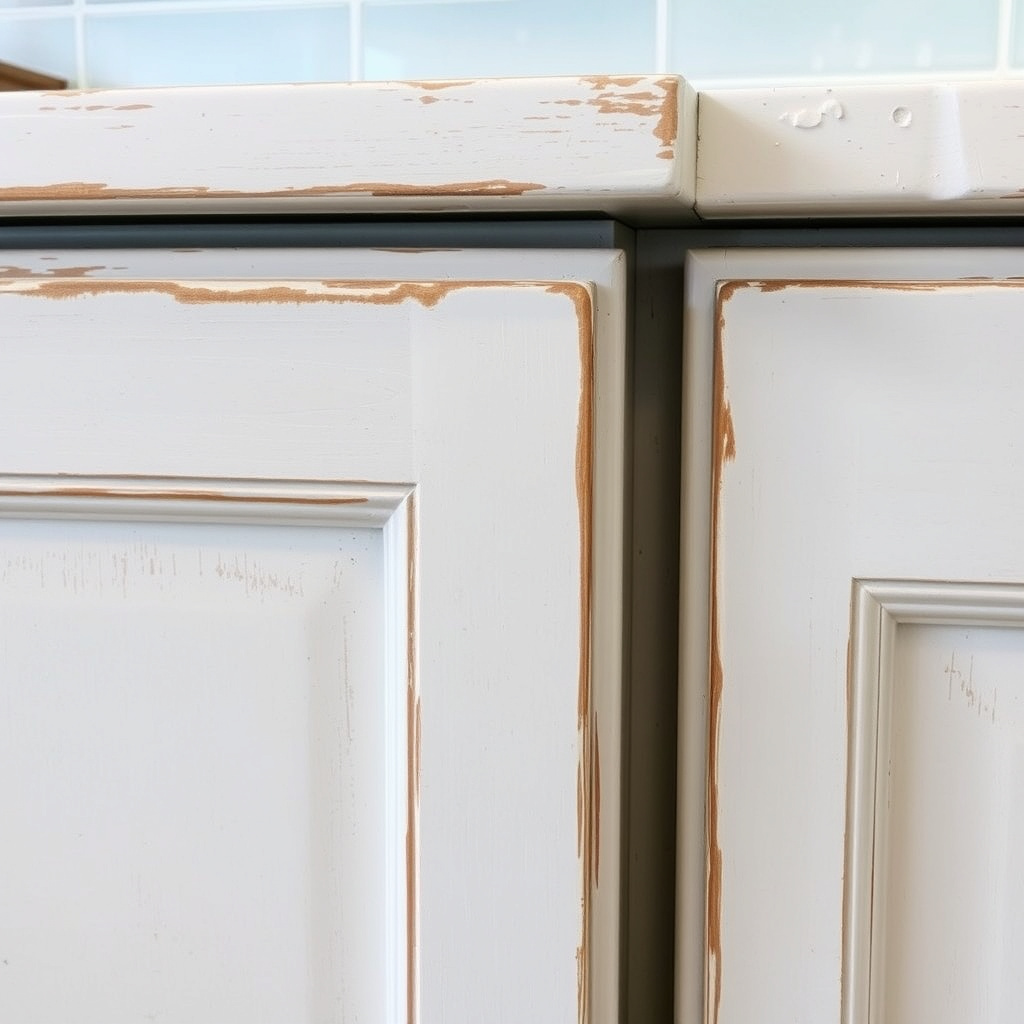
Distressing and Glazing Cabinet Doors
Distressing techniques add character by purposely creating light worn or weathered areas using sanding or hand tools. Glazing can add depth and accentuate design details by applying semi-transparent tinted varnish over stained surfaces.
These methods require extra steps and practice but allow for unique finishes blending antique charm with modern kitchen styles.
- Use sandpaper to highlight edges
- Apply glaze with brush and wipe excess
- Practice beforehand on scrap wood
For more on this, see our related guide: How to Plan a Kitchen Remodel: A Step-by-Step Guide for Your Dream Space.
Combining Stains or Using Multiple Colors
For a more dynamic appearance, you can layer different stain colors or create color accents on panels, frames, or moldings. Careful masking and testing ensure clean lines and color harmony. This approach personalizes kitchen cabinetry beyond a uniform stain tone.
Using complementary stains also enhances natural wood grain variations and highlights architectural details.
- Mask areas for multi-color stains
- Test color combinations on samples
- Enhance wood grain with contrasting stains
Safety and Cleanup when Staining Cabinets
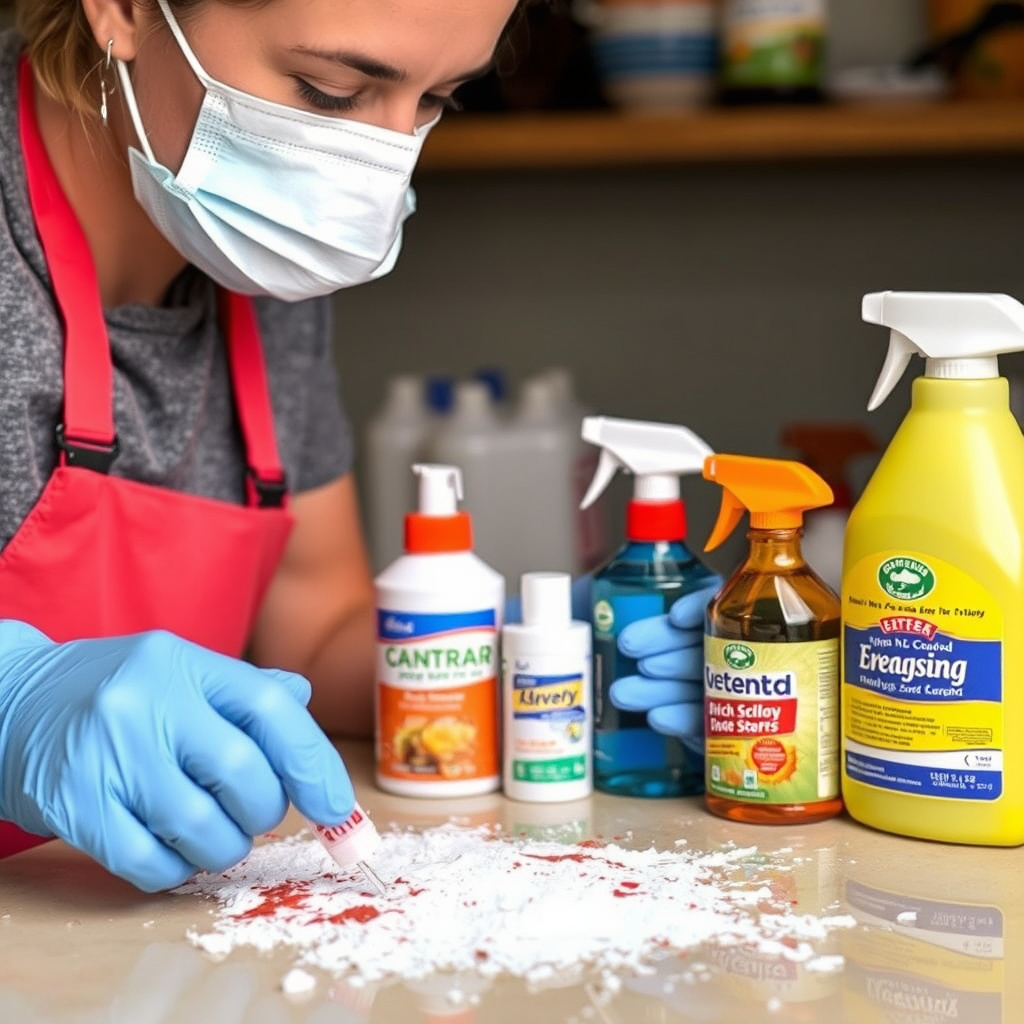
Safe Handling of Stains and Solvents
Many wood stains and finishes contain volatile organic compounds (VOCs) that require using gloves, goggles, and a respirator or mask to avoid inhaling fumes. Work in a well-ventilated area including open windows or fans to keep air circulating during application and drying.
Store leftover stain in sealed containers away from heat or sparks as they are flammable. Follow manufacturer safety data sheets for handling instructions.
- Use PPE: gloves, goggles, respirator
- Ensure good ventilation during staining
- Store products safely away from fire
More detailed information about the science and methods behind staining wood can be found in this comprehensive resource on wood staining basics. Wood staining basics.
Cleaning Tools and Disposal
Clean brushes and rags immediately after use. Oil-based stains require mineral spirits or paint thinner for cleanup, while water-based stains clean with soap and water. Dispose of oily rags properly by spreading them out to dry or sealing in metal containers to prevent spontaneous combustion.
Proper tool maintenance extends brush lifespan and avoids cross-contamination of colors during future projects.
- Use correct solvent for tool cleaning
- Spread oily rags to dry before disposal
- Store cleaned brushes properly
Comparison of Kitchen Cabinet Wood Stain Types
Here’s a comparison of various stain types to help you decide which is best suited for your kitchen cabinets based on drying time, finish, and ease of use.
| Stain Type | Drying Time | Durability | Ease of Application | Odor Level |
|---|---|---|---|---|
| Oil-Based | 6-8 hours | High | Moderate | Strong |
| Water-Based | 1-2 hours | Moderate | Easy | Low |
| Gel Stain | 4-6 hours | High | Moderate | Moderate |
| Lacquer Stain | 30 minutes | High | Difficult | Strong |
| Varnish Stain | 6-8 hours | Very High | Moderate | Moderate |
Frequently Asked Questions
Can I stain kitchen cabinets without sanding?
Sanding is necessary to remove the old finish and open the wood pores for the stain to penetrate properly. Skipping sanding often leads to uneven color and poor adhesion of the stain.
How long should I wait before applying a clear coat after staining?
You should wait until the stain is completely dry, typically 4-6 hours for oil-based stains, before applying a clear protective finish to avoid smearing or uneven drying.
Is it better to stain or paint kitchen cabinets?
Staining enhances wood grain and gives a natural look, while painting covers imperfections and offers more color options. The choice depends on the style you desire and the condition of the cabinets.
How many coats of stain do kitchen cabinets need?
Usually, one to two coats are sufficient. Apply a second coat if you want a deeper, richer color, allowing the first coat to dry completely before reapplying.
What is the best way to clean stained kitchen cabinets?
Use a soft cloth dampened with mild soap and water. Avoid abrasive cleaners or harsh chemicals that can damage the finish. Regular gentle cleaning helps maintain the stain’s appearance.
Key Takeaways
- Proper sanding and preparation are crucial for even stain absorption.
- Choose oil-based or water-based stains based on drying time and desired finish.
- Apply thin coats and wipe off excess stain to avoid blotchy results.
- Seal stained cabinets with a durable clear coat for long-lasting protection.
Conclusion
Approaching kitchen cabinet staining with attention to preparation, product selection, and application techniques contributes greatly to a satisfying outcome. Knowing how to stain kitchen cabinets is about controlling surface readiness, applying the stain evenly, and sealing it properly to protect while enhancing the wood’s natural character. Taking the time to test stains and acclimate your workspace conditions also helps prevent common problems like blotchiness or premature wear.
For homeowners seeking a warm, natural aesthetic, oil-based stains combined with satin finish polyurethane offer a rich, durable result. Those prioritizing quick drying and low odor might prefer water-based stains, especially in tightly enclosed kitchens. Advanced users can explore distressing or multi-color staining options to personalize cabinetry further. Regardless of the stain type, thorough sanding and cleaning remain non-negotiable steps to achieve a consistent color and smooth finish.
If you plan to refresh your kitchen cabinets, start by removing hardware and sanding as described. Carefully select your stain based on wood type and desired look, then apply with patience. Complete the process by applying a protective clear coat and proper drying time. This approach will give your kitchen a professional-grade update that enhances both beauty and durability with minimal expense.