How to Install Kitchen Sink Plumbing: Step-by-Step Guide for a Leak-Free Setup
Installing kitchen sink plumbing involves connecting the drain assembly, water supply lines, and trap under the sink to your home's plumbing system. This process requires careful fitting of parts like the tailpiece, trap, P-trap, and water supply valves to create a watertight, functional system.
A properly installed kitchen sink plumbing setup prevents leaks, ensures smooth drainage, and avoids costly water damage. Understanding each part's role and how they connect helps homeowners handle installations efficiently without waiting for professional plumbers.
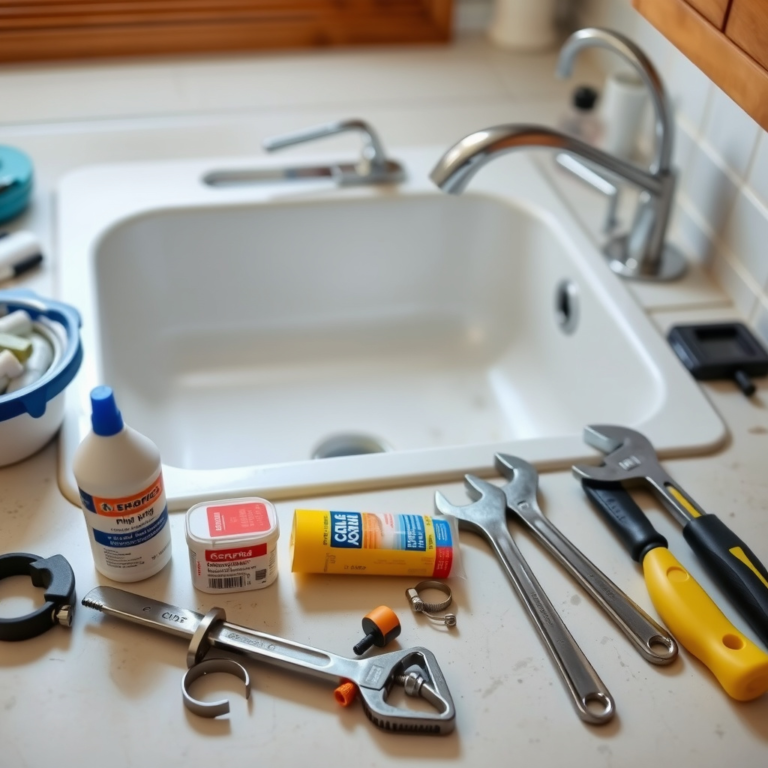
This guide covers essential steps and tools needed to install kitchen sink plumbing, including assembling drain components, connecting water supply lines, testing for leaks, and tips for upgrading or replacing existing plumbing.
Preparing for Kitchen Sink Plumbing Installation
Gathering Required Tools and Materials
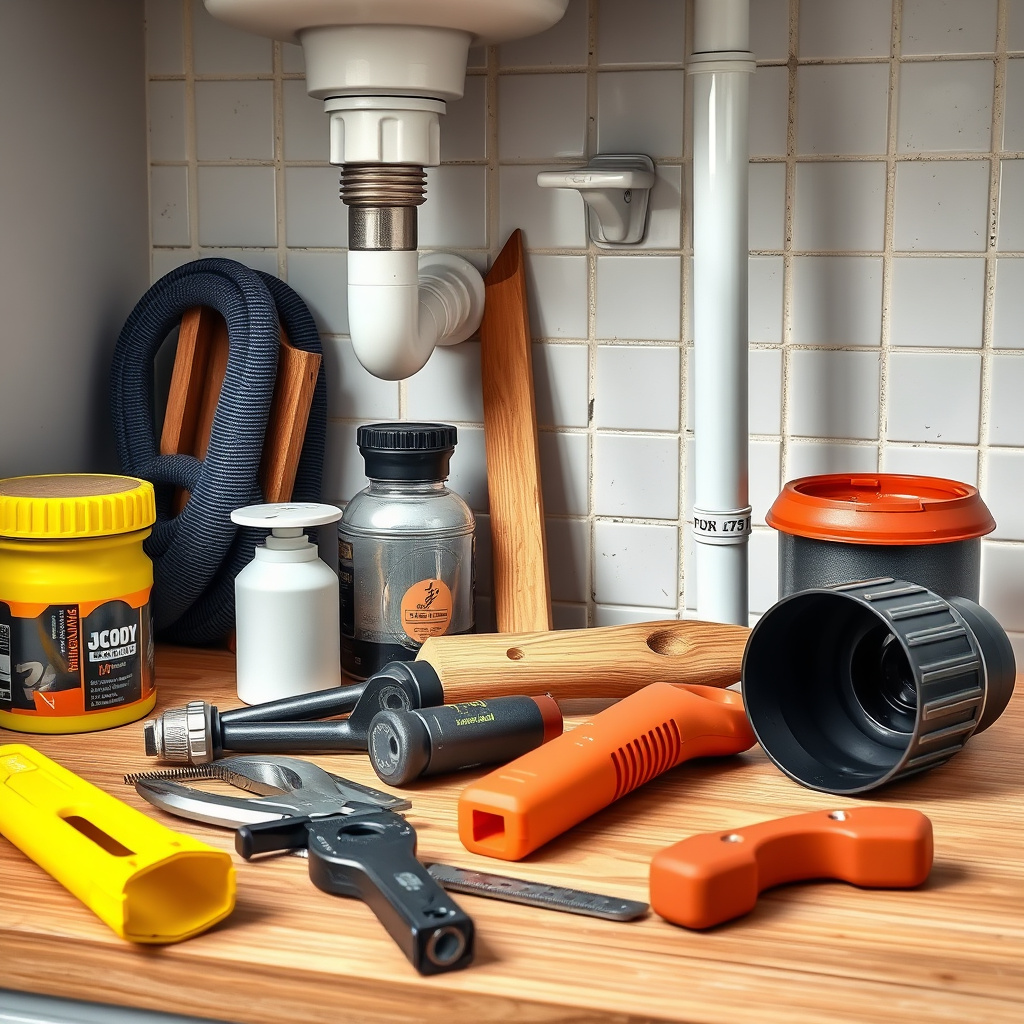
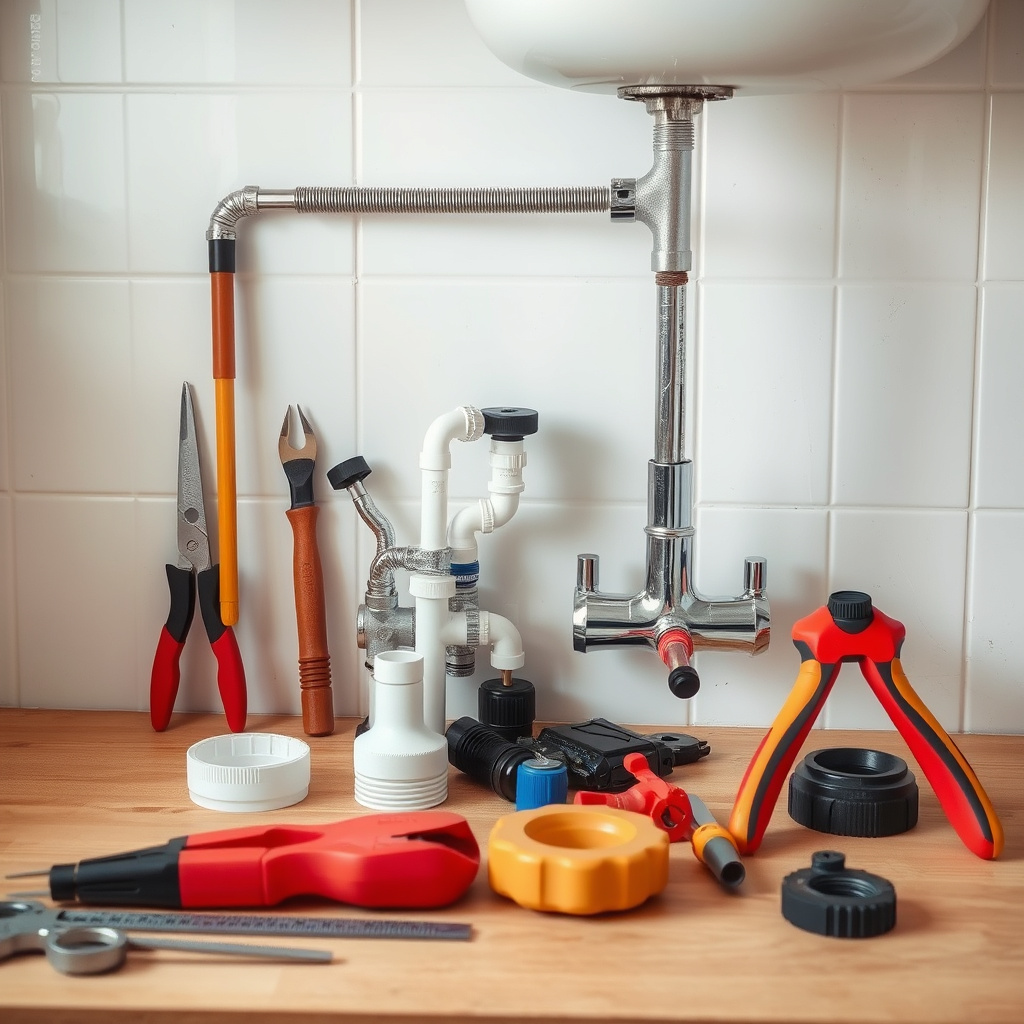
Before starting kitchen sink plumbing installation, assemble all necessary tools and materials to save time. Essential tools include an adjustable wrench, plumber's putty, pipe wrench, slip-joint pliers, Teflon tape, bucket, and a hacksaw if pipe alterations are required.
Materials typically required are drain assembly kit, P-trap, tailpiece, water supply lines, shutoff valves, and plumber’s tape. Double-checking for compatibility with your sink and plumbing is important to avoid hassles during installation.
- Adjustable wrench
- Plumber’s putty
- Pipe wrench
- Slip-joint pliers
- Teflon tape
- Bucket
Shutting Off Water Supply and Clearing Area
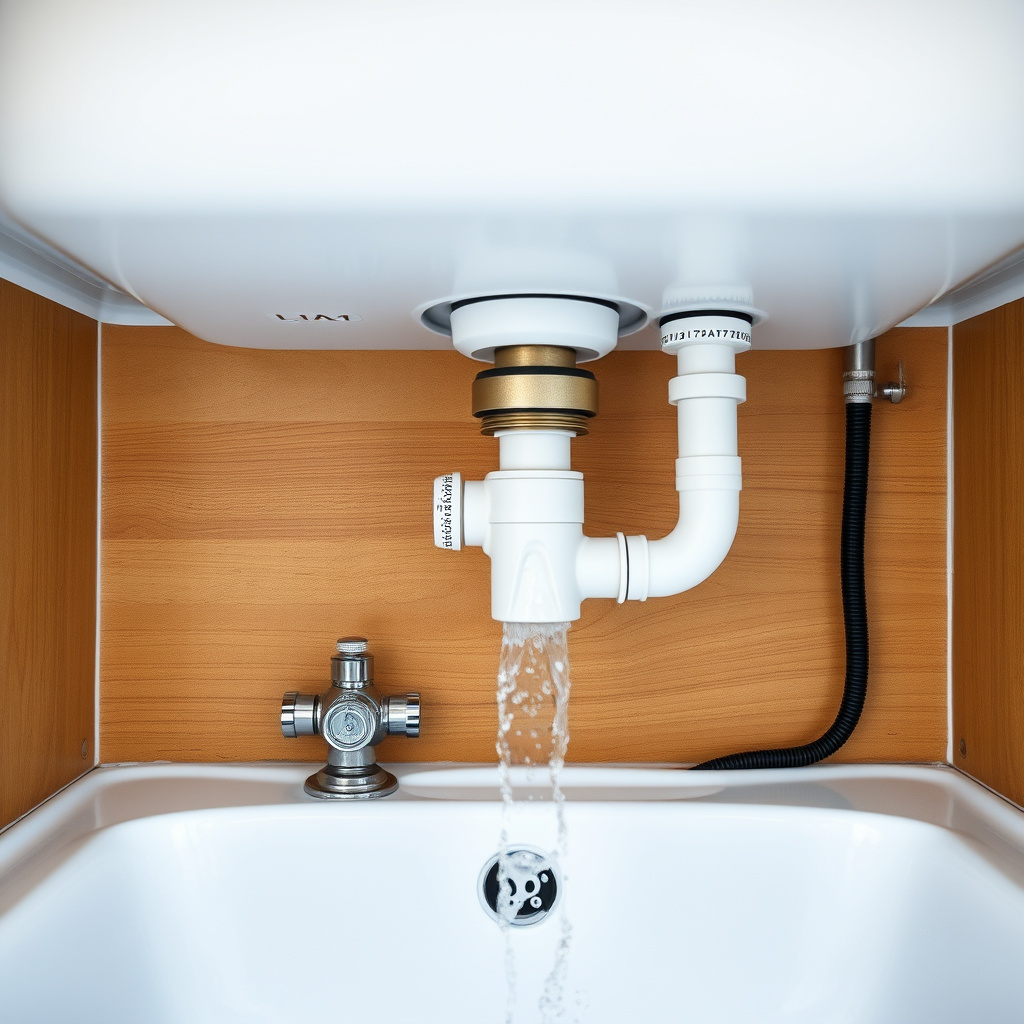
Turn off both hot and cold water supply valves beneath the sink or at the main water shutoff. Opening the faucet afterward relieves any residual pressure and drains remaining water.
Clear the cabinet area under the sink to provide ample workspace. Place a bucket beneath plumbing to catch any water spills during disassembly or installation.
Installing the Drain Assembly and Tailpiece
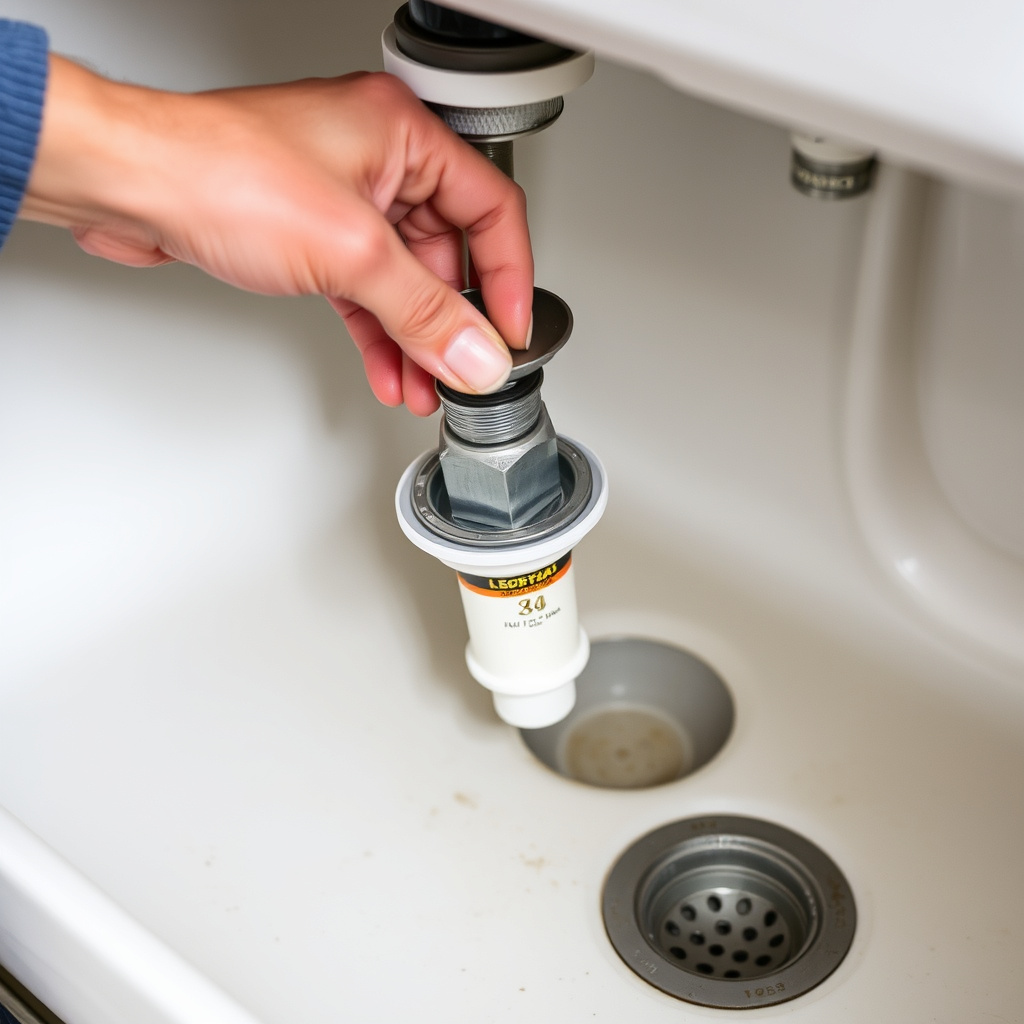
Applying Plumber’s Putty and Mounting Drain
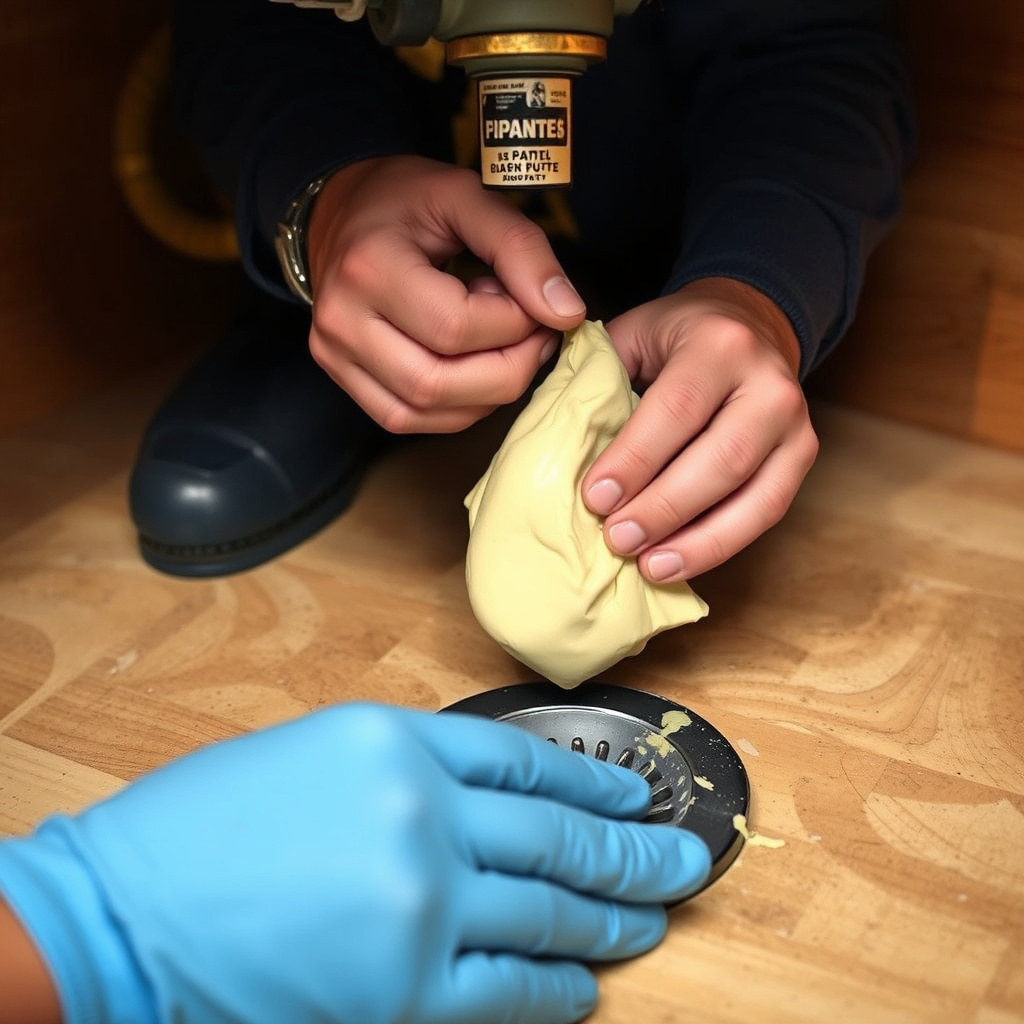
Form a rope of plumber’s putty and apply it around the drain flange to seal the connection between the sink and drain. Insert the drain body through the sink drain hole, ensuring it fits snugly.
Underneath the sink, slide on the rubber gasket, friction ring, and mounting nut tightly to secure the drain. Remove excess plumber’s putty from around the flange to maintain a clean finish.
Attaching the Tailpiece to the Drain Body
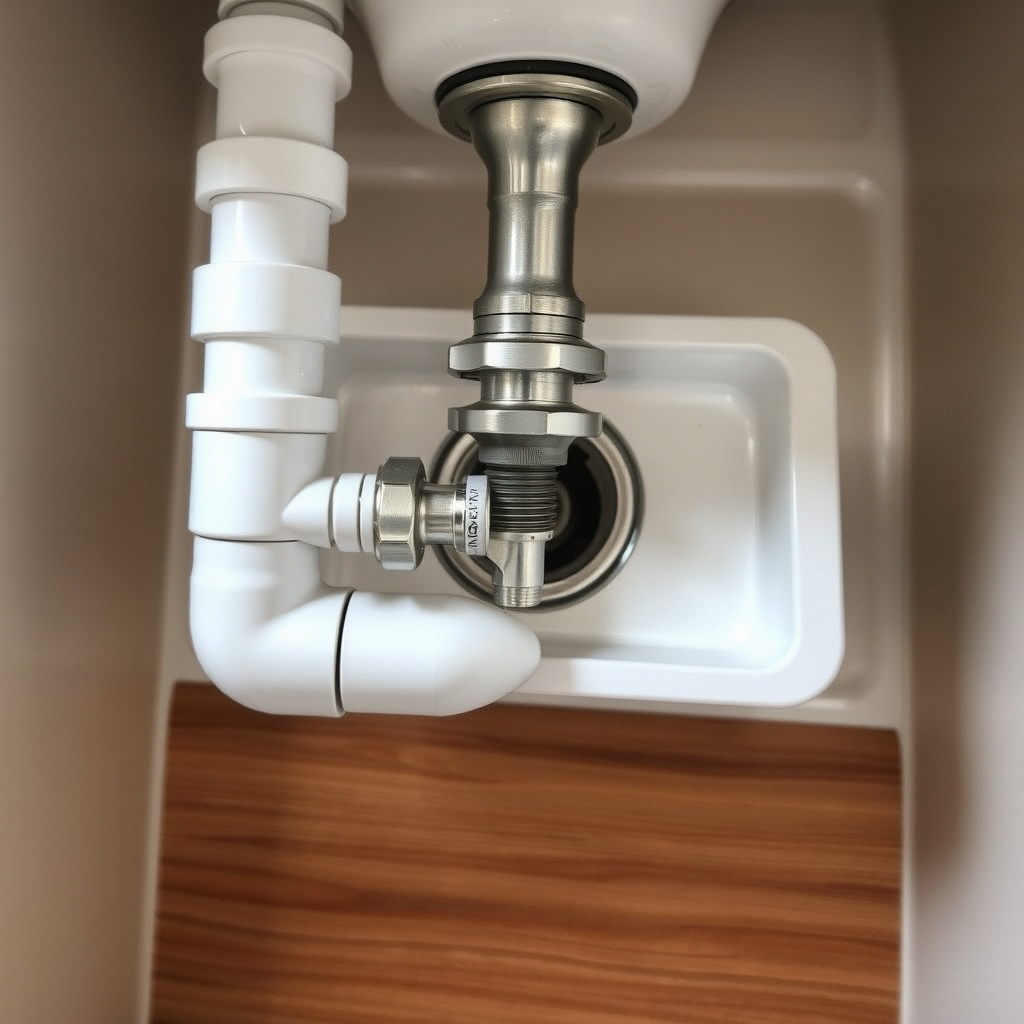
Once the drain body is secured, screw the tailpiece onto the bottom extension of the drain body. The tailpiece channels water from the sink drain toward the trap under the sink.
Ensure the connection is tight but avoid overtightening which can crack fittings. Hand-tightening followed by a slight wrench adjustment usually suffices.
Connecting the P-Trap and Trap Arm
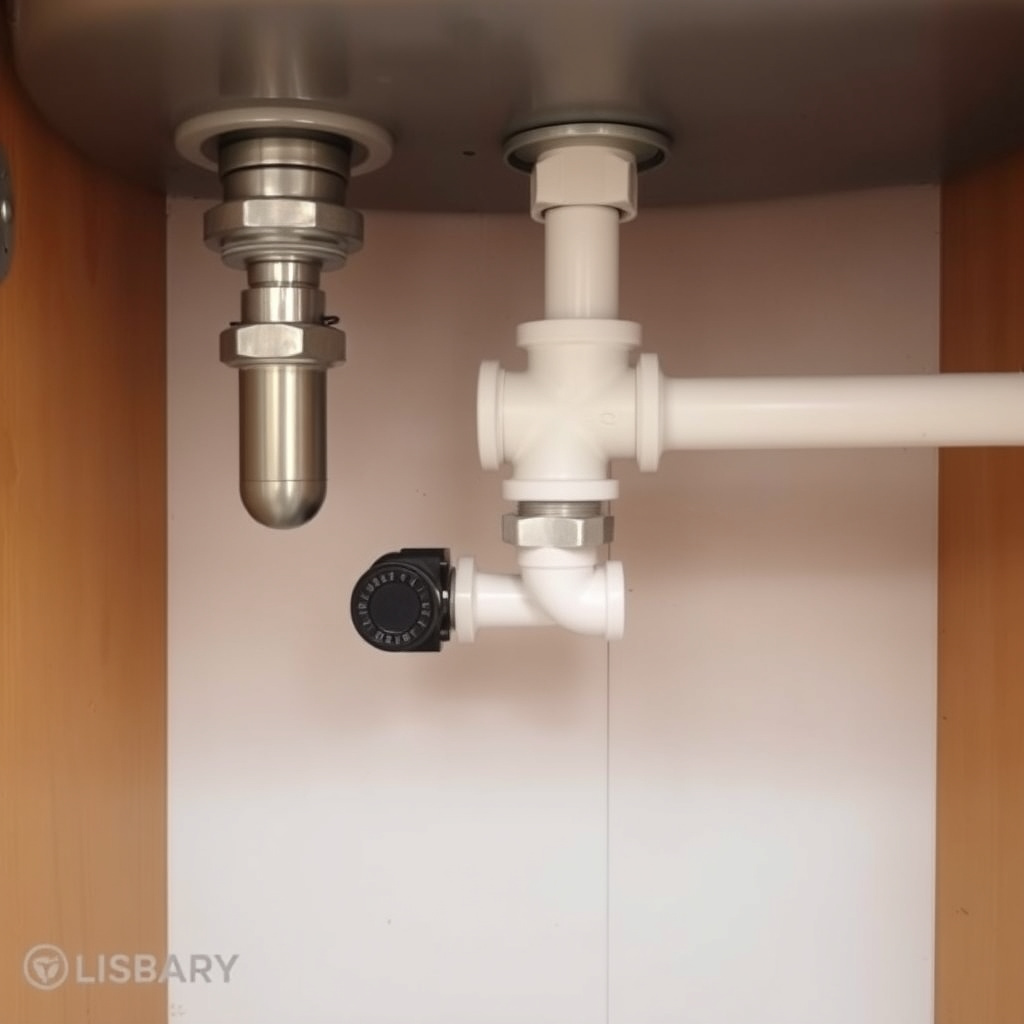
Fitting the P-Trap to the Tailpiece
Slide the P-trap’s inlet over the tailpiece outlet, aligning the connections carefully. Secure the slip nuts by hand and then tighten with slip-joint pliers for a snug fit.
The P-trap prevents sewer gases from entering your kitchen while allowing water and debris to flow freely. Make sure the trap’s curved section is oriented correctly to retain the water seal.
For more on this, see our related guide: How to Plan a Kitchen Remodel: A Step-by-Step Guide for Your Dream Space.
Attaching the Trap Arm to the Drain Pipe
Connect the trap arm to the wall drain pipe or floor drain stub-out. The trap arm is a straight pipe section that extends from the P-trap to the waste line connection, completing the drainage path.
Use slip nuts and washers to secure this joint. Confirm that there is enough overlap for a secure seal and no pipe strain exists, as this can cause leaks or misalignment.
Installing Water Supply Lines and Valves
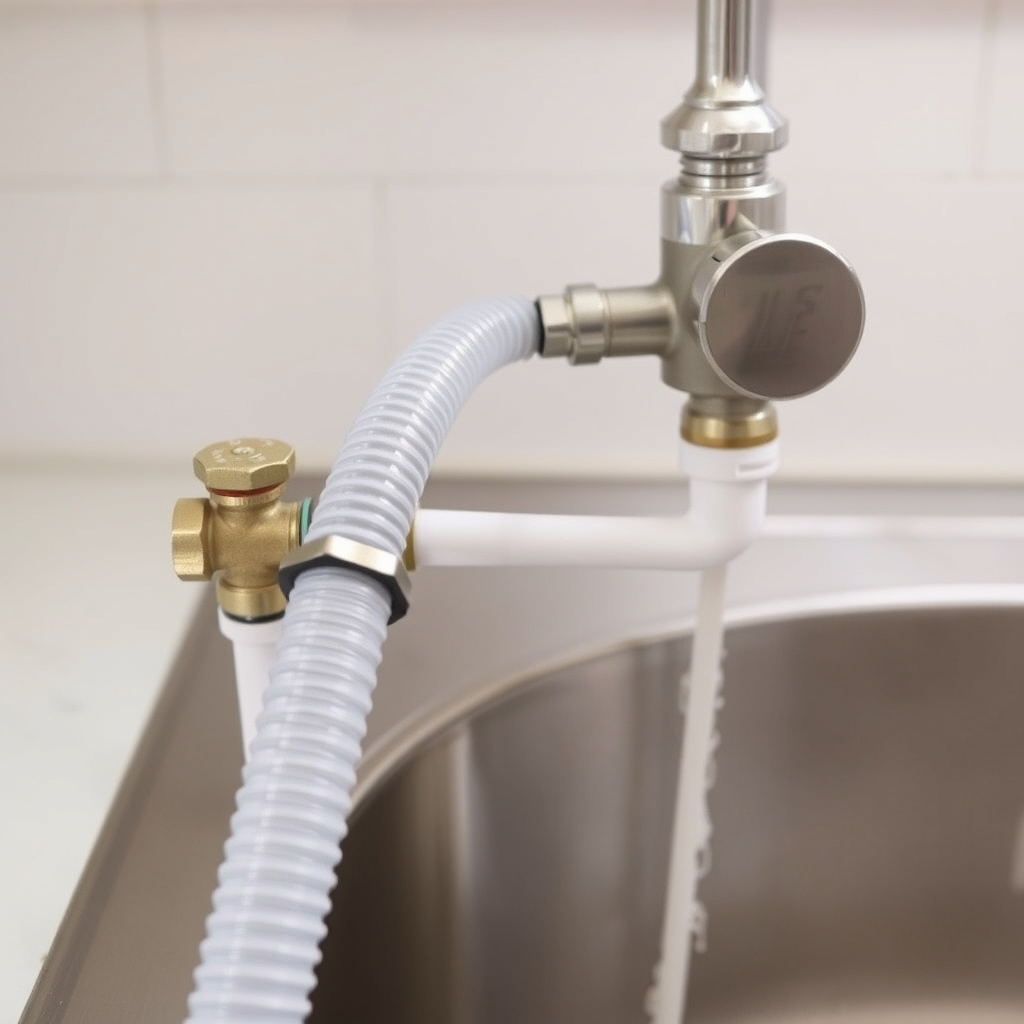
Attaching Shutoff Valves to Supply Pipes
If not present, install shutoff valves on both hot and cold supply pipes beneath the sink. Use Teflon tape on threaded connections to prevent leaks and tighten with an adjustable wrench without damaging pipes.
Valves provide control over water flow to the faucet, allowing maintenance without shutting off water to the entire house.
Connecting Flexible Water Supply Lines
Connect flexible supply lines from the shutoff valves to the faucet inlet connections. These lines should be the correct length with secure fittings to avoid leaks or kinks.
Hand-tighten first, then secure with a wrench while being cautious not to overtighten. Test connections by turning on water slowly and checking for drips.
Testing for Leaks and Final Adjustments
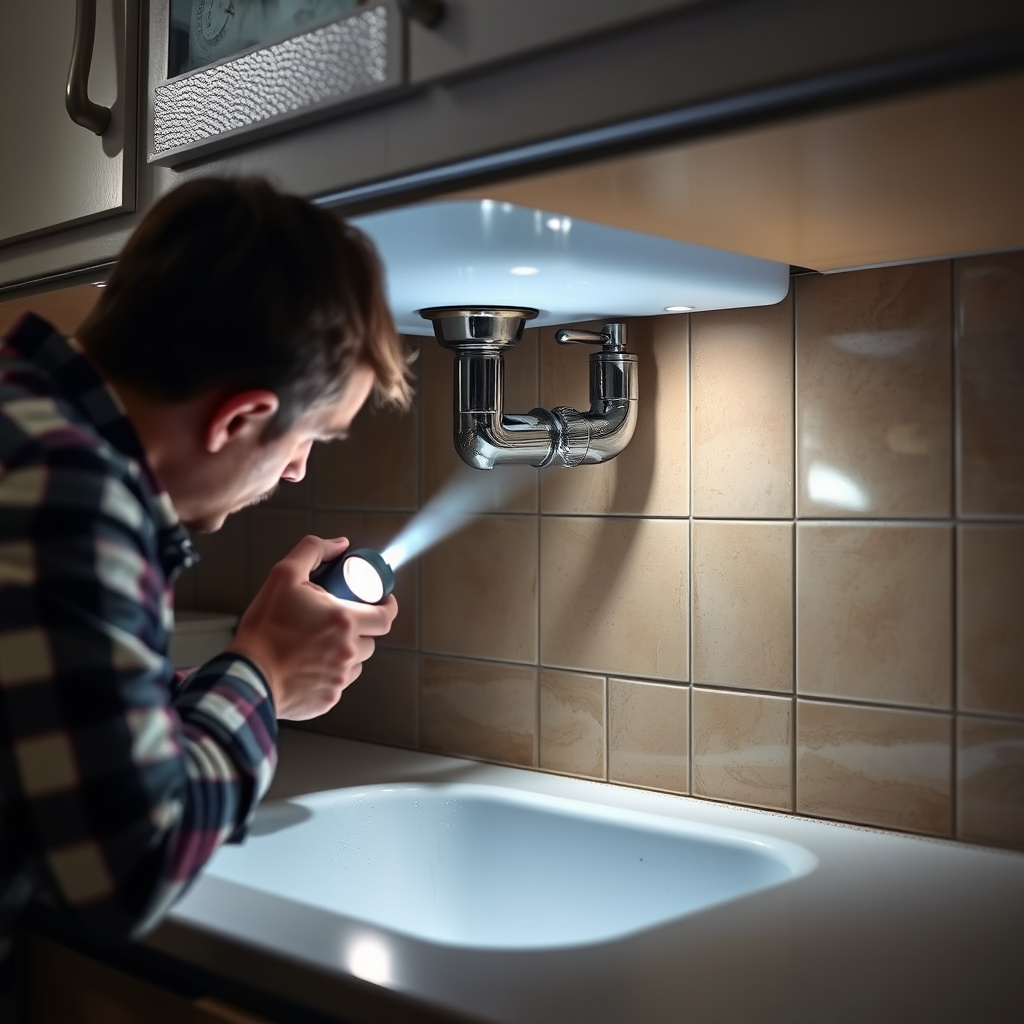
Running Water and Inspecting All Joints
Turn on the water supply slowly and run water through the faucet to fill the sink and test drain flow. Check all joints, including the drain assembly, P-trap, trap arm, and supply line connections for drips or moisture.
Pay close attention to slip nuts and threaded fittings where leaks commonly occur. If leaks are found, tighten connections incrementally until sealed.
For more on this, see our related guide: How to Install Kitchen Sink Drain: A Step-by-Step Guide for Homeowners.
Adjusting Pipe Alignments and Tightening Fittings
If any pipes appear misaligned, gently reposition to relieve stress on fittings. Proper alignment prevents leaks and pipe damage over time.
Ensure all fittings are secure but avoid overtightening which can crack components. Keep the space under the sink organized for easy future maintenance.
Upgrading and Maintenance Tips for Kitchen Sink Plumbing
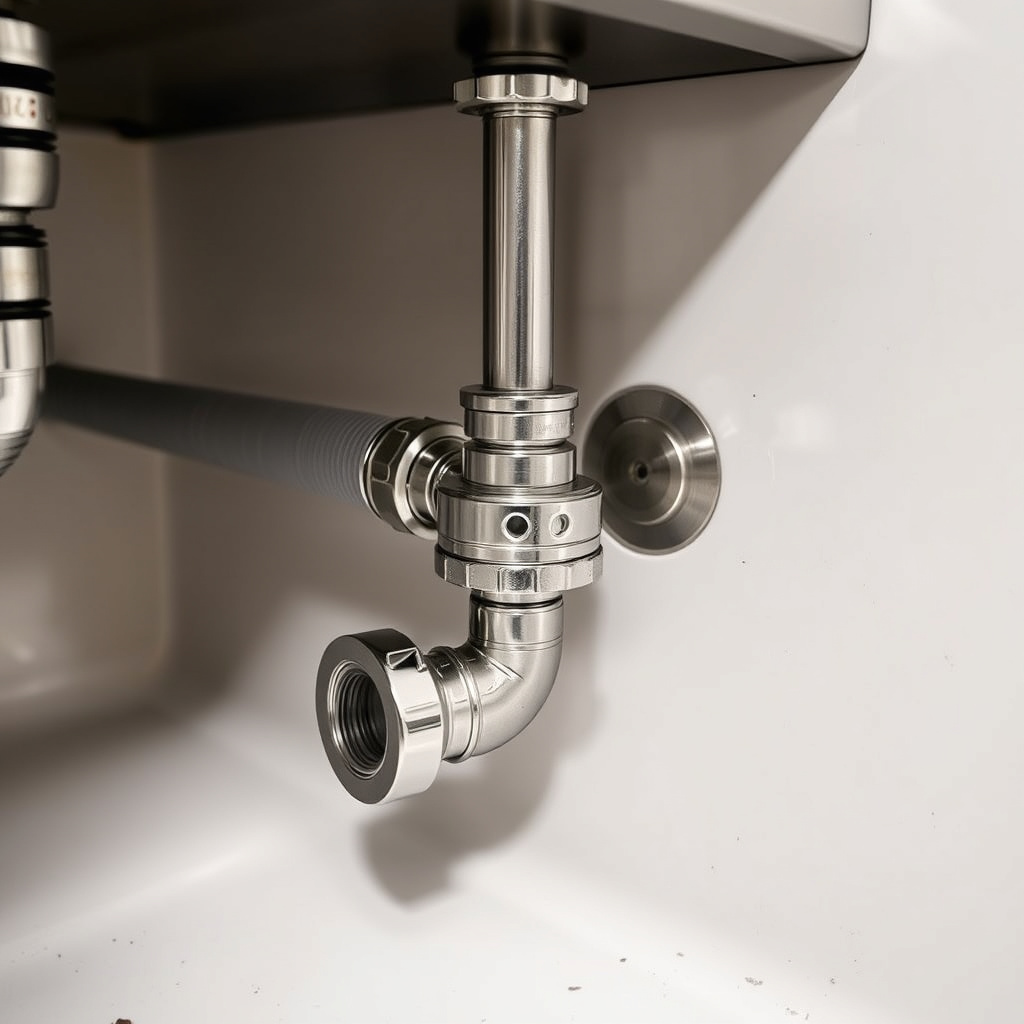
Choosing Durable Materials for Longevity
For upgrades, consider stainless steel or brass drain assemblies and P-traps instead of plastic, as these offer better durability, resistance to corrosion, and a more professional appearance.
Braided stainless steel supply lines outperform rubber hoses in longevity and reliability, making them a favored option for kitchen sink plumbing installation.
For more detailed background on plumbing systems, the kitchen plumbing wiki article offers comprehensive information. kitchen plumbing wiki article.
Routine Checks and Preventative Maintenance
Check under the sink periodically for signs of moisture, corrosion, or loose connections to catch issues early. Tighten any loose nuts and replace worn washers promptly.
Avoid pouring grease or heavy debris down the drain to prevent clogging. Regular use of strainers can reduce debris accumulation in sink plumbing.
- Inspect plumbing quarterly
- Use sink strainers
- Avoid grease disposal in sink
- Replace washers when needed
Kitchen Sink Plumbing Installation Methods Comparison
This table compares common kitchen sink plumbing installation methods based on materials, ease, cost, and durability.
| Method | Materials Used | Installation Difficulty | Cost Estimate | Durability |
|---|---|---|---|---|
| PVC Plastic Pipes | PVC pipes, plastic fittings | Easy | $20–$40 | Moderate |
| ABS Plastic Pipes | ABS pipes, plastic fittings | Easy | $25–$45 | Moderate |
| Copper Pipes | Copper pipes, soldered fittings | Medium | $75–$150 | High |
| Stainless Steel Components | Stainless steel pipes and fittings | Medium | $100–$200 | Very High |
| Flexible Braided Supply Lines | Braided stainless steel supply lines | Easy | $15–$40 | High |
Frequently Asked Questions
Can I install kitchen sink plumbing myself without professional help?
Yes, installing kitchen sink plumbing is manageable for most homeowners with basic handyman skills, proper tools, and following step-by-step instructions carefully.
How do I prevent leaks in the kitchen sink plumbing installation?
Use plumber’s putty or Teflon tape on threaded joints, hand-tighten fittings initially, then secure with tools without overtightening. Regularly inspect and adjust connections as needed.
What is the purpose of the P-trap in kitchen sink plumbing?
The P-trap holds water to create a seal that prevents sewer gases from entering the home while allowing wastewater to flow into the drain system.
Should I replace old rubber water supply lines when installing new kitchen sink plumbing?
Yes, replacing rubber lines with flexible braided stainless steel supply lines is recommended for better durability and to minimize risk of leaks or bursts.
How long does a typical kitchen sink plumbing installation take?
A standard kitchen sink plumbing installation usually takes between 2 to 4 hours depending on complexity, skill level, and any additional repairs.
What tools are essential for kitchen sink plumbing installation?
Crucial tools include adjustable wrenches, slip-joint pliers, plumber’s putty, Teflon tape, pipe wrench, and a bucket for catching water spills.
Key Takeaways
- Properly assembling all parts ensures leak-free kitchen sink plumbing installation.
- Using high-quality materials like stainless steel extends plumbing lifespan.
- Testing for leaks and alignment adjustments are critical at installation end.
- Routine checks prevent common plumbing issues under the sink.
Conclusion
Successfully installing kitchen sink plumbing is a practical project that requires an understanding of each component’s function and a careful approach to fitting pipes and joints. The process involves precise assembly of the drain assembly, tailpiece, P-trap, and connecting water supply lines with shutoff valves to guarantee watertight performance. Taking the time to assemble tools and materials beforehand, turning off water supplies, and working methodically reduces errors and installation frustrations, providing confidence in your plumbing setup.
For those seeking long-term reliability, upgrading to stainless steel P-traps and braided supply lines offers improved durability and corrosion resistance compared to standard plastic or rubber materials. The outlined step-by-step installation method ensures efficient placement and secure connections that minimize leaks. Homeowners with moderate DIY skills can install kitchen sink plumbing installation with a clear understanding of each phase. More complex setups involving soldered copper pipes or integrated garbage disposals may warrant professional help.
As a next step, gather your tools and evaluate your existing plumbing condition today. Whether replacing worn components or setting up a new sink, following this guide facilitates a dependable and clean plumbing job. Don’t rush; testing thoroughly for leaks and alignment before finishing makes a significant difference in kitchen sink function. Eventually, your sink will provide smooth drainage and easy water control, backed by plumbing you installed yourself.