How to Refinish a Wooden Kitchen Table: A Step-by-Step Guide
Refinishing a wooden kitchen table involves sanding down the existing surface to remove old finish and imperfections, then applying a new stain or paint followed by a protective topcoat. This process revitalizes the table’s appearance and extends its lifespan, making it look nearly new again.
Kitchen tables endure daily wear from food spills, heat, and frequent cleaning, which can dull or damage the wood finish over time. Refinishing addresses these issues by providing a fresh protective layer while allowing you to customize the look to your style, whether you prefer a natural wood tone or a painted finish.
This article will cover everything from preparing the workspace and choosing the right materials to sanding techniques and finishing options. We'll also explore tips on maintenance after the refinish to keep your kitchen table looking its best for years.
Preparing Your Wooden Kitchen Table for Refinishing
Cleaning and Clearing the Surface
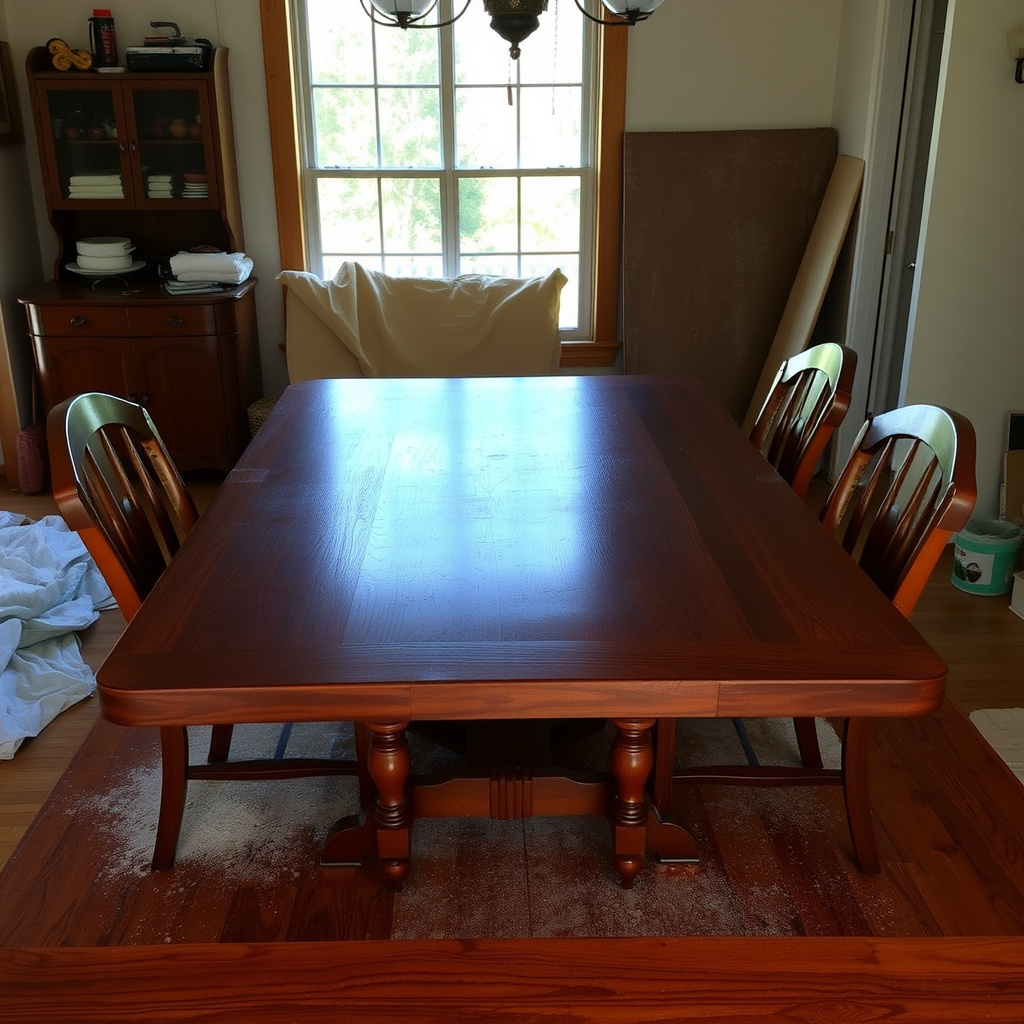
Before sanding, thoroughly clean the table surface to remove dirt, grease, and food residues. Use a mild detergent mixed with water and scrub gently with a sponge. Let it dry completely before starting any sanding to avoid clumping dust and uneven sanding.
Remove any hardware like screws or metal fittings attached to the table. Cover the floor with drop cloths or newspapers to protect it from dust and stray finishes that might drip during the process.
- Mild detergent
- Sponge or soft cloth
- Drop cloth or newspapers
- Screwdriver for hardware removal
Choosing the Right Workspace Setup
A well-ventilated workspace is important because sanding creates dust and finishing products often release fumes. An outdoor shaded area or a garage with open doors and windows works well. Keep pets and children away to avoid inhalation of dust or finish fumes.
Set the table on sawhorses or an old sturdy table to allow easy access to the entire surface without bending too much. Organize your tools nearby to keep the workflow smooth.
- Well-ventilated area
- Protective masks
- Sawhorses or elevated work surface
- Tool organization
Sanding Techniques for Refinishing a Wooden Kitchen Table
Selecting Sandpaper Grits
Start sanding with coarse sandpaper between 80 and 100 grit to remove the old finish and smooth out rough areas. Proceed to medium grit around 150 grit for general smoothing. Finish with fine grit from 220 to 320 grit for a smooth surface ready for staining or painting.
Using progressively finer grits prevents scratches and leaves the table surface smooth, ensuring the new finish applies evenly without blotches or raised grain.
- 80-100 grit for initial sanding
- 150 grit for smoothing
- 220-320 grit for finishing
- Change sandpaper as needed
Hand Sanding vs. Power Sanding
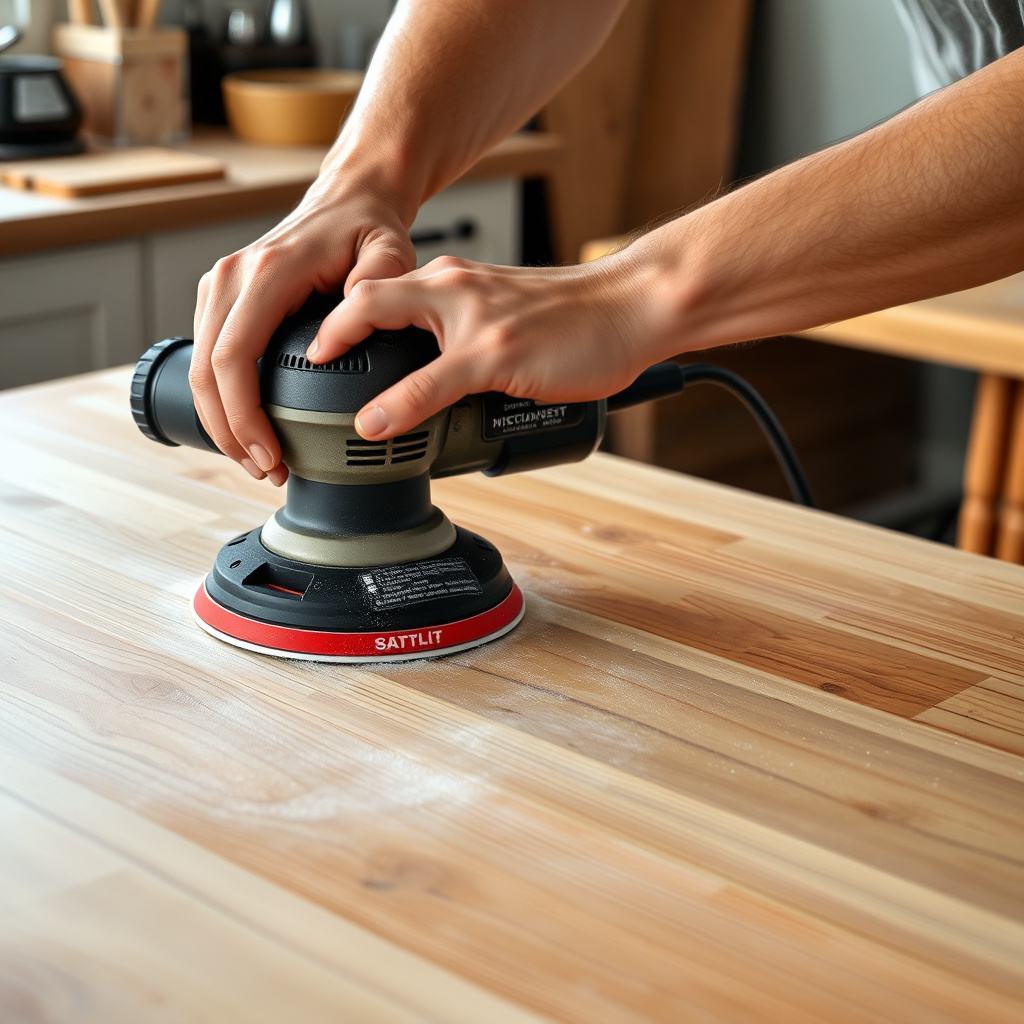
Power sanders like orbital sanders speed up the refinishing process, especially on larger tabletops, providing even pressure and consistent sanding. However, they require more control to avoid gouging the wood.
Hand sanding is slower but offers greater precision in corners and detailed edges. Combining both methods works best: power sand the flat main surface then hand sand edges and intricate areas.
- Orbital sander for main surface
- Hand sanding for edges
- Wear a dust mask while sanding
- Check progress frequently
Choosing the Right Finish for Your Kitchen Table
Understanding Different Wood Finishes
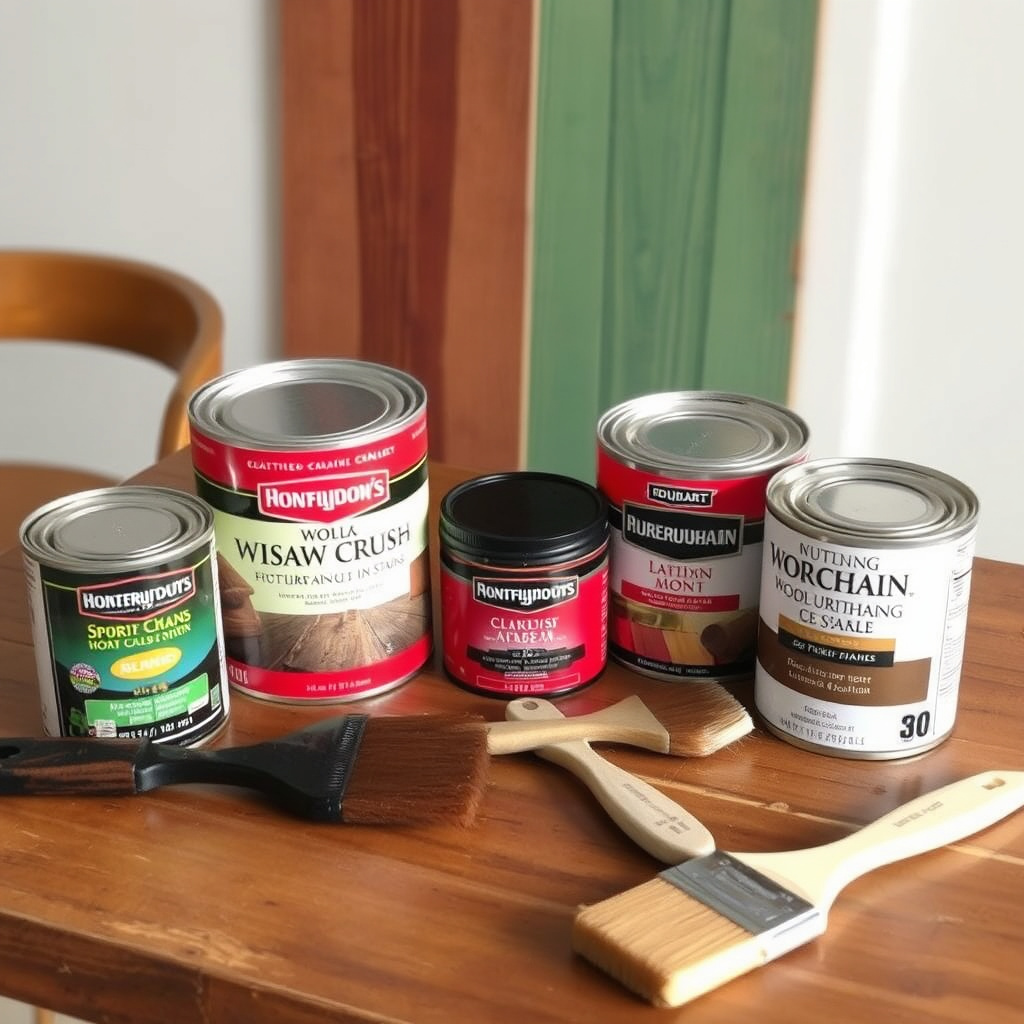
Common finishes include oil-based and water-based polyurethane, lacquer, shellac, and natural oils like tung or linseed oil. Polyurethane offers a durable, water-resistant coat ideal for kitchen tables exposed to spills and heat.
Oil finishes penetrate the wood for a natural look but offer less surface protection. Lacquer dries fast and provides a glossy finish but may yellow with age. Choosing the right finish depends on desired appearance and usage conditions.
- Oil-based polyurethane for durability
- Water-based polyurethane for low odor
- Natural oils for matte finish
- Lacquer for glossy shine
Selecting the Best Wood Finish for Kitchen Table Use
For kitchen tables, choose finishes that resist water, stains, and heat. Oil-based polyurethane stands out for durability and longevity but has stronger fumes and longer drying time.
Water-based polyurethane is a good alternative with quicker drying and less odor but may need more coats. Consider food-safe finishes if the table doubles as a prep area.
- Durability against moisture and heat
- Non-toxic or food-safe options
- Number of coats needed
- Appearance and sheen preferences
Applying Finish and Final Touches
Applying Stain or Paint Evenly
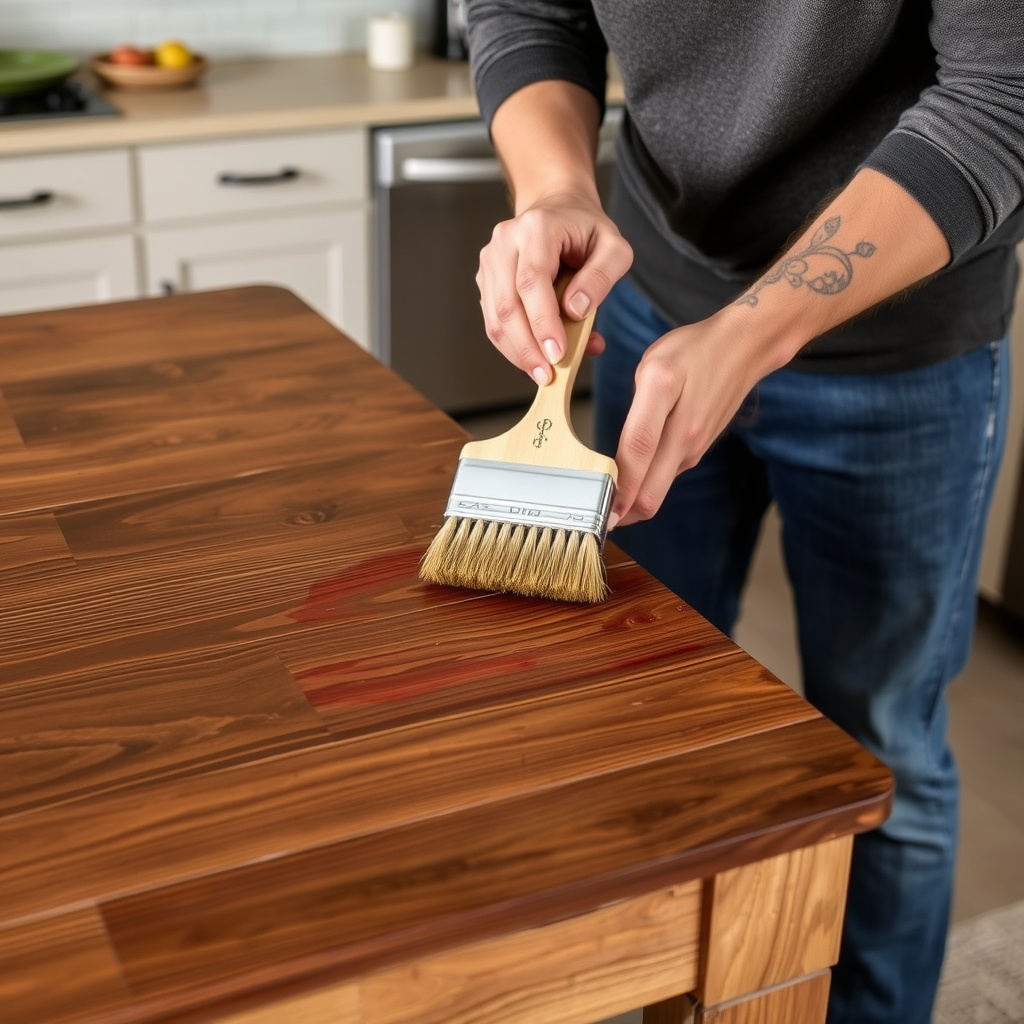
Use a brush or lint-free cloth to apply stain in even, smooth strokes along the wood grain. Avoid over-applying which can cause blotches. Let stain penetrate for the recommended time then wipe off excess with a clean cloth for uniform color.
If painting, use primer first to improve adhesion. Apply paint in thin coats allowing each layer to dry before adding the next, avoiding drips and brush marks.
- Apply with brush or cloth along grain
- Wipe excess stain promptly
- Use primer for paint
- Thin coats for smooth finish
Sealing and Protecting the Surface
Once stain or paint is fully dry, apply the chosen protective finish such as polyurethane. Use a high-quality brush or foam applicator for an even coat. Lightly sand between coats with fine grit sandpaper for a smooth surface.
Apply 2 to 3 coats depending on desired durability. Allow a full cure time before daily use to prevent damage.
- Multiple coats of sealant
- Light sanding between coats
- Allow full drying and curing
- Use quality brushes or applicators
Maintaining Your Refinished Wooden Kitchen Table
Routine Cleaning and Protection
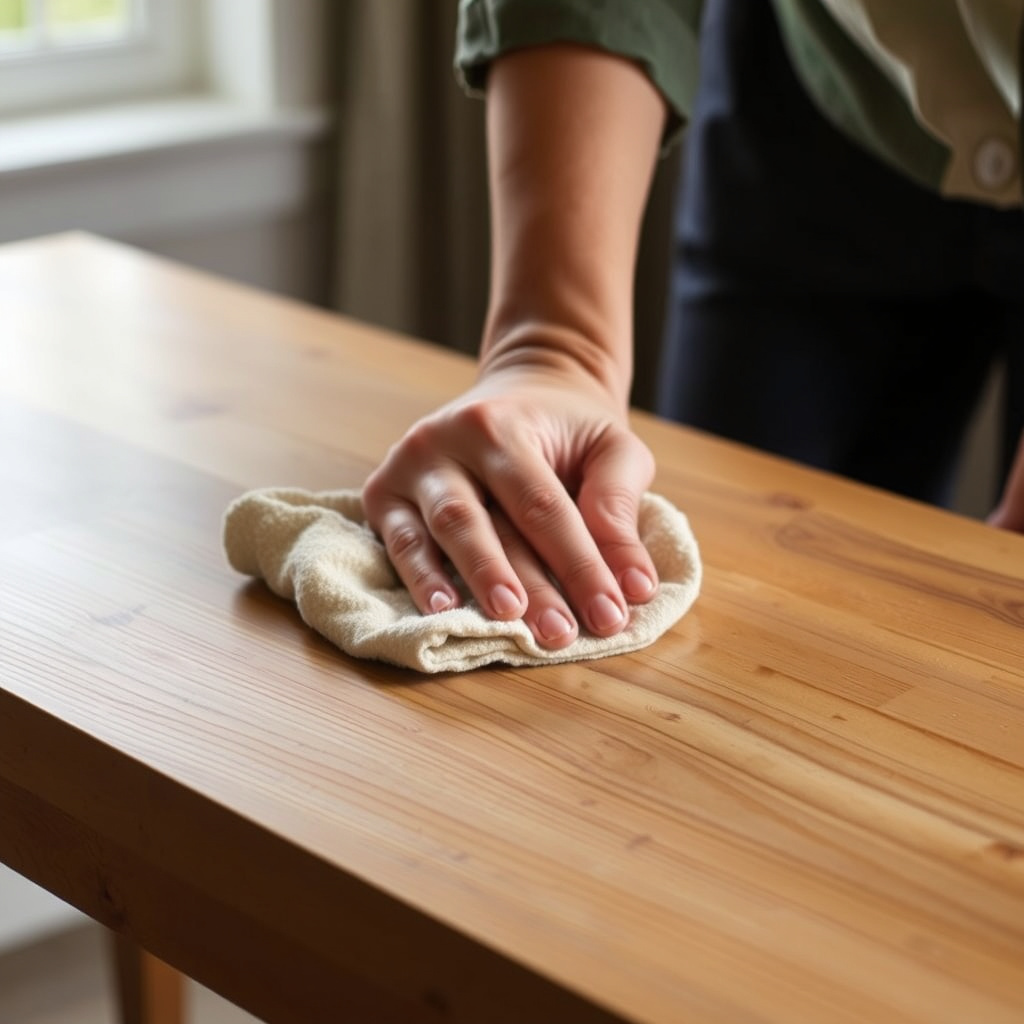
Use a soft, damp cloth with mild soap to clean the table daily. Avoid harsh chemicals or abrasive scrubbers that wear down the finish. Use coasters, placemats, and trivets to protect against heat and moisture damage during meals.
Regular dusting and wiping prevent buildup that could scratch the surface over time.
- Soft cloth and mild soap
- Avoid harsh cleaners
- Use coasters and placemats
- Dust regularly
For more detailed information on various wood finishing techniques, visit the wood finishing article. wood finishing techniques.
Repairing Minor Damage After Refinishing
For small scratches or water rings, gently buff with fine steel wool or apply a matching stain touch-up pen before resealing. Deep gouges may require localized sanding and refinishing with compatible products.
Promptly addressing damage helps maintain appearance and prolongs the life of the refinished surface.
- Fine steel wool for scratches
- Stain touch-up pens
- Spot sanding for deeper damage
- Regular inspections
Wood Finish Types for Kitchen Tables: Comparison
This table compares popular wood finishes for kitchen tables based on durability, drying time, ease of application, and appearance.
| Finish Type | Durability | Drying Time | Appearance | Fumes Level |
|---|---|---|---|---|
| Oil-Based Polyurethane | Very High | 8-12 hours per coat | Glossy to Satin | Strong |
| Water-Based Polyurethane | High | 2-4 hours per coat | Clear, Less Yellowing | Low |
| Natural Oils (Tung, Linseed) | Moderate | Varies up to 24 hours | Matte, Natural | Low |
| Lacquer | High | 15-30 minutes | Glossy | Strong |
Frequently Asked Questions
How many coats of polyurethane should I apply to my kitchen table?
Typically, two to three coats of polyurethane provide good durability and protection for kitchen tables. Be sure to sand lightly between coats for a smooth finish.
Can I refinish my kitchen table without sanding?
Sanding is essential to remove the old finish and create a surface the new finish can adhere to. Skipping sanding often leads to poor adhesion and uneven results.
Is it safe to use oil-based finishes in kitchens?
Oil-based finishes are safe once fully cured, but ensure good ventilation during application due to strong fumes. Choose food-safe finishes if the table is used for direct food preparation.
How long does the refinishing process typically take?
Refinishing usually takes several days to complete, depending on drying times between sanding, staining, and sealing coats.
What tools do I need to refinish a wooden kitchen table?
Basic tools include sandpaper (various grits), an orbital sander (optional), brushes or cloths for applying finish, screwdrivers for hardware removal, and protective gear like masks and gloves.
Key Takeaways
- Proper sanding is crucial to remove old finish and prepare the wood.
- Choose durable finishes like oil-based polyurethane for kitchen use.
- Apply stain and finish in thin, even coats with drying time in between.
- Maintain the refinish with gentle cleaning and protective accessories.
Conclusion
Refinishing a wooden kitchen table is a practical way to restore its appearance and extend its functional life. The approach involves careful preparation, methodical sanding, and selecting a finish suited to the kitchen’s demanding environment. By balancing durability with aesthetic preferences, you can achieve a surface that is both beautiful and resilient.
If you want a durable, long-lasting finish, oil-based polyurethane is an excellent choice, especially if your table faces frequent spills and heat exposure. For a low-odor option, water-based polyurethane offers good protection with quicker drying times. Natural oils provide a more subtle, matte look but are less protective, making them better suited for less heavily used tables. Critical to any finish’s success is the quality of sanding and application, so take your time in those steps.
After refinishing, regular cleaning with a soft cloth and mild detergent will keep your kitchen table looking fresh. Use coasters and placemats to guard against stains and heat damage. If damage occurs, prompt touch-ups will preserve your work. Considering these factors, starting your refinishing project with proper preparation and the right materials will give you a beautiful kitchen table that complements your home for years to come.