How to Install Kitchen Base Cabinets: A Step-by-Step Guide
Installing kitchen base cabinets involves careful measuring, leveling, and securing each cabinet to create a durable and visually pleasing foundation for your kitchen. The process starts with preparing the space and wall, followed by positioning and fastening the cabinets one by one, ensuring they align correctly for countertops and appliances. With proper tools and precise steps, you can install base cabinets that last for years.
This task matters because base cabinets support countertops, sinks, and appliances; any misalignment or poor securing can cause issues later, such as uneven work surfaces or structural instability. Getting the installation right affects both the kitchen’s functionality and appearance. A well-installed cabinet system improves your cooking space and adds value to your home.
This article will walk you through each phase of the installation process, from prepping your kitchen walls to attaching the cabinets securely and aligning them perfectly. You’ll also find tips on handling common challenges, the tools you'll need, and recommendations for achieving professional results.
Preparing the Kitchen for Base Cabinet Installation

Measuring and Marking Cabinet Placement

Start by measuring the total length of the kitchen wall where the base cabinets will go. Mark the layout on the wall and floor with a pencil, using a level to draw a horizontal line about 34 1/2 inches above the floor — this height matches most base cabinets plus countertop thickness.
Double-check measurements to ensure plumbing or electrical outlets won’t interfere with cabinet placement. Also, mark stud locations, since cabinets must be anchored into wall studs for solid support. You can use a stud finder for accurate detection.
- Measure wall length and height
- Draw level horizontal guideline at 34 1/2 inches
- Mark stud locations with a stud finder
- Check for plumbing or electrical obstacles
Prepare the Walls and Floor
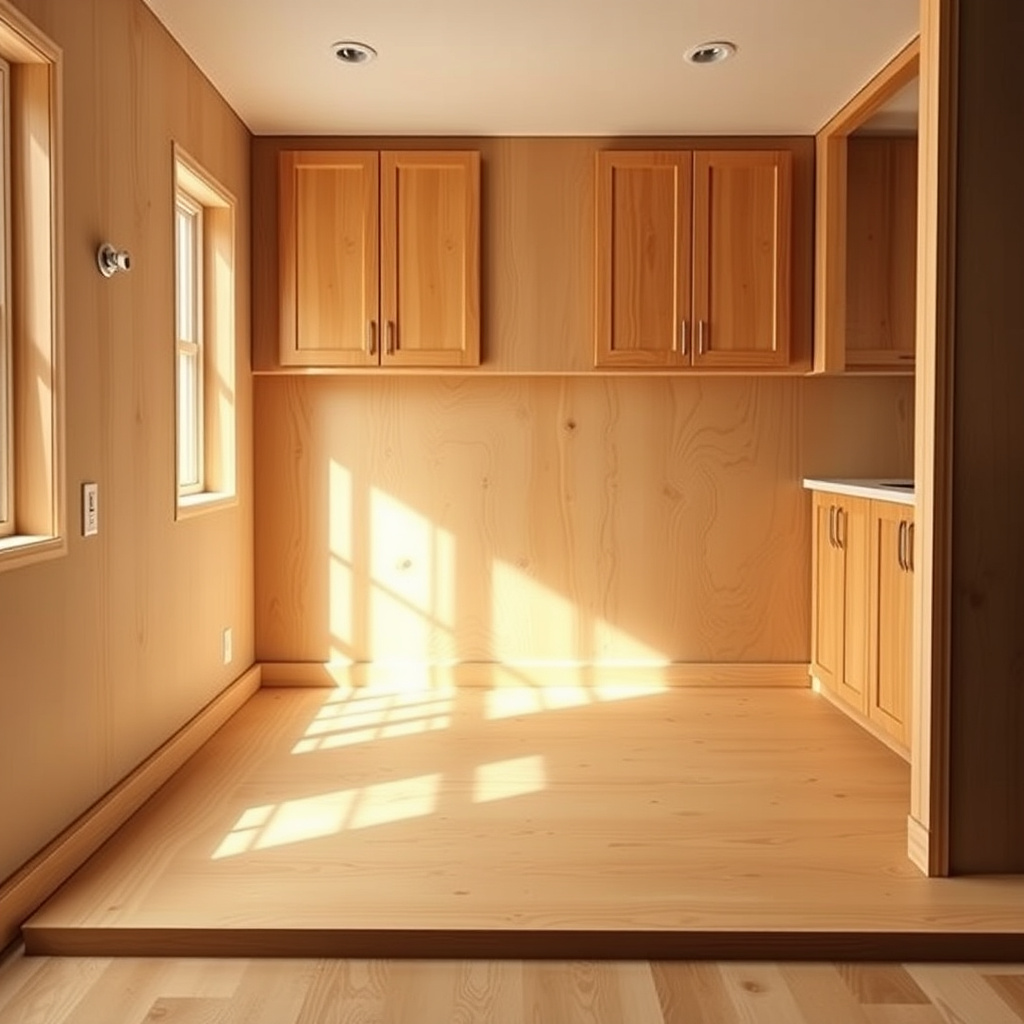
Remove any baseboards or trim along the installation wall, as the cabinets will sit directly on the floor. If walls have uneven drywall or bumps, smooth them out to make sure there are no gaps when securing cabinets.
Check that the floor is level at the installation site. If it’s uneven, shim the cabinets during installation to compensate. Shims are thin wedges of wood or plastic that help level the cabinets for a flush fit.
- Remove baseboards and trim
- Smooth out wall imperfections
- Confirm floor level; prepare shims if needed
Installing the First Kitchen Base Cabinet
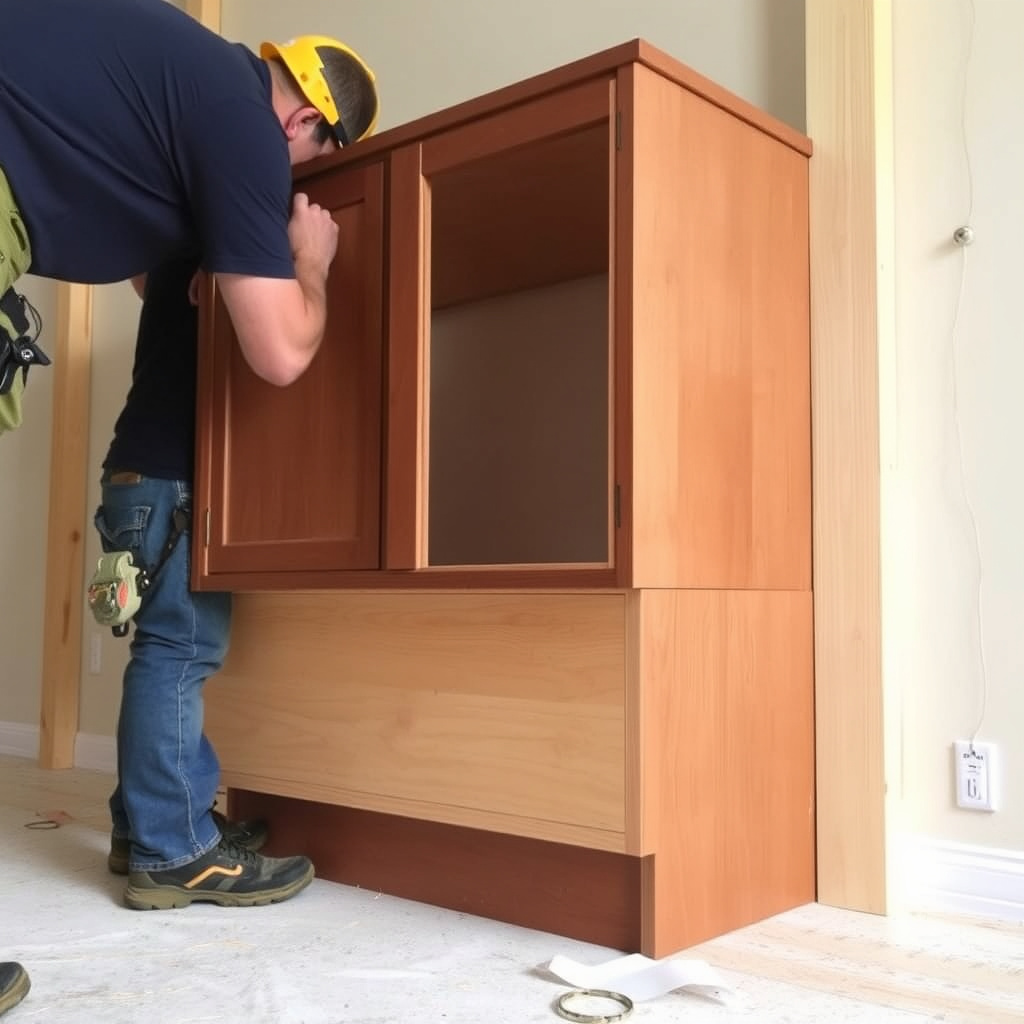
Positioning and Leveling the Cabinet
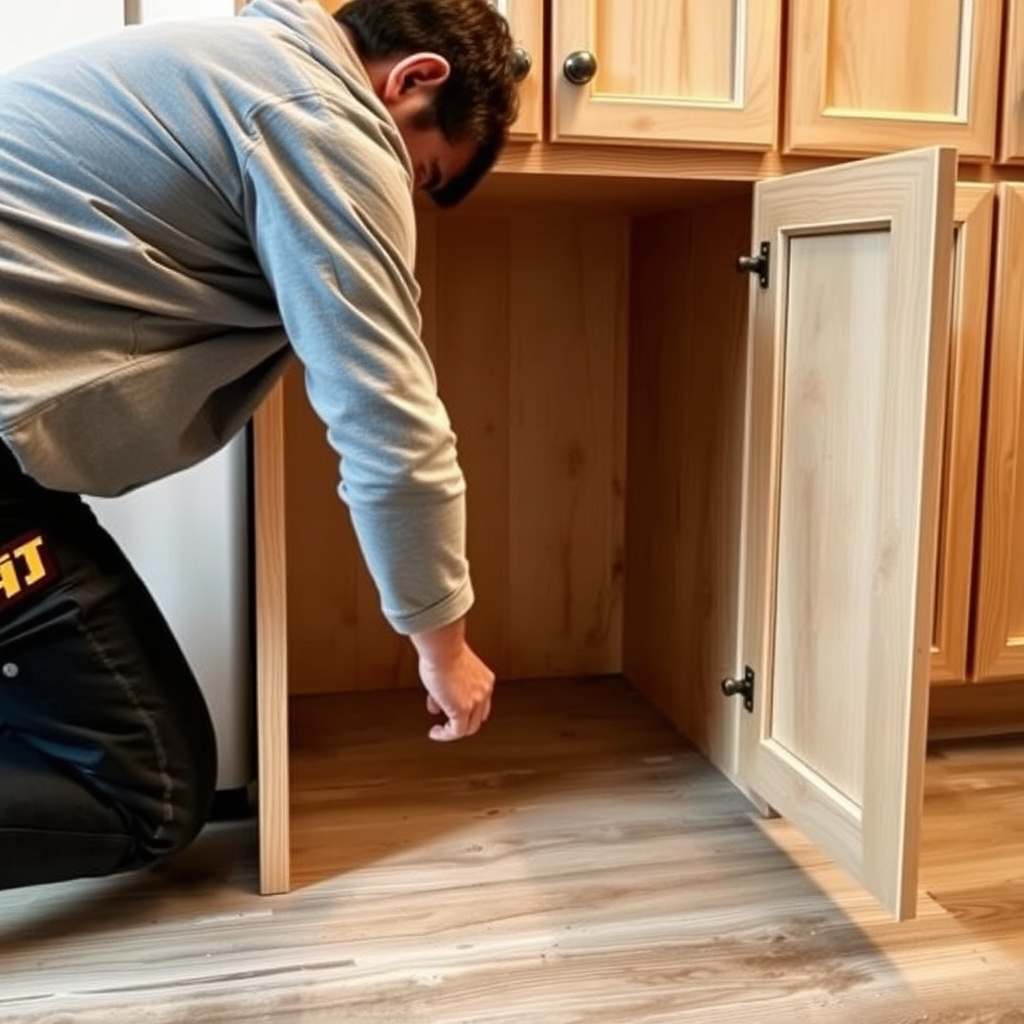
Place the first cabinet in the corner or starting point according to your layout marks. Use a level across the top and sides to verify it is perfectly plumb and level. If the floor isn’t level, place shims under the cabinet base until it sits evenly.
Keep the cabinet flush against the wall while adjusting shims. This first cabinet acts as the reference for all other cabinets, so making sure it is perfectly positioned ensures the rest will align properly.
- Align cabinet with wall and floor marks
- Use level to check vertical and horizontal alignment
- Insert shims to correct uneven floor
Securing the Cabinet to Wall Studs
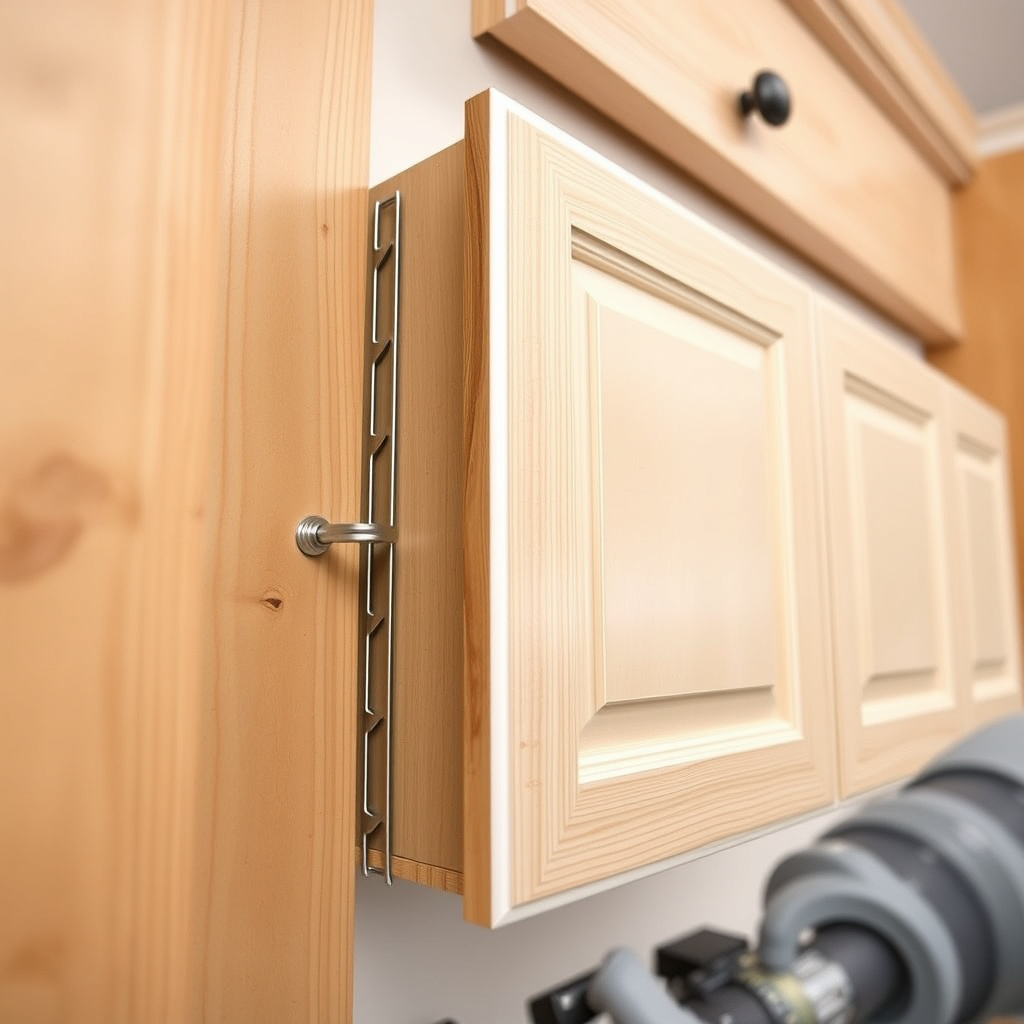
Once positioned and level, secure the cabinet to the wall studs using long wood screws driven through the cabinet back panel. Use a drill with torque control to avoid over-tightening. Drive at least two screws per stud vertically spaced for secure anchoring.
Check for stability after tightening screws. The cabinet should not wobble or shift. Proper attachment ensures cabinets support countertop weight and resist movement over time.
- Use 3-inch wood screws
- Attach through cabinet back into studs
- Drive screws at multiple stud points
- Test cabinet stability after fastening
Aligning and Securing Additional Base Cabinets
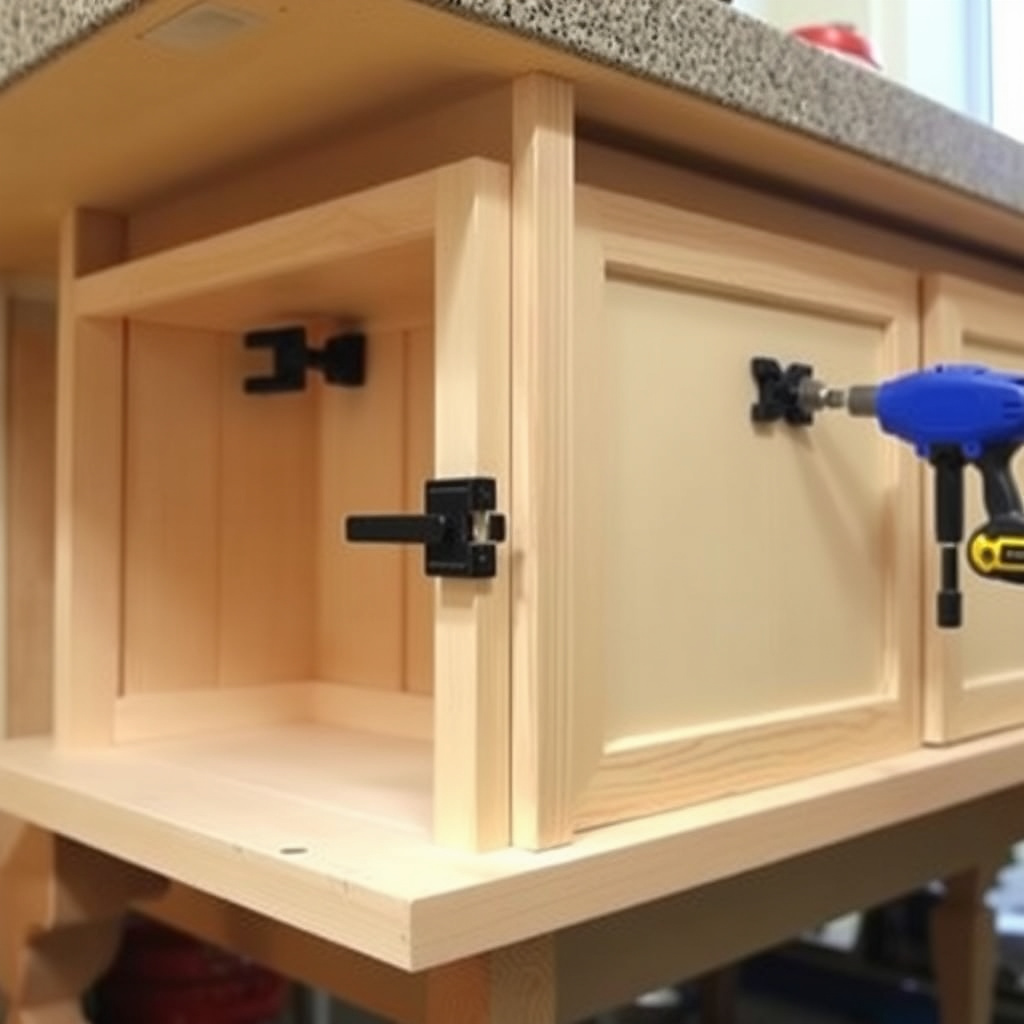
Clamping and Leveling Adjacent Cabinets
Place the next cabinet beside the first, align tops and fronts carefully, then clamp them together to hold position. Use a level to check for height consistency and ensure front faces form a flat plane with no steps or gaps.
Small height differences or misalignments between cabinets can be adjusted by tightening or loosening screws and inserting shims between the cabinet and floor or wall if necessary. The goal is seamless spacing and alignment.
- Clamp adjoining cabinets together
- Check for level tops and flush fronts
- Adjust shims or screws for alignment
For more on this, see our related guide: Can Lighting in Kitchen Improve Cooking and Ambiance?.
Joining Cabinets Using Screws and Joinery
Pilot-drill holes through the adjoining faces of cabinets to avoid wood splitting, then fasten cabinets together with proper cabinet screws. This creates a rigid, unified base structure.
Avoid gaps by holding cabinets flush before tightening screws fully. Once all cabinets are attached to one another and the wall, the whole run will act as a single solid unit.
- Pre-drill screw holes between cabinets
- Screw cabinets tightly together
- Ensure flush fitting before tightening
Completing Installation and Final Adjustments
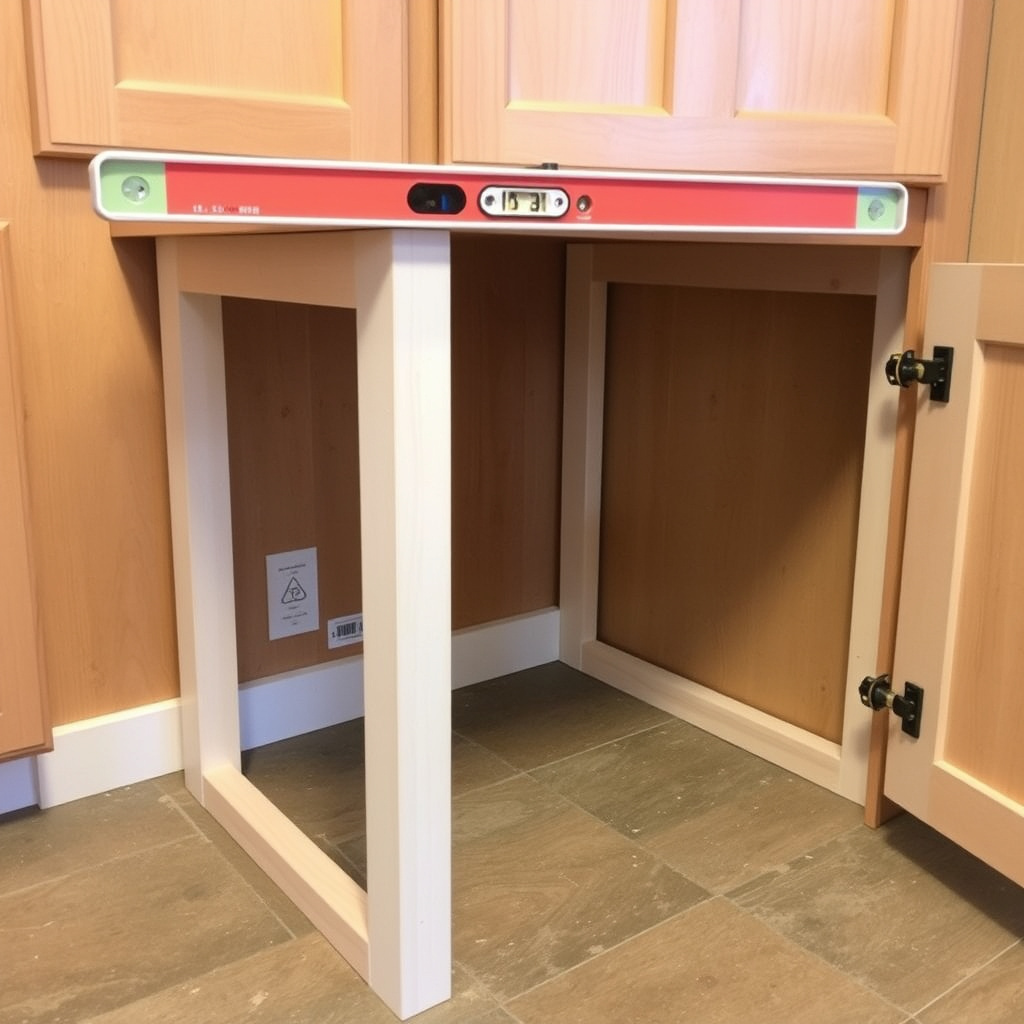
Check Alignment and Level One Last Time
After all base cabinets are positioned and secured, run a level across their tops along the entire length to check for any uneven areas. Adjust shims as needed to get a perfectly flat surface ready for the countertop installation.
Also verify that cabinet doors and drawers open smoothly without obstruction, indicating proper alignment. Adjust hinges or drawer slides slightly if necessary before proceeding.
Install Toe Kicks and Prepare for Countertops
Attach toe kick boards to conceal the gap and shims under cabinets for a clean look. These typically screw into the cabinet base and are removable for future access.
With base cabinets installed, cleanup is easier and the space is ready for countertop fitting, sink installation, and appliance setup. Following this sequence keeps your kitchen upgrade organized and efficient.
- Attach toe kick boards securely
- Remove debris from workspace
- Prepare surroundings for countertop installation
Essential Tools and Materials for Kitchen Base Cabinet Installation

Key Tools You Will Need
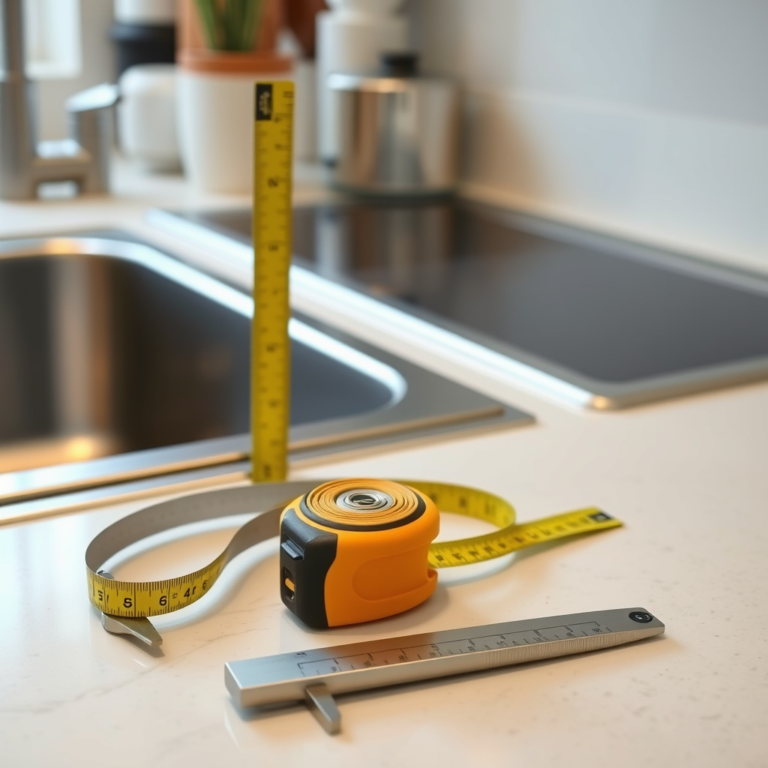
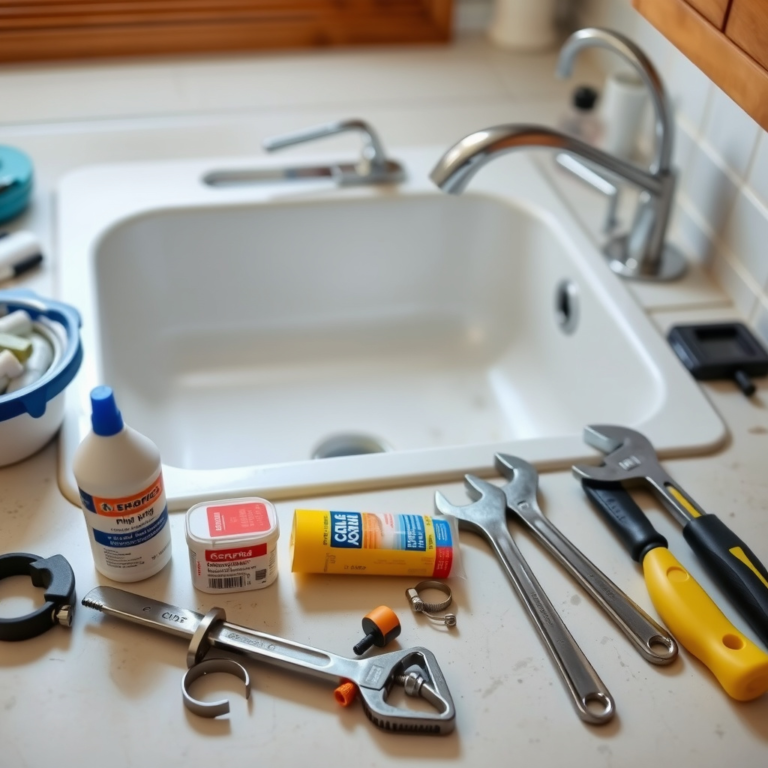
Essential tools include a power drill with screwdriver bits, a carpenter’s level, clamps for holding cabinets together, a stud finder to locate wall framing, a tape measure, a pencil for marking, and a rubber mallet for adjustments.
Having these tools ready before starting speeds up the work and improves precision. You may also want a screwdriver set for fine adjustments and a hammer.
- Power drill with driver bits
- Carpenter’s level
- Clamps for cabinet alignment
- Stud finder and tape measure
- Pencil and rubber mallet
For more on this, see our related guide: How to Plan a Kitchen Remodel: A Step-by-Step Guide for Your Dream Space.
Materials and Hardware Required
You will need 3-inch wood screws for attaching cabinets to studs and for joining cabinets together. Wood shims help level cabinets on uneven floors. Caulk or sealant can be useful for sealing gaps once installation is done.
Purchase all hardware ahead of time and verify the quantity of screws to avoid interruptions mid-project. Using the right grade screws designed for cabinetry improves strength.
- 3-inch wood screws
- Wood shims
- Caulk or sealant
- Cabinet clamps
Common Challenges and Troubleshooting During Installation
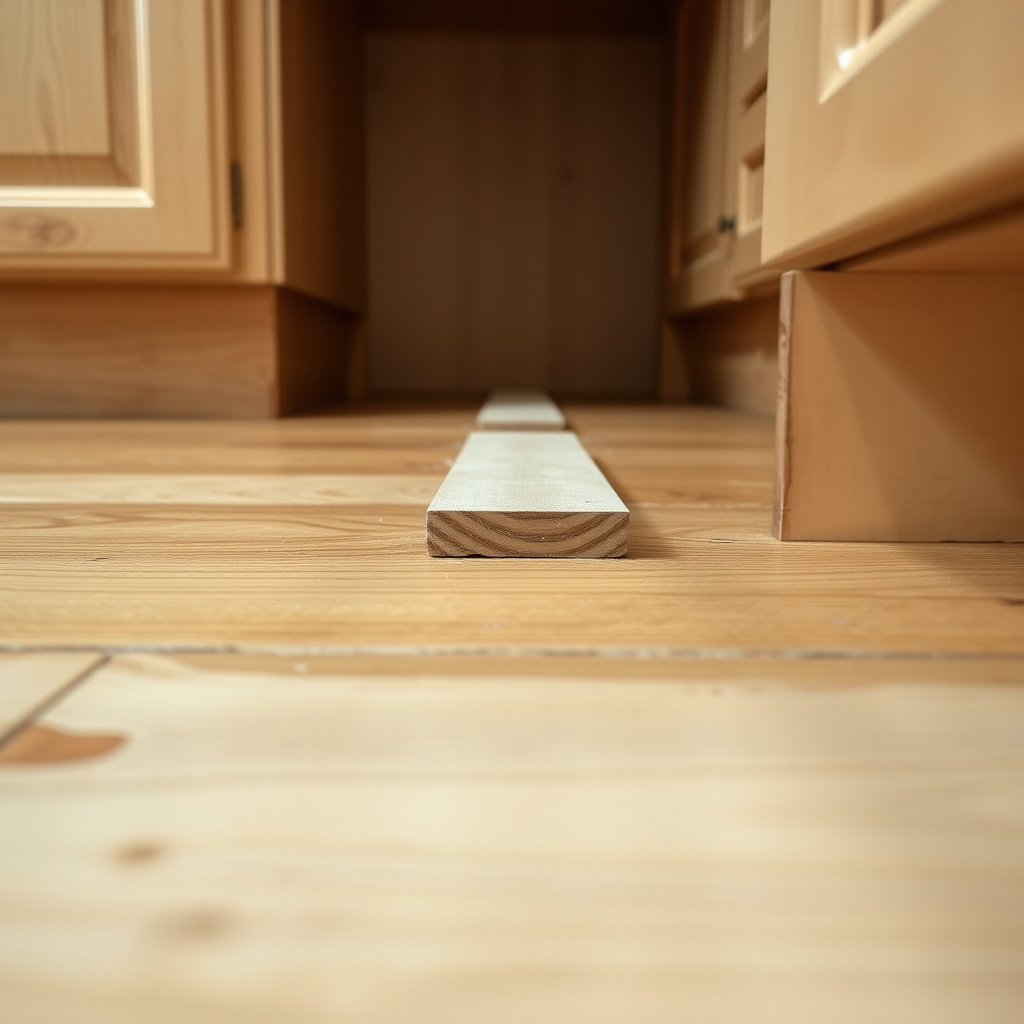
Dealing with Uneven Floors and Walls
It’s typical for kitchen floors and walls to be slightly uneven, which can complicate cabinet installation. Use wooden or plastic shims beneath cabinets and behind backs to counteract these irregularities.
Take your time leveling and securing cabinets as you go. Proper shim placement creates a stable, level surface that avoids long-term warping or misalignment.
- Use shims under cabinet bases
- Shim behind cabinet backs if wall is bowed
- Check level frequently
For more detailed background on kitchen cabinets and installation standards, see the kitchen cabinet installation Wikipedia article. kitchen cabinet installation Wikipedia article.
Fixing Misaligned Doors and Gaps
If cabinet doors or drawers don’t sit evenly after installation, adjust the hinges and drawer slides instead of forcing the cabinet frame. Most modern cabinets allow fine tuning hinge screws for precise alignment.
Fill small gaps between cabinets with caulk or wood filler for a seamless look if needed. Do this only after final alignment to avoid interfering with cabinet function.
- Adjust hinges and drawer slides
- Use caulk for small gaps
- Avoid forcing doors or frames
Kitchen Base Cabinet Installation Method Comparison
Here’s a quick overview comparing different cabinet installation methods, highlighting their advantages and ideal use cases.
| Method | Advantages | Best For | Tools Required |
|---|---|---|---|
| Direct Stud Attachment | Strongest hold, stable over time | Standard kitchen walls with accessible studs | Drill, screws, level, stud finder |
| Rail Mounting | Allows easy cabinet removal for wall work | Rental kitchens or temporary setups | Mounting rails, drill, level |
| Toe Kick Shims Leveling | Compensates for uneven floors | Older homes with irregular floors | Shims, level, screws |
| Floor Mounting with Adhesive | Simplifies installation where wall fastening is limited | Non-load-bearing walls or floating setups | Heavy-duty construction adhesive, level |
Frequently Asked Questions
Can I install base cabinets without attaching them to studs?
Attaching base cabinets directly to studs provides the strongest support. However, if studs aren’t accessible, mounting rails or strong adhesives are alternatives, but these methods may not offer the same long-term stability.
How do I level cabinets on a sloped floor?
Use wood or plastic shims placed under cabinet bases to compensate for floor slope. Adjust shims incrementally while checking with a carpenter’s level until cabinets sit perfectly level.
What type of screws should I use to secure base cabinets?
Use 3-inch wood screws designed for cabinetry and structural strength. Avoid drywall screws as they can strip out or fail under heavy weight.
Should I install base cabinets before or after plumbing and electrical hookups?
It’s best to rough-in plumbing and electrical work before installing cabinets to avoid cutting into finished cabinets later. However, final connections often happen after cabinet installation.
How do I ensure cabinets are flush with each other?
Clamp adjacent cabinets tightly together and use a level to align their tops and fronts. Shim or adjust screws to eliminate gaps, then fasten cabinets securely to each other.
Key Takeaways
- Measure and mark accurately before installation starts
- Always secure cabinets directly to wall studs for strength
- Use shims to level cabinets on uneven floors
- Clamp and fasten adjacent cabinets tightly for flush alignment
Conclusion
Approaching kitchen base cabinet installation methodically guarantees a sturdy, level foundation that supports countertops, sinks, and appliances effectively over time. Starting with precise measurements and marked guidelines helps establish a reliable layout, while steady attention to leveling throughout installation prevents issues with misaligned cabinet faces or wobbly units. Securing cabinets properly to wall studs is essential for structural integrity, and using shims allows customization to accommodate irregular floor surfaces common in many homes. This process may require patience but results in a professional, durable kitchen base.
For DIYers improving their kitchen, beginning with a corner base cabinet installed flush and level before adding adjacent units simplifies alignment and reduces cumulative errors. If you encounter uneven flooring, wood or plastic shims are vital to maintain perfectly level cabinets, especially when installing standard-sized cabinetry. Choices like direct stud attachment provide the strongest hold for long-lasting cabinets, whereas alternative mounting options may suit unique scenarios such as rental properties. Following the practical installation steps and tips outlined here prepares your kitchen for a smooth countertop fit and an attractive, functional workspace.
If you’re ready to start, gather the recommended tools and hardware, clear the kitchen workspace, and invest time in careful measuring and leveling. Pay close attention when attaching your first base cabinet, as it sets the stage for your entire run. With patience and the right technique, your kitchen base cabinets will look seamless and stand strong for years. Taking these steps will elevate your kitchen and enhance its overall usability and charm.