How to Replace a Kitchen Sink Faucet: A Step-by-Step Guide
Replacing a kitchen sink faucet is a straightforward home improvement task that you can complete yourself with basic tools. Start by turning off the water supply, removing the old faucet, cleaning the area, and then installing the new faucet according to the manufacturer’s instructions. This process usually takes less than an hour.
Many homeowners avoid replacing their kitchen faucet because they assume it requires professional help, but with the right guidance, anyone can do it. Updating your faucet not only improves the look of your kitchen but can also enhance functionality and reduce leaks or water waste.
This article will guide you through the essential steps to replace your kitchen faucet, including preparing your workspace, selecting the right replacement, removing the old fixture, installing the new faucet, and troubleshooting common problems.
Preparing to Replace Your Kitchen Sink Faucet

Gathering Tools and Materials

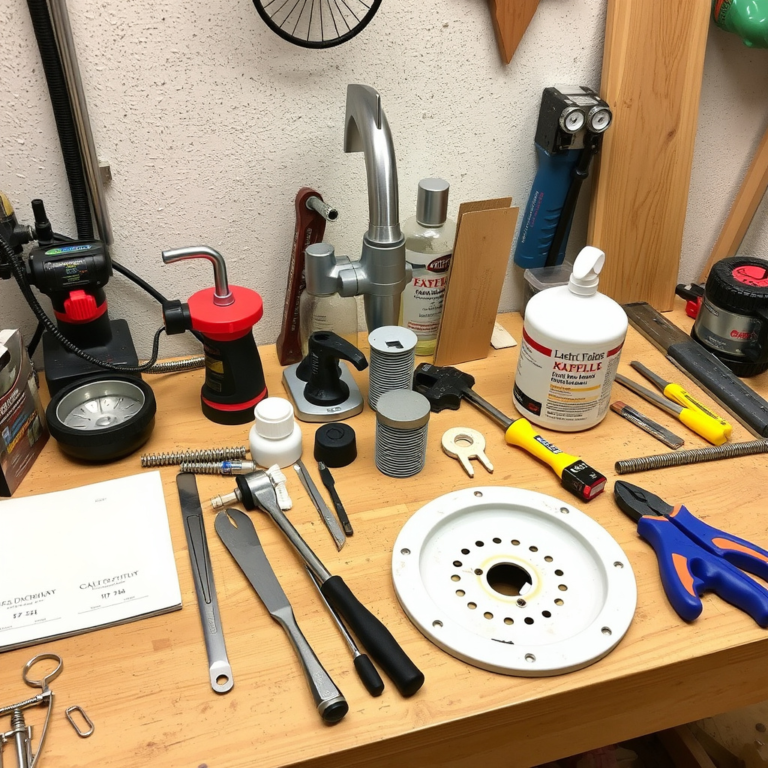
Before starting, collect all necessary tools: an adjustable wrench, plumber’s tape, bucket, sponge, and your new faucet. Check the new faucet’s specifications to confirm compatibility with your sink’s setup, such as the number of holes and mounting style.
Having everything handy prevents interruptions and makes the installation process smoother. Avoid rushing by double-checking you have everything the manufacturer recommends, including any special connectors or adapters.
- Adjustable wrench
- Plumber’s tape (Teflon tape)
- Bucket or bowl
- Sponge or rag
- New kitchen sink faucet
Turning Off the Water Supply and Preparing the Area
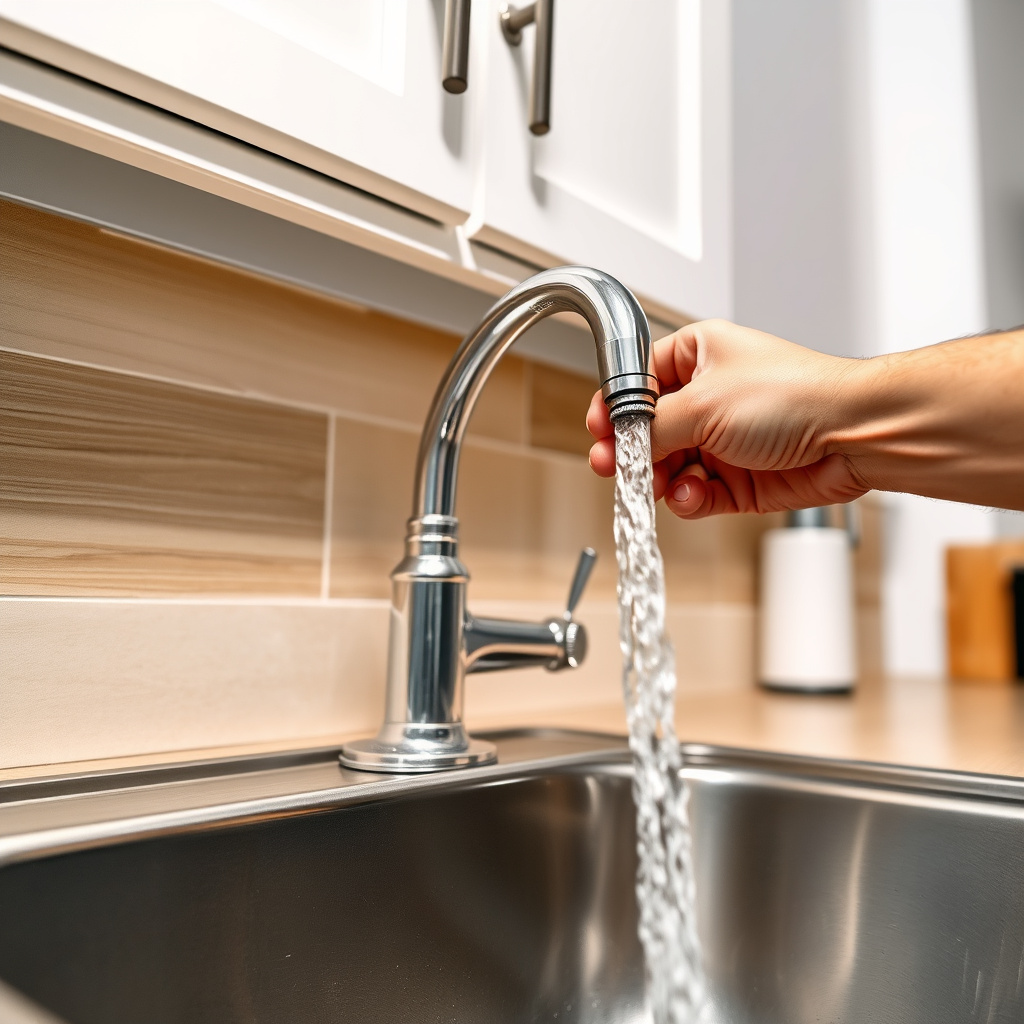
Locate the shutoff valves beneath the sink and turn them clockwise to stop water flow. If no shutoff valves are present, turn off the main water supply for the house to avoid leaks during removal.
Next, open the faucet to ensure water drains from the pipes. Place a bucket under the sink to catch any residual water when disconnecting supply lines. Clear out the cabinet space to give yourself plenty of room to work.
Removing the Old Kitchen Faucet
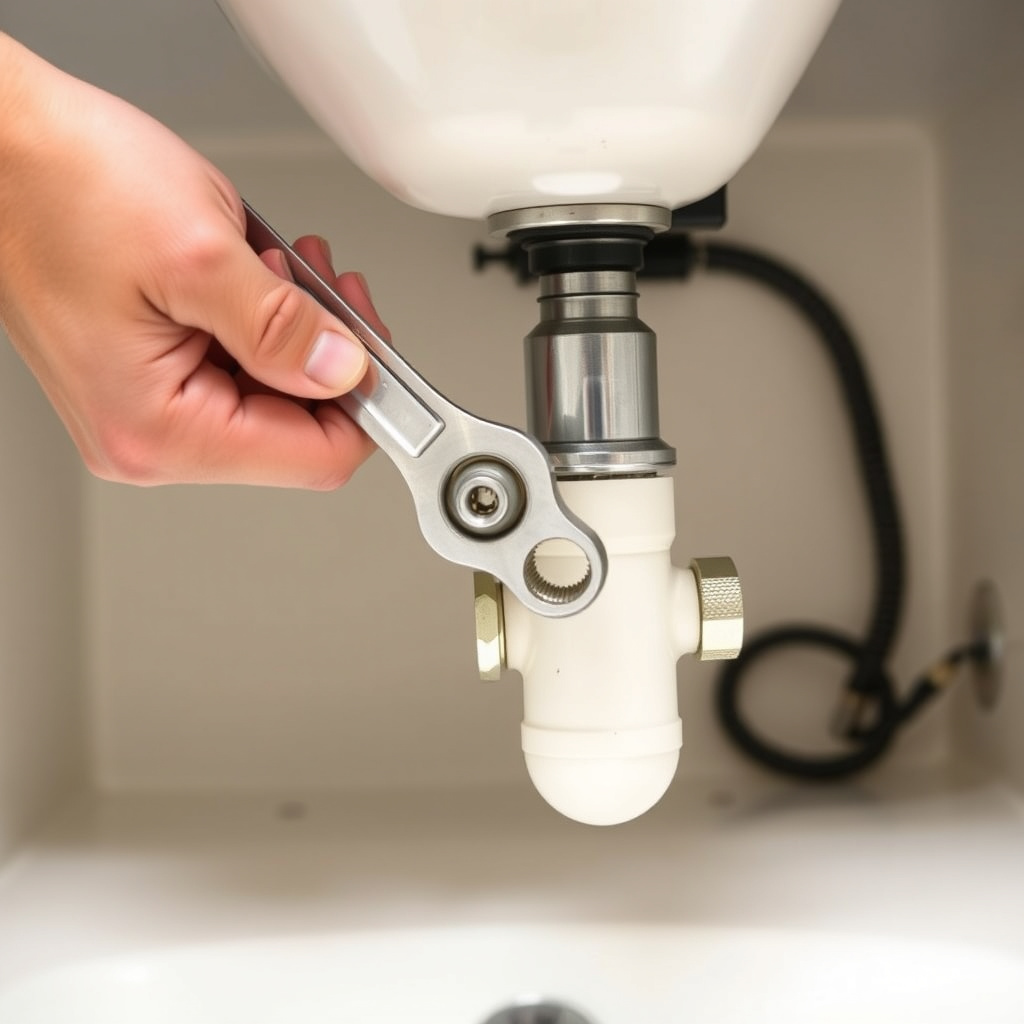
Disconnecting Water Supply Lines
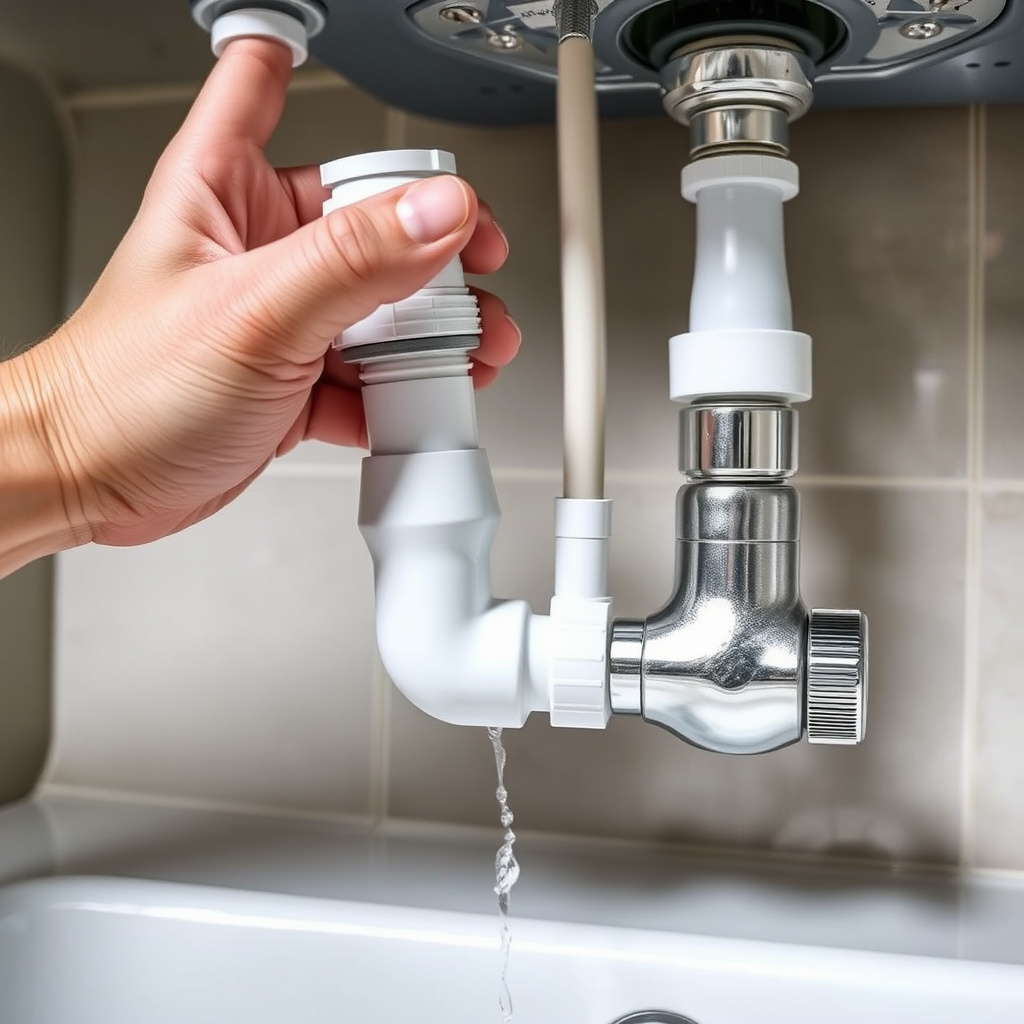
Start by disconnecting the hot and cold water supply lines using an adjustable wrench. Loosen the nuts connecting the supply lines to the faucet carefully to prevent damage to the fittings or pipes.
Have a bucket ready to catch any water that drips from the lines. If the lines are old or corroded, be prepared that some extra effort may be needed to loosen stuck fittings.
Removing Faucet Mounting Nuts and Removing the Faucet
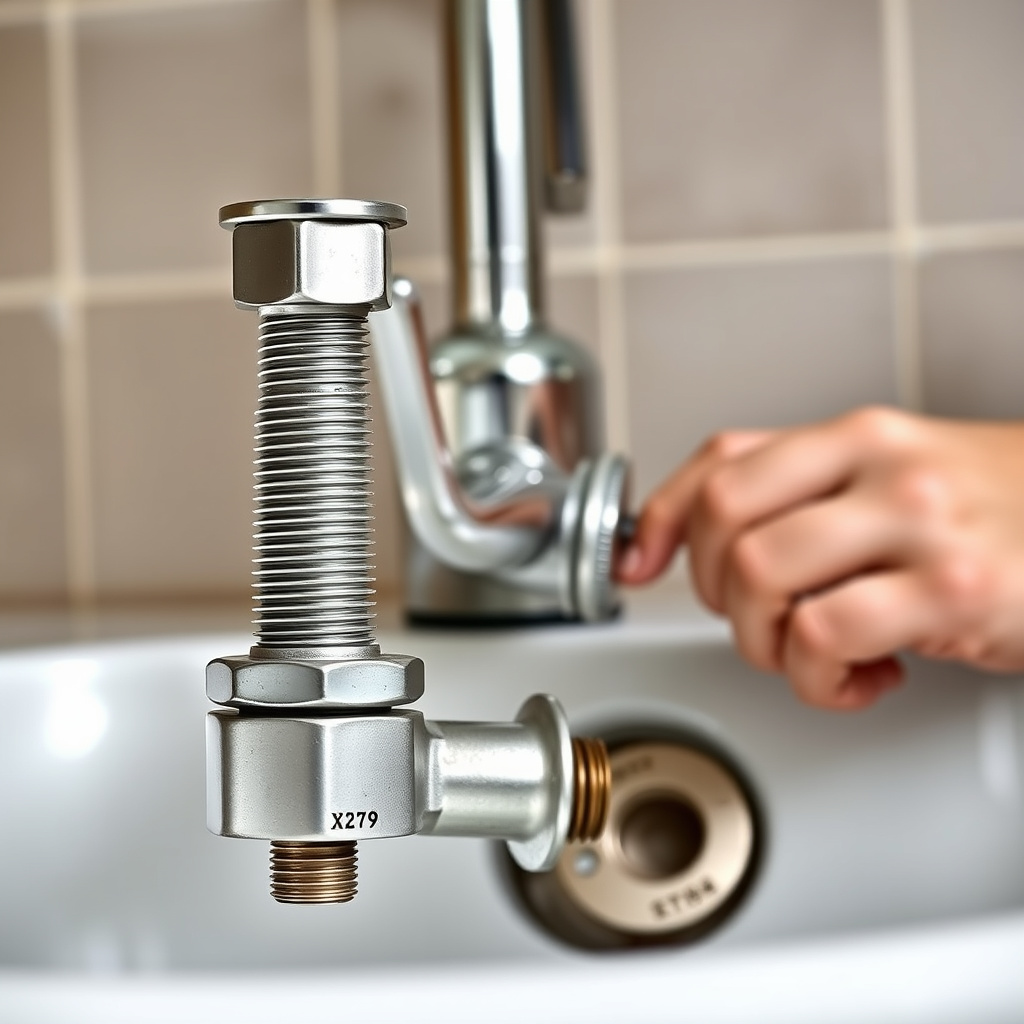
Locate the mounting nuts securing the faucet to the sink, typically found underneath the sink on the sink deck. Use a basin wrench or adjustable wrench to loosen and remove these nuts.
Once the mounting hardware is free, lift the old faucet off the sink. You might need to gently twist the faucet to break any sealant or buildup sticking it in place.
Installing the New Kitchen Faucet
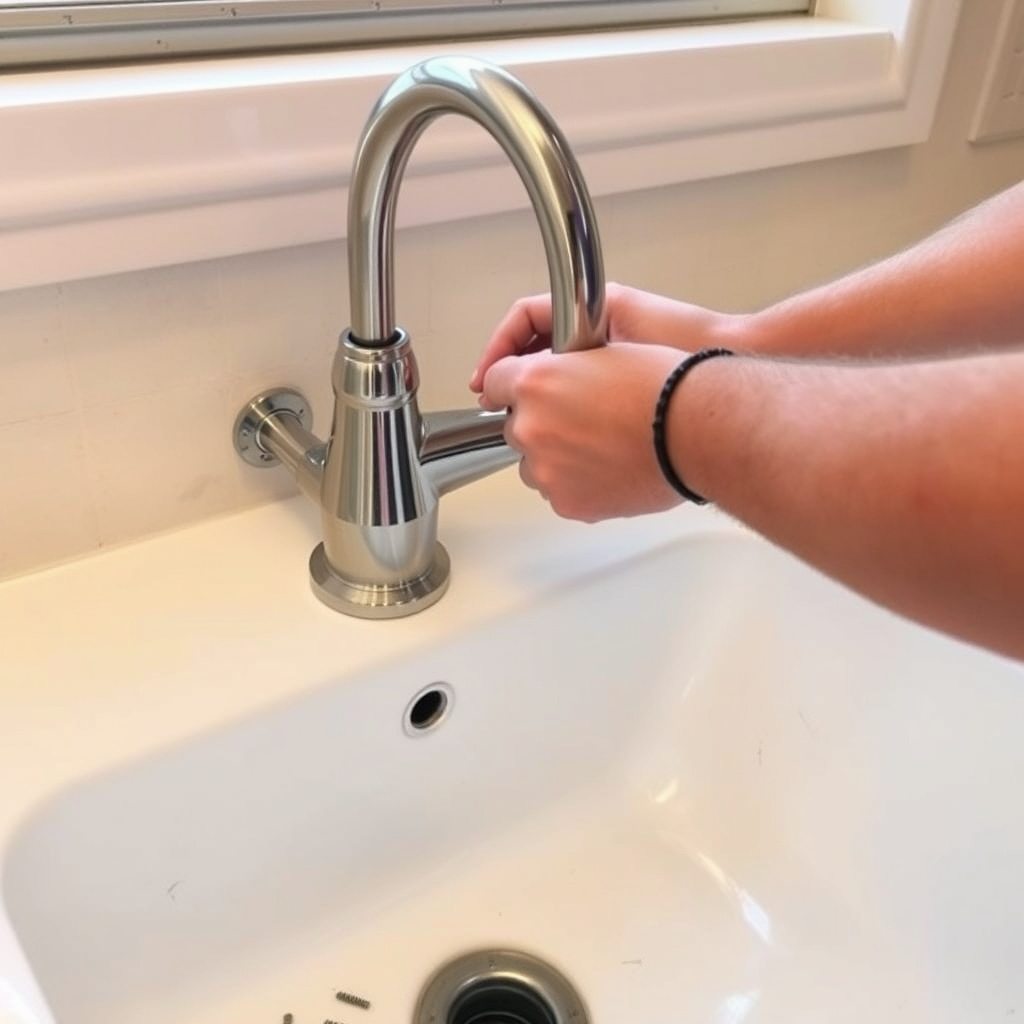
Preparing the Faucet and Sink Area
Before installation, apply plumber’s tape around the threaded connections on the new faucet to ensure watertight seals. Clean the sink surface to remove any debris or old sealant where the faucet will seat.
Place the new gasket or putty provided by the manufacturer on the faucet base to prevent water leaks between the faucet and sink deck.
For more on this, see our related guide: How to Plan a Kitchen Remodel: A Step-by-Step Guide for Your Dream Space.
Mounting and Securing the Faucet
Insert the faucet into the mounting holes on your sink. From underneath, hand-tighten the mounting nuts to hold the faucet in place, then use a wrench to secure them firmly without overtightening.
Check that the faucet aligns properly on the sink and is stable. Adjust if needed before fully tightening the nuts.
Connecting Water Supply Lines and Testing the Faucet
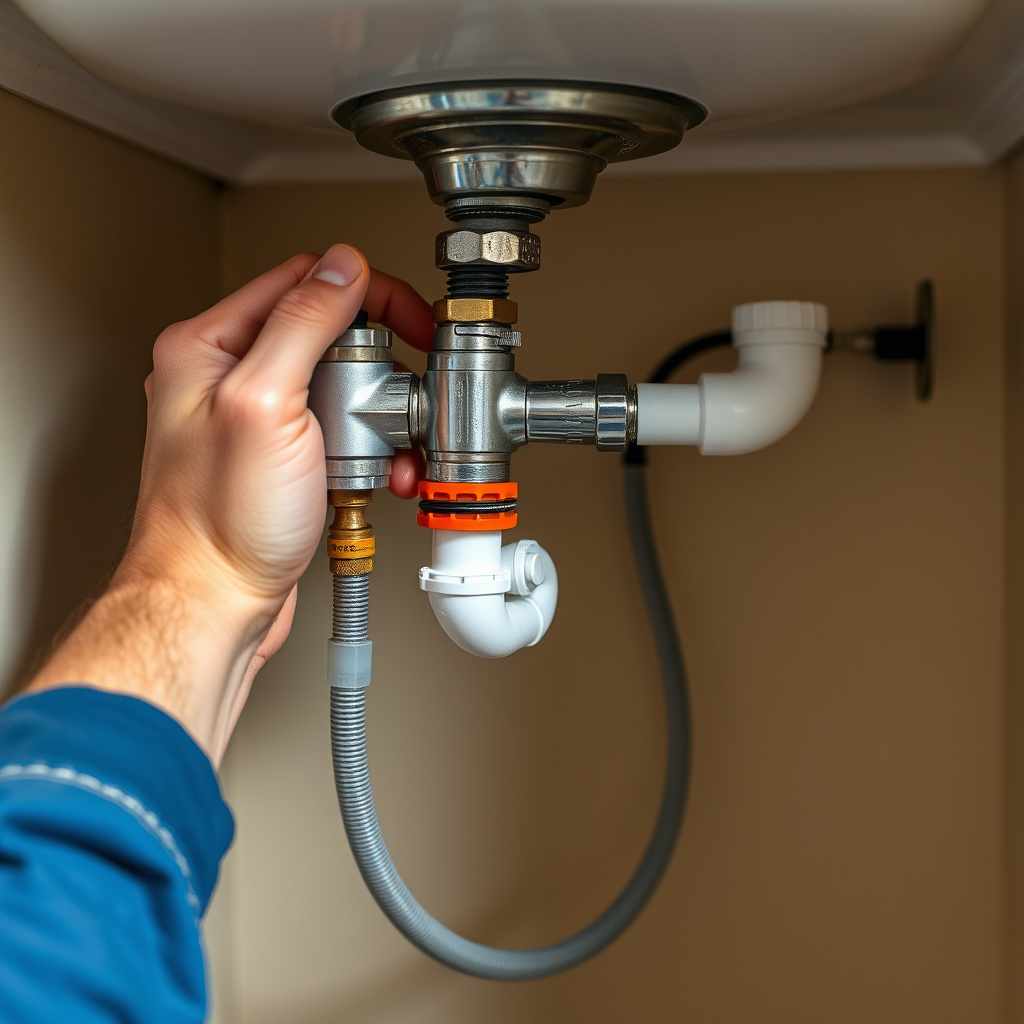
Attaching Water Supply Lines to the New Faucet
Connect the hot and cold water supply lines to the corresponding lines on the new faucet. Hand-tighten the nuts, then finish with a wrench for a snug fit to prevent leaks.
Use new supply lines if the old ones are worn, as they ensure a better seal and longer-lasting connection.
Turning On Water and Checking for Leaks
Slowly turn the shutoff valves back on and observe the faucet connections closely for any leaks. Open the faucet handles one at a time to allow air to clear from the lines and check both hot and cold water flow.
If leaks are detected, tighten connections gently or reapply plumber’s tape as needed.
Troubleshooting Common Faucet Replacement Issues
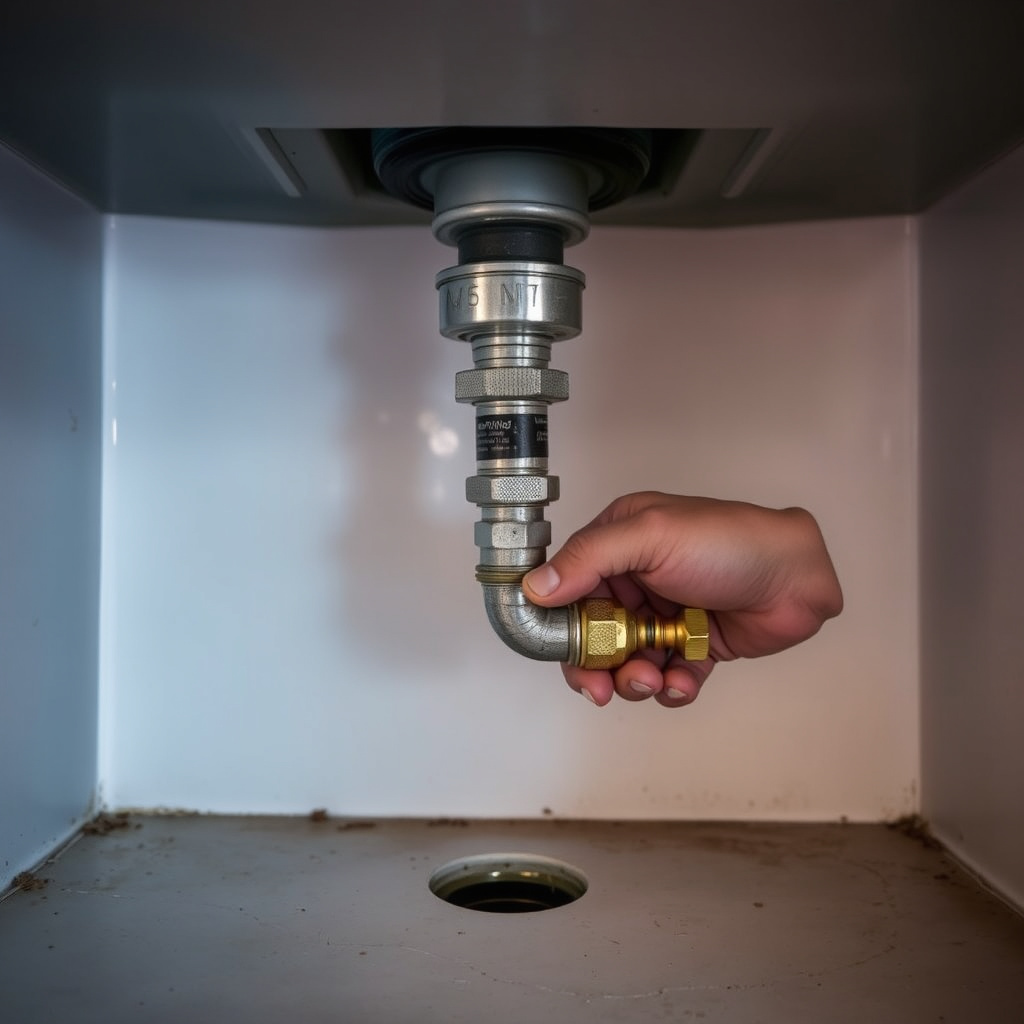
Dealing with Stubborn or Corroded Fittings
If fittings are difficult to loosen, apply a penetrating oil to help break up corrosion. Wait several minutes before gently attempting to turn the nuts again with a wrench. Avoid excessive force to prevent pipe damage.
If a fitting breaks or is damaged, you may need to replace that section of plumbing or hire a professional plumber.
For more on this, see our related guide: How to Measure a Kitchen Sink: A Step-by-Step Guide.
Handling Alignment and Fitment Issues
Occasionally, the new faucet base won't sit flush due to differing hole sizes or mounting hardware. Use adjustable mounting plates or replacement gaskets recommended by the faucet brand.
Ensure the faucet type matches your sink’s hole configuration, such as single-hole or three-hole setups, for smooth installation.
Enhancing Your Kitchen Faucet Replacement Experience
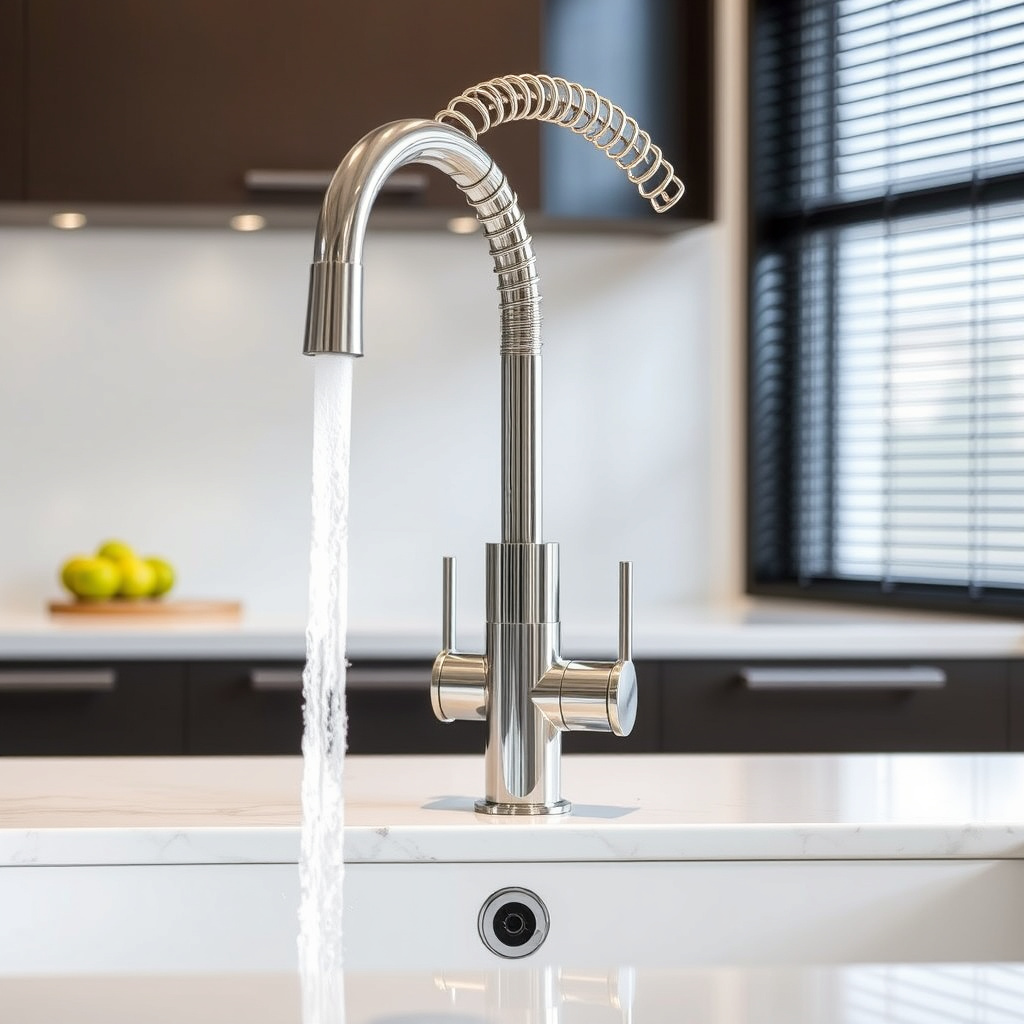
Selecting Faucet Features That Suit Your Needs
Consider features like pull-out sprayers, touchless sensors, or water-saving aerators when choosing your replacement faucet. These additions improve convenience and reduce water usage in daily tasks.
Pick finishes, such as brushed nickel or chrome, that complement your kitchen décor for a refreshed look.
For more detailed information about faucet types and history, see the kitchen faucet replacement details on Wikipedia. kitchen faucet replacement details on Wikipedia.
Maintaining Your New Faucet for Longevity
Regular cleaning with mild detergents and prompt attention to leaks will extend your faucet’s lifespan. Avoid abrasive cleaners which can damage the finish.
Periodically check under-sink connections for drips and tighten fittings to prevent water damage.
Kitchen Faucet Types Comparison
Here's a comparison of common kitchen faucet types to help you choose the best fit for your replacement project.
| Faucet Type | Installation Complexity | Cost Range | Special Features | Best For |
|---|---|---|---|---|
| Single-Handle | Easy | $50-$150 | Temperature control with one lever | Most kitchens |
| Double-Handle | Moderate | $75-$200 | Separate hot and cold controls | Traditional style kitchens |
| Pull-Out/Pull-Down Sprayer | Moderate | $100-$300 | Flexible spray heads | Frequent dishwashers and prep cooks |
| Touchless | Advanced | $150-$400 | Motion sensors for hands-free use | High-traffic, contemporary kitchens |
| Commercial Style | Advanced | $200-$500 | High arc, flexible neck | Professional cooking and large kitchens |
Frequently Asked Questions
Do I need a plumber to replace a kitchen faucet?
Most faucet replacements can be done by homeowners using basic tools. However, if plumbing is complicated or old pipes are damaged, hiring a plumber might be safer.
How long does it take to replace a kitchen faucet?
Replacing a kitchen faucet typically takes between 30 minutes to an hour, depending on your experience and faucet type.
What should I do if water leaks after replacement?
Check all connections to ensure they are tight and properly sealed with plumber’s tape. Re-tighten or reapply tape as necessary to stop leaks.
Can I replace my faucet if my sink has multiple holes?
Yes, faucets come designed for different hole configurations. You may also use deck plates to cover unused holes.
Is plumber’s tape necessary when installing a new faucet?
Yes, plumber’s tape helps create watertight seals on threaded connections, reducing leaks and protecting threads.
Key Takeaways
- Turn off water supply before starting to avoid leaks.
- Gather all tools and check faucet compatibility prior to installation.
- Disconnect old faucet carefully and remove all mounting hardware.
- Connect water supply lines securely and check for leaks after installation.
Conclusion
Replacing a kitchen sink faucet is a practical project that homeowners can accomplish with some preparation and the right tools. By turning off the water supply, carefully removing the old faucet, and installing the new one following the guide, you can achieve a reliable and attractive kitchen upgrade. This approach minimizes the need for professional costs and lets you tailor your faucet type and features to your lifestyle.
When deciding on a faucet replacement, assess your kitchen’s existing hole configuration and consider faucet features that improve usability, such as pull-out sprayers or touchless operation. For simpler installations, single-handle faucets work well, while those seeking enhanced functionality might prefer pull-down sprayers or commercial-style faucets. Always match the faucet type to your kitchen's sink and plumbing system for the best results.
If you’re ready to replace your kitchen faucet, lay out your tools, shut off the water, and follow each step carefully. Take your time securing connections and testing for leaks to avoid future issues. In case complex plumbing problems arise, consulting a professional is a wise choice. Otherwise, this DIY project offers a great way to refresh your kitchen’s look and performance effectively.