How to Remove a Kitchen Sink Drain: A Step-by-Step Guide
Removing a kitchen sink drain requires loosening the connections under the sink and detaching the drain assembly from both the sink basin and plumbing. Start by shutting off water supply, then carefully disconnect the P-trap and any mounting hardware holding the drain in place.
This task matters because clogged or damaged drains can cause leaks, unpleasant odors, or slow drainage. Removing the drain properly will allow for effective repairs or replacement without causing damage to your sink or pipes.
In this article, you'll find detailed instructions on the tools needed, safety tips, and how to handle common issues encountered during kitchen sink drain removal. We'll also cover how to clean the drain components for reuse if needed.
Tools and Materials Needed for Kitchen Sink Drain Removal
Essential Tools for the Job
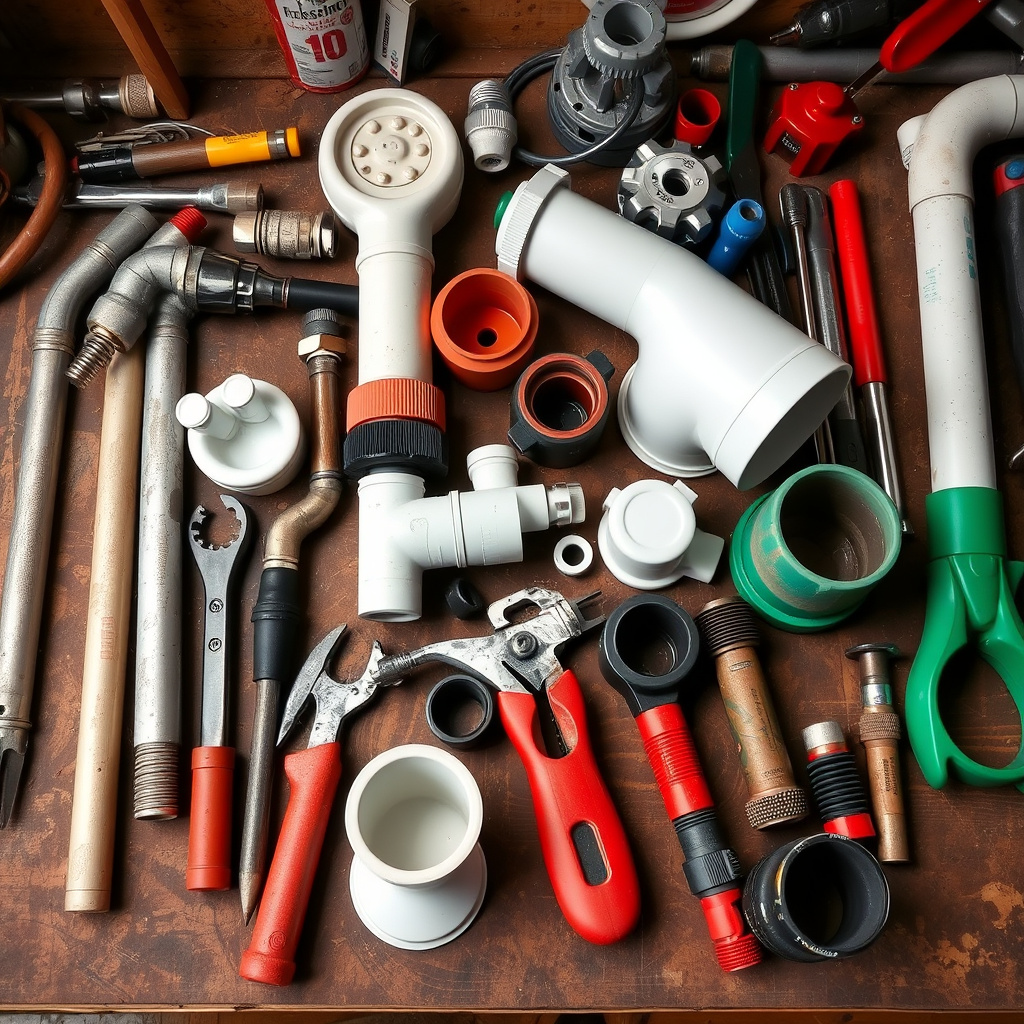
To remove a kitchen sink drain, basic plumbing tools such as an adjustable wrench, channel-lock pliers, plumber’s putty knife, and a bucket are necessary. These tools help in loosening nuts, clamps, and clearing seals without damaging components.
It’s also helpful to have a flashlight for visibility under the sink and towels for cleanup. Choosing tools designed for plumbing tasks ensures a smoother process and reduces the risk of damage.
- Adjustable wrench
- Channel-lock pliers
- Bucket to catch water
- Flashlight
- Putty knife or scraper
Additional Materials and Safety Equipment

Aside from tools, having replacement gaskets or plumber’s putty on hand can be useful if you plan to reinstall or replace the drain parts. Gloves protect your hands from grime and sharp edges during the process.
Safety goggles can prevent splashes of dirty water or debris into your eyes. Preparing your workspace with a clean, dry surface nearby helps keep parts organized during removal.
- Rubber gloves
- Safety goggles
- Replacement gaskets
- Plumber’s putty
Preparation Before Removing the Kitchen Sink Drain
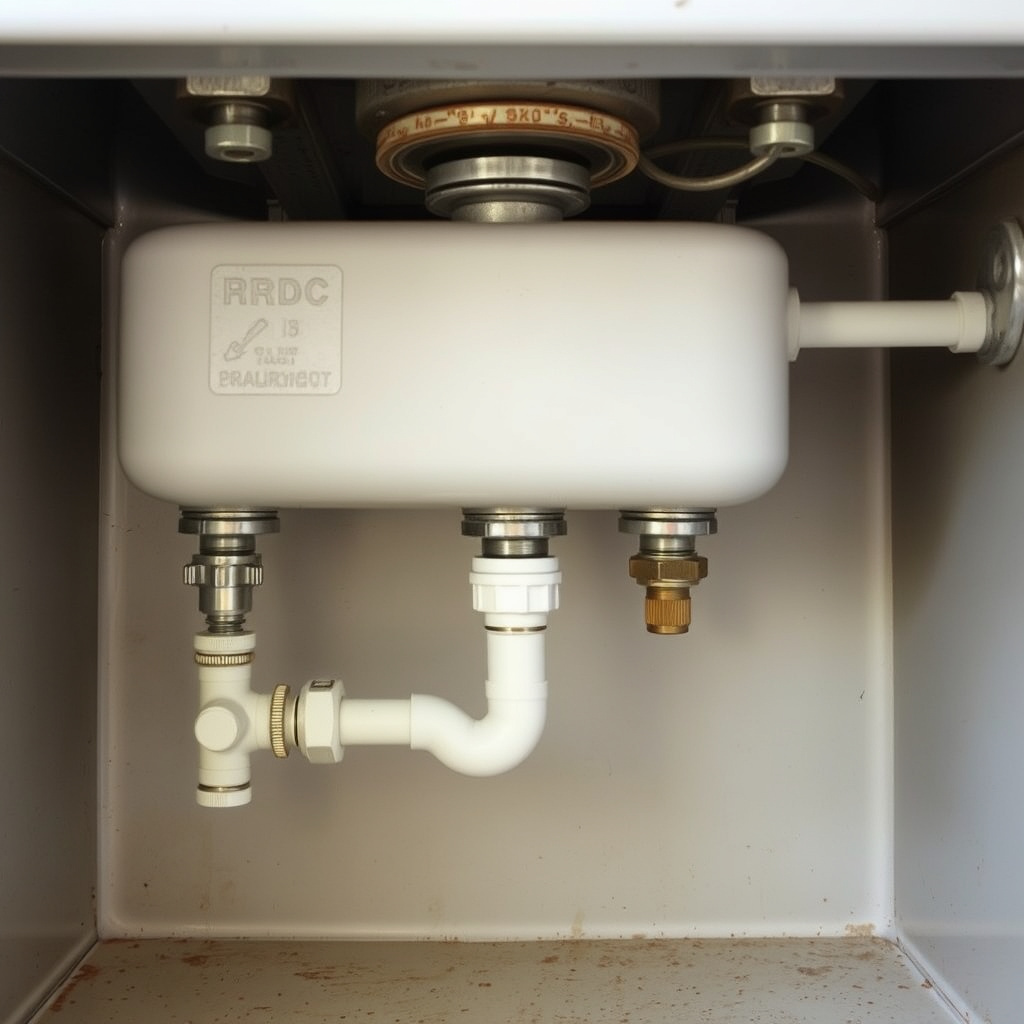
Shutting Off Water Supply and Clearing the Area
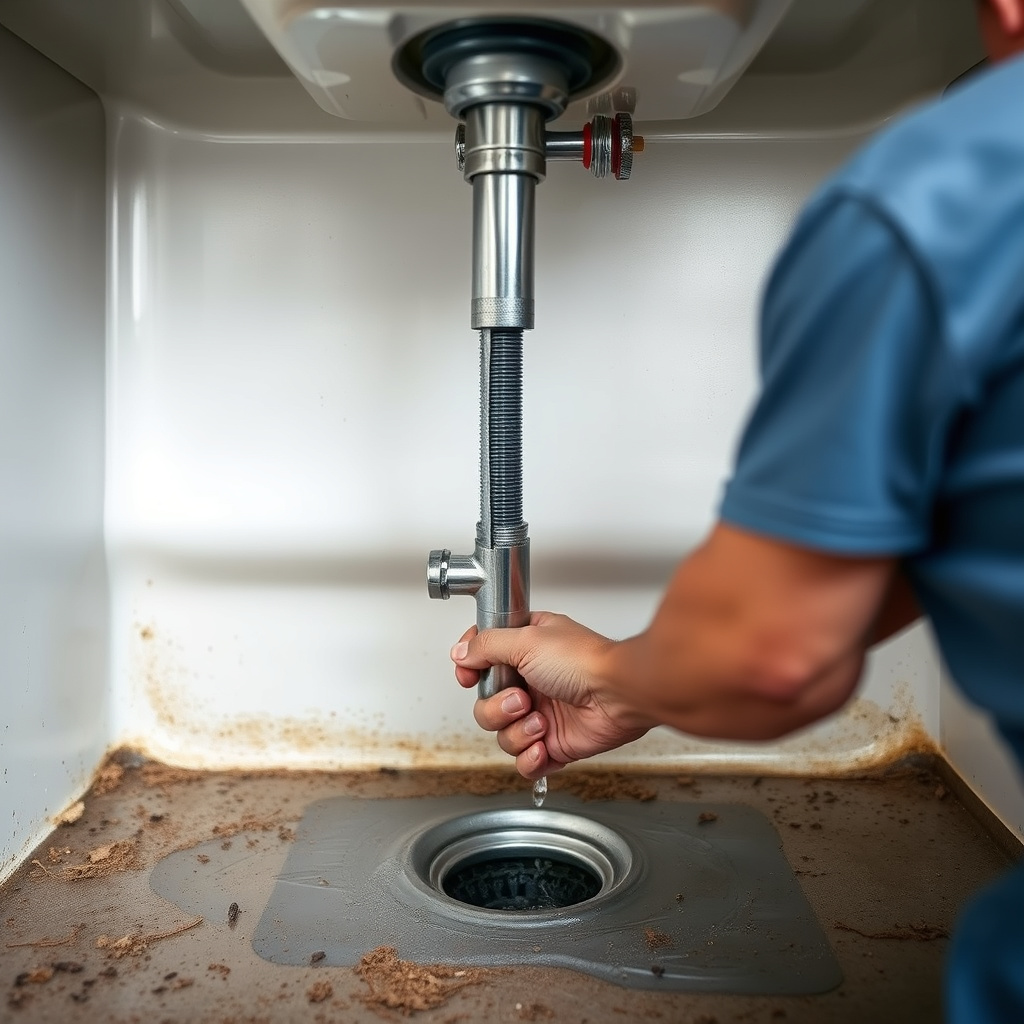
Begin by turning off the water supply valves located under the sink to avoid water leakage during drain removal. Even if you are only working on the drain and not the faucet, shutting off water prevents any accidental water flow.
Clear out the cabinet beneath the sink to create working space. Place a bucket under the P-trap to catch water that will drain out once the pipes are disconnected.
Protecting Your Work Area
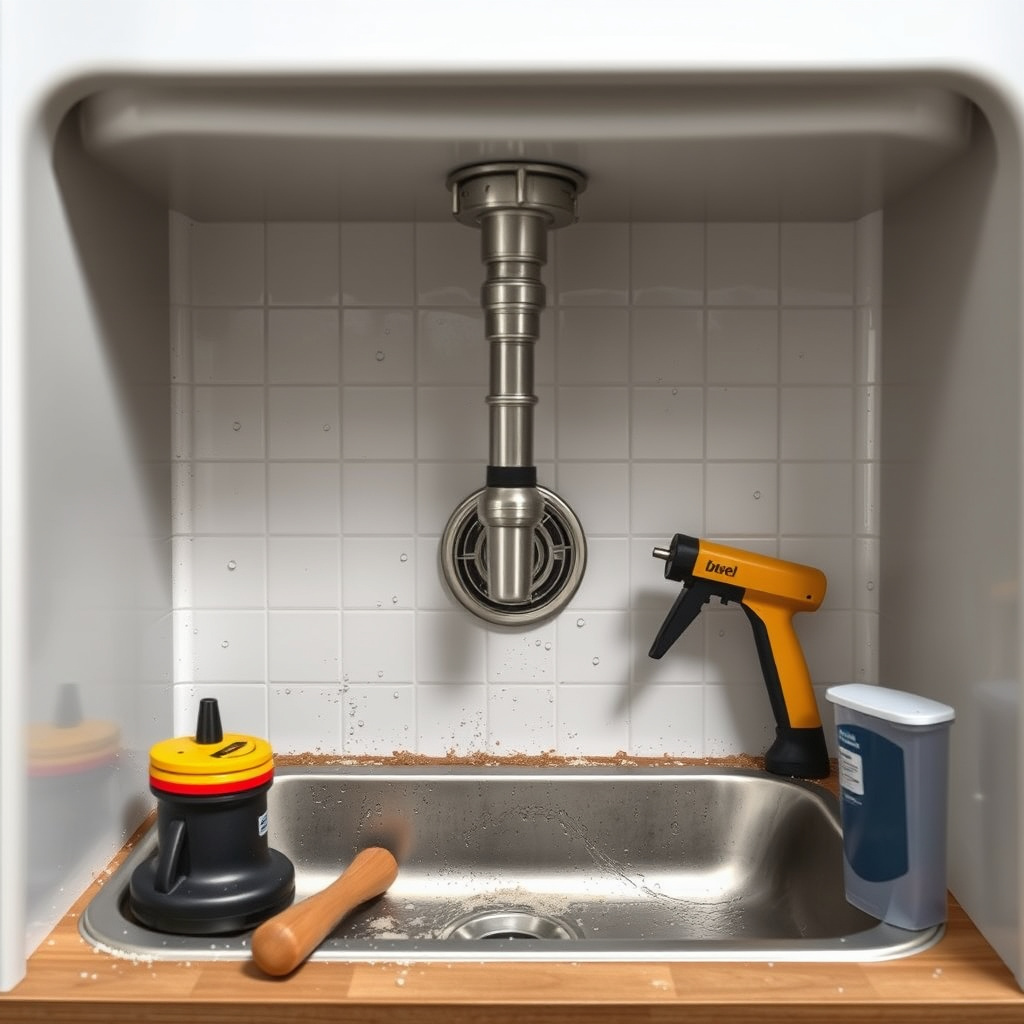
Lay towels or old newspapers on the cabinet floor to absorb spills. Wearing gloves can protect your hands from grime and any sharp edges. Using a flashlight can improve visibility in the cramped space underneath the sink.
Having some disposable rags nearby will help clean up water or debris as you work.
Detaching the Drain Pipe Components
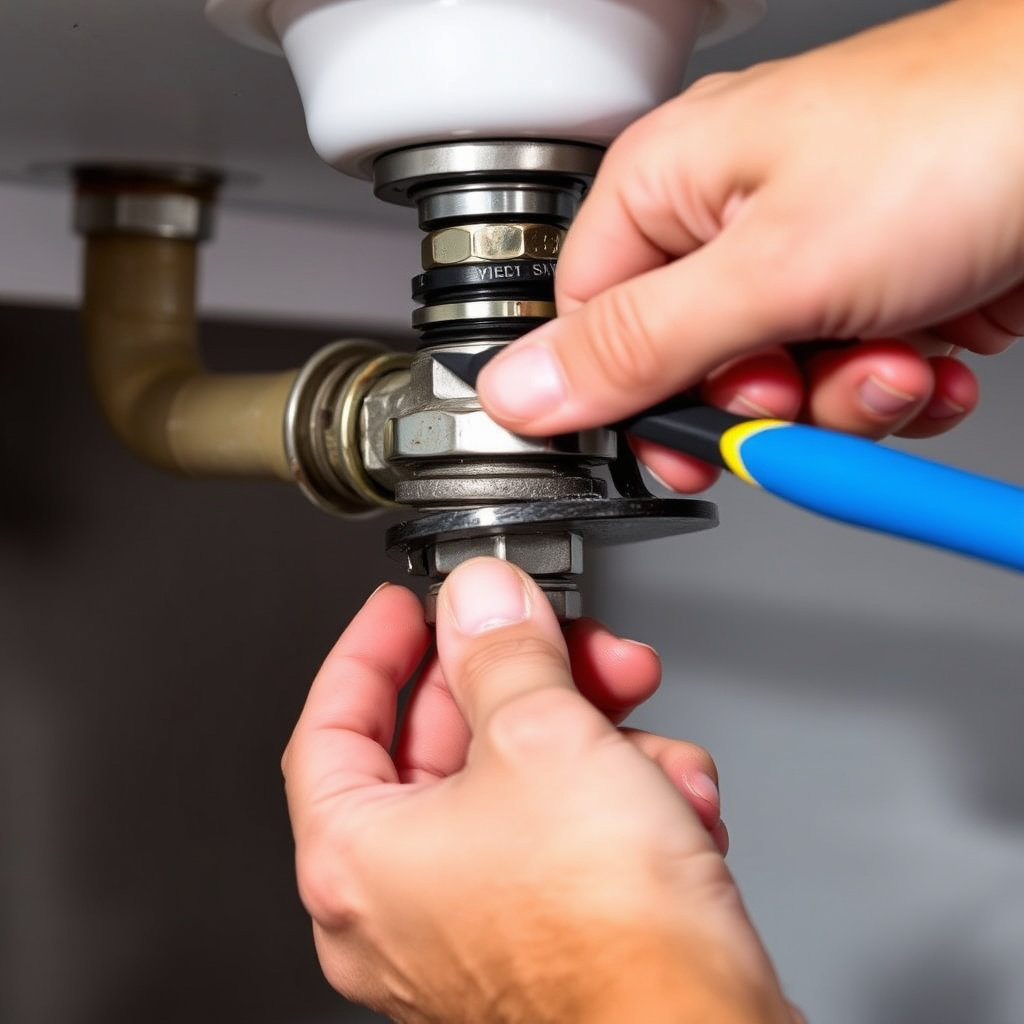
Removing the P-Trap and Tailpiece
Start by loosening the slip nuts that connect the P-trap to the tailpiece and the drain pipe using channel-lock pliers or by hand if loose enough. Be prepared for some residual water to spill out.
Once the nuts are free, gently remove the P-trap. Next, loosen the nut connecting the tailpiece to the sink drain and carefully remove it, keeping track of any washers or gaskets.
- Loosen slip nuts gently to avoid damage
- Use a bucket to catch water
- Keep washers organized for reassembly
For more on this, see our related guide: How to Get Rid of Kitchen Gnats: Effective and Safe Strategies.
Separating the Drain Flange From the Sink
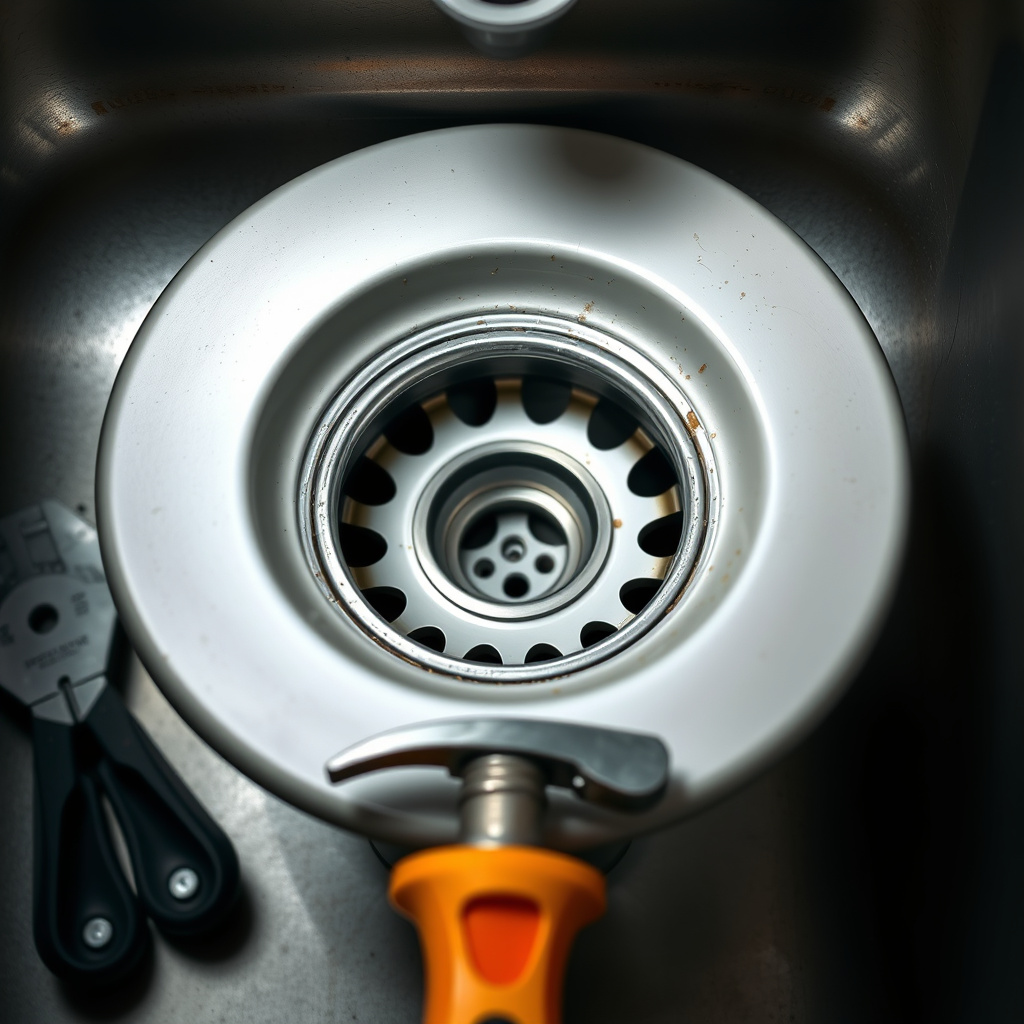
Beneath the sink, the drain flange is secured by a large locknut and sometimes additional washers or mounting rings. Using an adjustable wrench, unscrew the locknut by turning it counterclockwise.
If stuck, tap lightly with a rubber mallet or use penetrating oil to loosen corrosion. After the locknut is removed, the flange can be pushed up and removed from the sink basin.
- Use penetrating oil for stuck nuts
- Avoid damaging the sink surface
- Remove all washers and mounting hardware carefully
Removing Old Seals and Cleaning the Drain Area
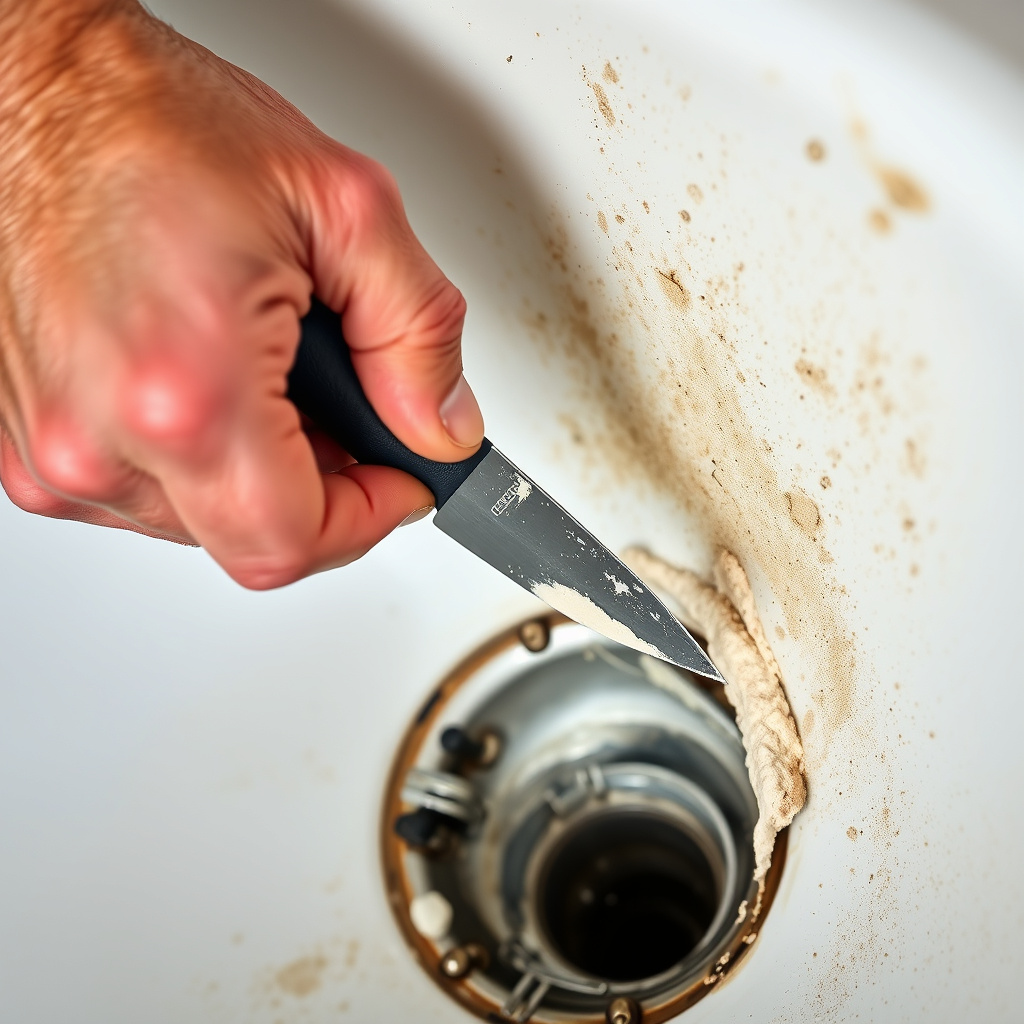
Scraping Off Plumber’s Putty and Sealants
After removing the drain flange, old plumber’s putty or sealant residues will usually remain around the drain opening. Use a putty knife or scraper to carefully remove all residues to ensure a clean surface for new sealing.
Cleaning thoroughly prevents leaks when installing a new drain or reinstalling the old one. Avoid using harsh chemicals that could damage the sink finish.
- Use a plastic scraper to protect sink finish
- Remove all old sealant residues
- Clean area with mild soap and water
Cleaning Pipe Components for Reuse
If you plan to reuse existing drain pipes, clean them thoroughly with a rag or brush to remove debris and buildup. Check for cracks or damage; replace any parts that are worn or compromised.
Proper cleaning prolongs the life of your plumbing and improves the seal upon reassembly.
Common Troubleshooting Tips When Removing a Kitchen Sink Drain
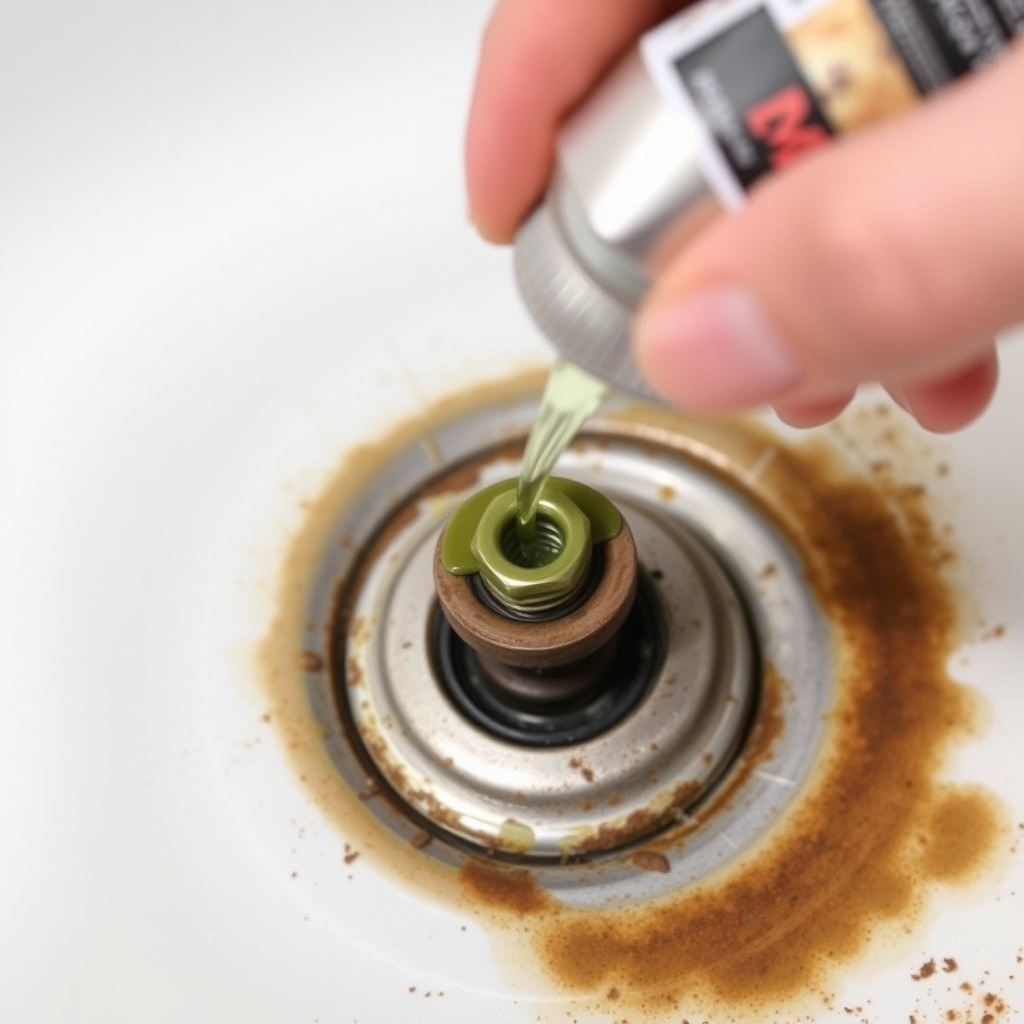
Dealing With Stuck or Corroded Parts
Corrosion and mineral deposits often cause drain components to stick. Applying a rust-penetrating oil and letting it sit for several minutes softens the buildup, making nuts easier to loosen.
If parts remain stuck, gently tapping with a rubber mallet or carefully using plumbing tools to increase leverage can help without risking damage.
For more on this, see our related guide: How to Install Kitchen Sink Drain: A Step-by-Step Guide for Homeowners.
Avoiding Damage to Sink or Pipes
Using the correct tools and avoiding excessive force prevents cracking or scratching the sink and pipes. Protect sink surfaces with a cloth when applying leverage.
Always loosen nuts slowly and evenly, and stop if resistance feels unusually strong, reassessing before continuing.
- Use protective cloths under tools
- Don't overtighten during reassembly
- Inspect parts before reusing
Reassembly and Testing After Kitchen Sink Drain Removal
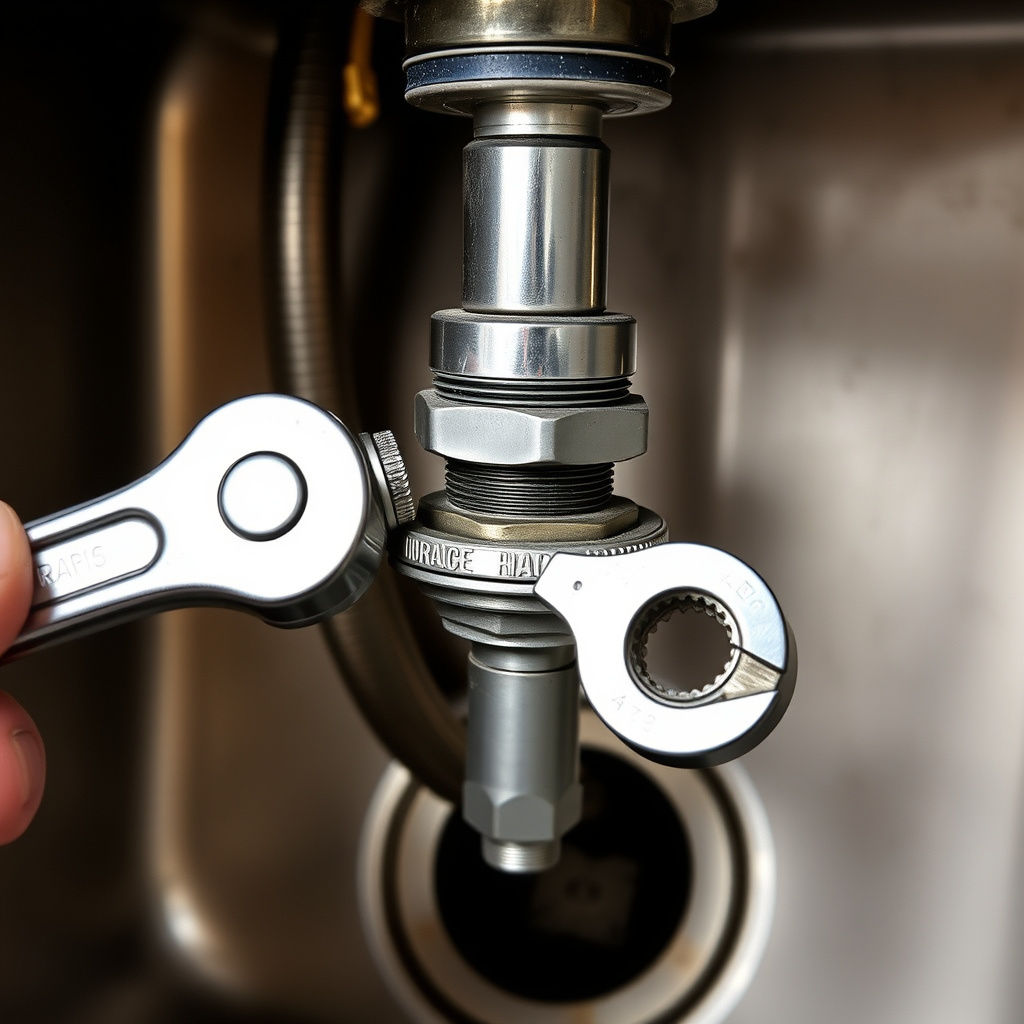
Installing New Seals and Replacing the Drain Flange
Before reinstalling the drain flange, apply fresh plumber’s putty or a rubber gasket to create a watertight seal. Position the flange carefully, then tighten the locknut snugly but not overly tight to prevent damage.
Check that all washers are placed correctly to avoid leaks.
- Apply plumber’s putty evenly
- Hand-tighten the locknut, then use wrench slightly
- Ensure all gasket positions are correct
For a detailed overview of plumbing drain components, visit the Kitchen sink drain information on Wikipedia. Kitchen sink drain information on Wikipedia.
Reconnecting Pipes and Checking for Leaks
Reattach the tailpiece and P-trap by tightening slip nuts securely. Turn on the water supply slowly and observe underneath the sink for any drips.
If leaks occur, tighten connections incrementally and verify washers are intact. Running water and checking drainage speed confirms successful reassembly.
Comparison of Kitchen Sink Drain Types for Removal
Here's a comparison of common kitchen sink drain types outlining ease of removal, typical materials, and maintenance needs.
| Drain Type | Ease of Removal | Typical Material | Maintenance Frequency |
|---|---|---|---|
| Standard Slip-Joint Drain | Easy | PVC or Chrome-plated Metal | Low |
| Push-to-Open Drain | Moderate | Stainless Steel | Medium |
| Pop-Up Drain Assembly | Moderate to Difficult | Brass or Chrome-plated | Medium |
| Strainer Basket Drain | Easy | Stainless Steel | Low |
| French Drain Style | Difficult | Various Materials | High |
Frequently Asked Questions
What should I do if the drain is stuck and won’t come loose?
Apply a rust-penetrating oil to the stuck parts and allow it to sit for at least 10-15 minutes. Then try loosening with the proper tools, using gentle taps with a rubber mallet if necessary.
Can I remove a kitchen sink drain without shutting off the water supply?
While the water supply is mainly for faucet use, turning it off is recommended to prevent accidental leaks or mess during drain removal.
How do I clean the drain flange area before reinstalling?
Use a putty knife or plastic scraper to remove old plumber’s putty, then clean the surface with mild soap and water, ensuring it’s dry before applying new sealant.
Is it necessary to replace gaskets when removing the drain?
Replacing gaskets is recommended if they appear worn or damaged, as this helps create a tight seal and prevents leaks.
What precautions protect the sink finish while removing the drain?
Placing a cloth or towel between tools and the sink surface helps avoid scratches. Avoid using excessive force when loosening nuts and screw connections.
Key Takeaways
- Shut off water supply and prepare workspace before starting drain removal
- Use appropriate plumbing tools like adjustable wrenches and pliers
- Apply penetrating oil for stuck or corroded parts to ease removal
- Clean old putty and replace worn gaskets to prevent leaks upon reassembly
Conclusion
Removing a kitchen sink drain involves a straightforward sequence of steps including preparation, loosening plumbing connections, and separating drain components carefully. By following the right procedure and using proper tools, you can effectively remove the drain to perform maintenance, repairs, or replacement without causing damage to your sink or pipes. Patience in loosening corroded or stuck parts and protecting surfaces through each step ensures a smoother experience.
In practical terms, if your kitchen sink employs a standard slip-joint drain, removal generally is less complicated and can be handled with basic tools. More complex drains, such as pop-up assemblies or push-to-open drains, might require additional disassembly steps or specialized tools. For quick maintenance or replacement of simple drains, having kitchen sink drain removal tools at hand, such as adjustable wrenches and pliers, simplifies the task significantly.
For homeowners embarking on this task, start by gathering all necessary tools and safety gear, then methodically follow each removal step outlined. After successful removal, cleaning old sealants thoroughly and inspecting parts before possible reuse or replacement helps maintain a leak-free sink. If any difficulty arises, consulting professional guidance or plumbers’ resources provides further assistance and ensures plumbing system integrity.