How to Clean Kitchen Faucet Head for a Sparkling Sink
To clean a kitchen faucet head, first remove the faucet aerator by unscrewing it—usually by hand or with pliers wrapped in cloth. Soak the aerator and the faucet head in a mixture of equal parts white vinegar and water for about 30 minutes to dissolve mineral deposits. After soaking, gently scrub the components with an old toothbrush to clear away any remaining buildup, rinse thoroughly, and reattach everything securely.
A dirty or clogged faucet head can restrict water flow and cause uneven spray, which affects everyday tasks like washing dishes or filling pots. Over time, mineral buildup from hard water can accumulate in the tiny holes of the aerator, leading to corrosion or leaks if left unchecked. Cleaning your kitchen faucet head regularly keeps your faucet functioning smoothly and prolongs its lifespan.
This article will guide you through the cleaning process step-by-step, explain how to maintain your faucet head, and highlight common issues caused by neglect. We'll also compare cleaning options and share tips on choosing the best method to clean faucet aerators to help you keep your kitchen sink in great shape.
Understanding Your Kitchen Faucet Head
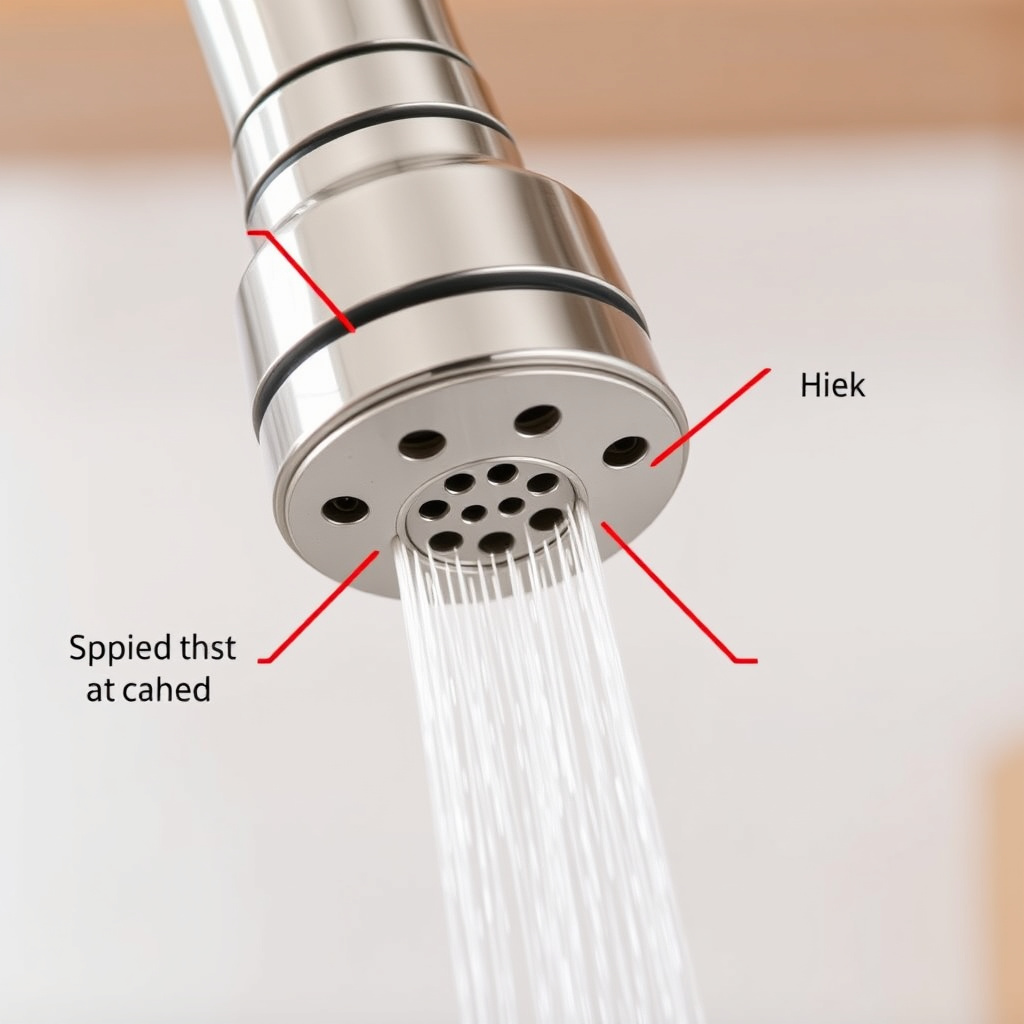
Parts of a Kitchen Faucet Head
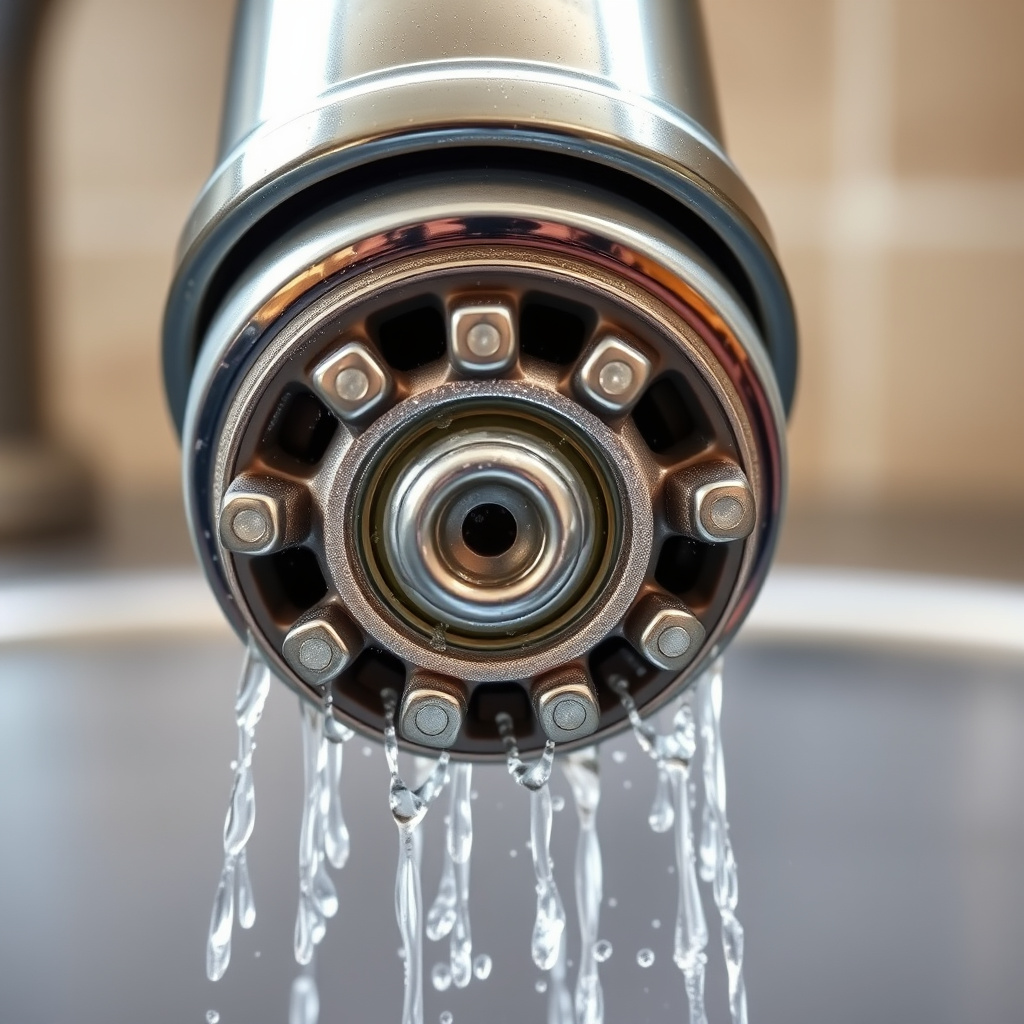
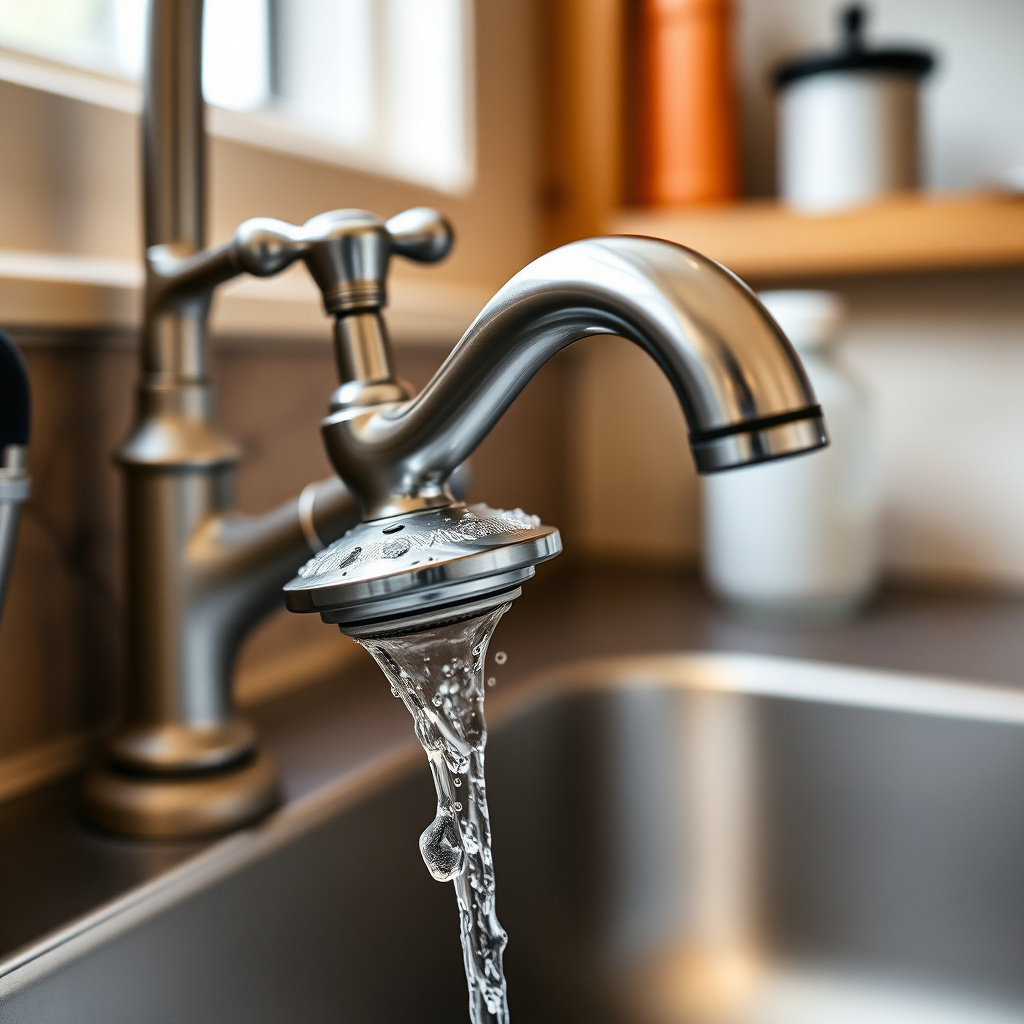
A kitchen faucet head typically includes an aerator, which mixes air with water to reduce splashing and control flow. It also contains a spray nozzle that may offer different water patterns for washing or rinsing. The aerator is usually a small screen housed within a metal or plastic casing at the tip of the faucet spout.
Knowing the components makes cleaning more effective because you can target buildup in precise areas. Mineral deposits often collect on the aerator screen and inside the faucet head, which impairs water flow and weakens the faucet’s performance over time.
Why Faucet Heads Get Dirty
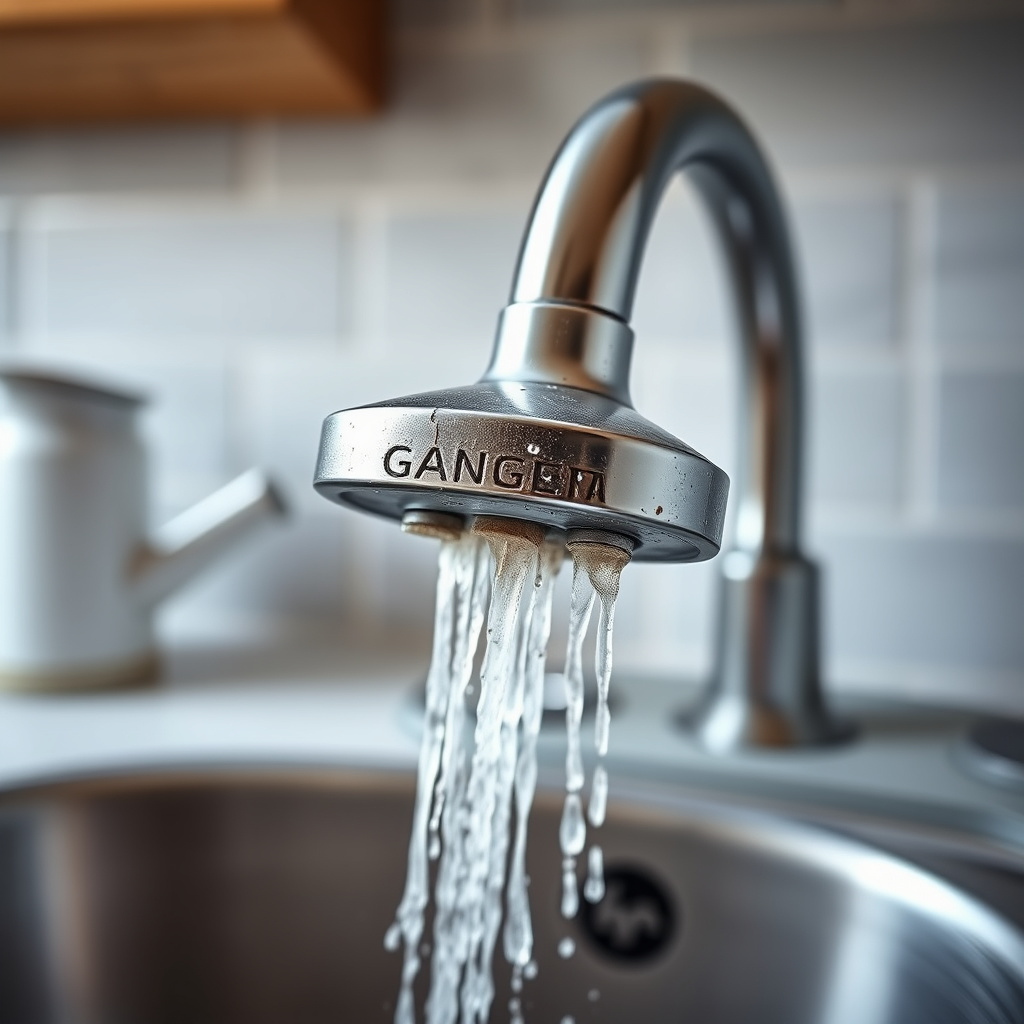
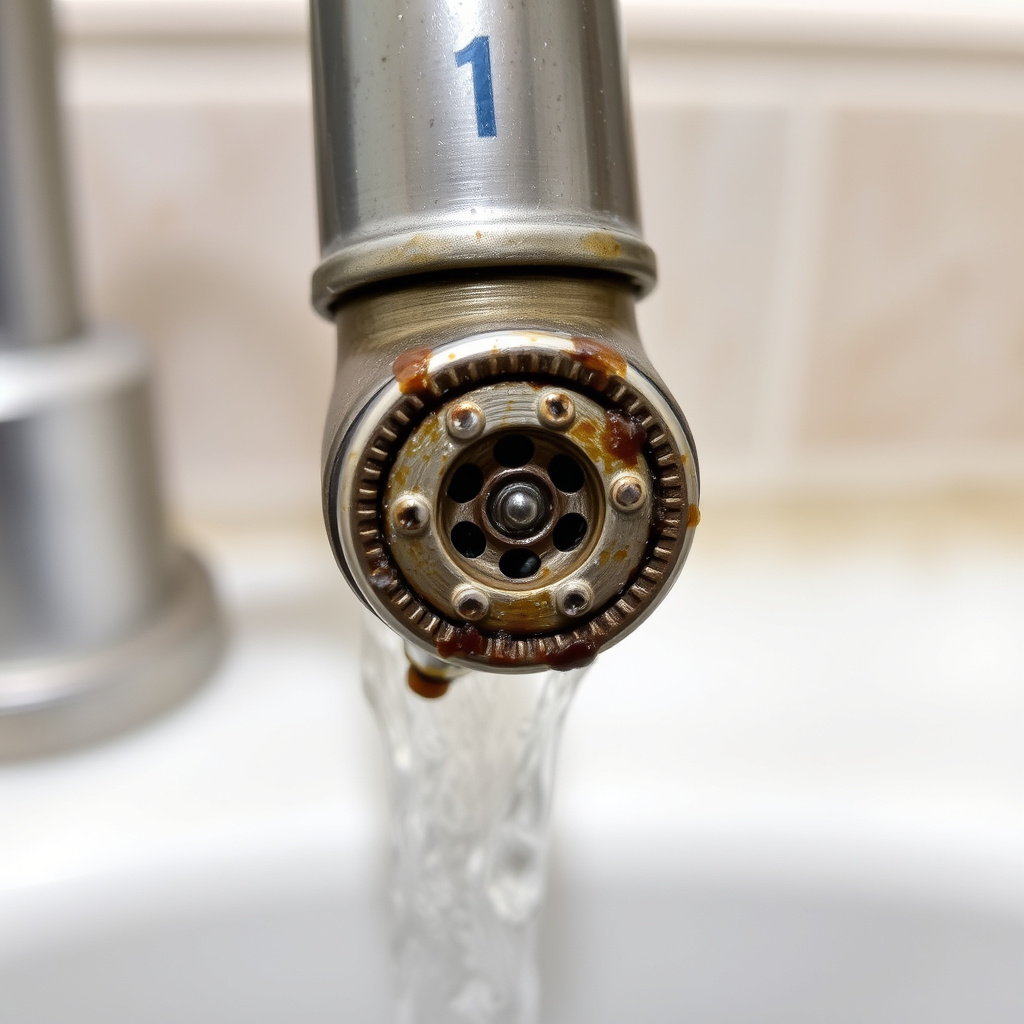
Hard water contains dissolved minerals like calcium and magnesium, which precipitate out and build up on faucet surfaces, especially around aerators. Soap scum and grime from daily kitchen use also contribute to deposits on and inside the faucet head.
This buildup narrows the water pathways, blocks spray holes, reduces water pressure, and can cause leaks or corrosion if ignored. Regularly cleaning prevents these common issues and keeps the faucet working well.
Step-by-Step Cleaning Process for Kitchen Faucet Head
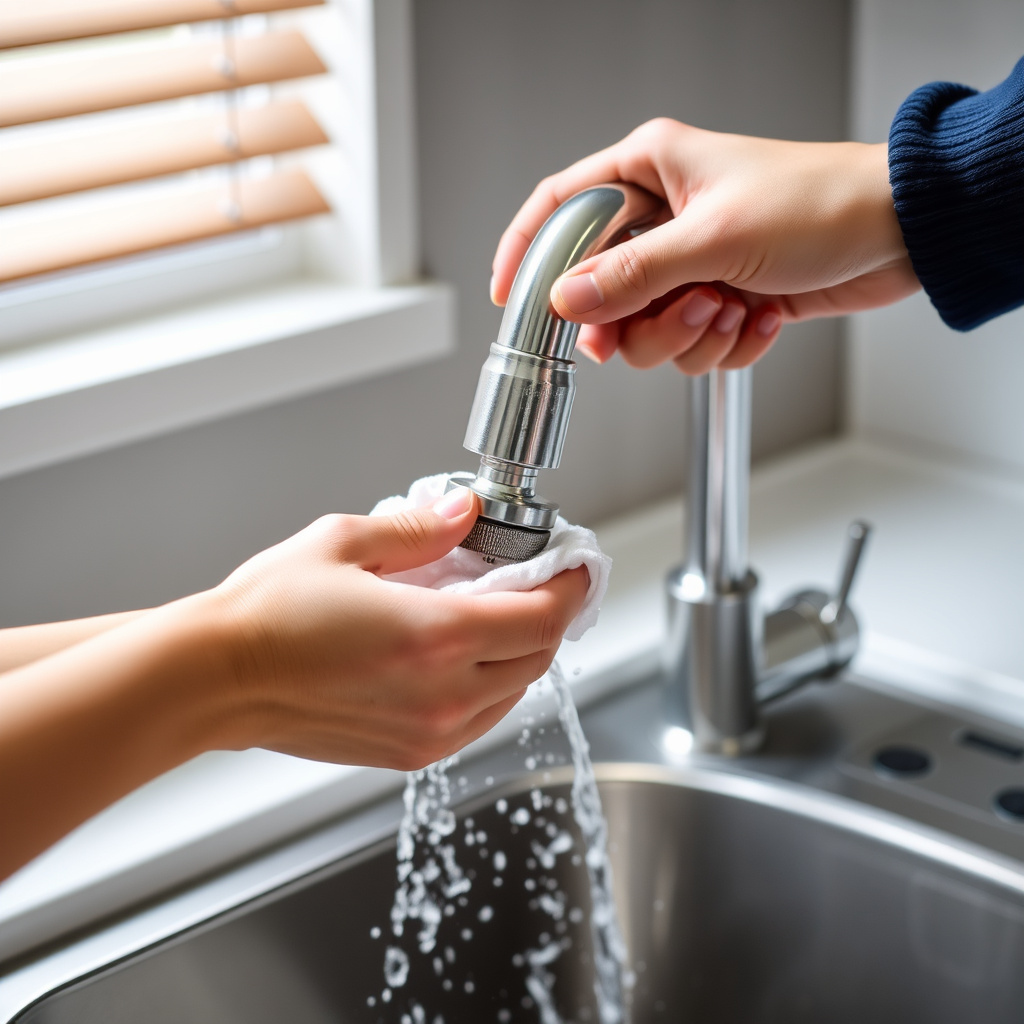
Removing the Faucet Aerator Safely
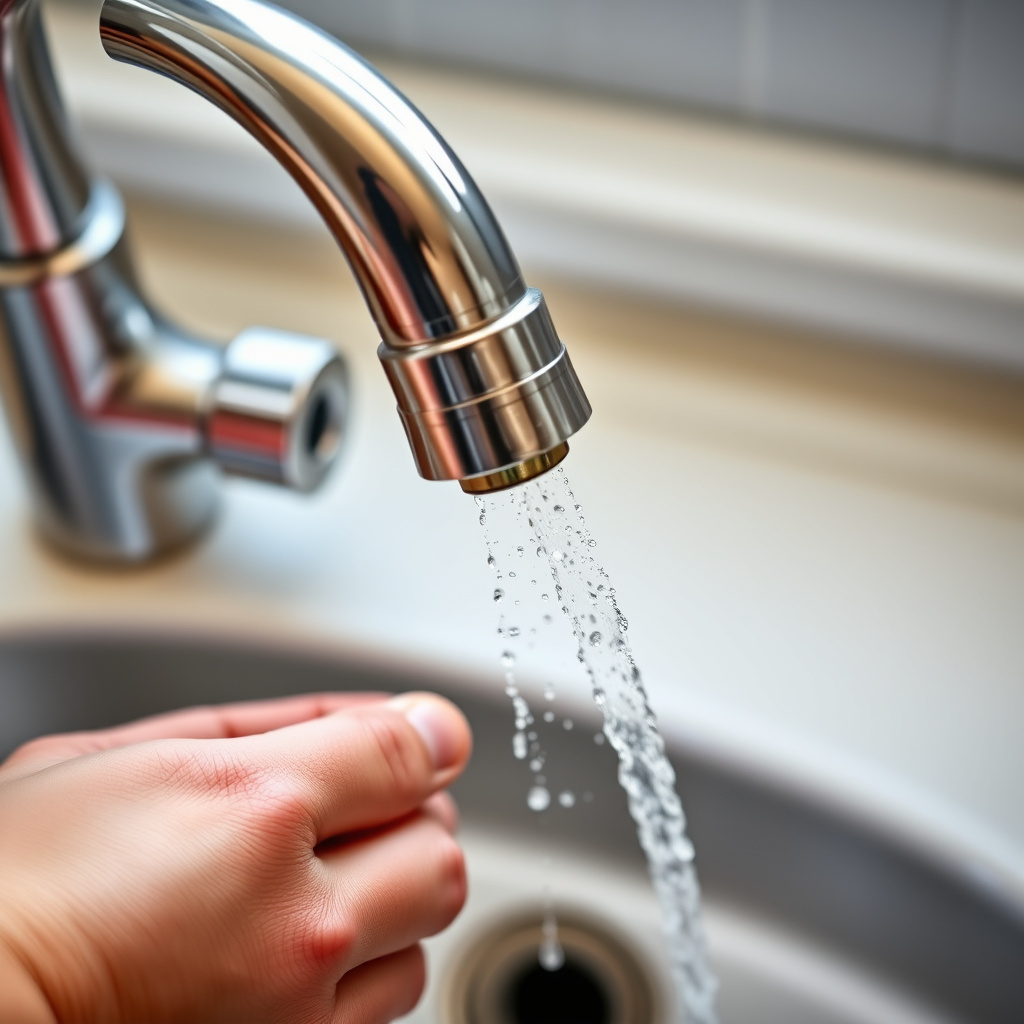
Begin by turning off the faucet and wrapping a cloth around the aerator to protect its finish. Use adjustable pliers to gently unscrew the aerator counterclockwise. If it's difficult to remove, soak the faucet head briefly with vinegar-soaked cloth to loosen deposits, then try again.
Keep track of any washers or small parts inside the aerator to avoid losing them. Some faucets have plastic aerators; apply gentle pressure to prevent cracking or damage during removal.
- Turn off water before starting
- Use cloth to prevent scratching
- Handle plastic parts with care
For more on this, see our related guide: How to Remove a Kitchen Faucet: A Step-by-Step Guide.
Cleaning and Reassembling the Faucet Head
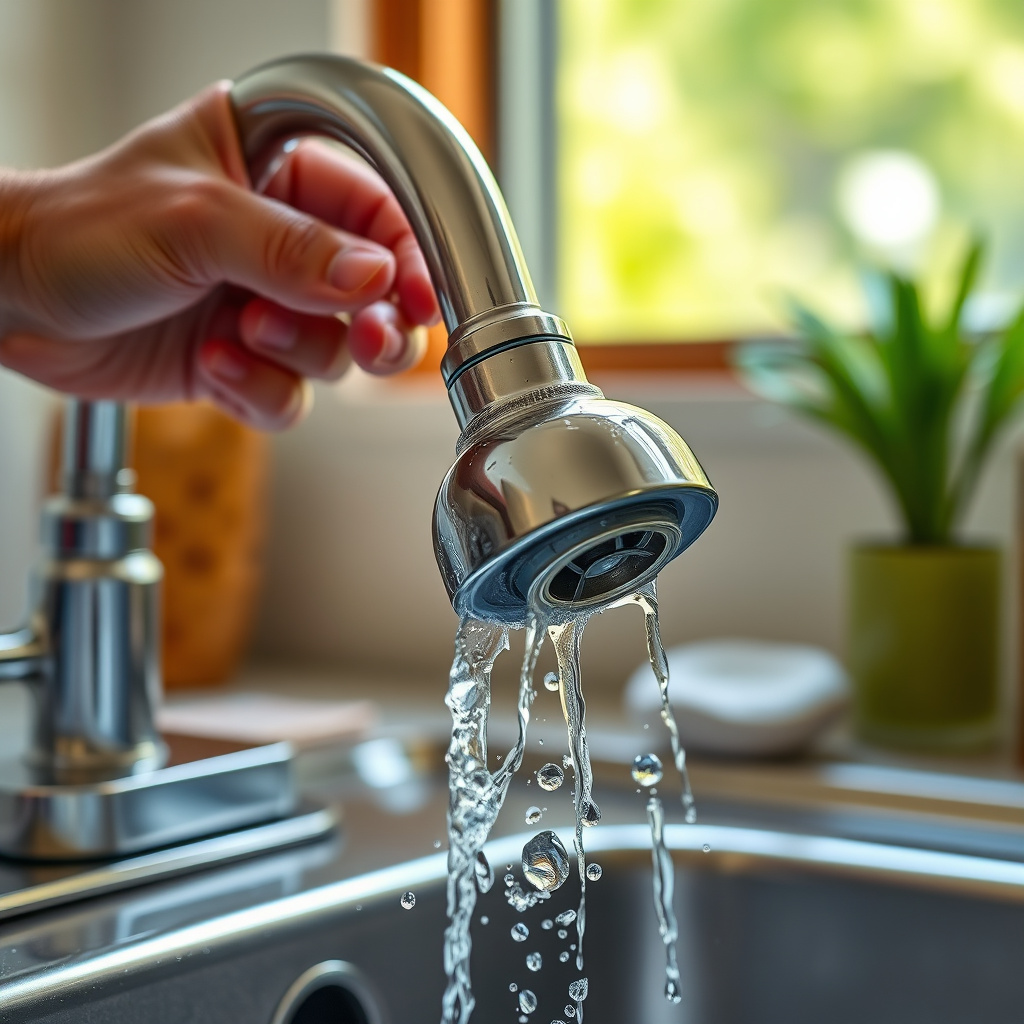
Soak the aerator and faucet head parts in a 1:1 vinegar and water solution for 30 minutes to dissolve mineral deposits. Use a soft brush or old toothbrush to remove remaining debris from all surfaces, paying special attention to the fine mesh screen and spray holes.
Rinse all parts thoroughly under running water, dry them with a soft cloth, and reassemble carefully. Screw the aerator back onto the faucet head by hand, then tighten lightly with pliers wrapped in cloth to avoid overtightening.
- Soak in vinegar solution
- Scrub with soft brush
- Rinse and dry thoroughly
- Reassemble and gently tighten
Maintaining Your Kitchen Faucet Head

Regular Cleaning Routine
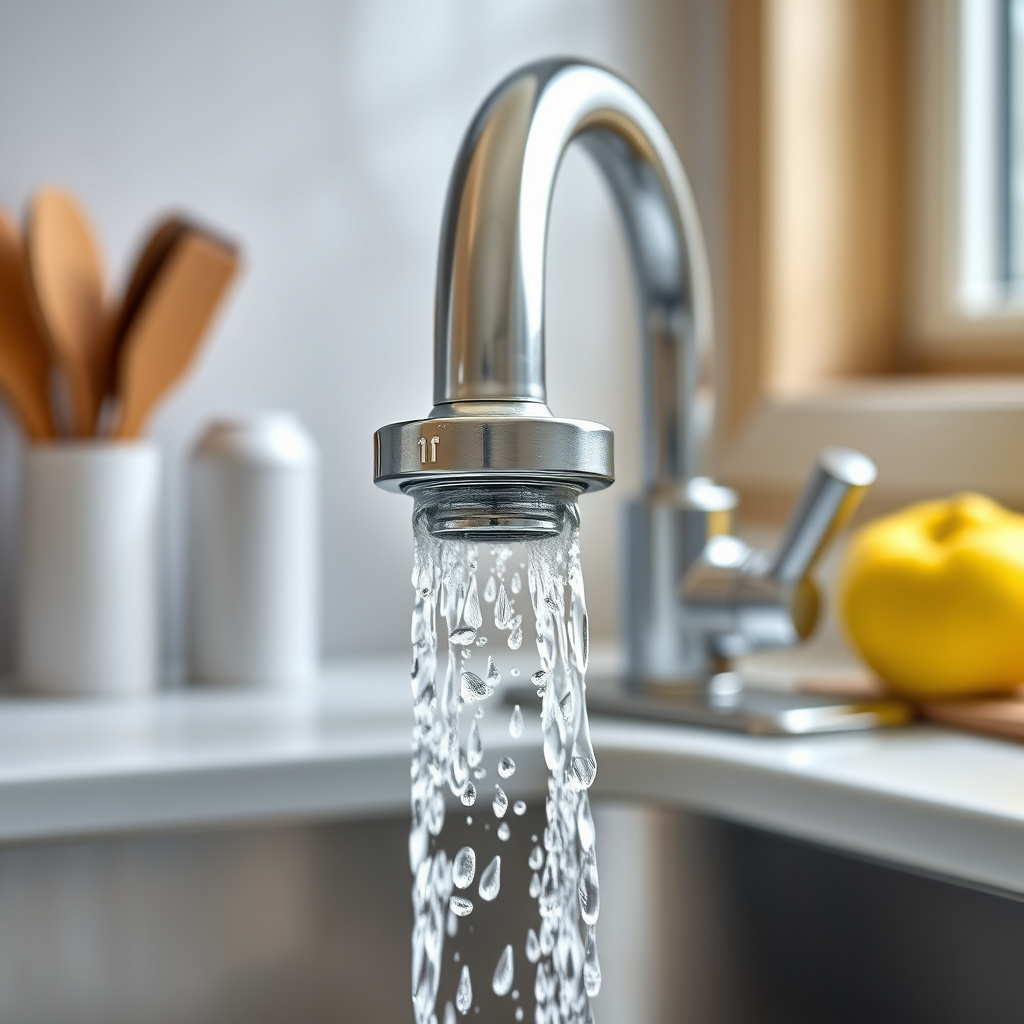
To keep your kitchen faucet head performing well, clean it every three to six months depending on water hardness and usage frequency. Regular rinsing after each use can also reduce grime buildup. Promptly address any uneven spray patterns or reduced water flow as early signs of aerator clogging.
For ongoing maintenance, wiping the faucet head and nozzle with a cloth soaked in vinegar is a quick way to prevent hard water deposits without dismantling the aerator frequently.
- Clean every 3-6 months
- Wipe with vinegar-soaked cloth regularly
- Watch for flow irregularities
Choosing Cleaning Products
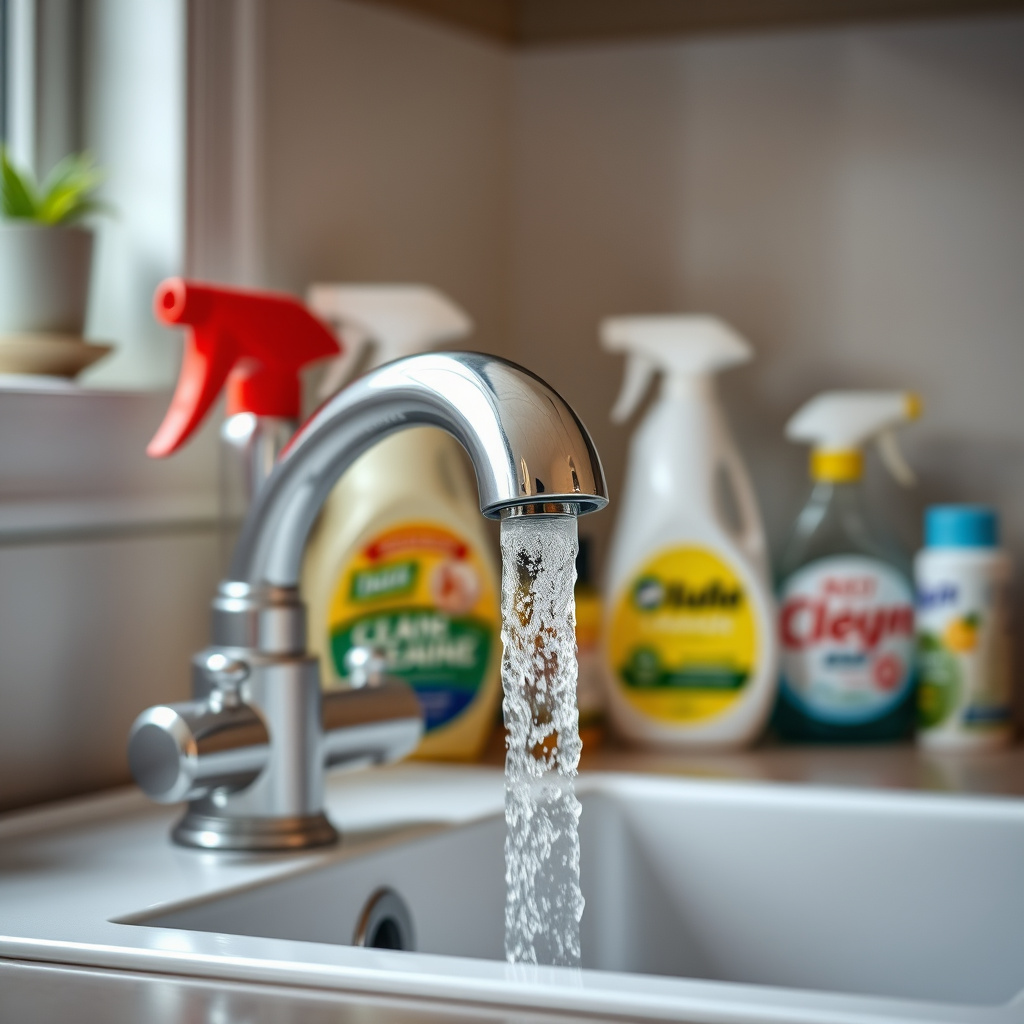
Avoid harsh chemical cleaners that can damage faucet finishes or plastic parts. Vinegar works well for most mineral deposits without risking corrosion. For tough buildup, a paste made from baking soda and water can be applied before soaking in vinegar to enhance cleaning effectiveness.
Ensure any brushes used are soft-bristled to protect delicate mesh screens inside the faucet head from tears or deformation. Using recommended cleaning methods extends the life of your kitchen faucet components.
- Use vinegar or baking soda paste
- Avoid abrasive or harsh chemicals
- Use soft brushes only
Addressing Common Faucet Head Problems
Fixing Low Water Pressure
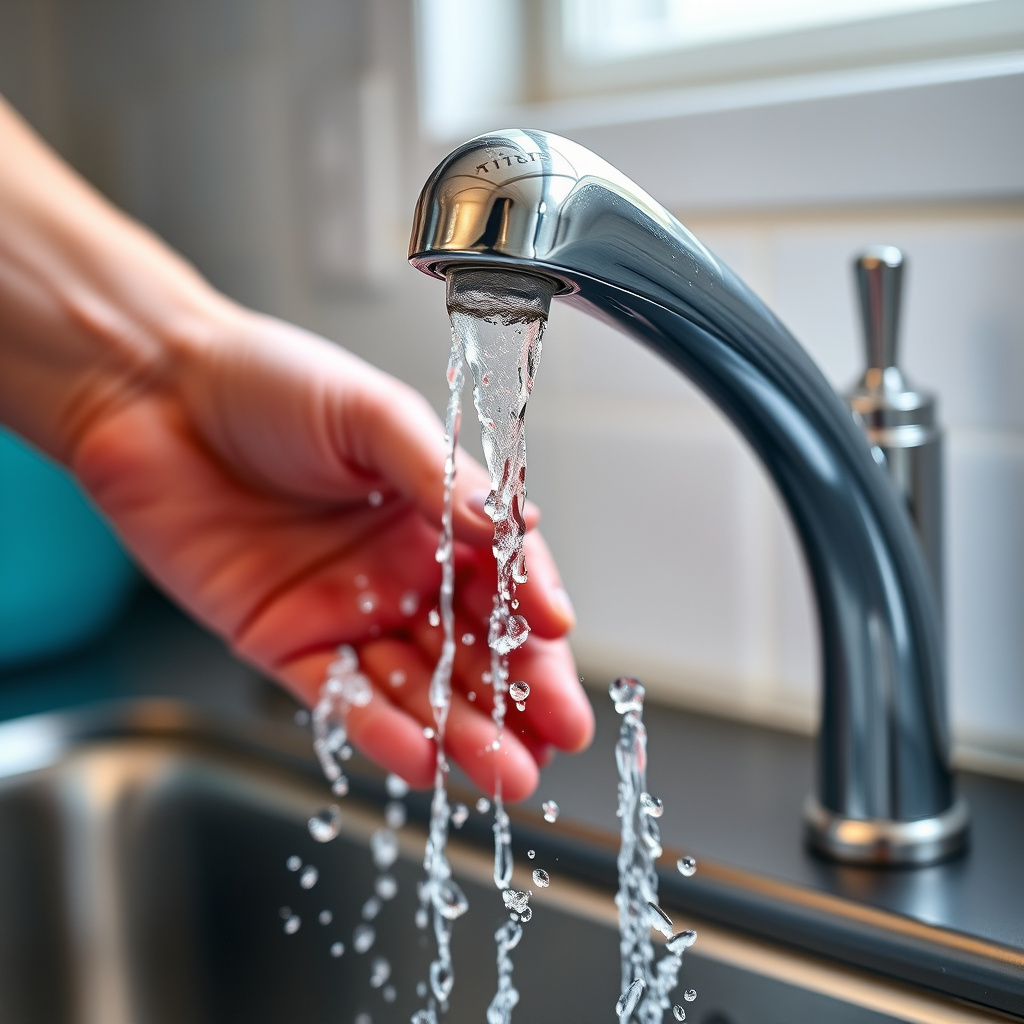
Low water pressure often results from clogged aerators. Cleaning to remove mineral deposits frequently restores normal flow. If problems persist after cleaning, check for debris in supply lines or internal faucet parts needing professional repair or replacement.
Replacing the aerator screen with a new one can also improve pressure if wear or damage is evident. Always match the replacement to your faucet model for compatibility.
- Clean aerator regularly
- Inspect supply lines for blockage
- Replace damaged aerator screens
For more on this, see our related guide: How to Replace a Kitchen Sink: A Step-by-Step Guide.
Preventing Leaks and Corrosion
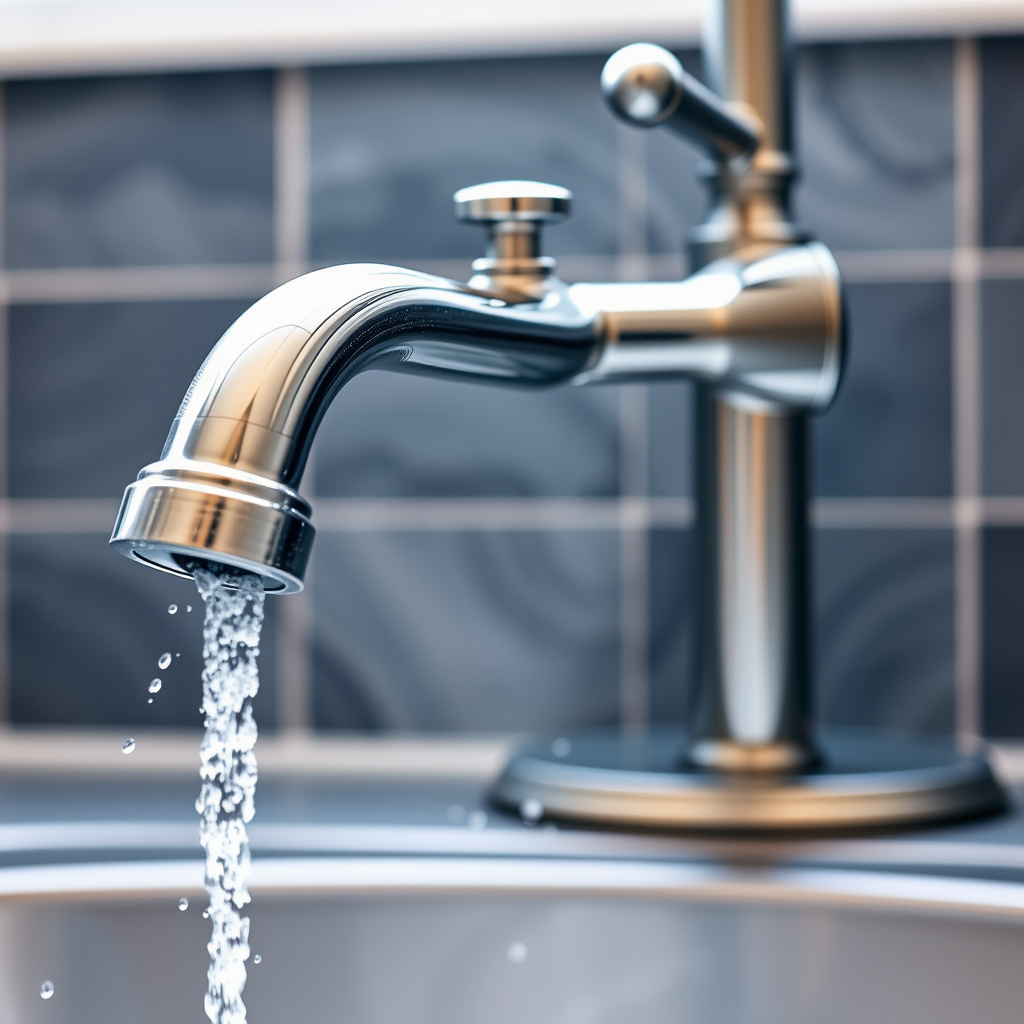
Corrosion and leaks mainly occur when mineral deposits cause cracks or wear in seals and metal surfaces. Careful periodic cleaning reduces deposit buildup and prevents corrosion formation. Use faucet components made from corrosion-resistant materials when replacements are necessary.
If a leak develops at the faucet head, removing and reseating washers or replacing worn parts is usually effective. Do not overtighten fittings, which can cause damage and promote leaks.
- Remove mineral deposits often
- Use corrosion-resistant parts
- Replace seals and washers as needed
Comparing Methods to Clean Faucet Aerators
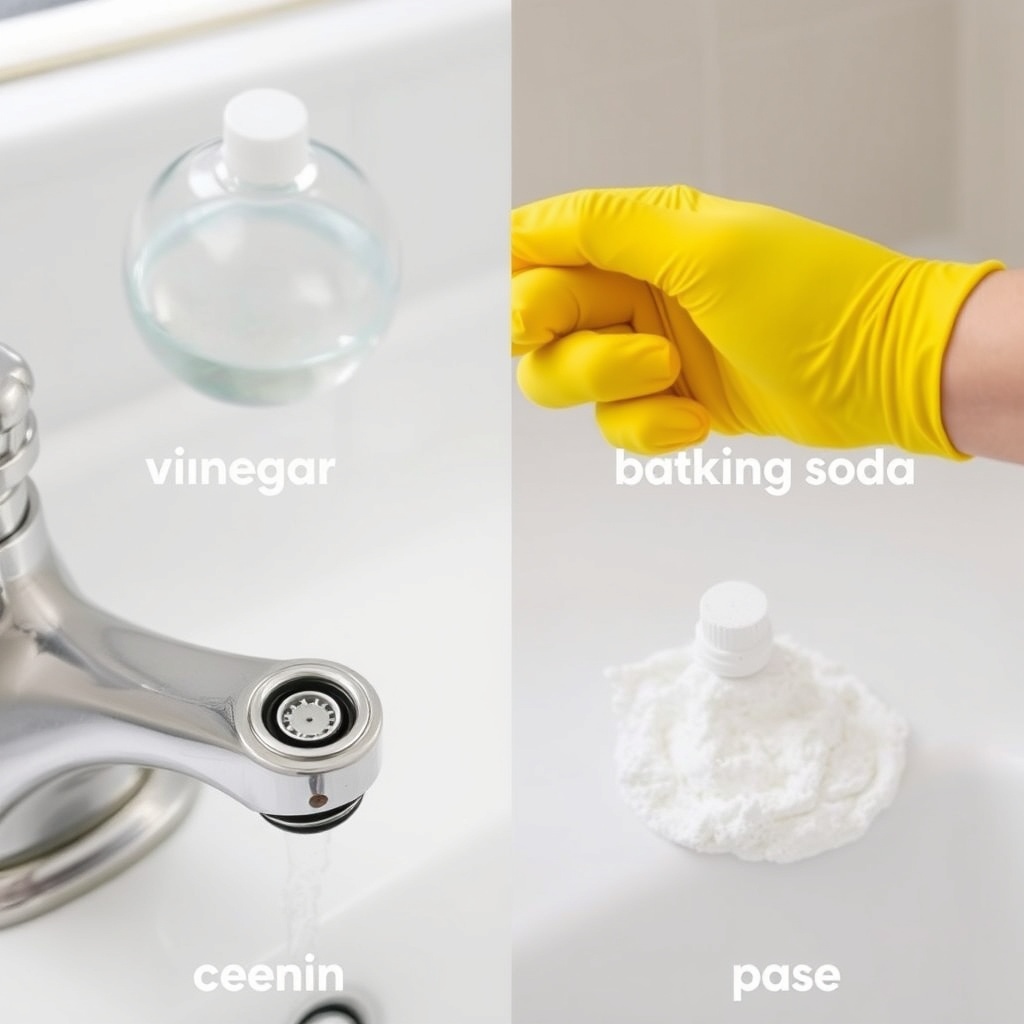
Vinegar Soak Versus Baking Soda Paste
Soaking faucet aerators in vinegar dissolves mineral deposits quickly and safely for most faucet materials. Baking soda paste provides gentle scrubbing power to remove tougher buildup when applied before vinegar soaking. Both methods complement each other for thorough cleaning.
Vinegar soak is simple for regular maintenance, whereas baking soda paste is more effective against stubborn scale but requires more effort. Using them in combination maximizes cleaning results without risking damage.
- Vinegar soak dissolves mineral buildup
- Baking soda paste scrubs stubborn deposits
- Combined use enhances cleaning
For more detailed information on faucet components and maintenance, consult kitchen faucet maintenance tips available on Wikipedia. kitchen faucet maintenance tips.
Chemical Cleaners and Ultrasonic Baths
Chemical cleaners formulated for faucets can be effective but may harm finishes or plastic parts if used improperly. Ultrasonic baths offer professional-level cleaning via sound waves but are generally unnecessary for routine kitchen faucet maintenance.
For most home users interested in the best method to clean faucet aerator without risks, household products like vinegar and baking soda provide safe, affordable, and eco-friendly options.
- Chemical cleaners can be harsh
- Ultrasonic baths are professional-grade
- Household products preferred for regular use
Cleaning Methods for Kitchen Faucet Head Comparison
Here's a side-by-side comparison of common cleaning methods detailing ease, effectiveness, cost, and safety aspects.
| Method | Ease of Use | Cleaning Power | Cost | Material Safety |
|---|---|---|---|---|
| Vinegar Soak | Easy | Good | Low | Safe for most materials |
| Baking Soda Paste | Moderate | Strong on tough buildup | Very low | Safe, gentle abrasive |
| Chemical Cleaners | Varies | Strong | Medium | Risk of damage to finishes |
| Ultrasonic Bath | Complex | Excellent | High | Safe but specialized use |
Frequently Asked Questions
How often should I clean my kitchen faucet head?
Cleaning your faucet head every three to six months is usually sufficient, but frequency should increase if you have hard water or notice reduced water flow or uneven spray.
Can vinegar damage my faucet?
Vinegar is safe for short-term soaking of most faucet materials, but prolonged exposure can damage certain finishes like brass or antique coatings, so limit soak times to about 30 minutes.
What if my faucet aerator is stuck and won’t unscrew?
Try applying a vinegar-soaked cloth to the aerator to dissolve deposits, then gently use pliers wrapped in cloth to avoid scratches. Avoid forcing it to prevent damage.
Can I use abrasive cleaners on my faucet head?
Avoid abrasive cleaners or hard brushes, as these can scratch or damage the aerator’s mesh screen and faucet finish. Soft brushes and gentle household products are best.
Is it necessary to remove the aerator for cleaning?
Removing the aerator provides the most thorough cleaning, especially for mineral buildup inside the mesh screen. Wiping the faucet head alone won't clear internal deposits.
Key Takeaways
- Remove and soak the faucet aerator in vinegar to clear mineral deposits
- Clean with a soft brush to maintain water flow and prevent clogs
- Avoid harsh chemicals; baking soda and vinegar are safe and effective cleaners
- Regular cleaning prolongs faucet life and maintains performance
Conclusion
Deciding how to clean your kitchen faucet head effectively comes down to understanding the common causes of buildup and damage. Mineral deposits from hard water accumulate in the aerator and fixture, restricting water flow and causing uneven spray patterns. By removing the aerator carefully, soaking it in vinegar, and gently scrubbing, you can restore your faucet's performance without needing complex tools or harsh chemicals. Recognizing signs of clogging early and maintaining a routine cleaning schedule ensures sustained faucet function and appearance.
For typical kitchen faucets, using the vinegar soak method combined with soft brushing offers a reliable, affordable approach to cleaning. When buildup is tougher, applying a baking soda paste before the vinegar soak enhances results without risking damage. Chemical cleaners and ultrasonic baths serve specific purposes but generally aren't necessary for most household kitchens. Keeping an eye on aerator condition and replacing worn parts when needed will keep your faucet working smoothly.
If you notice persistent low pressure, leaks, or corrosion despite regular cleaning, it may be time to consult a professional or replace faucet components. Begin by removing your aerator to assess its state and cleaning it with simple household items. By adopting these practical steps, you can enjoy steady water flow and a sparkling kitchen faucet head with minimal effort.