How to Remove a Kitchen Sink: A Step-by-Step Guide
Removing a kitchen sink involves disconnecting the plumbing, detaching the sink from the countertop, and carefully lifting it out. The process requires turning off the water supply, using proper tools to disconnect water lines and drain pipes, and gently prying the sink seal to avoid damage.
This task matters because old or damaged sinks need replacement or repair, and knowing how to remove a kitchen sink yourself saves time and money compared to hiring a professional. Additionally, this knowledge prepares you for future maintenance or upgrades without relying on external help.
In this article, we’ll guide you through the essential steps for kitchen sink removal, including preparing your workspace, disconnecting plumbing, detaching mounting hardware, handling different sink types, and troubleshooting common challenges.
Preparing for Kitchen Sink Removal
Shutting Off Water Supply
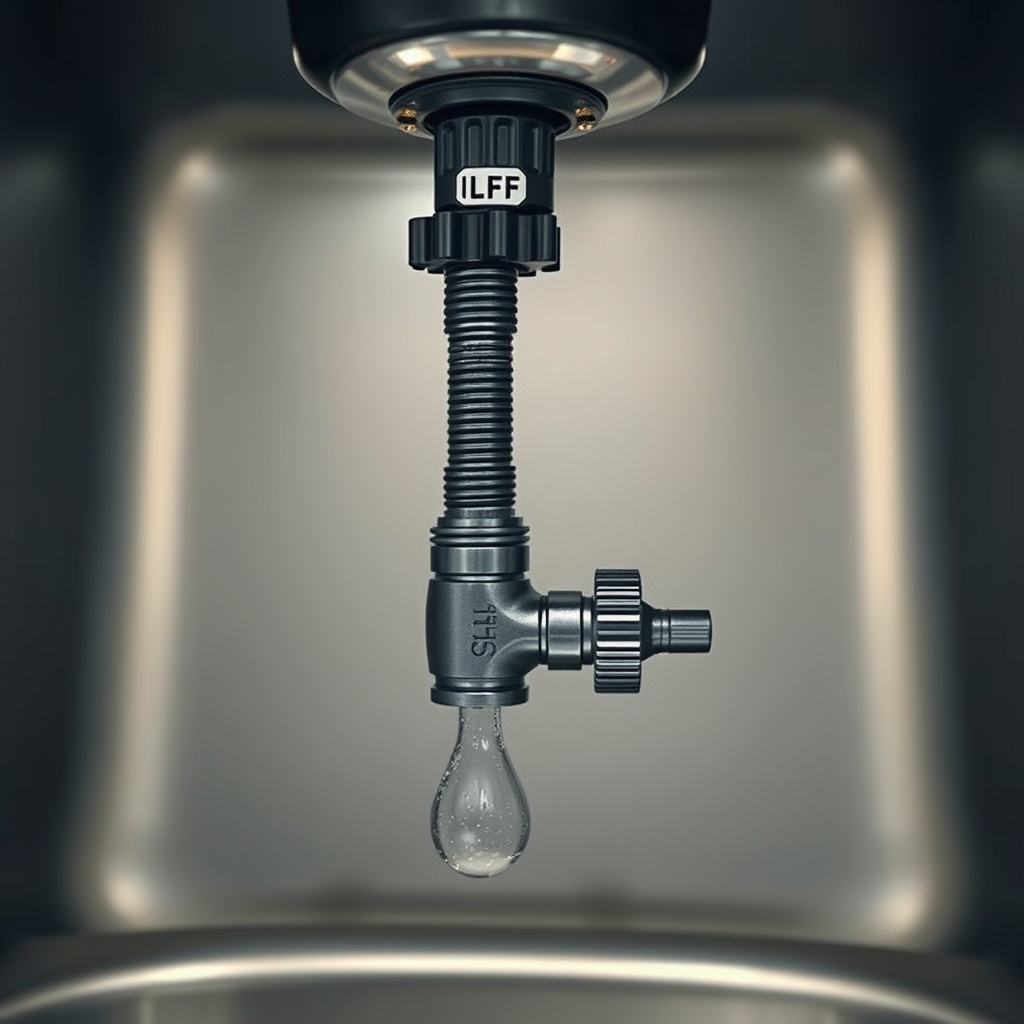
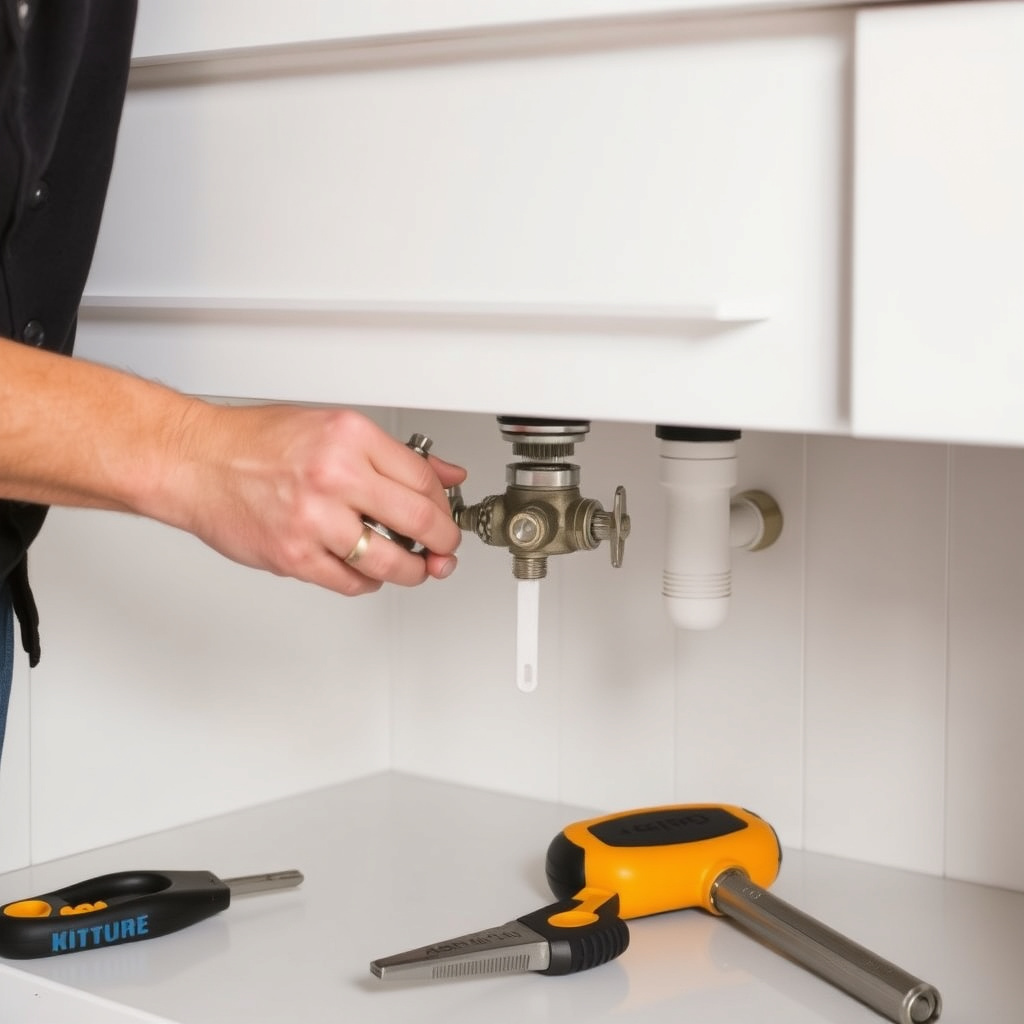
Begin by locating and turning off the water shut-off valves under the sink. If these valves are missing or malfunctioning, shut off the home's main water supply to prevent leaks. Open the faucet to drain remaining water from the pipes, reducing mess during disconnection.
Properly shutting off the water supply prevents accidental flooding and damage. Confirm no water flows by gently opening the faucet after shutting the valves. Having towels on hand prepares you for any residual drips when disconnecting the plumbing.
- Locate shut-off valves under sink
- Turn valves clockwise to close
- Open faucet to drain water
- Prepare towels for drips
Gathering Necessary Tools

Essential tools include an adjustable wrench or basin wrench for plumbing connections, a utility knife to cut sealant, a bucket to catch water, and screwdrivers for mounting hardware. Depending on your sink type, you may also need pliers or a putty knife to loosen stubborn fixtures.
Assembling all tools beforehand streamlines the removal process and prevents interruptions. Opt for tools in good condition to avoid slips or damage to plumbing and surfaces.
- Adjustable wrench
- Basin wrench
- Utility knife
- Bucket
- Screwdrivers
- Putty knife
Disconnecting Plumbing Components
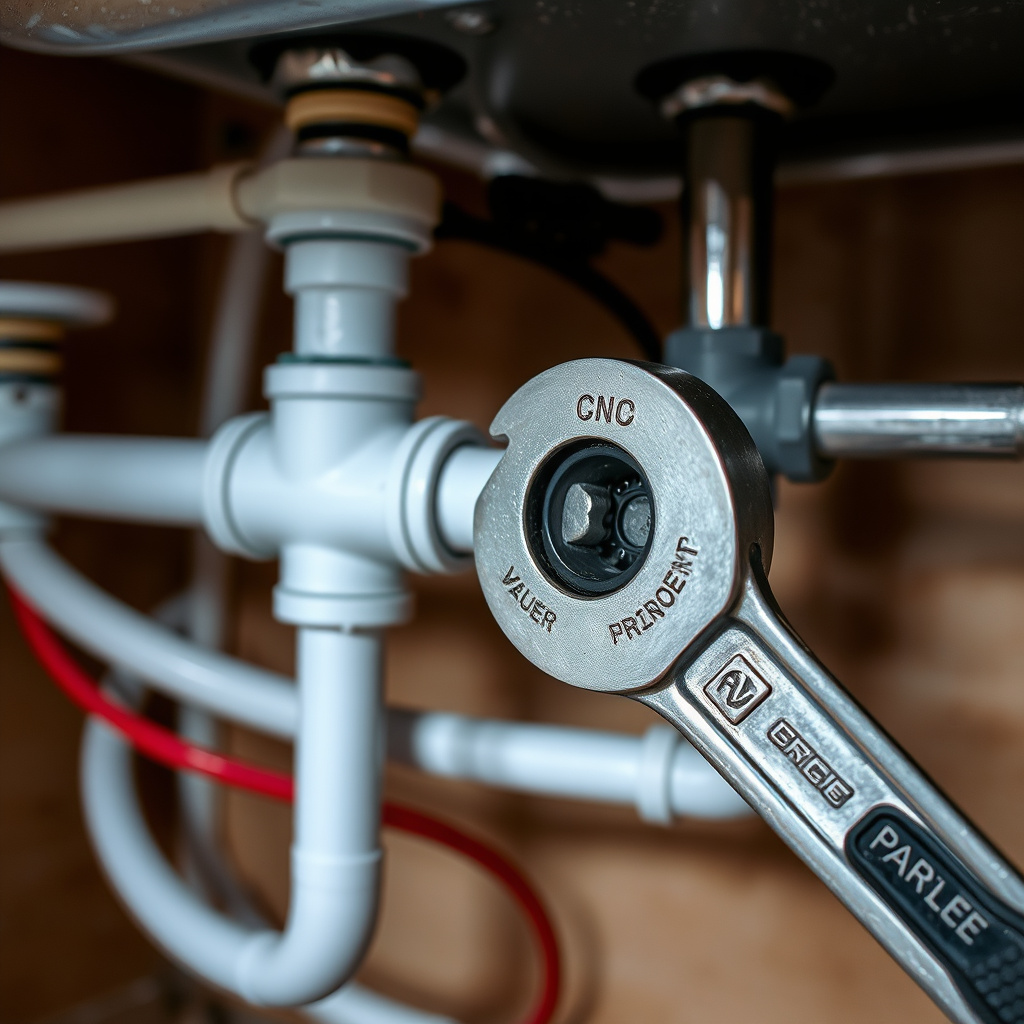
Removing Drain Pipes
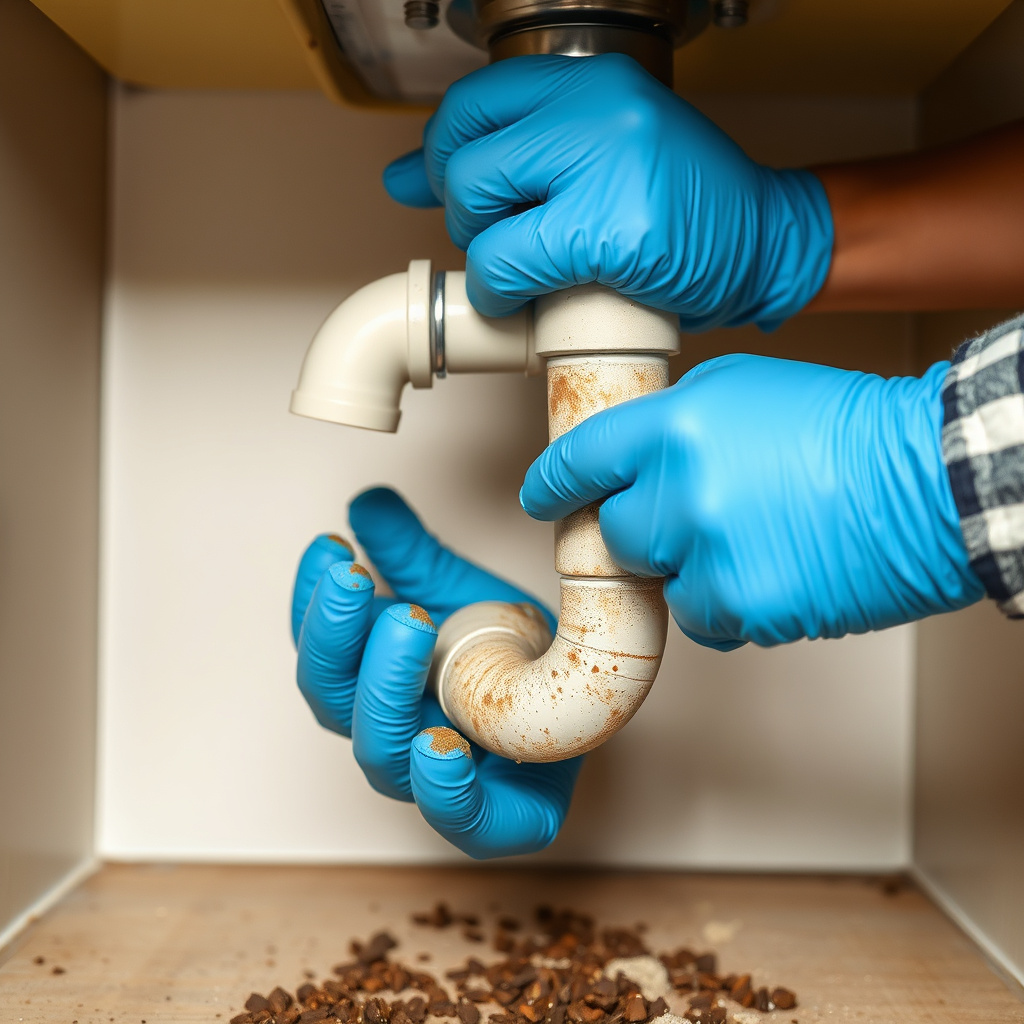
Place a bucket under the P-trap and unscrew the slip nuts connecting the drain pipes using your hands or a wrench. Carefully remove the trap and connected pipes to allow complete sink removal. Drain residual water into the bucket to avoid spills.
Be cautious with older plumbing materials that may be fragile or corroded. Inspect for any damage or buildup while detaching pipes so you can address issues during sink replacement.
- Position bucket under P-trap
- Loosen slip nuts with wrench
- Remove drain pipes carefully
- Catch residual water
For more on this, see our related guide: How to Get Rid of Kitchen Gnats: Effective and Safe Strategies.
Detaching Water Supply Lines
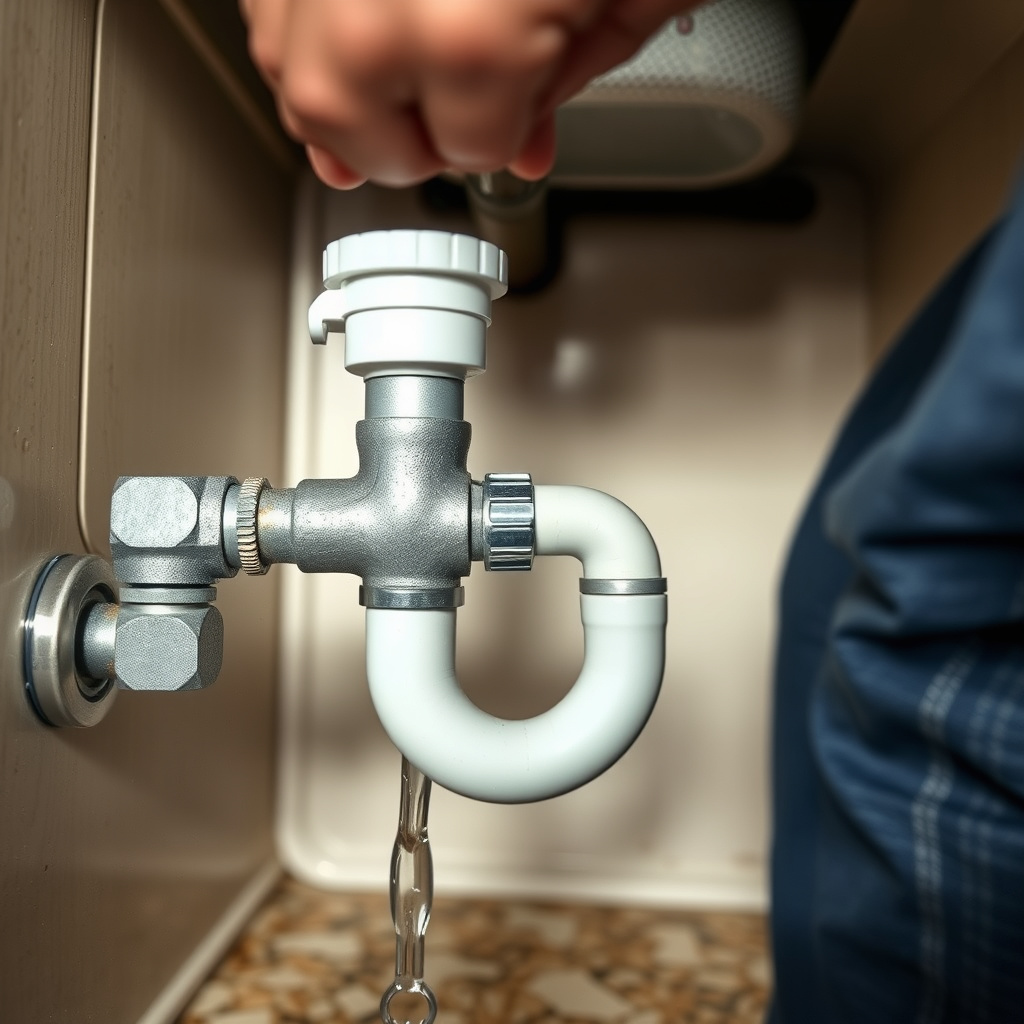
Use an adjustable wrench to loosen the nuts connecting the water supply lines to the faucet. Check for any signs of corrosion or leaks before fully removing lines. Loosen the connections gently to avoid bending or damaging pipes.
If flexible supply lines are old or cracked, consider replacing them during sink installation to ensure no leaks or blockages occur later.
- Use wrench on supply line nuts
- Inspect line condition
- Loosen gently without damage
Removing the Sink from the Countertop
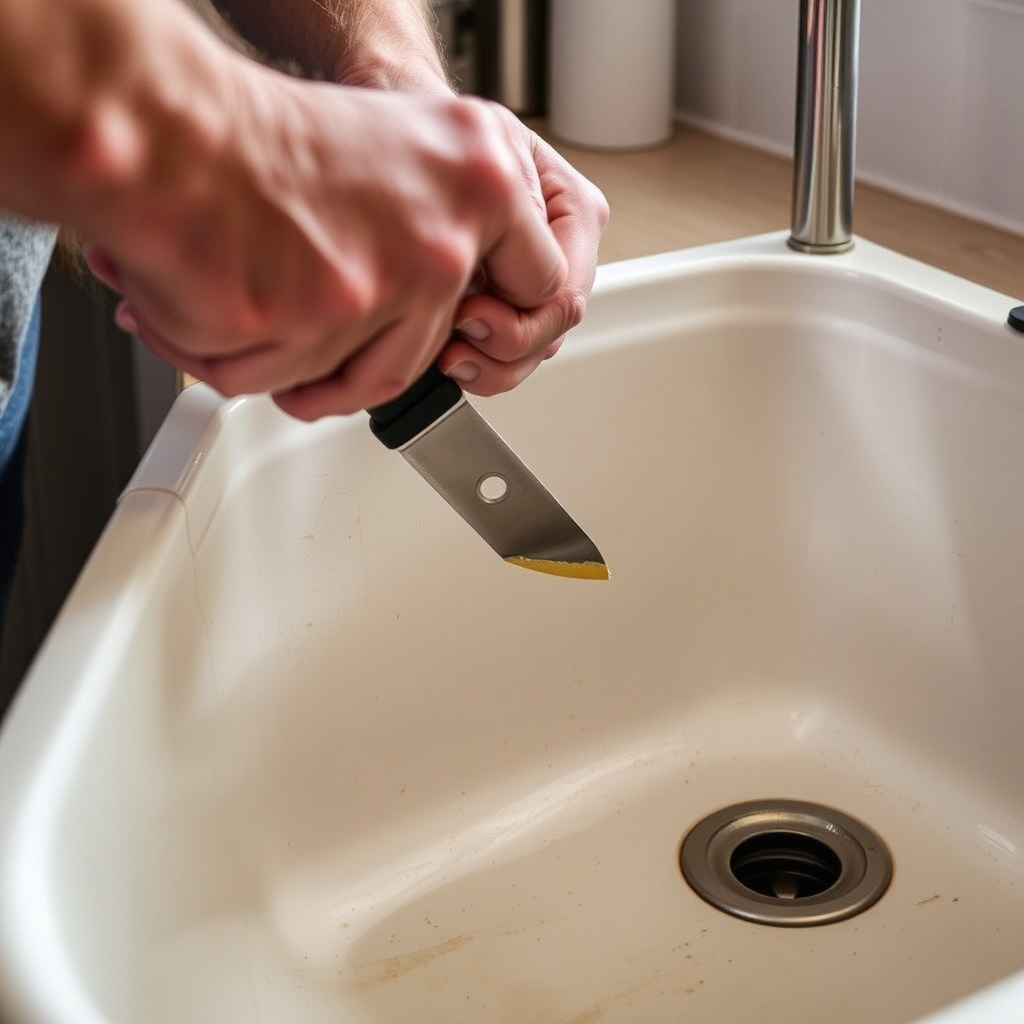
Breaking the Seal Between Sink and Countertop
Use a utility knife or putty knife to carefully cut through the caulk or plumber’s putty sealing the sink’s edge to the countertop. Do this slowly around the perimeter to avoid chipping or scratching counters.
Once the seal is broken, gently pry the sink upwards using hands or a flat tool to loosen adhesive or clips holding it in place.
- Cut sealant around sink edge
- Pry up sink gently
- Avoid damaging countertop
Unscrewing Mounting Clips or Brackets
Locate mounting clips beneath the sink securing it to the countertop. Use a screwdriver to remove screws or nuts holding these fasteners. Some sinks use clips that slide or flip; carefully unfasten them without forcing.
Removing mounting hardware fully frees the sink from the counter, ensuring safe lift out without damage.
- Find mounting clips underneath
- Remove screws or nuts
- Release clips carefully
Handling Different Types of Kitchen Sinks

Removing Drop-In Sinks
Drop-in sinks rest on the countertop with edges visible. After cutting the sealant and removing clips, lift the sink by the edges to remove it. These sinks usually have visible mounting hardware.
The straightforward design makes drop-in sinks some of the easiest to remove, ideal for DIY projects.
For more on this, see our related guide: How to Install Kitchen Sink Drain: A Step-by-Step Guide for Homeowners.
Removing Undermount and Farmhouse Sinks
Undermount sinks are attached below the countertop using specialized brackets and adhesive, requiring careful access from beneath. Farmhouse sinks extend past cabinet fronts and may have supporting brackets inside the cabinet.
These styles are more complex to remove due to concealed hardware and structural support; patience and caution help avoid cabinet damage.
Troubleshooting Common Removal Issues
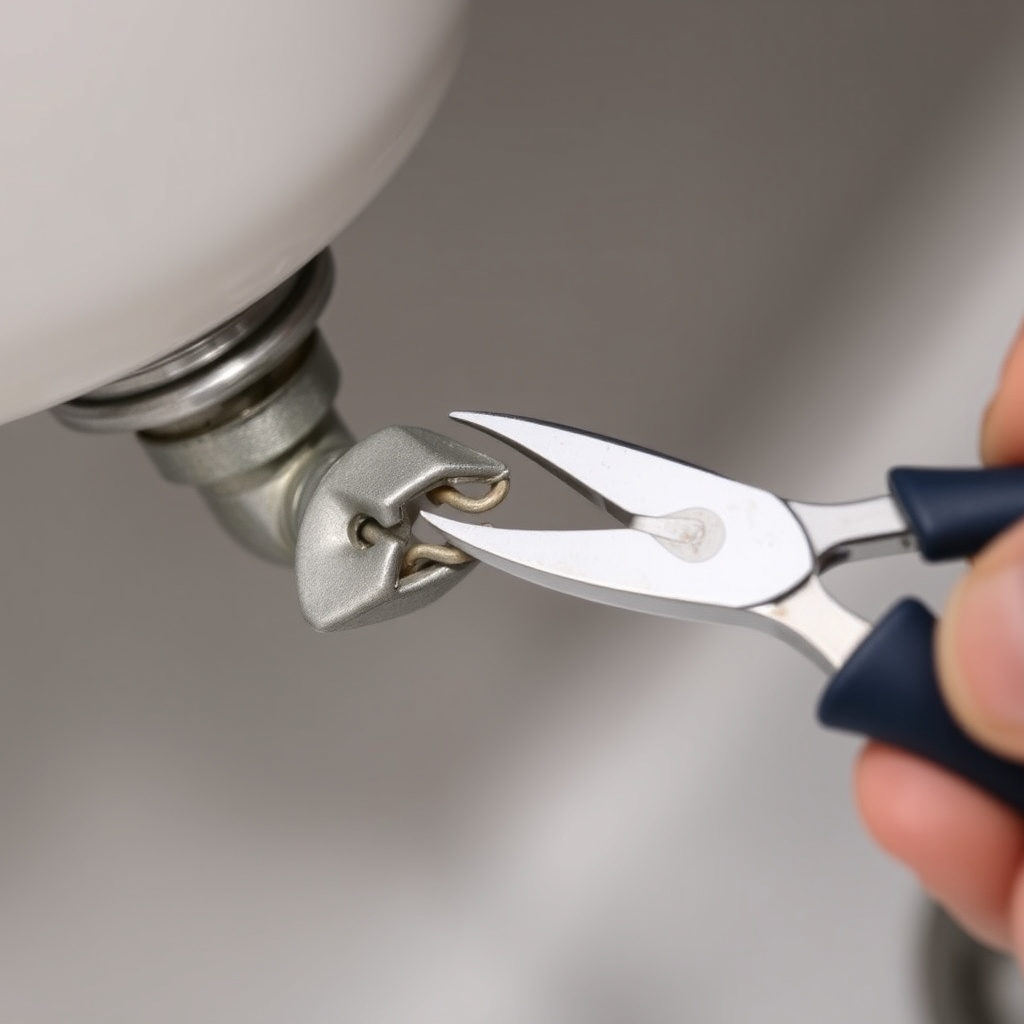
Dealing with Stubborn Sealant or Adhesive
If sealant resists cutting, apply a sealant remover or heat with a hairdryer to soften it. Use plastic scrapers instead of metal to protect countertops. Repeat carefully until the sink loosens.
Persistent adhesives require patience and solvent use, but aggressive methods can harm surfaces, so proceed gently.
For additional background on kitchen sinks and their types, you can explore this detailed kitchen sink information resource. kitchen sink information.
Handling Corroded or Damaged Plumbing
Old plumbing may have rusted nuts or brittle pipes that break when unscrewed. Use penetrating oil on corroded parts and proceed slowly. In extreme cases, replacement fittings and connectors may be necessary.
Inspect plumbing during removal to identify needed repairs or upgrades, preventing future leaks.
Kitchen Sink Removal Methods Comparison
Here’s a comparison of common kitchen sink removal methods and tools to help you decide the best approach for your project.
| Method | Ease of Use | Tools Required | Best For | Time Needed |
|---|---|---|---|---|
| Standard DIY | Moderate | Wrenches, utility knife, screwdriver | Drop-in sinks, basic plumbing | 1-2 hours |
| Professional Removal | Easy for homeowner | Specialized tools, expertise | All sink types, complex plumbing | 30 mins – 1 hour |
| Chemical Sealant Remover | Moderate | Sealant remover, scrapers | Removing stubborn caulk | 30-45 mins |
| Heat Application | Moderate | Hairdryer or heat gun | Softening adhesive under sinks | 20-30 mins |
| Basin Wrench Use | Moderate | Basin wrench | Tight or hard-to-reach plumbing nuts | 15-30 mins |
Frequently Asked Questions
Do I need to turn off the main water supply to remove a kitchen sink?
If shut-off valves under the sink are functional, turning them off is sufficient; otherwise, turn off the main water supply to avoid leaks during removal.
Can I remove a kitchen sink without disconnecting the plumbing?
No, disconnecting water supply lines and drain pipes is necessary to free the sink safely and avoid damaging plumbing fixtures.
How do I handle a sink that is sealed with strong adhesive?
Applying heat or a sealant remover softens the adhesive, making it easier to cut through and pry the sink without damaging surfaces.
What tools are essential for DIY kitchen sink removal?
Adjustable and basin wrenches, utility knife, screwdrivers, bucket for water, and putty knife are key tools for most removal tasks.
Is it harder to remove undermount sinks compared to drop-in sinks?
Yes, undermount sinks require removing hidden brackets and adhesive beneath the countertop, making them more challenging than drop-in sinks.
Key Takeaways
- Turn off water supply and drain pipes before removal.
- Use proper tools like wrenches, utility knives, and screwdrivers.
- Handle different sink types according to their mounting styles.
- Address stubborn seals and plumbing corrosion patiently.
Conclusion
Understanding how to remove a kitchen sink combines knowing your plumbing layout, having the right tools, and handling various sink types carefully. This process often involves cutting through sealant, loosening mounting hardware, and disconnecting water and drain lines without damaging cabinets or fixtures. Taking a methodical approach helps preserve surrounding materials and prevents leaks.
For straightforward jobs, DIY methods like the hydraulic connection removal and cutting sealant around drop-in sinks are effective. More complex sinks such as undermount or farmhouse styles may require extra time and attention, especially when hidden brackets or adhesive are involved. In cases of corroded piping or stubborn seals, patient use of penetrating oils, heat, and proper tools makes the task manageable.
After removal, preparing your workspace with tools and safety measures, like a bucket for water collection, ensures a smoother renovation or replacement. Whether upgrading your kitchen sink for style or function, mastering this removal step lets you control the project and can reduce costs and delays.